

Hi Everyone! These last two weeks in my printmaking etching class we started experimenting with some new techniques which was really fun. As a small little exercise, we experimented with creating texture by using a gritty powder called carborundum. It is a very hard material made of silicon and carbon, that can be applied to a plate to create rich, textured areas that hold and print deep ink tones. It is really fine like powder, but it comes in different thicknesses to create different textures. We just took a small piece of foam board, which we could carve some lines into with the etching needle, as well as gluing some of the carborundum onto it to create some grit on top of the plate. This we treated as more of a relief style of printmaking, where the ink goes on top, on the parts that are above the surface, but also in combination with the etched lines, so it was interesting to see how this would turn out.
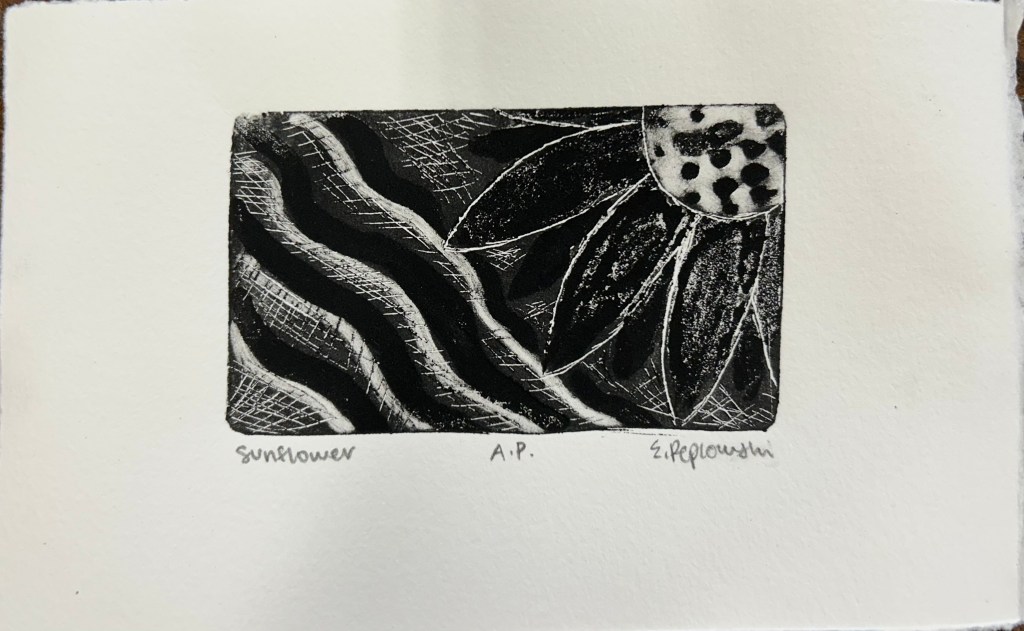
For my little design I just decided to make a sunflower in the corner and some other random cross hatching and squiggly lines as well. I was really curious to see how this was going to print. When I inked it up, I took a q-tip and traced over some of the squiggly lines so that they would be whiter when it printed, as well as in the middle of the sunflower. It actually turned out a lot better than I expected to, and I got a really rich black tone that held up well. The grit created some texture that you can see in the print and I really enjoy how it came out, I would love to experiment with it again. Here are the final prints that came out:

Etching In Acid
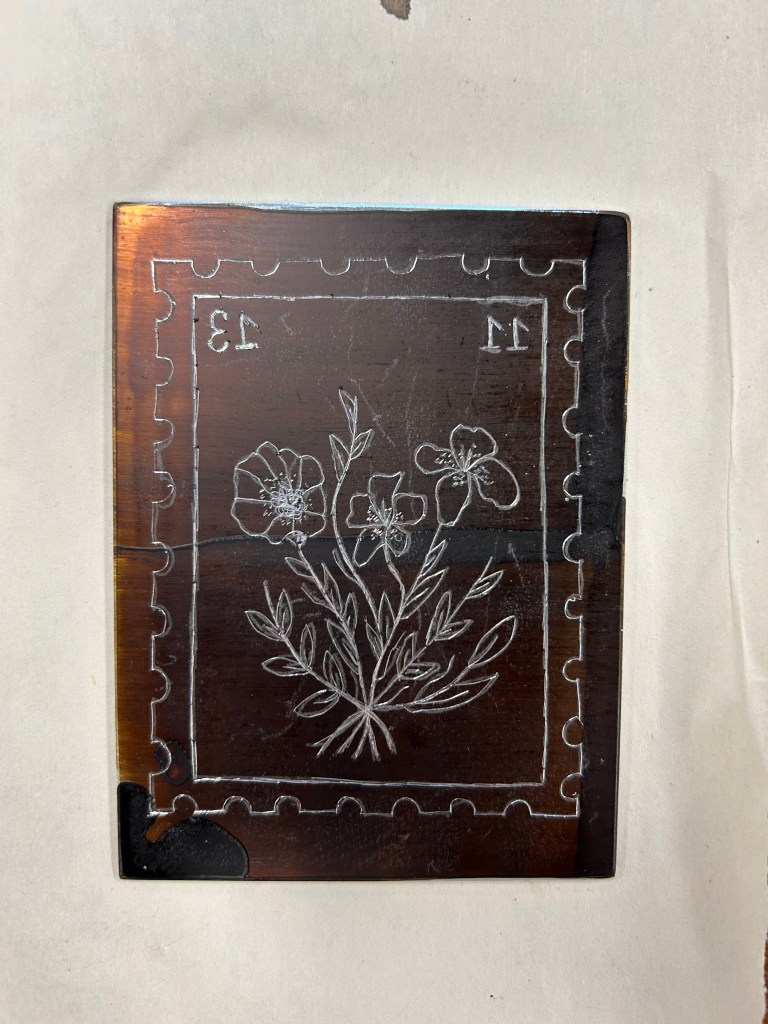
For our next project, we started dealing with a different type of etching into a copper plate in which the lines are going to be etched through with acid. First I made the drawing that I wanted to have on the plate, photographed it and then flipped it backwards and printed it out at the right size. But before we can do any etching on the plate, we had to cover it with liquid asphaltum, which is often used as a protective backing to prevent acid from attacking the reverse side. Once that was heated and dried, in order to trace my drawing onto the plate, I covered the backside of the paper with pencil so that when I pressed down and traced it on the top part, the charcoal would transfer onto the plate and give me an outline to trace. I then traced that again with the etching needle onto the plate to create the lines that the acid would etch in for me. It was way easier to etch the lines in here, compared to the last Plexiglass project. Now it was time to set it in the acid, which sat for about an hour. Once the hour was up, we took some mineral spirits and a rag to wipe off the liquid asphaltum that was still on the plate. It was finally ready to print after this. Here are some of the pictures of the process:
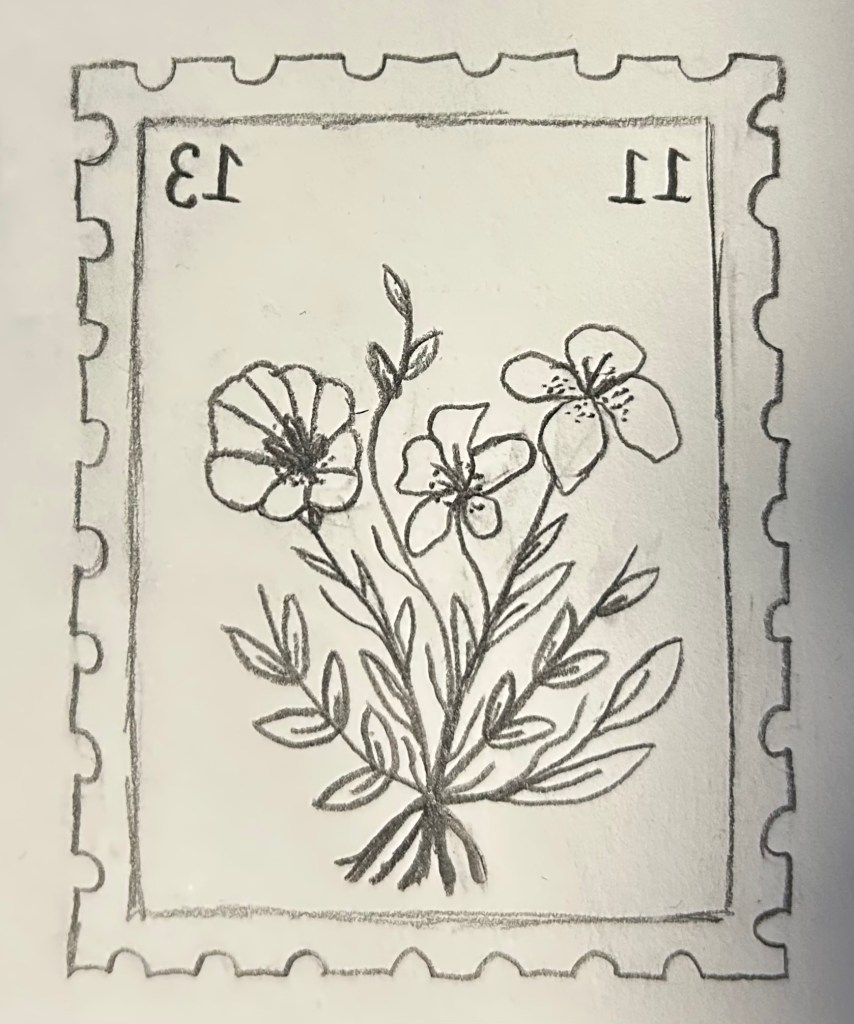

The design that I decided to do this time was a little postage stamp that combined me and my best friend’s birth flowers, with two numbers in the corners that represent the days of that month that we were born. I did the gladiolus for mine for August, and the morning glory for hers for September. I only had time to run it through the press a few times this week, so I will be experimenting more next week but these are how they came out the first two times:
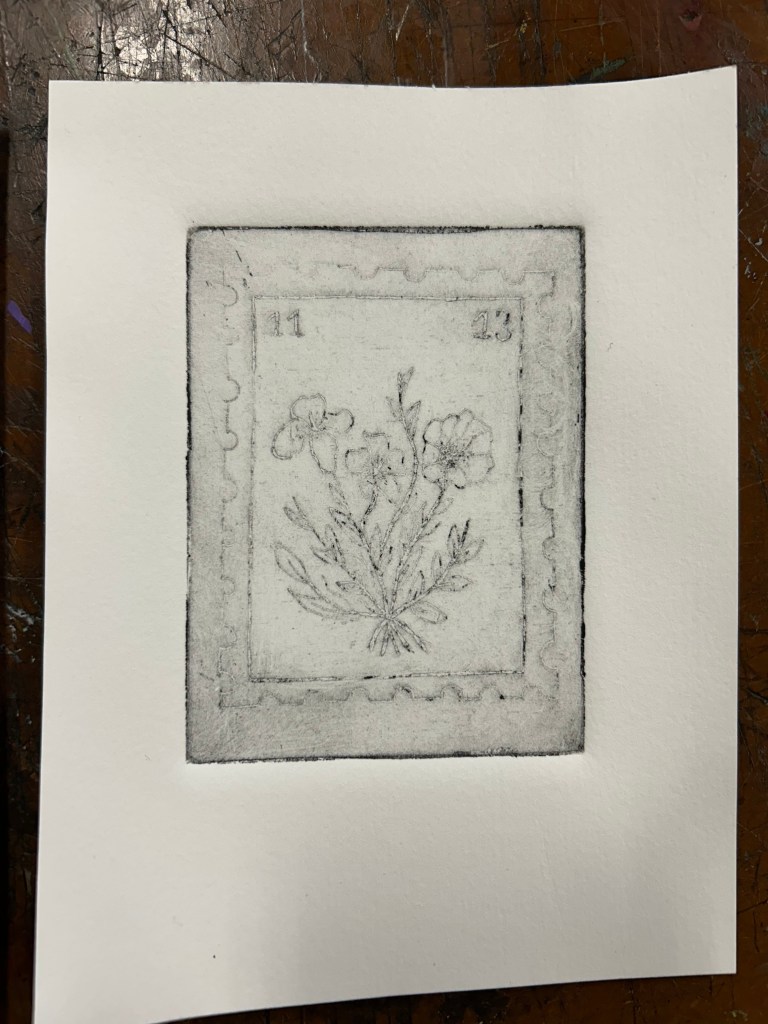

As you can see, the first time the ink did not go through very well, but I think it was because I might’ve wiped off too much of it. The second time it was a little darker than I wanted it to be, but it definitely held up a lot better and I will be experimenting more next week with getting more lighter areas, especially in the background. Overall this process was a lot easier than the Plexiglass etching, even though you have to wait for the acid, it’s worth it and the plate is going to last longer also.
Thanks for reading!
Ella