
Over the past few weeks, I’ve written about my pursuits professionally in the art world. All these new developments have been really exciting, but I haven’t gotten to update much on my ceramics and sculpture pursuits. Today, I’ll go over the pieces I’ve been up to in ceramics and sculpture lately.
Ceramics
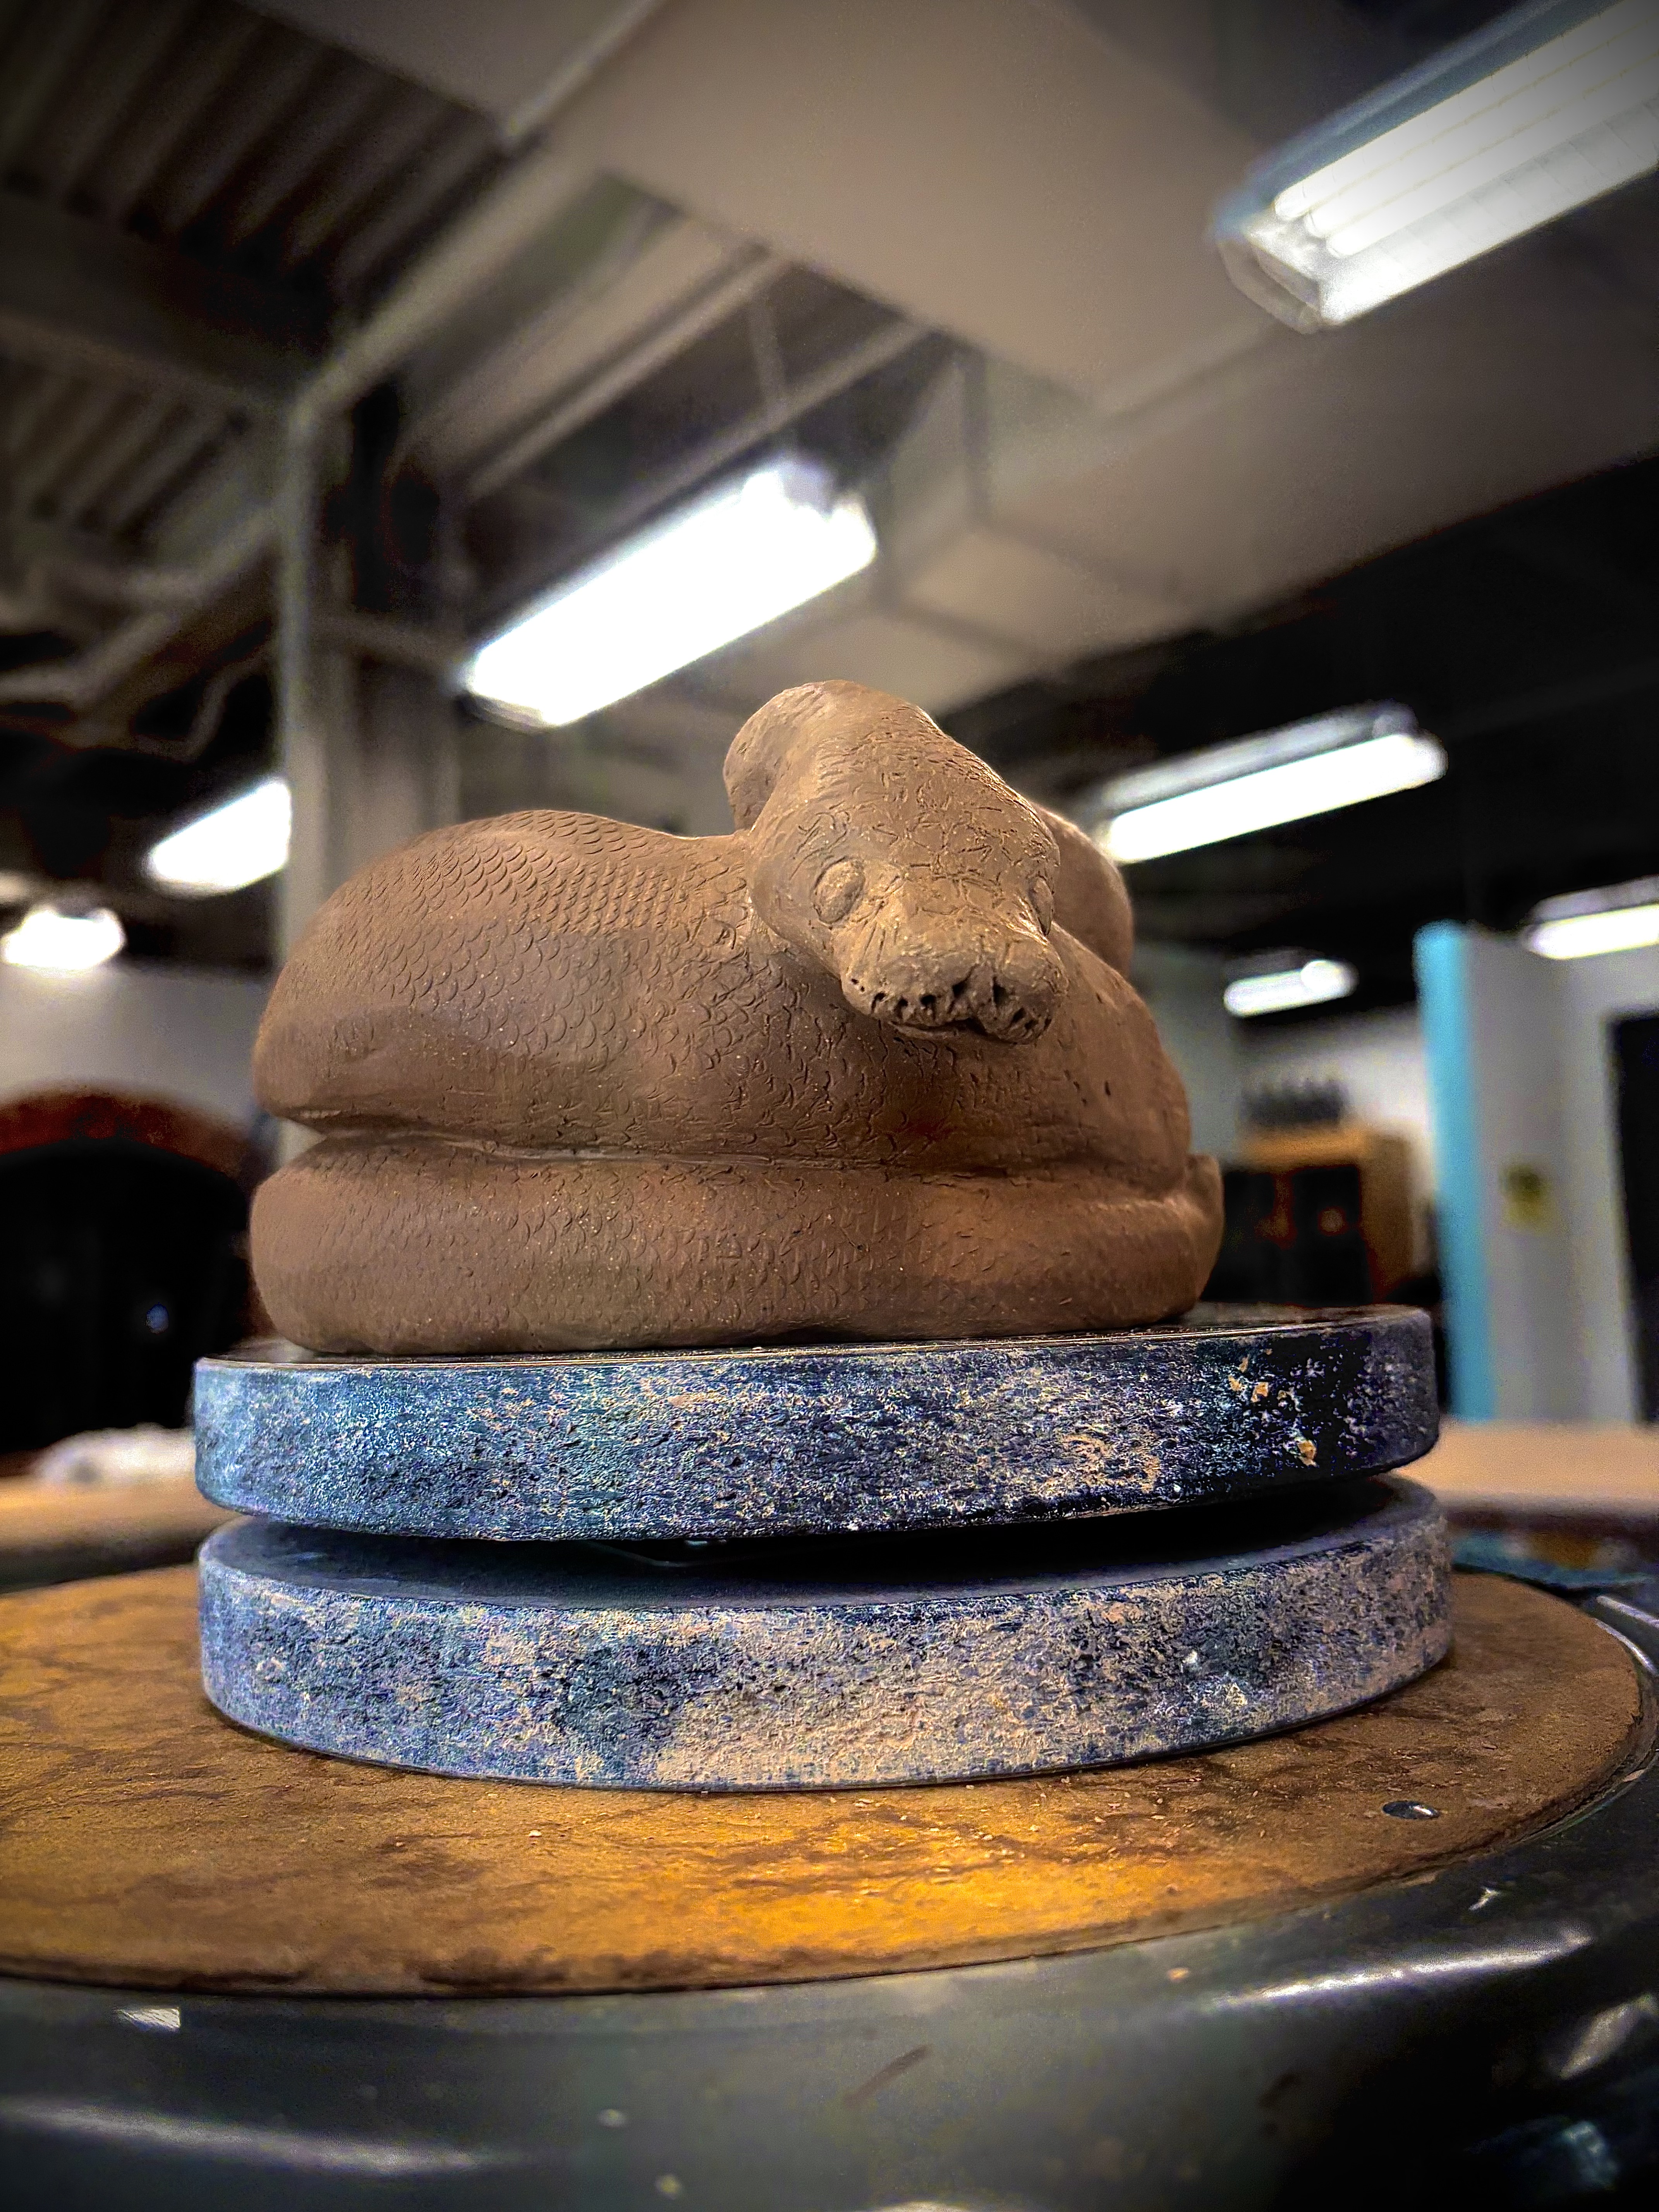
The first piece I haven’t shared yet is this snake guy. He’s a ball python plant pot. I hand-built him via the coil pot method, with a very thick, snake-shaped coil. A literal coil pot 🙂 I scooped out the excess clay coils on the inside so that there’s more room for a plant inside. I then used Mark Chuck (ceramic professor)’s fish scale stamps to give the snake some scale texture. I really wanted to make a mould of him so that I could make more, since people expressed interest in buying him, but I was told that it would be difficult to do and could damage the original, so, alas, no mould of him. I hope to find a way to make a mould of him after he’s fired that I could fill with plaster or maybe epoxy resin. I think it could be something fun to sell on Etsy, if I ever get a shop set up. He should be coming out of the kiln soon, so I’m sure I’ll show pictures of him fully glazed sooner rather than later.
Don’t Let the Cat…
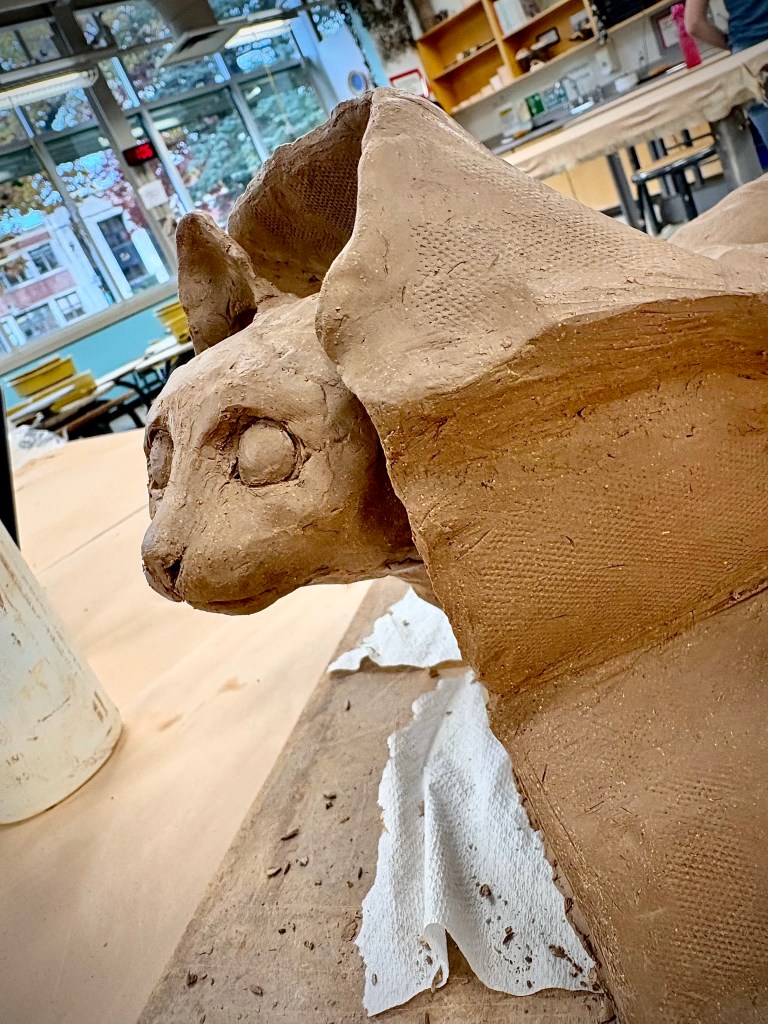
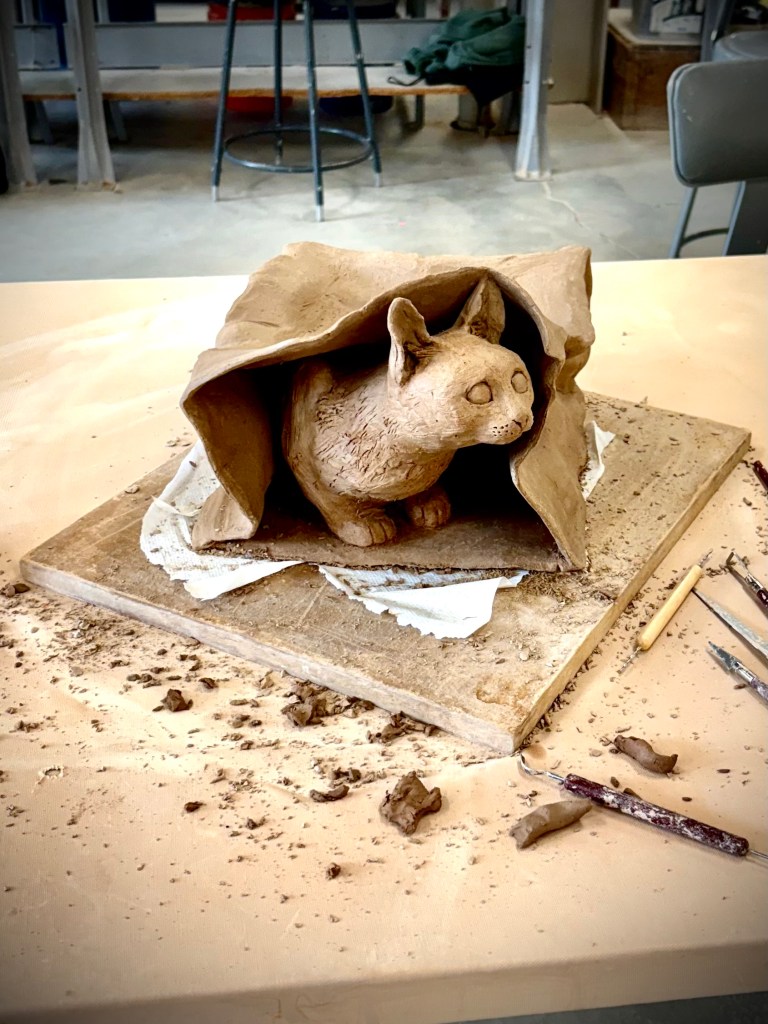
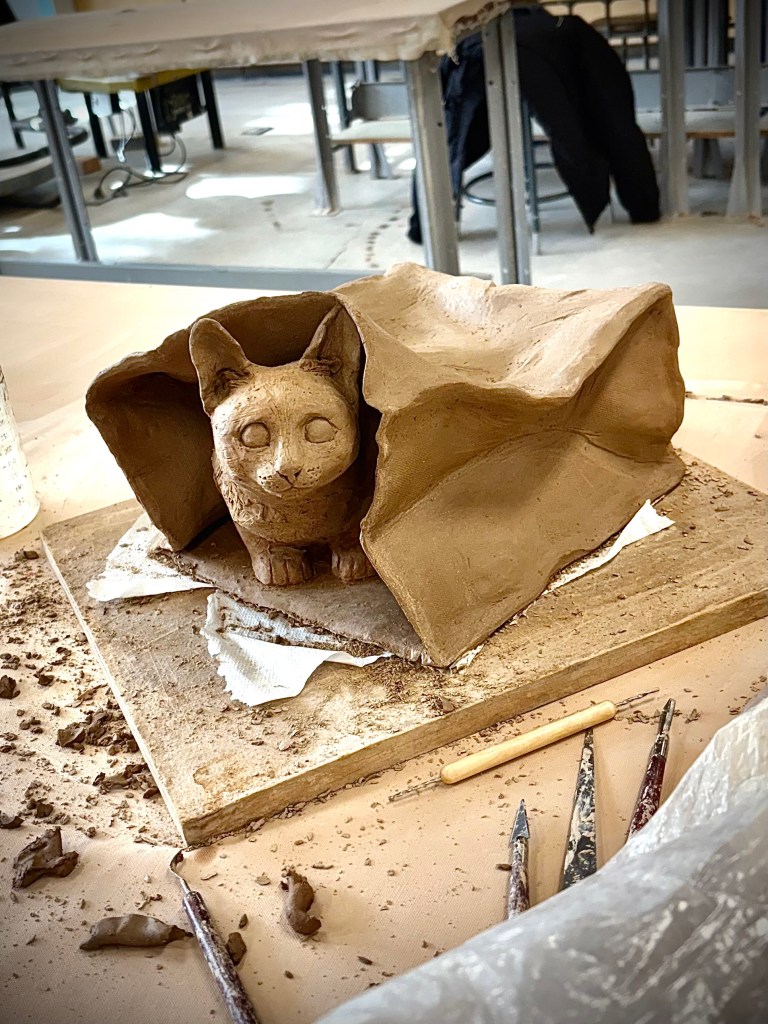
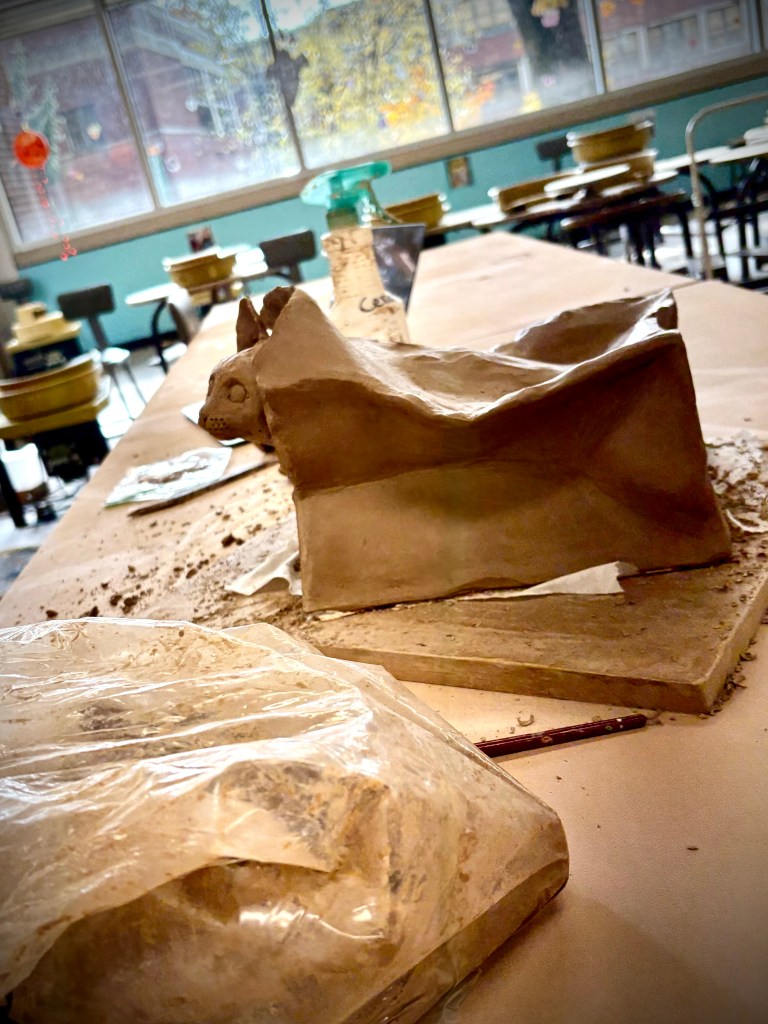
This is, I think, my best sculpture piece so far! I’m very happy with how it’s come out, overall. I still feel as though I could have made the cat’s face more realistic, but it’s close enough to my cat’s face that I’m pleased with it. I think it’ll look more accurate once it’s glazed. The assignment was to create a piece based on an idiom or metaphor, so I chose “don’t let the cat out of the bag.” I like the way the final piece turned out because it portrays the idiom in a very literal sense, and I got to sculpt a realistic cat. As for the process of making it, I sculpted the cat first. Originally, I wanted the cat to be removable so that it and the bag are separate elements, but it didn’t quite work out that way. Ceramic works need to be hollowed out to around a half inch diameter if they’re thicker than an inch or so, so I cut the cat into several pieces and then reassembled her.
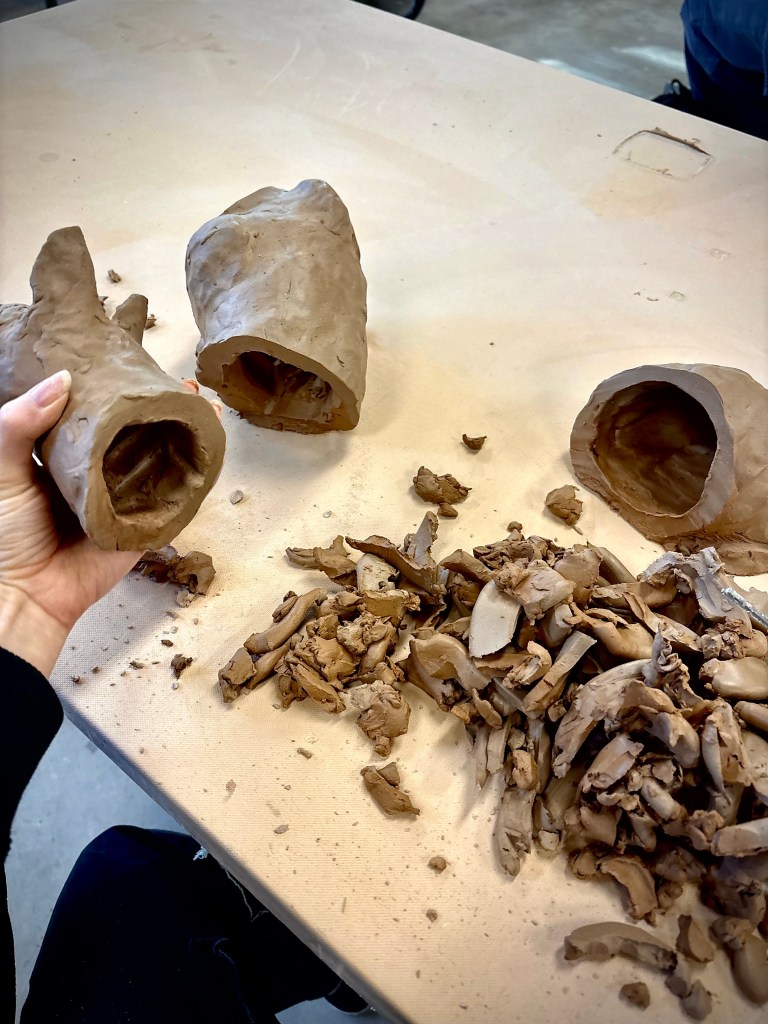
Once I felt she was reasonably hollowed, I scored and slipped the sides of each piece and carefully attached them. I then got to work on the bag portion. I made multiple slabs of clay and semi-haphazardly attached them. At this point, I had to go to my Web Design class, so I ended up coming in a bit late so that I could get the bag to a structurally sound point. If I remember correctly, I think it only took one more class to finish the piece. I’ve gotten a lot faster over time. It’ll probably take a bit to unlearn the two-to-four-day time limit to have art done once I graduate. I’ll hopefully have more time to do art and get back to my very detailed month-long artwork sitch. Anyway, I made a few test tiles with similar folds to the paper bag to test different glaze techniques. Mark Chuck mentioned using iron oxide (I think) to accentuate the folds. I’ll likely leave a lot of the original clay color, since that’s paper bag accurate anyway. I’ll also likely use underglazes to get the colors I want on the cat. I hope it goes well.
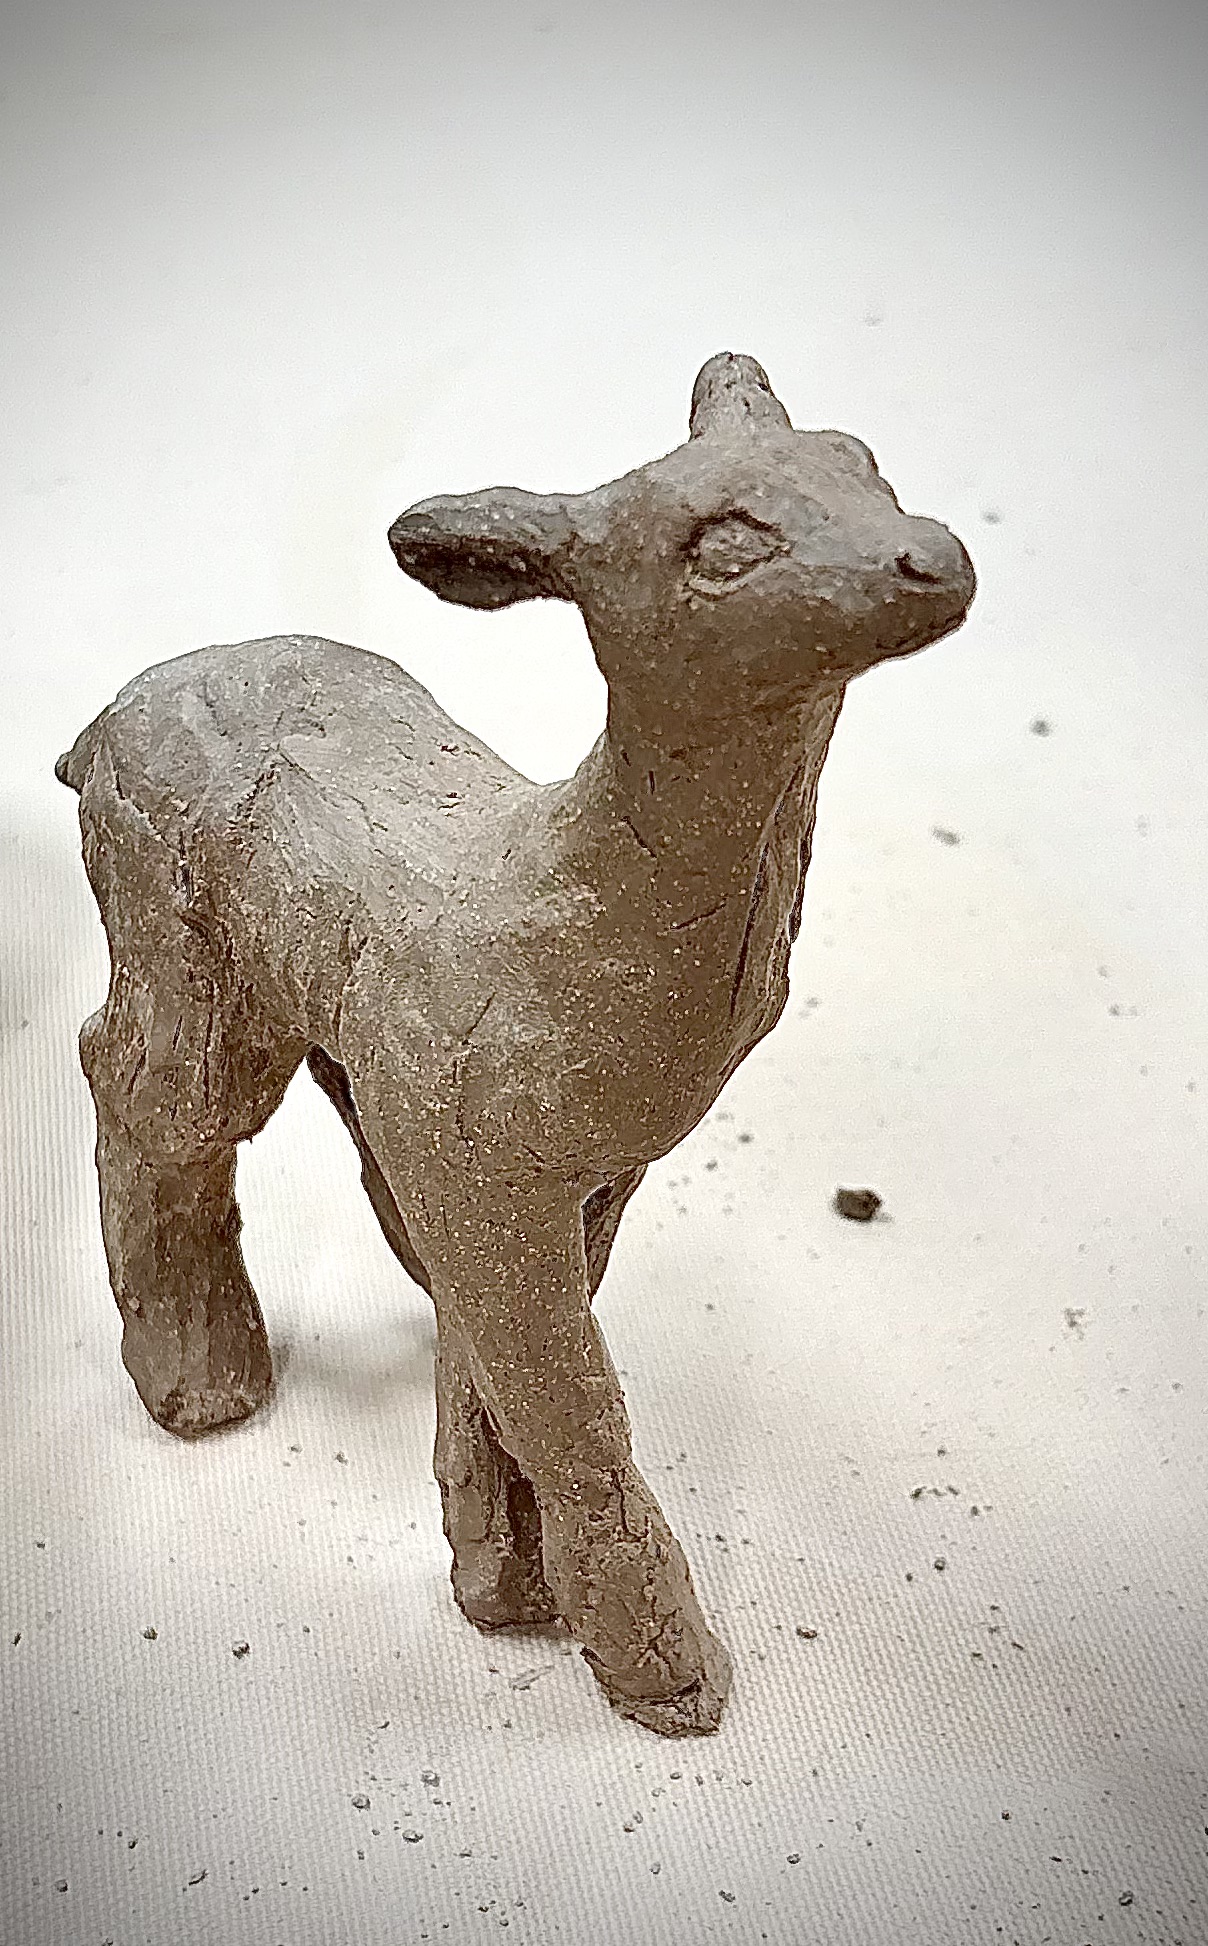
The cat project took up a lot of clay, as you can see. It’s 18 pounds, so it sucked up a lot of my clay resources. I had to make my next project smaller, as a result. I love making miniatures, so I didn’t mind this limitation. The assignment for this project was to make a self portrait. It could be representational, so last semester, I made a deer. I was in a terrible state of mind at the time, so he looks a little distraught.

Since I’m in a better frame of mind now, I decided to do a more pleasant deer representing me. I have it crossing its legs on semi tiptoe in a similar posture to how I stand. It’s looking up to symbolize looking forward to the future, which I think I’m doing more and more these days. I think it looks more serene than my previous. It also looks a bit older, as I’m a bit older than I was when I made the other deer. The other one is more detailed, but it’s much bigger, so that’s unsurprising.
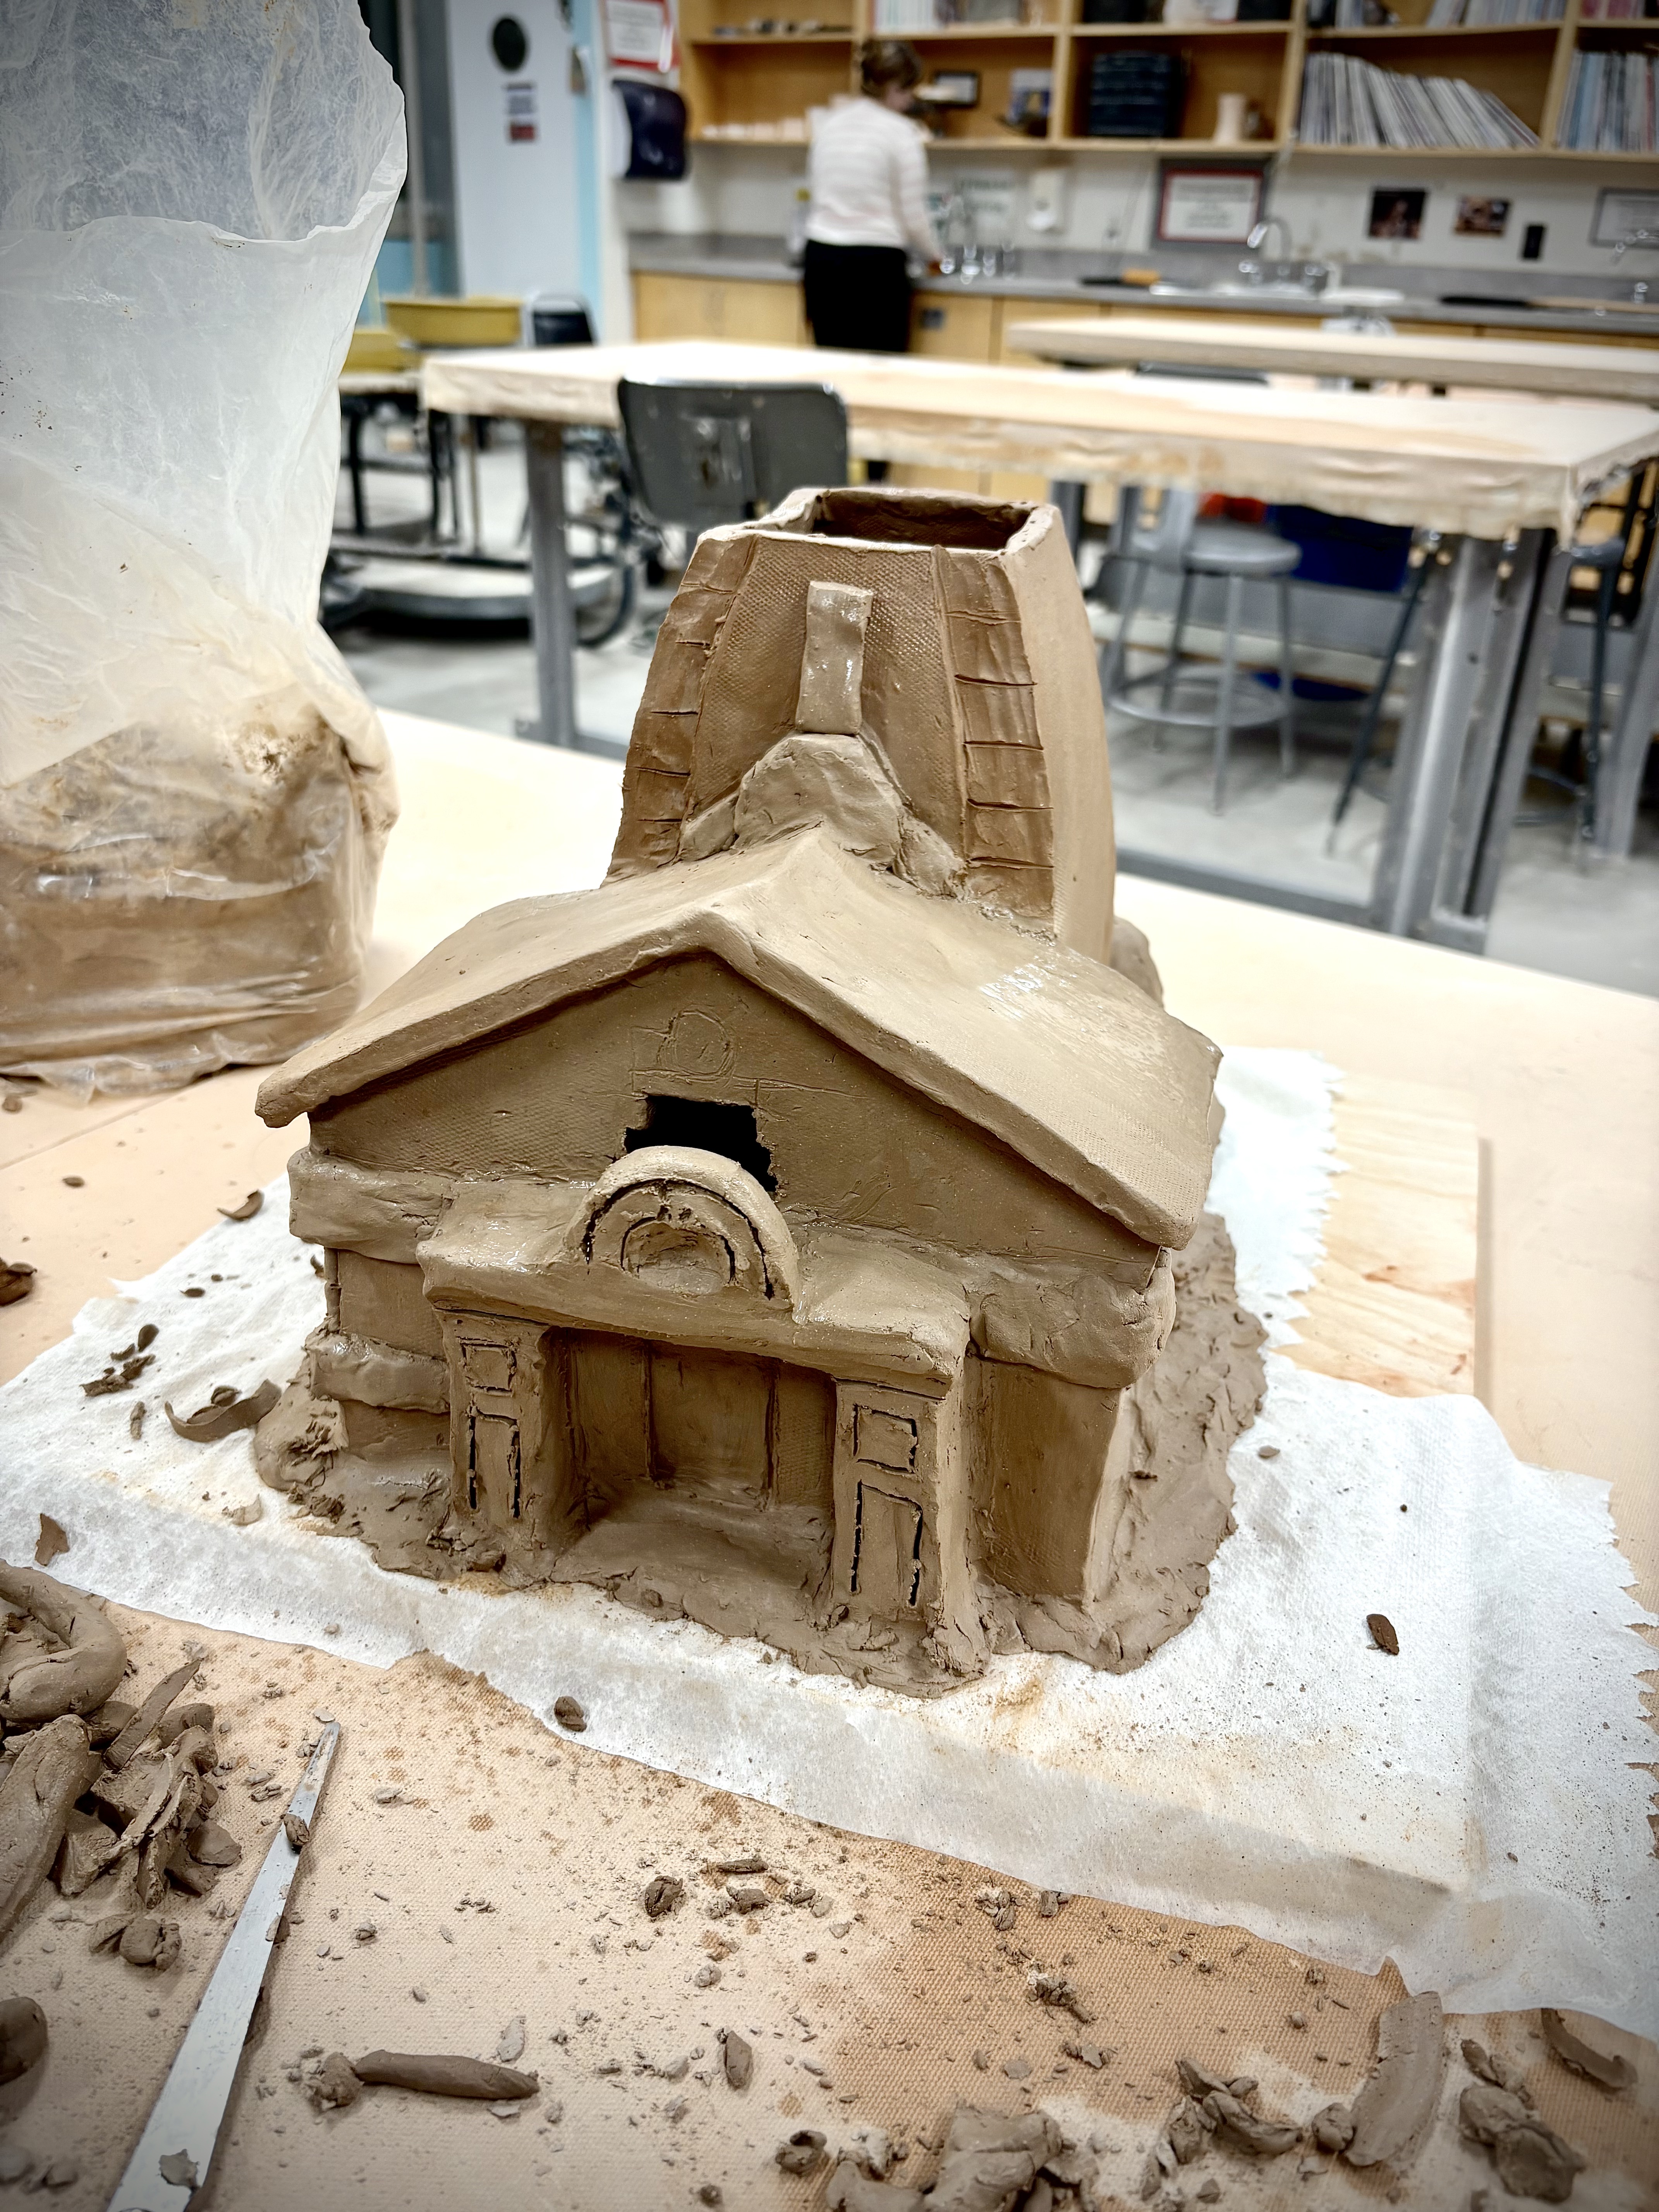
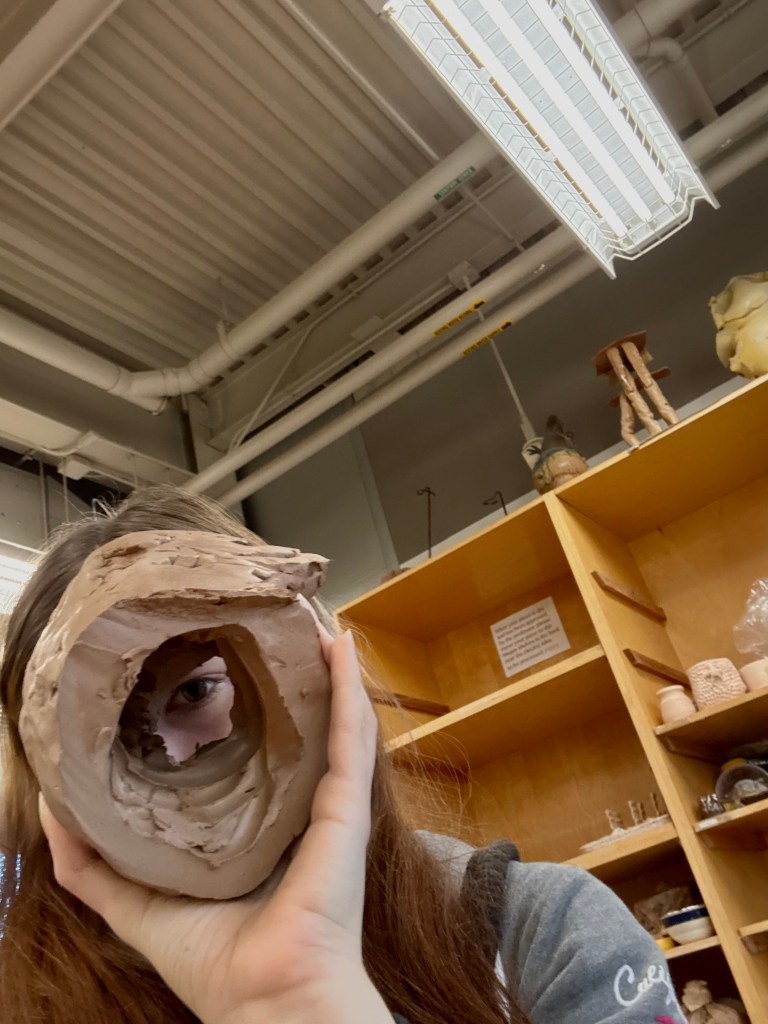
This piece is the first architectural piece I’ve made out of clay. It’s the first three-dimensional building as well, actually. I’ve only ever illustrated those. I’m not generally a huge fan of illustrating houses and other such structures. They’re mostly straight lines and right angles. I’m not famously a fan of using rulers in my art. Unsurprisingly, adding a third dimension to this problem hasn’t fixed it. Although it isn’t done, you can see the wonky angles and imperfect lines. At the same time, I feel like this adds some humanity to it. I’ll work on this piece for a while anyway. It isn’t for any particular project for the class, so I can take my time.
I don’t have any pictures of the most recent two pieces I finished. They’re gifts, so I wanted to keep them secretive as best as possible, and I’m bad at keeping my camera roll hidden from public view. I made a hummingbird and lightning bug. I’ll likely post them when they’re glazed. They’ll be fan pulls, so ideally, when they’re done, they’ll hang off the chains on a fan. I tried to make the animals thematic to their corresponding fan function. I always forget which chain is the light and which is the fan.
Sculpture

In my sculpture class, the unicorn relief that I showed many weeks ago is still ongoing. We’re casting our works in bronze, so the process is arduous. The good news is that I can share the steps of this process as I’ve gone. I started off by sculpting the piece in oil-based clay. Then, I painted the piece to get an idea of what it will look like in bronze, which is the step you saw in my past blog post. Then, I made a plaster mould of the clay piece. Once it was removed, I shaved off any undercuts that would cause the new material to break off once hardened in the mould. Once the mould was sufficiently carved, I poured wax onto the surface of the mould, and then brushed on more wax until it was the desired thickness. I then painted the wax to look like bronze to ensure I was happy with the design, minus minor imperfections that can be fixed with the Dremel tool once it is cast. That’s the stage of the process you can see above. After I decided I was satisfied with the current state of the sculpture, we added wax channels and a cup. This way, when we make a mould of it, there is a way for the bronze to flow down and into all the parts of the piece. I am currently in the process of making the final mould before the bronze is poured. It needs to be dipped in a slow-drying plaster every two days. The method is reminiscent of breading a chicken breast. You dip it in the plaster, then coat it with a fine sand. You then wait two days, and then do the same thing. Then, you dip it in an even thicker sand. You repeat this process until you’ve coated it in the third and thickest sand twice. Then I should be ready to pour this bronze.
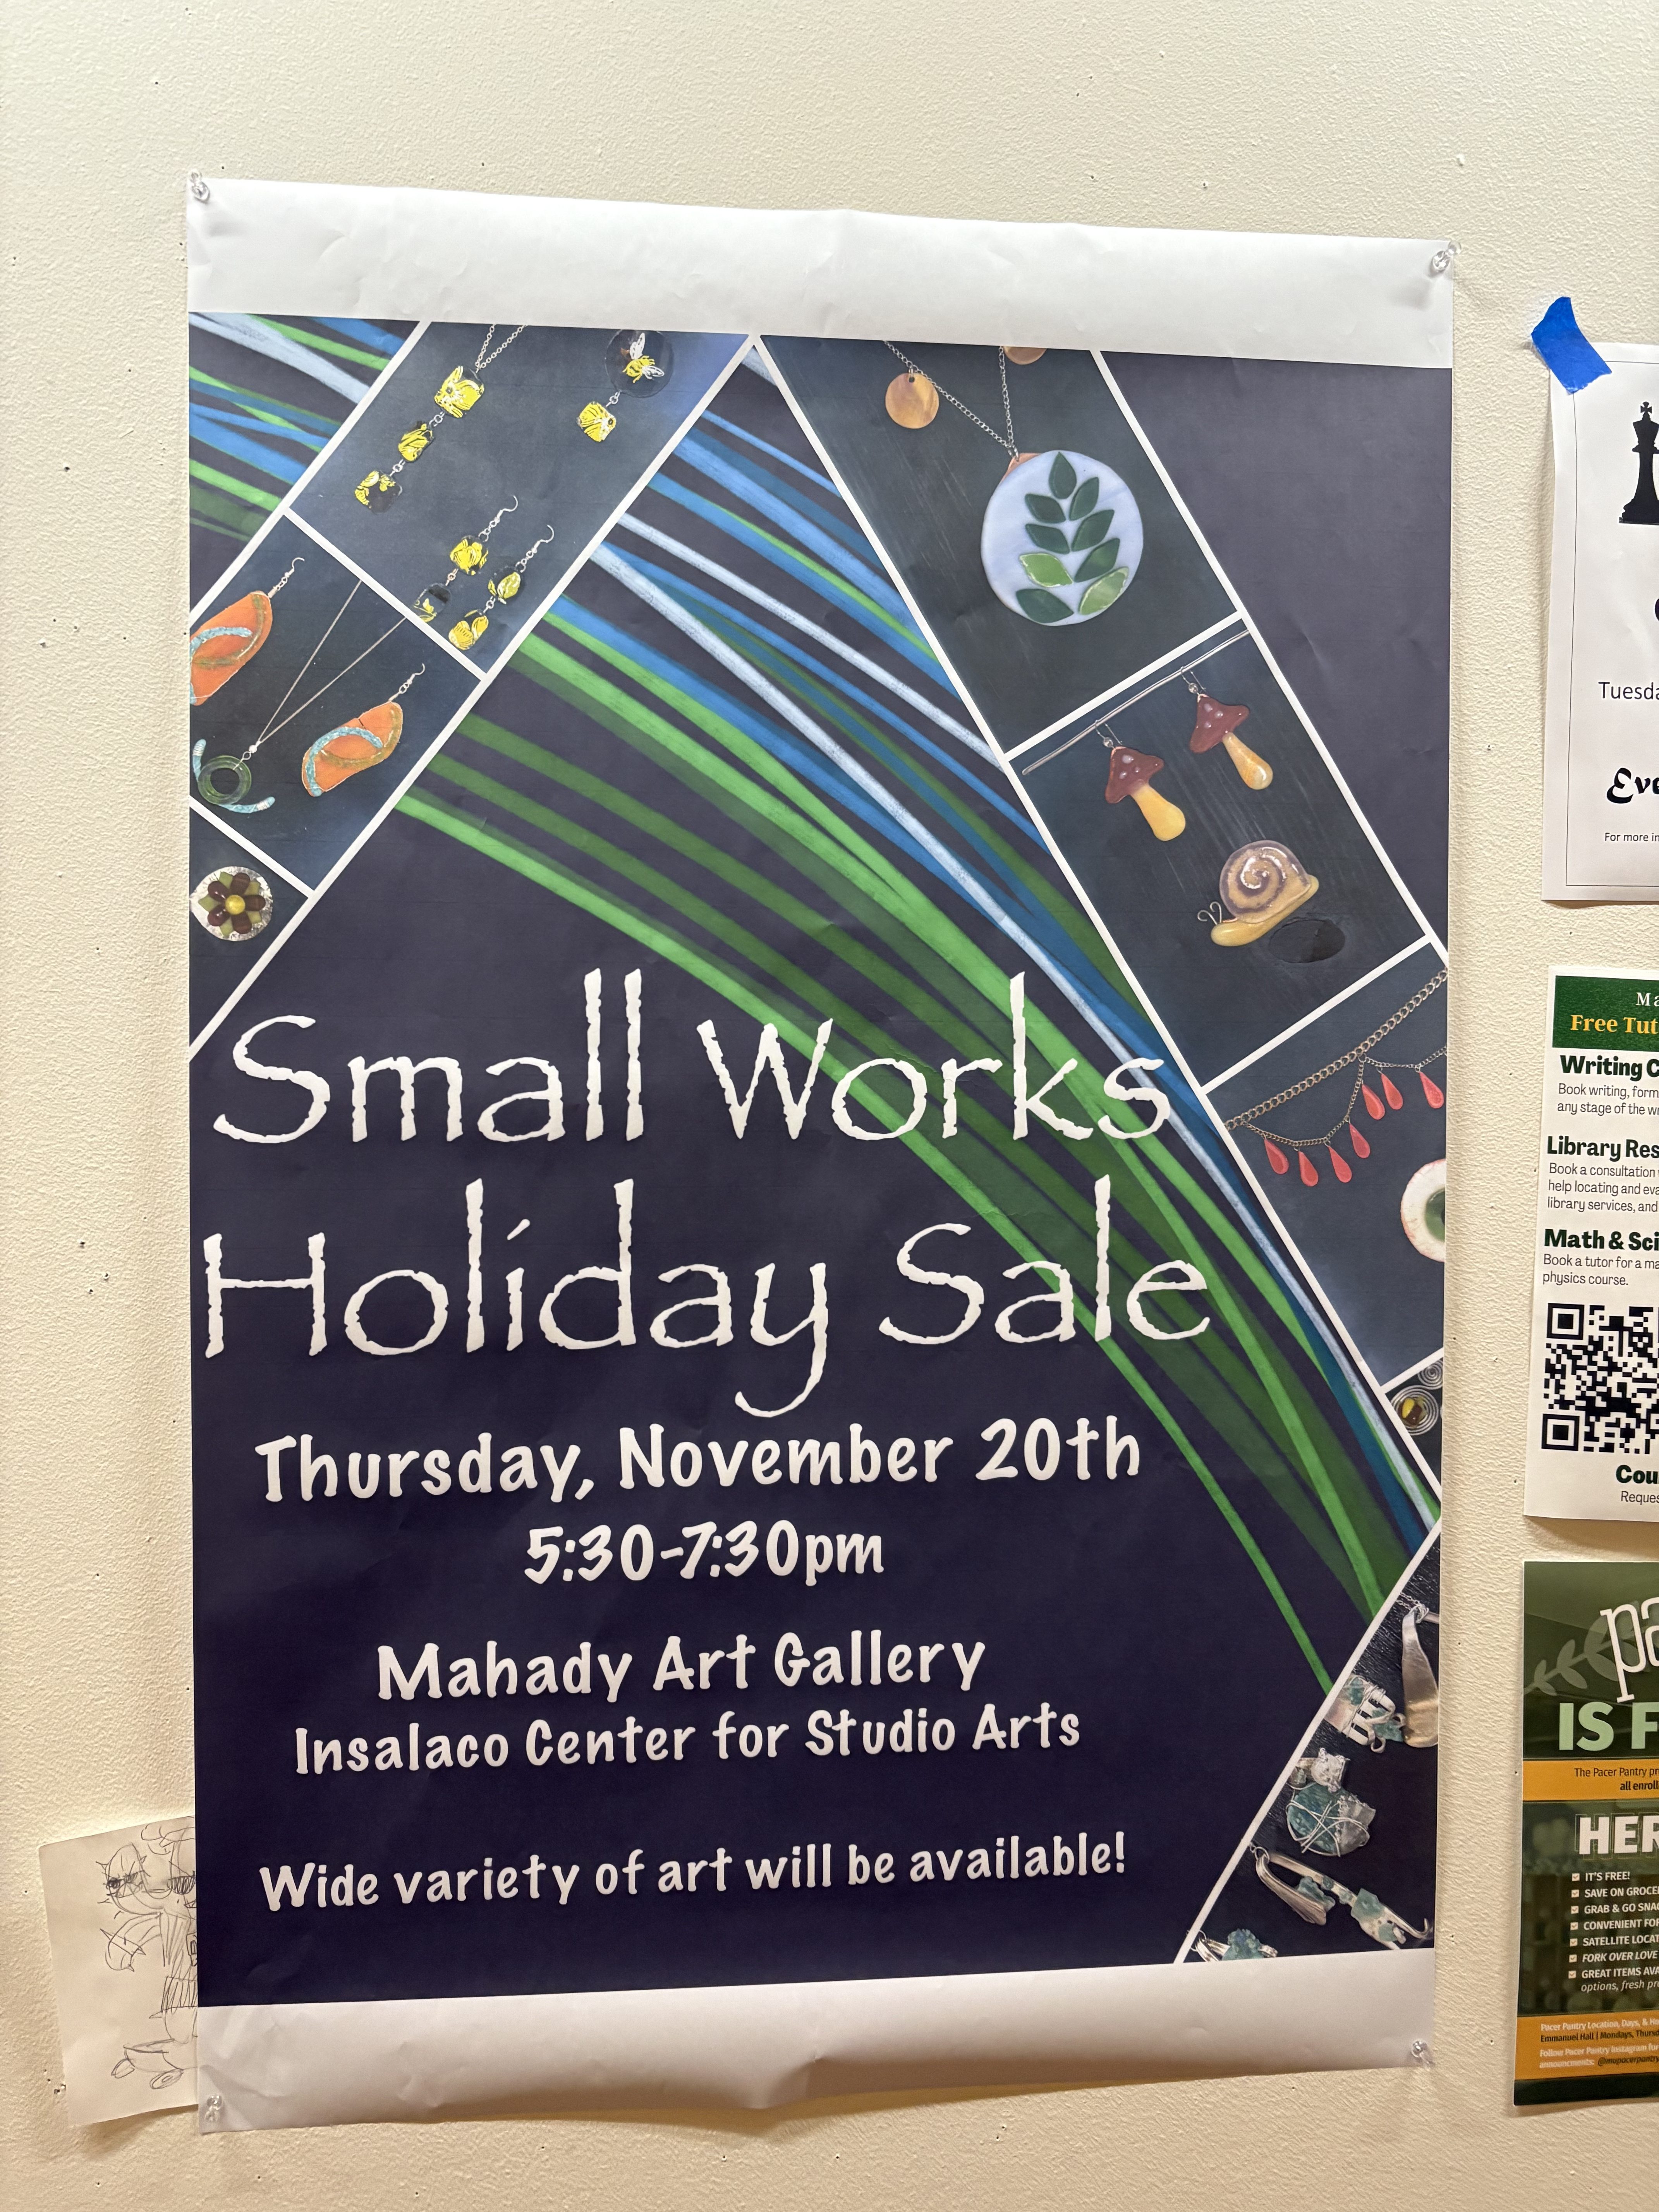
In the meantime, I’ve been sculpting some knobs for various fixtures to sell at this small works holiday sale. We can see a picture of the poster above… which uh… I just want to know who thought Papyrus and Marker Felt were good fonts to put on a giant poster in the art building. Graphic Design majors in the building are likely seething. I, however, am not a Graphic Design major, so I’m giggling at silly fonts as per usual. As for the actual sale, I’m very excited! True to form, I’m making a unicorn doorknob, as well as various drawer knobs that will hopefully sell. I’m just making knobs I would want to see in my home. I’m hoping others will like them, but we shall see! Of course, I’ll update with pictures as these fixtures progress!
More to come!