


Hi everyone! This week I am finally back with another at-home linocut print! This one was so much fun and I cannot wait to keep making more designs to print this year. After much scrolling on Pinterest, I really liked the idea of carving the positive space with a solid color in the background, and having some of the design stick out on the side. I think it gives a really cool effect, and I love that there are so many different things you can do with printing like this. Different from my other cowboy boot print from a few weeks ago, that one I carved into the negative space so that the lines of the design would be the things that print in color. This time I did the opposite and it was actually a little challenging to think about and make sure I was carving the right things. You’re basically thinking backwards and I love a good challenge!
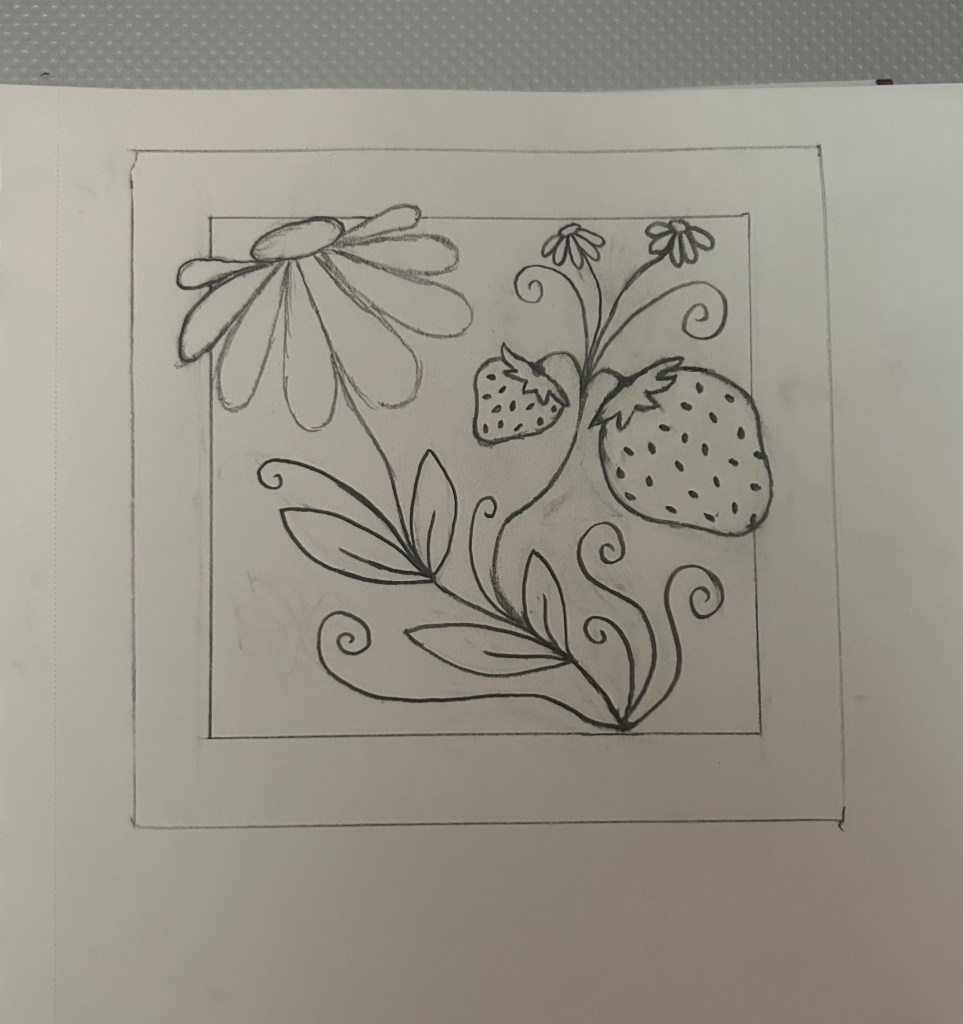
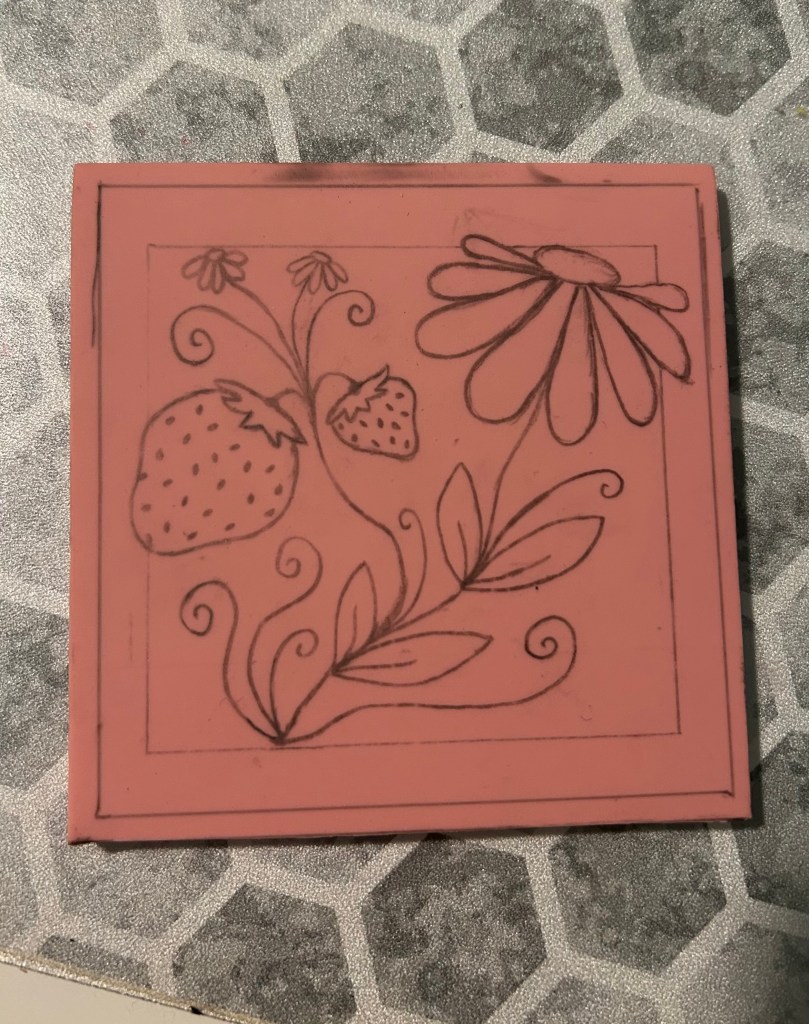
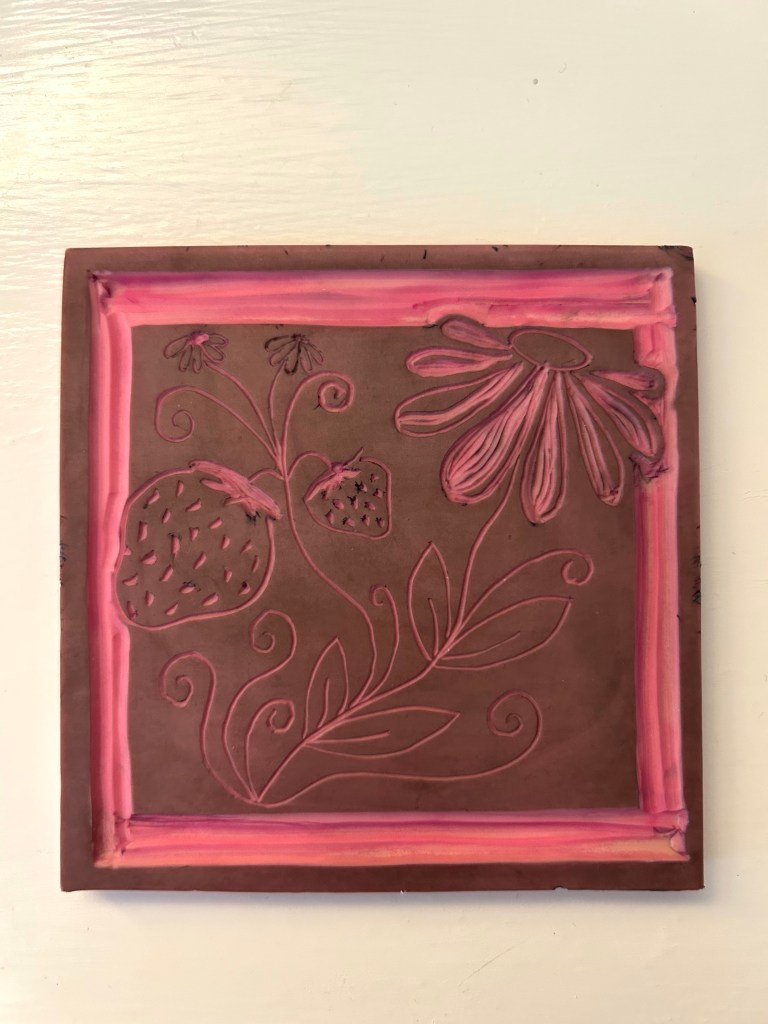
To start, I sketched my design with pencil on paper, and this I also did differently than last time. Last time I made my design digitally, but doing it in pencil this time was way easier to transfer onto the rubber to carve into. I just simply cut it out, flipped it over, and rubbed the back of it onto the rubber so the graphite would transfer right over. Then, once my design was in place I started carving! This was actually kind of hard to make sure I was carving the right things, especially on the flower and the strawberry, you really have to think backwards about what you want to be printed in ink and what parts you want to be white. But since this one was only 4×4 inches, it did not take that long and soon I was ready to print! Here’s some pictures of my process and the carved block (forgot to take a picture before I put ink on it lol):
When printing with the ink, I first rolled the black speedball ink onto my roller then onto the stamp, just to see how the design printed before I experimented with my fun colors. It came out pretty good so I then decided to start using colors instead, because I knew I wanted this specific design to be in color, especially pink! This time, I went to Michaels and bought some dye ink pads, instead of buying more tubes of the Speedball block printing ink, just to see if it would work. And it did! All I had to do was press the ink pad onto the design a few times and made sure it was even all over and it printed pretty good. It was a little bit more messy, but it did not affect which parts were printed or make any other unwanted marks on the paper. I did this with a pink color and dark green, and then also used my speedball turquoise ink afterwards as well. I made a lot of copies because I just wanted to have them to give to friends, family, etc., and I just love how this design looks in fun colors! Here are most of the prints I made laid out:
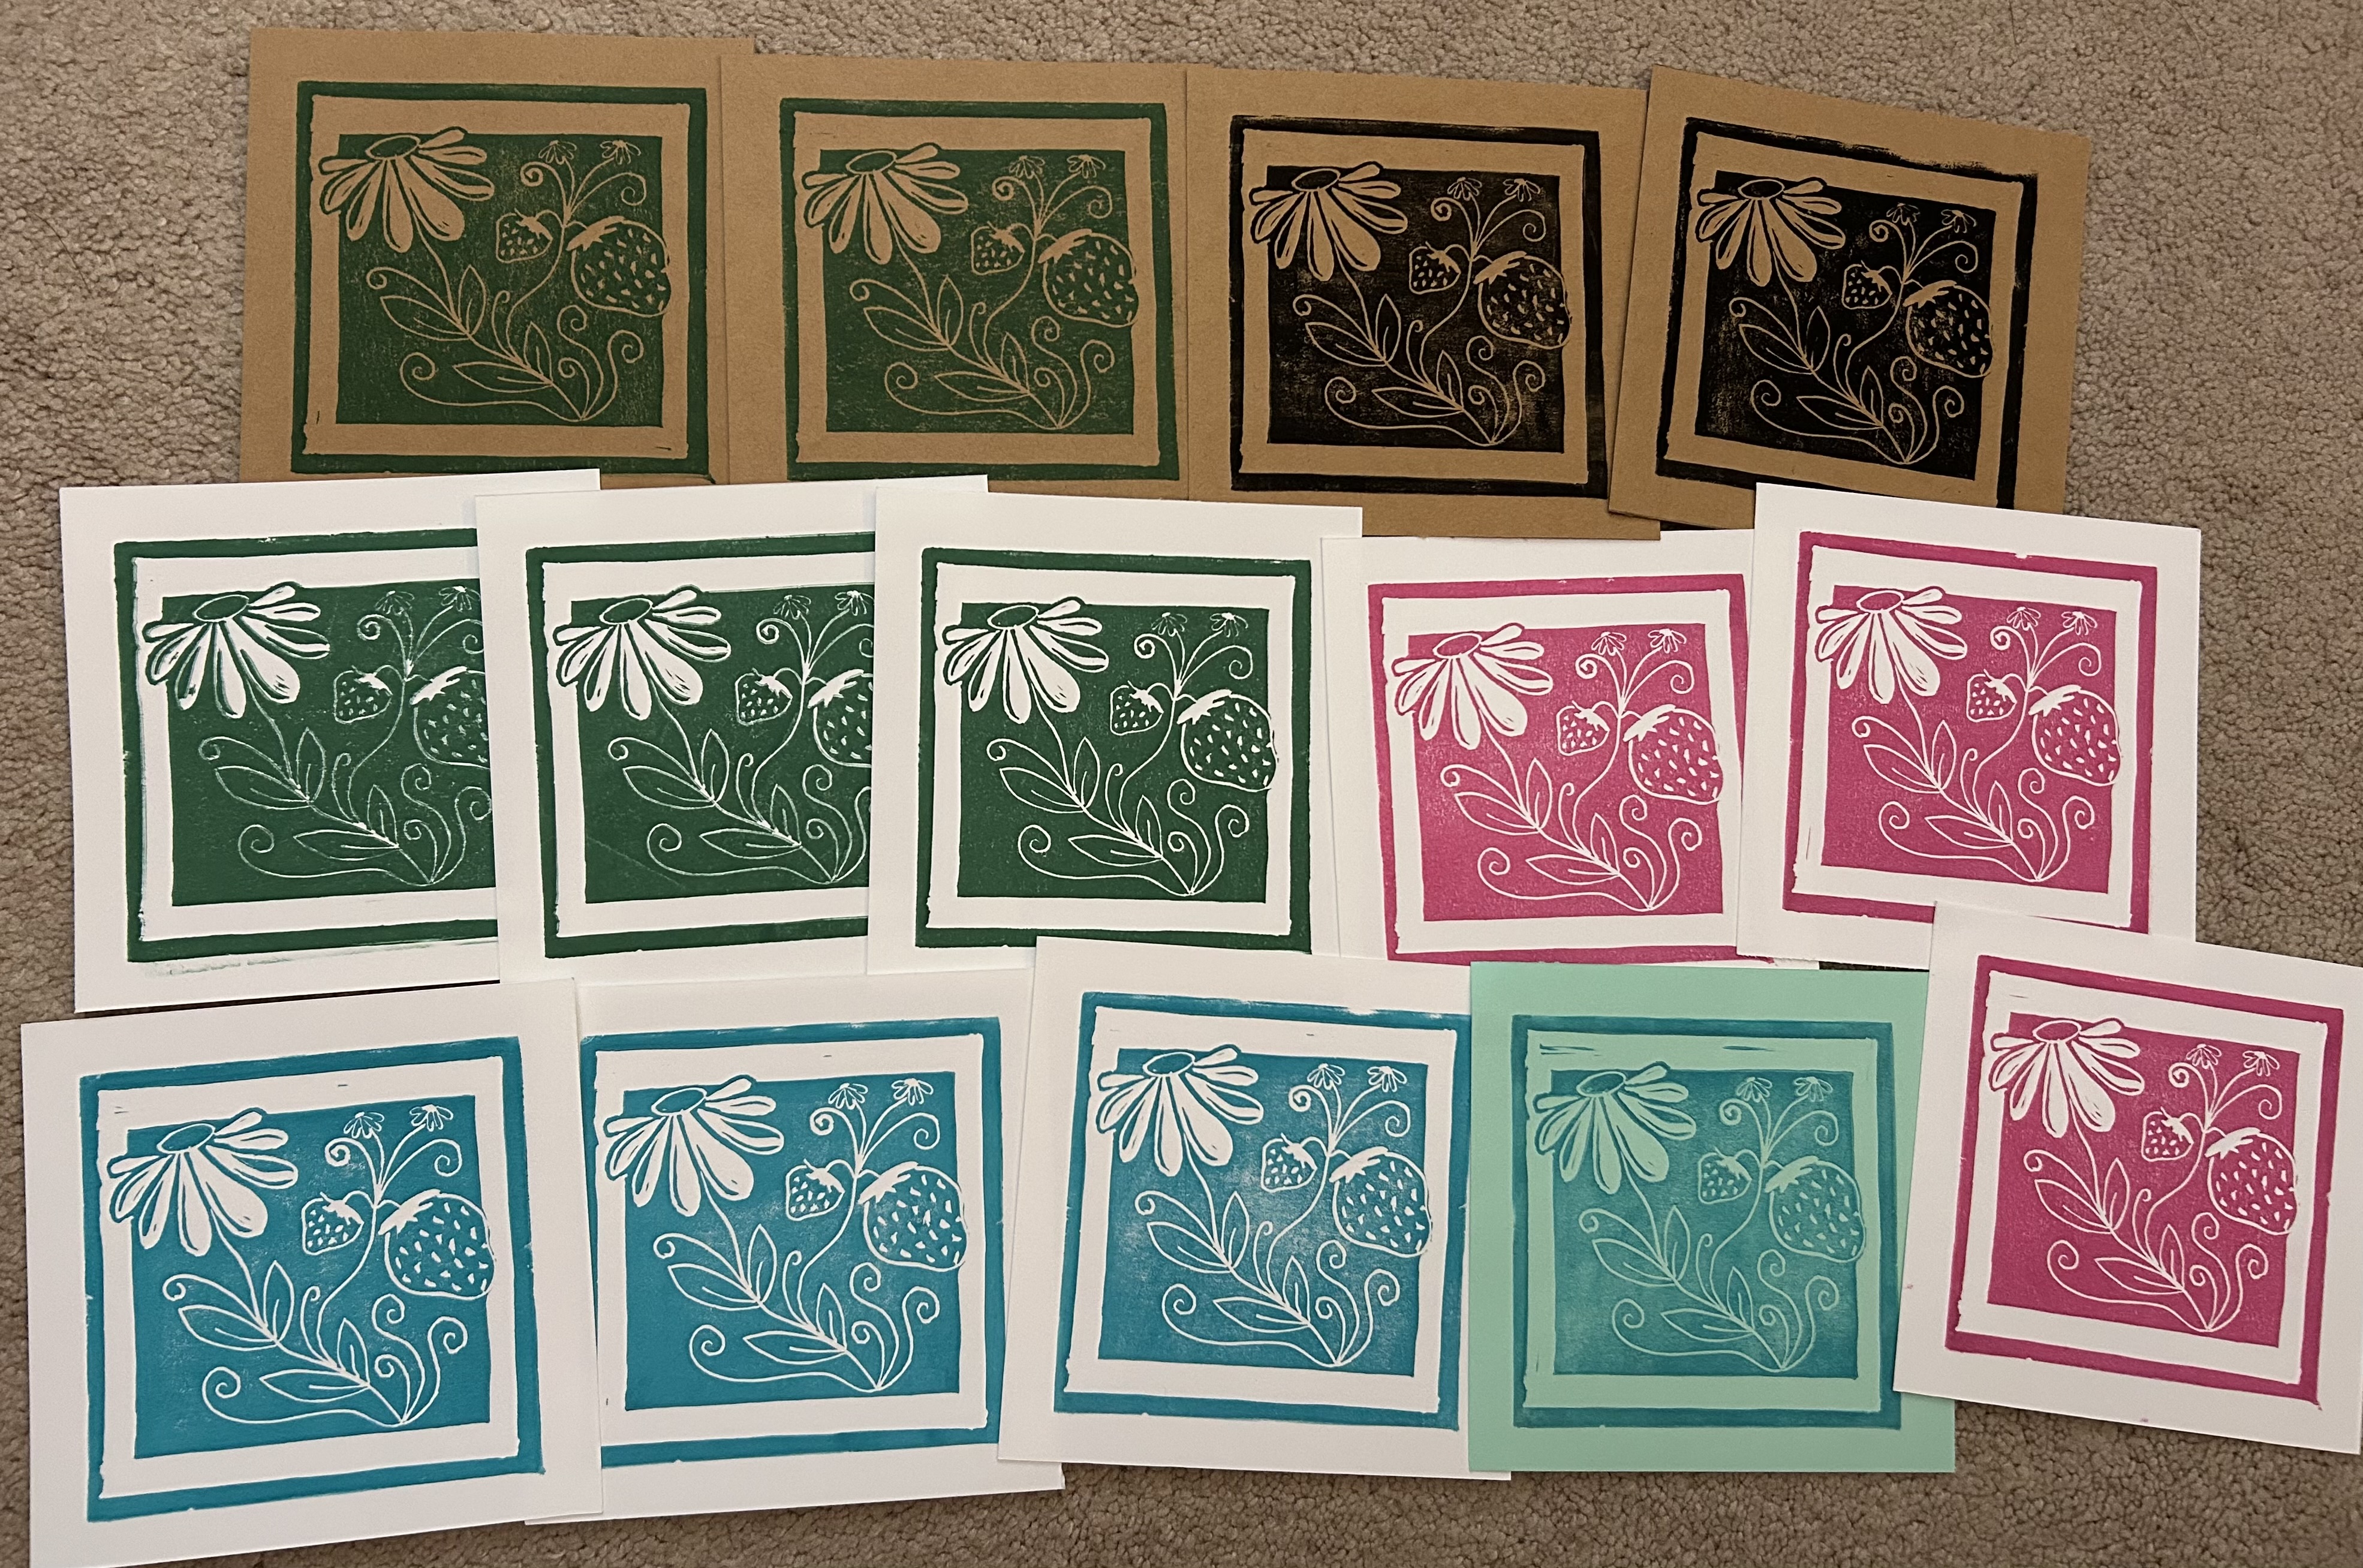
This one was so much fun! I can’t wait to get more materials and keep doing this, this is definitely going to be my new hobby this year! Which color combination is your favorite? I am loving the pink!
Thanks for reading,
Ella 🙂