
For a while now, I really wanted to buy a tapestry. Each time I found one, however, I was not too excited with how they looked. Thus bringing me to the decision to make my own! I knew right off the bat I wanted to make a tie dye styled tapestry because tie dying is something I enjoy doing.
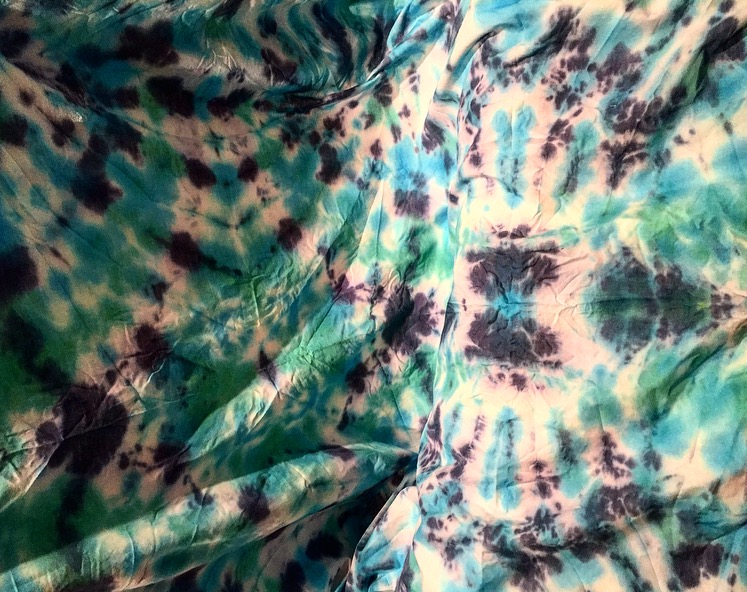
For my color options, I knew I wanted to stick with cool colors simply for the reason of preference. I specifically chose dark blue, turquoise, and green dyes because those are some of my favorite colors. I took a simple plain white sheet and folded it a few times so the size would be a little more easy to handle. Next I took a piece from the center of the folded sheet and began to twist it as if I were twisting a screwdriver in order to create a swirl effect. I then placed a few rubber bands to keep the twist I created in place. Once I had the rubber bands on, I then began to apply the dye. When applying the dye it is suggested you get every crease. However, personally for me I like having some white areas so I simply apply as much dye as I find necessary. Finally I wrapped up my finished dyed sheet with plastic saran wrap, making sure the entire dyed sheet was covered. Usually the tie dye kits suggest you keep the fabric wrapped for six hours but since the sheet is quite big, I decided to leave it for a day. I was very happy with my results after I washed out the sheet and as of now the tapestry looks like this:
Save
Save