Graphic Design Work Study
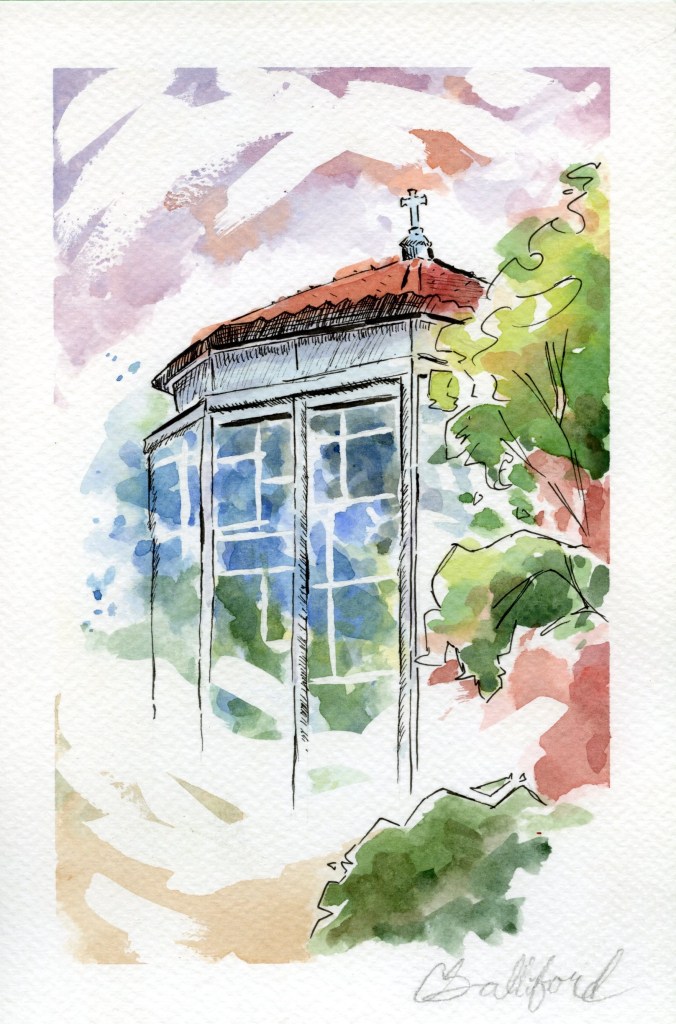
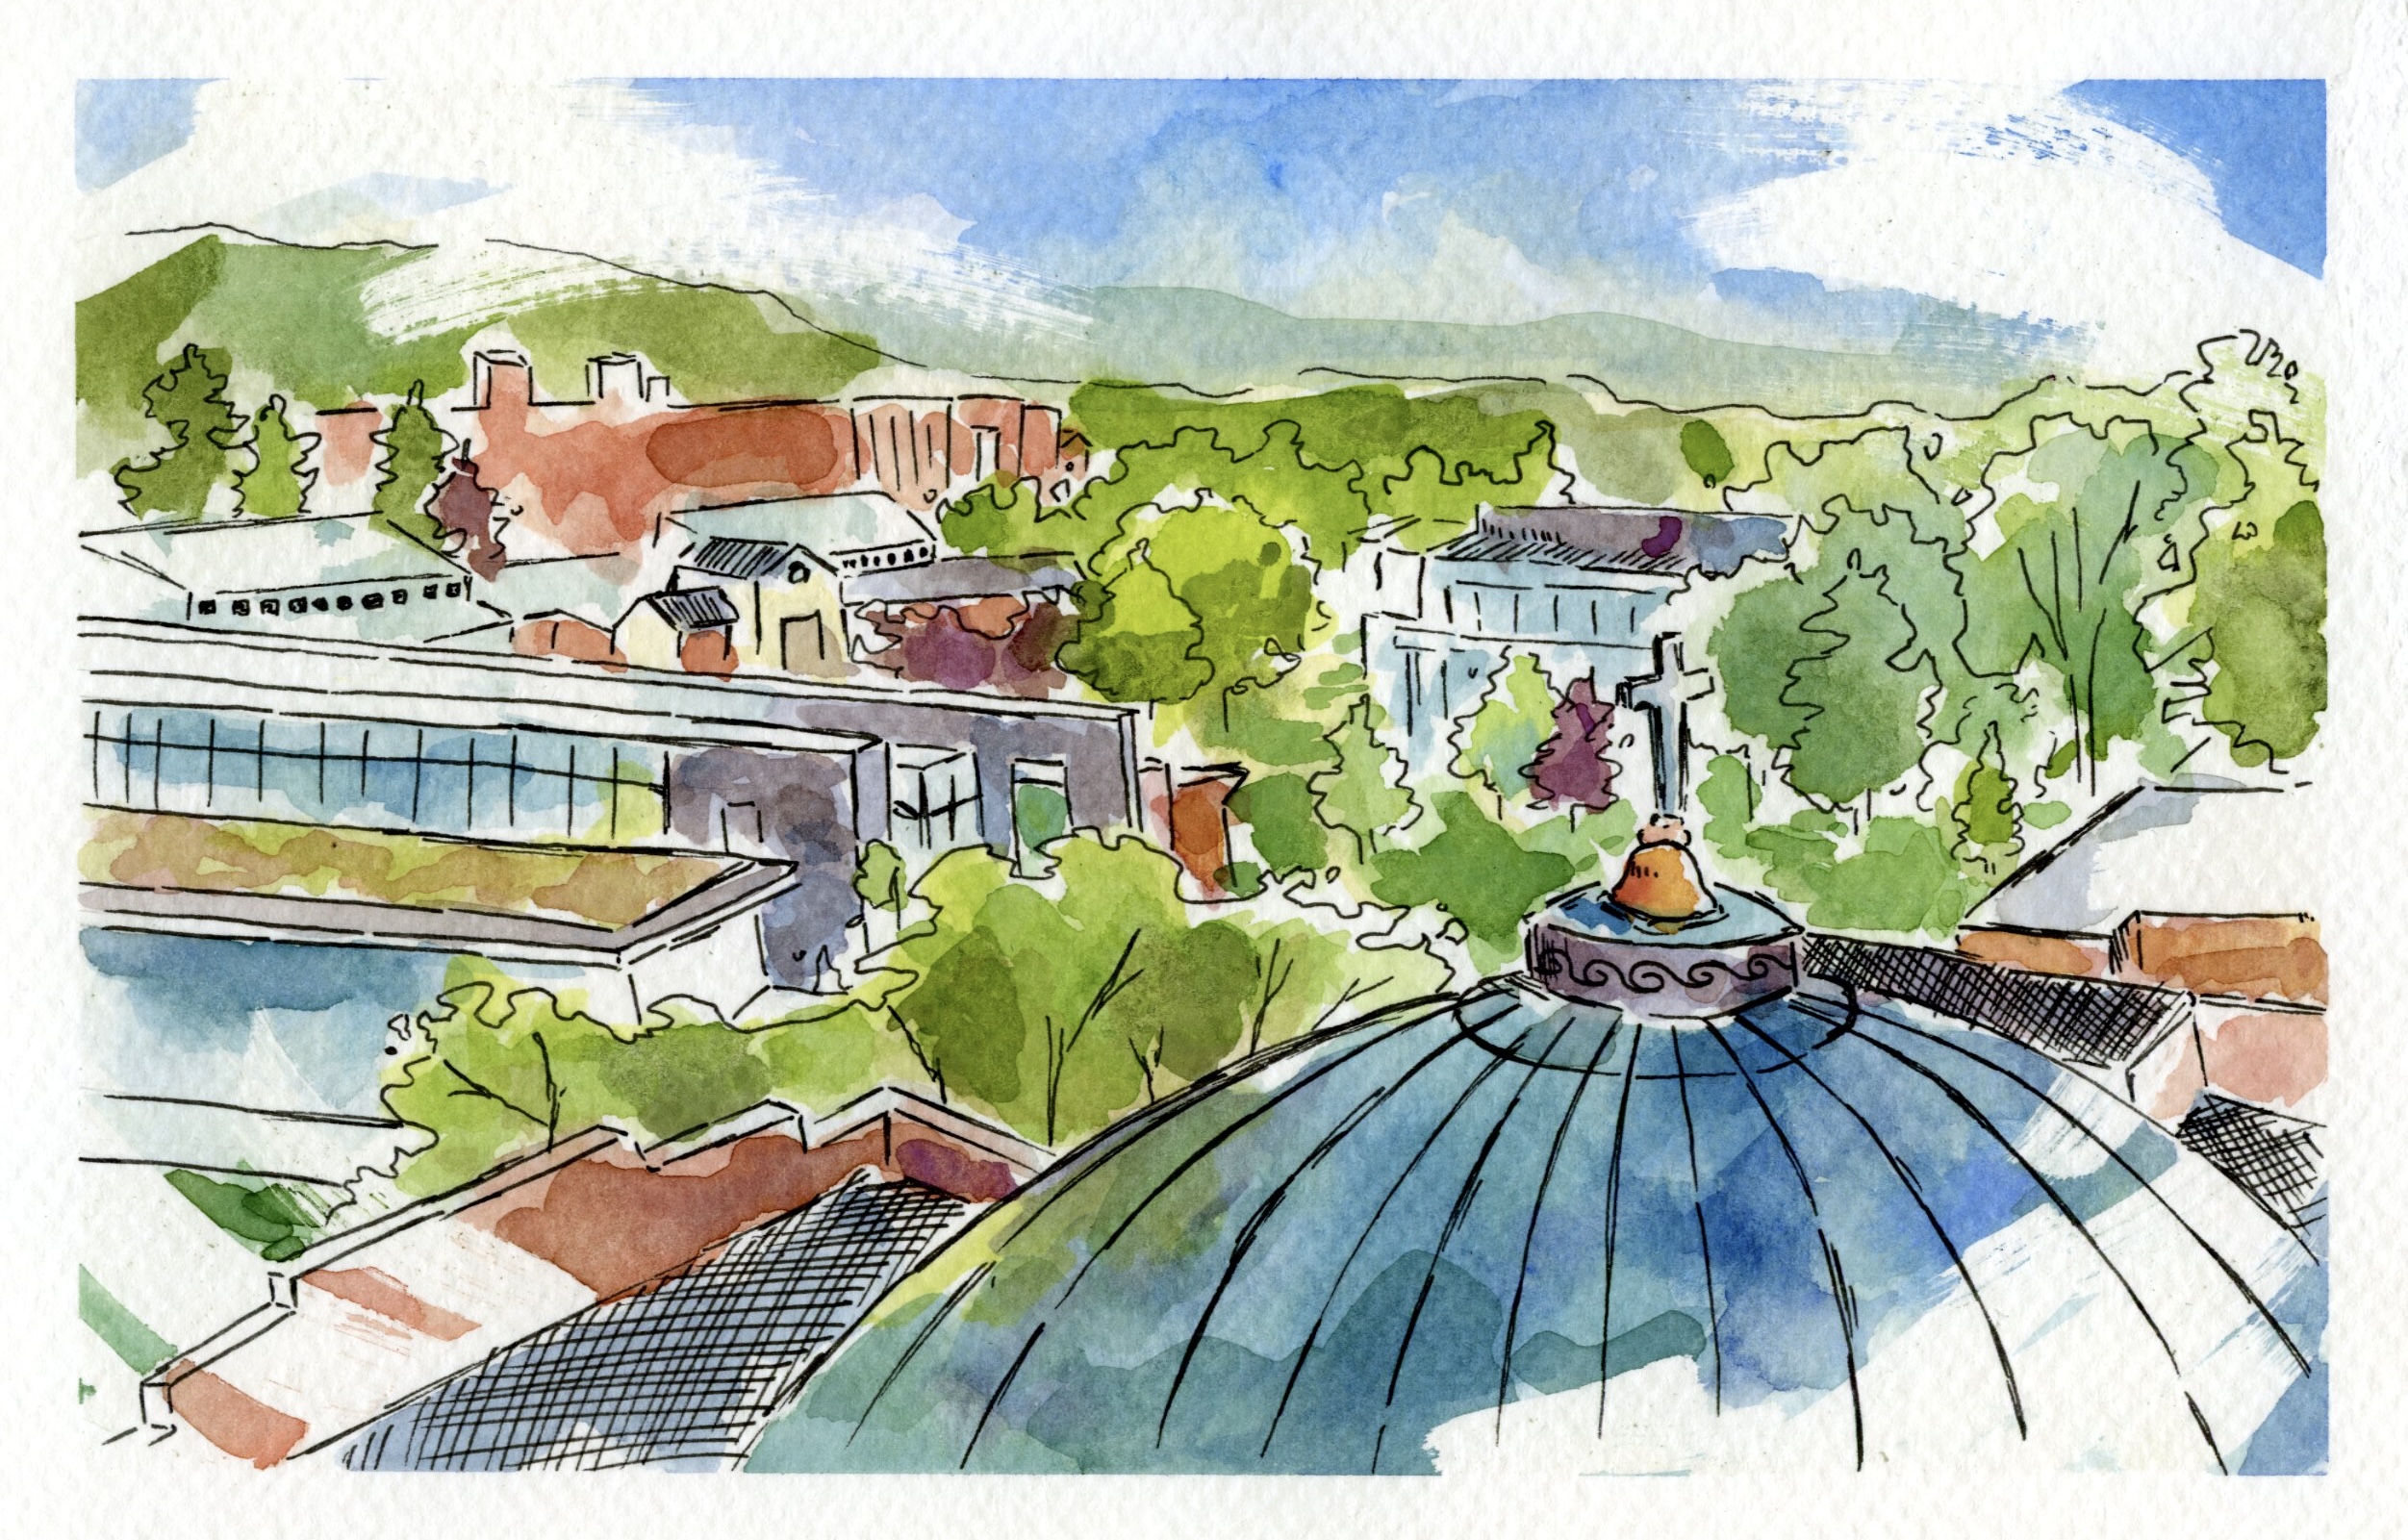
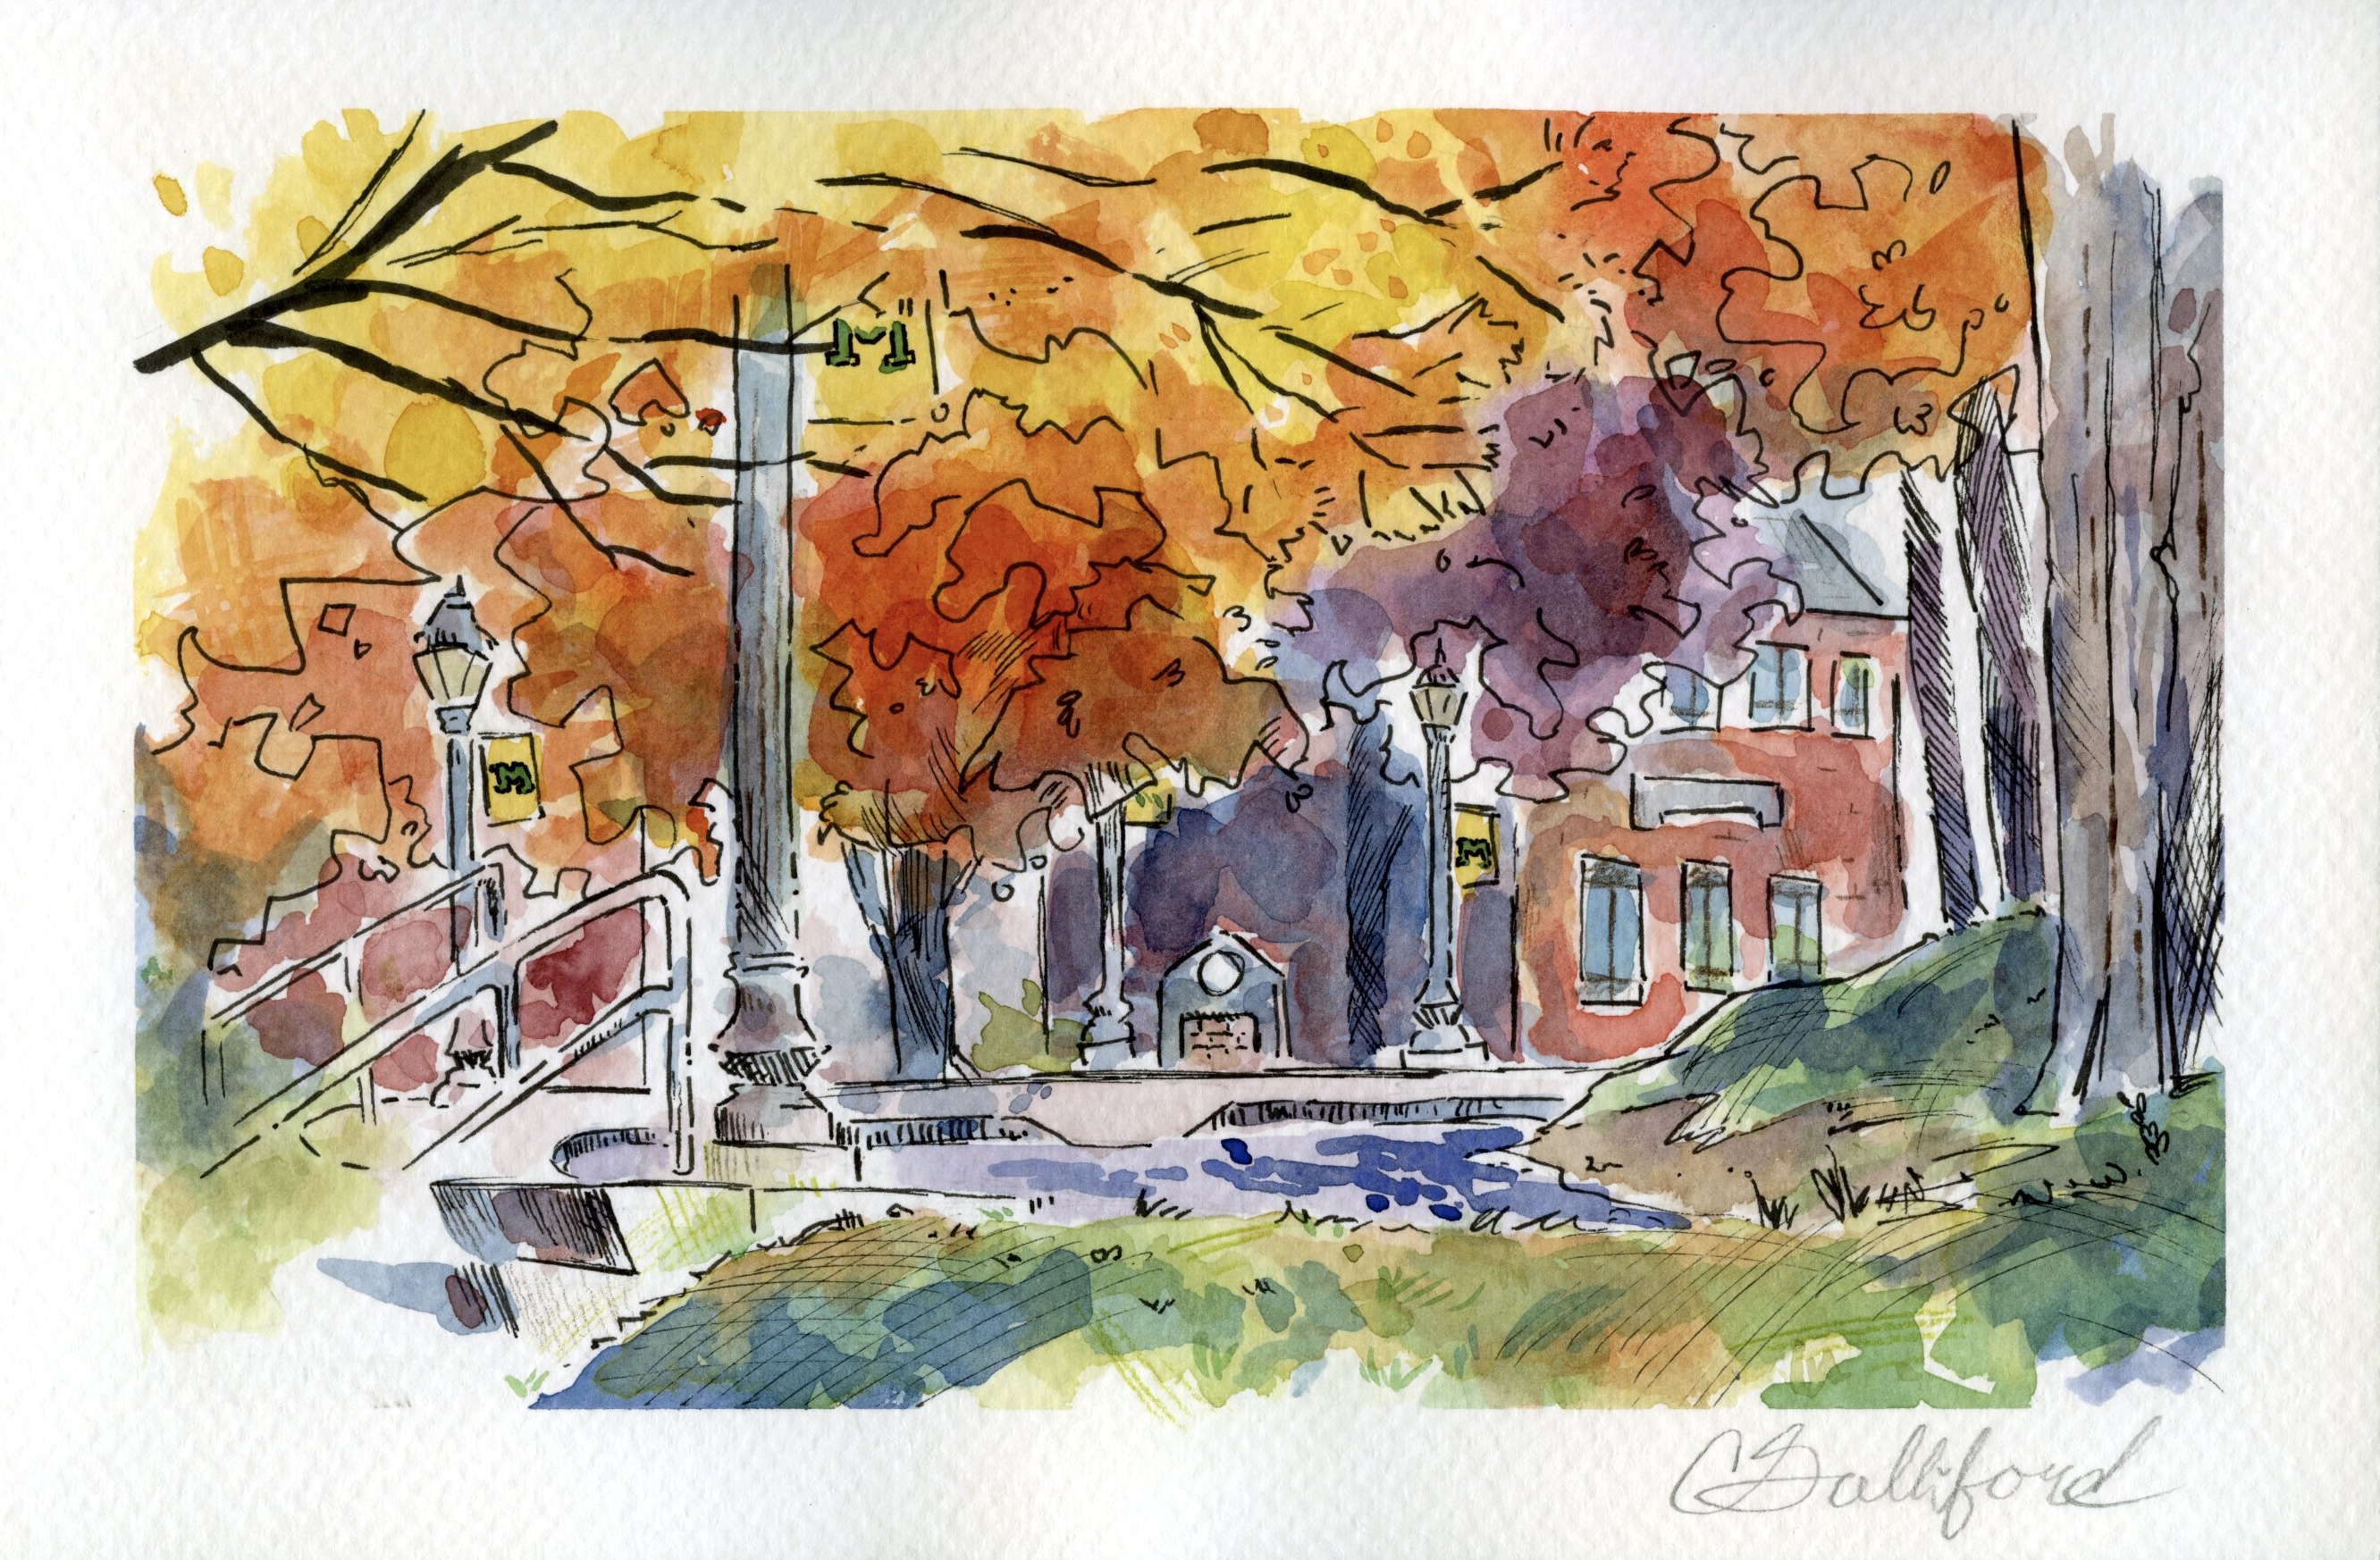
This semester, I was hired for the graphic design work study position with the university’s marketing department. This is an opportunity I am truly grateful for, as it will be really useful for applying to careers in the field and possibly help with my chances of getting into a graduate program! Something I really love about this position is that it isn’t just strictly working with digital programs like Adobe or Procreate. I showed my boss some of my illustrative work, and she thought it would be interesting to have watercolor paintings made of buildings on campus (for “thank you” cards). In today’s blog, I will be talking mainly about my watercolor process. Some of the other things I’ve done for the graphic designer position include formatting type in InDesign, illustrating holiday visuals, and creating branding for the upcoming Philanthropy Day (November 13, 2025, Learning Commons between 10 A.M. – 2 P.M.).
Watercolor Process
So, let’s get into my process! My previous blogs have been documenting a few of my pieces and explaining my thought process. This time, I would like to list the steps I follow for my watercolor pieces. My process is considerably swift, as I have worked in watercolor since 2021. The pieces below are all made during my shifts in the marketing department, each of the paintings taking about 2-3 hours to make (they are generally small, 9″x12″).
- Use washi or painter’s tape to give yourself a border to work within.
- Light sketch. Don’t overwork it, your lines will show through in the final product if they are too heavy or over-rendered.
- Go in with waterproof ink for your line art. I use the Faber-Castell Pitt Artist Pens, as you can use watercolor on top of them after they dry without worrying about any smudging or bleeding.
- Lay down masking fluid. This is how I maintain large areas with no color. Variation keeps your work visually interesting.
- Masking fluid can also be used to preserve highlights or fine details. This is one of the supplies I often recommend to new watercolor painters!
- The fun part: adding color. Keep it loose. Wet your (watercolor-specific) paper and let pigment spread through these sections. The beauty of watercolor begins to shine when you stop fighting it.
- My current favorite watercolor that I’m using is the Sakura Koi Watercolor Tubes (not cakes).
- Cakes can be very high-quality as well, and I use a field kit with cakes whenever I want to paint on-the-go. However, you can get more pigment with tubes, in my opinion.
- Once everything is dry, gently remove the masking fluid and washi tape. Sign, and you’re done!