


Aside from my usual assignments and projects within my classes, I try to find time to take on my own projects. I am a very hands-on artist and really enjoy physically making something out of whatever materials I have. Some days the ideas come pouring in naturally and some days not so much, and that is usually when I turn to the “Do It Yourself” (DIY) projects I find online. The DIY projects I have saved to either my phone or computer consist of many different things ranging from furniture restoration, clothing designs, or décors. For me personally the best part of taking on a DIY project is the problem solving the concept may require. Some ideas I found never come with instructions or materials, and I am sometimes left to figure it out myself, which I appreciate because I believe that helps me grow and learn for myself.
Recently I tested/completed a DIY project I found back in the fall. I could not be any happier with the end result and I am going to share the project with everyone today! There is no specific name for the project but I simply call it “Spray paint Jar.”
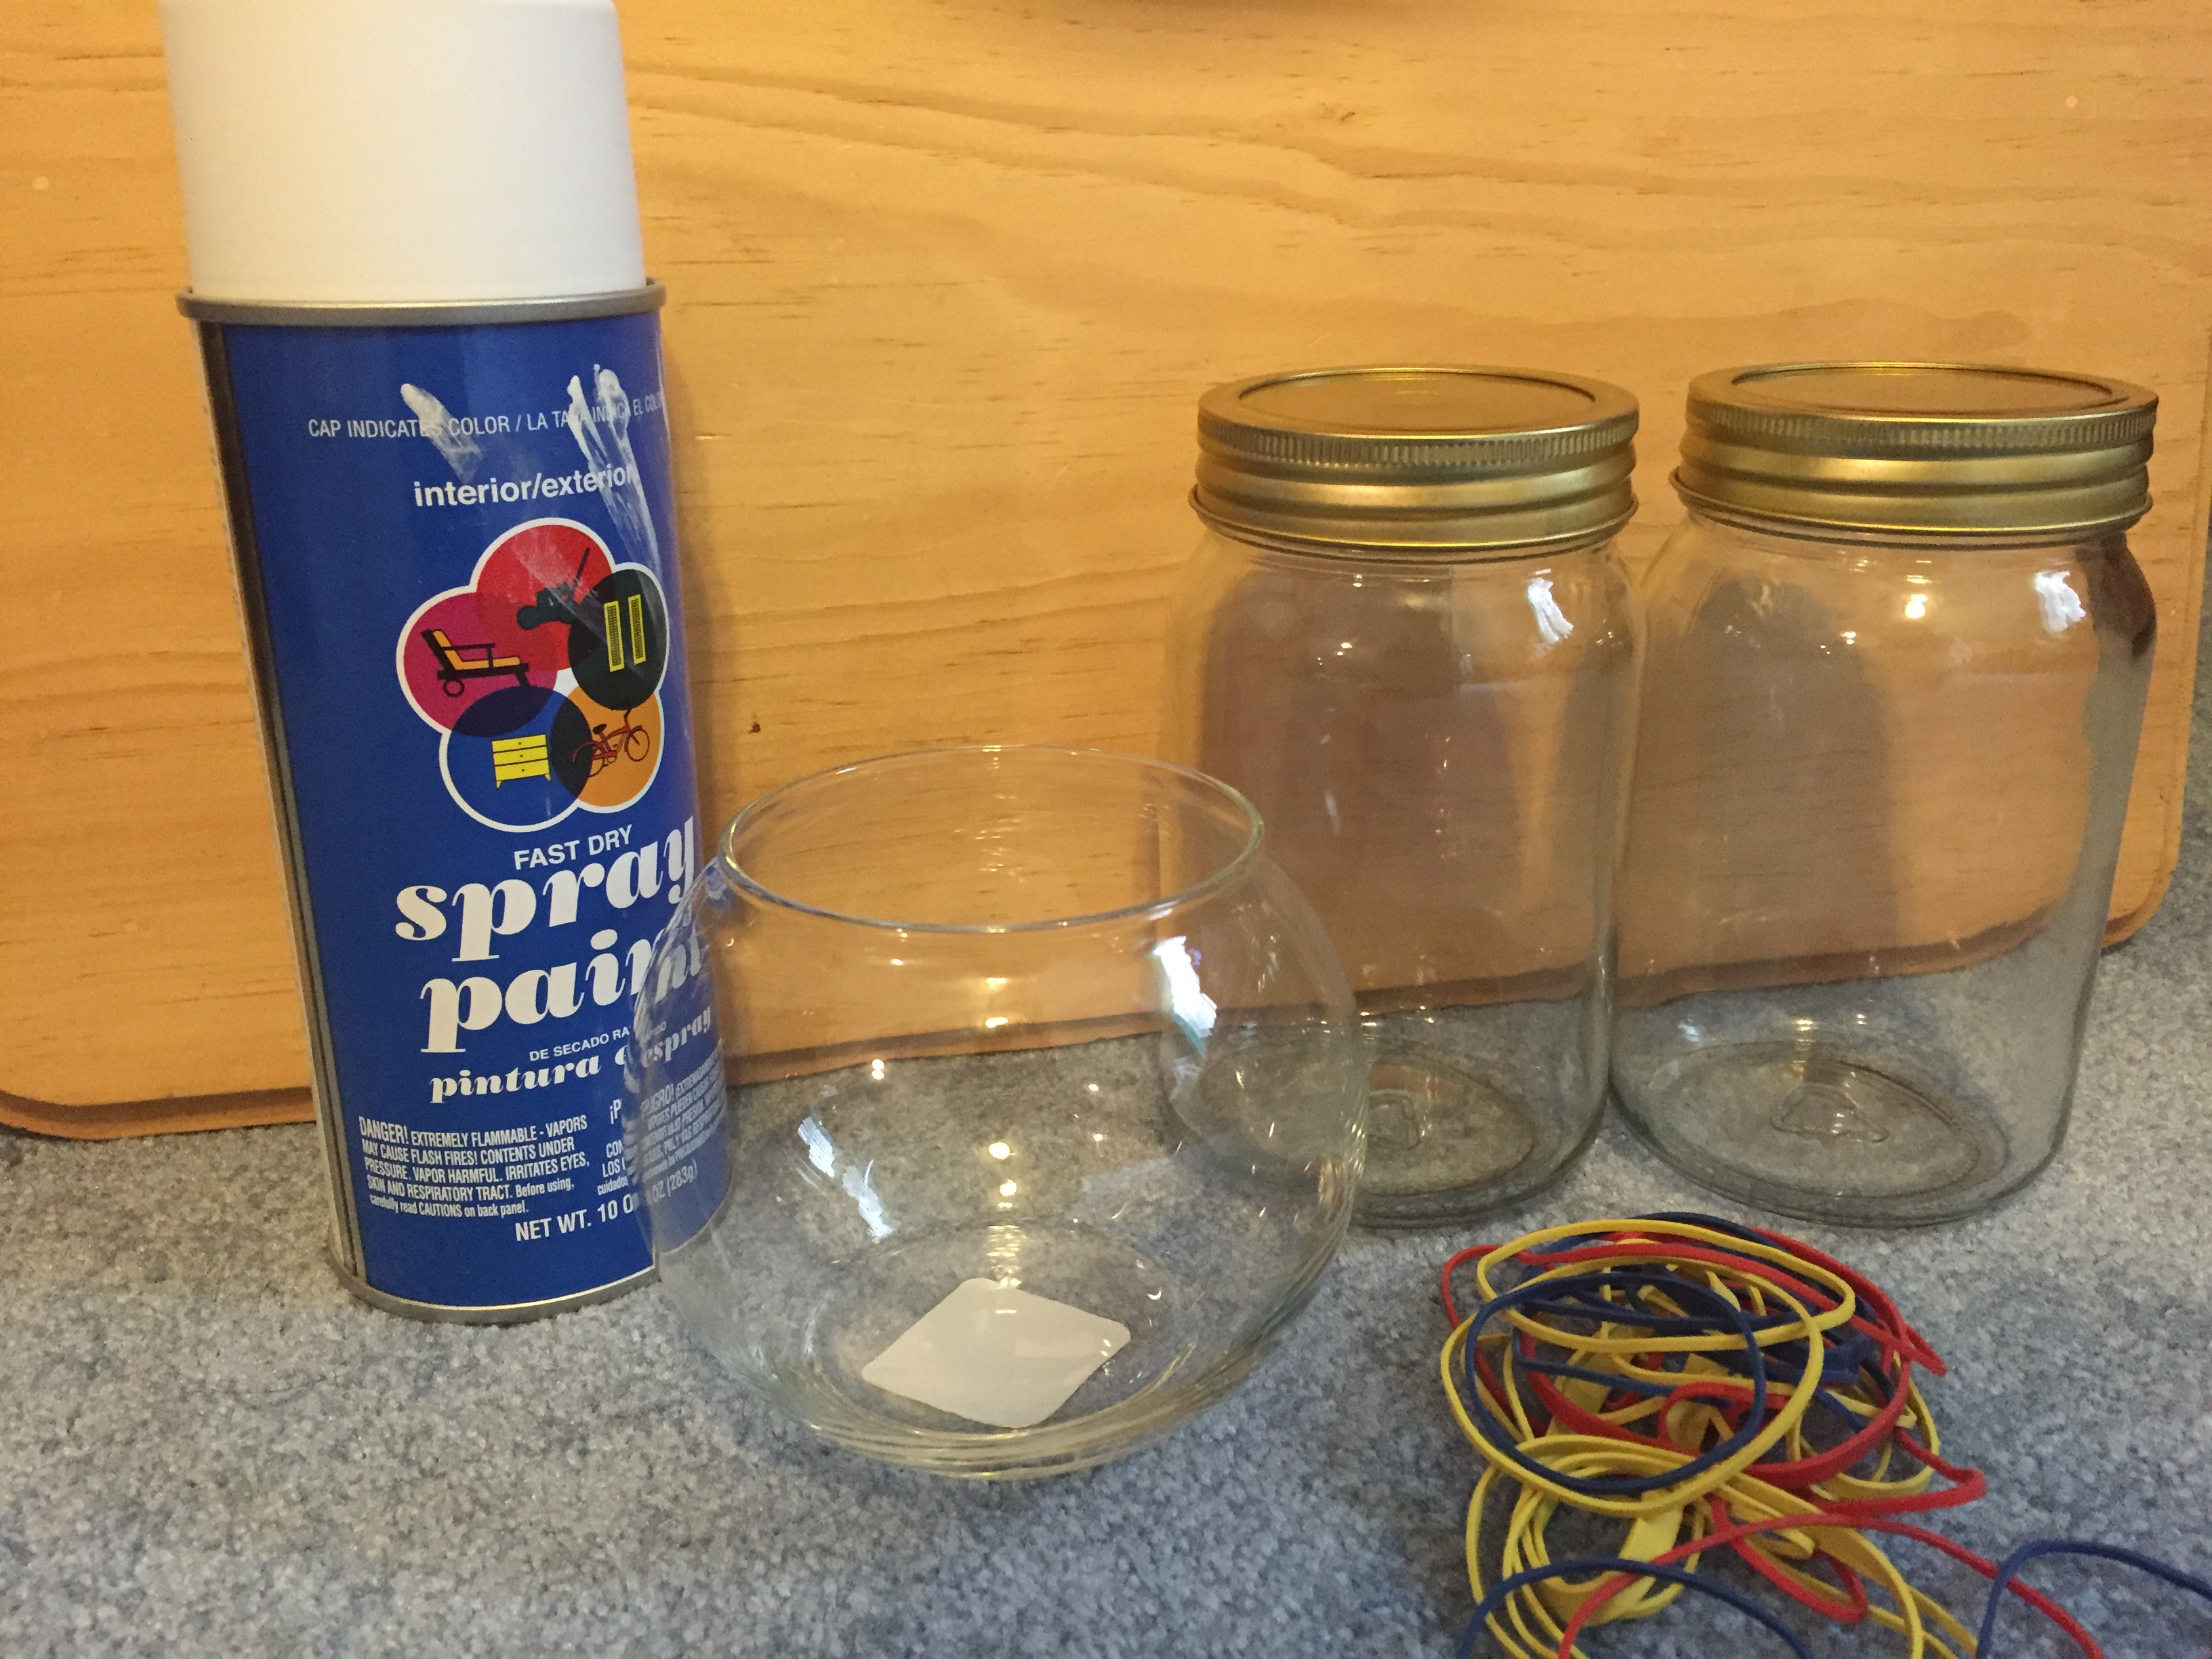
Materials Needed:
- Jars, any shape and size will do just fine!
- Spray paint, a color(s) of your choice
- Rubber Bands
- Tea Lights
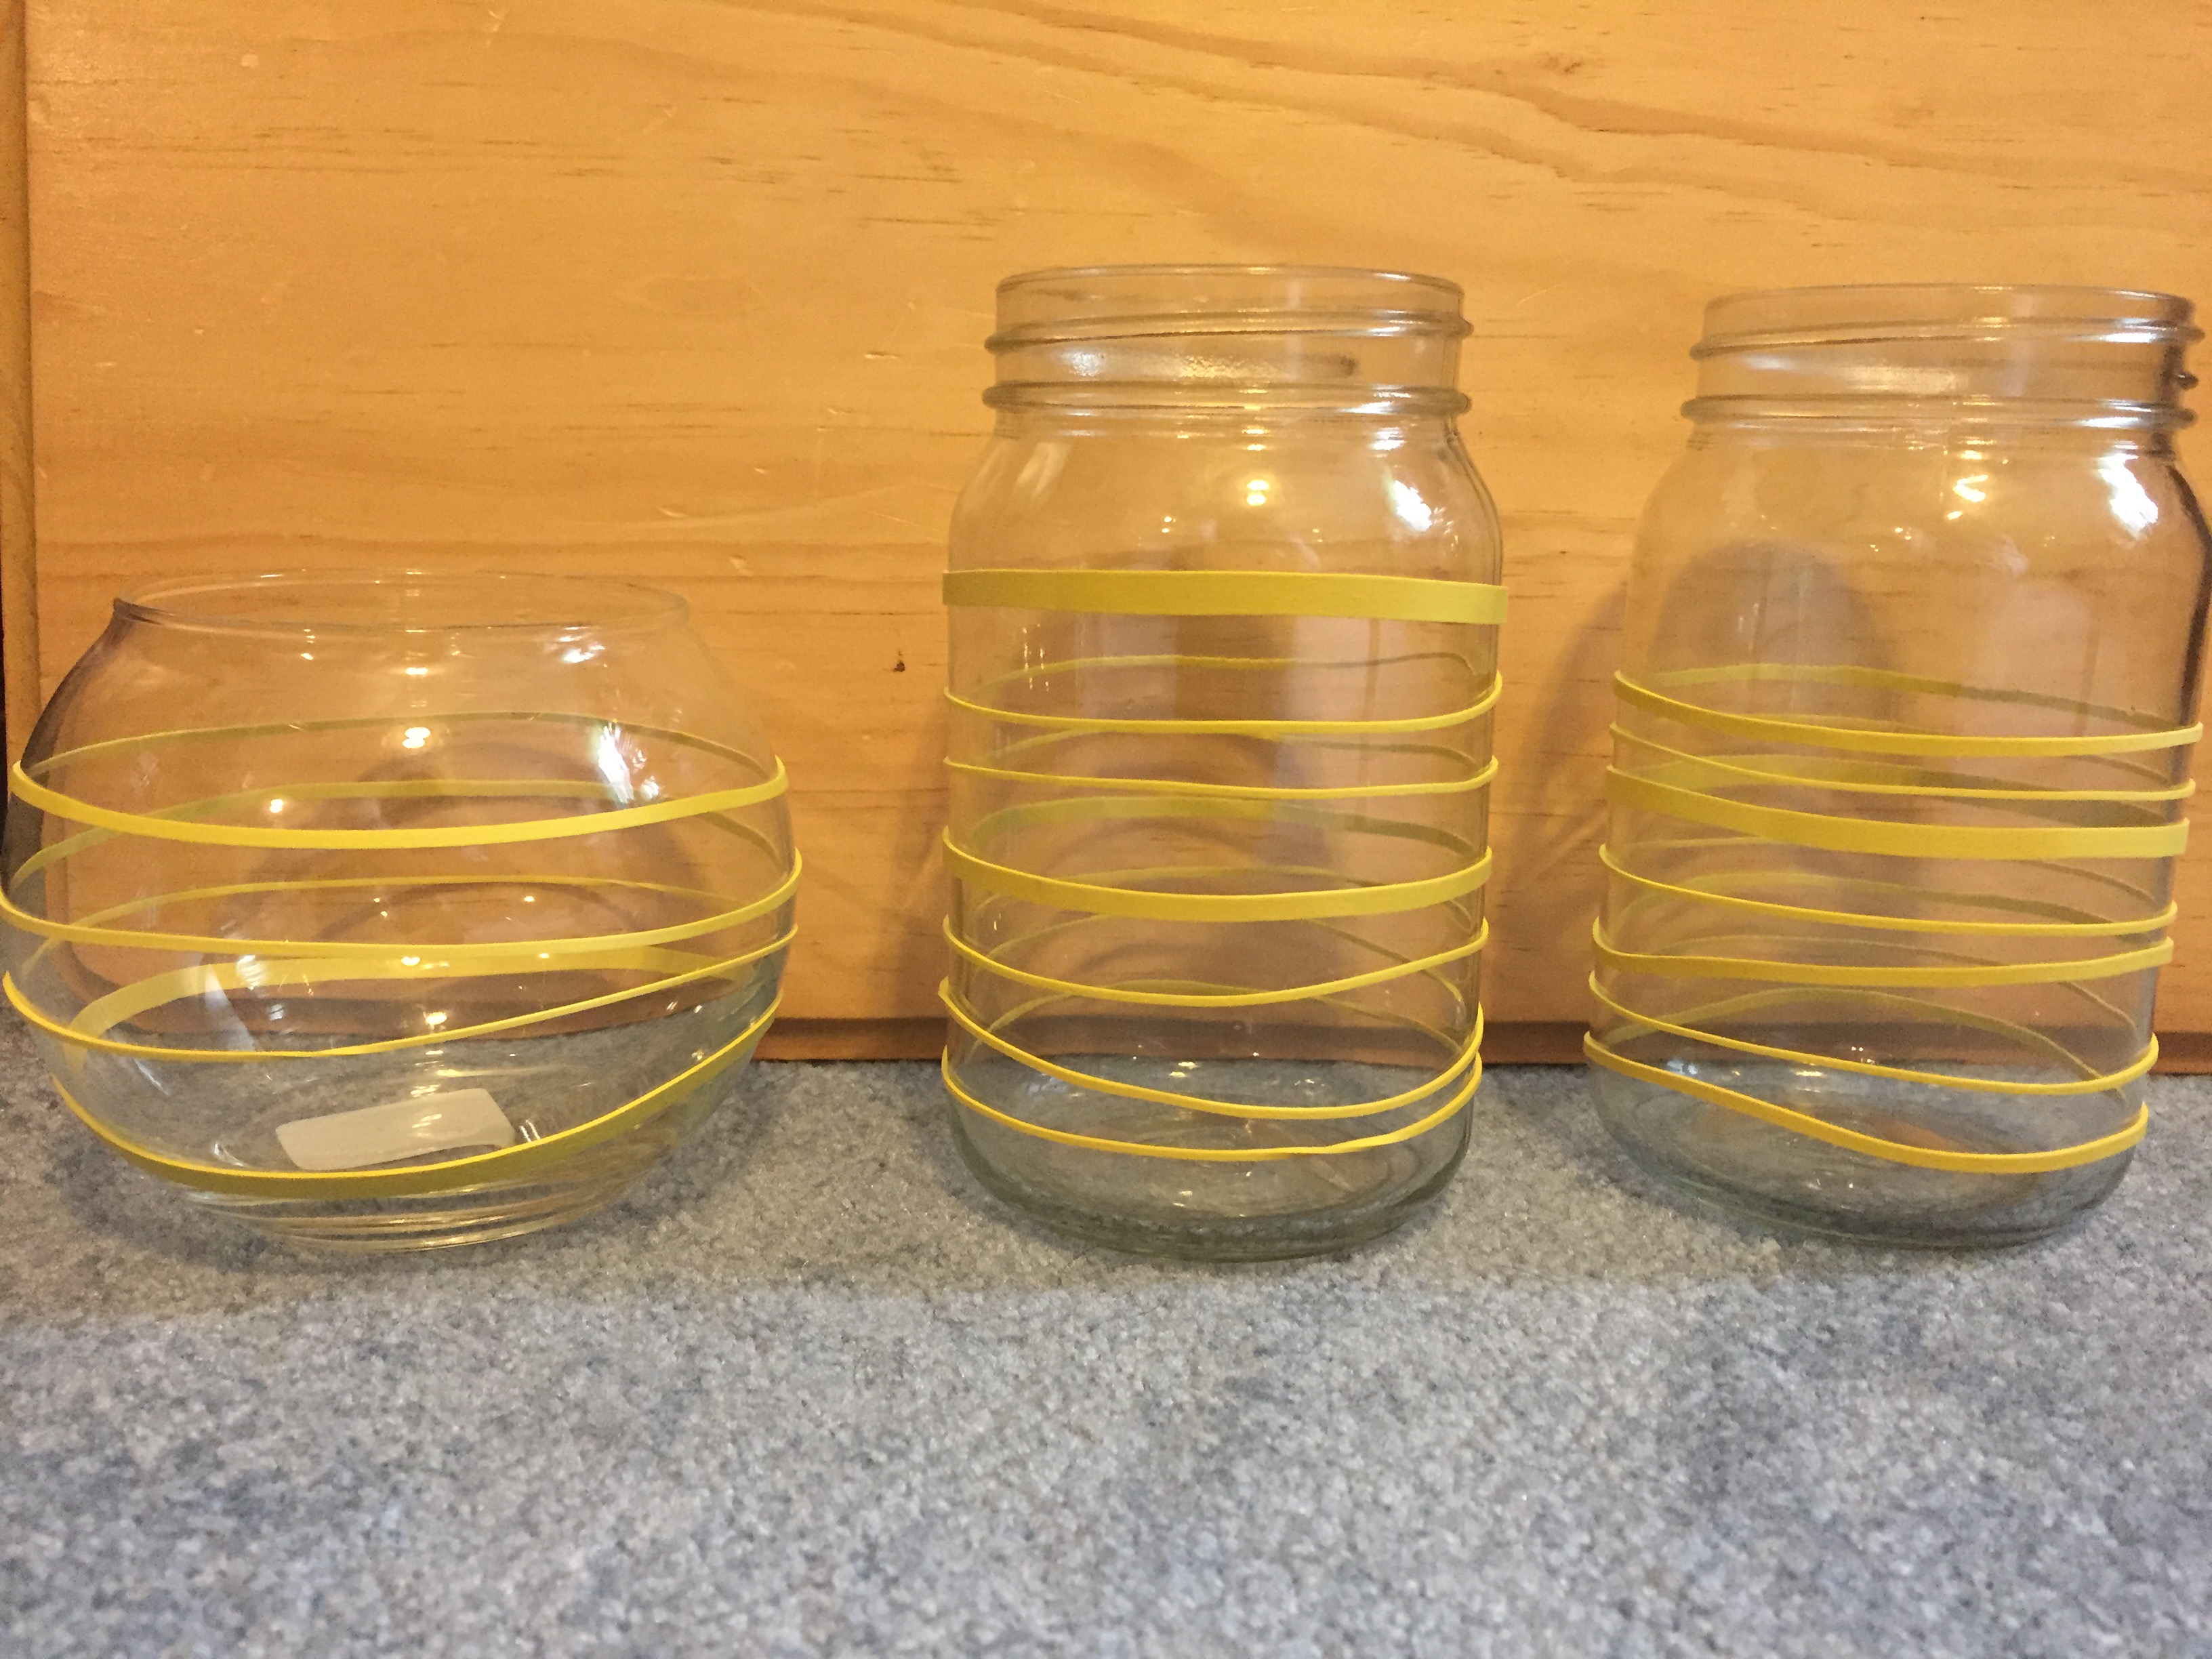
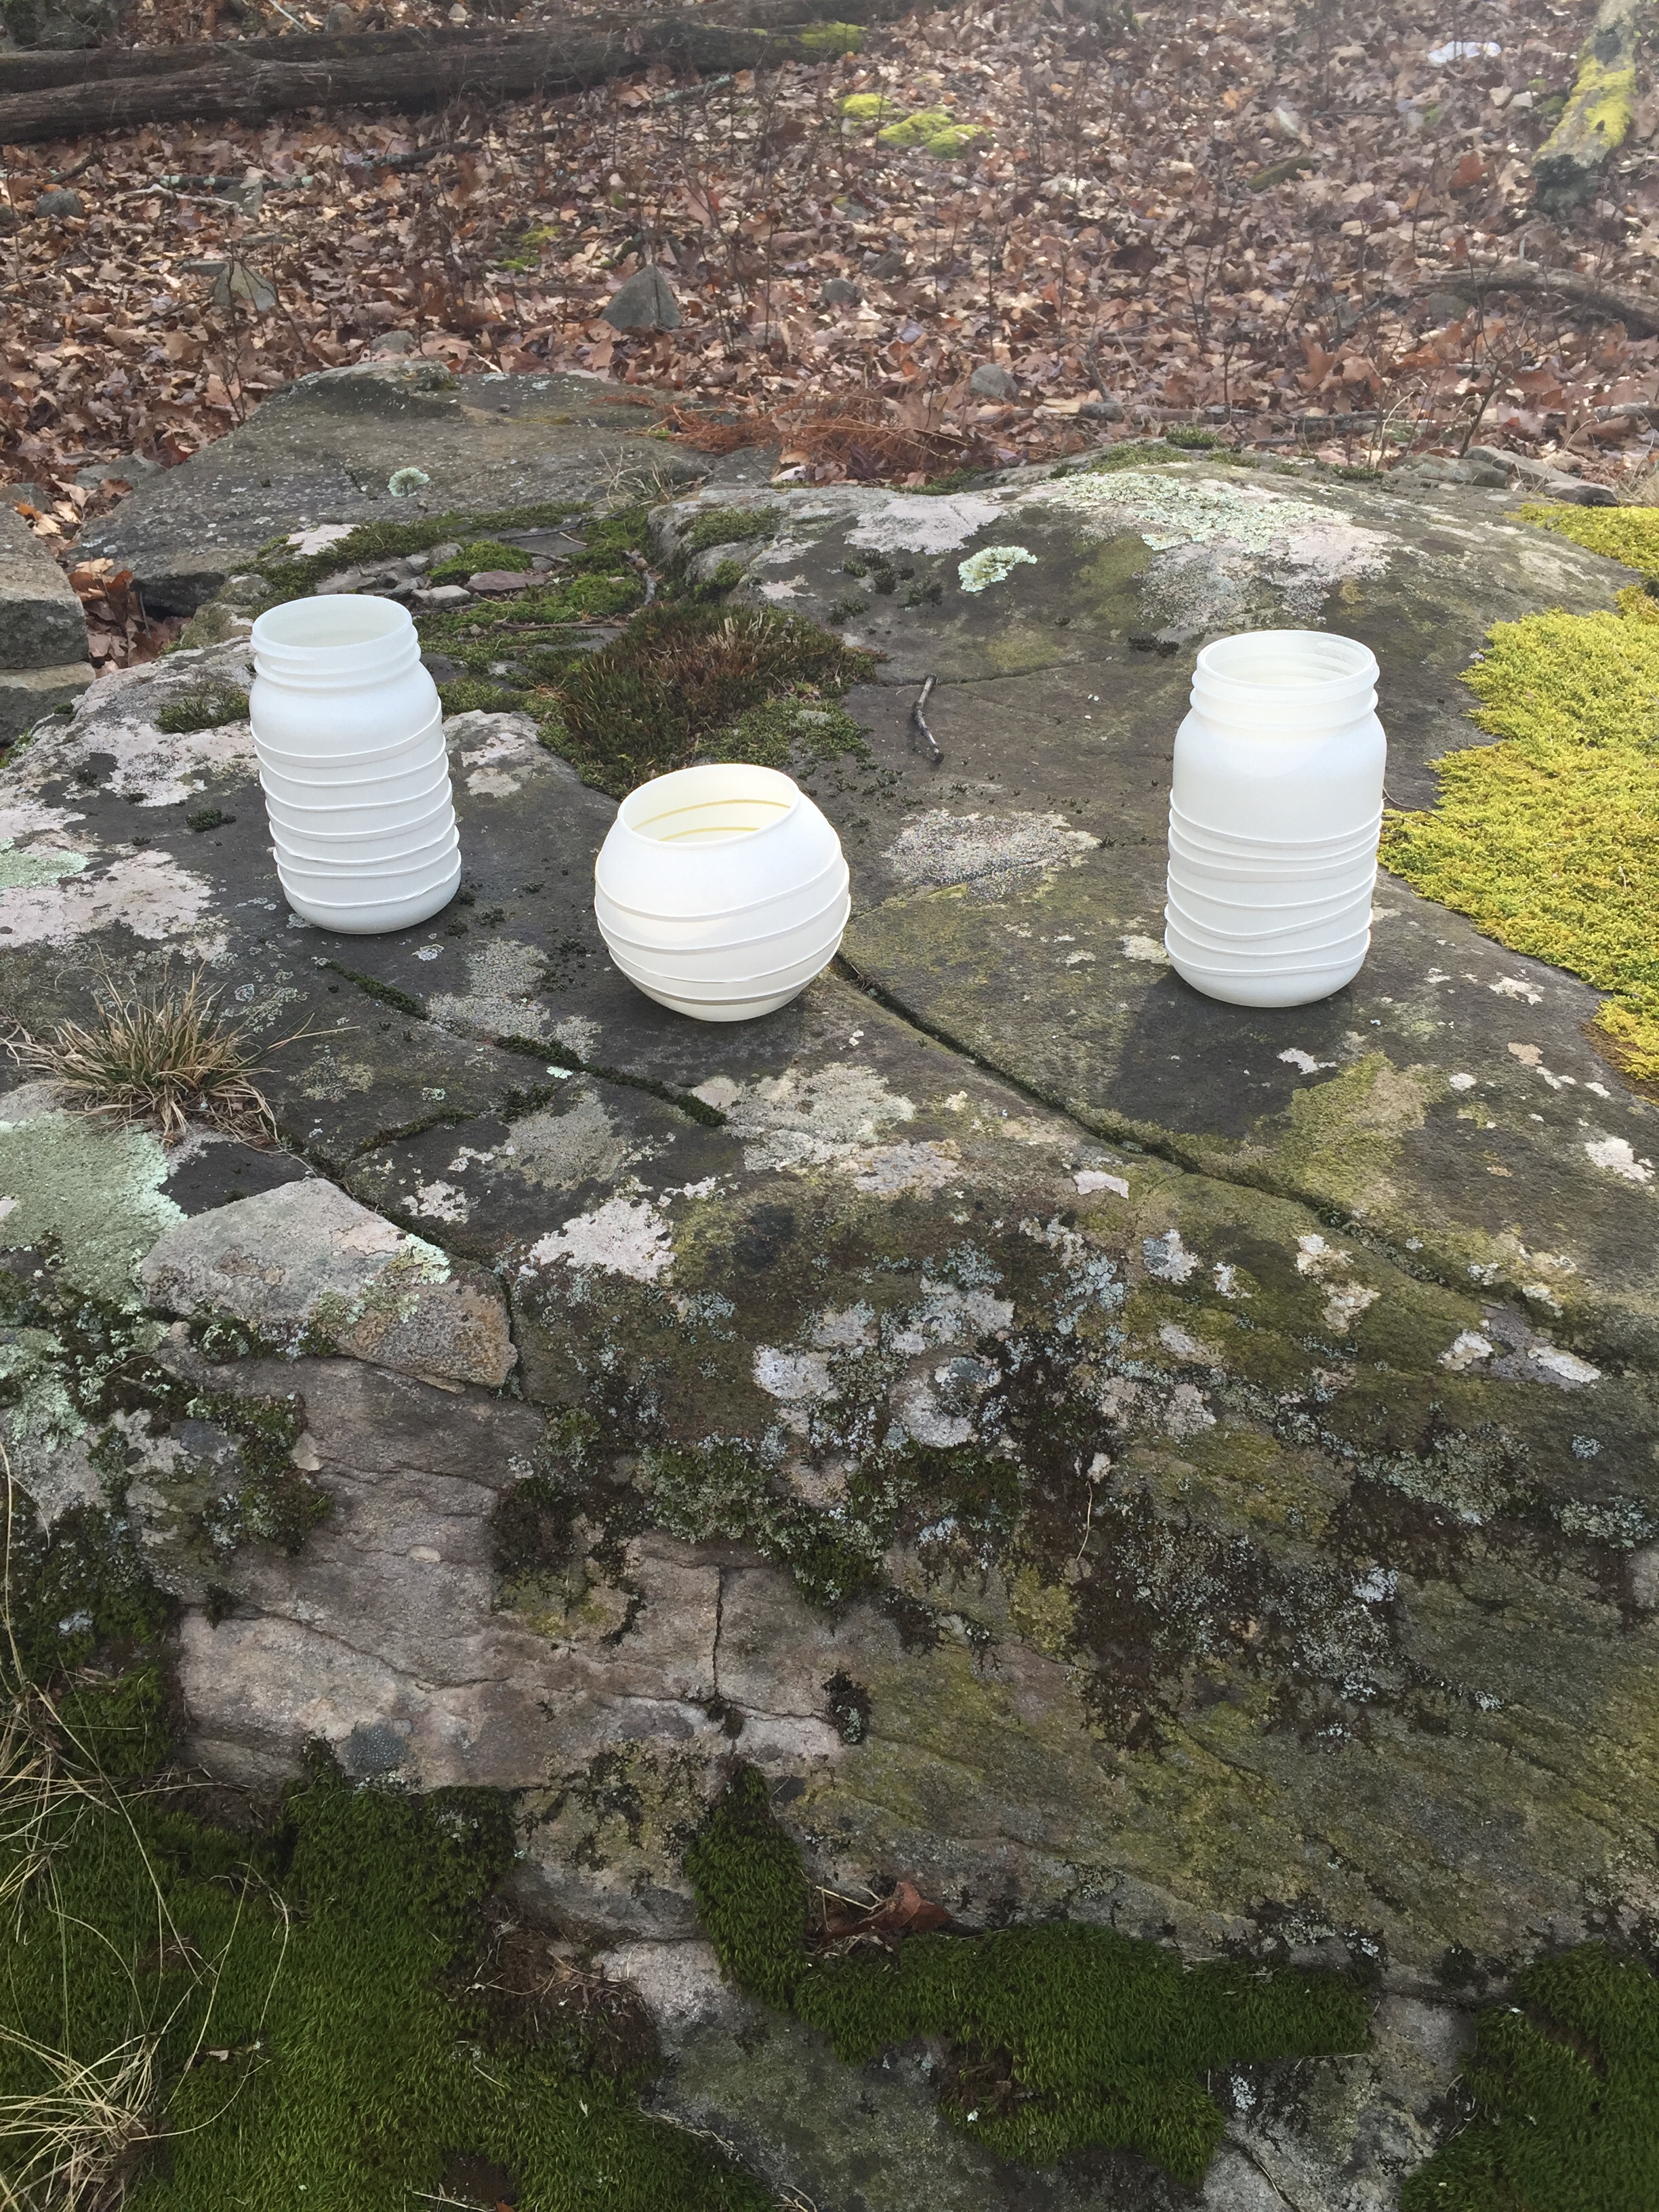

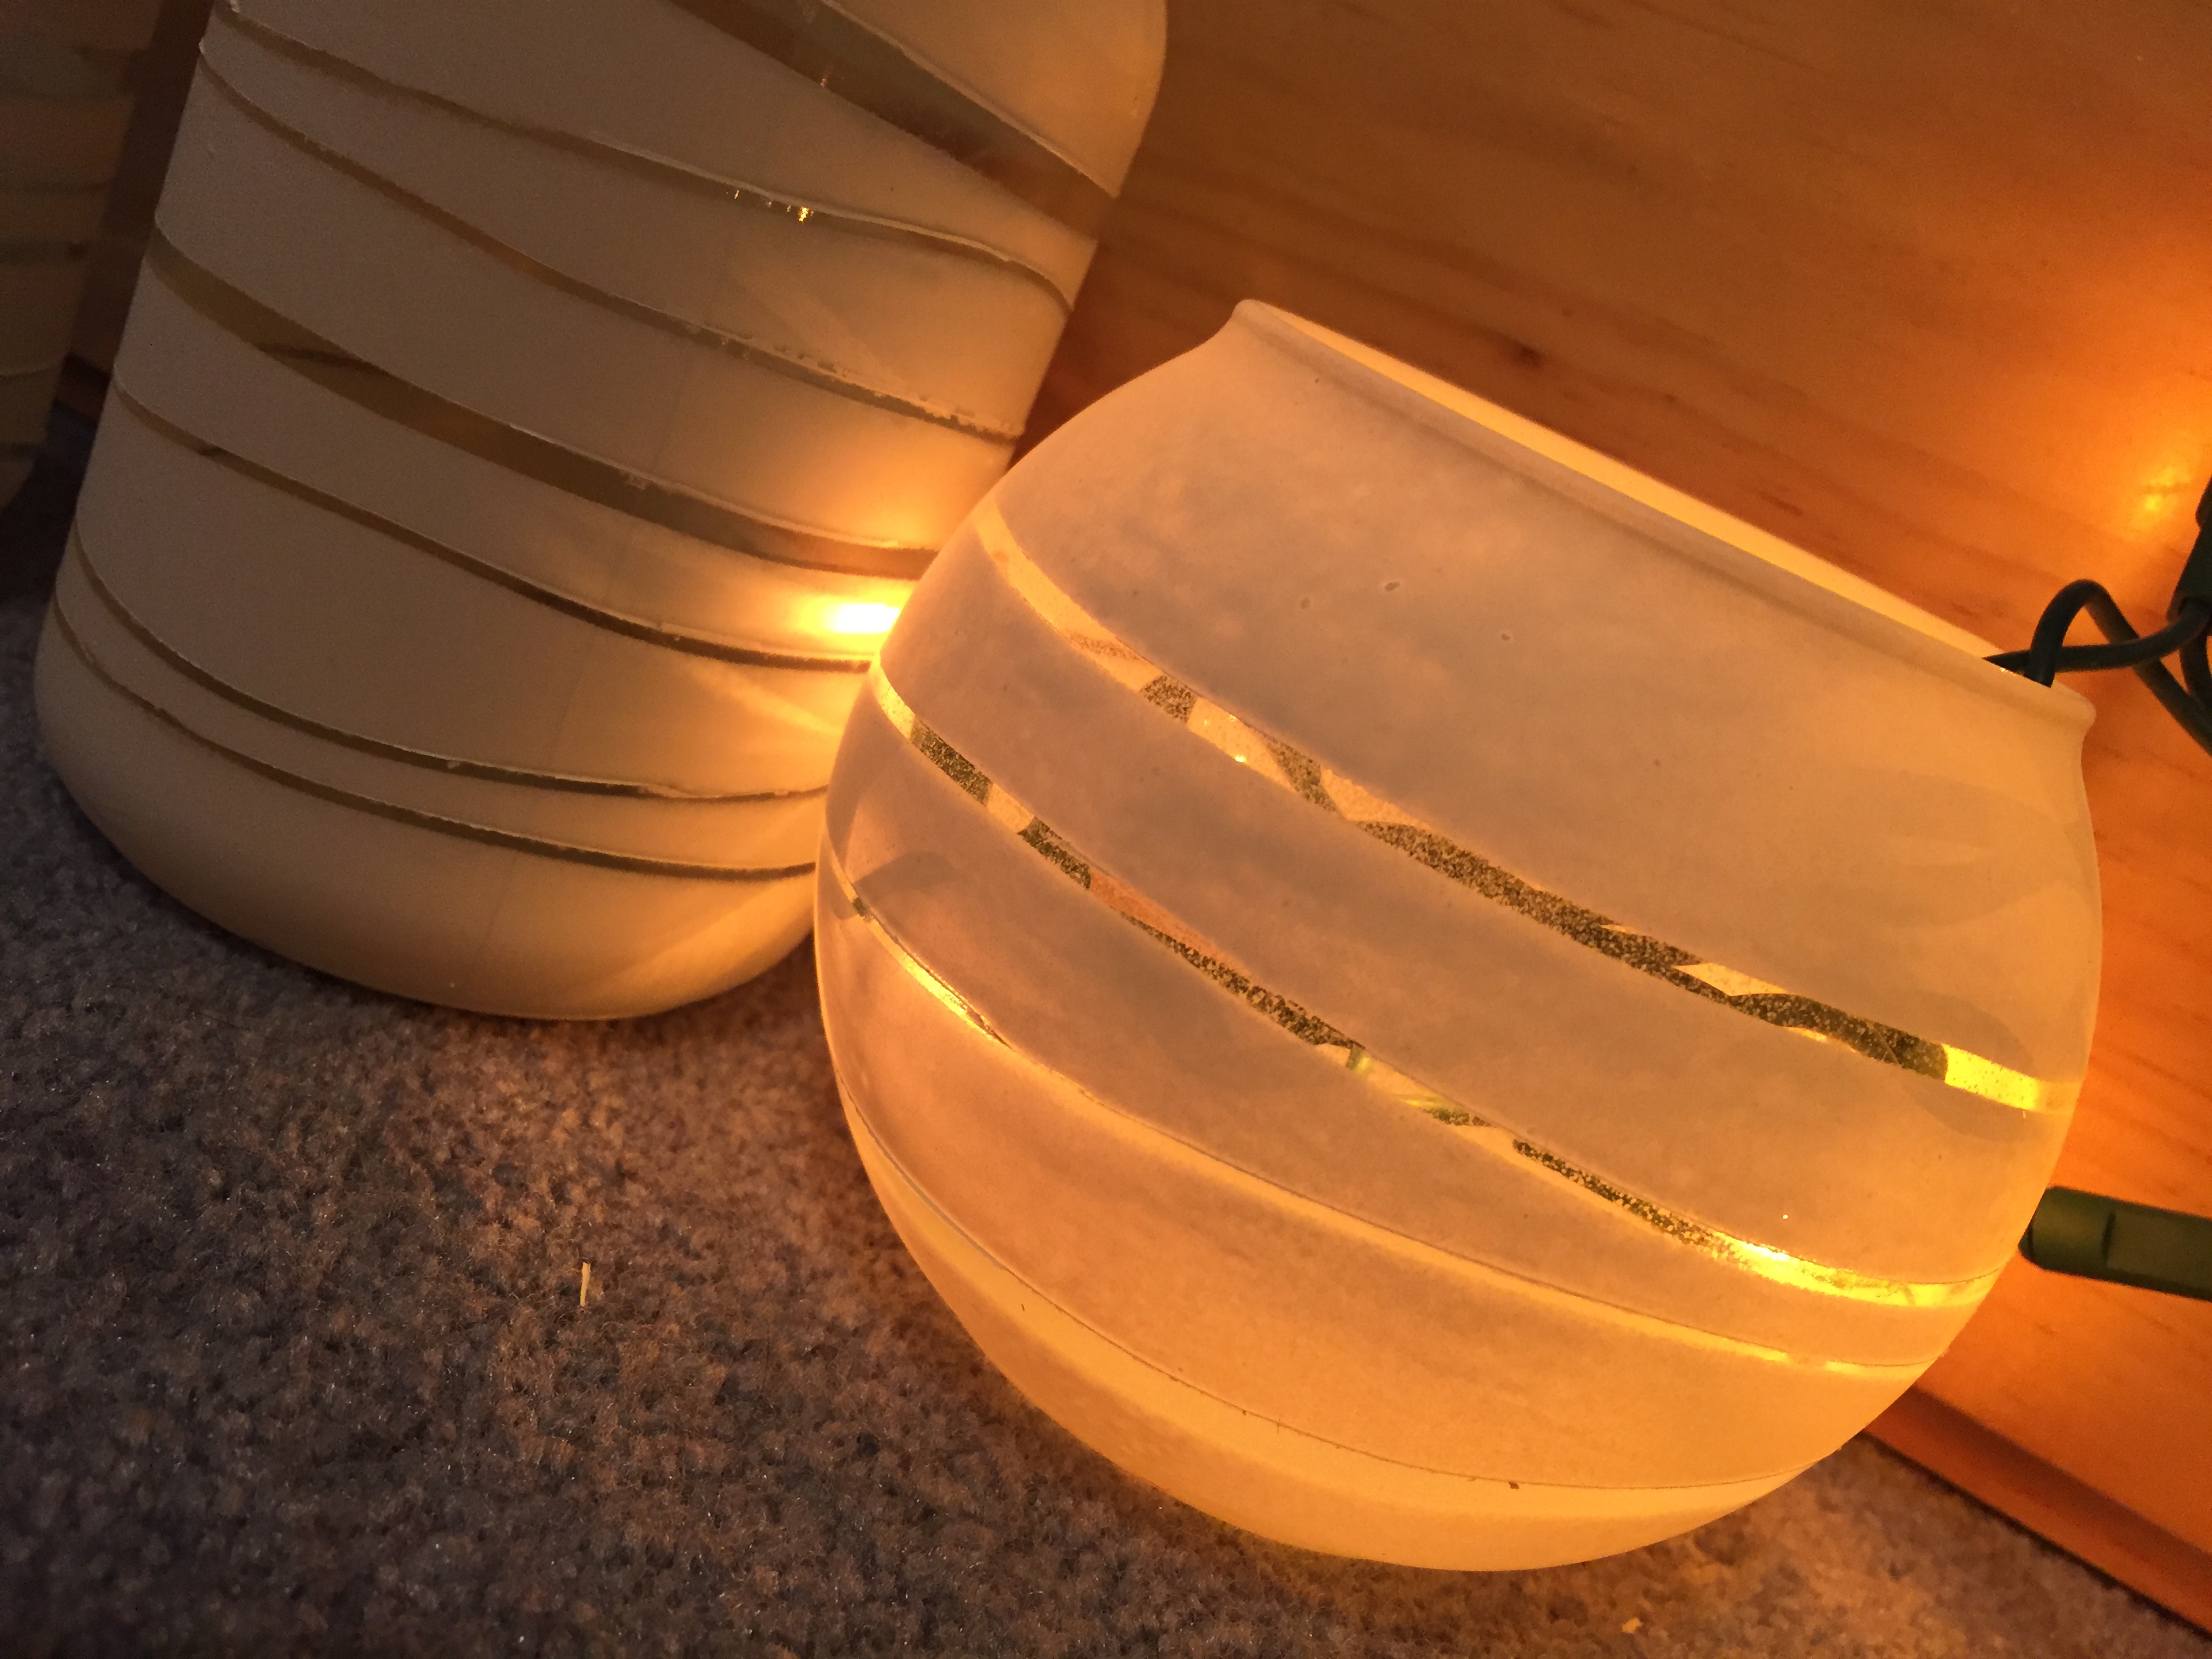

This is a simple DIY project in which I truly enjoyed and I hope everyone will enjoy too!