Hi everyone! A lot has happened since I last updated you all. We had fall break, which was much needed, but I’ve also been working diligently on my ceramics self-portrait project. I’ve also been working on my new watercolor painting and have been having a lot of fun with it so far!
First, I want to talk about my ceramics self-portrait project. I didn’t know what I wanted to make for this project because I don’t love sculpting in clay; I’m more of a thrower. But the second I considered this idea, I knew I had to make it. I was scrolling through YouTube and saw someone had made a video documenting the process of painting their childhood home. It was interesting, and I wanted to try the same idea in watercolor. Then I thought about how to incorporate the concept into my ceramics projects because I’m always interested in trying new things in the studio. Finally, it clicked: I wanted to sculpt my grandparents’ old home for my self-portrait project.
I have a decent-sized family; my mom was 1 of 5, so family gatherings were always memorable. For years, a lot of my family would gather at my grandparents’ house every Tuesday for “Taco Tuesday,” even though we rarely had tacos. My grandma would cook the best dinners while all the grandkids played outside on the swing set or made up random games with the many toys in the basement. So many of my fondest memories were made in their house, and I miss it dearly. My grandparents sold that house when I was about 12. When I started driving, I drove past it all the time. The new owners painted the outside a different color and changed most everything about it. I always wonder how different the inside looks and how weird it would be to see the place where I spent so much of my life, not how I remembered it. So, to commemorate the many memories made in that house, I wanted to recreate it as my family remembers it.
The process of building the clay replica of this house wasn’t my favorite, to be honest. It was a lot more work than I was expecting, mainly because I made it way bigger than I intended. I did extensive research to find as many reference photos as possible. I looked at the property’s real estate listings, Google Maps images, and my mom’s pictures from when I was younger to find helpful angles. After I gathered all my information, I sketched the house on graph paper so I could scale it up later. I made slight adjustments for stability and constraints of working with clay, but it’s pretty close to the drawings. I measured each wall, cut a paper sample, and then cut out my clay slabs using the reference paper, and did the same for the roof. I also had to measure where each window would go and sculpt stairs, which I never want to do again, at least not at that scale! I didn’t add much to the surface other than windows and doors because I’m hoping to get what I need with glaze rather than trying to sculpt everything.
I’ve worked on this project for 15 or 20 hours so far, and I haven’t even gotten to glazing yet. I hope it survives the kiln. To keep with the functional nature of my typical work, I left the angled roofs unattached to the rest of the house to make it like a trinket dish. I thought it would be adorable, and if I ever decided to make little furniture for it, I could! So now that I’ve spilled my guts, I’ll show you the reference photos I used most and the finished product before firing, minus the stairs for the back porch, because they are drying separately.


So you can see it’s not entirely accurate, but I’m still really proud of it and thrilled I didn’t give up on it. I’m nervous about the glazing process because I don’t know how I’m going to approach it, but I’m going to start planning that out soon.
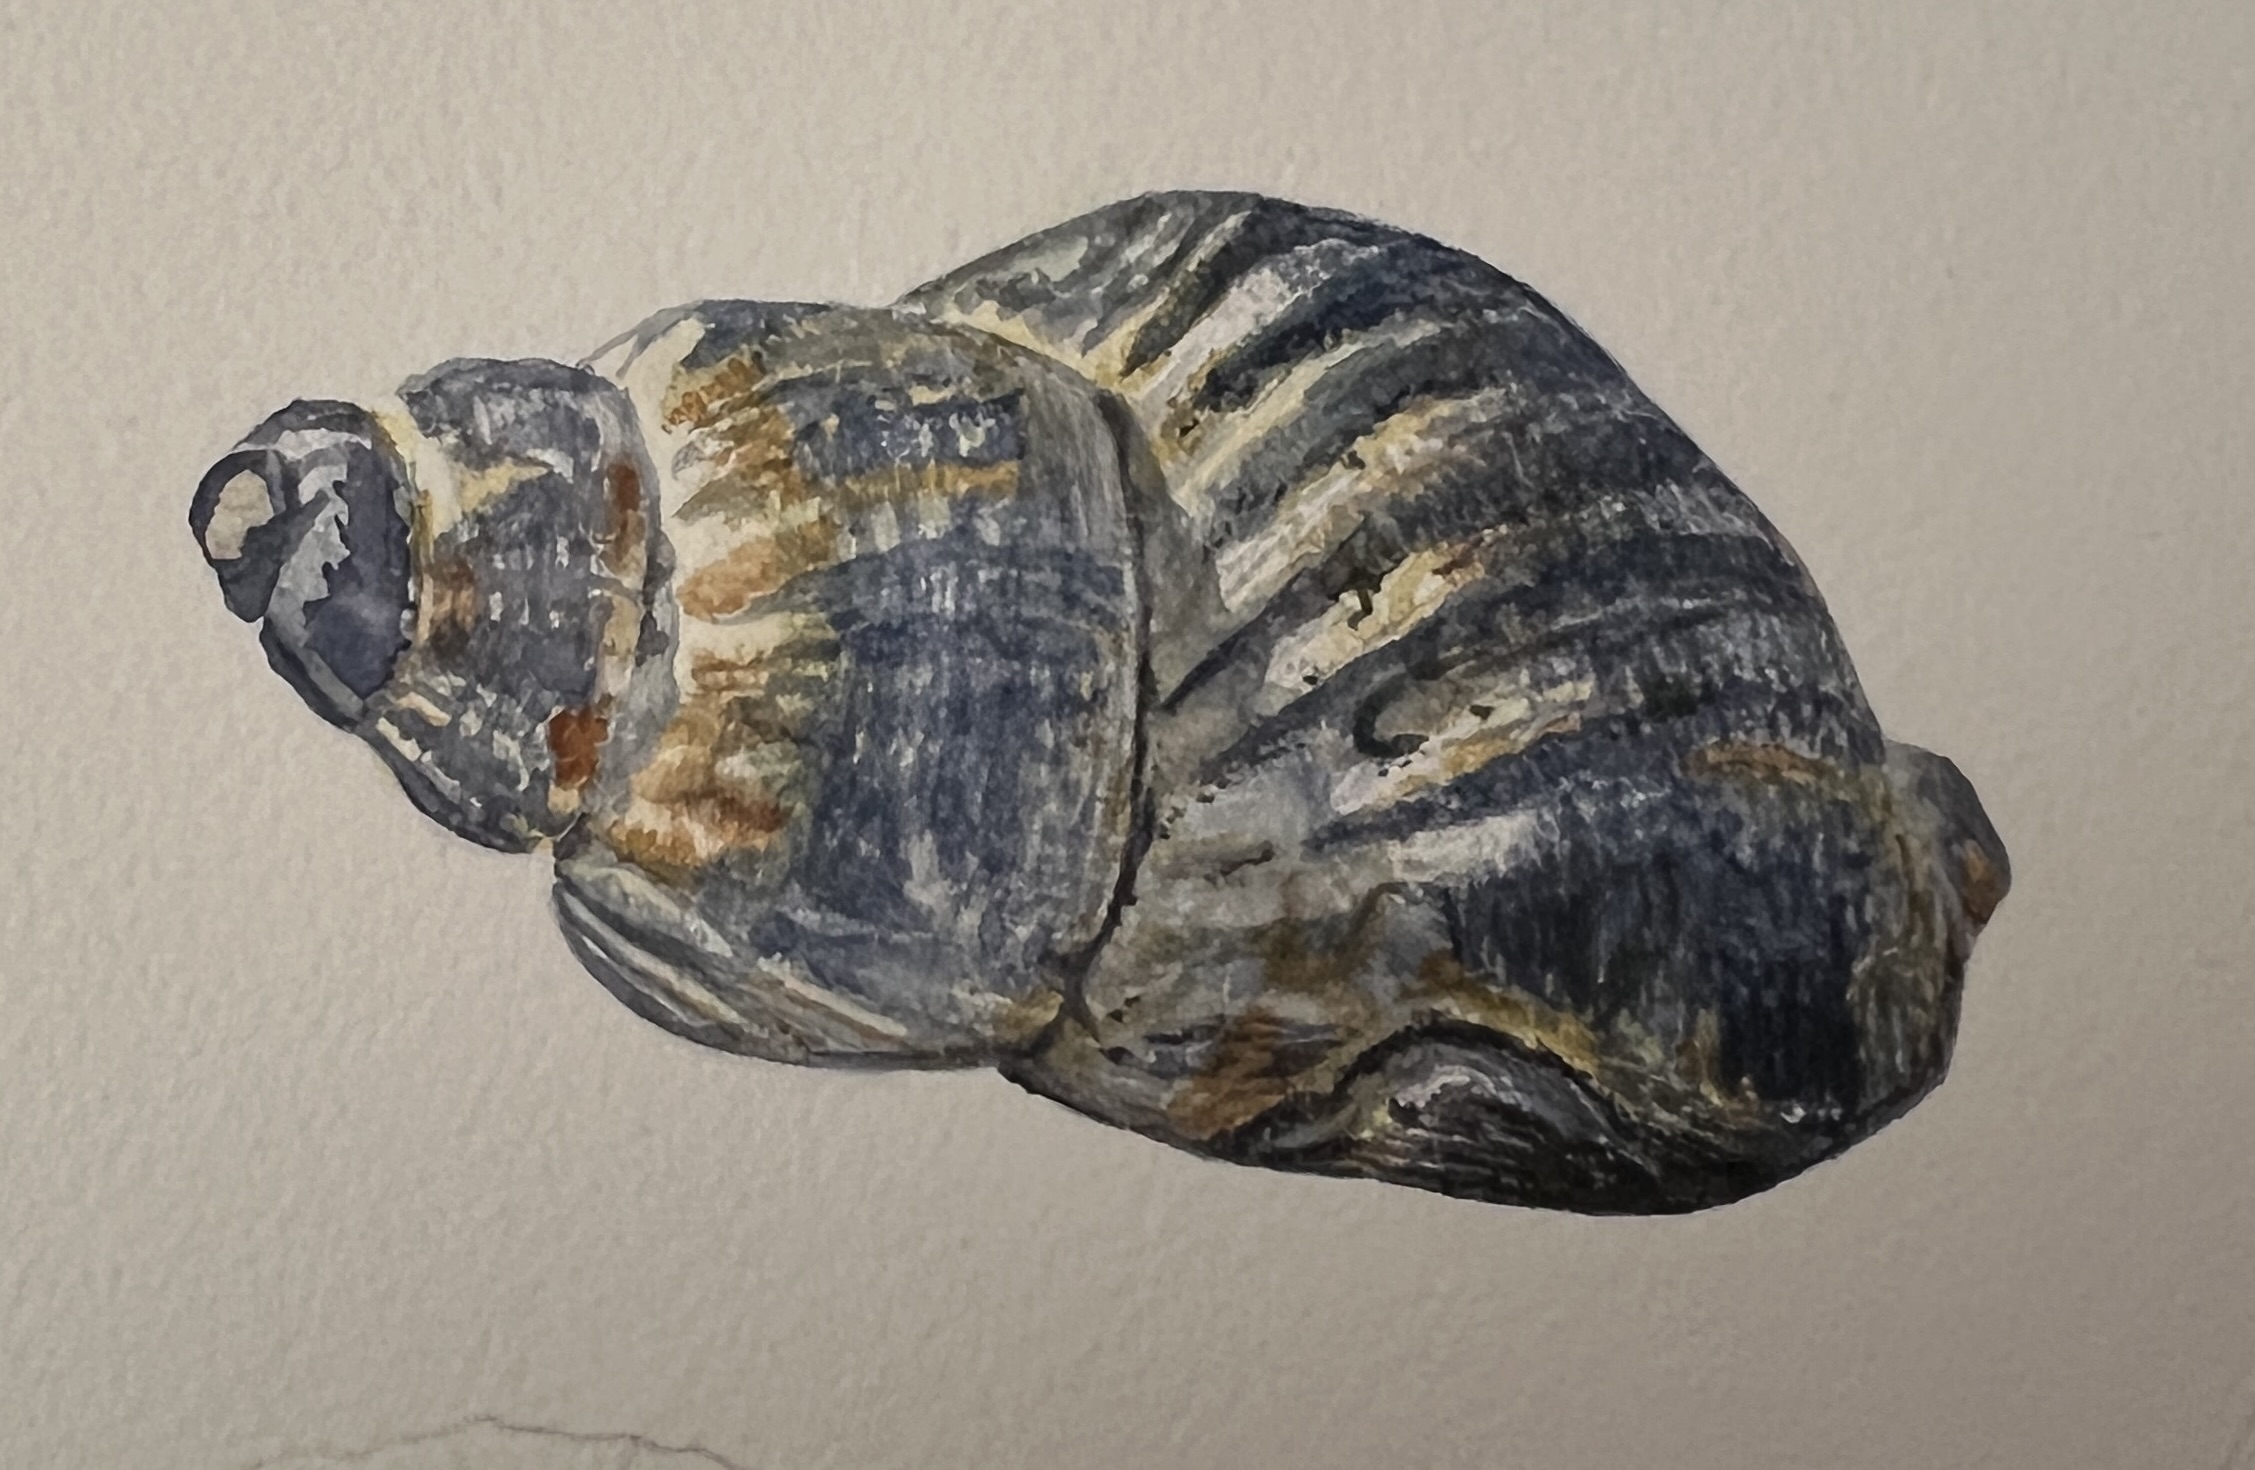
Now that I’ve rambled on about my self-portrait project, I want to share a sneak peek of the watercolor painting I mentioned earlier. This painting is for our realism unit, and we had to choose three objects that relate to each other to arrange and paint on the same page. I decided on some beachy themed items, all using the color blue. I started painting the first shell, building up layers, and I’ve spent 6 hours on it so far. I completed the most significant section on the right side, but the rest of the sections on the left still need some more layers. I’m really proud of it so far, and I’m really excited to finish it! Here’s what it looks like so far:
Well, I think I’ve blabbed enough for this week, but I hope you enjoyed the updates. This post was a hefty one, so if you’ve gotten this far, thank you! I’ll keep you all updated on the status of my clay house and my watercolor painting. Let’s hope all survives the bisque kiln! Stay creative, everyone 🙂
-Jenna