This week in my mixed media class we learned the art of paper making. What was so cool about this experience is that we used leftover scraps from the printing studio to make brand new sheets of paper. Taking something that would have been seen as garbage and giving it a new purpose. The steps of paper making can be done in one’s own home with a blender, but in the paper making studio there is high quality equipment made to be able to handle large amounts of supplies to make large amounts of paper.
Step one: Gather scraps and soak.
Cut/ rip the paper into one inch pieces. If you plan on using cotton paper/ rag paper then the paper does not need to soak for a very long time. But, if you want to use fabrics, such as denim or silk, you have to let them soak for days in advance.
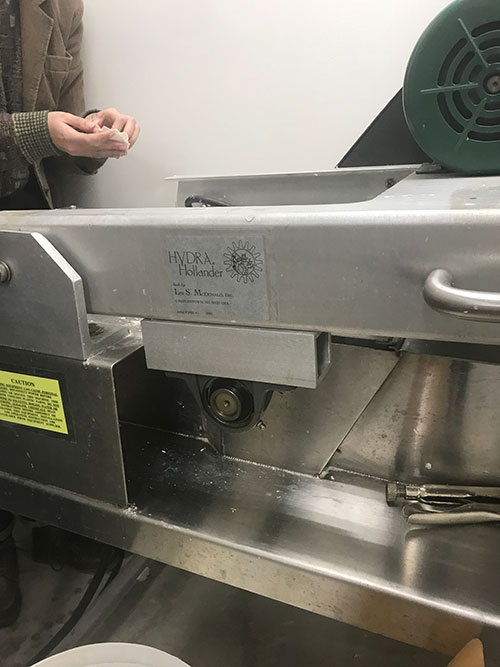
Step two: Run through Hollander Beater
The Hollander beater is a machine that takes the pieces of paper and crushes them into the pulp that is used to make paper.
Step three: Remove pulp from beater and transfer to large basin.
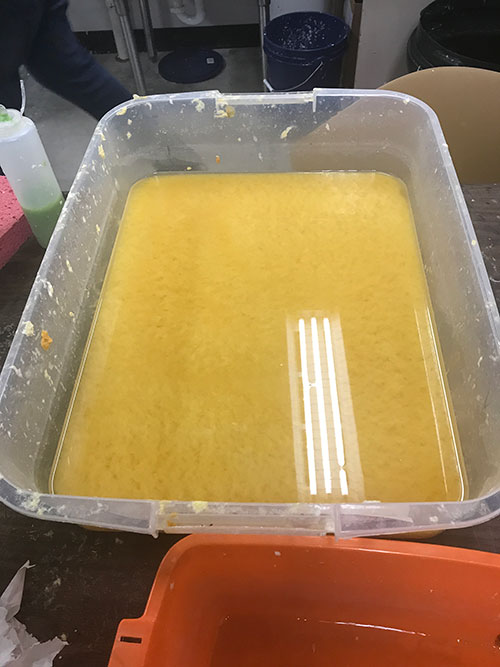
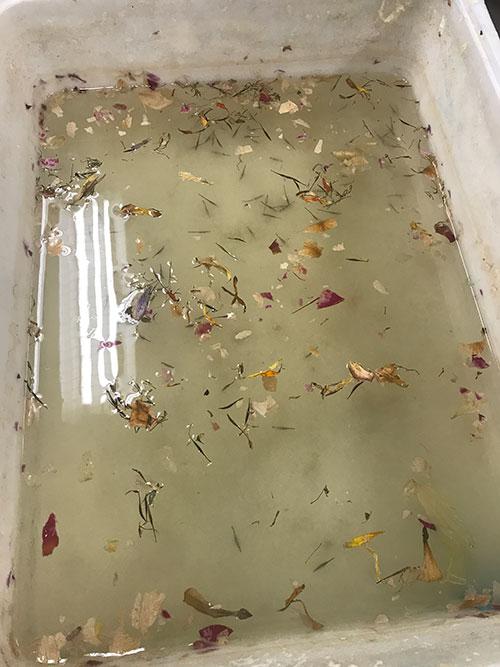
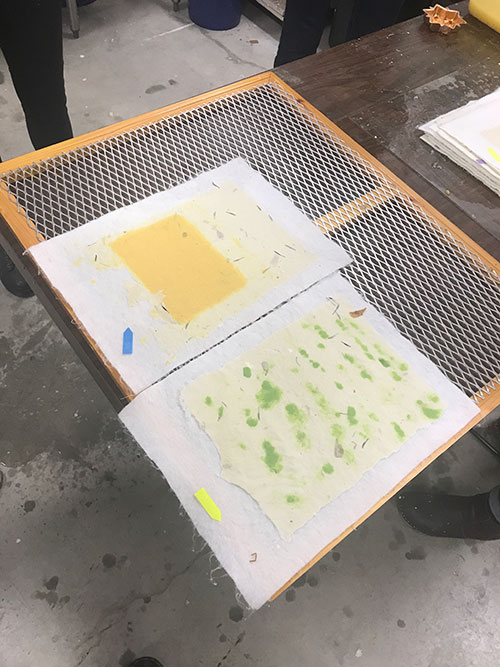
Step four: Add any coloring and make additional pulp for decoration.
For this step we used some tumeric to make the paper a yellow color. When creating paper you can have a lot of creative freedom by making additional colored pulp and adding natural substances to make the paper more interesting. In this case we mixed coffee grinds with pulp to make a speckled brown, and pink wrapping paper made into a pulp to add pink details. In some basins we also added dried flowers and leaves that would be incorporated into the paper.
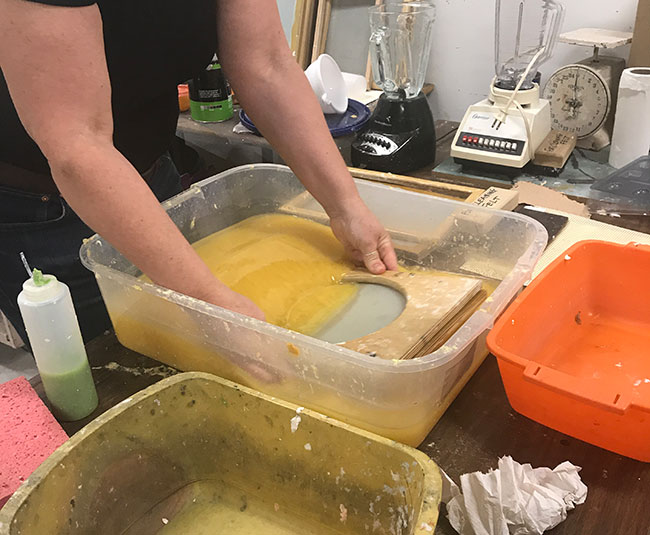
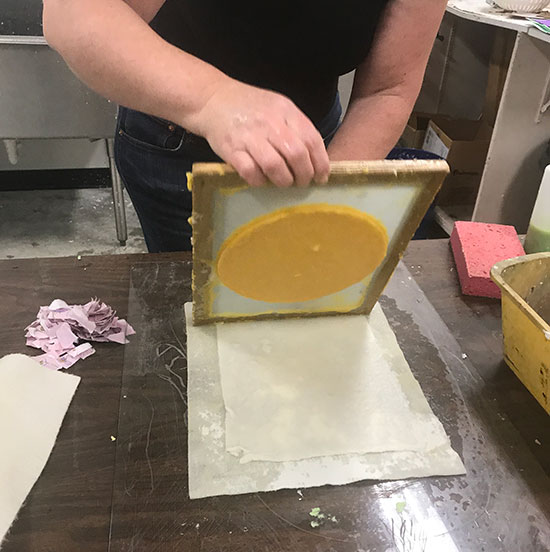
Step five: Grab a screen and being making the paper.
In this step you take a mesh screen and using an inward scooping motion you gather an even layer of pulp to create a sheet. You have to let the water drain for a moment after it is scooped up. If you like the sheet you’ve created you move on to the next step. If not, there is a technique called kissing, in which you flip the screen over and dip it VERY quickly into the water to allow the pulp to return to the basin.
Step six: “Couch” onto a sheet of wool felt.
In this step you place a piece of wool felt onto a table. The technique of coaching is a rocking motion that is used to transfer the paper to the wool felt. Once this step is finished you can add layers of more paper or dyed pulp to make designs.
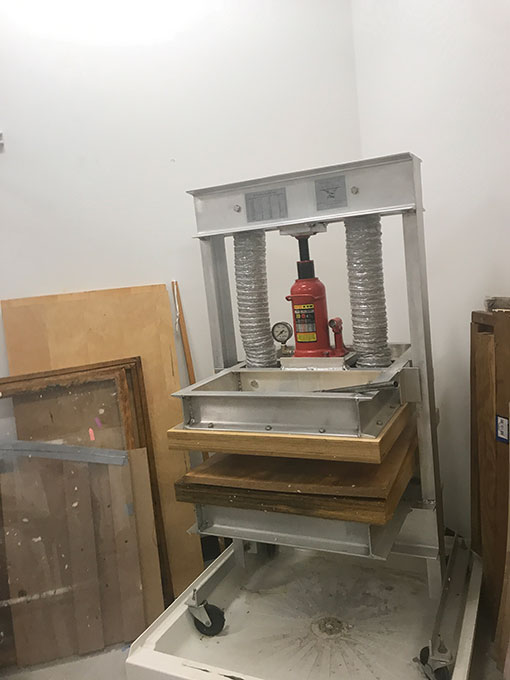
Step seven: Place stack of felt and paper into a press.
In this step you take all of the finished papers into a press to get rid of excess water.
Step eight: Remove paper from felt and leave to dry on drying rack.
Step nine: enjoy your finished paper product.