Ever since I was a freshman I was interested in Marywood’s jewelry class. Finally, in my senior year I had a studio elective space in which I was able to take Jewelry-Metal I, my first jewelry making class!
Our first project was to work on the process of metal imprinting and pressing. I had always loved stringing together beaded bracelets for previous fundraisers and things but I was ready for the real deal now. I was eager to solder, set diamonds, and create wearable art pieces. However, I soon found out that jewelry making was quite a process; a long one. One process I was not used to is time. I wasn’t used to the time span it took. I also had no idea about the strong jeweler hands you needed or the precautions that had to be taken in this process. It took me two weeks of Wednesday, Friday, and spare studio times to finish just one necklace. Now, I know it won’t take me this long for every project now that I have been exposed to technique and machinery that I had little to no experience or knowledge with prior, but I was still artistically humbled by the work and devotion I would now have to put into each piece I plan to make this semester.
So how did I get to this finished product?

Glad you asked…
Metal Preparation and Imprinting
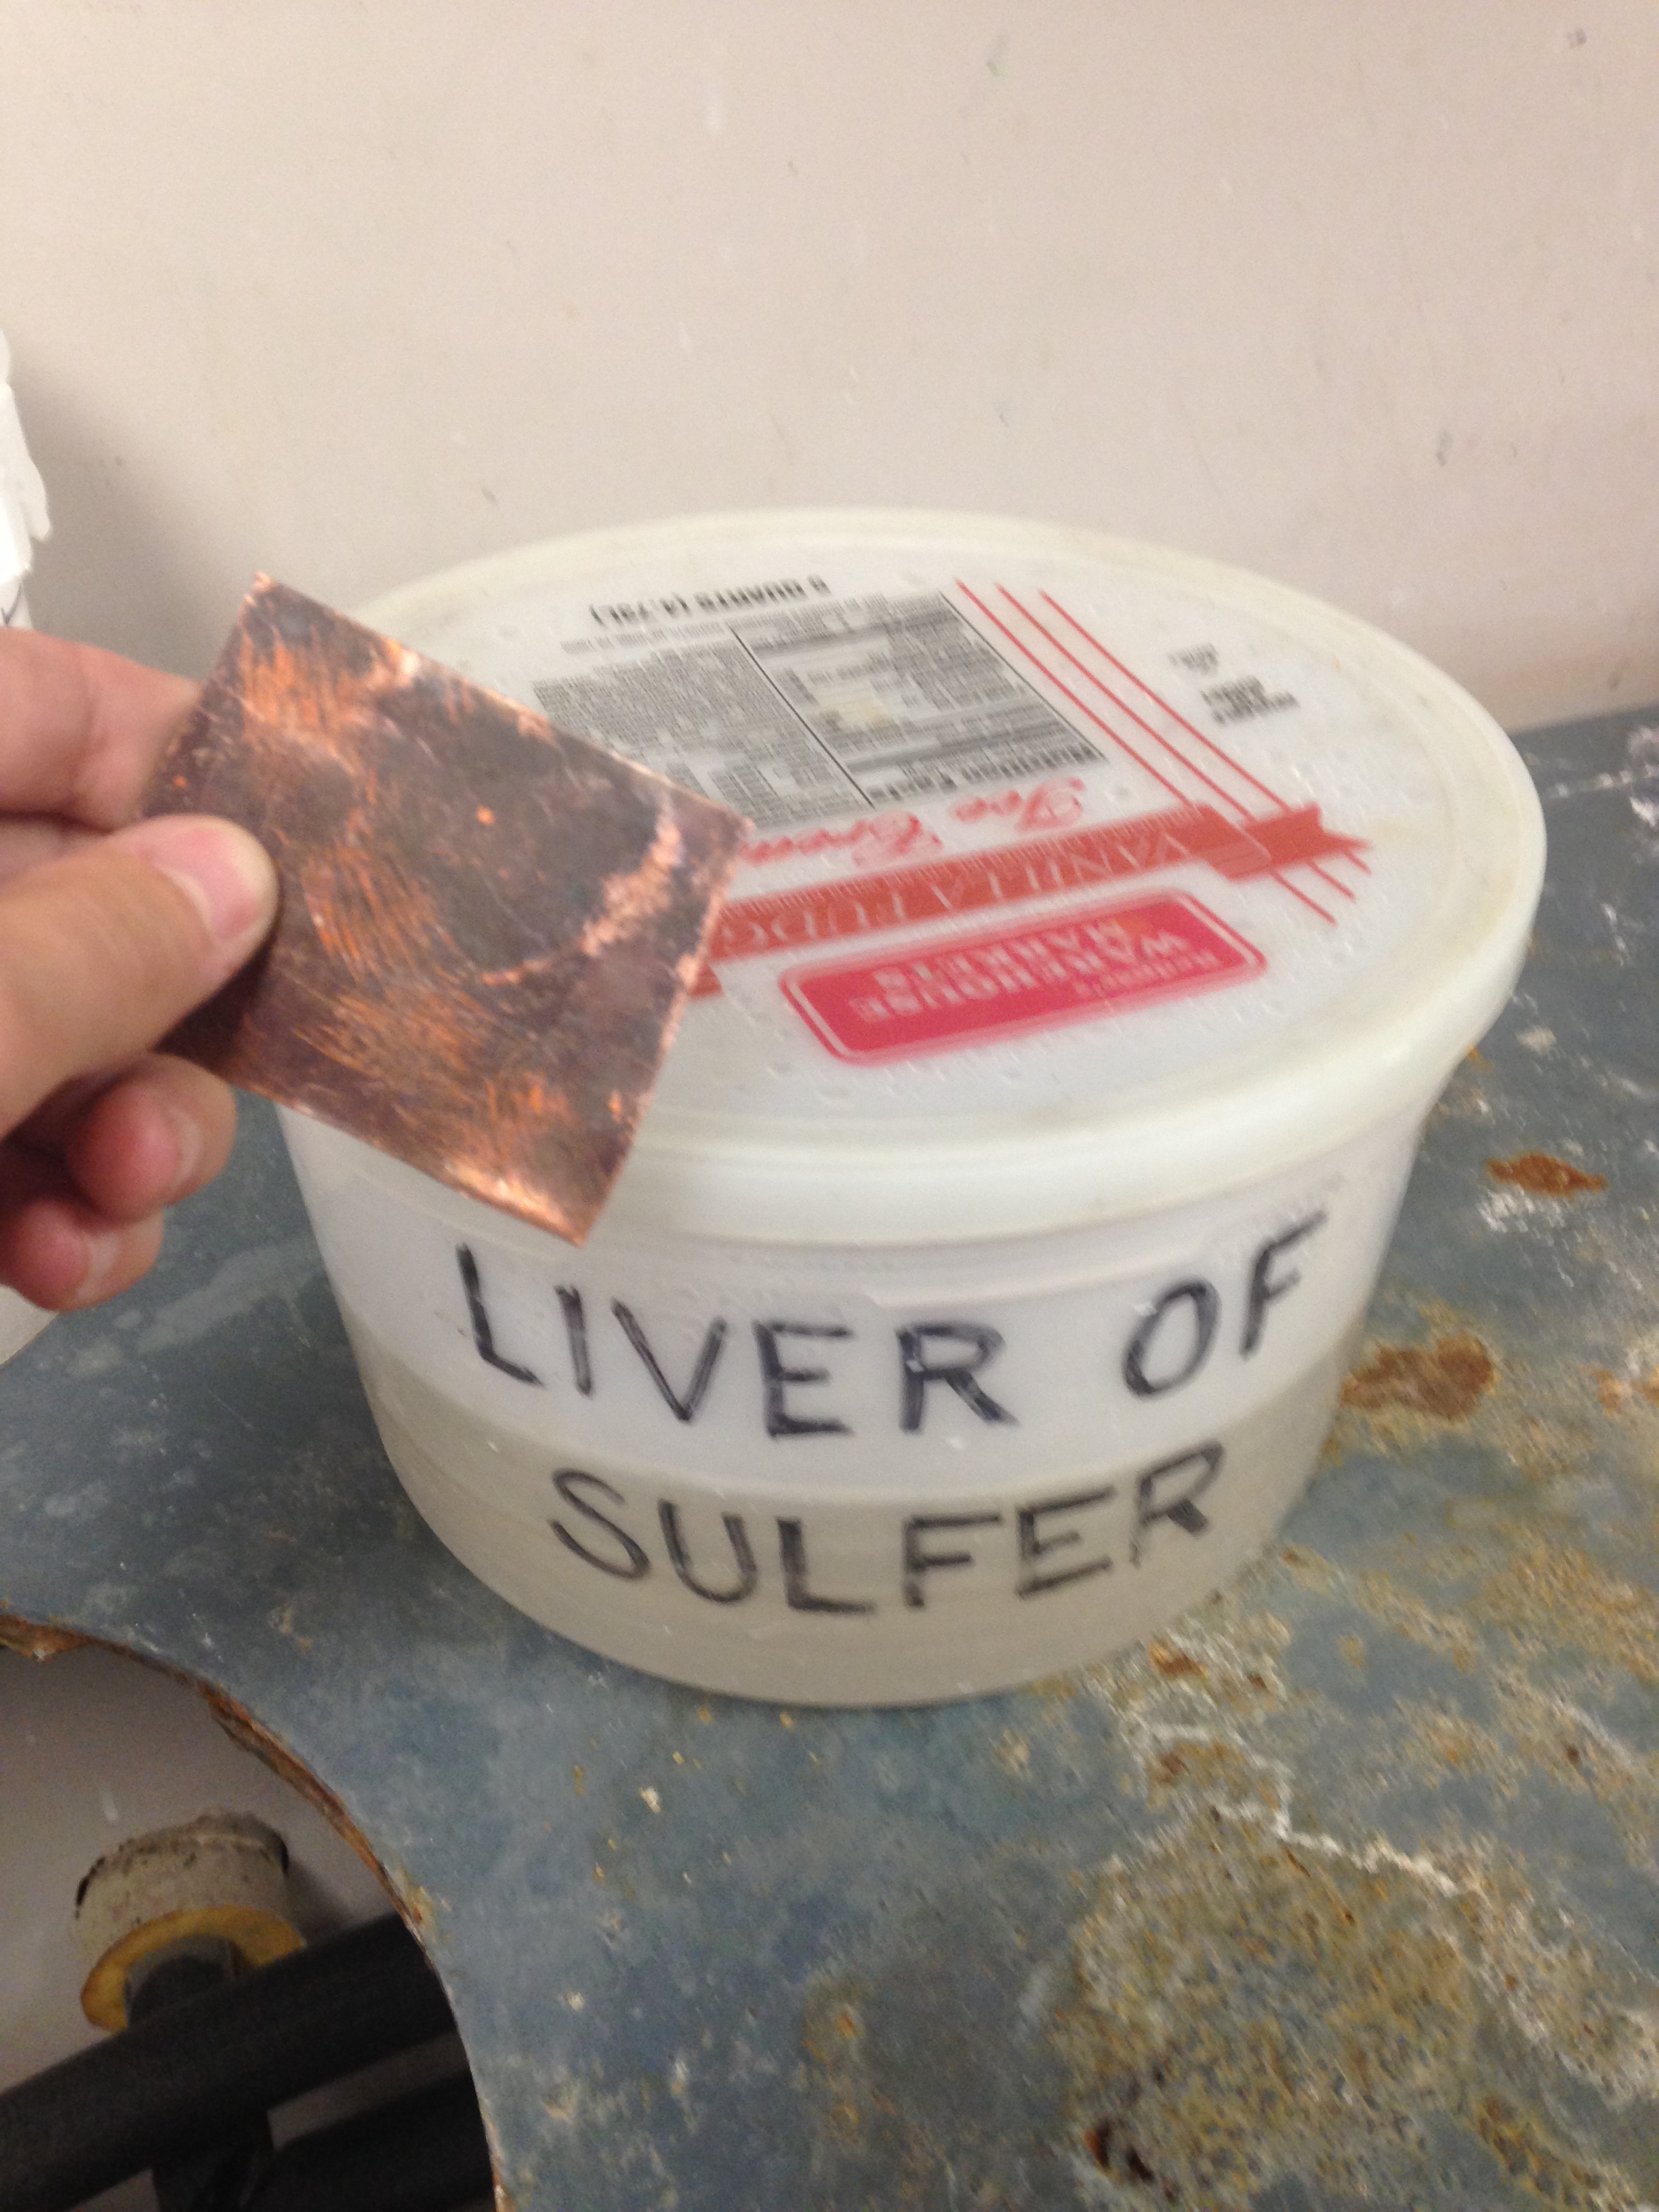
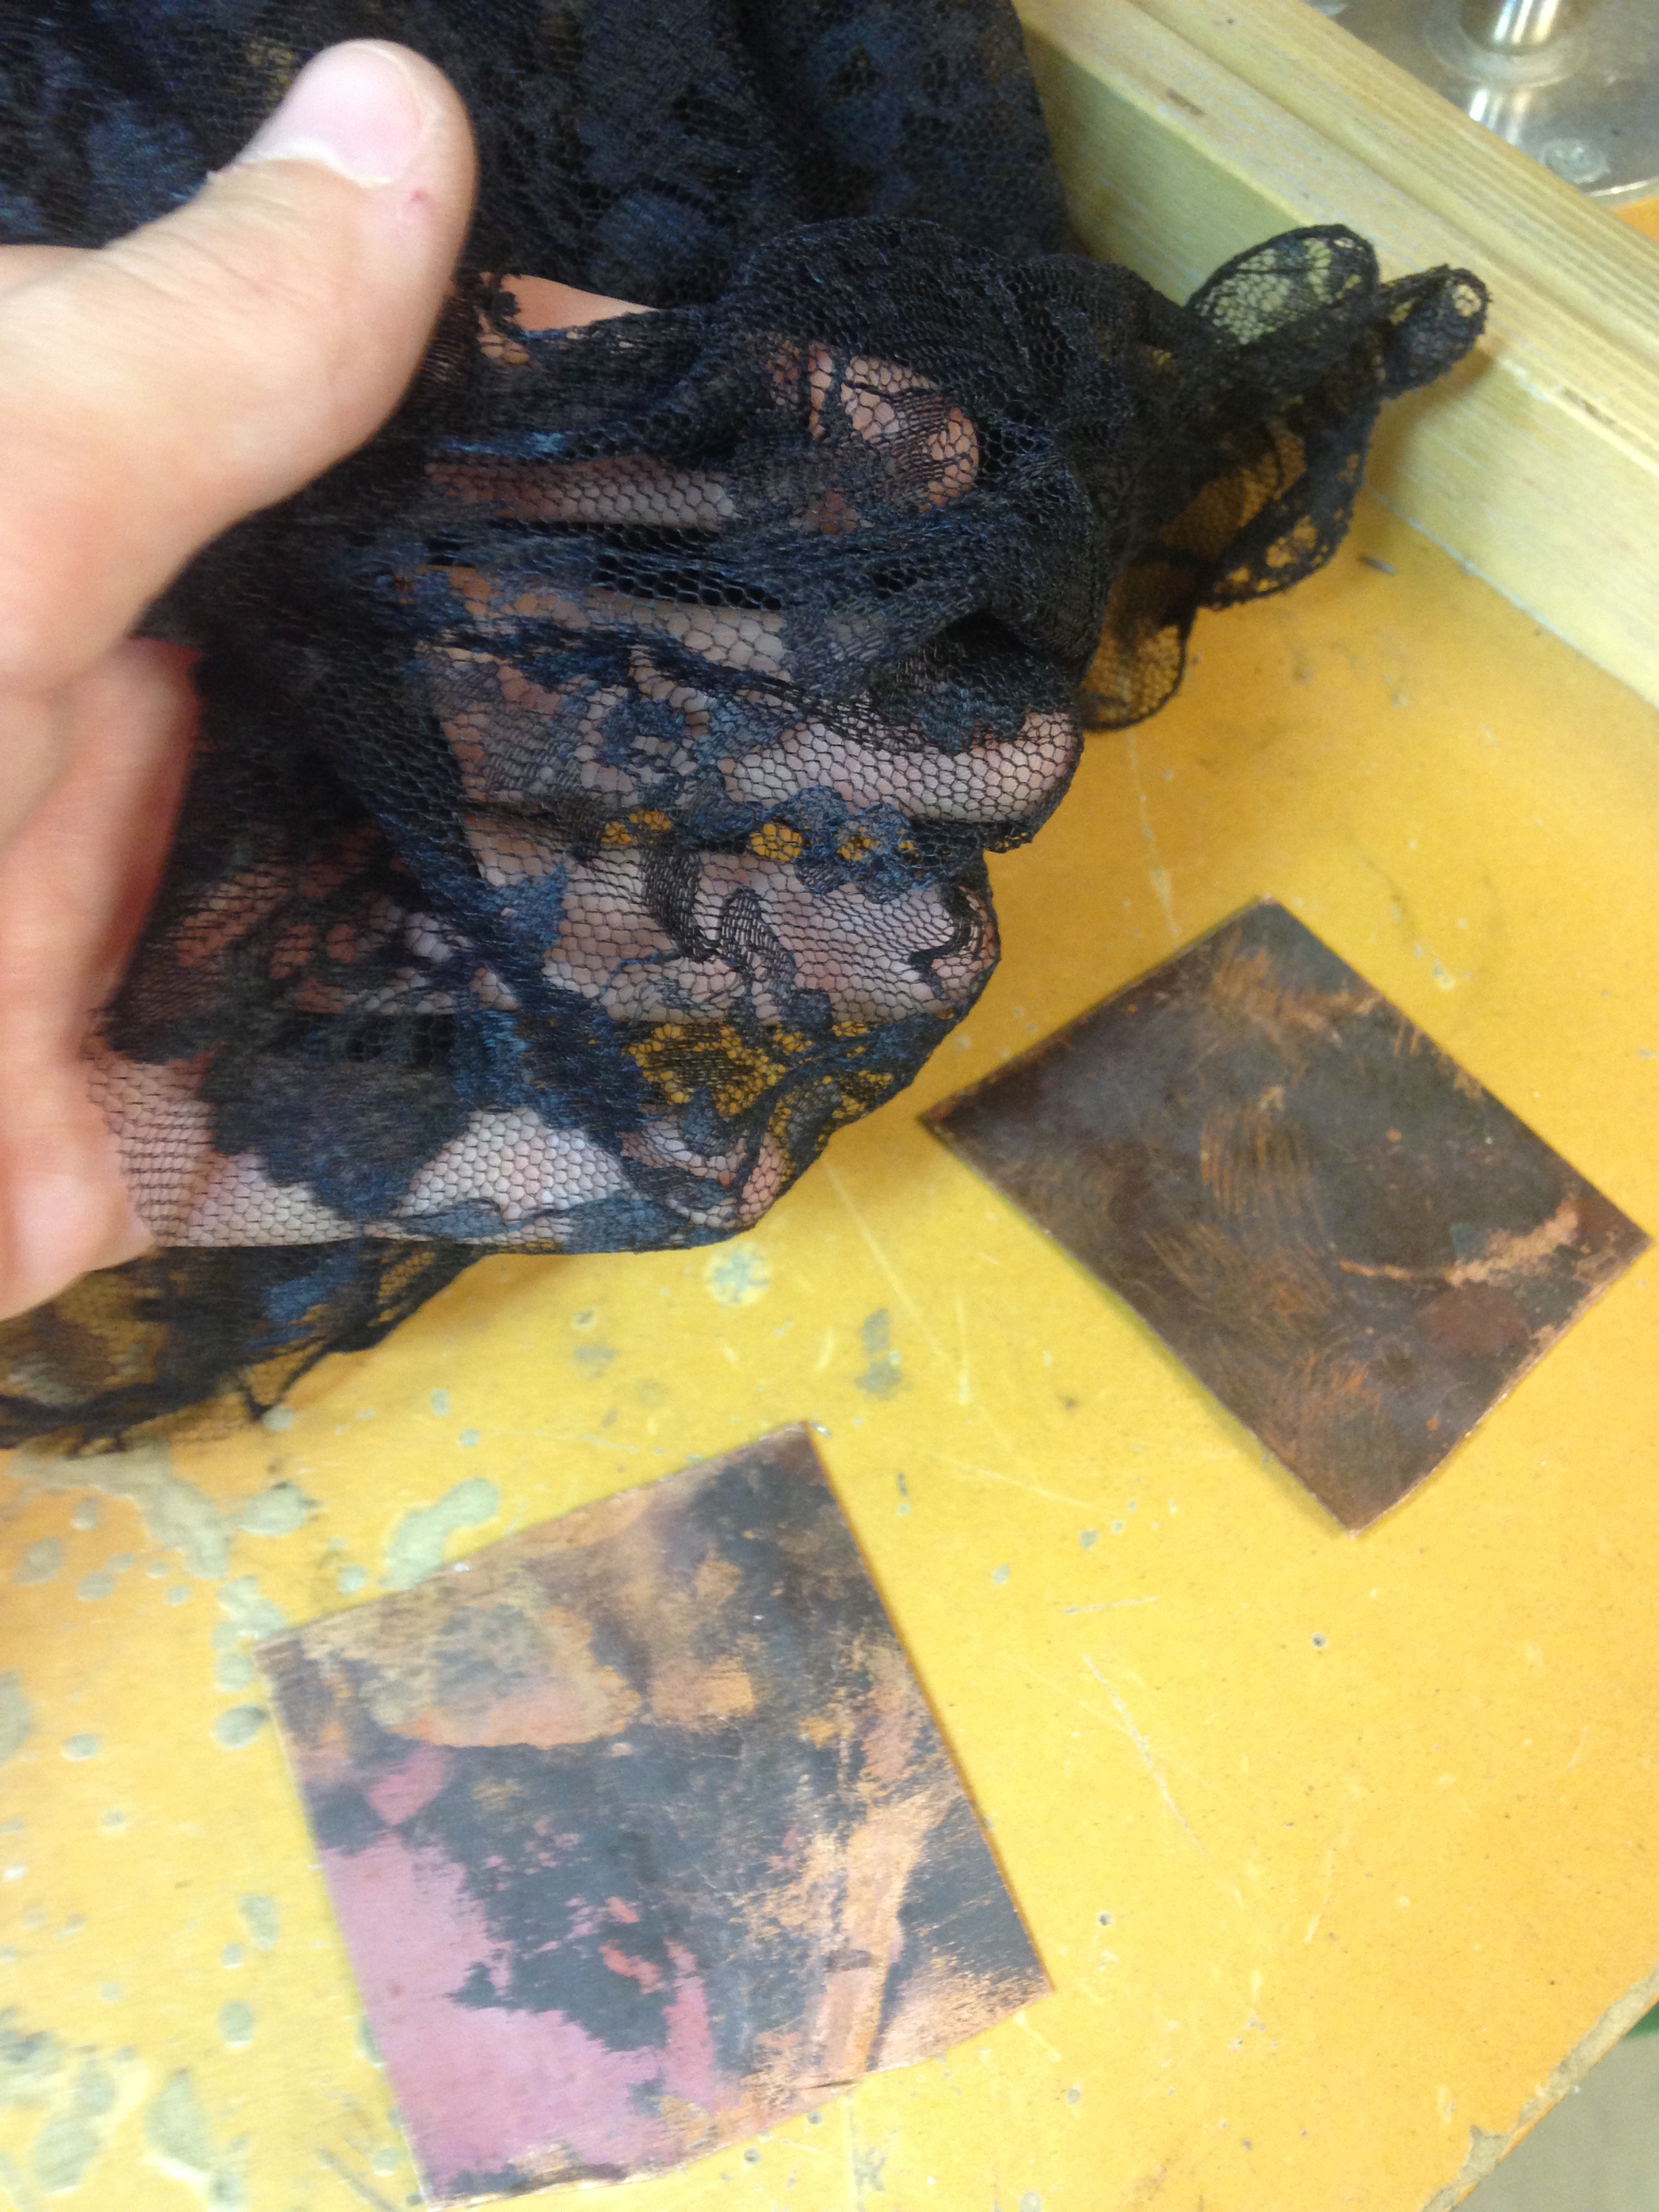
Seeing as we were short on materials as well as knowledge on making jewelry, our professor had the class pick from scrap metal pieces to work from for our first assignment. We would be able to get familiar with the techniques first before using our own materials this way as well as being able to use copper, a soft and easy metal to work with. Because the metal was previously used, I had to first hammer the metal flat and cut the metal into a workable piece. I then clean off the copper a little by leaving it in a pickling solution. After that, I picked a material with an interesting design to have pressed into the metal. I chose lace. I cut two pieces of metal not exceeding the width of the rolling machine. I then placed the lace in between the two metal pieces and adjusted the machine to allow for the metal pieces to pass through to insure maximum pressure to imprint the design more permanently. In order to have a clearer and more defined pattern, I placed my imprinted metals into a liver of sulfer solution (yes, its a thing) to blacken the metals to later be cleaned off and sanded to blacken the pattern.


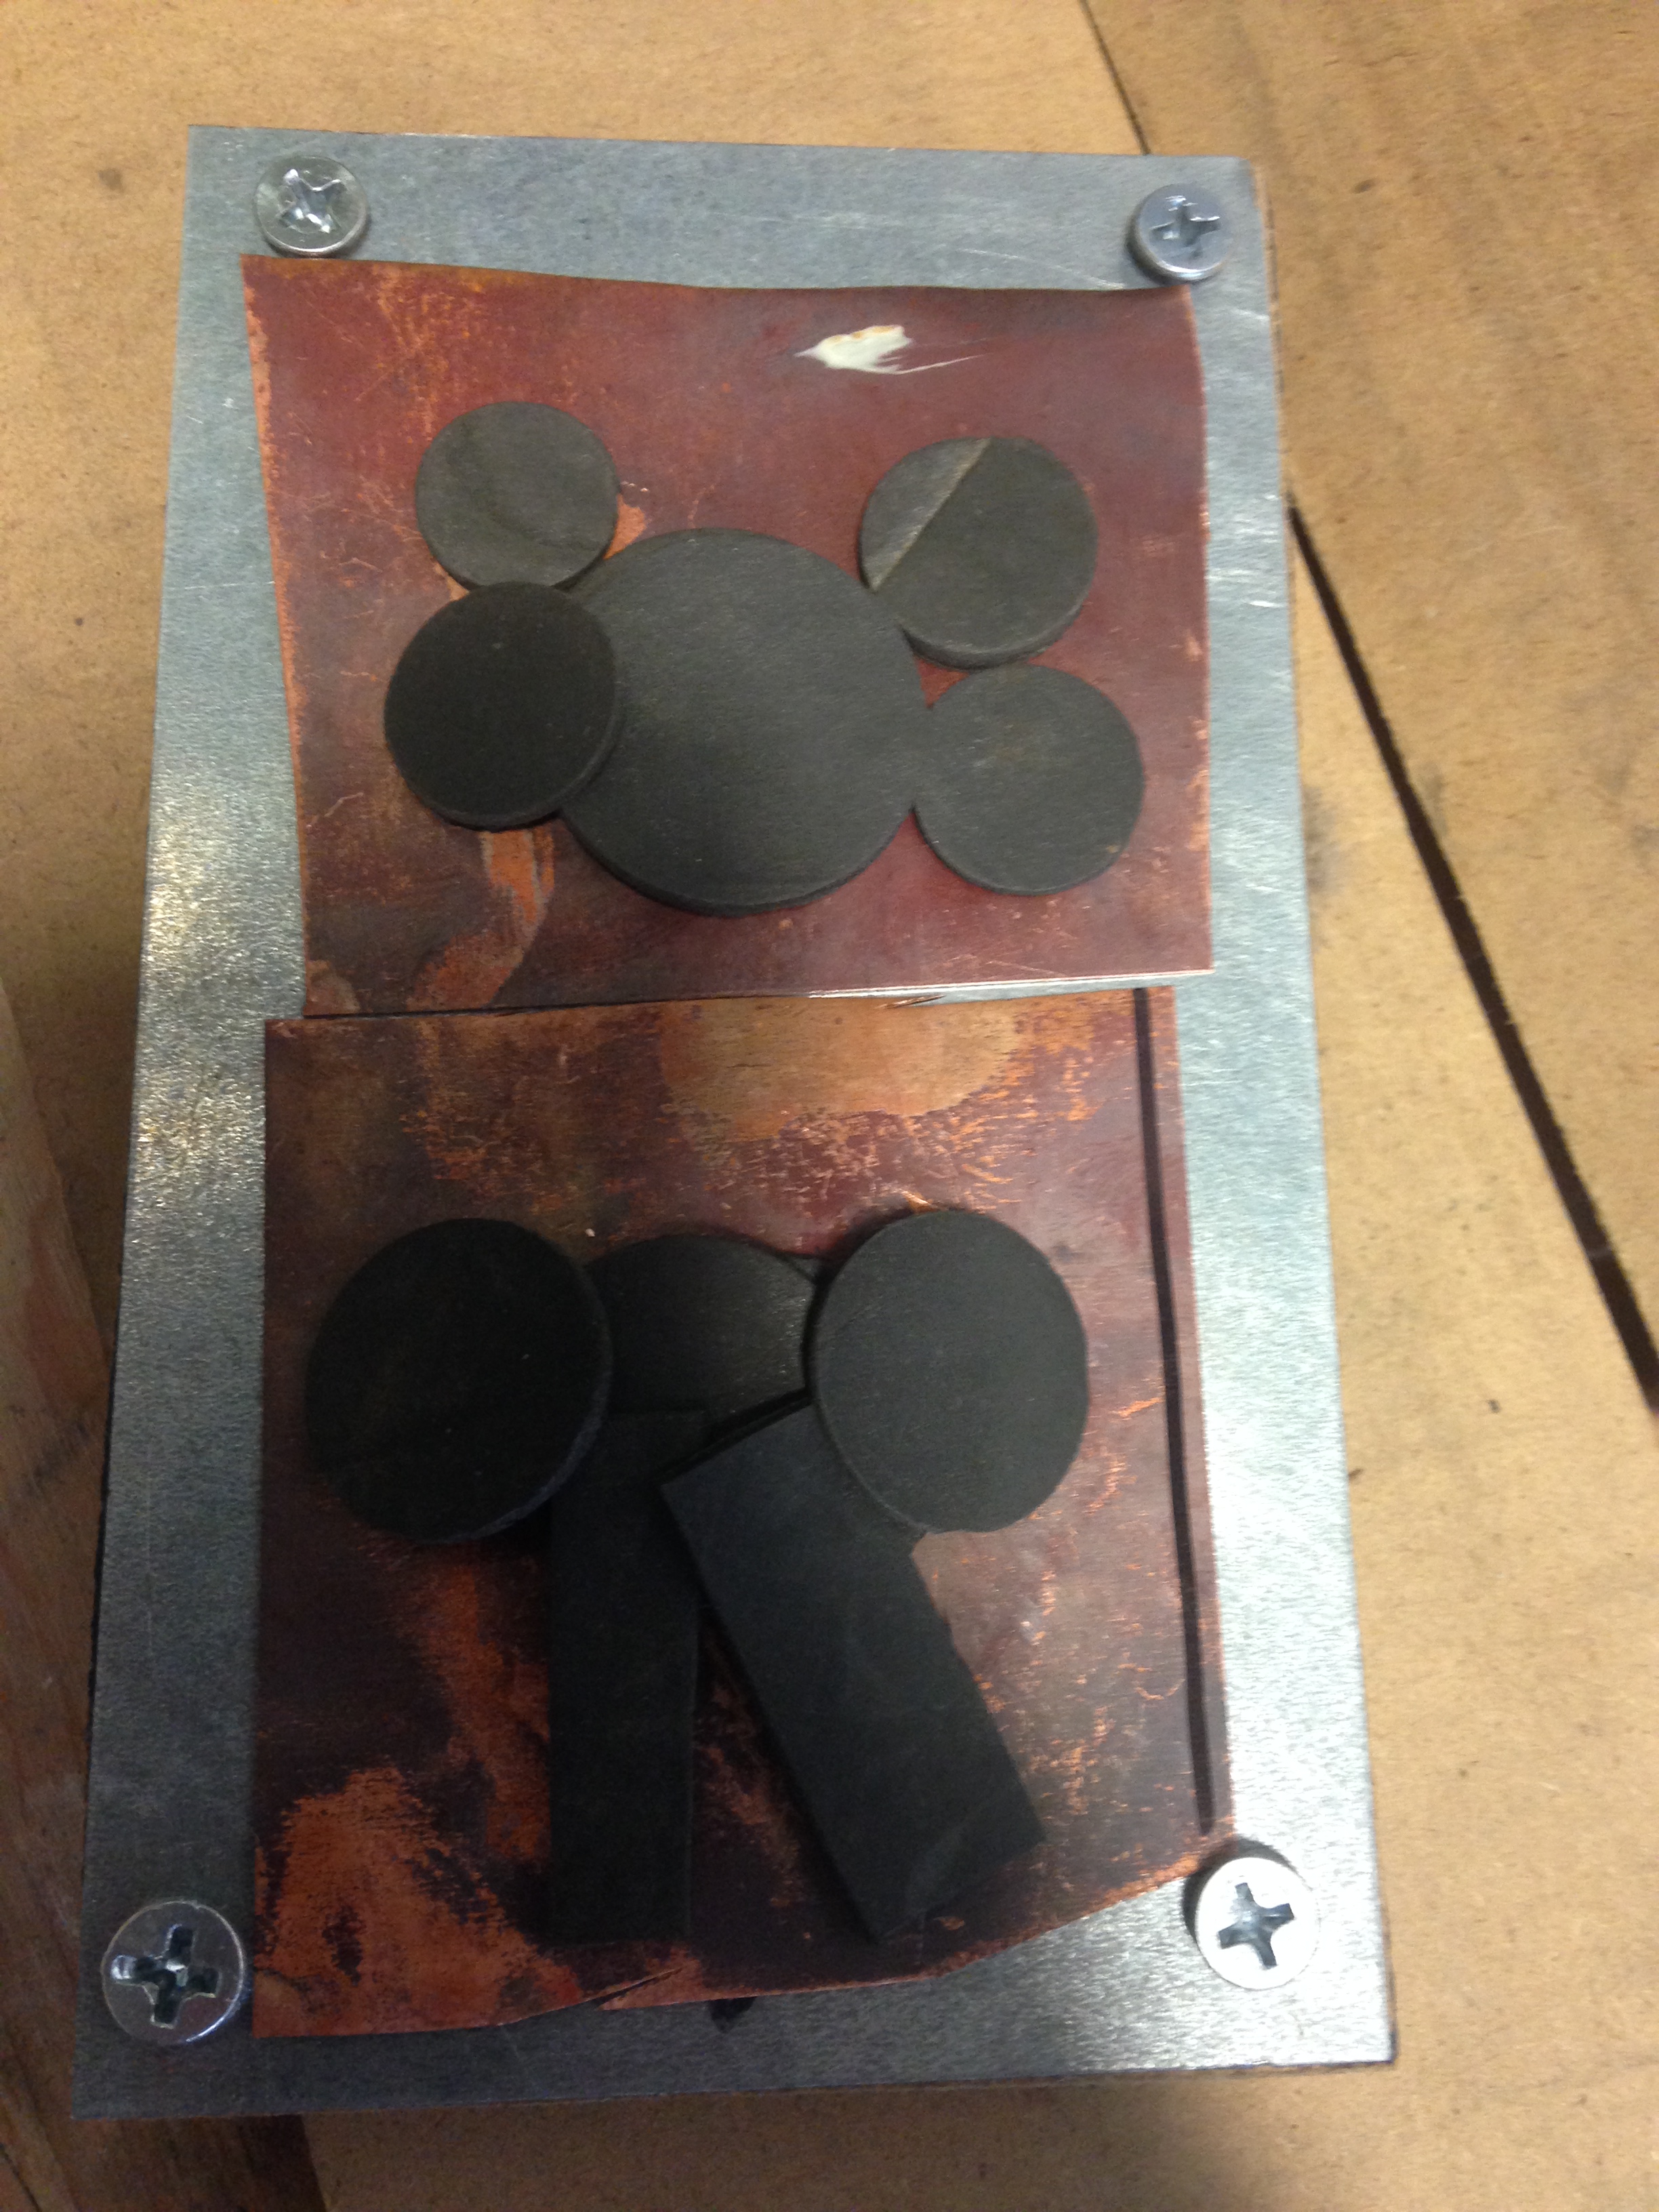
Mold Frame for Pressing
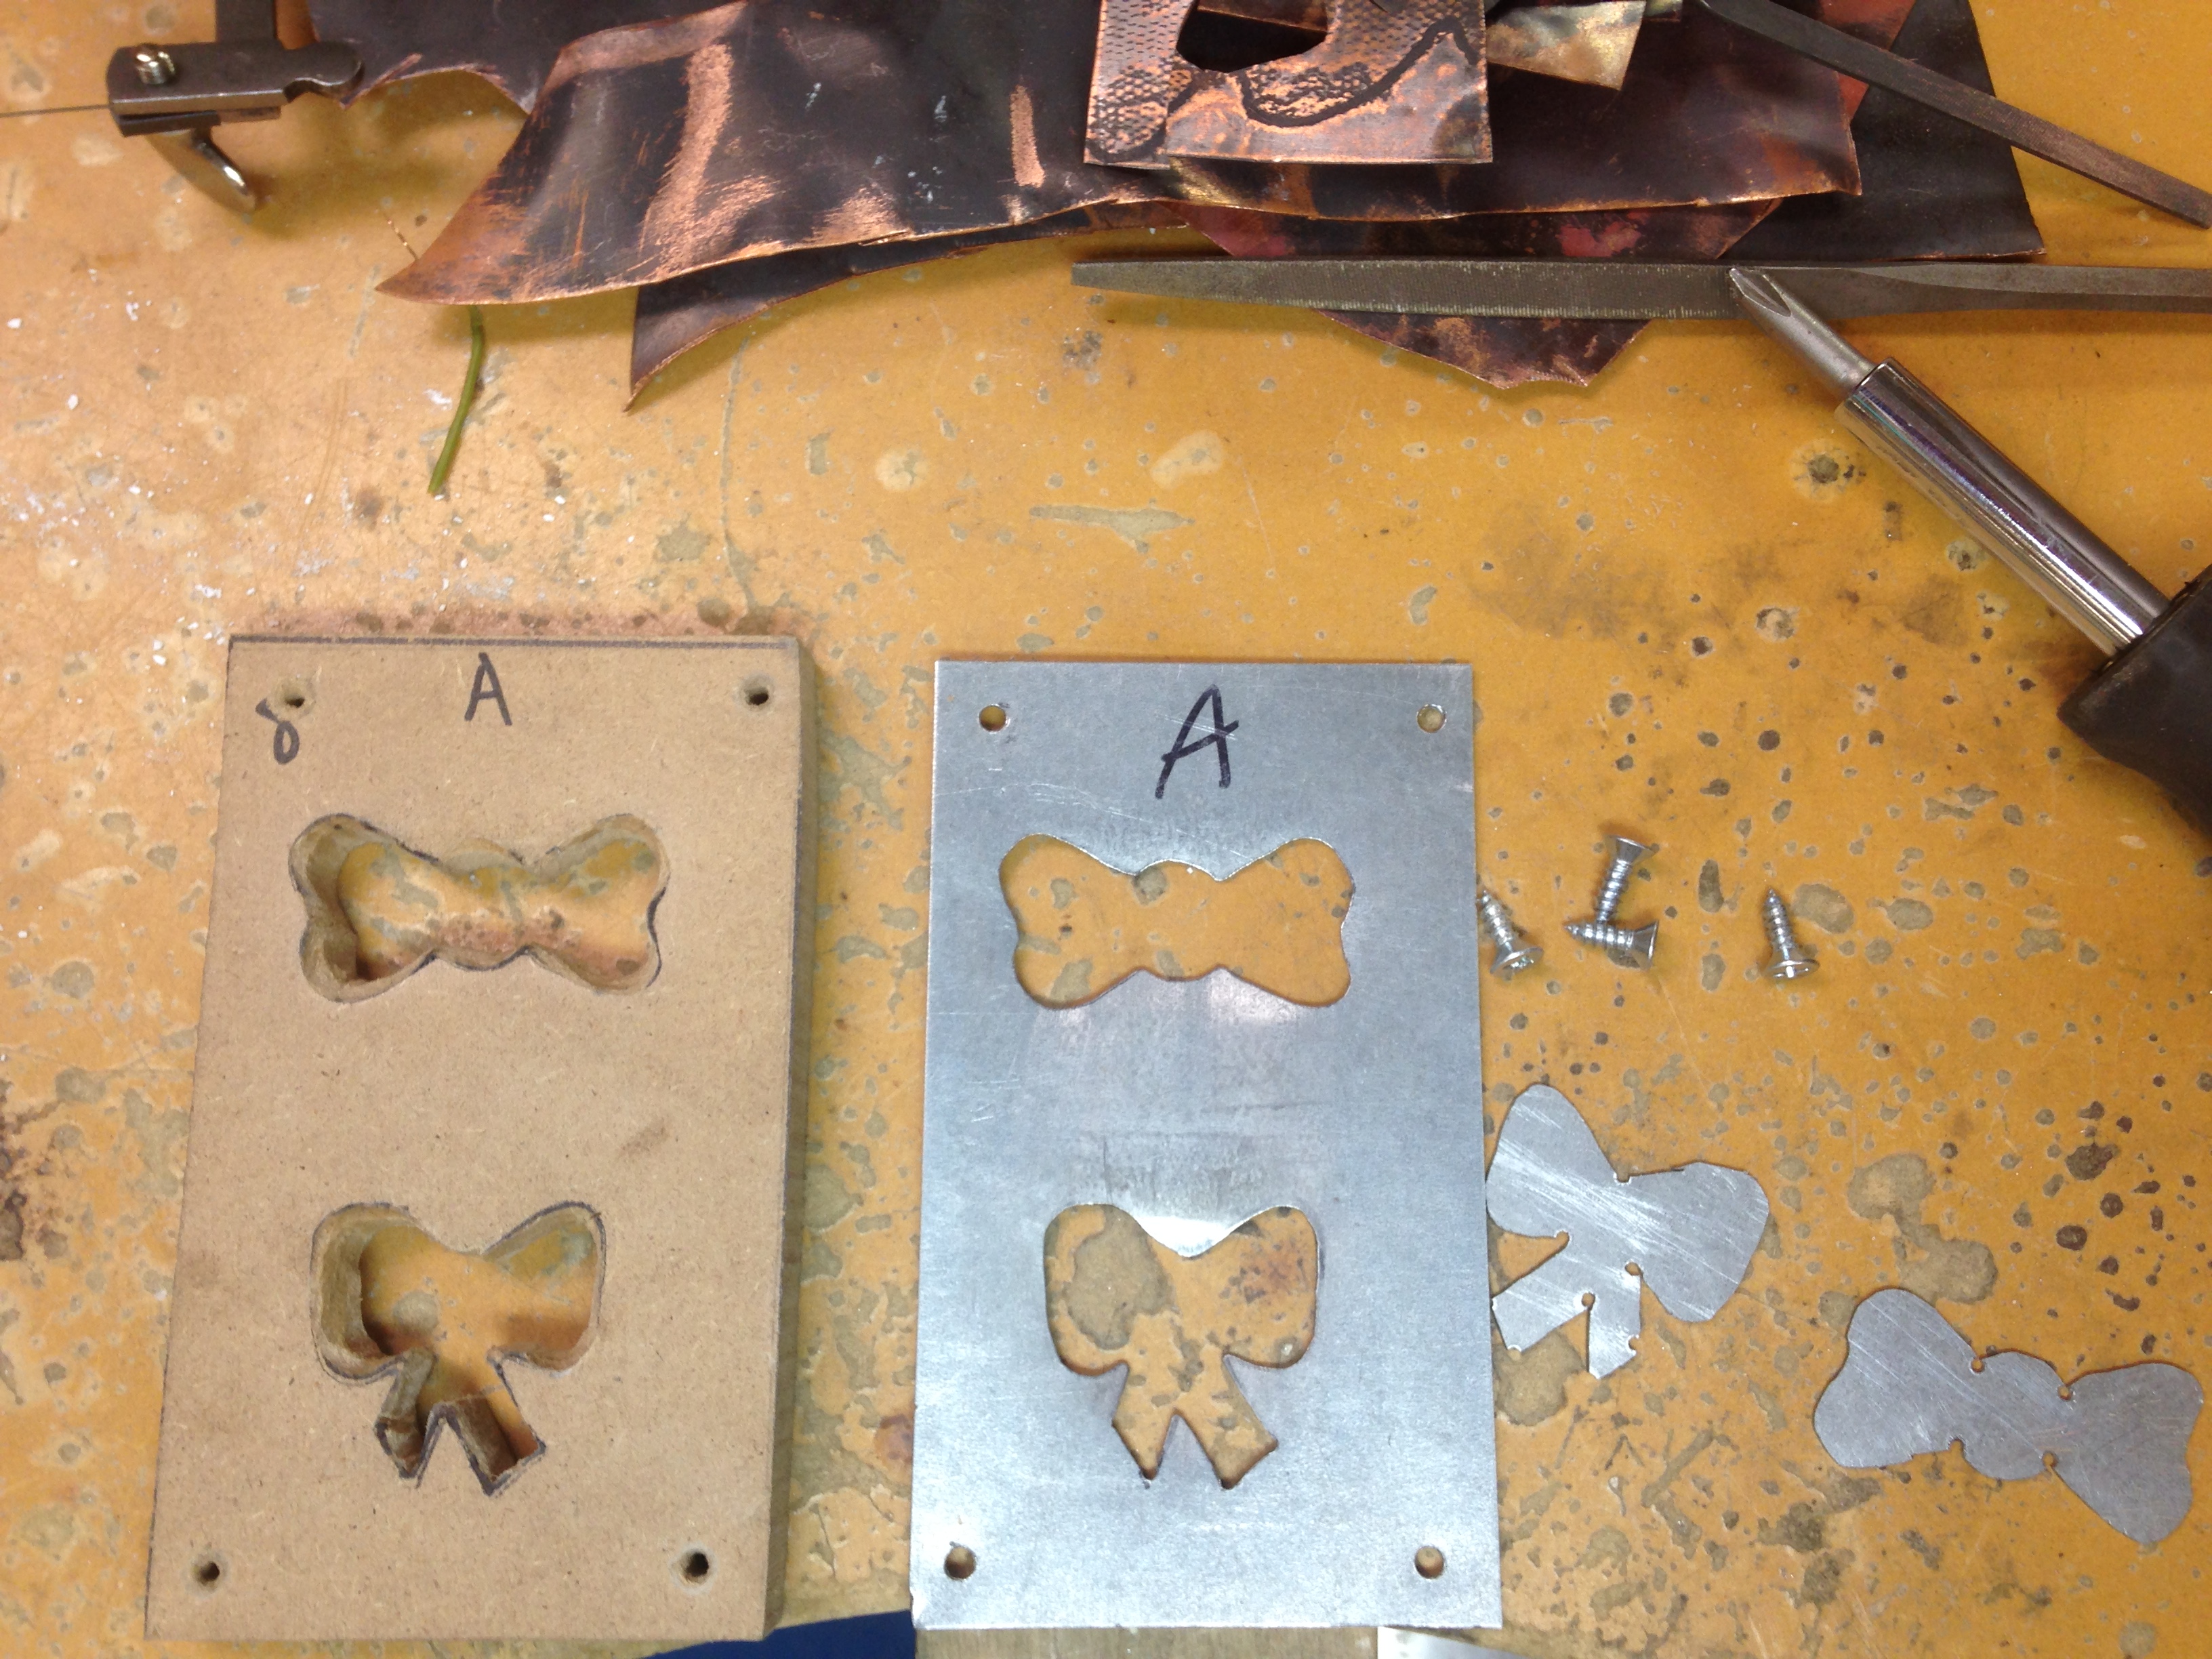
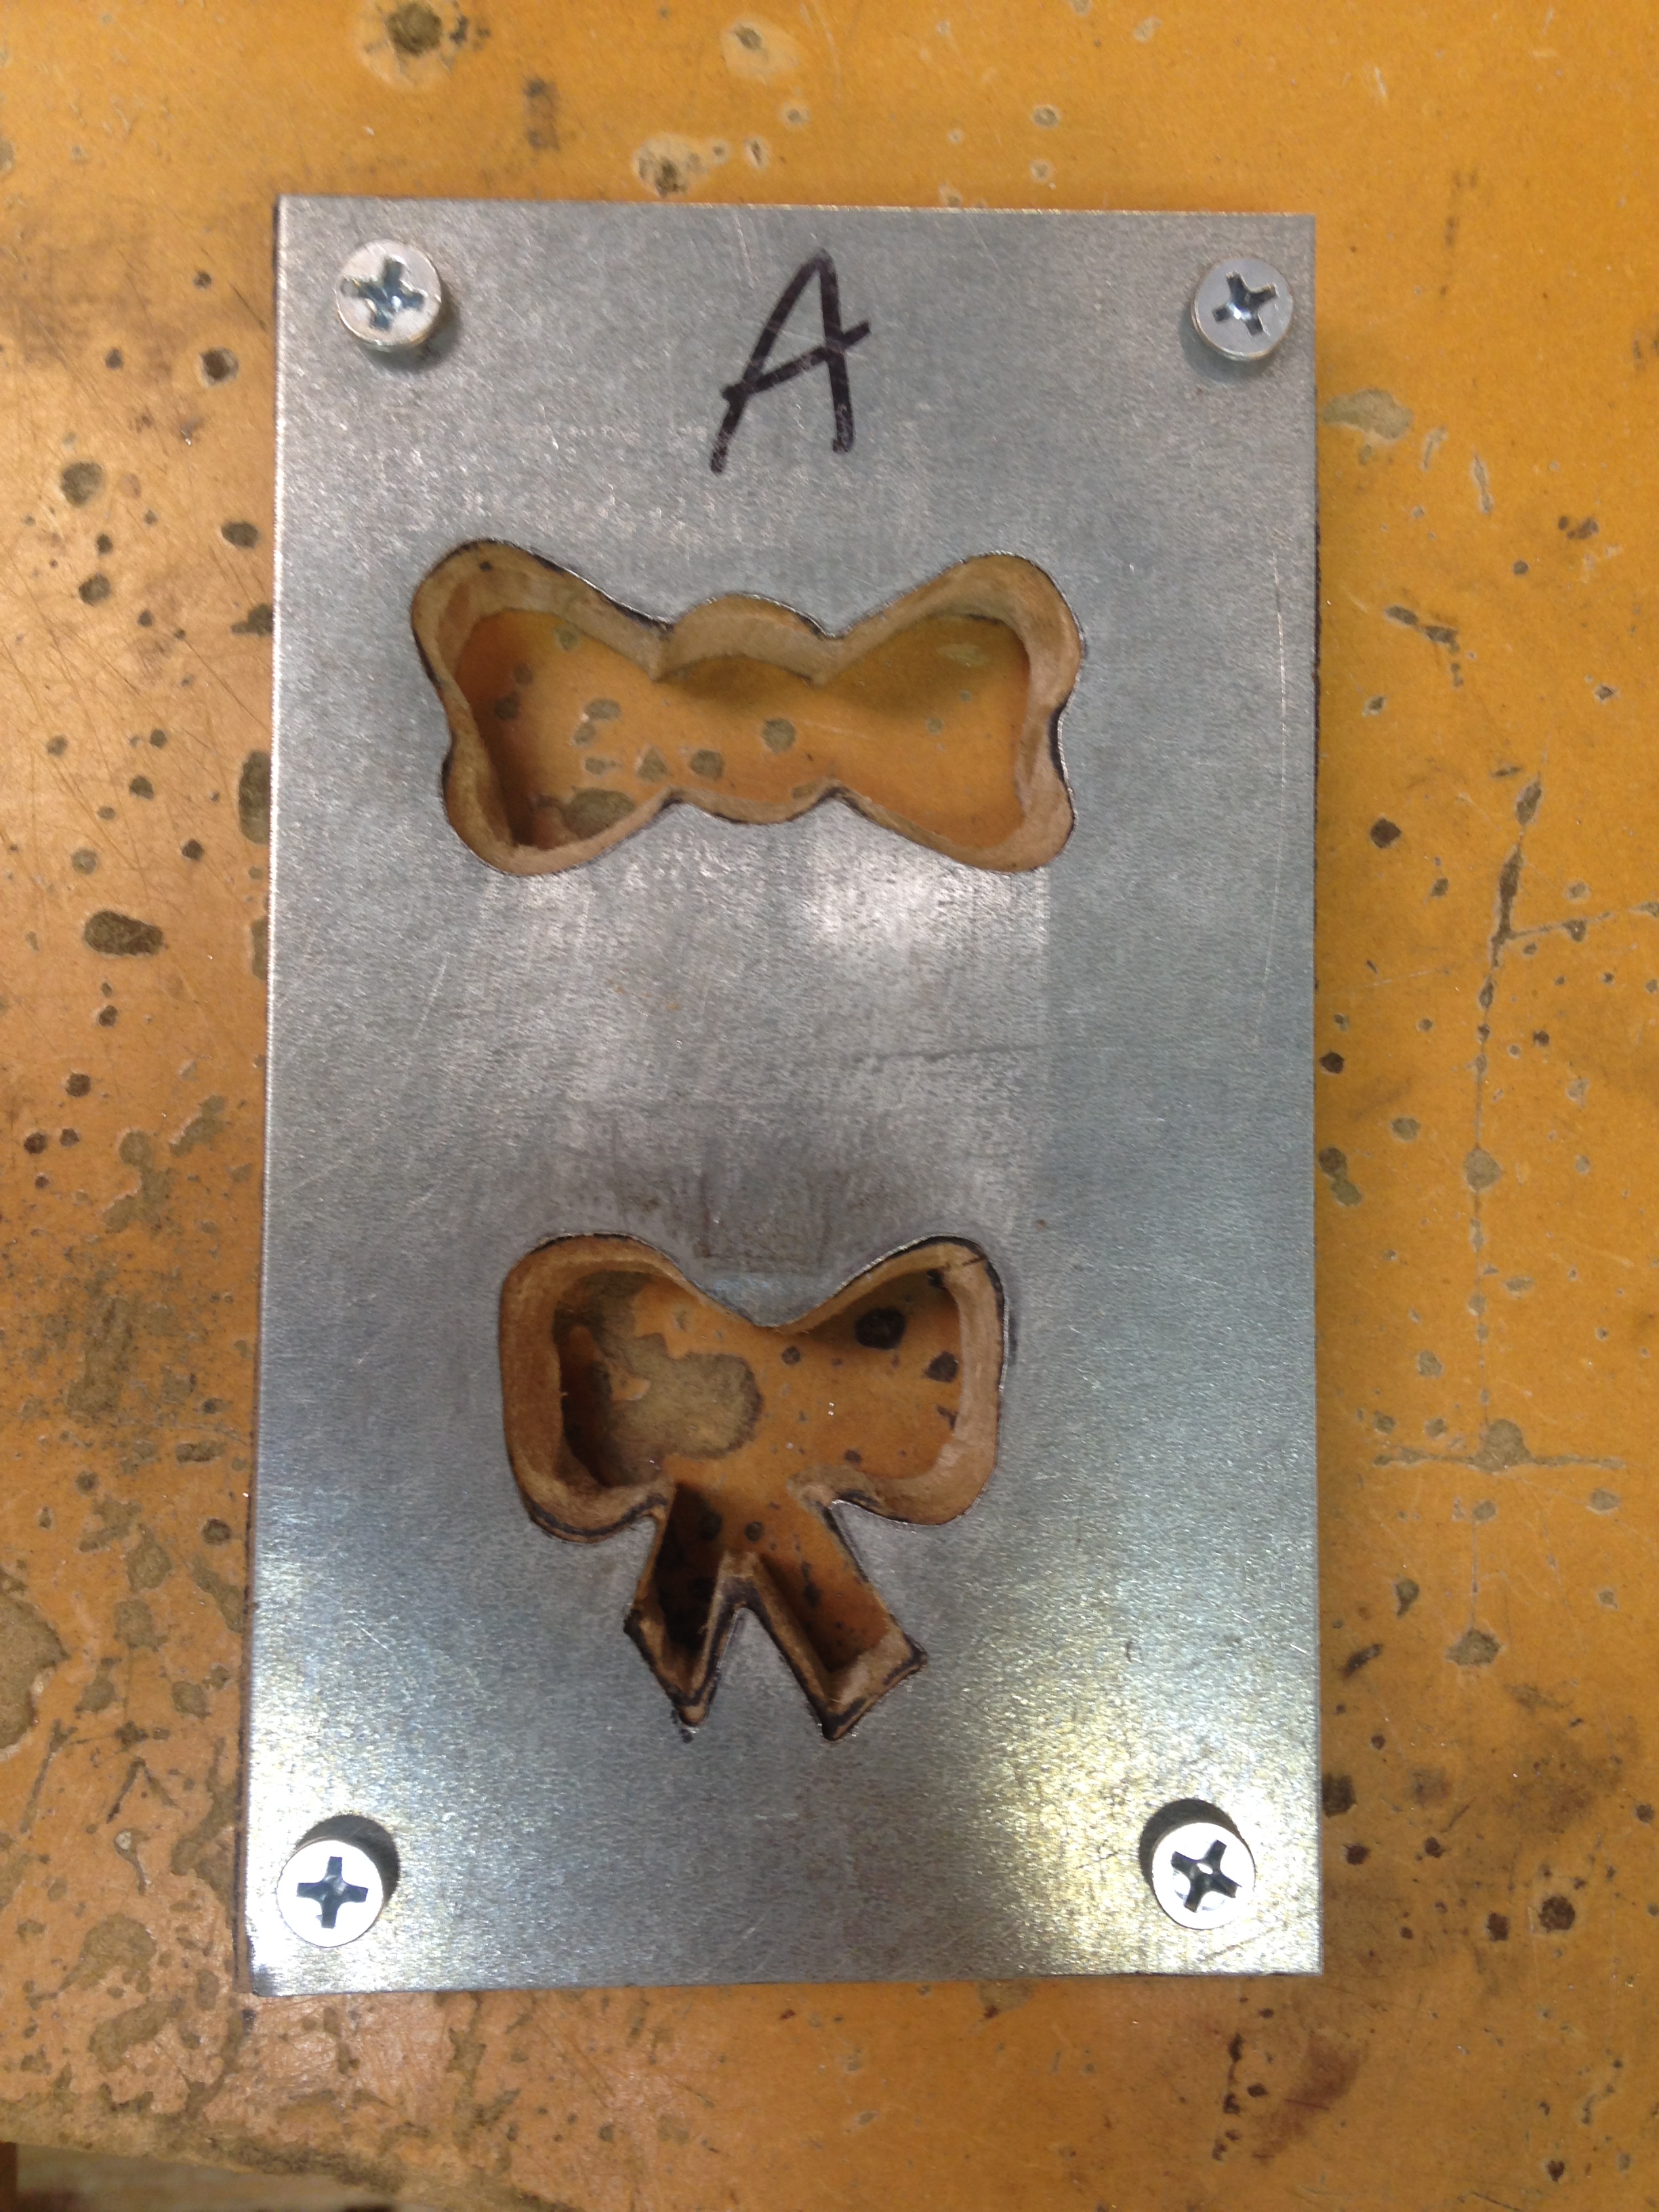
For the pendants or beads of the necklaces, the metal is pressed so the piece is not totally flat. To make a mold frame it requires a hard metal and wood block with dimensions that will fit inside the pressing machine. To make sawing my designs simpler I screwed holes in appropriate places for a saw blade to be threaded through in order to cut from the middle. The designs were cut out of the metal and wood block separately. I chose to make bows for my necklace to follow in content with my lace design on the copper. The metal is screwed onto the woodblock and then I was ready to press.
Pressing and Sawing
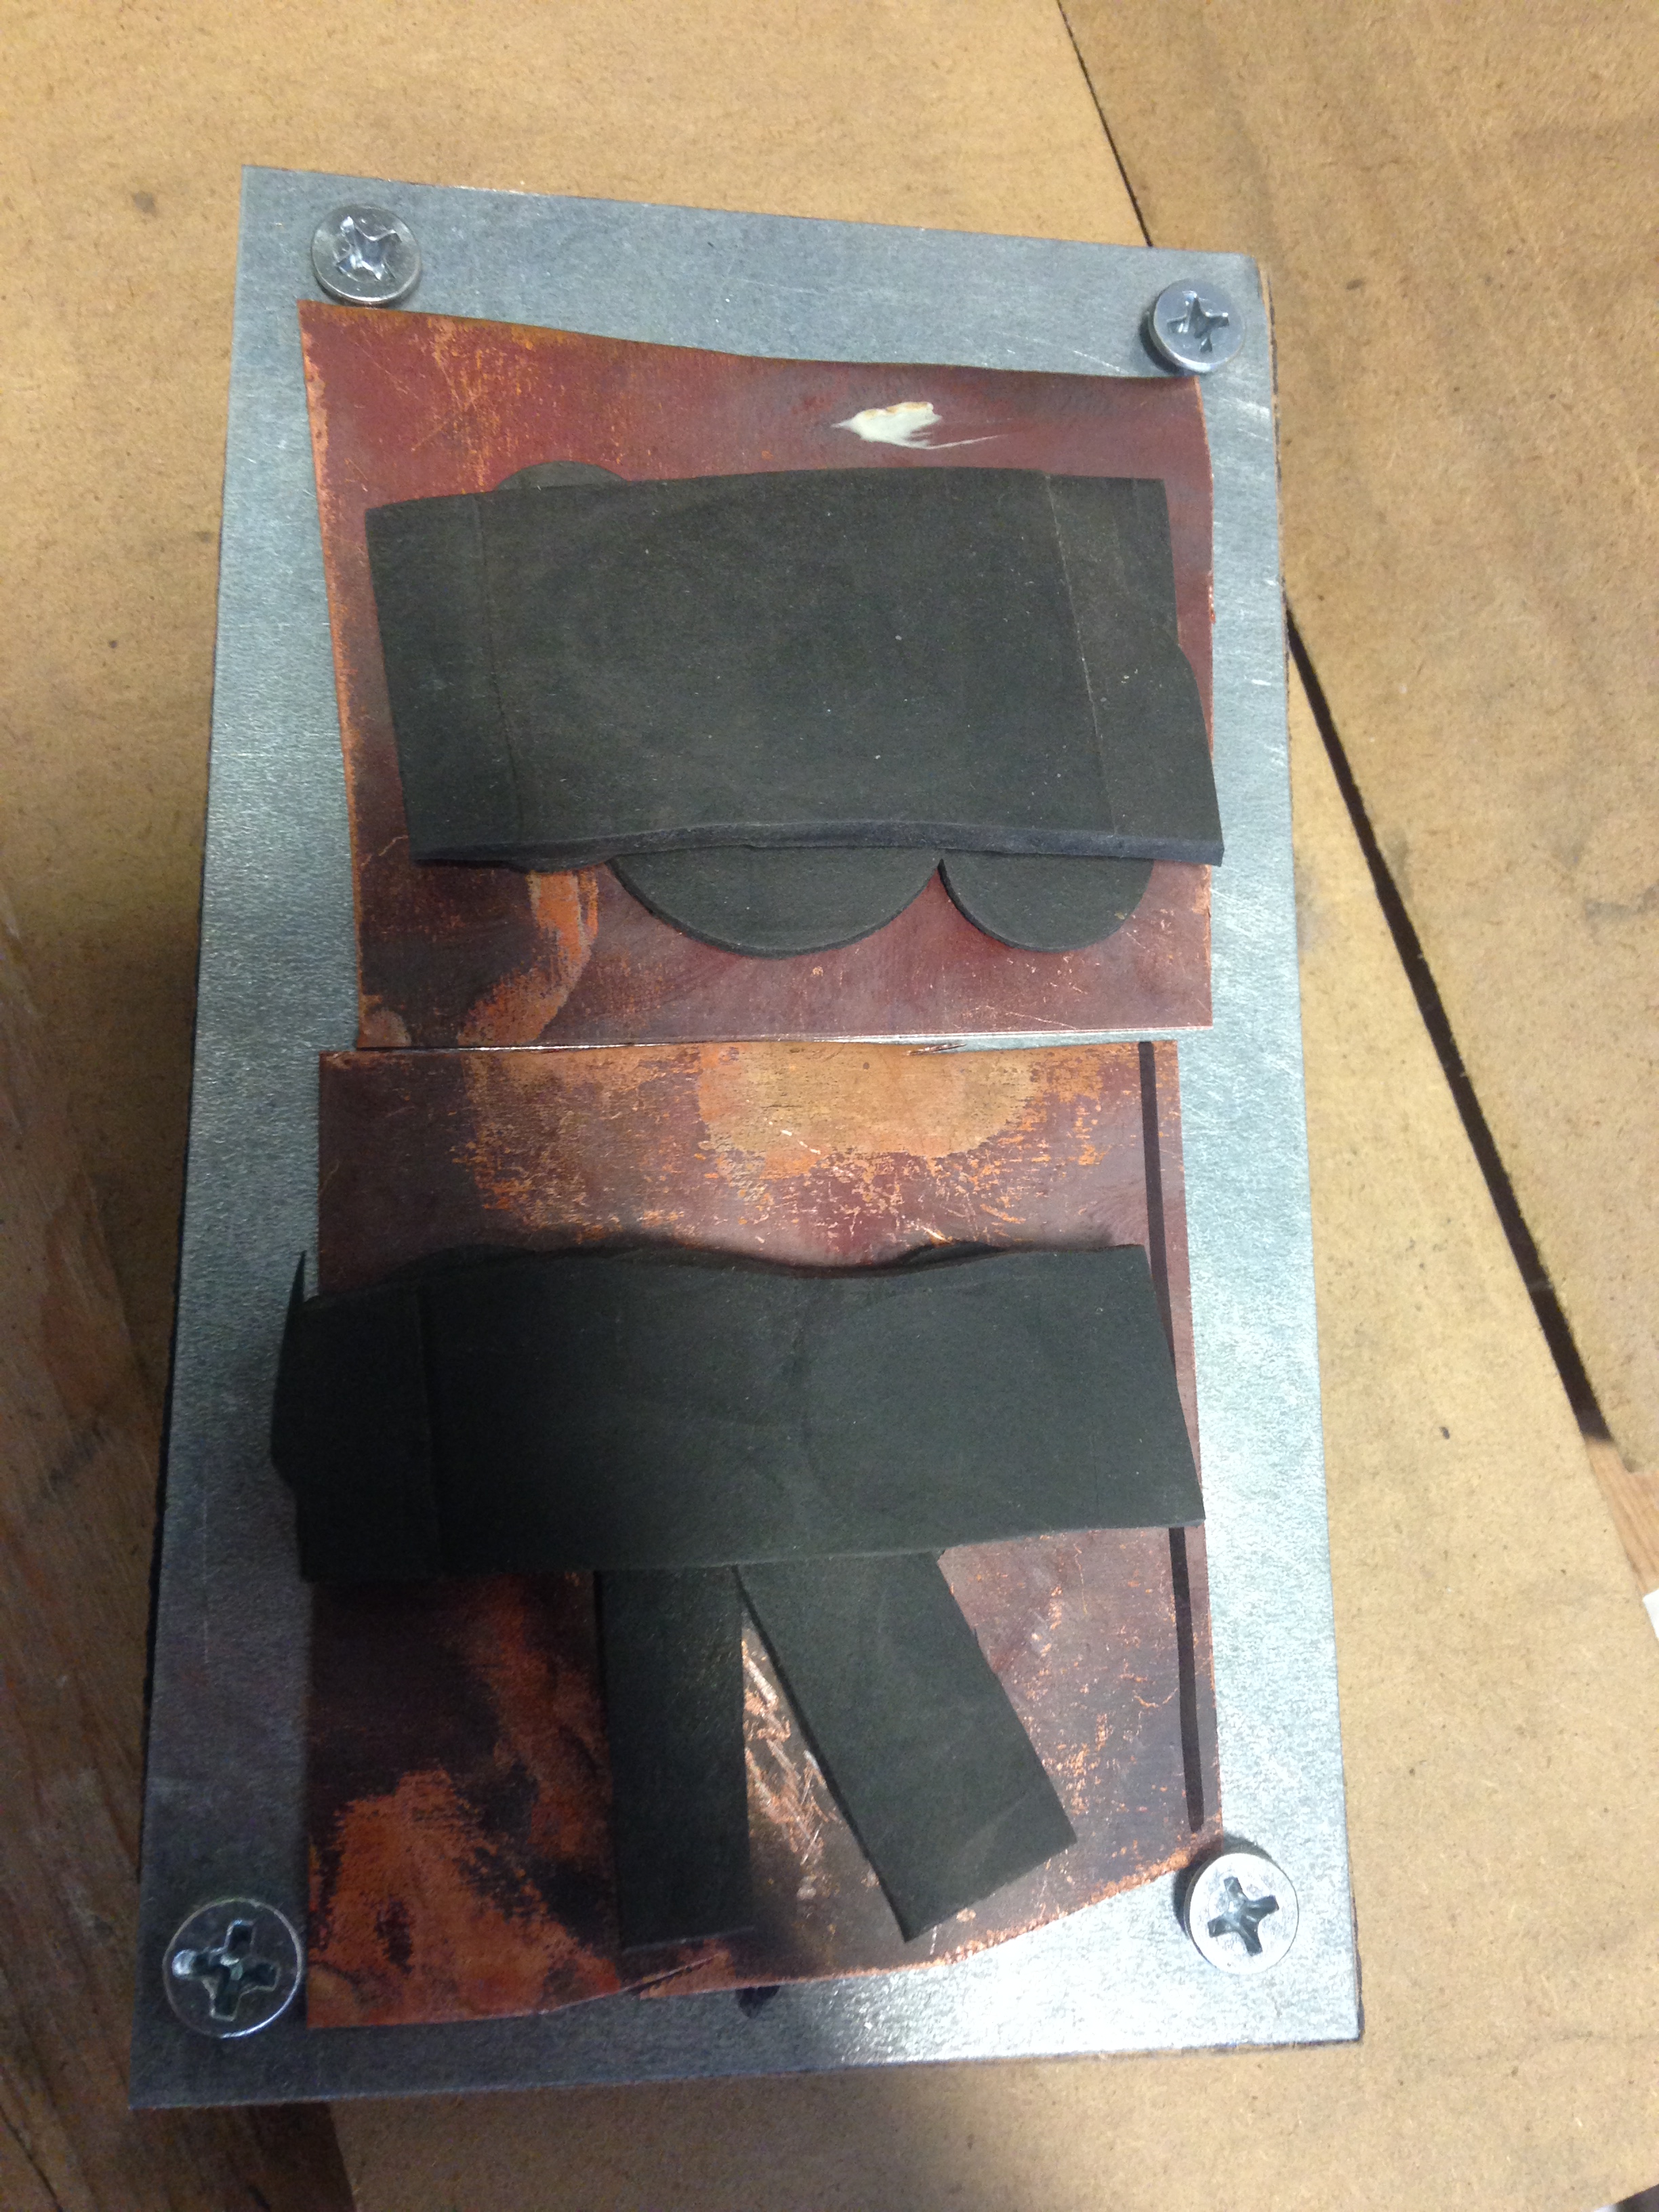
For the press, I placed recut rubber strips that aligned with my design in order to give the deepest press. Then I placed strips of rubber over the whole piece along with another wood block. I then placed this onto the press machine and cranked up the piece as if I were using a jack to change a tire. I pumped piece up as much as I could, let it sit for a few extra seconds, then released the pressure to lower the piece.
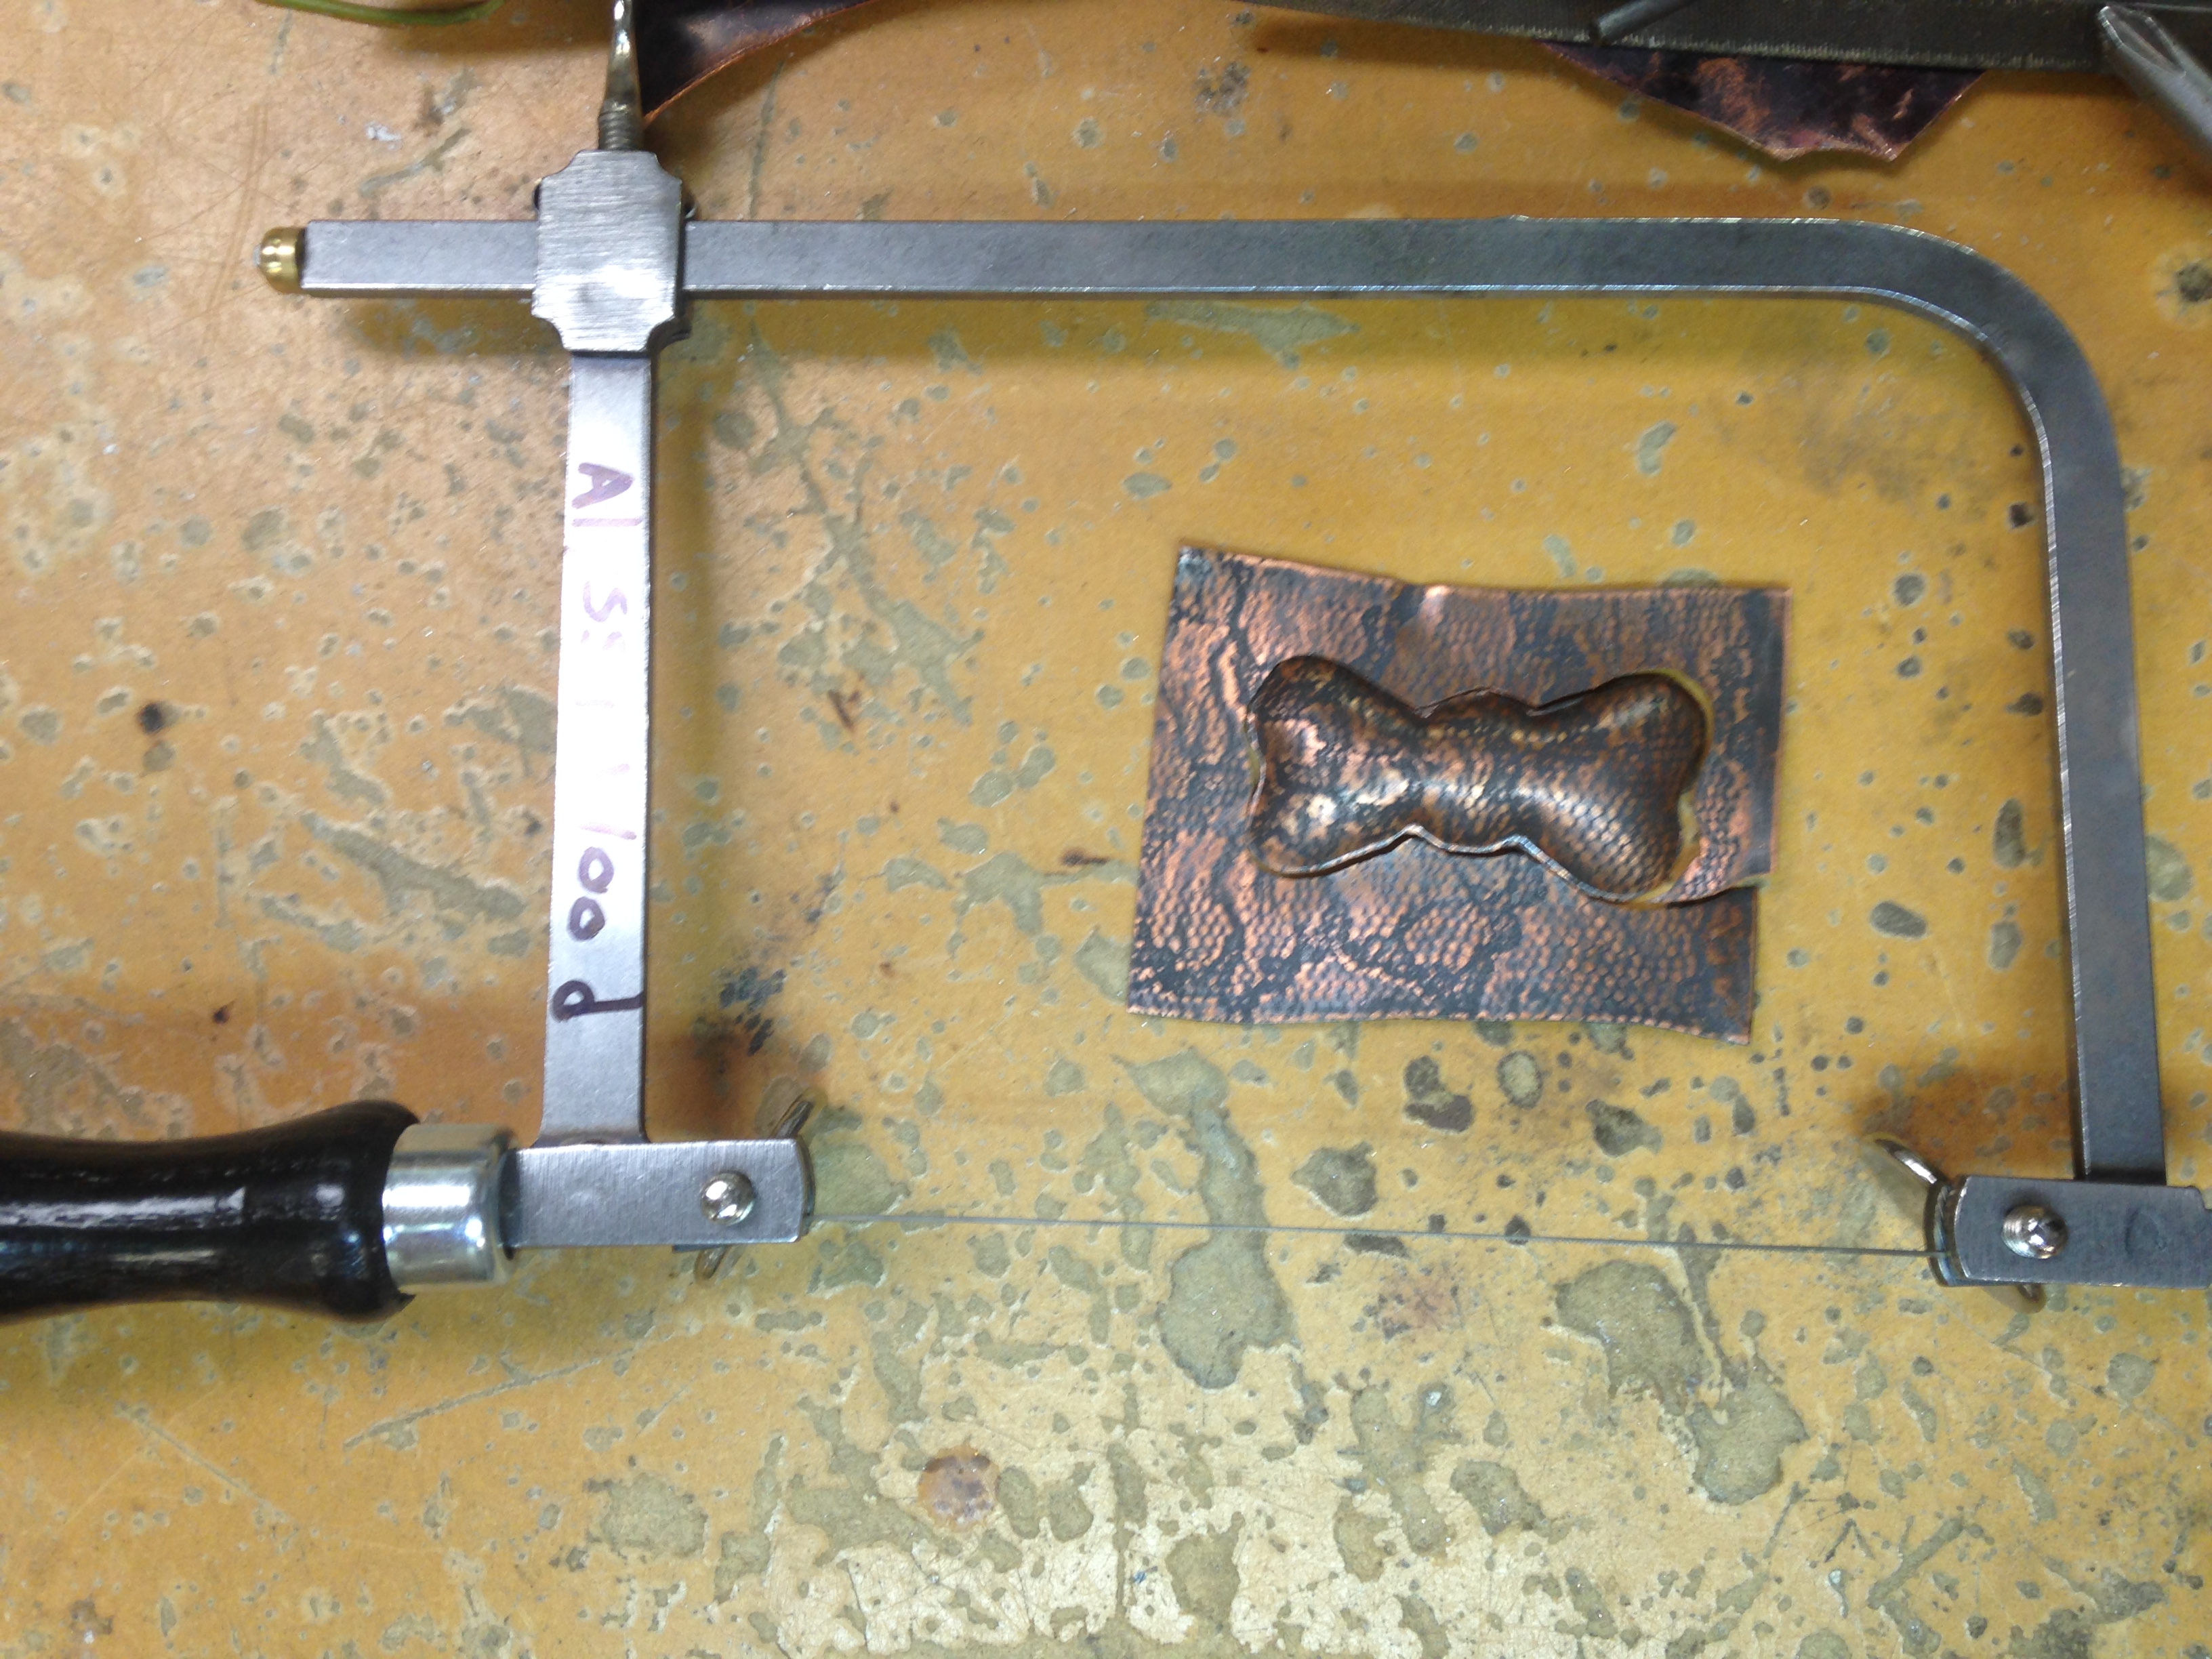
After the piece reached a depth I was pleased with, I sawed around the bow design to be as precise as I could. I pressed bows out of both printed and unprinted copper to create variety and contrast. I would saw out each bow by going through a large amount of saw blades and blade lubricant but I continued the process and got the number of bows I wanted!


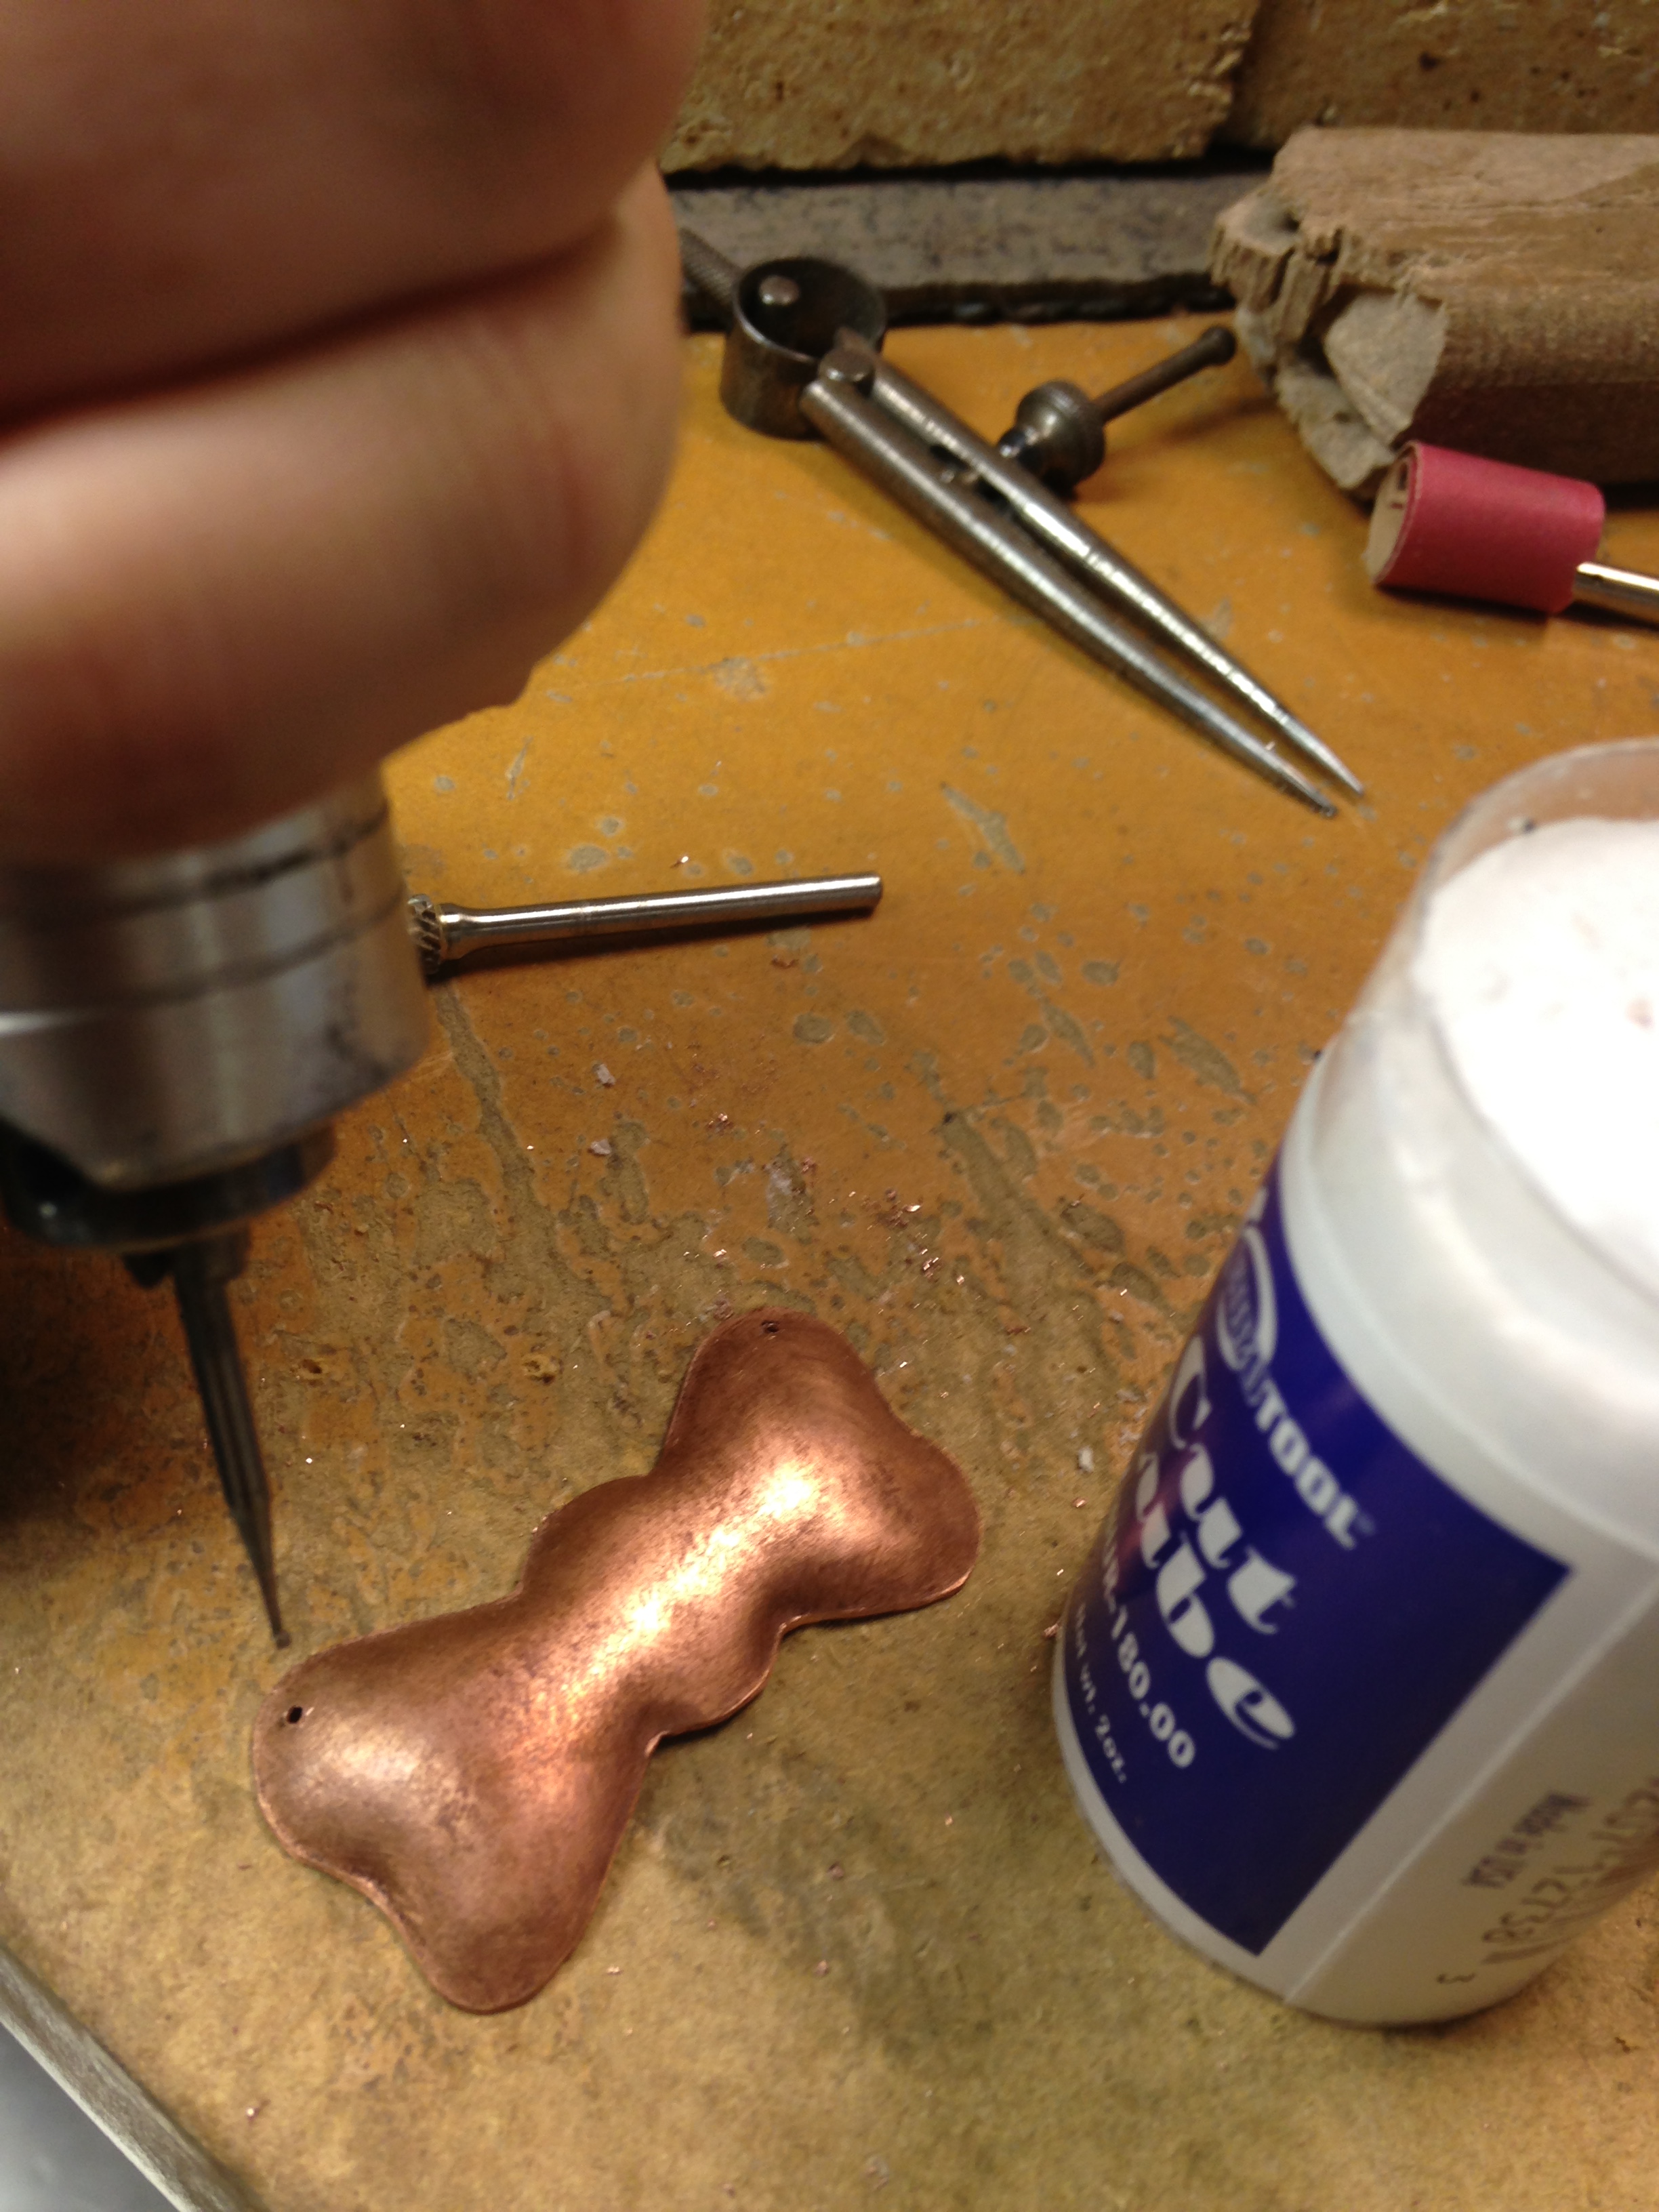
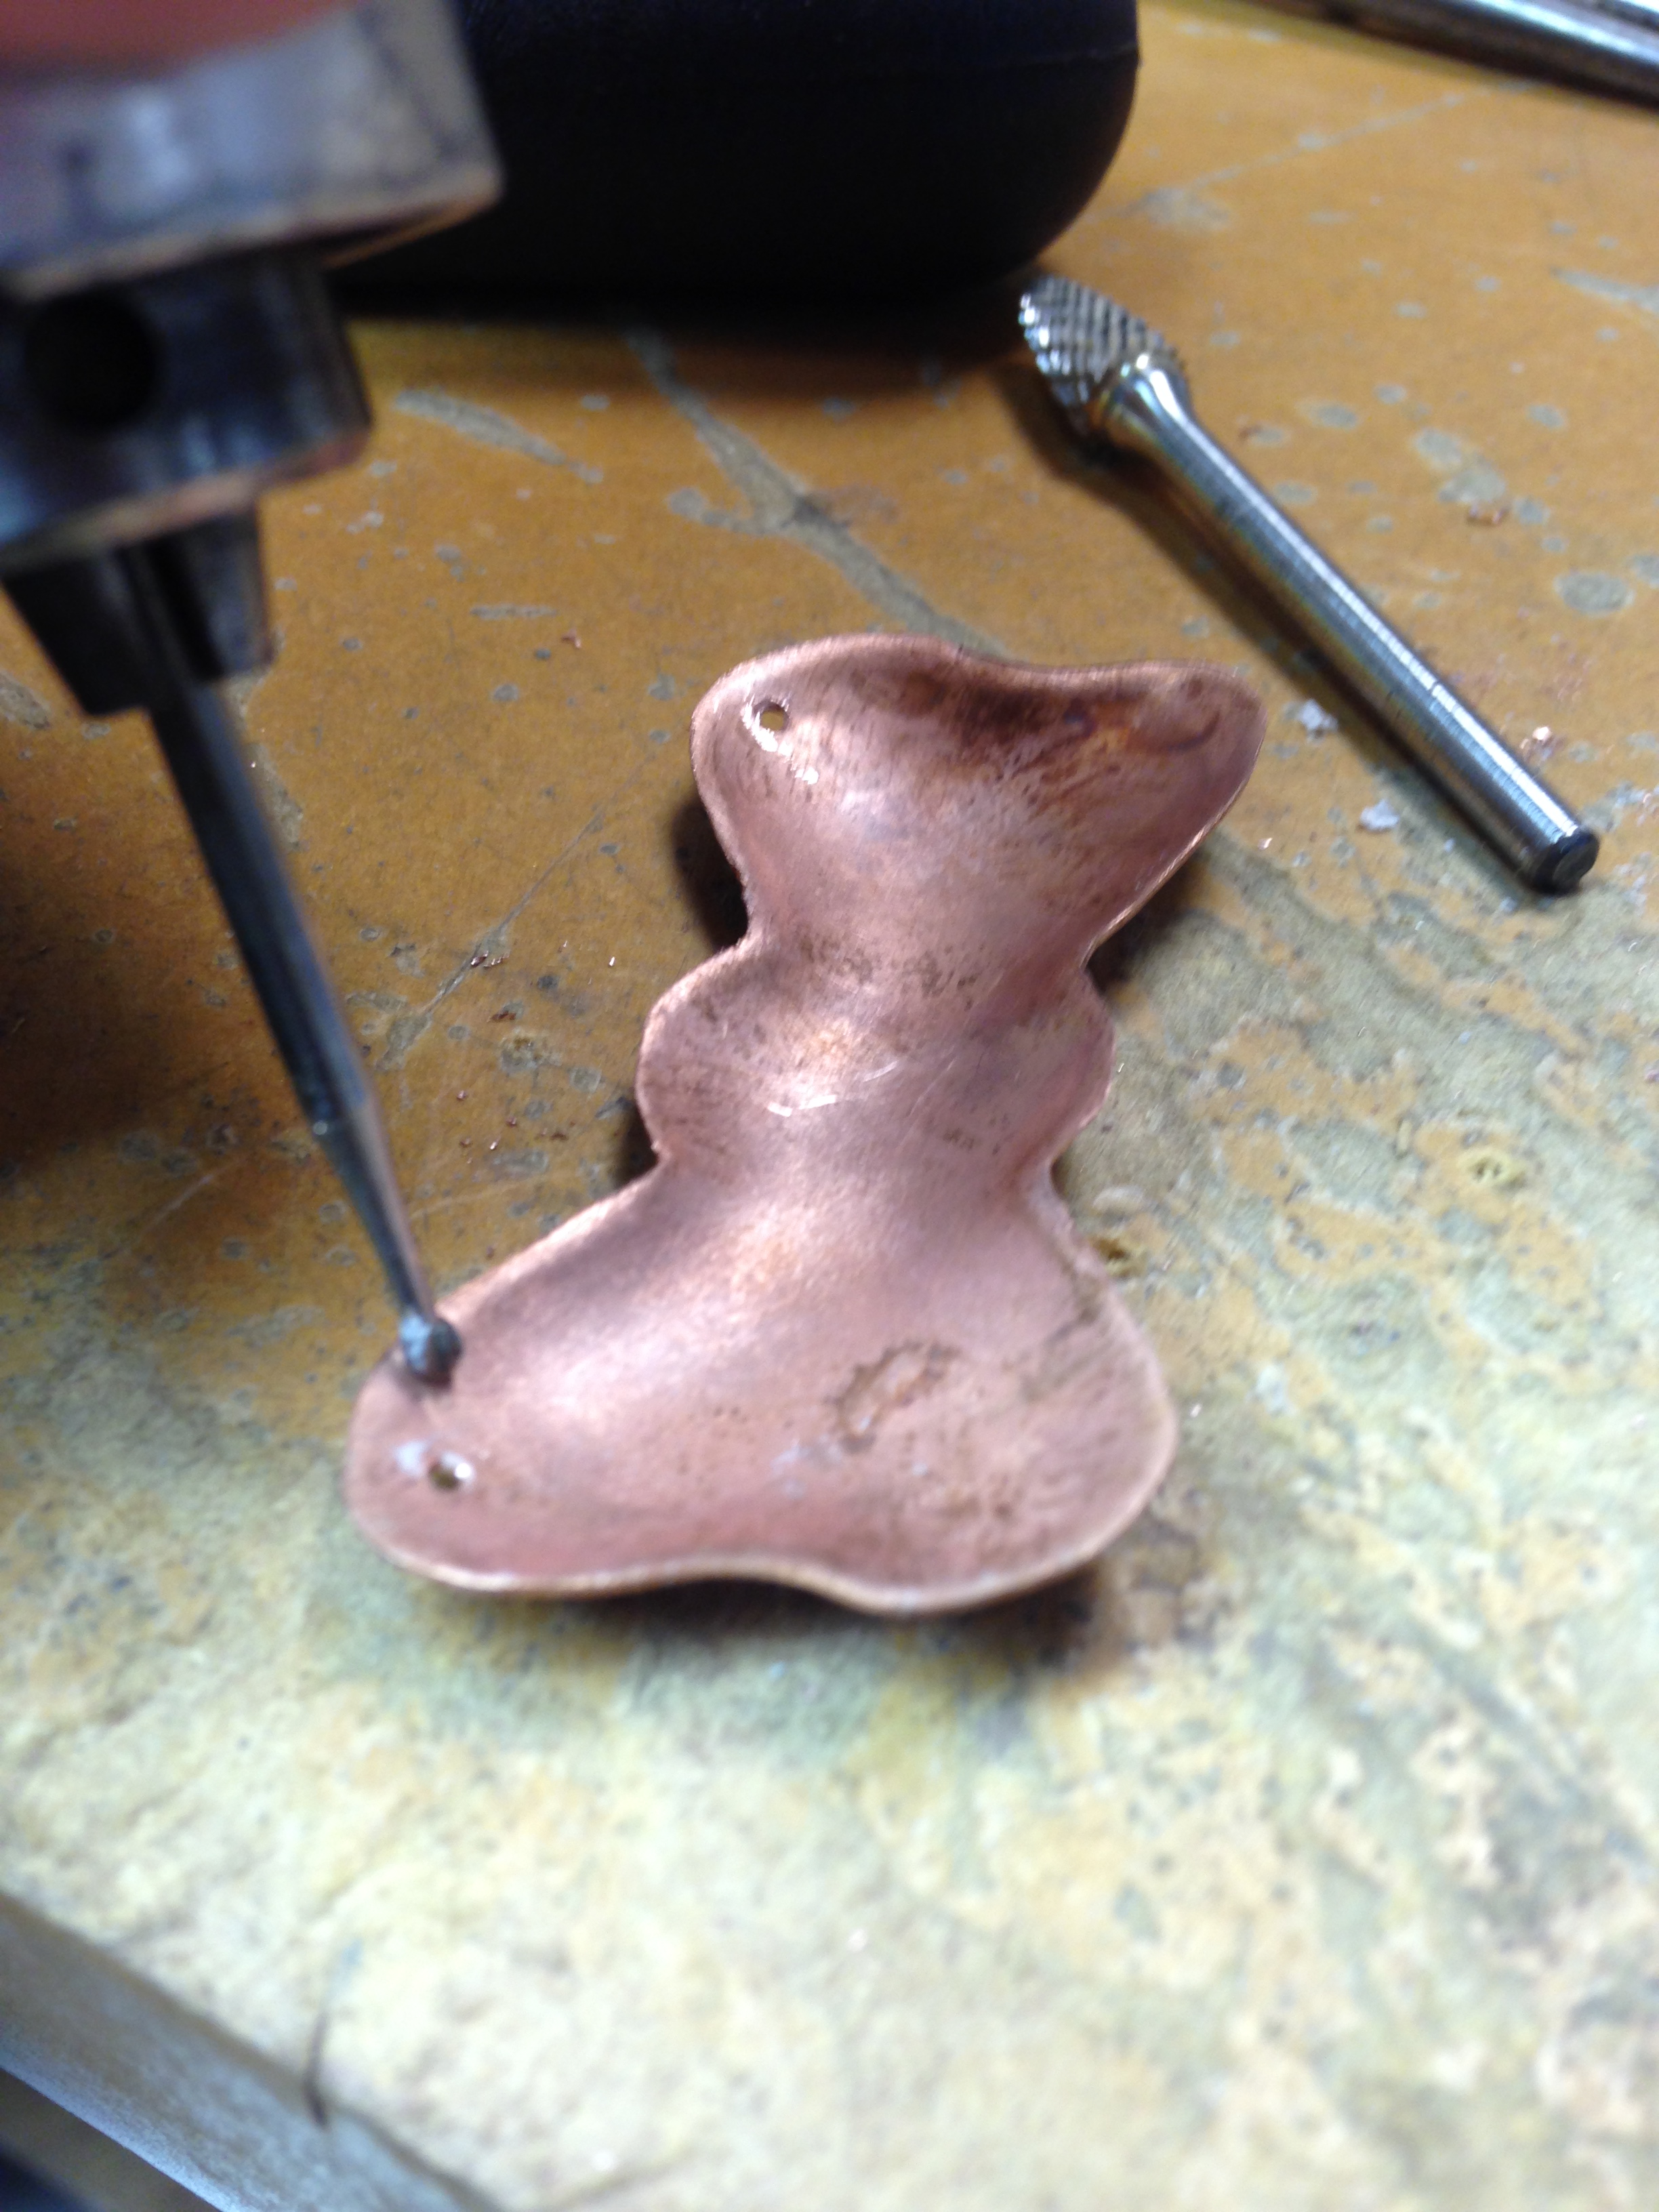
Hole Screwing and Touch Ups
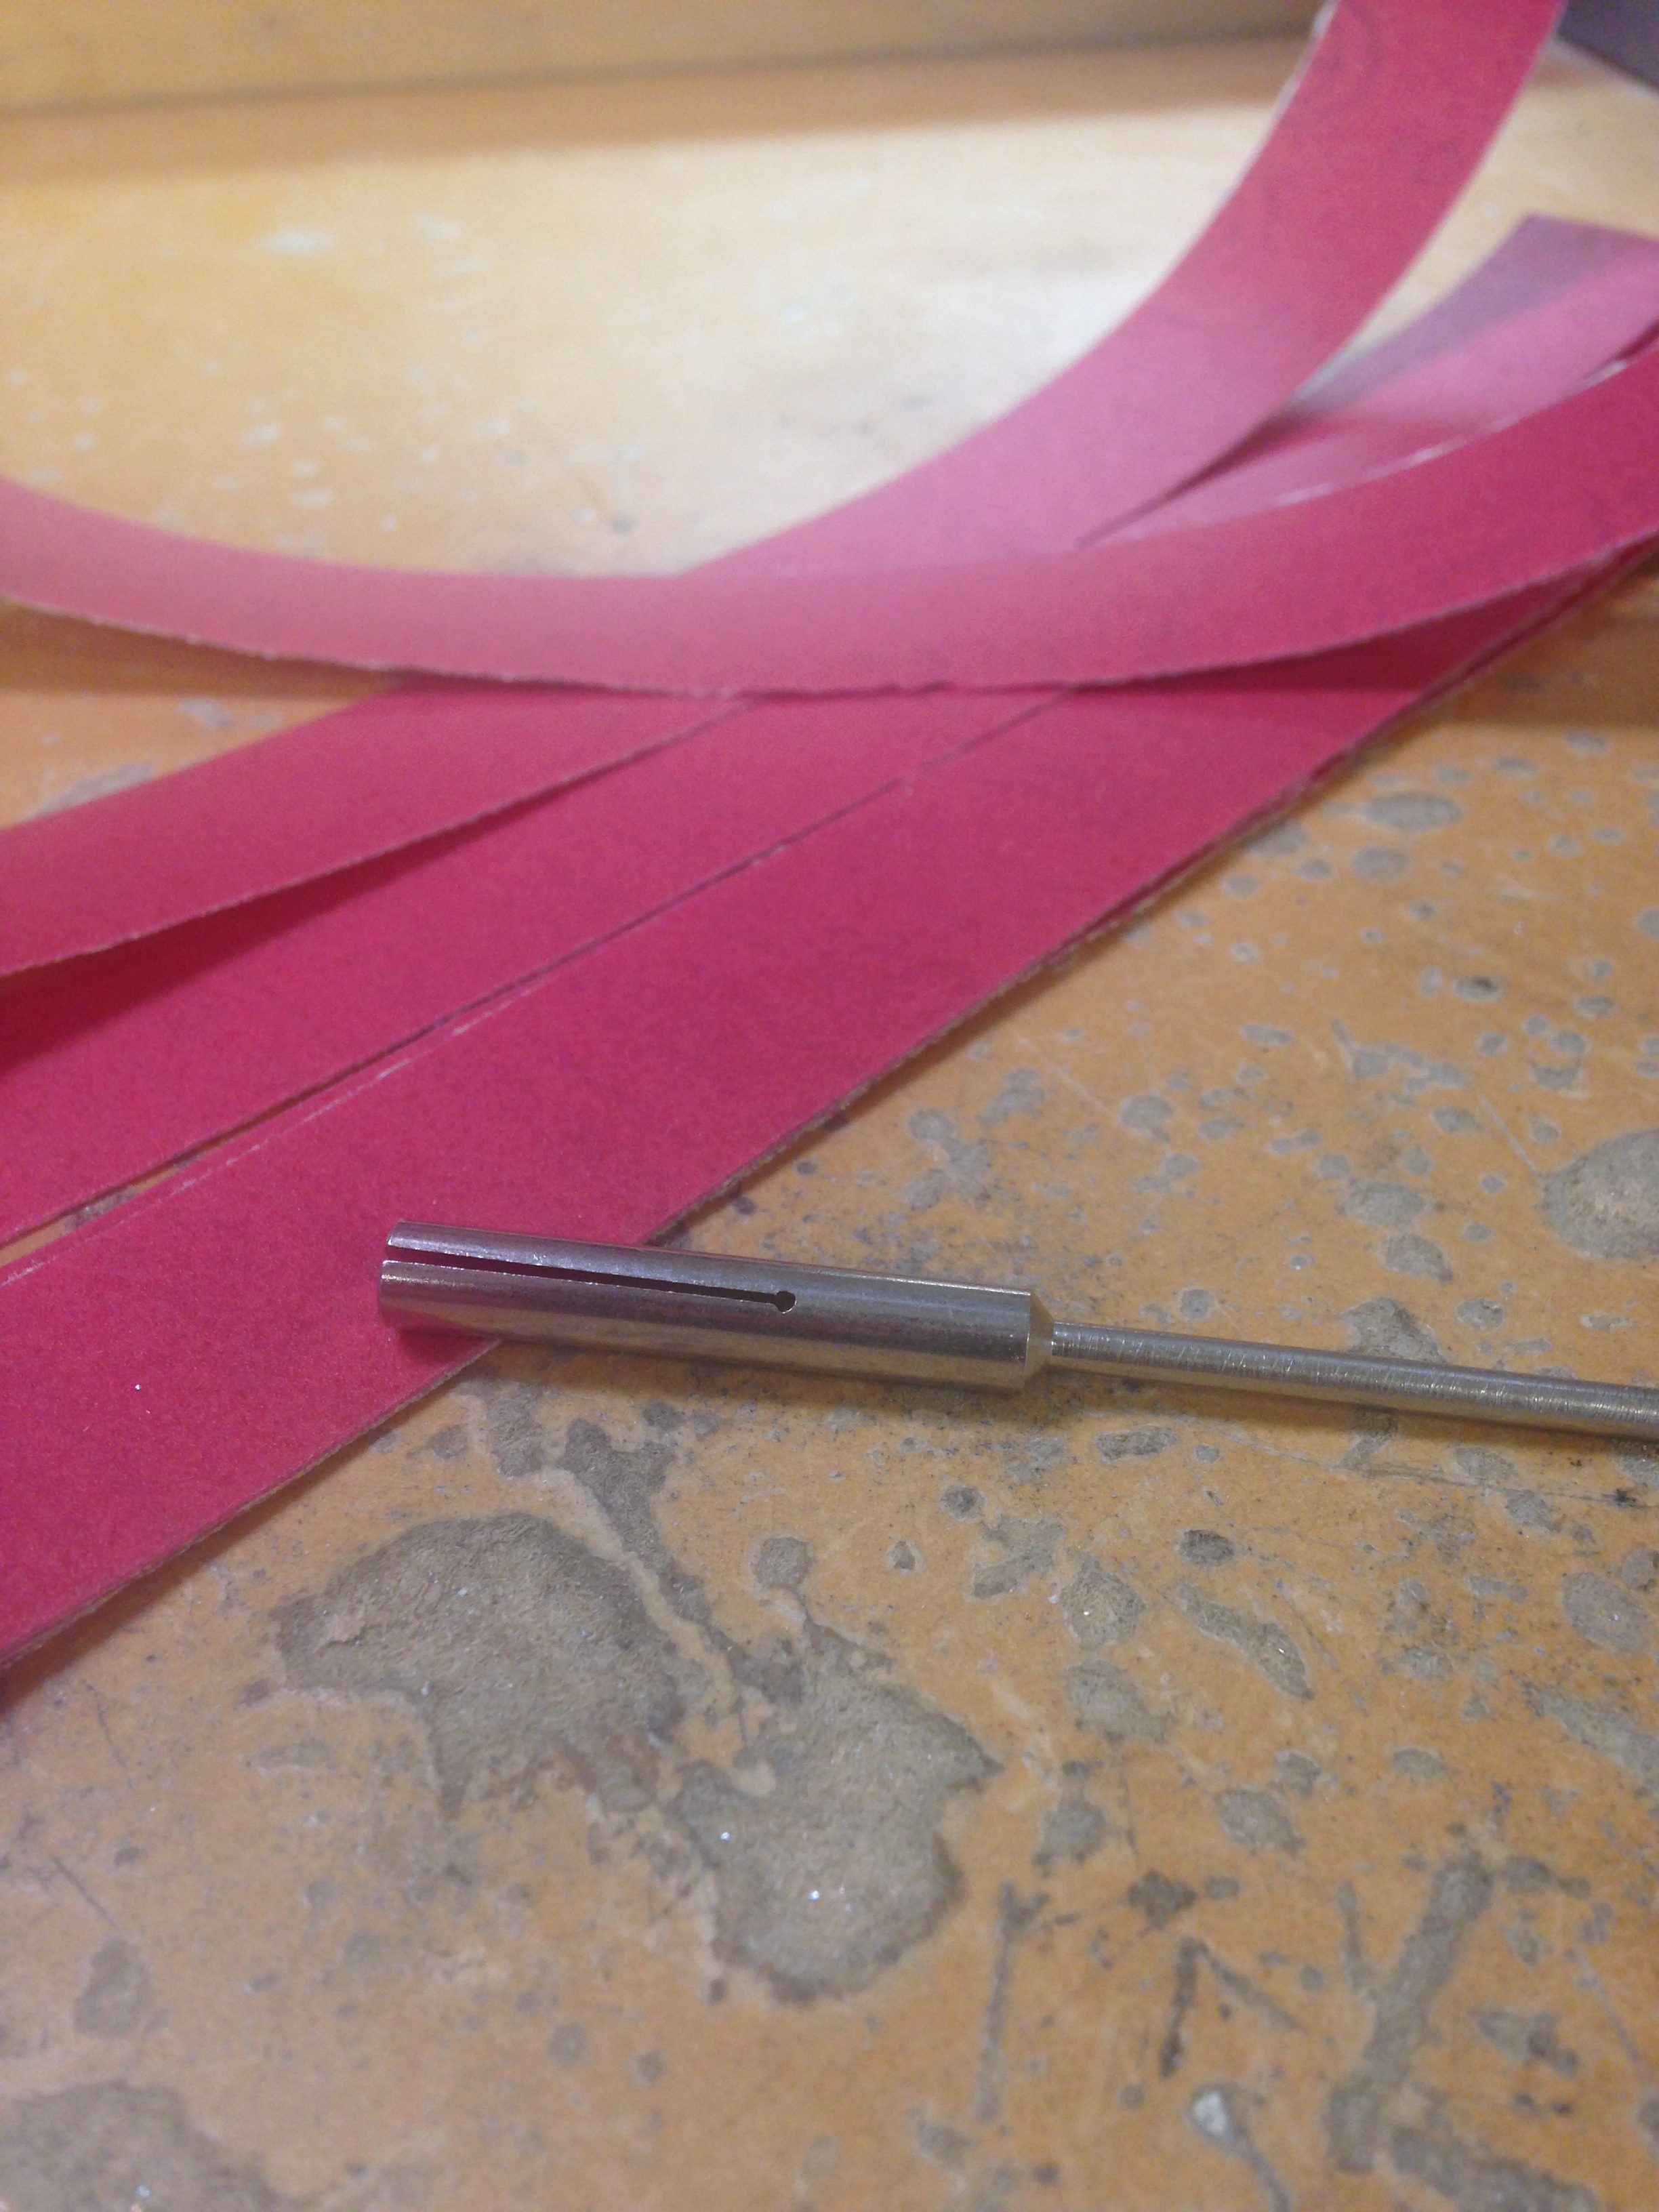
After the bows were cut out, I had to go back and file around each bow to enhance the smoothness and neatness of the pieces. I would do this by using small files along with making an electric filer out of sandpaper and screwing tools.
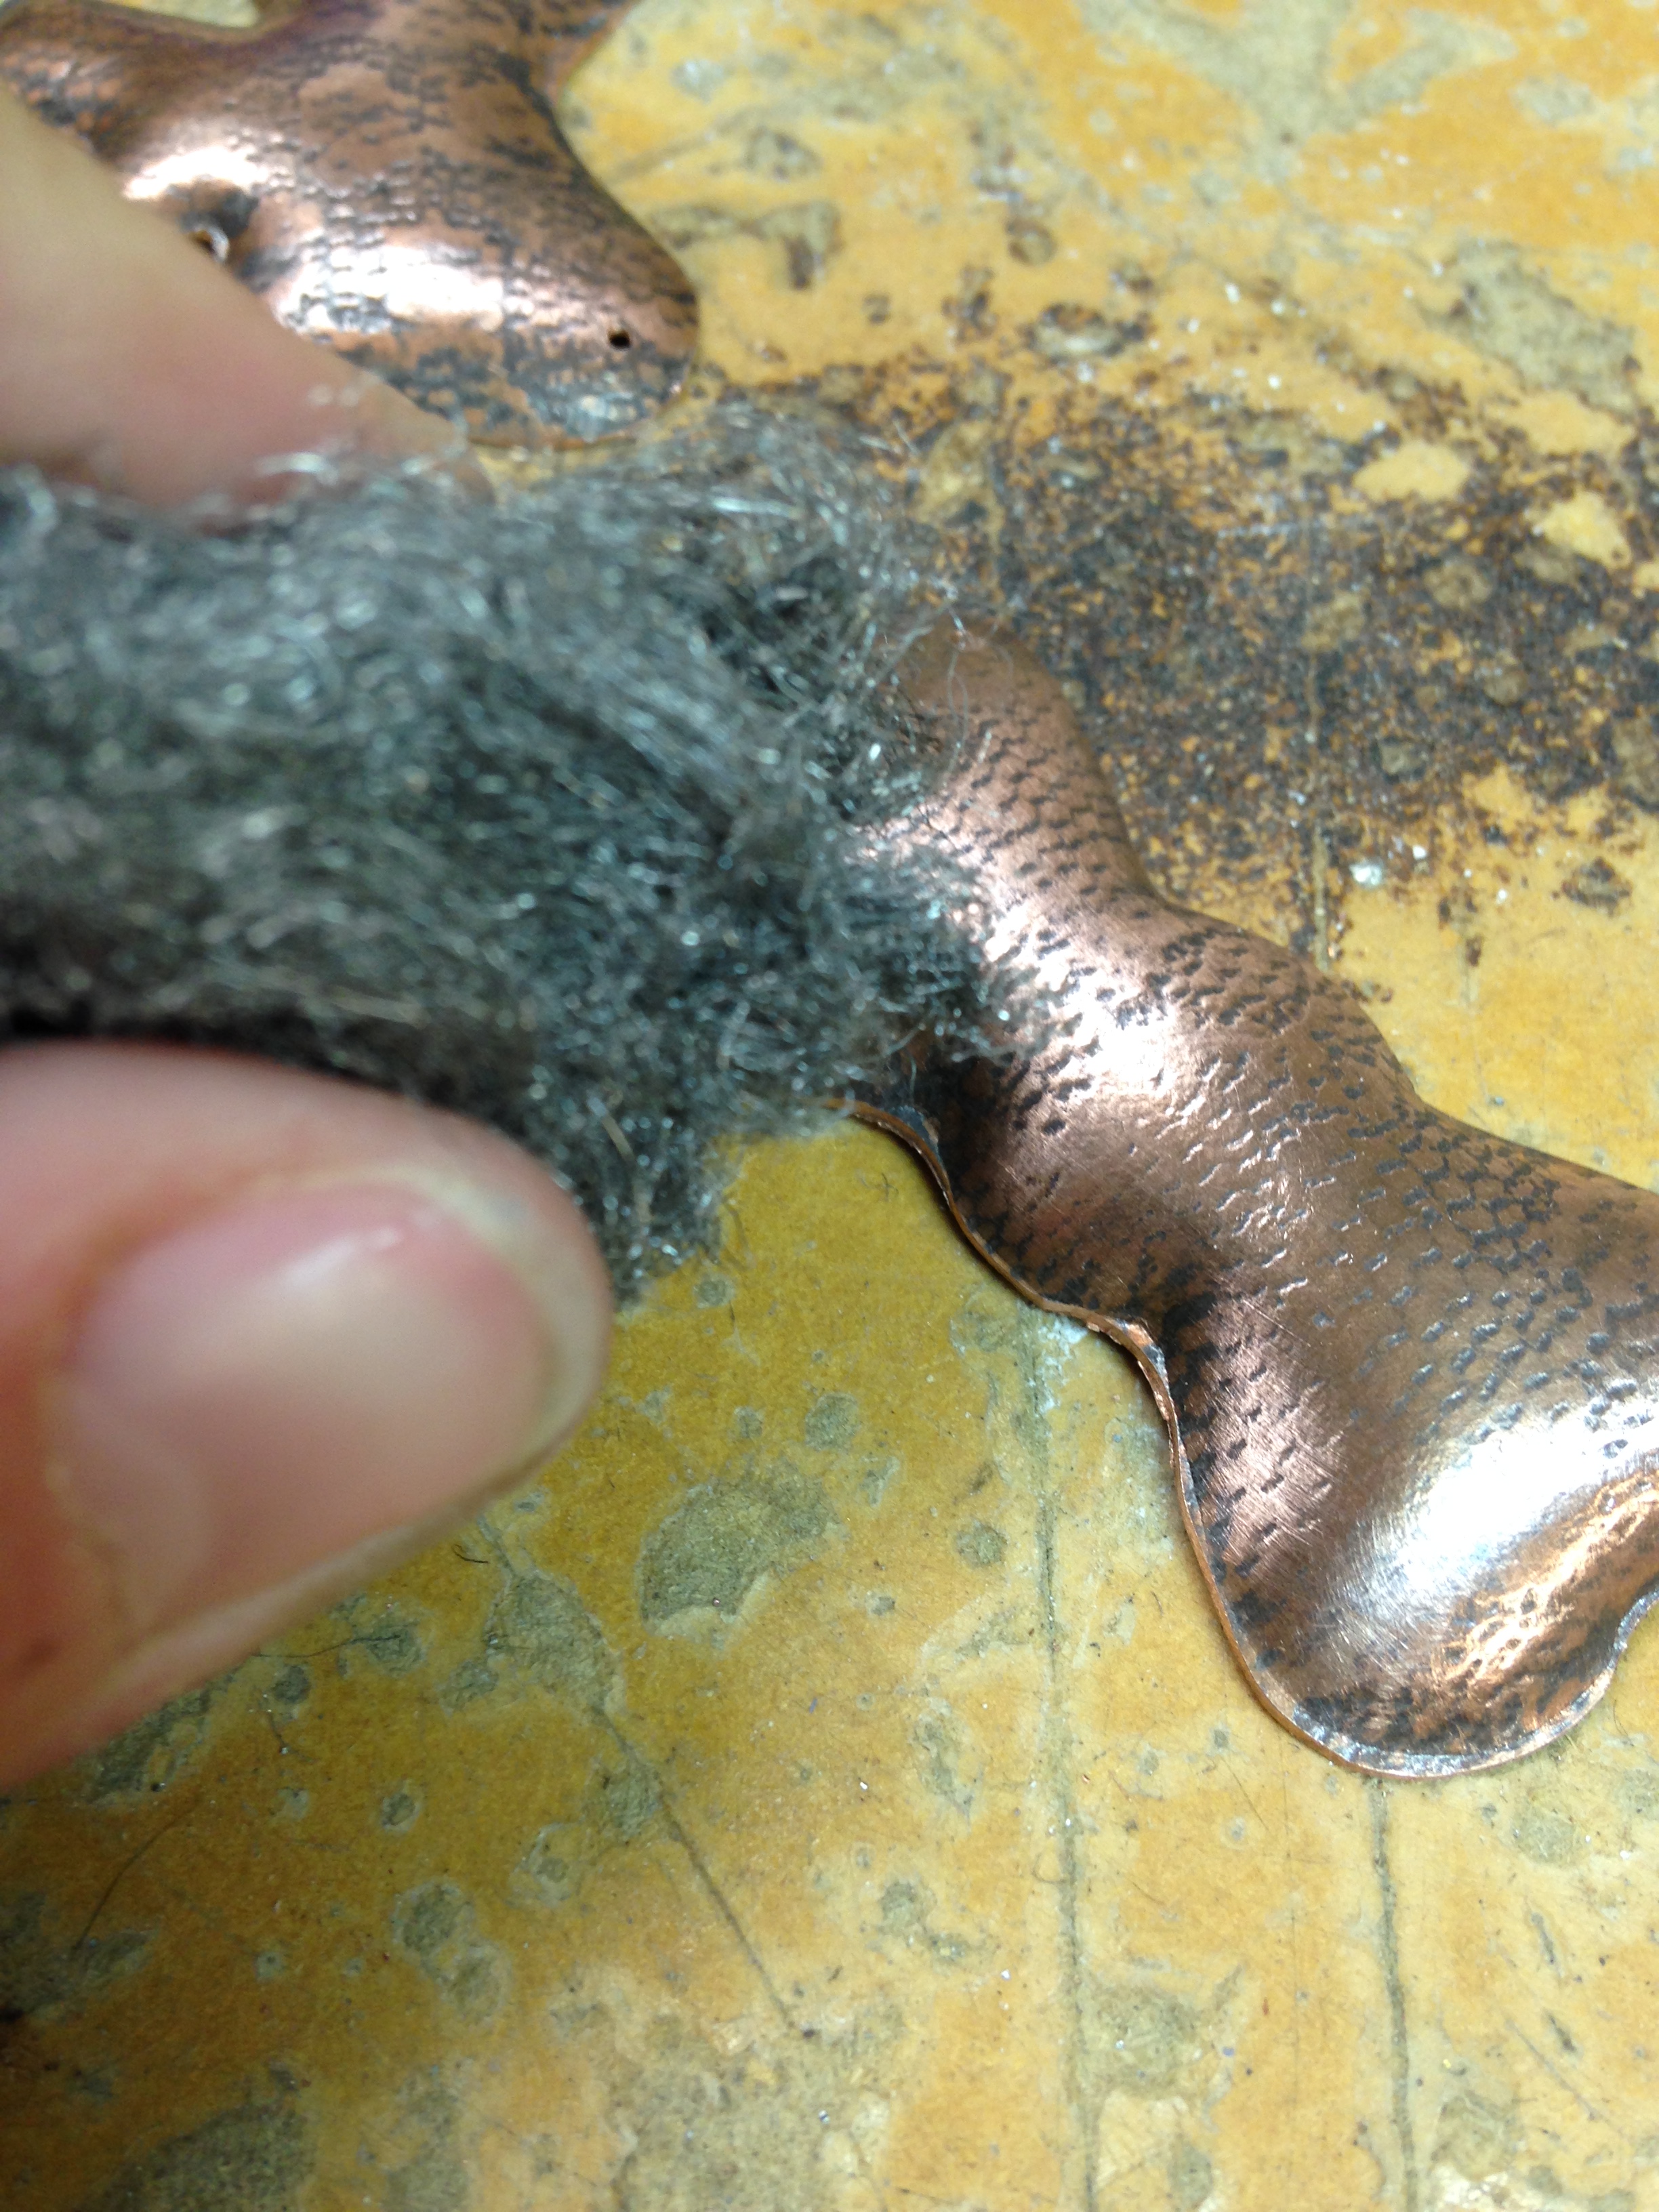
I then used an electric hand held drill bit to screw the holes in each bow after I marked where I wanted each pendent to connect. I filed down any remaining rough spots and sanded down the printed bows to remove an excess liver of sulfer solution.

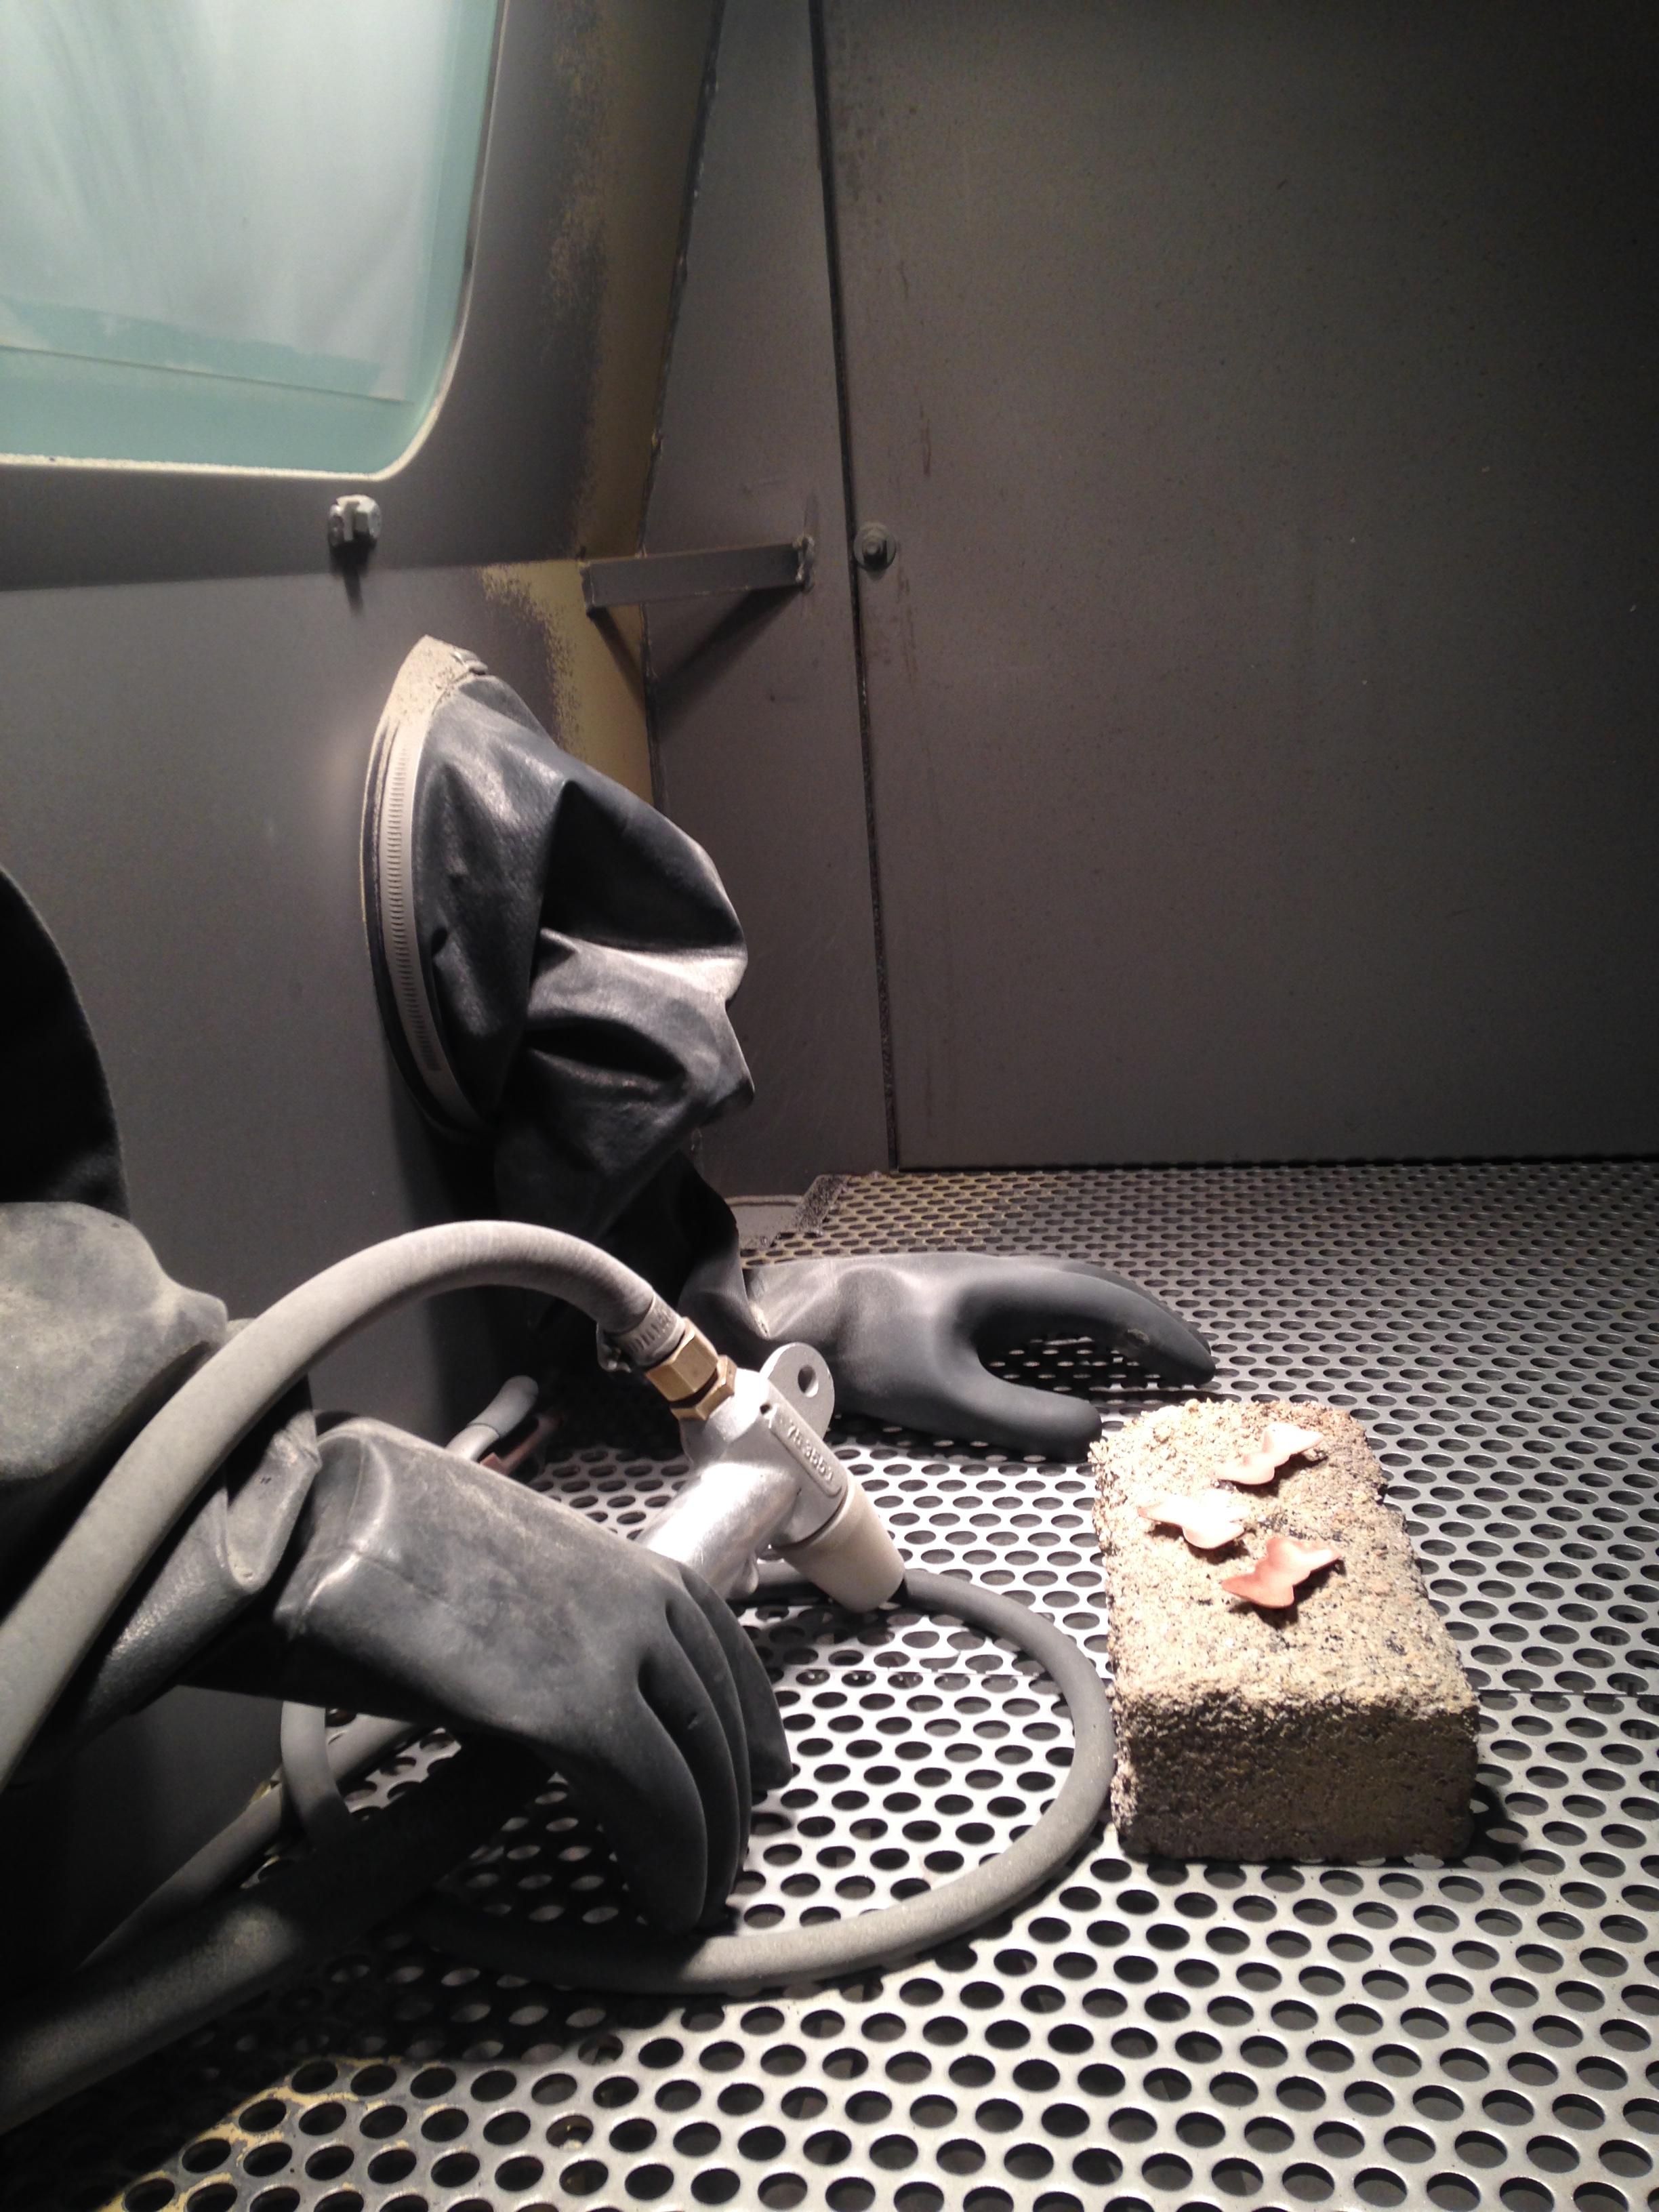
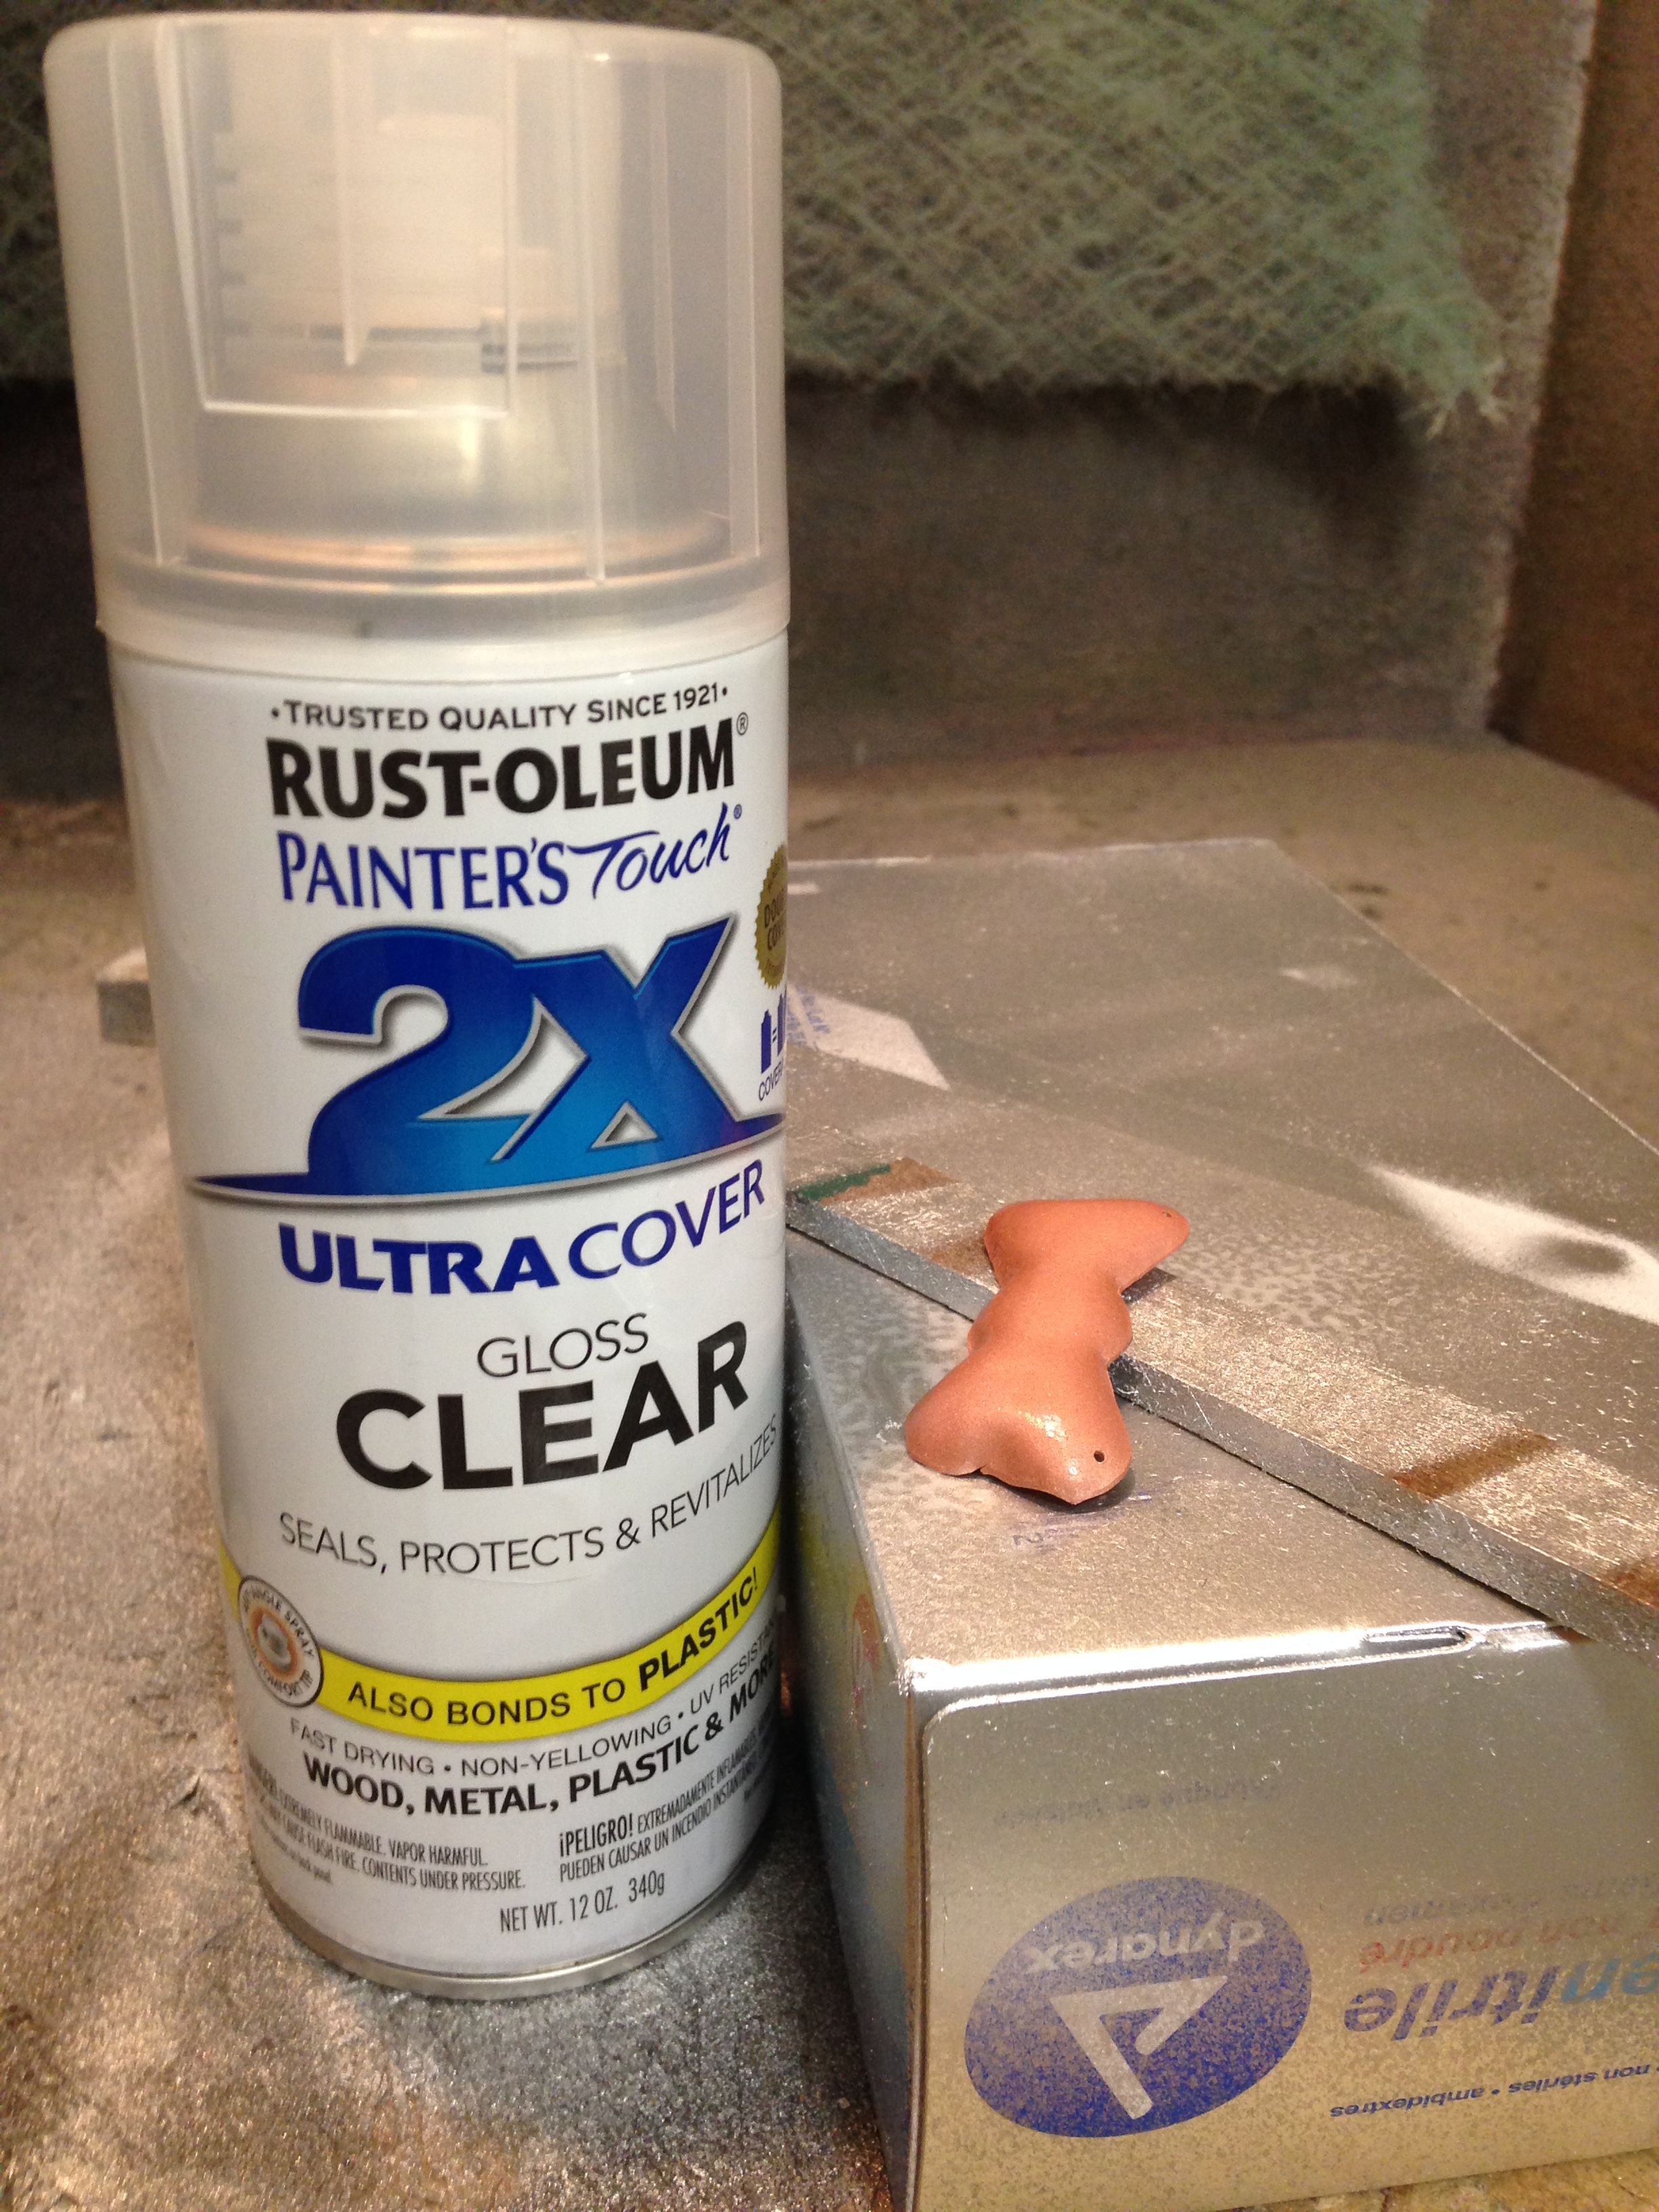
Sandblasting and Protection from Fingerprints
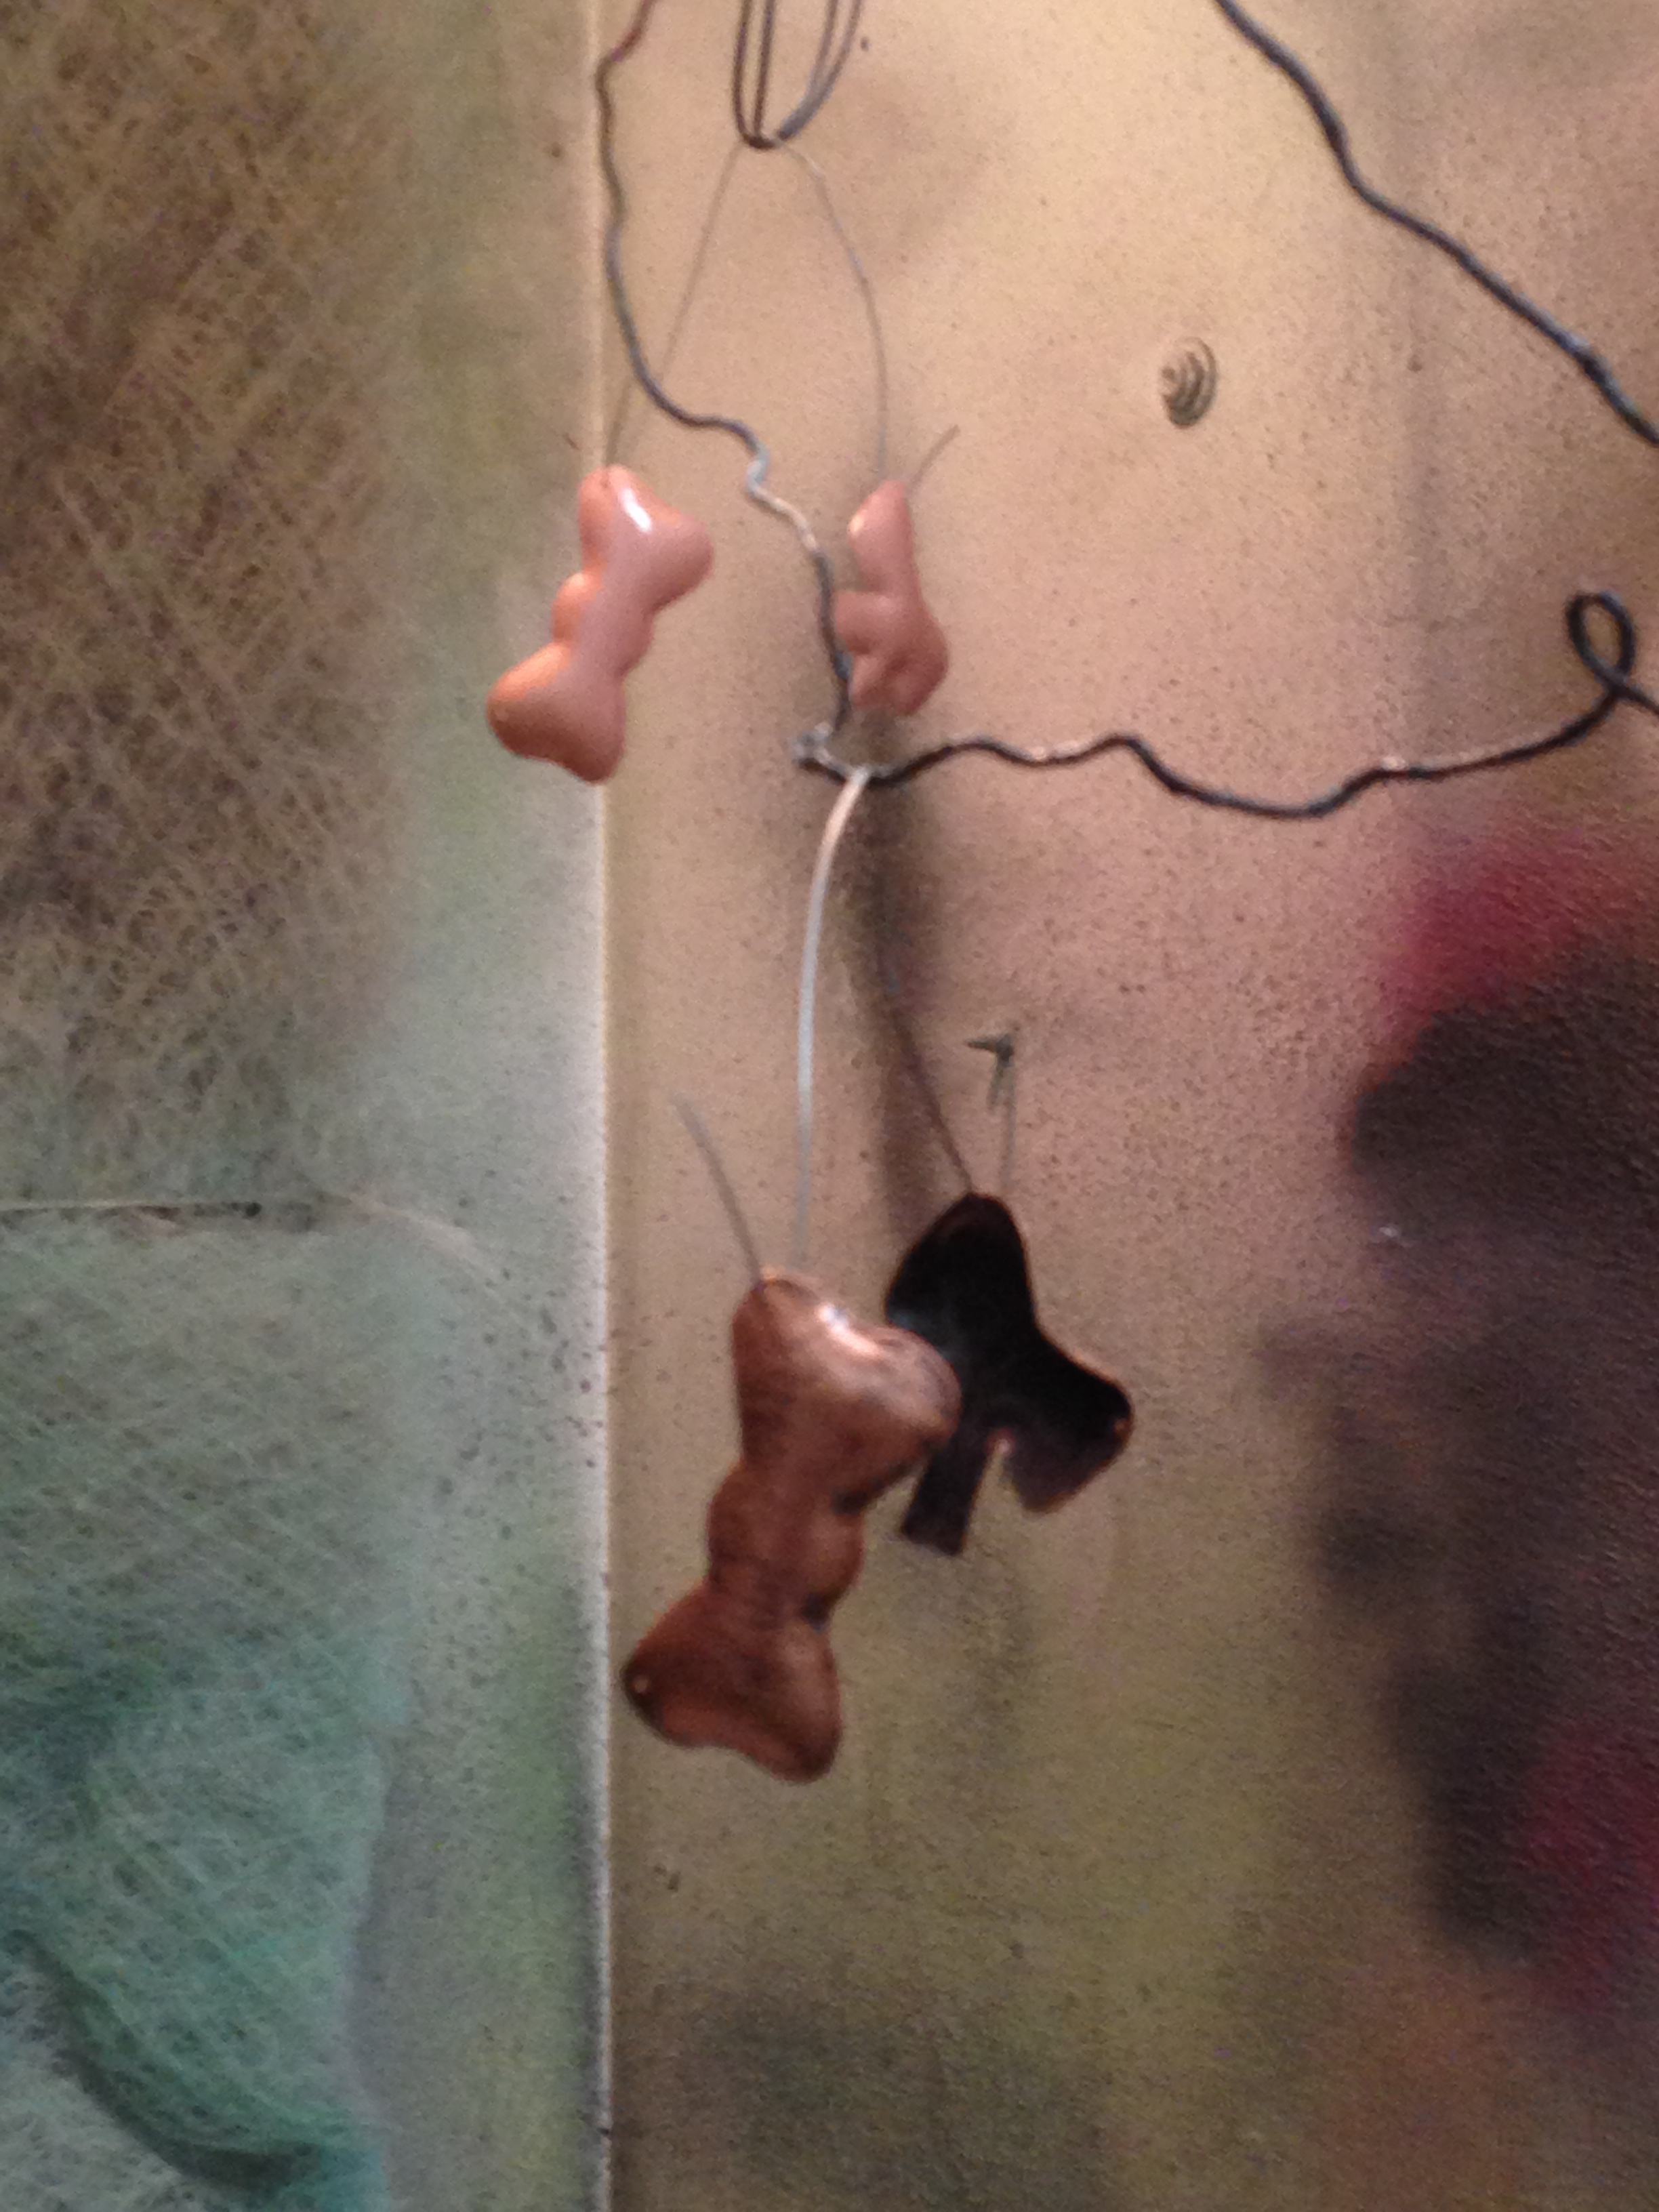
I then sandblasted the unprinted copper pieces with the sandblaster, being careful to not touch the pieces to avoid getting fingerprints on the copper pieces. After the pieces were sandblasted I could not touch the copper pieces without getting fingerprints on the pieces so I sprayed all of the copper pieces with a protective spray and let them dry.


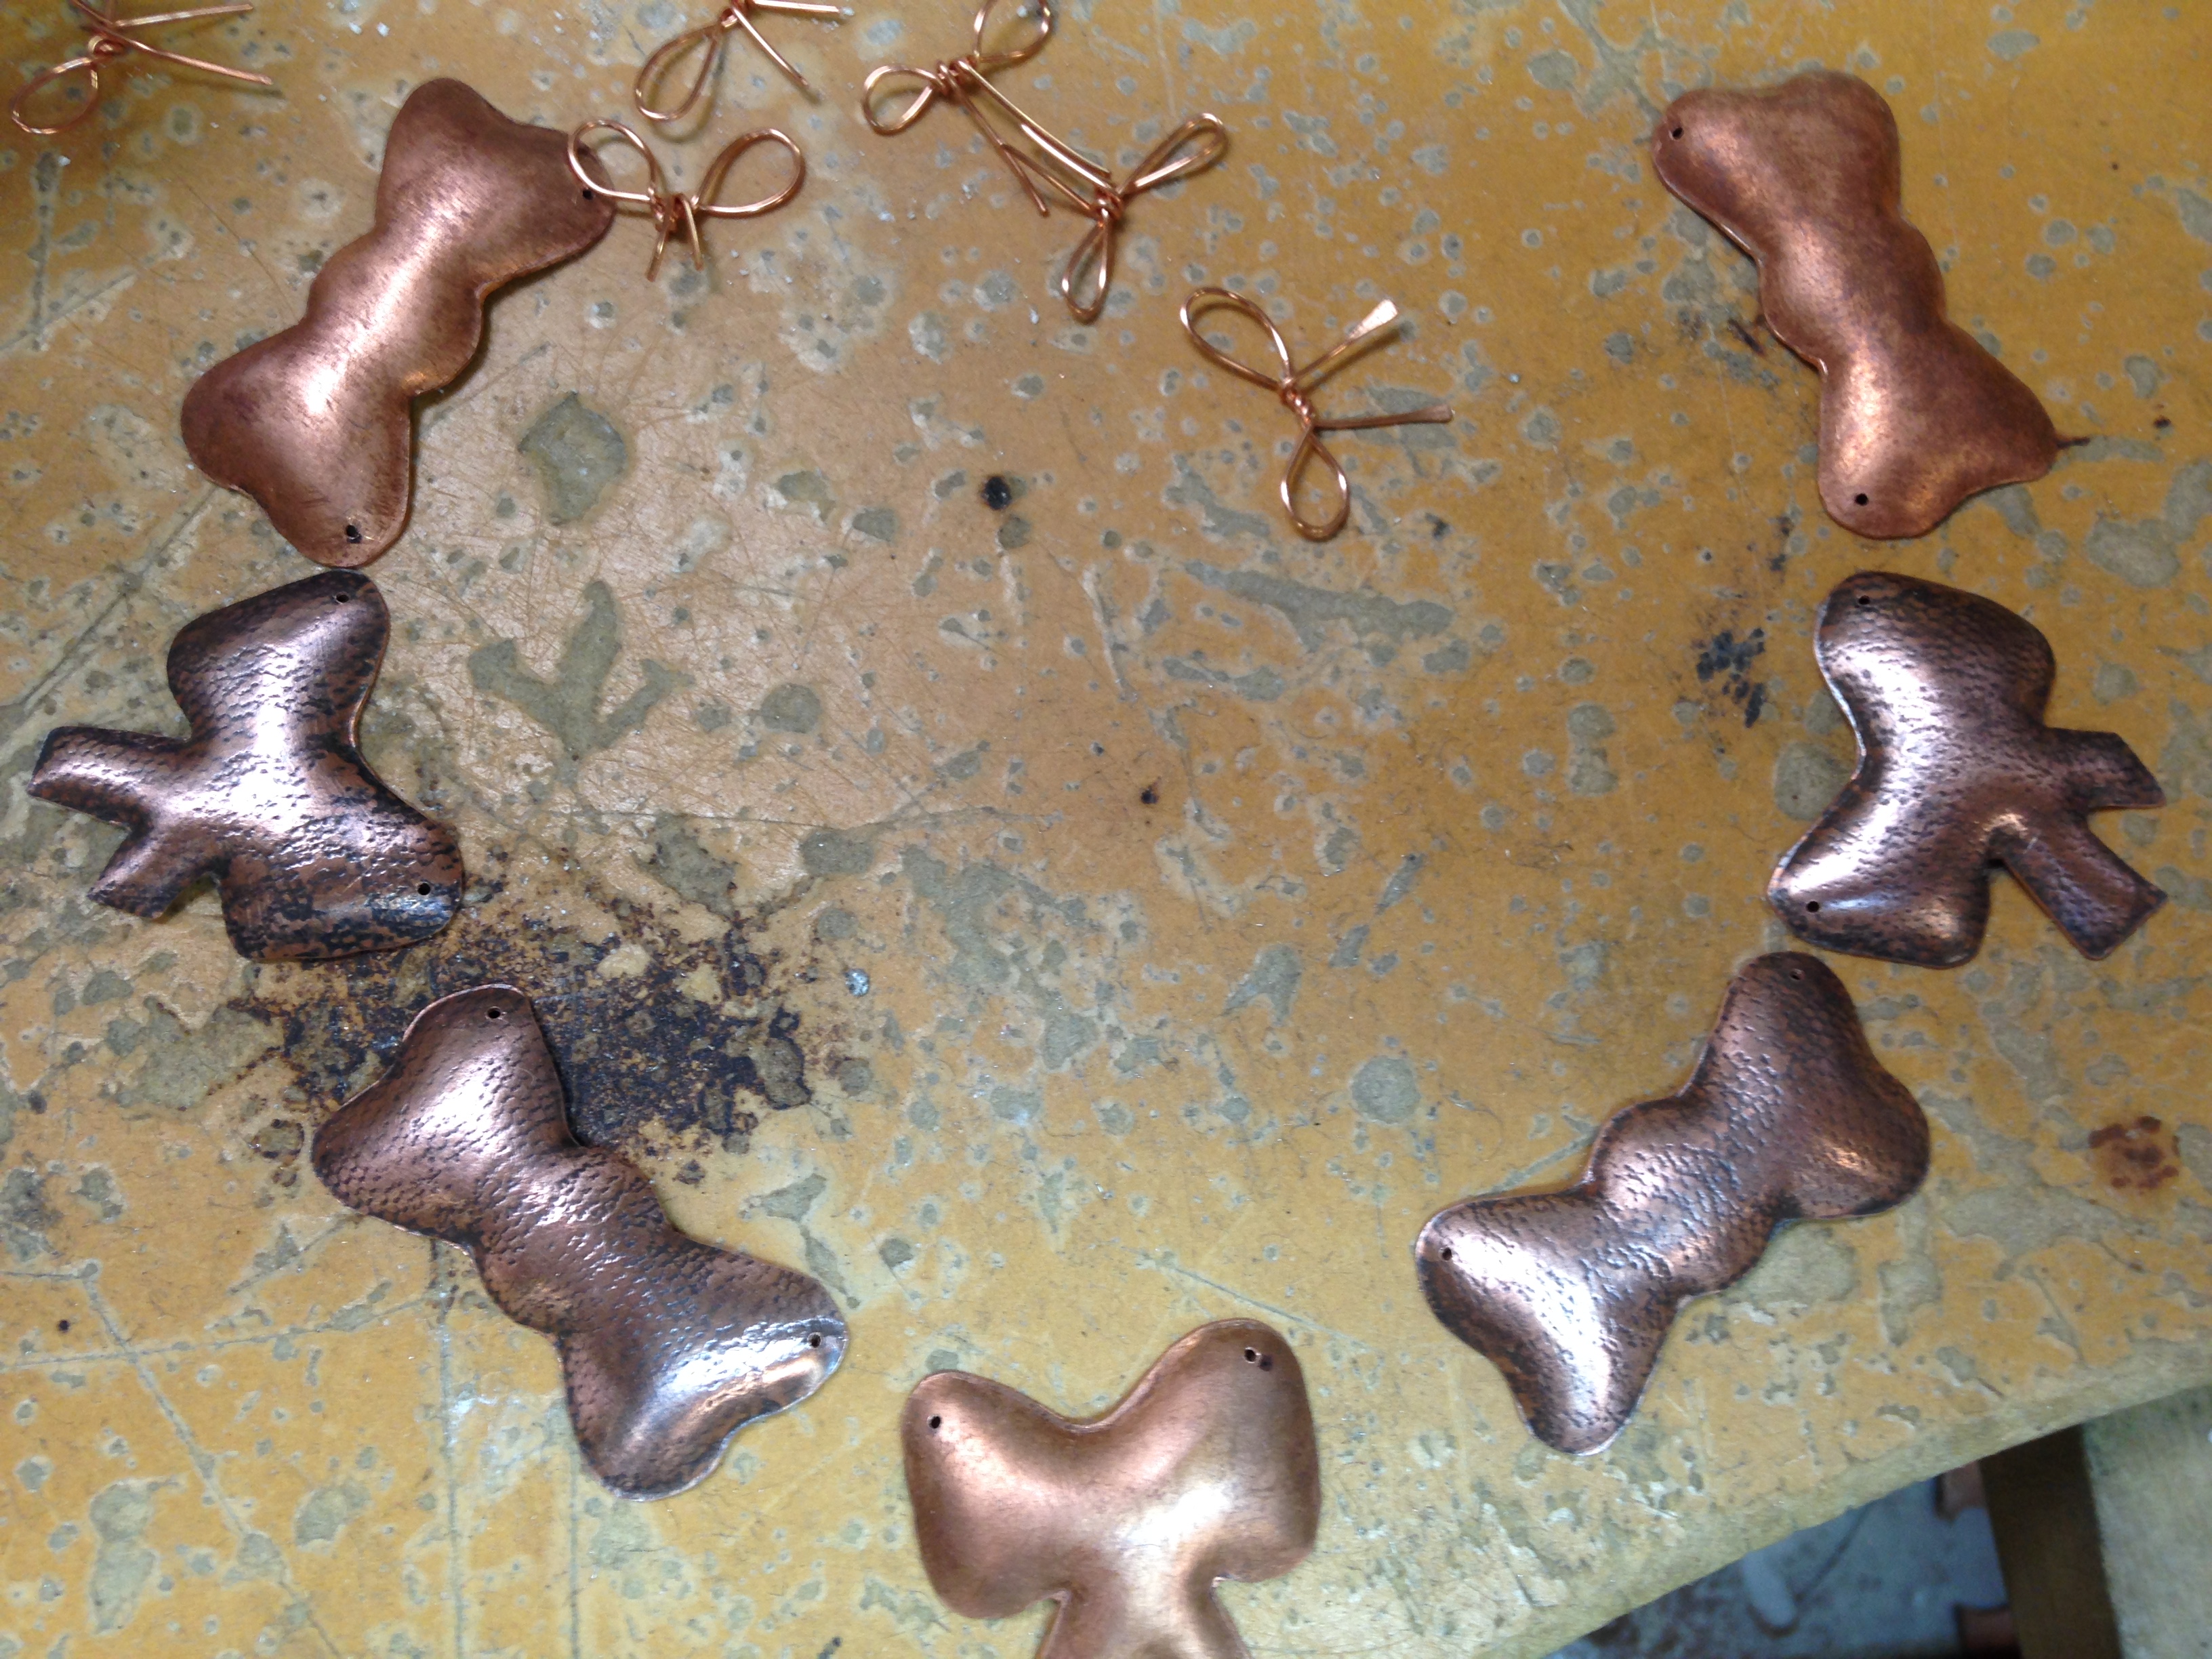
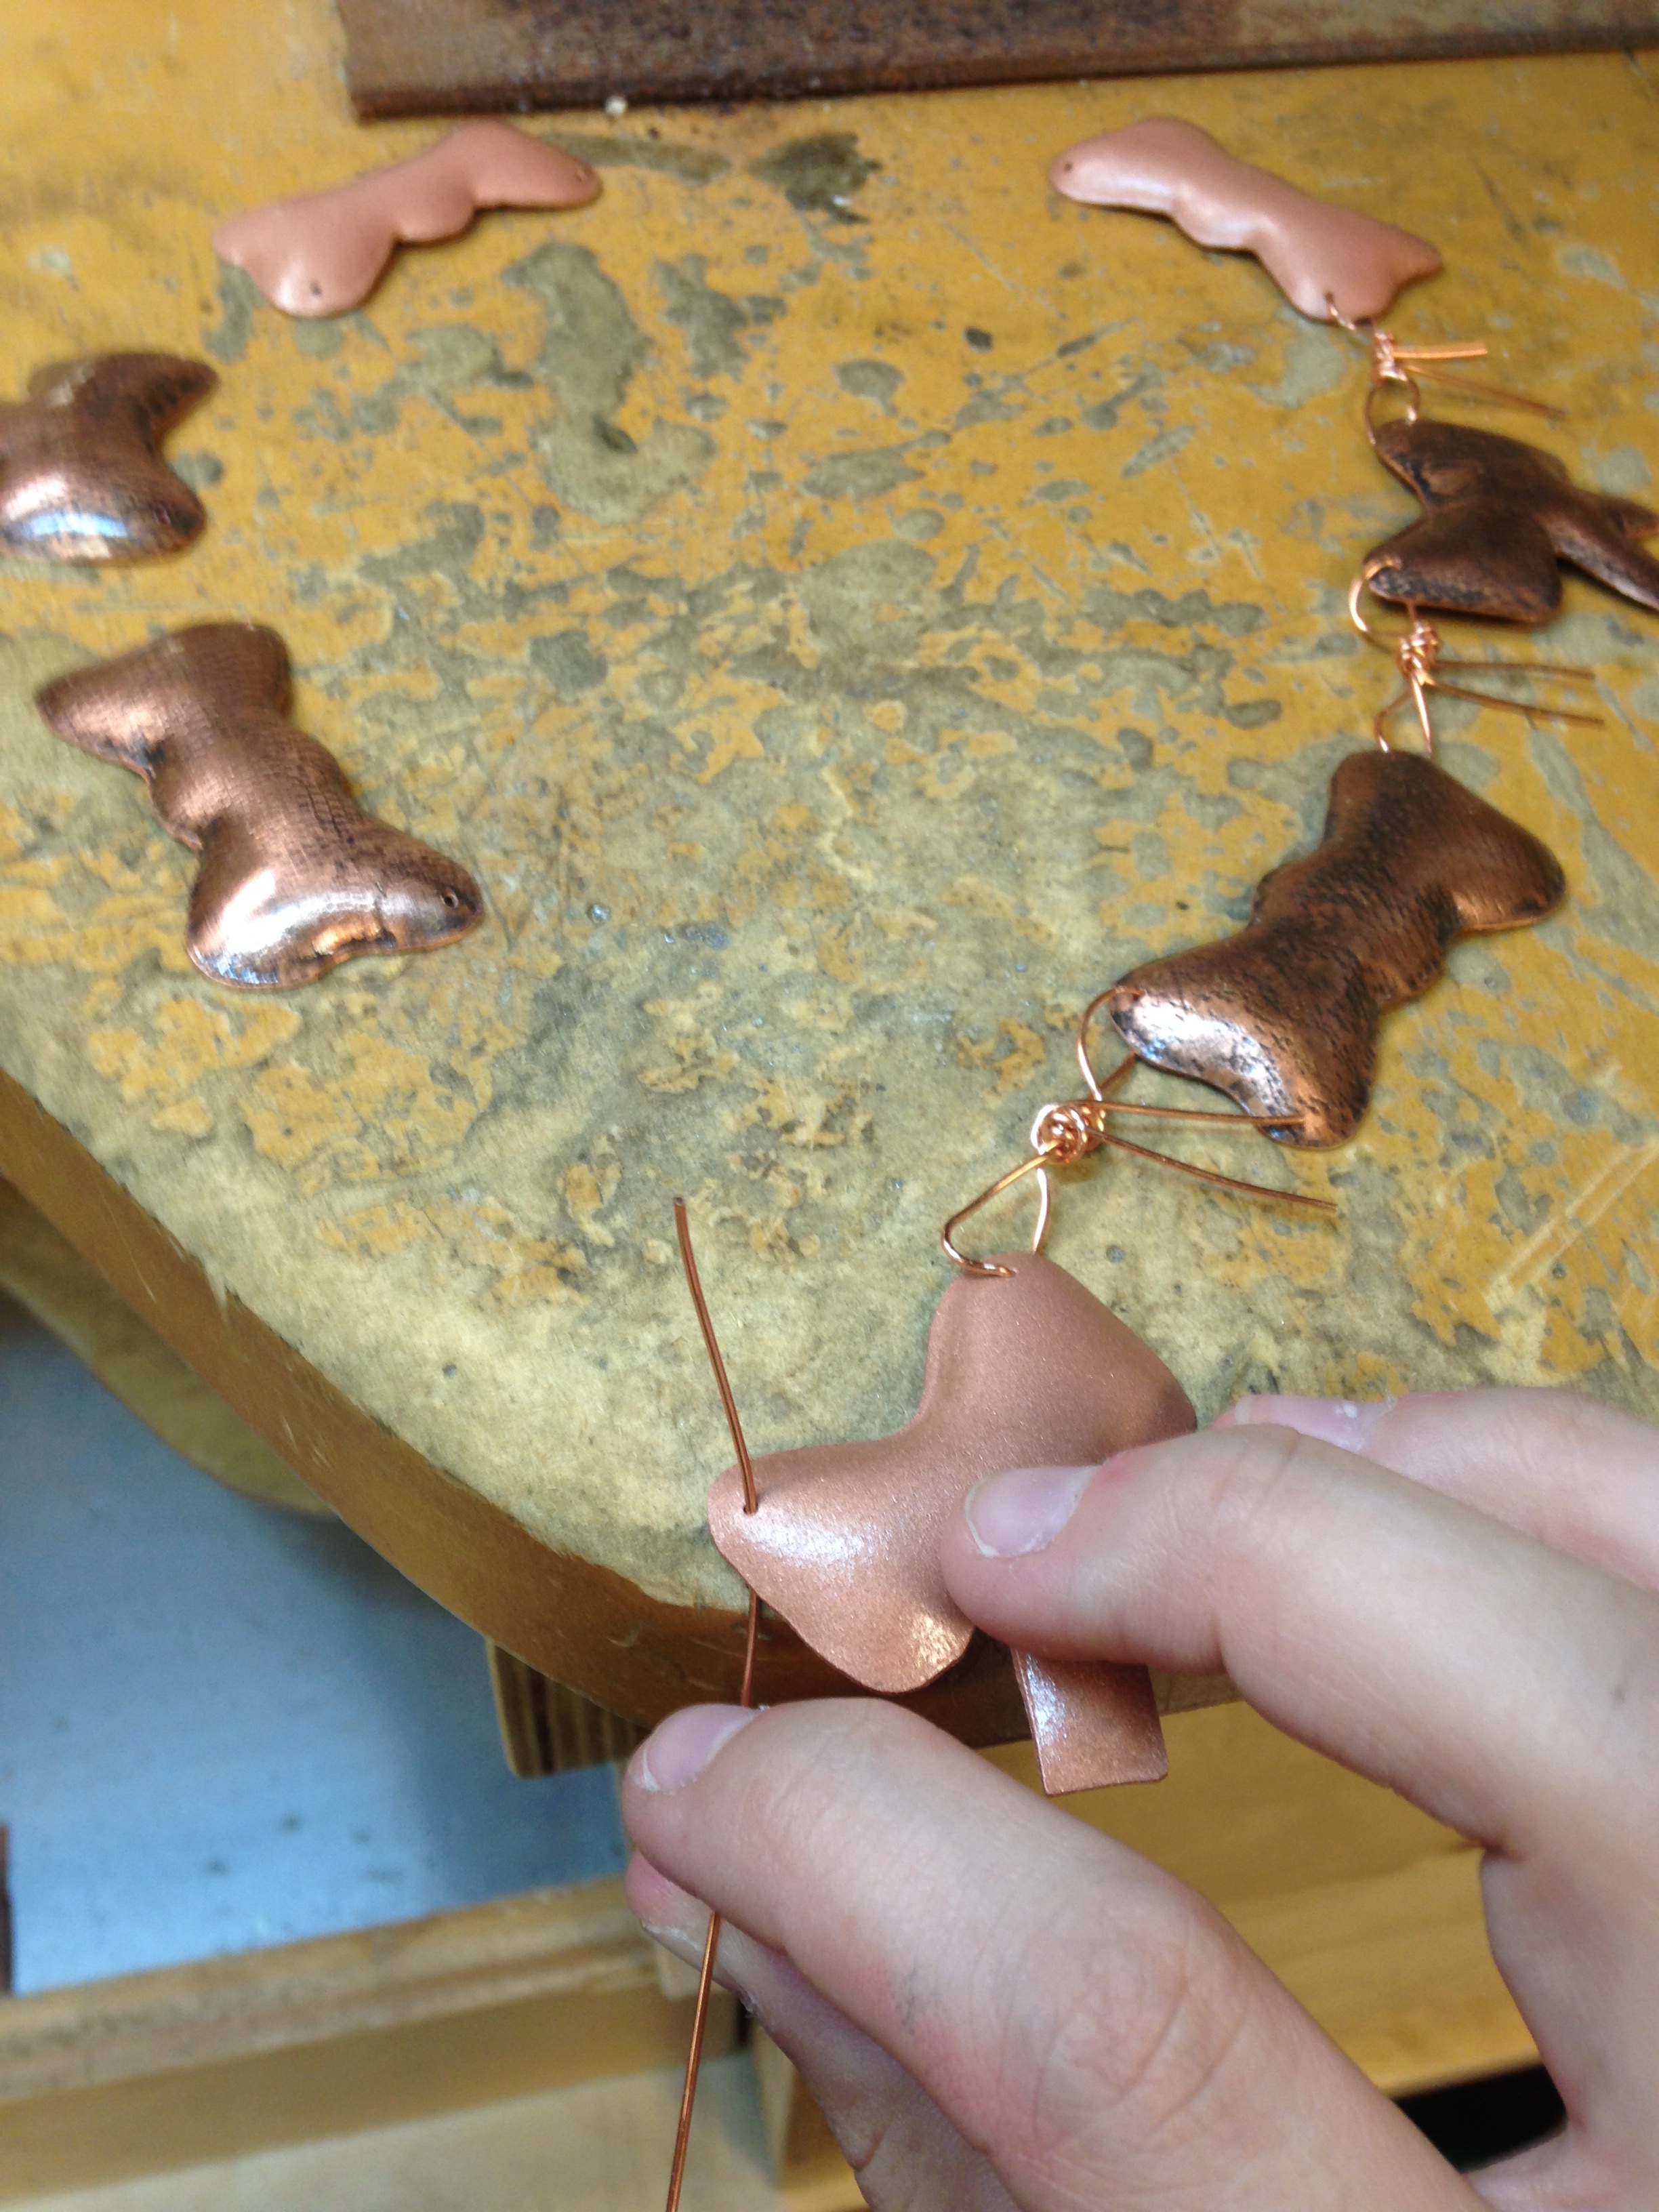
Putting it All Together
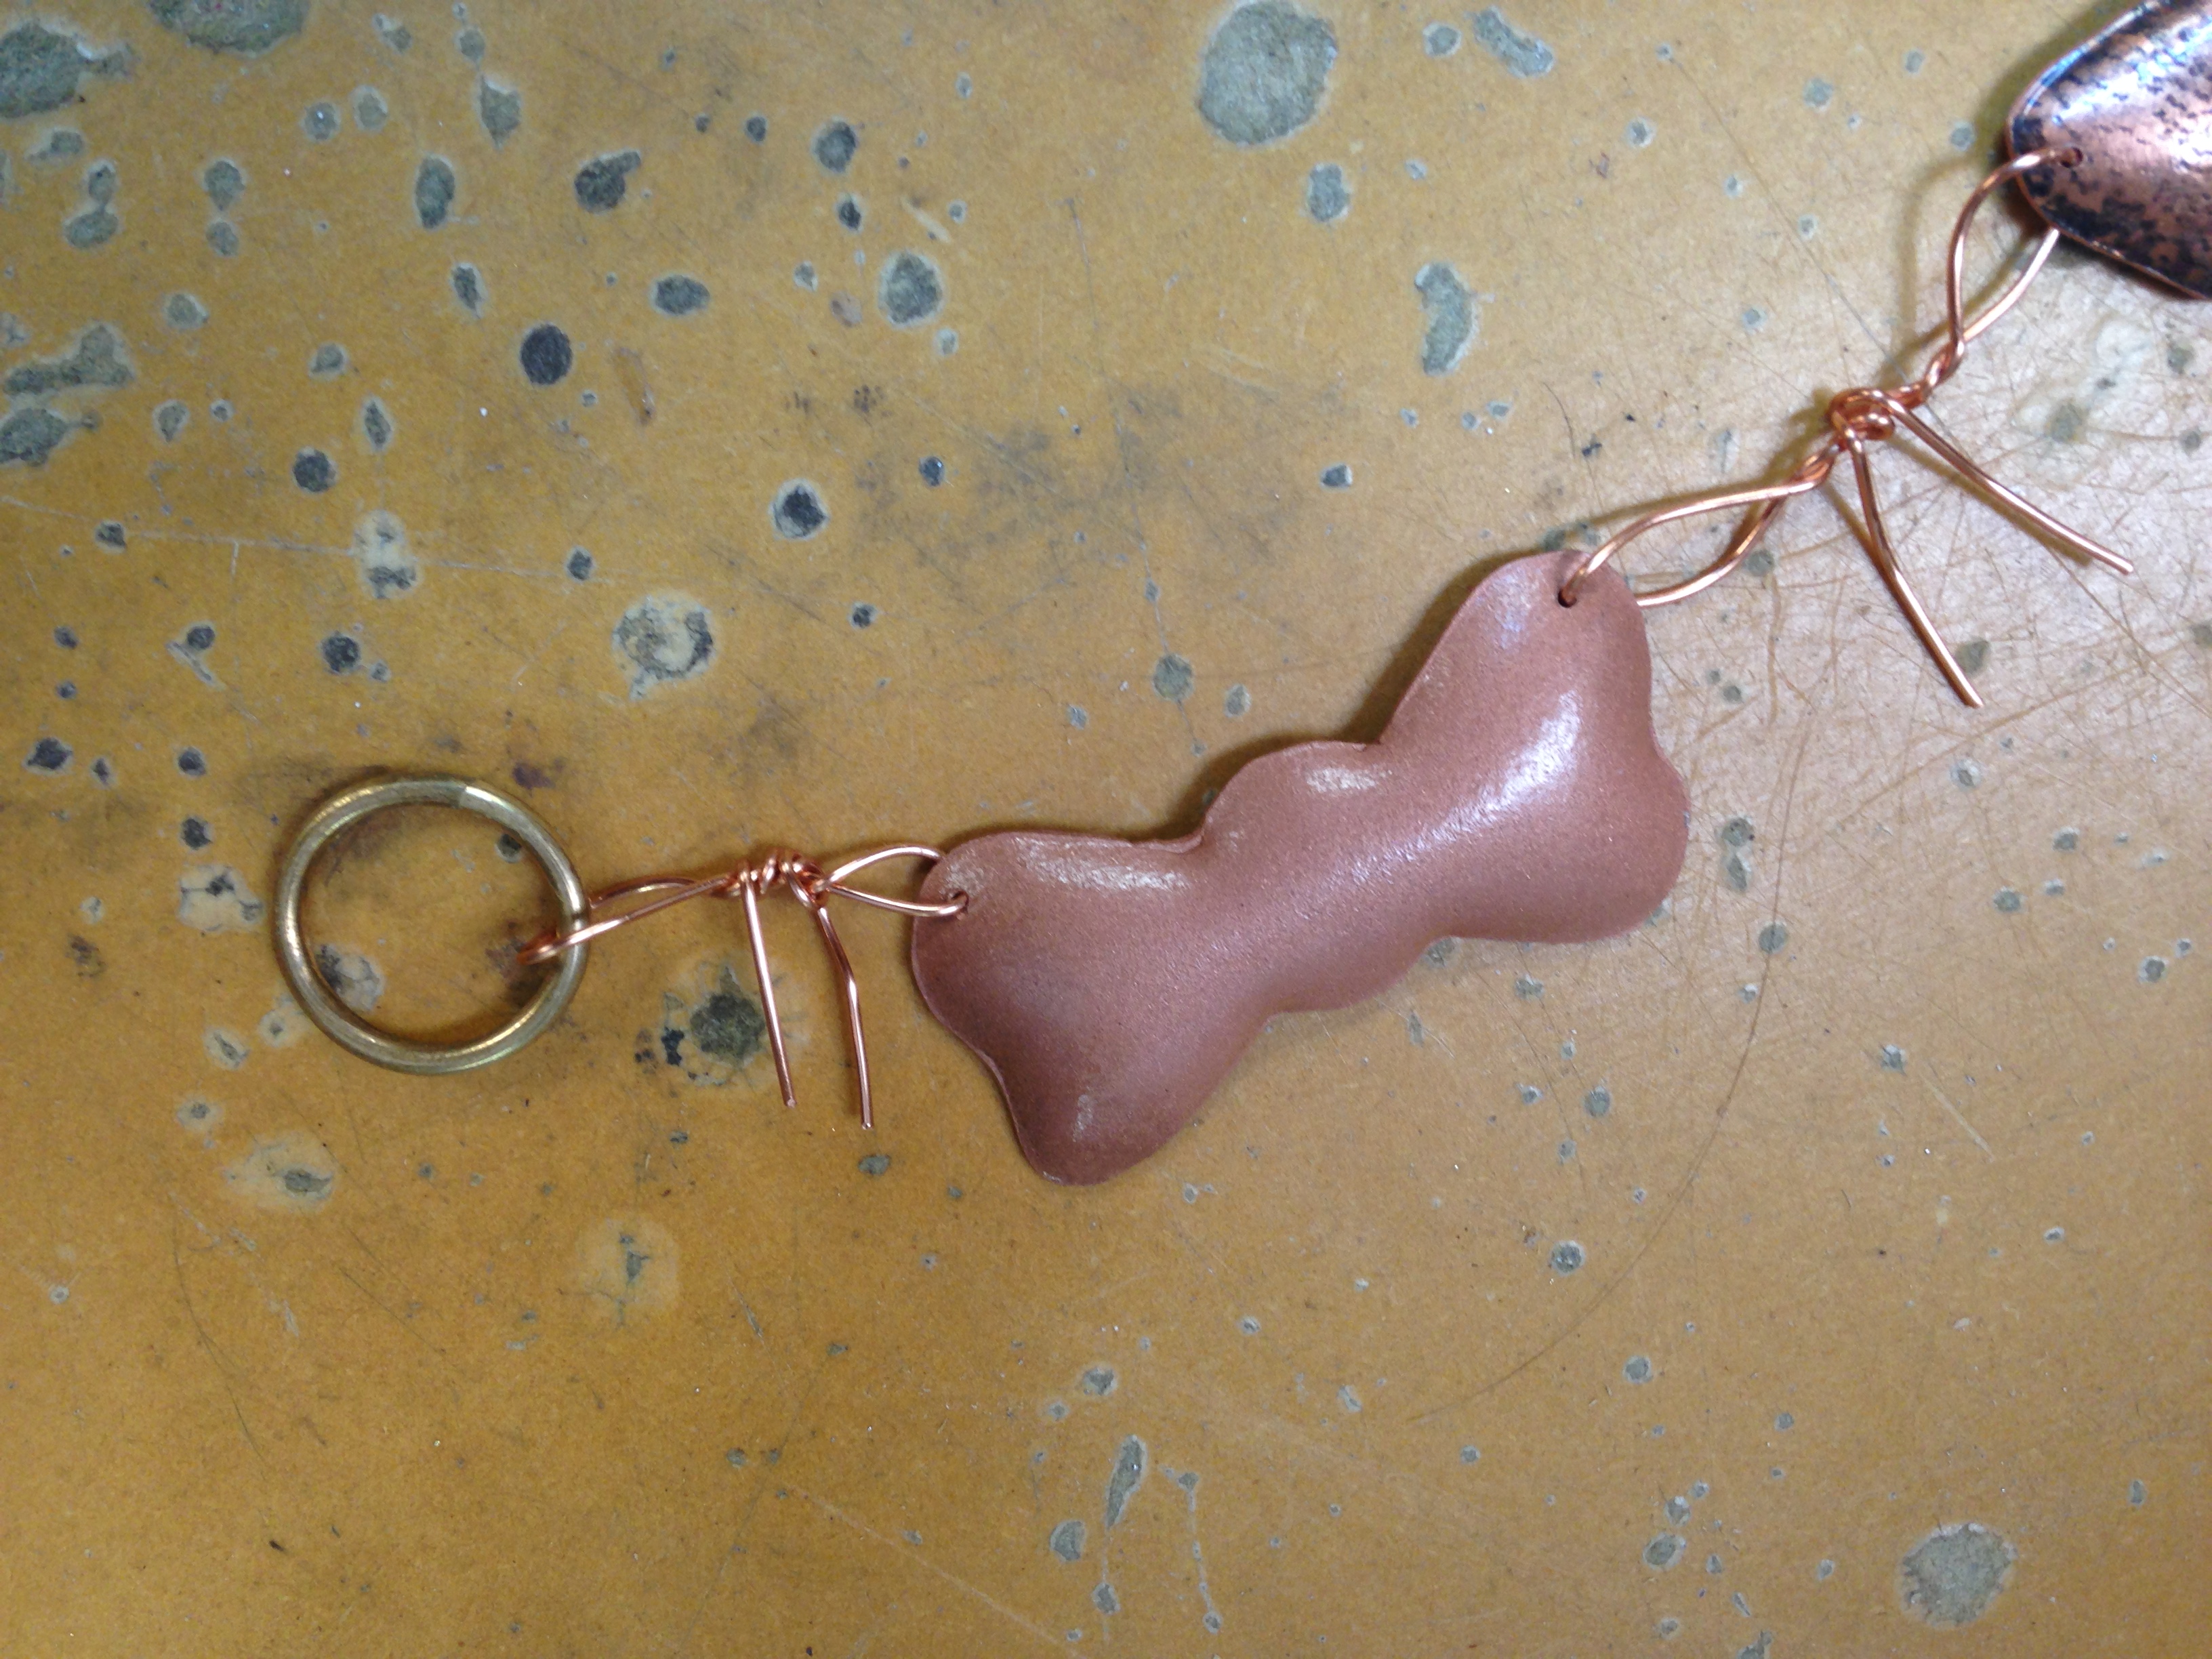
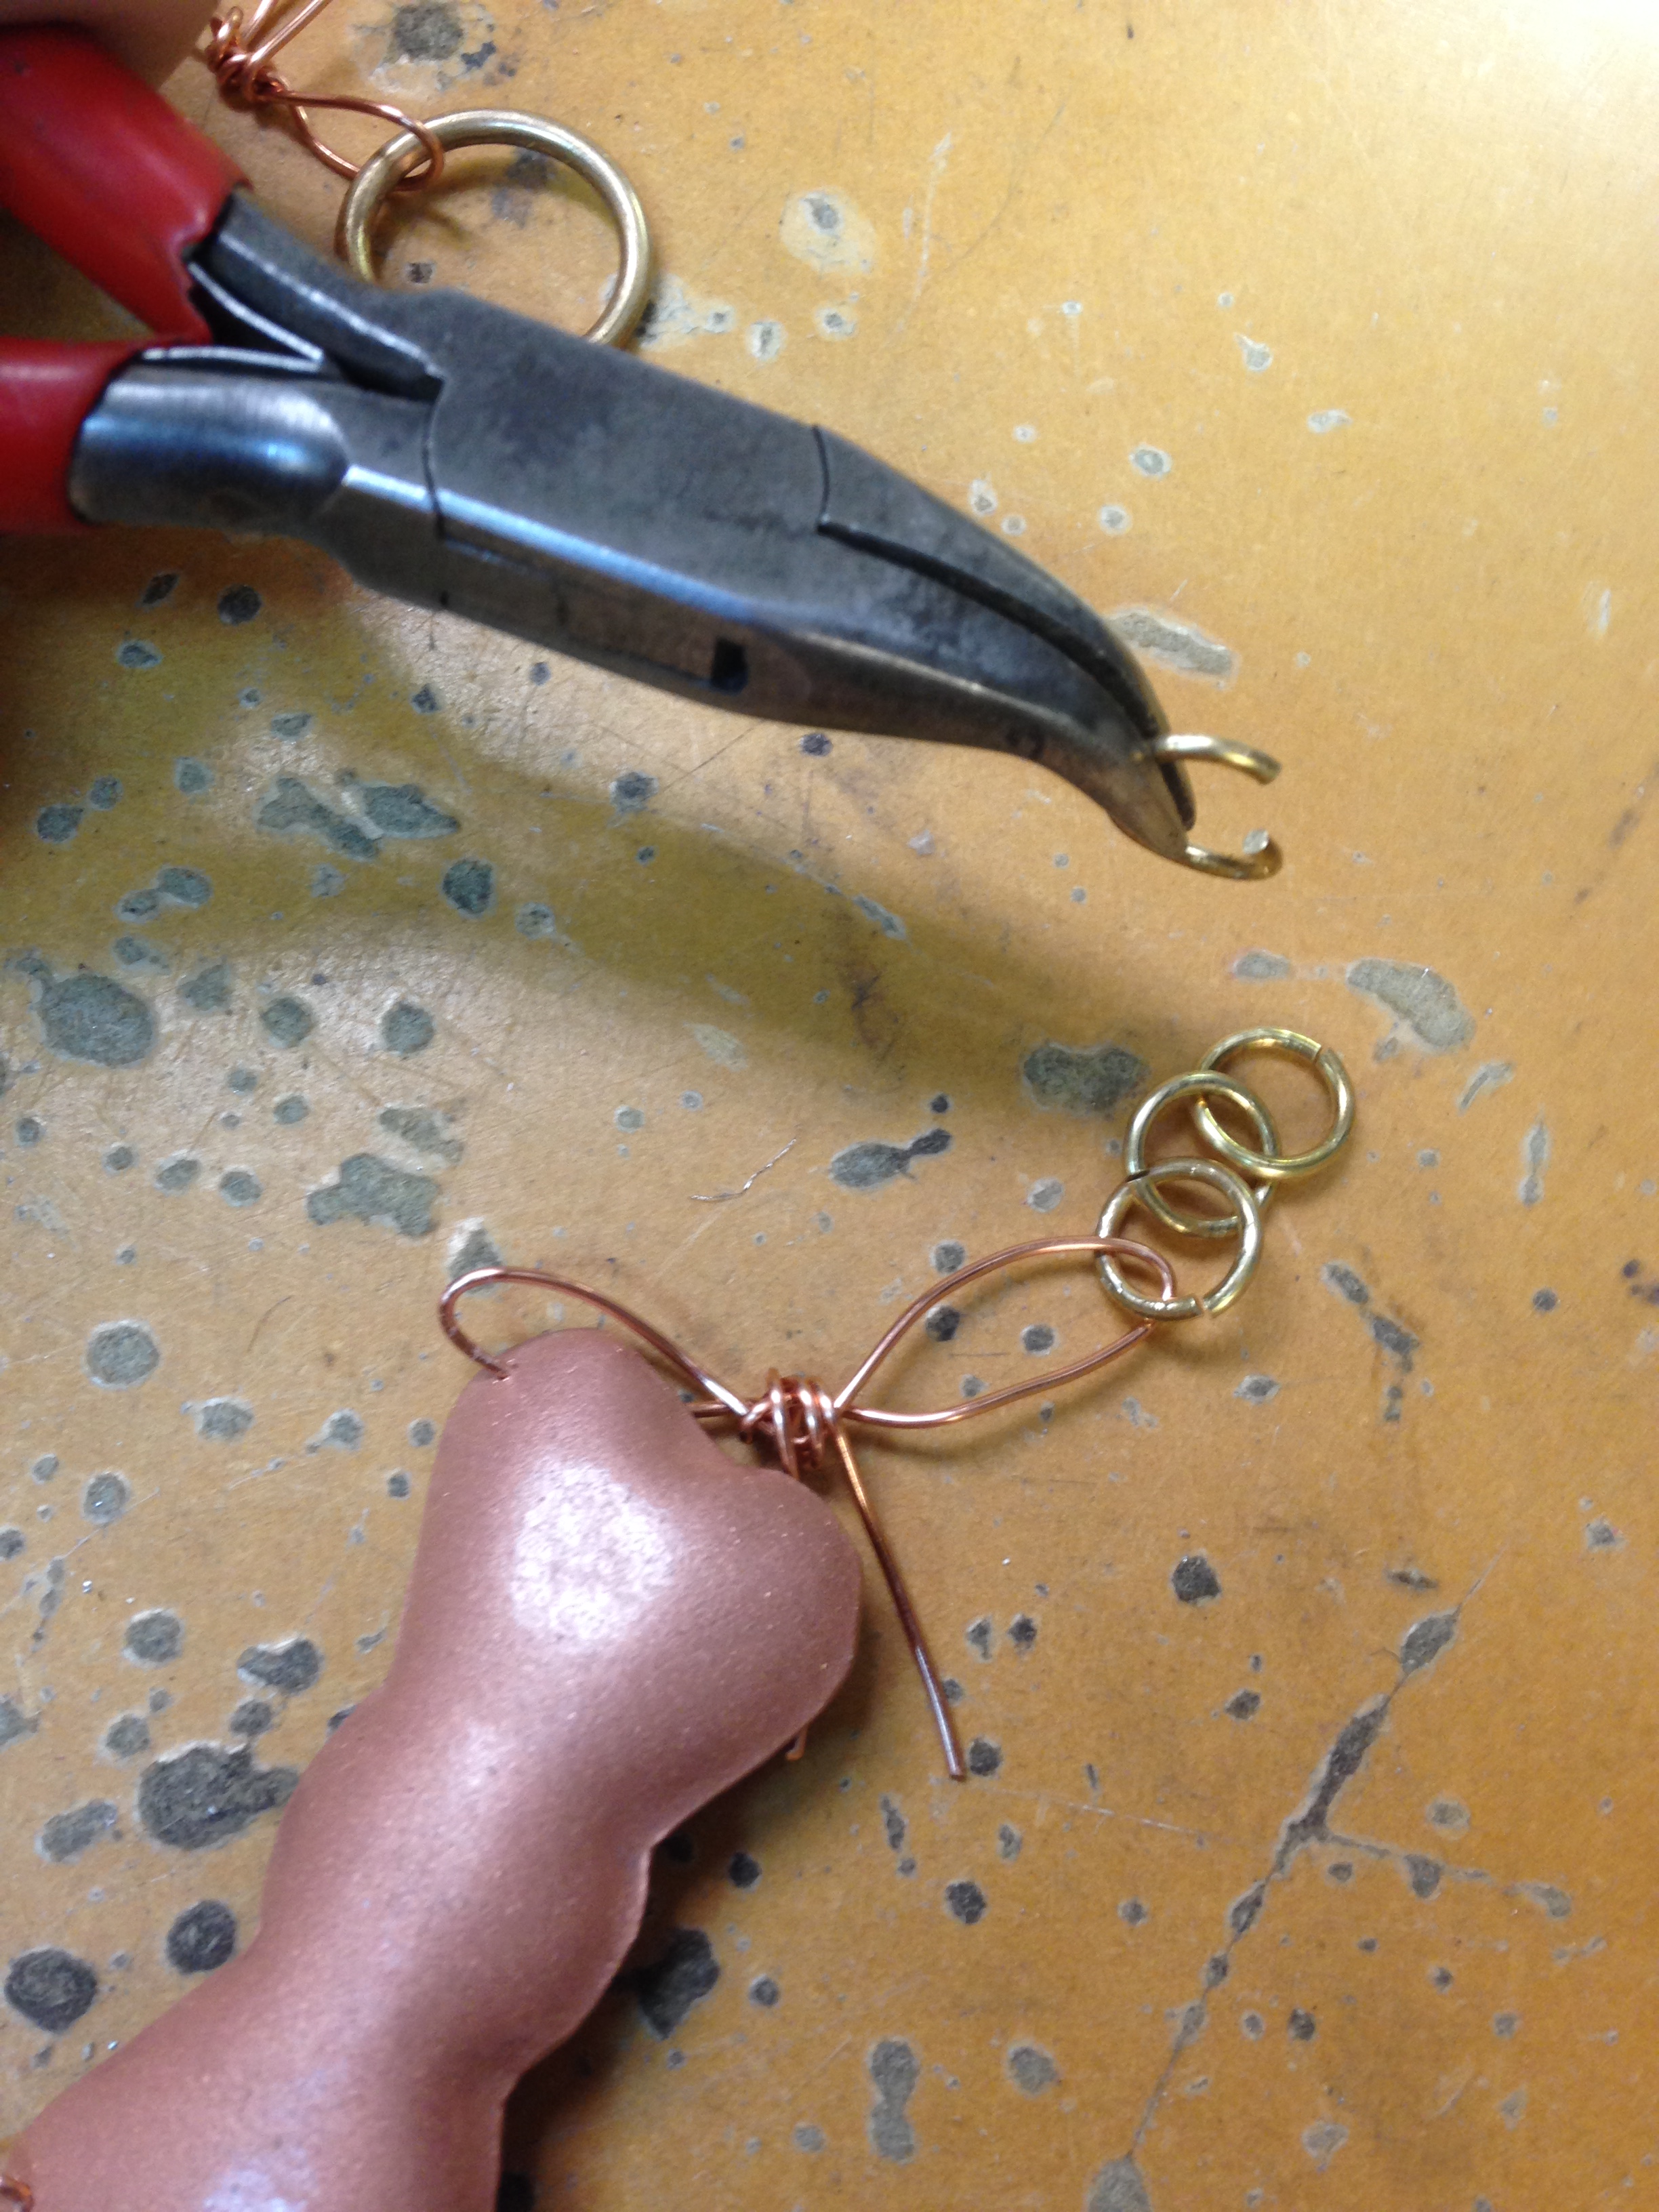
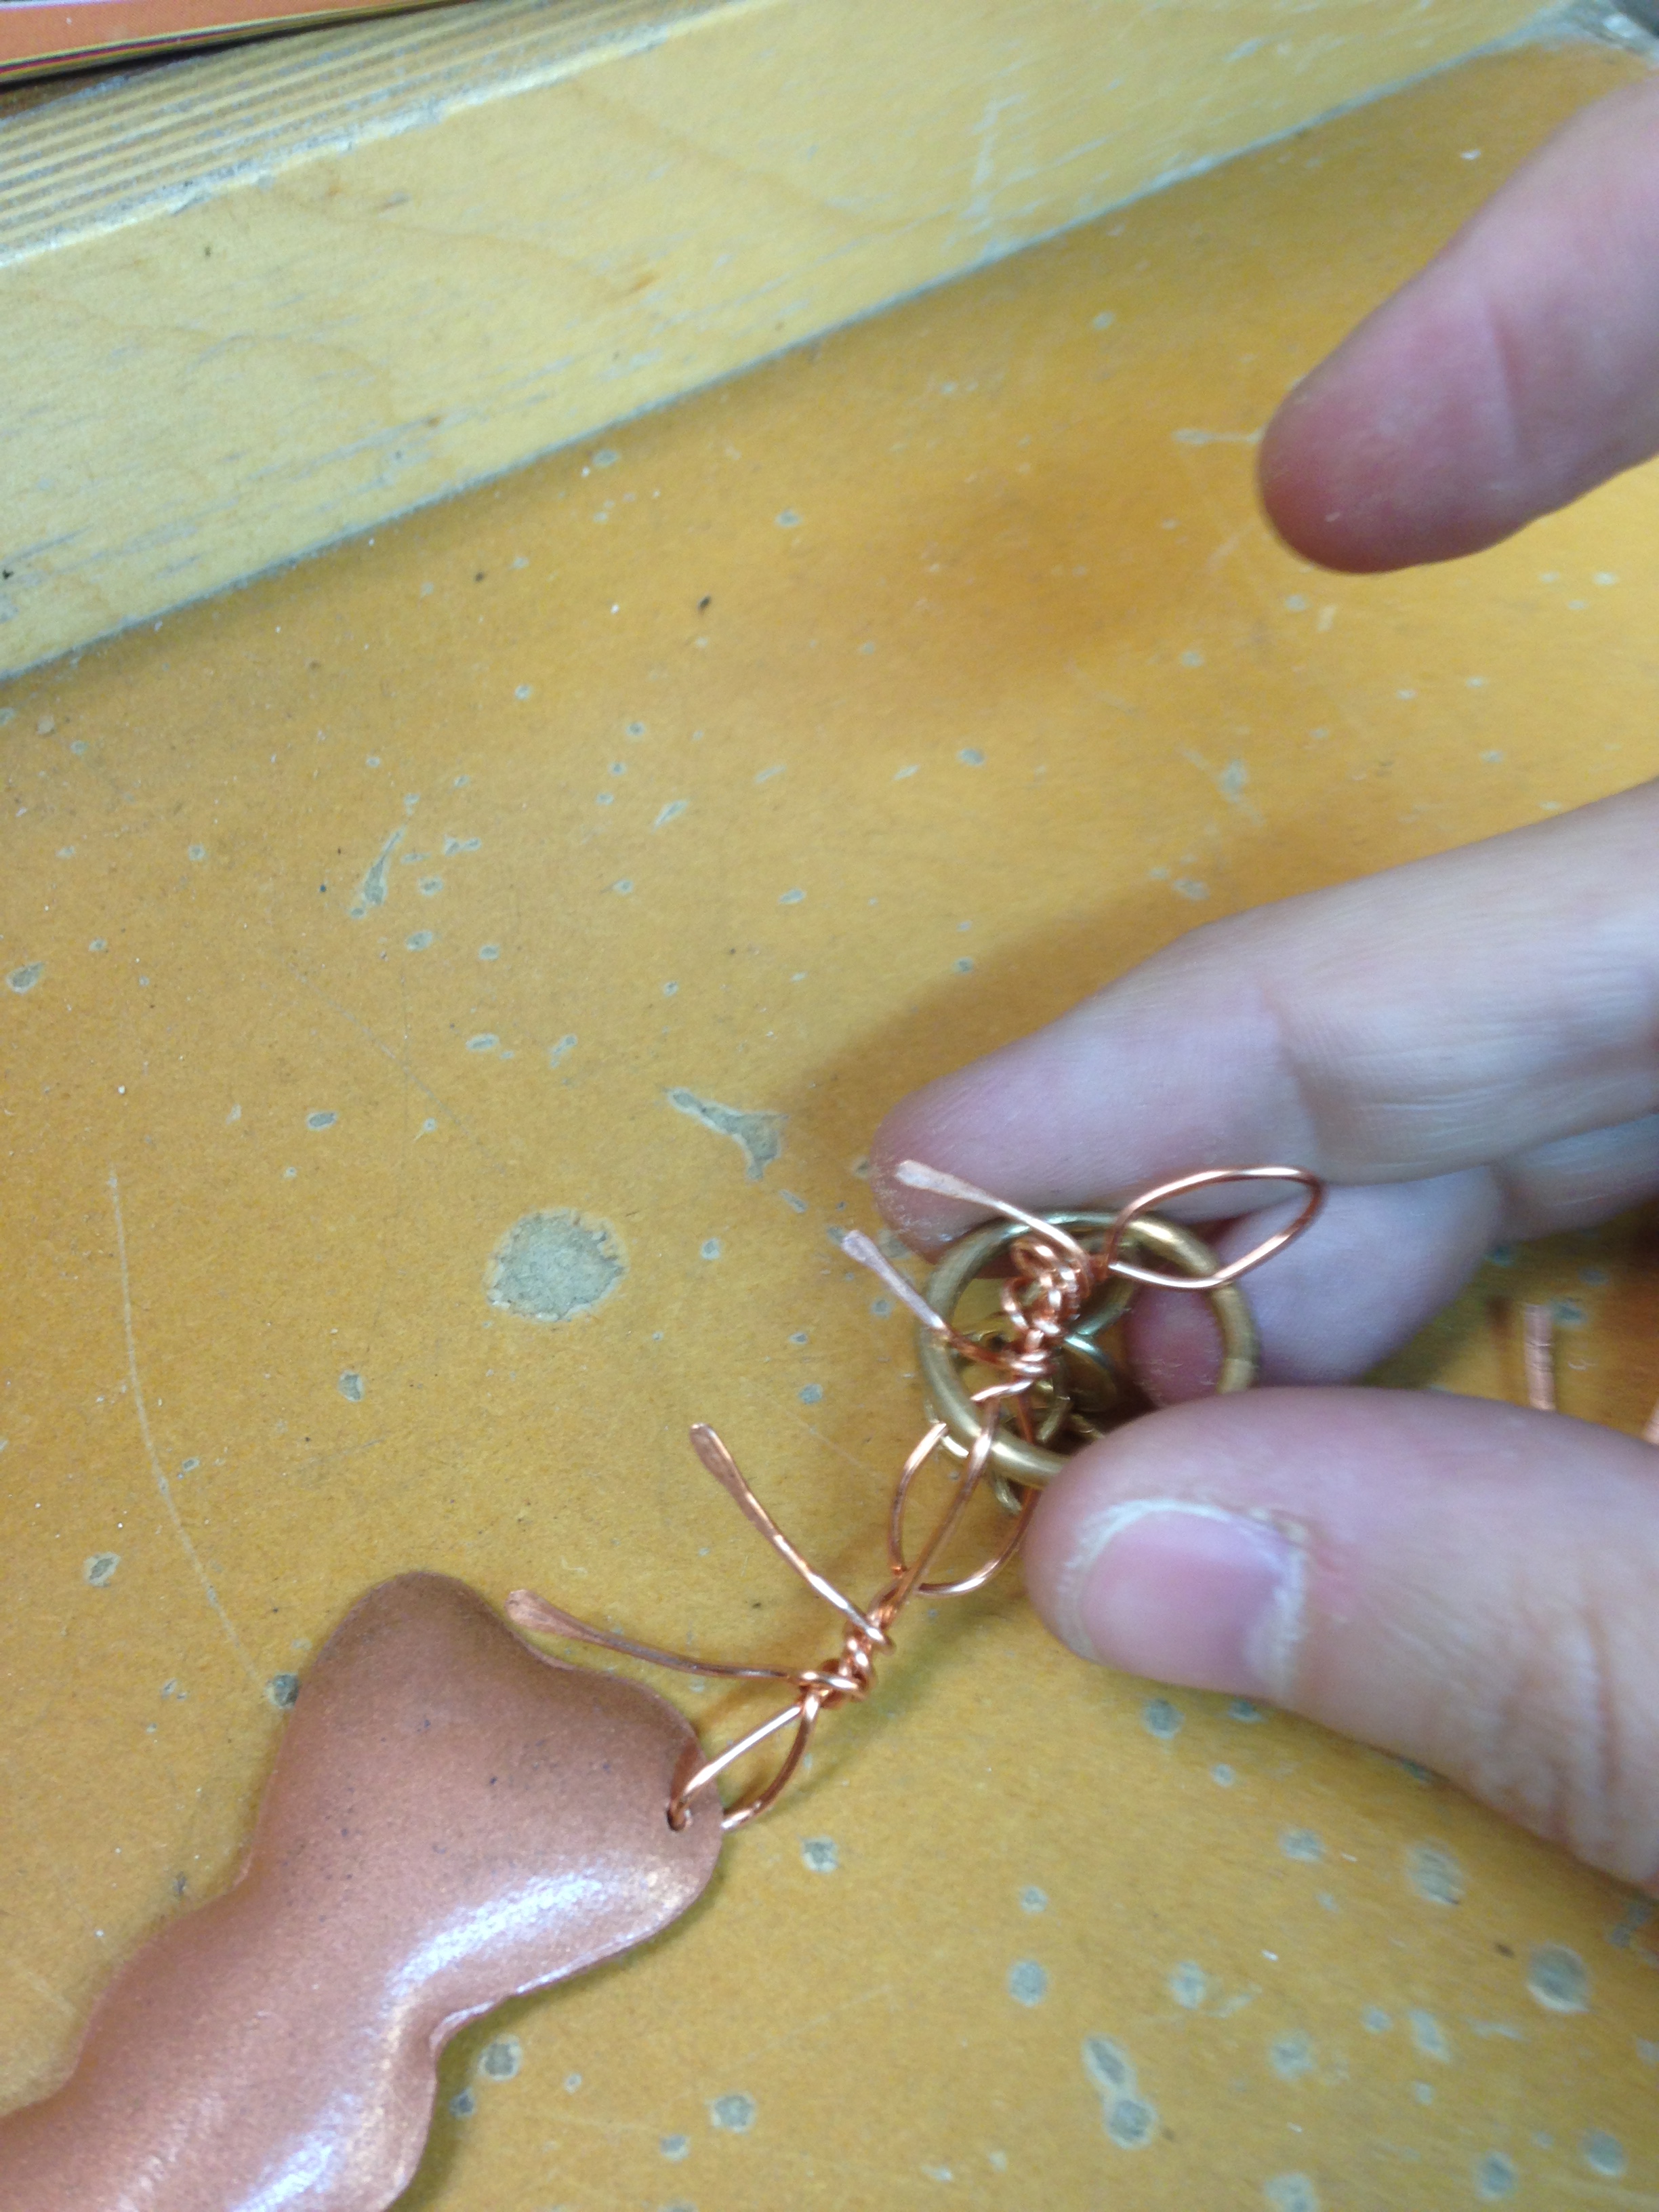
With all of my copper pieces ready, I began putting them together once I arranged them in the order I wanted. Instead of connecting the pieces with metal rings, I connected the pieces with wire bows. In order to do this I would thread wire through one piece, make half of the bow, then thread it through the other connecting piece while finishing the other half of the bow. I hammered the end of the wire bows to ensure they would not be too sharp when being worn.
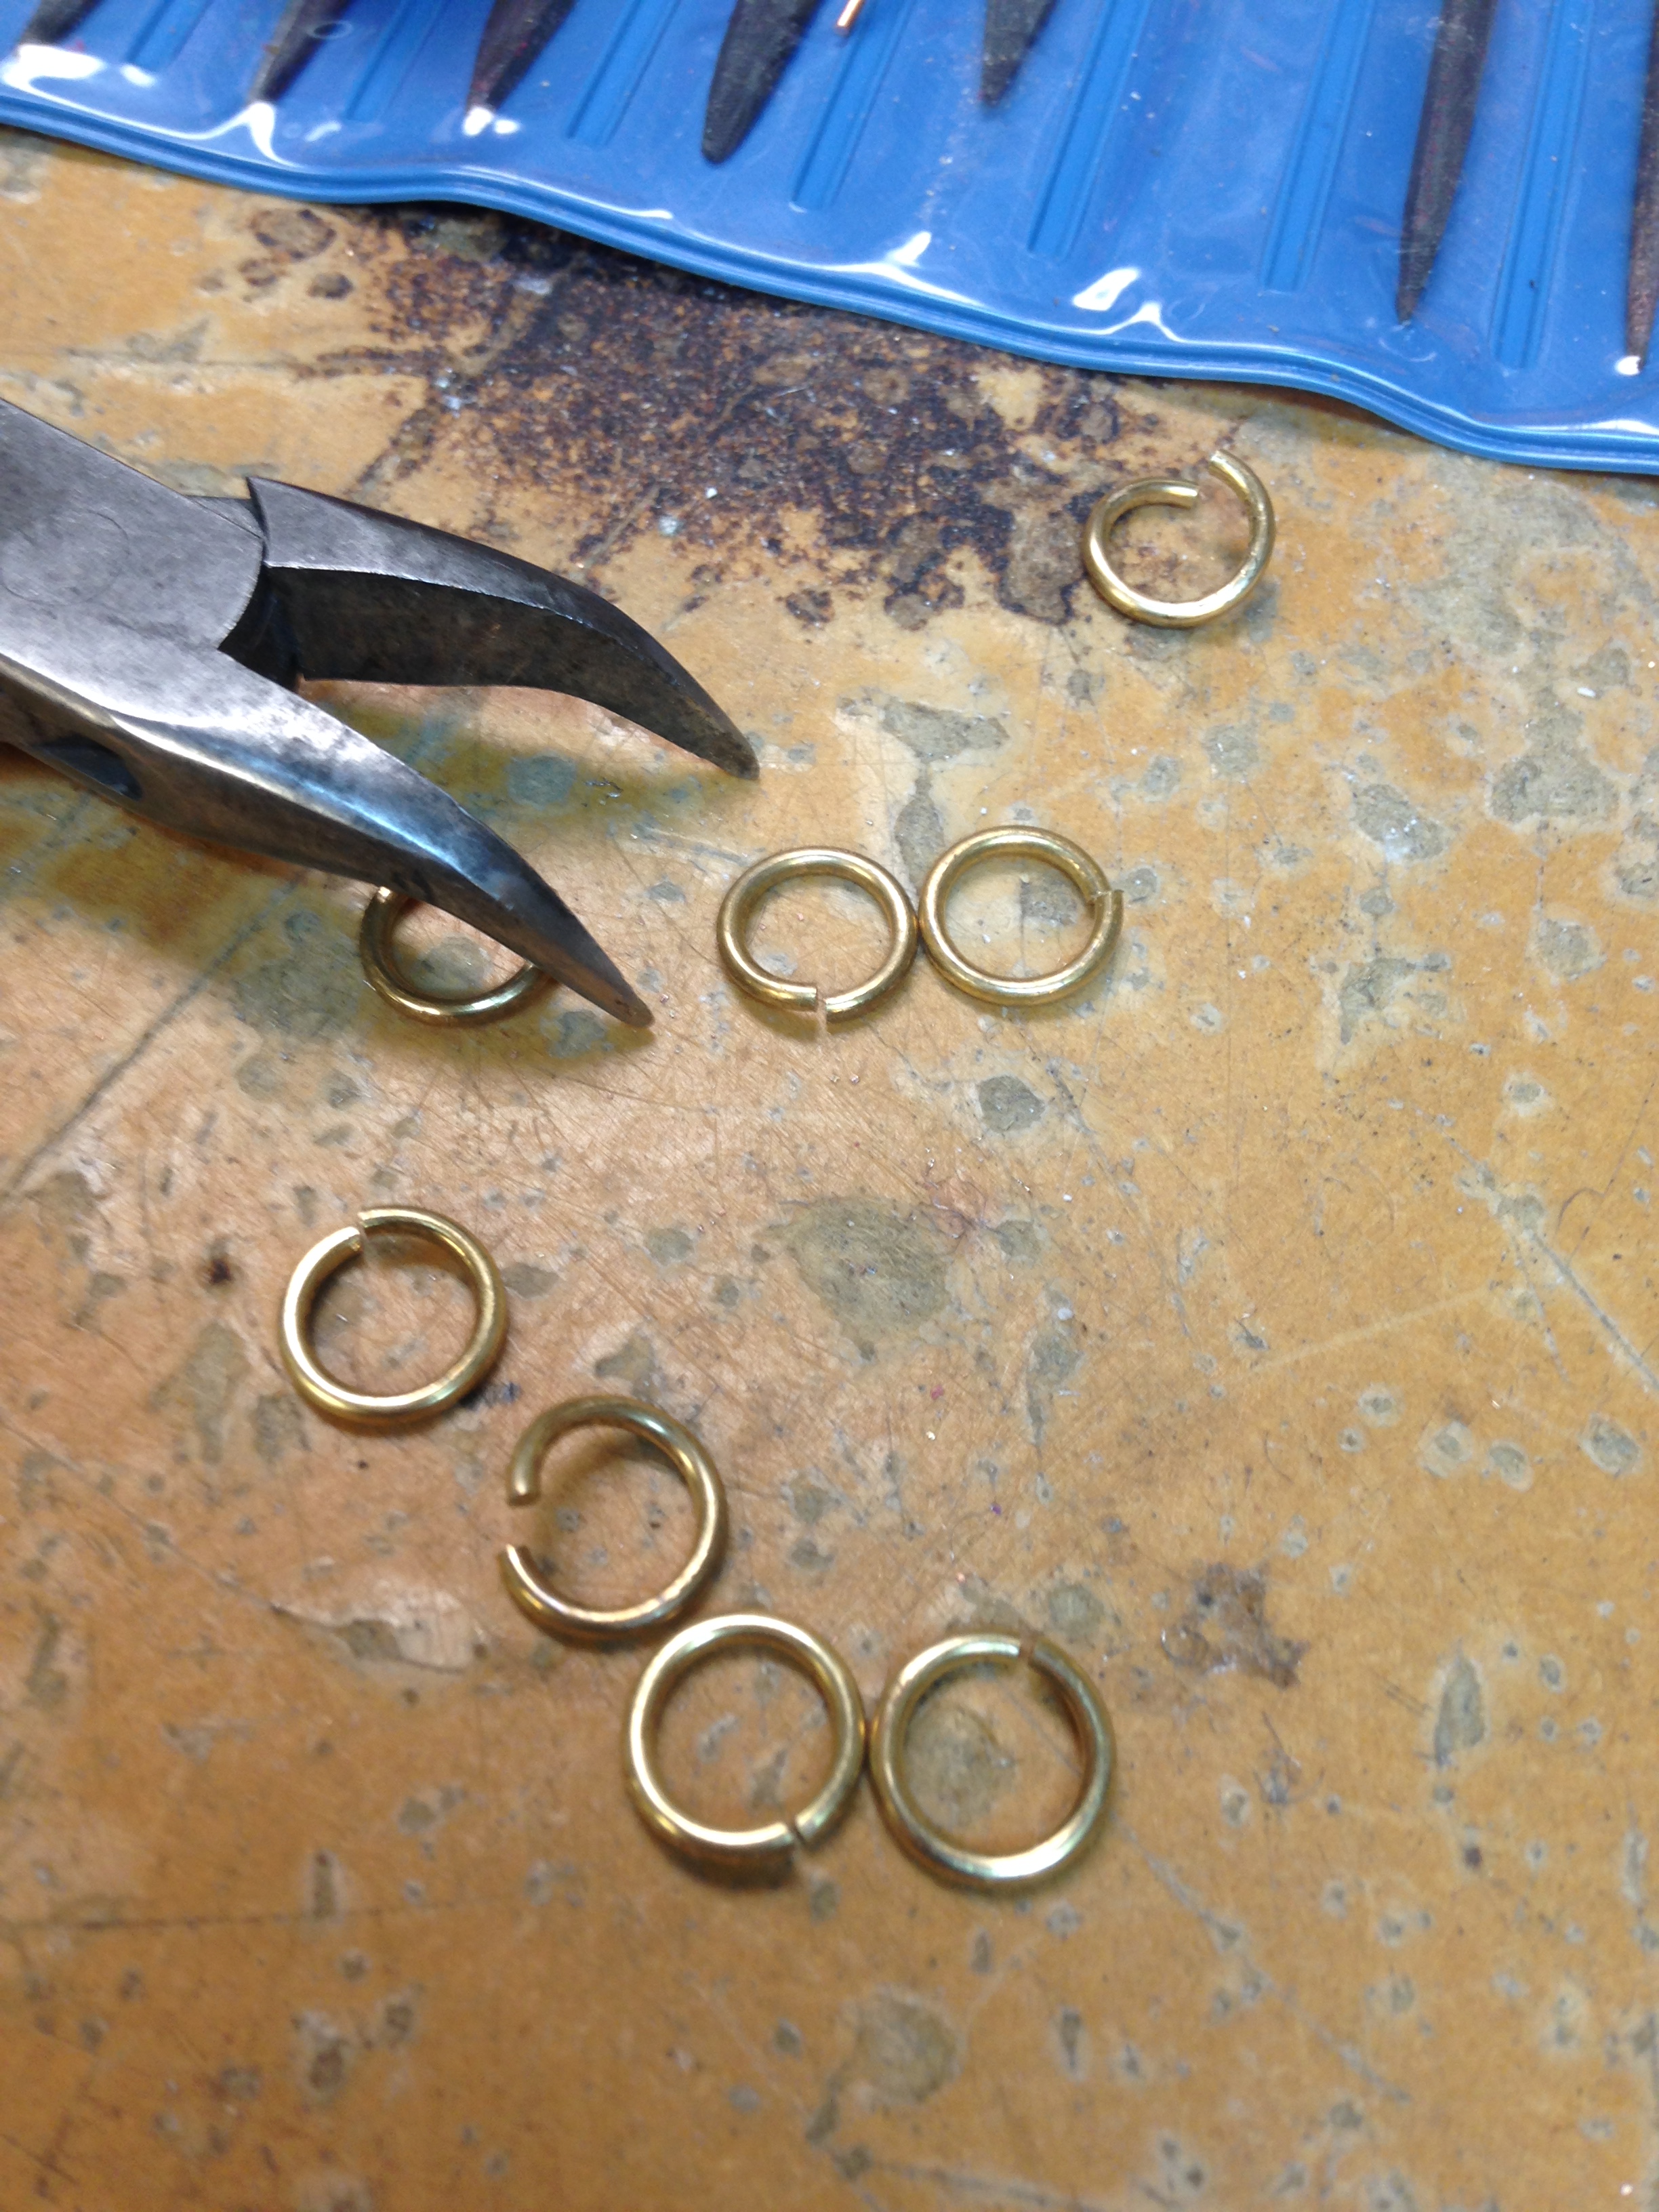
I then made a chain out of brass with a bow connected to the end of it. This would slide through the brass circle I connected to the other half to make a clasp for the necklace.


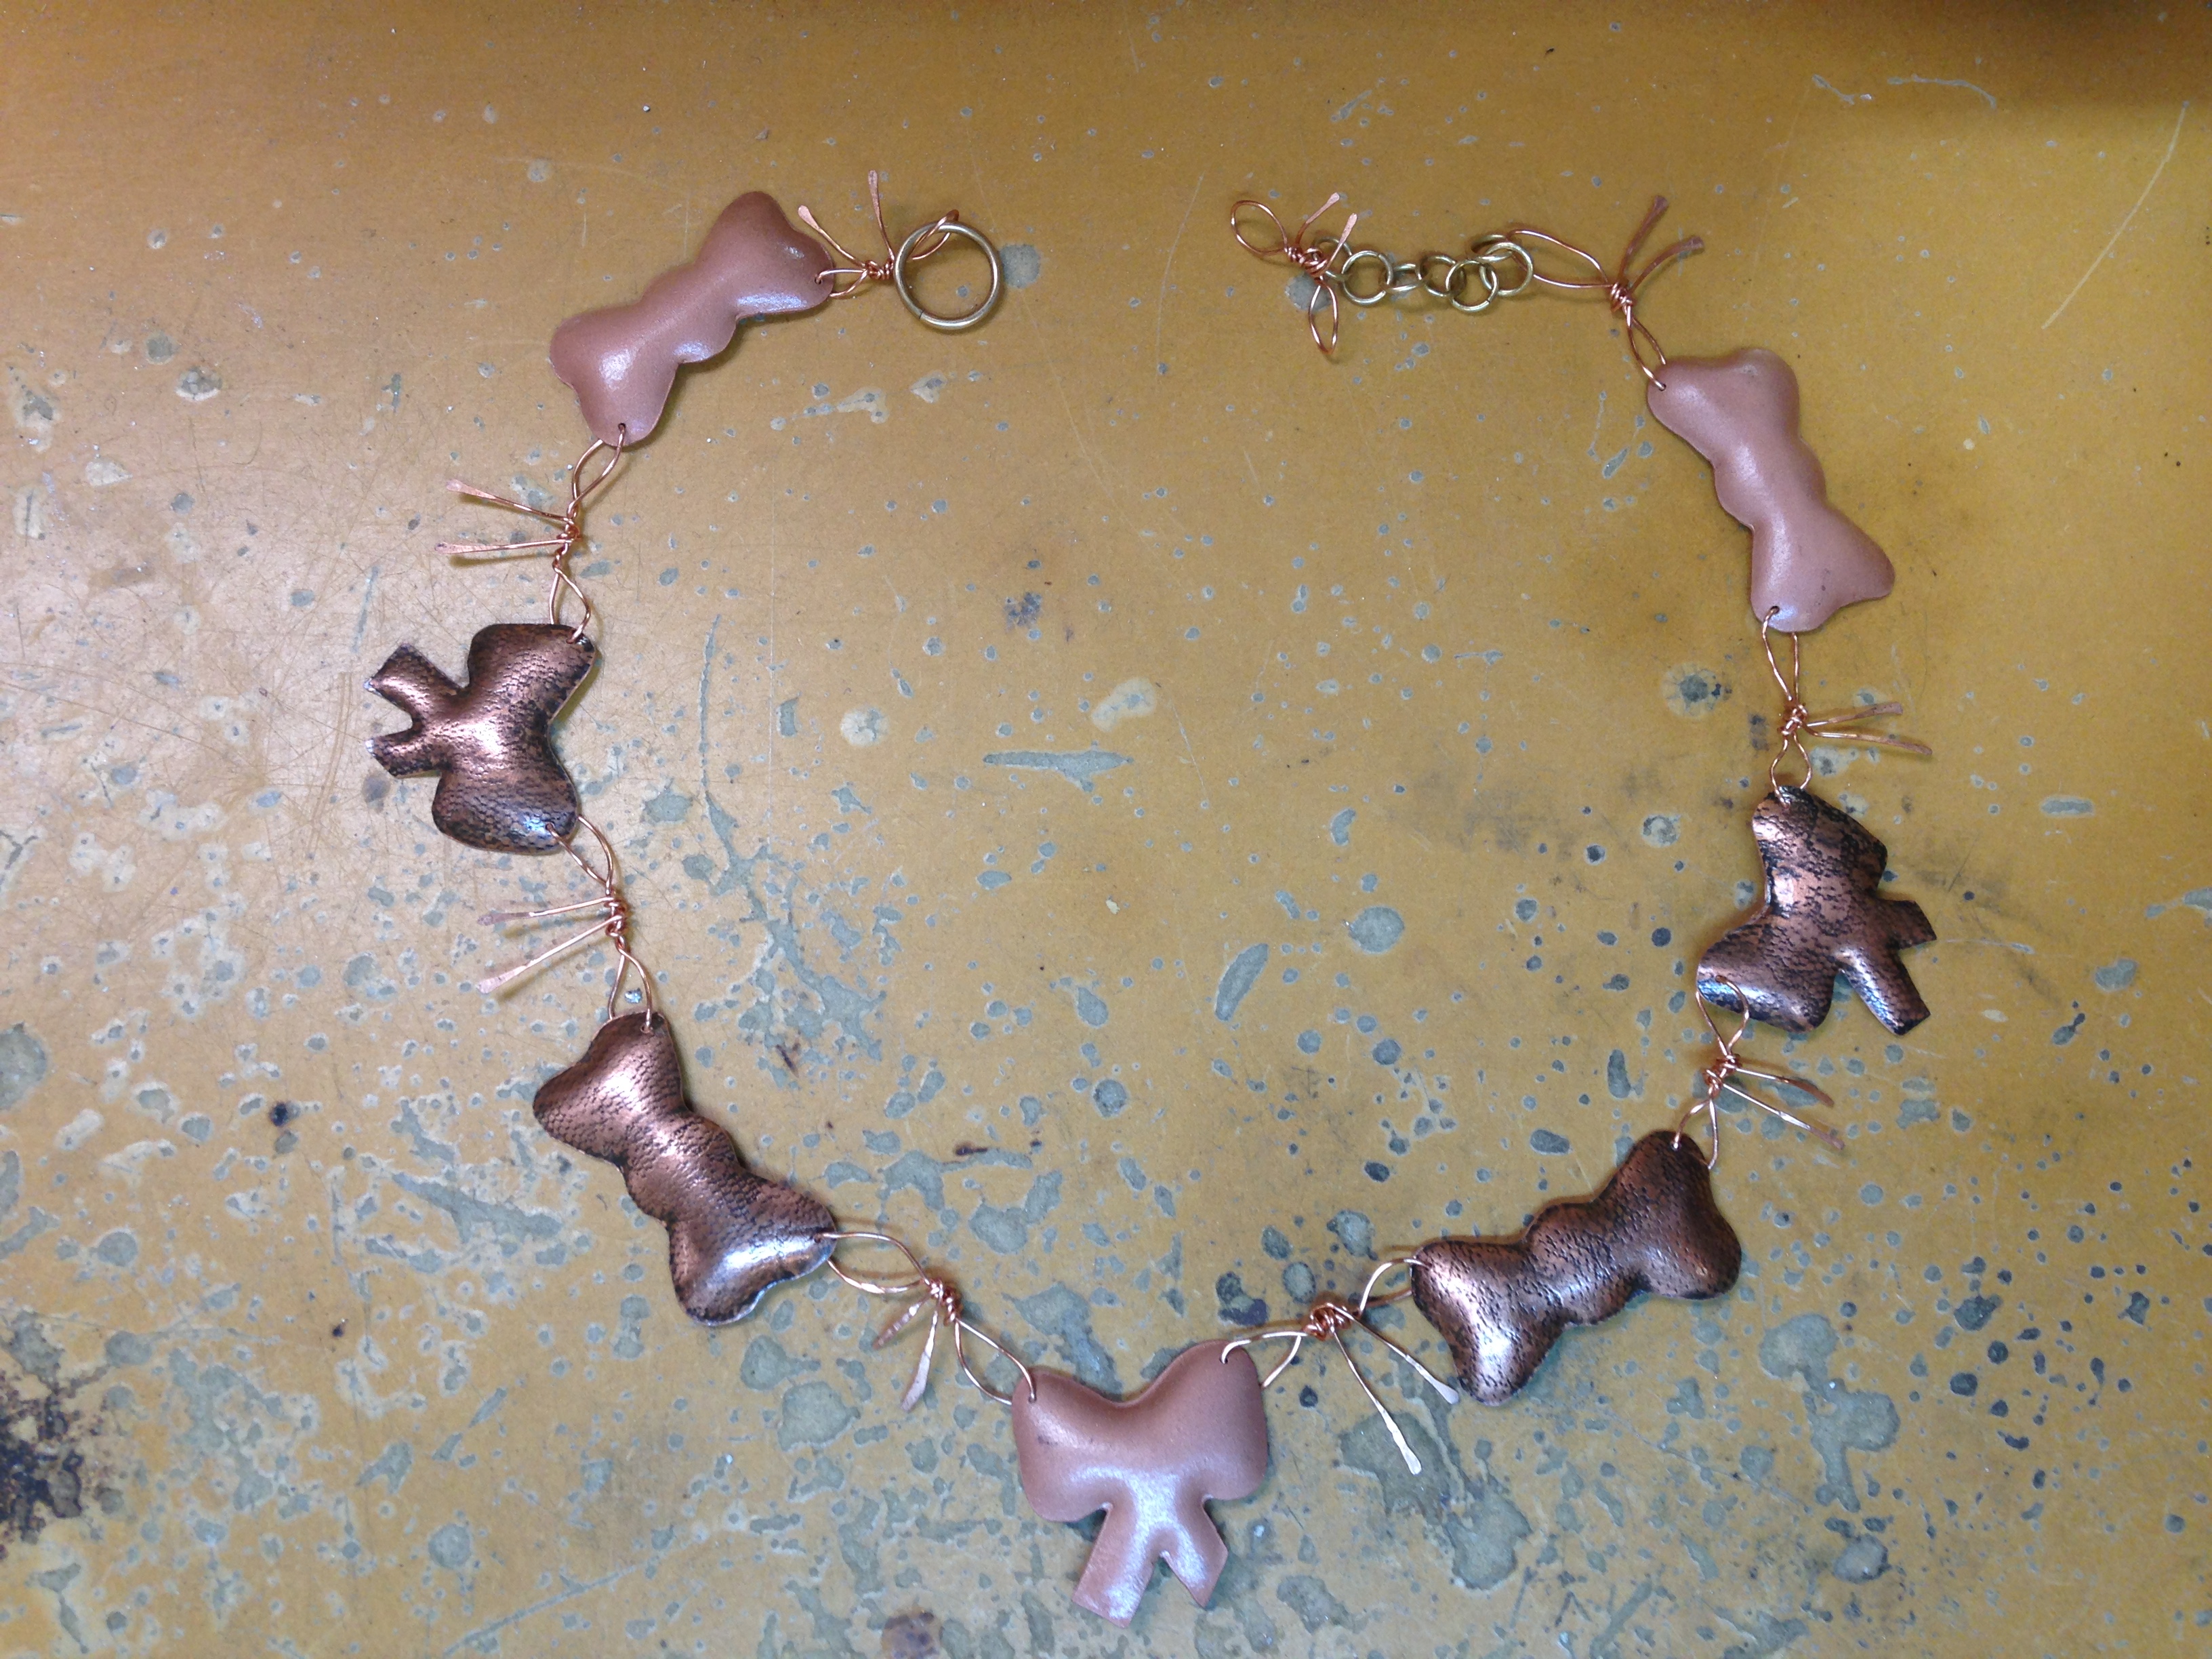
AND TADA! I’M DONE!
It was worth the process to be able to wear an Alyssa Original!
Have you ever tried working with copper? I’d love to hear about your experiences making jewelry.