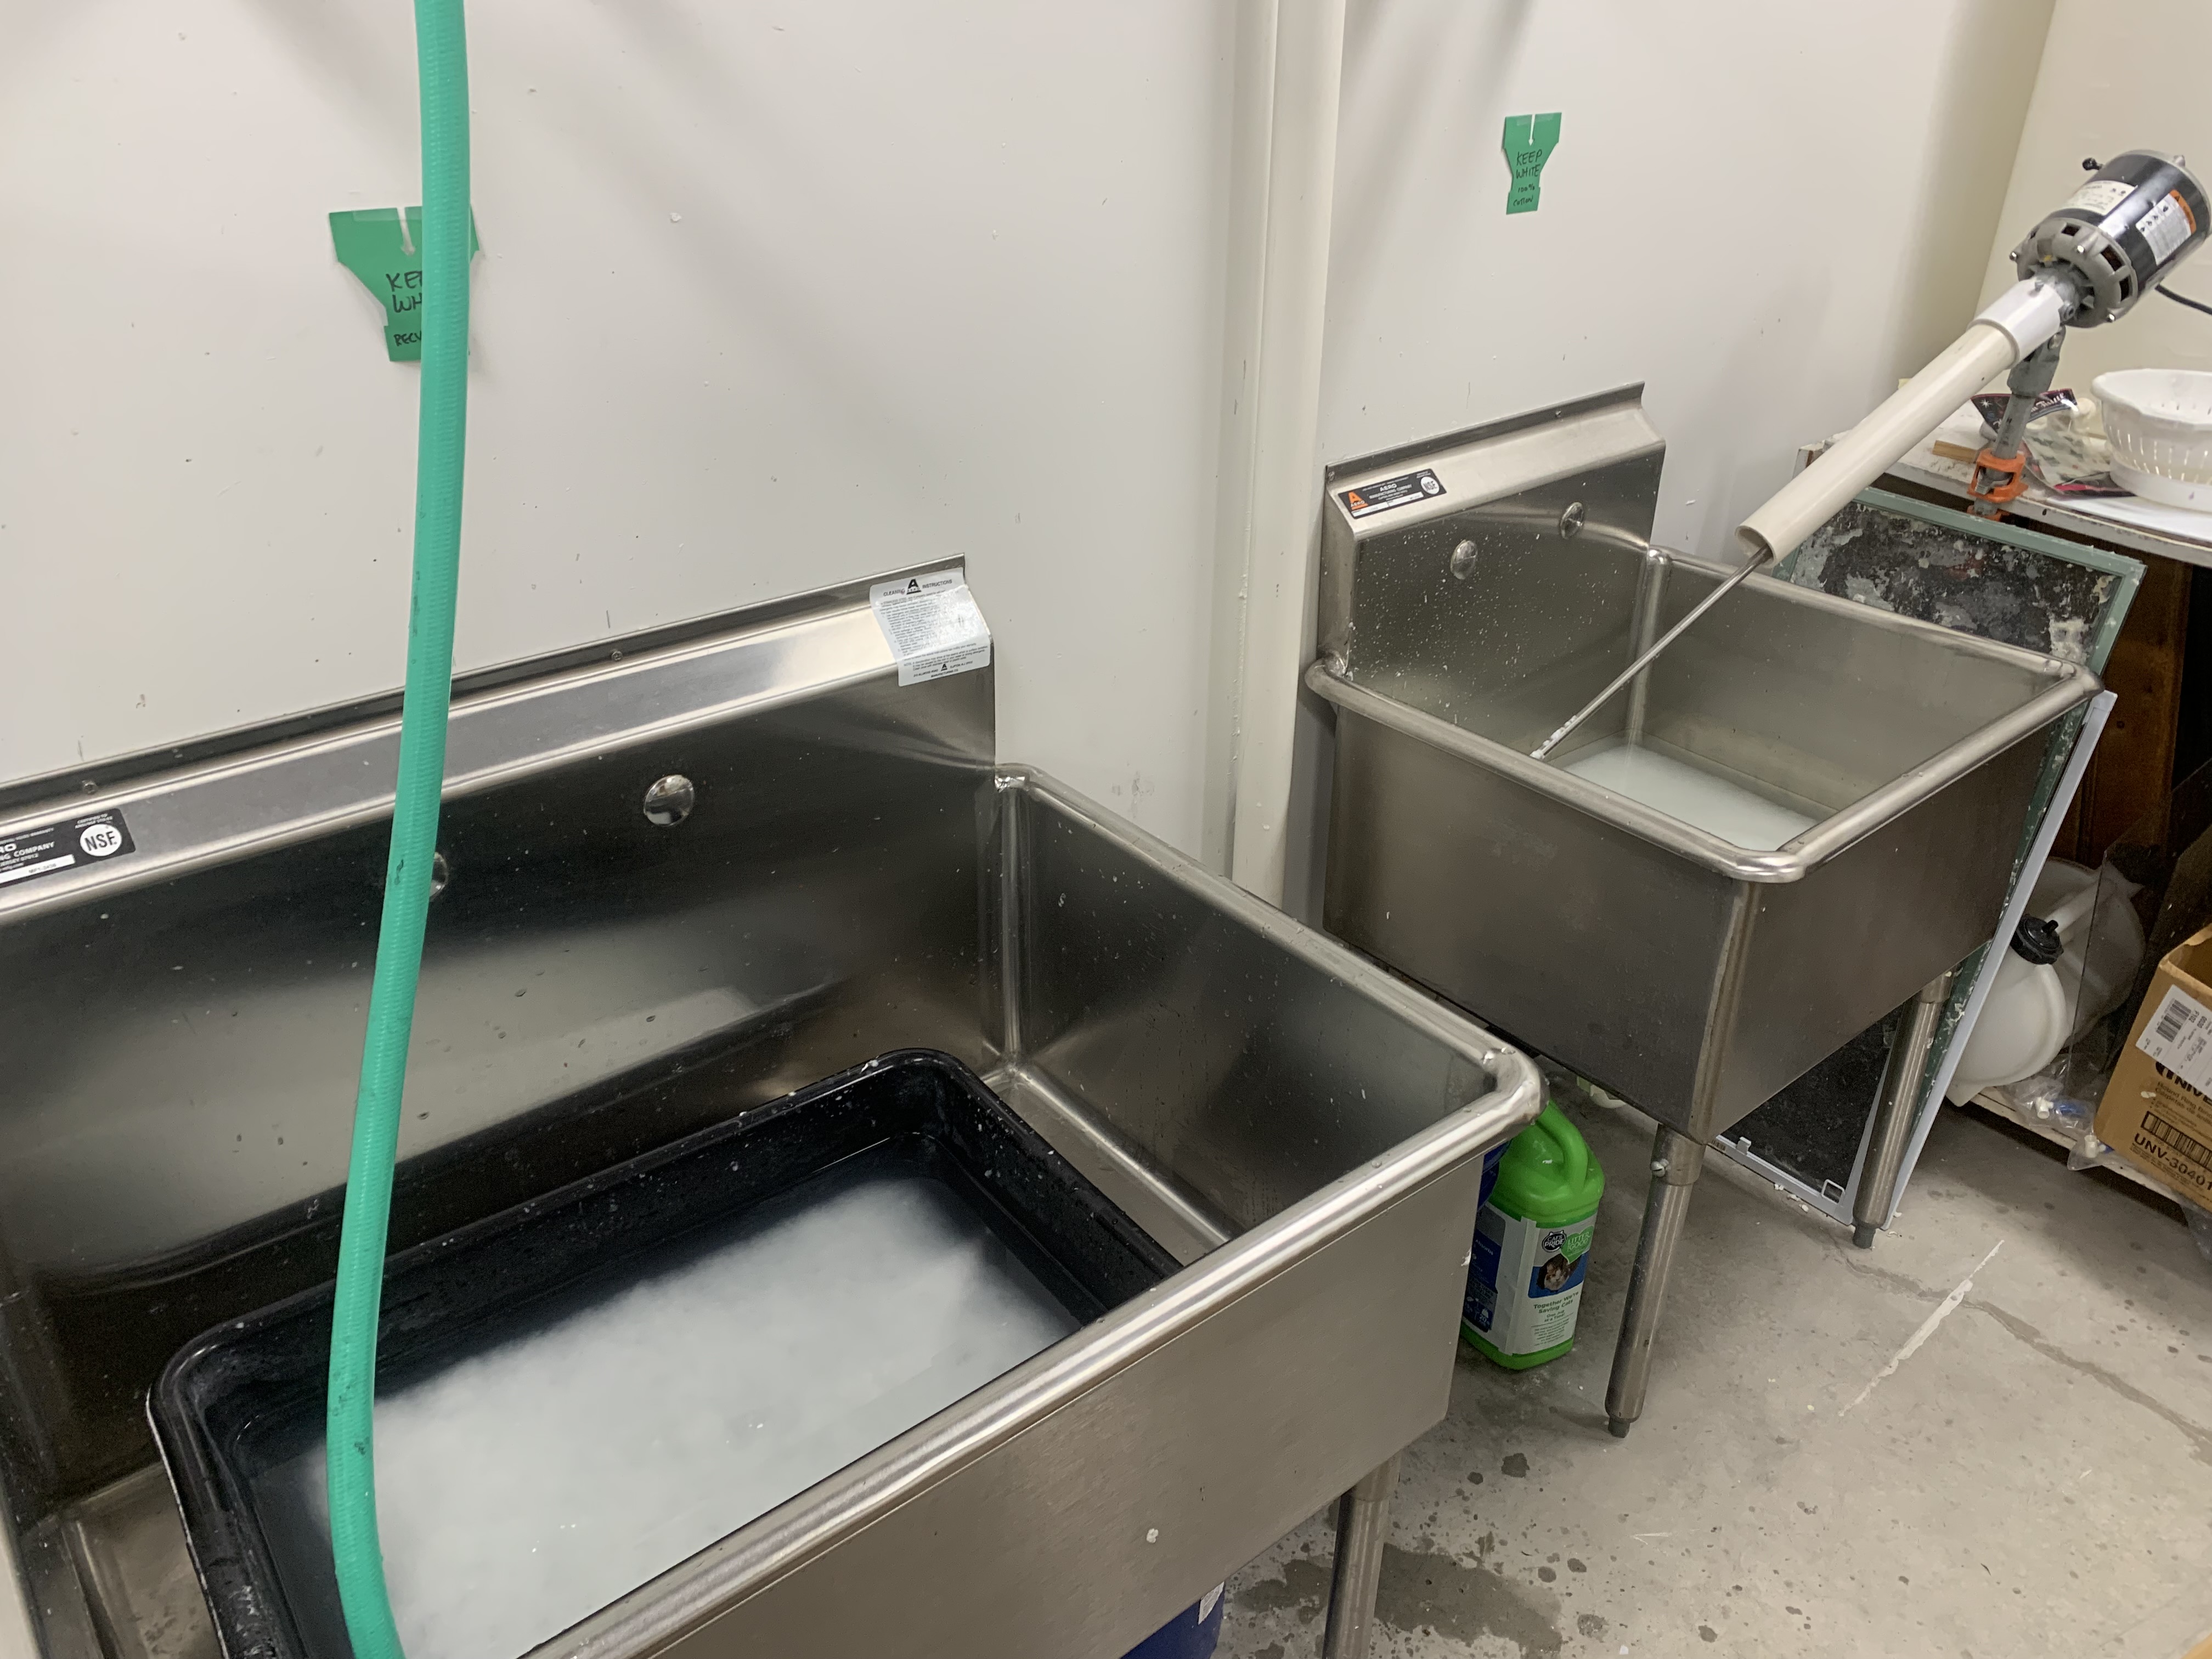
I love paper making, it is a very exciting yet messy process. One of the first steps here is to make sure your pulp consistency is perfect. The pulp is separated by colors with water mixed in. Each color pulp is put in different containers. You don’t want the paper pulp to be to thin or to chunky, otherwise when you press your paper to dry, it will be to frail, or uneven.
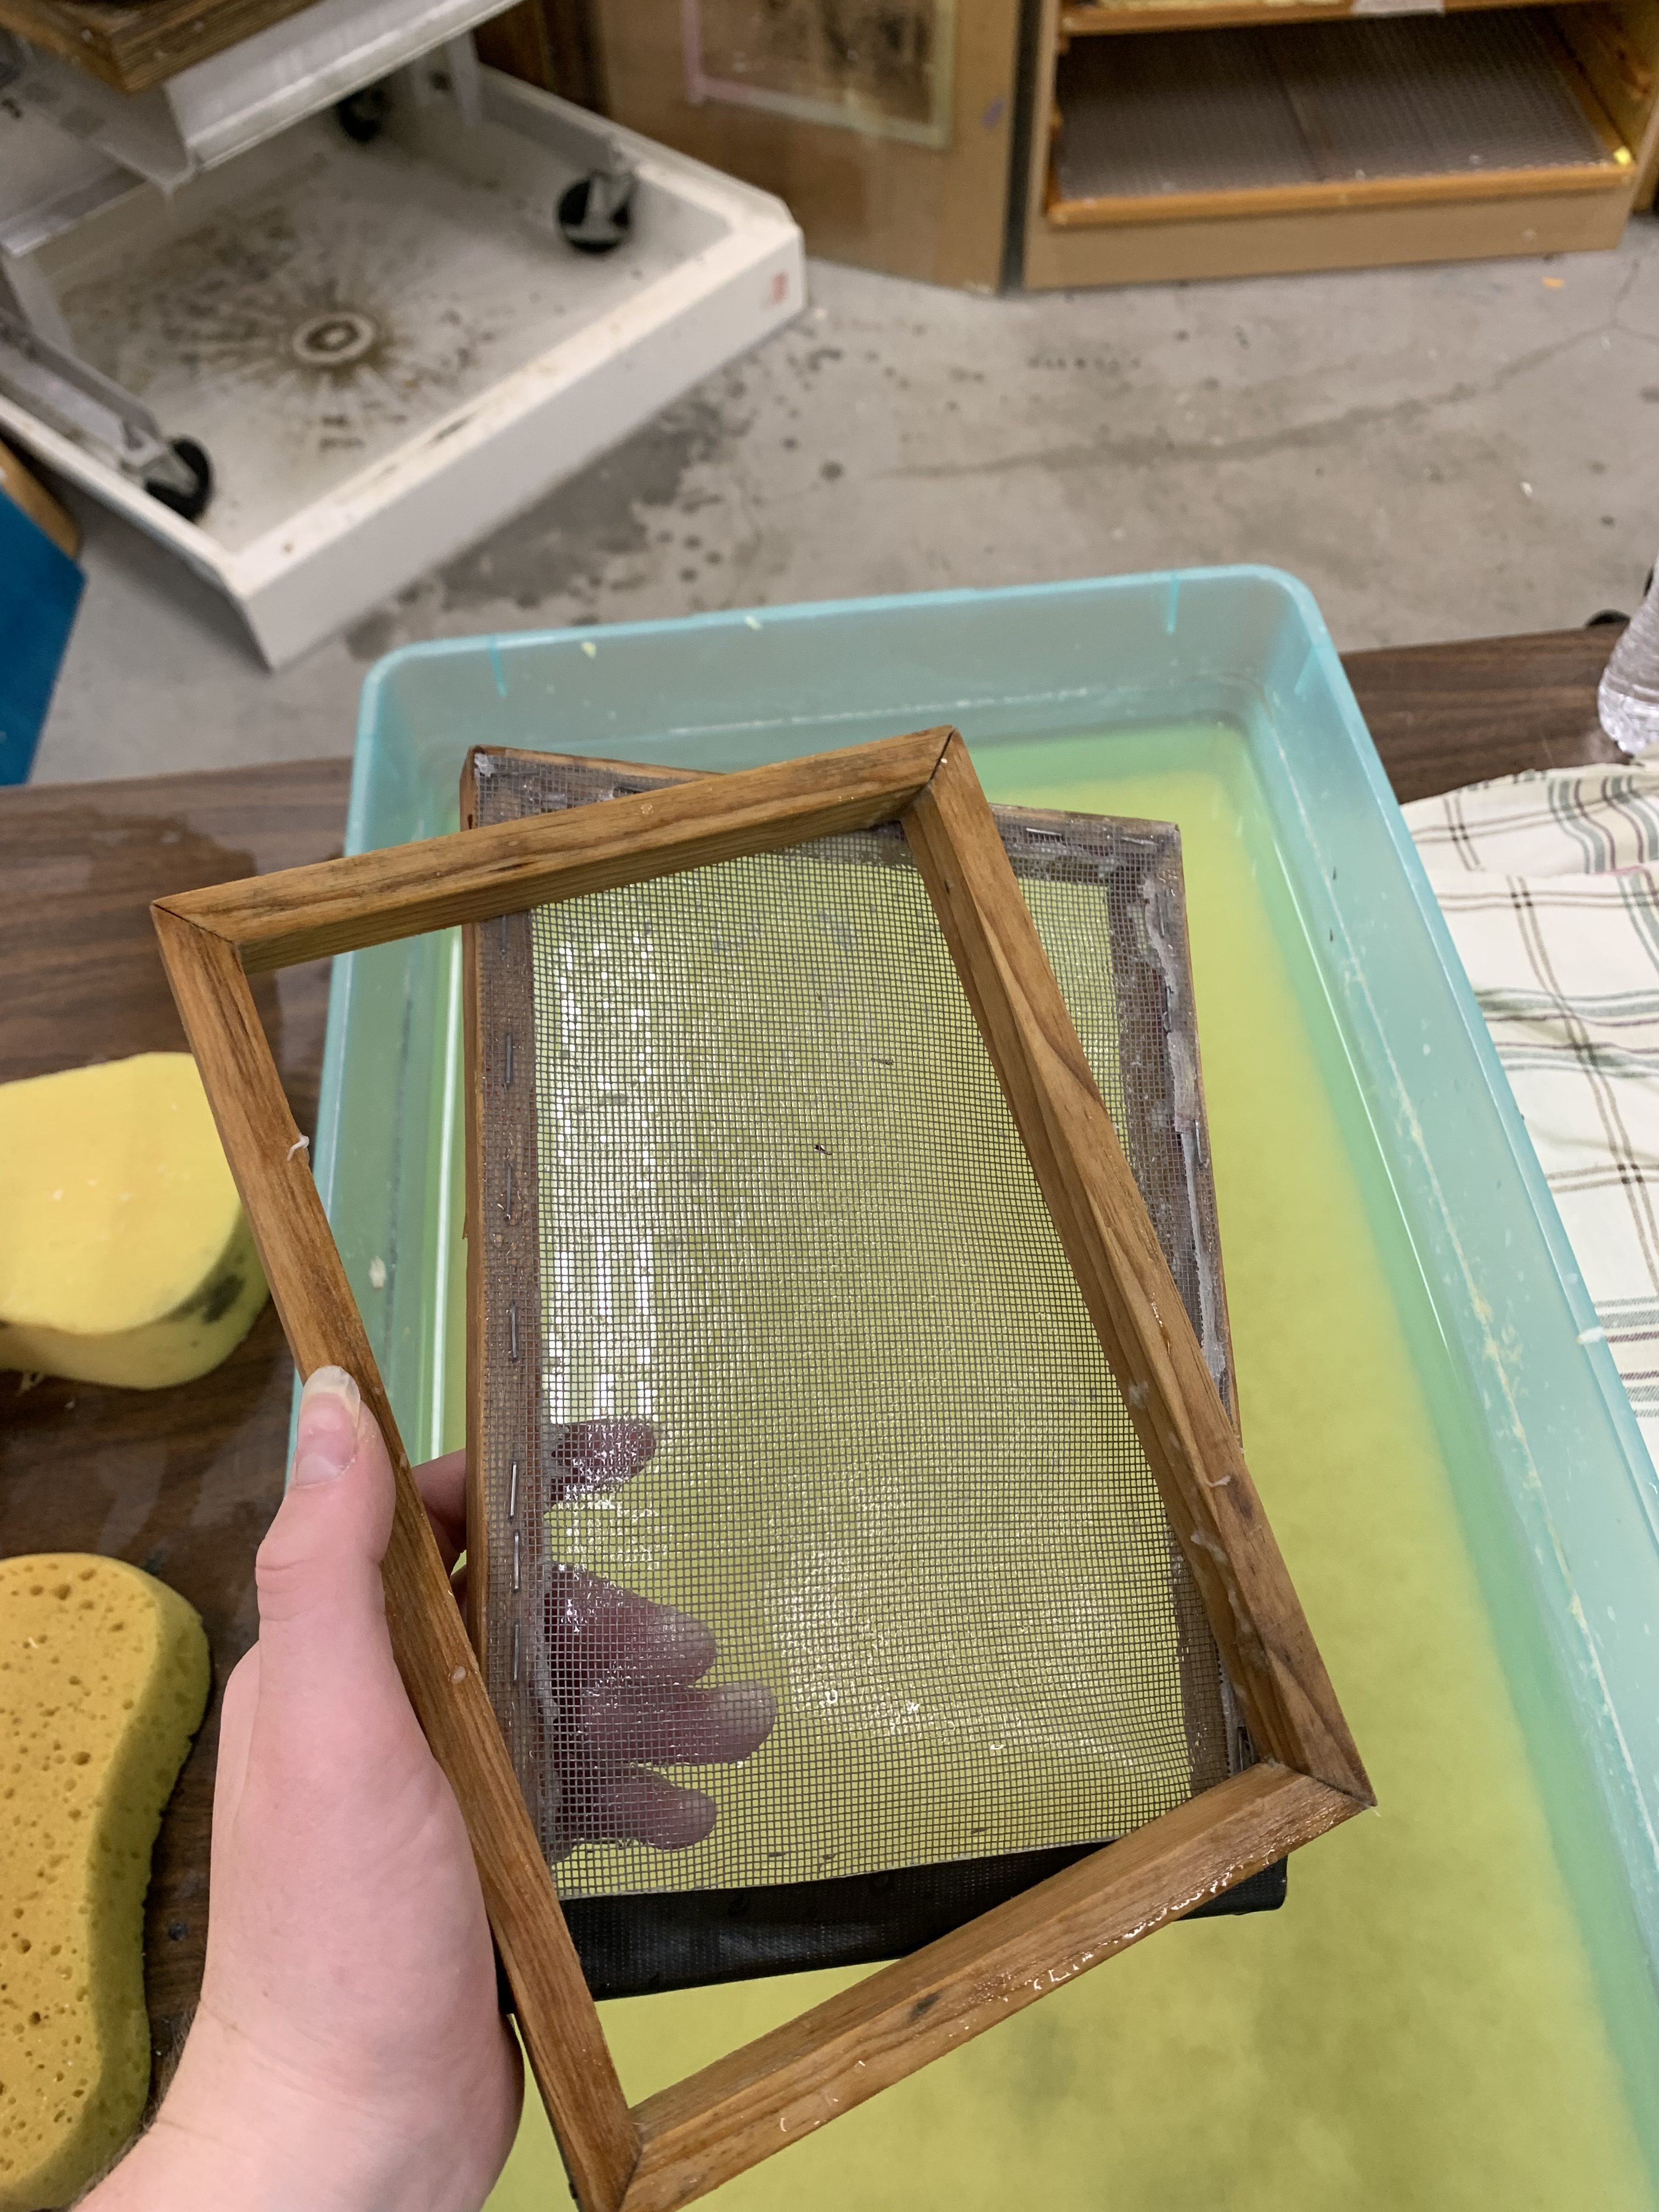
I chose a smaller sized rectangular mold for my paper shape. I first chose a color and took the mold and dipped it into my bucket of pulp. I then shake and even out my pulp on my mold to make sure my paper is consistent throughout the whole sheet, while it is still in the water pulp mixture. Afterwards I take off the frame of the mold, and gently flip the pulp onto a sheet of cloth, and run my hands across the grated portion to ensure all of the pulp transfers onto the cloth smoothly.


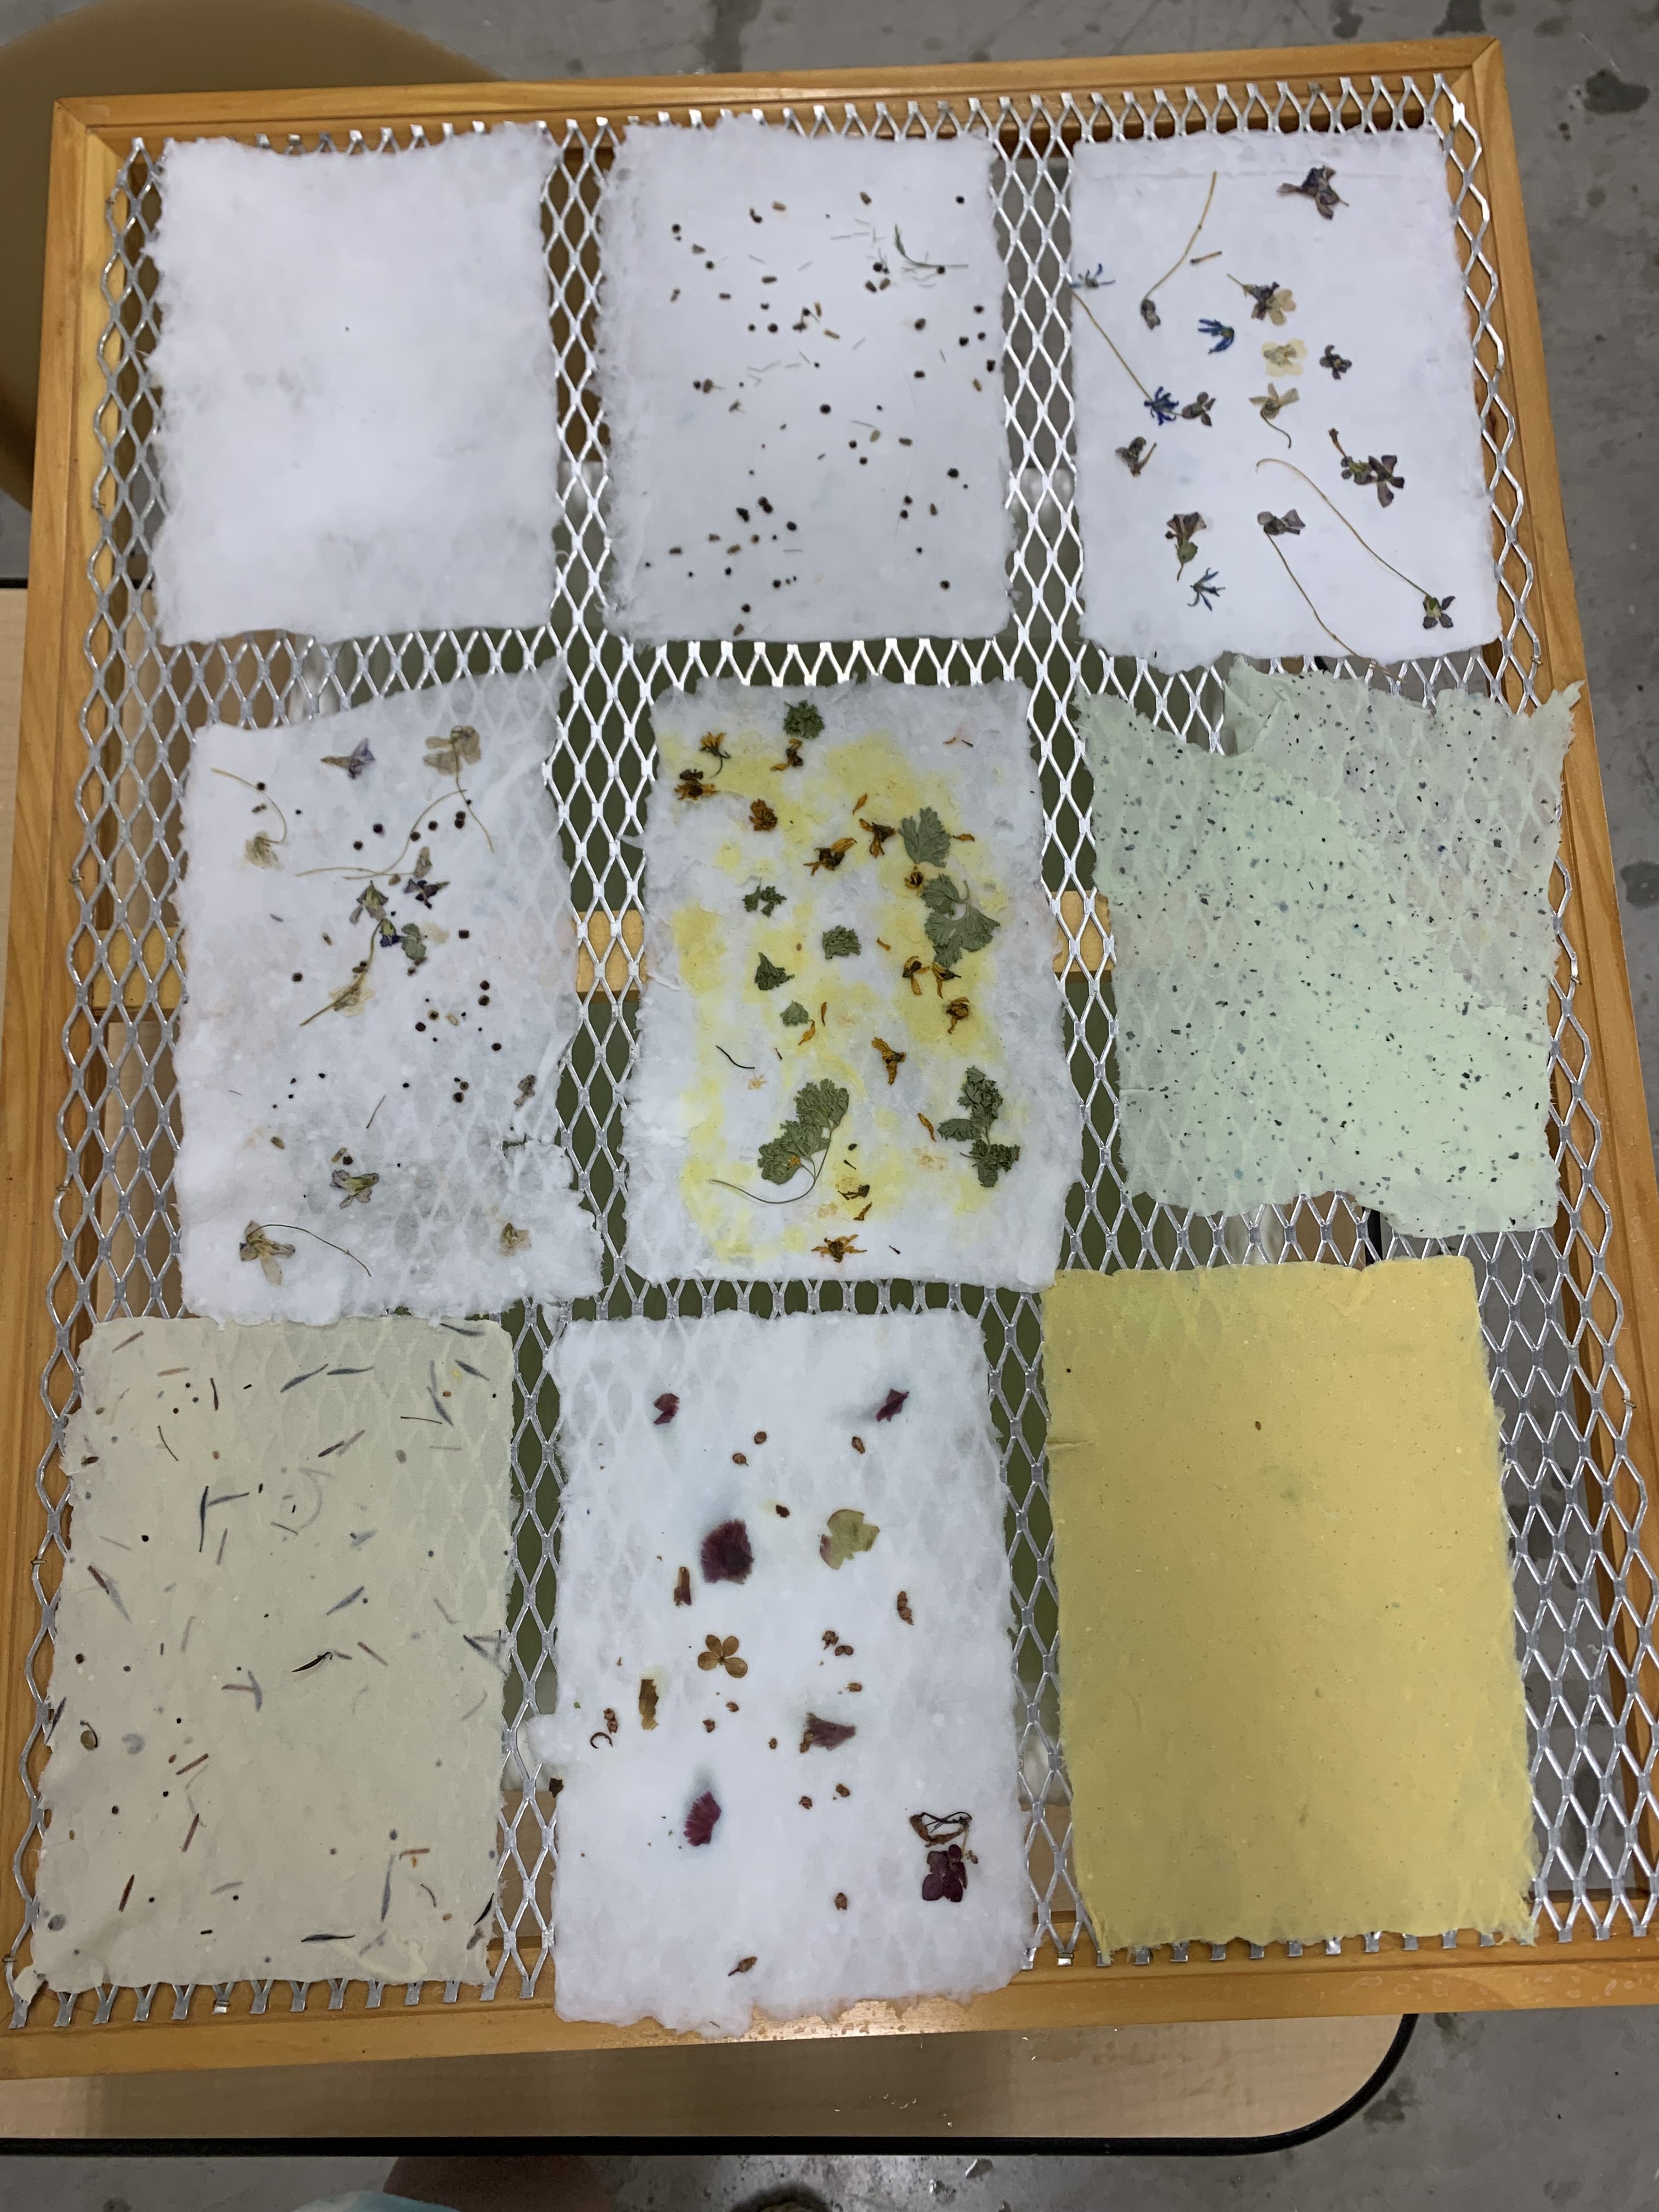
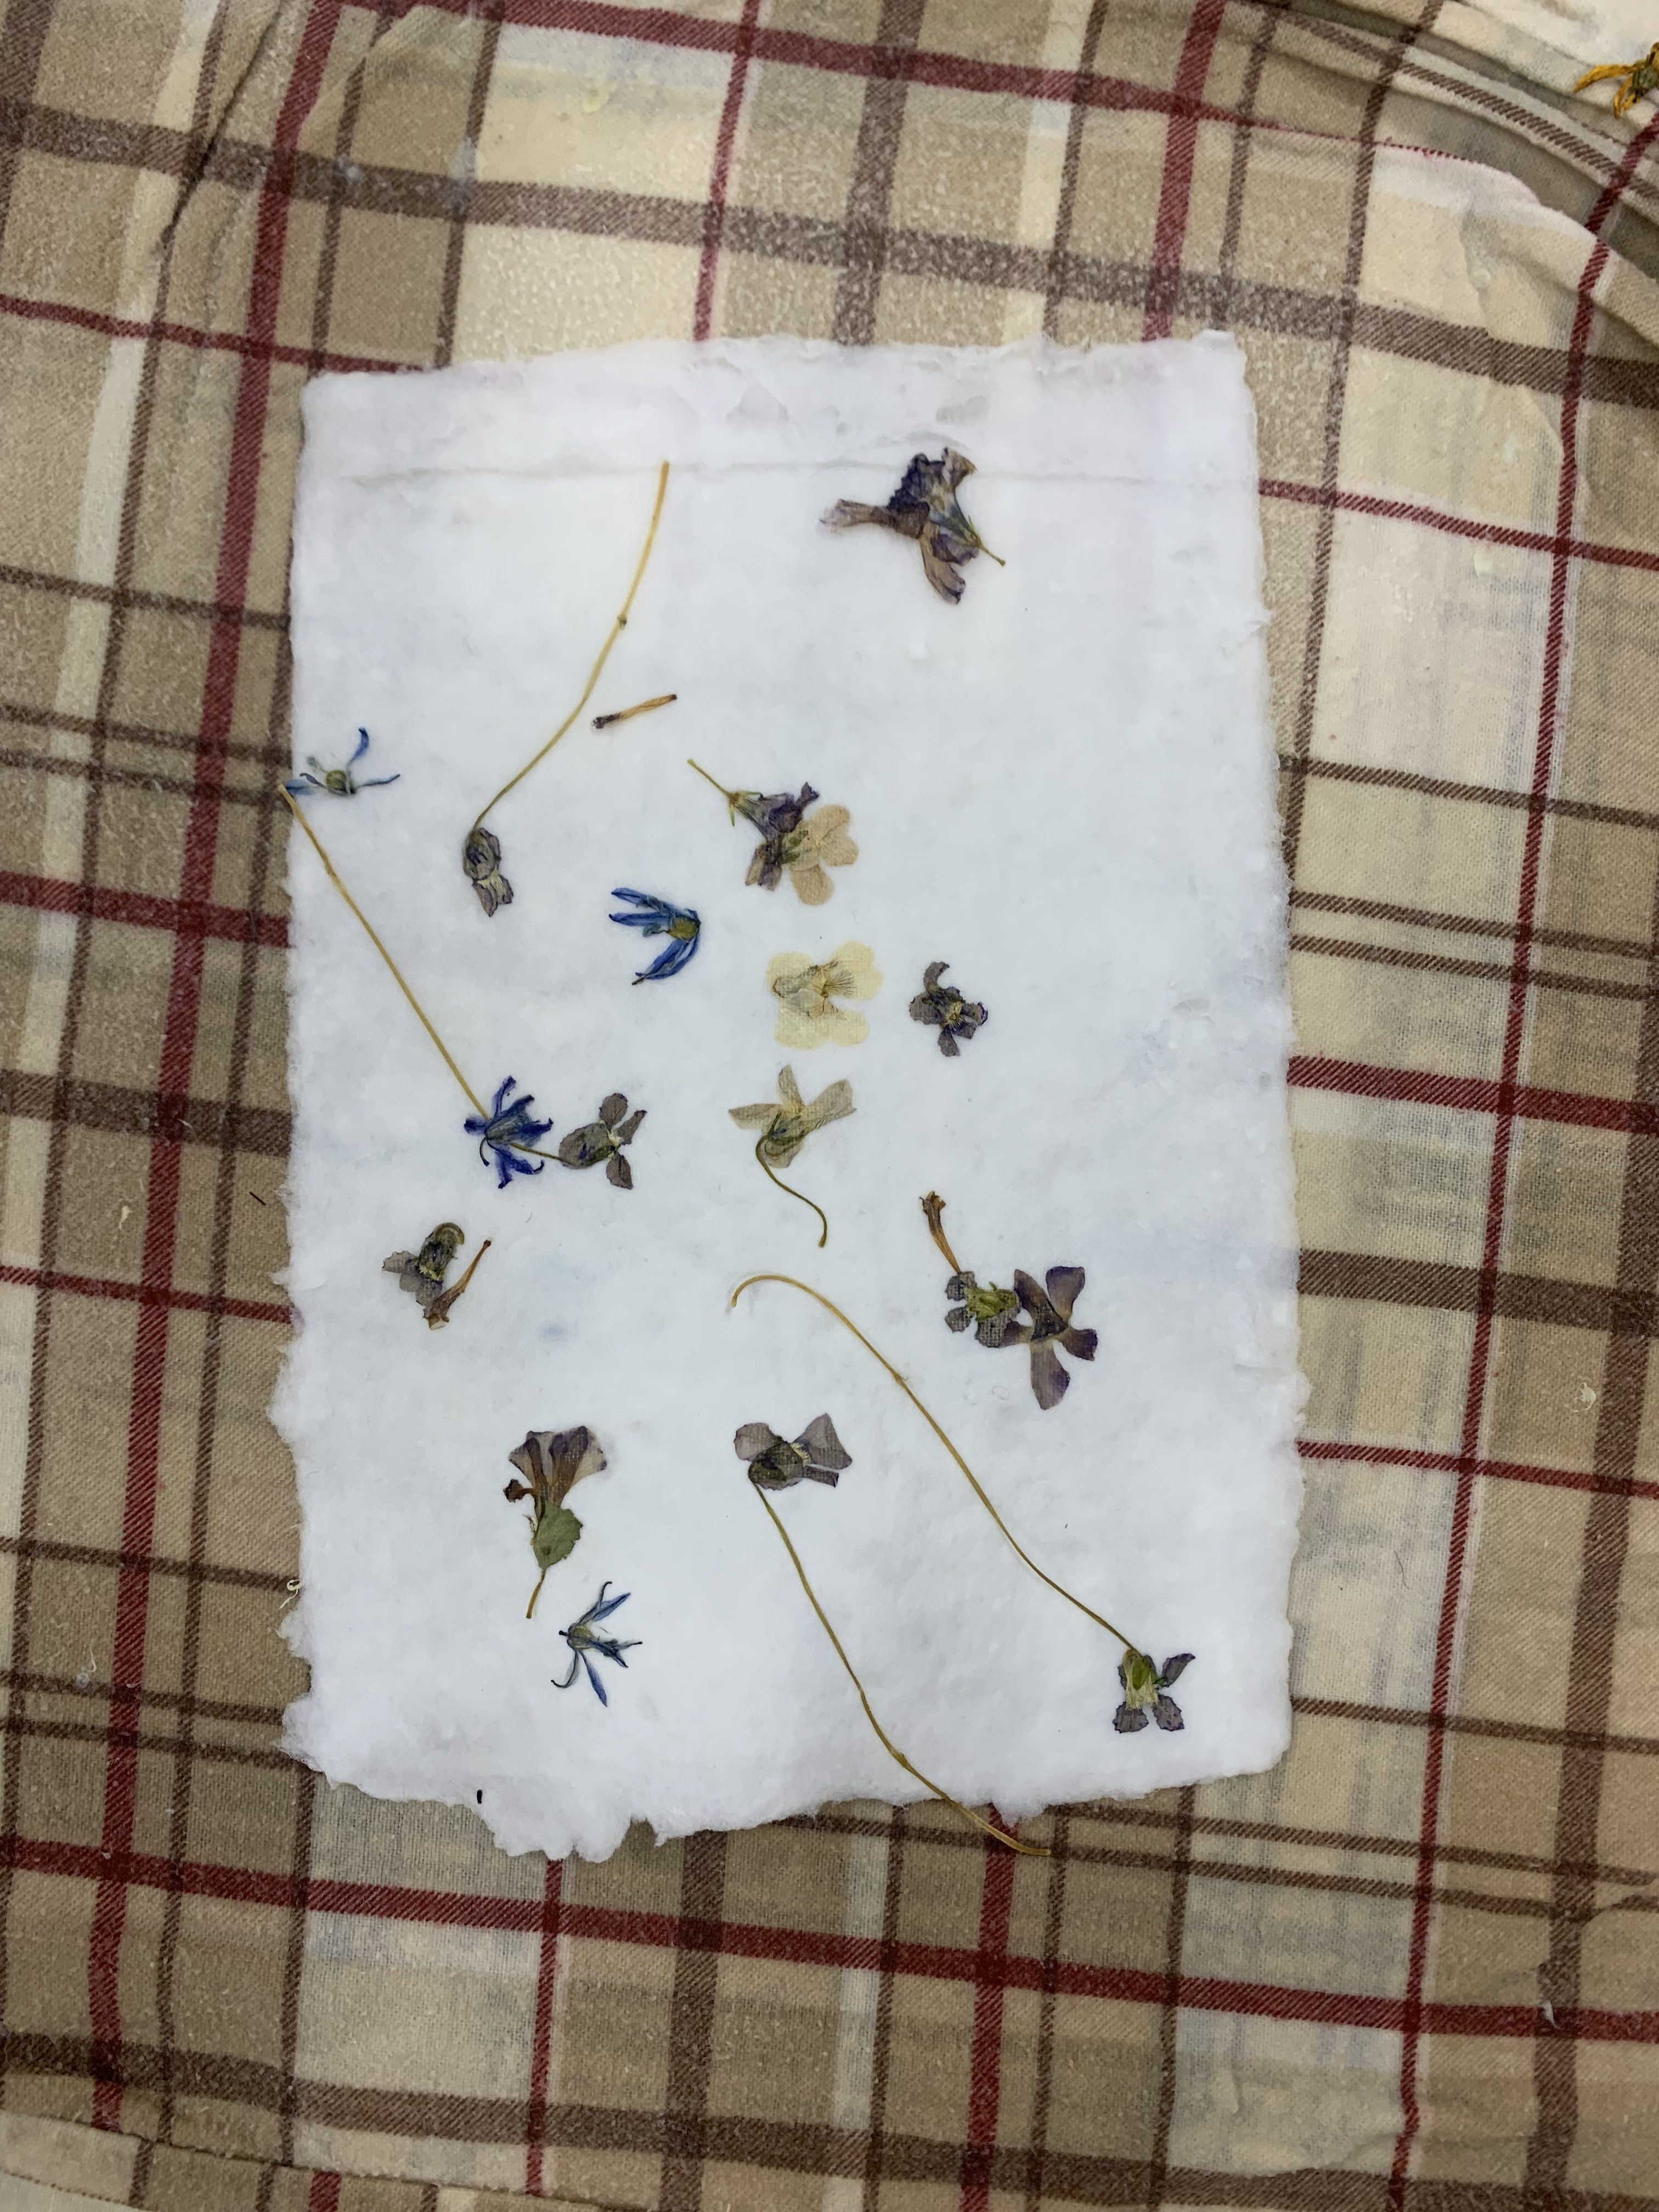
Before I made some more sheets, it was time for the fun part. The decorating and printing! I found some old plants, flowers and seeds, and gently pushed them into my paper in an arraignment I enjoyed. When making multiple sheets of paper, you must put a dry cloth on top of each piece you make and stack the papers on top of one another to separate them before you use the hydraulic press.
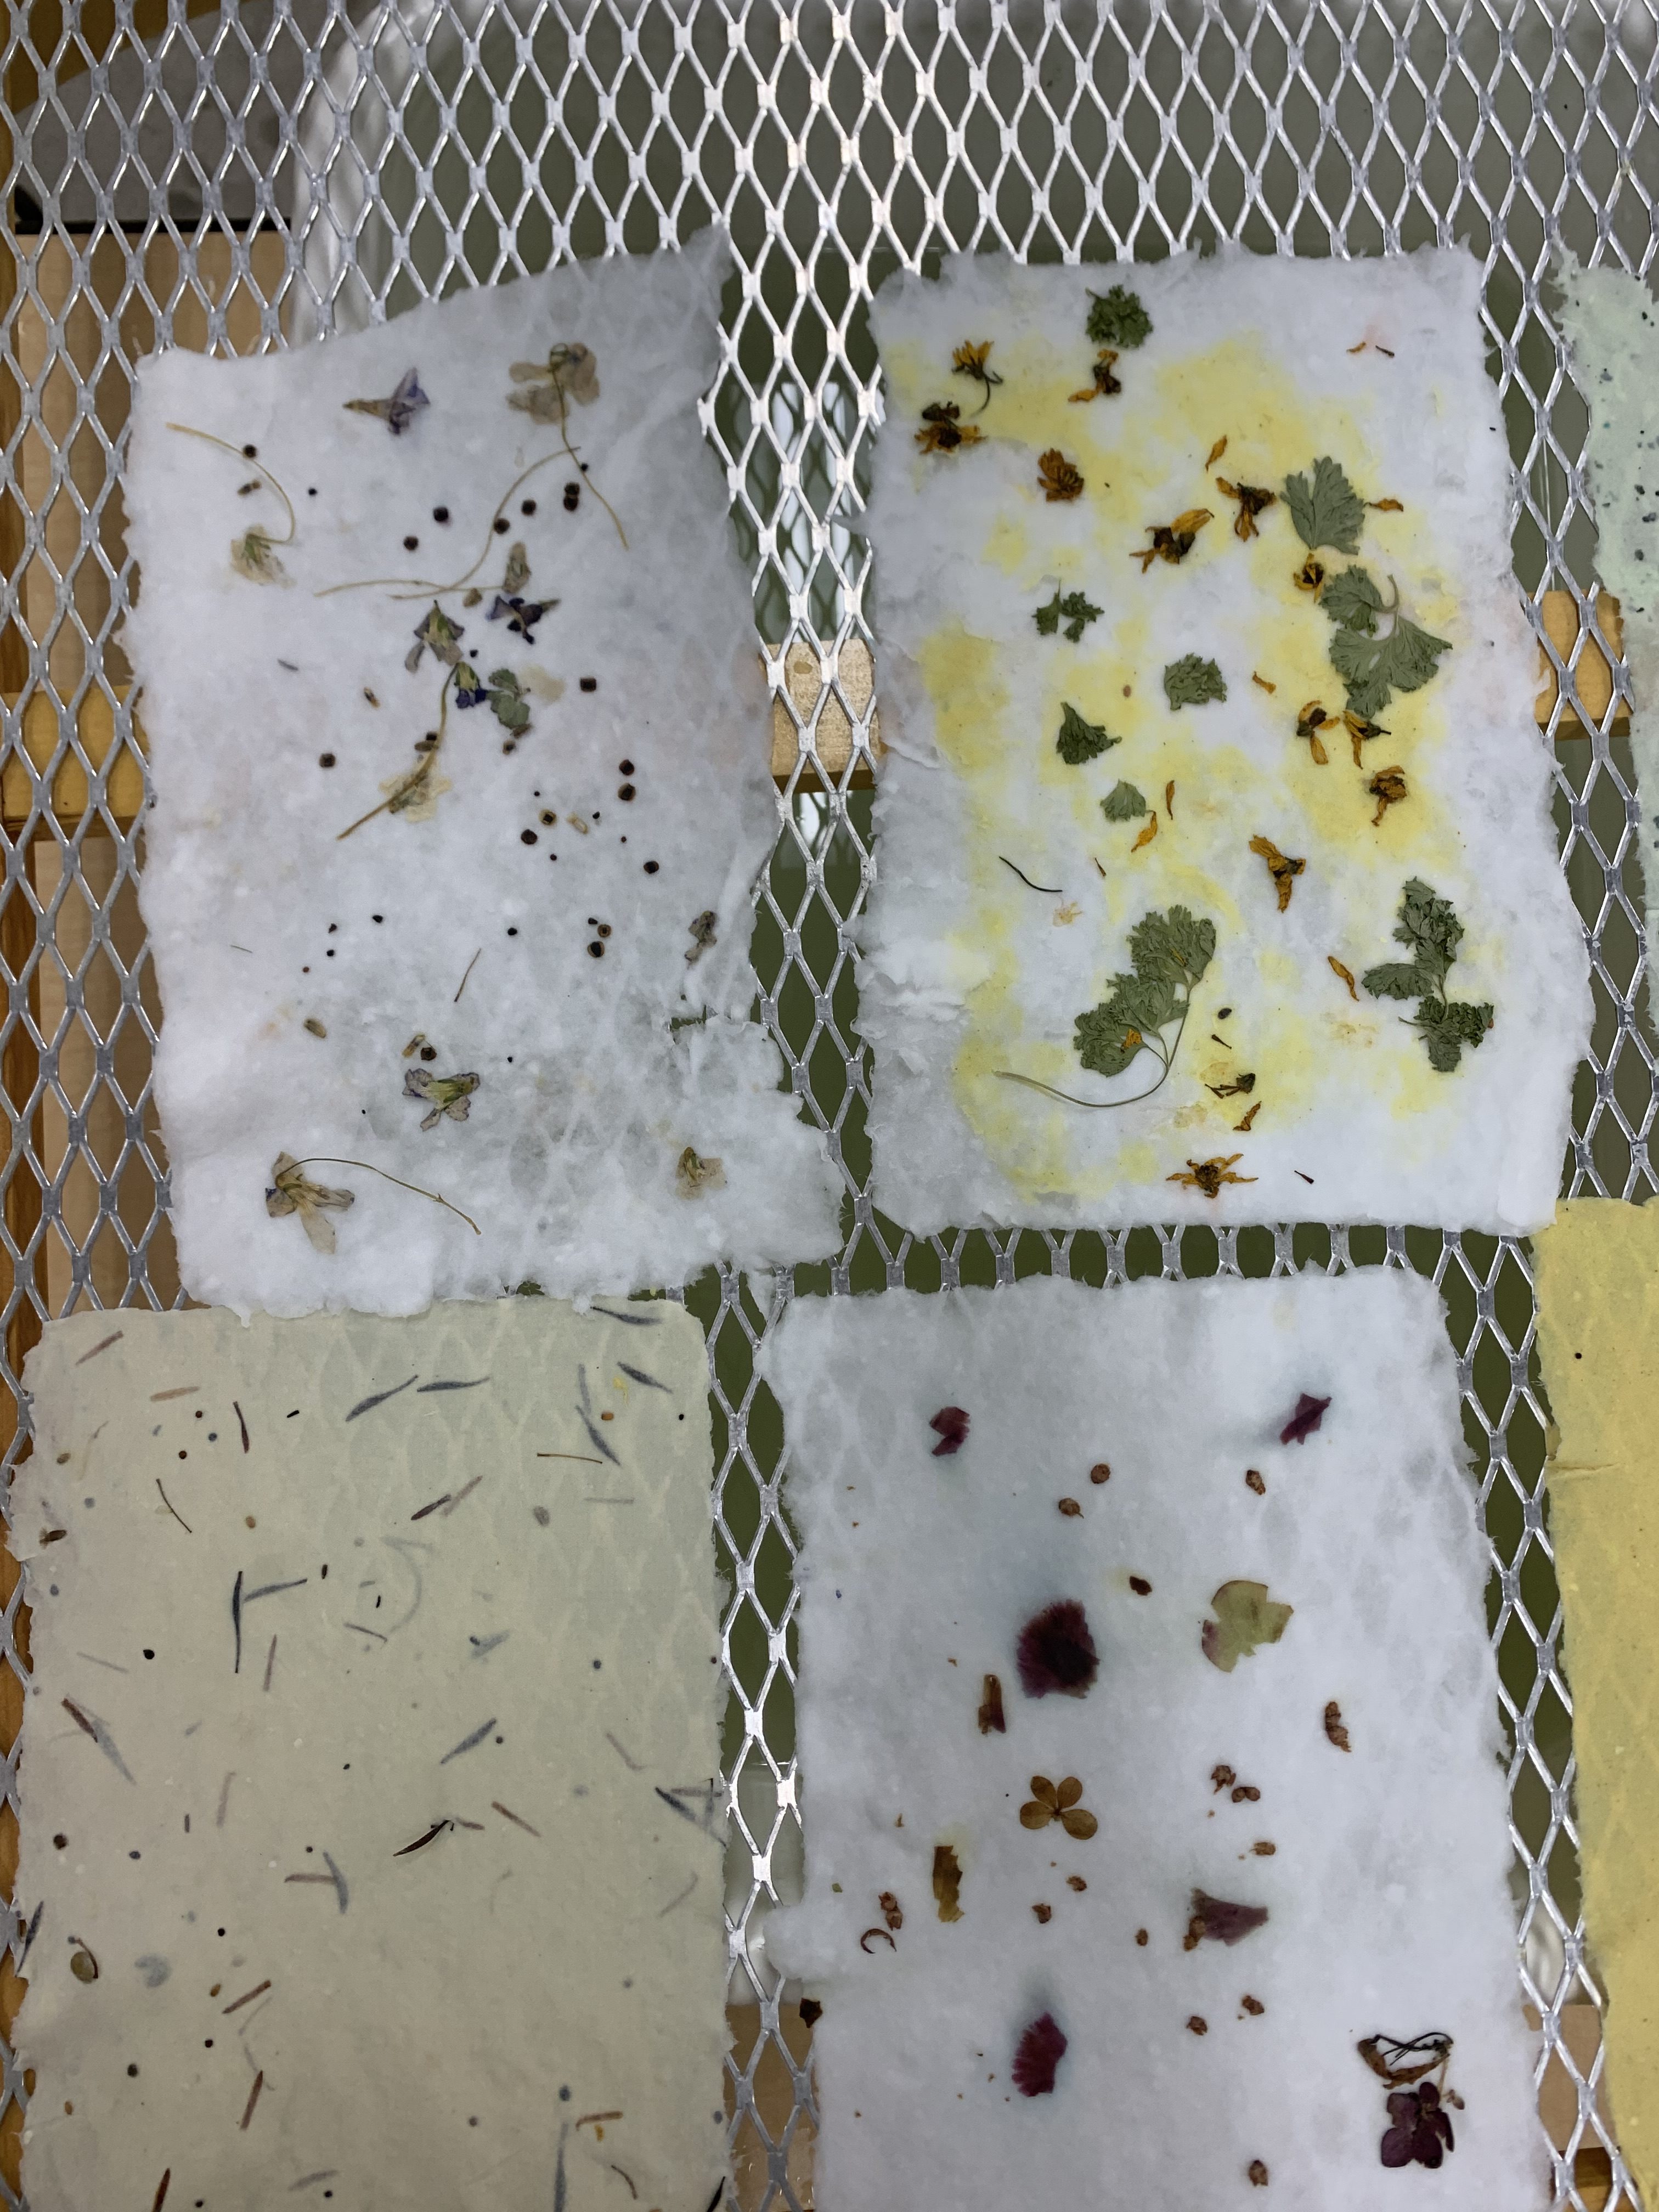
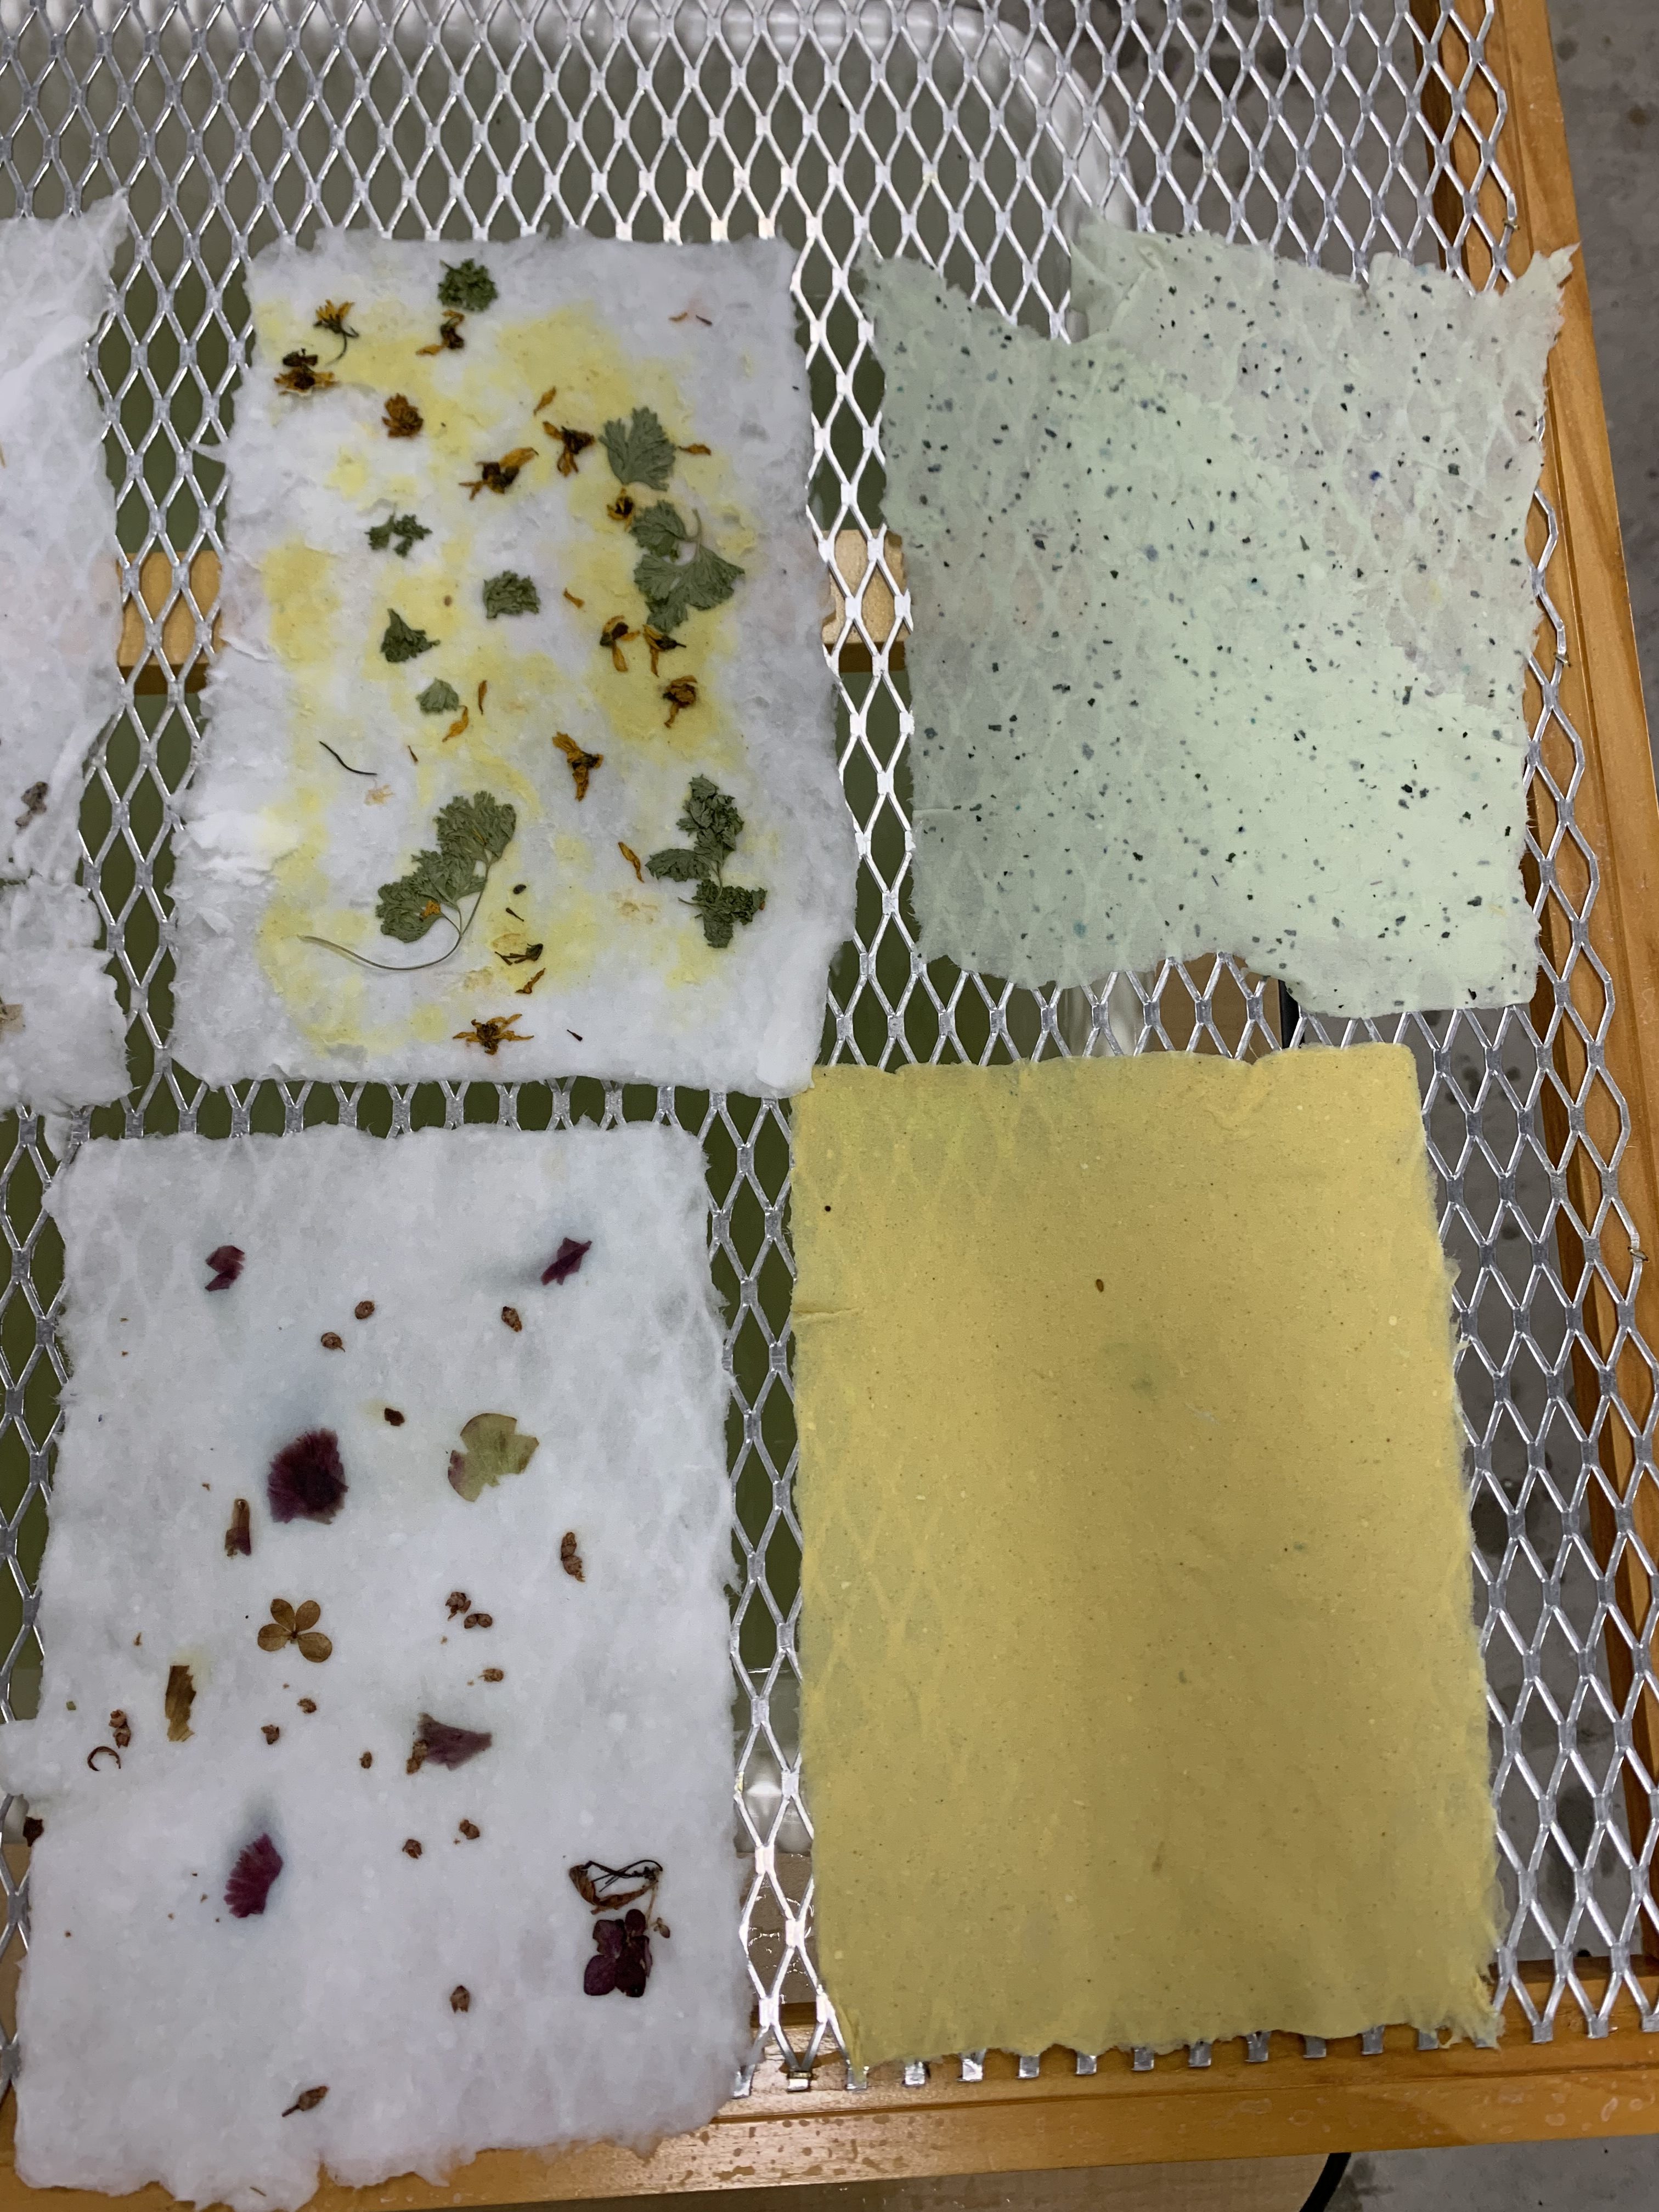
After pressing the sheets you gently pull apart the sheets from the cloth and leave them out to dry! It is very important to be careful when peeling the sheets off because they do become thinner, and are easy to rip apart.


I was very happy with my final results. I love experimenting with colors, textures, and printing designs into the paper!