Hi everyone! These last few weeks in the printmaking studio, Prof Chris Medley had some paper making stations set up in the paper making room! So I wanted to share the process and how to make custom recycled paper because it is super cool and I have never done it before!
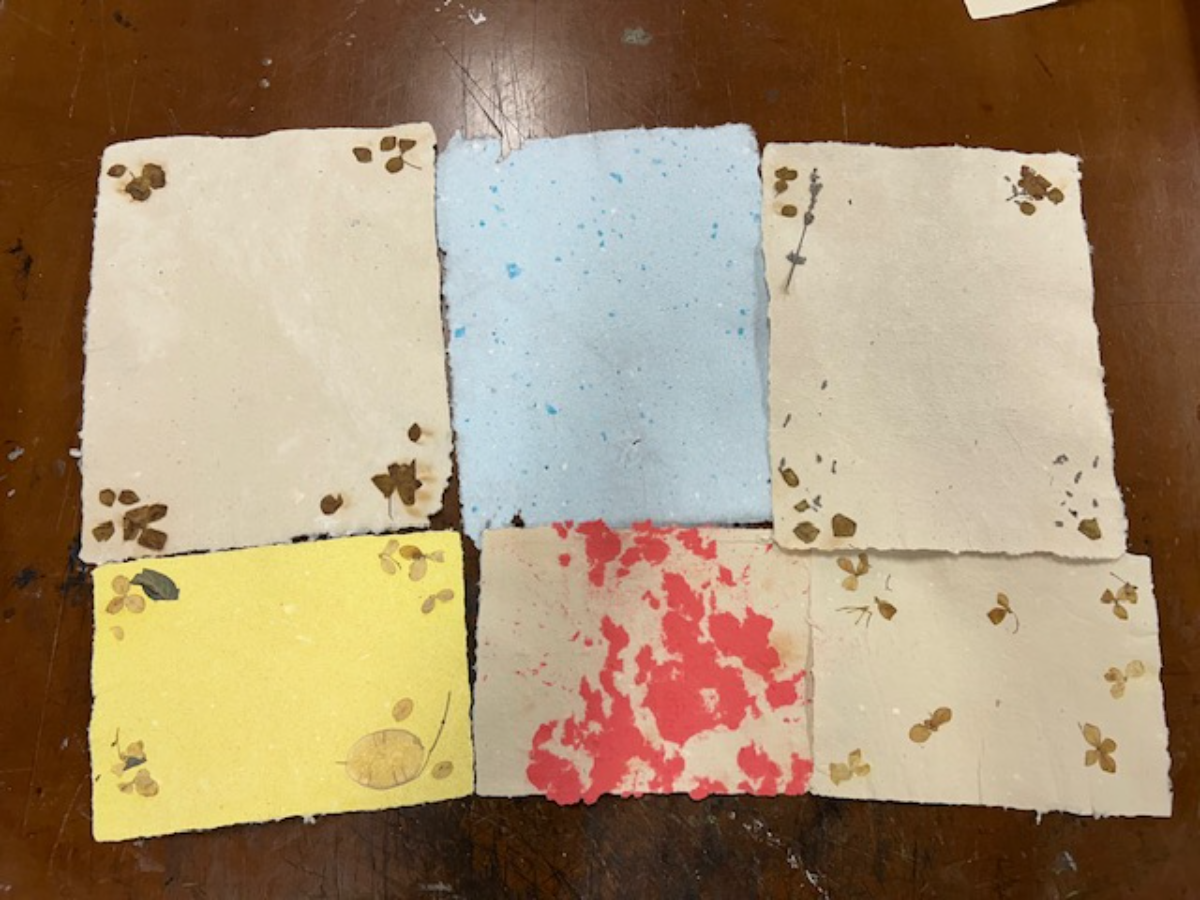
To make paper from scratch, all it essentially is, is recycling other materials like other paper or cotton fabric and shredding it up really tiny. Then with that shredded material, a “pulp” is made by adding water to the material into a big container. The key is to not make it too thin or too thick but a good in between. The pulp is going to be what makes up the pieces of paper you create, and it can be dyed any color with natural dyes like tea or turmeric, or really anything you want and food coloring is used sometimes as well. Another option for color is getting the color from the paper or fabric you are blending up before hand, and maybe even mixing different types to get a colorful grain on the paper you create.
This is what some of the pulp looks like, it was put into these big bins to make it easy to create any size piece of paper.
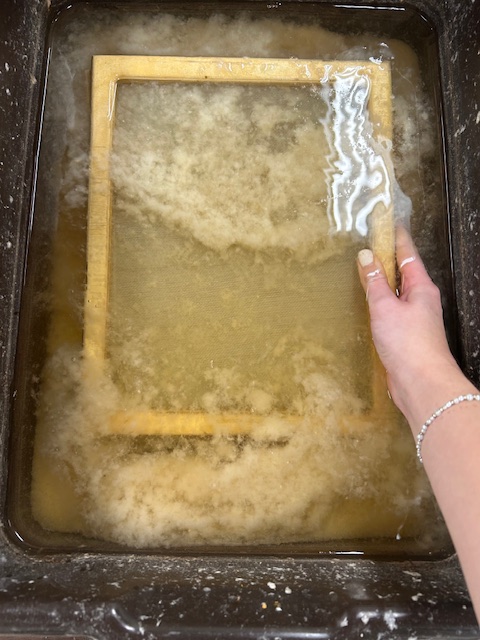
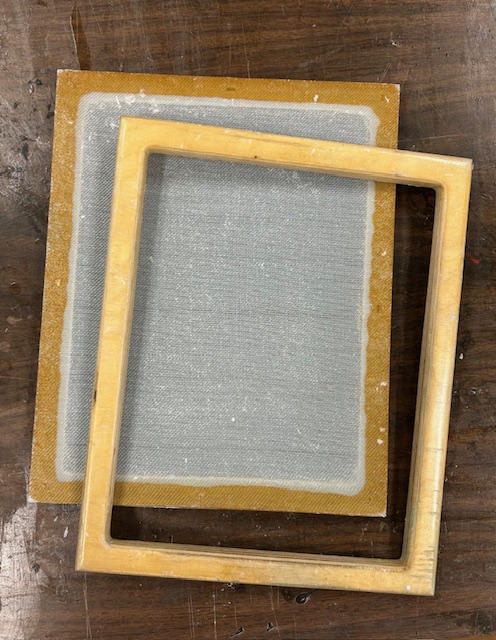
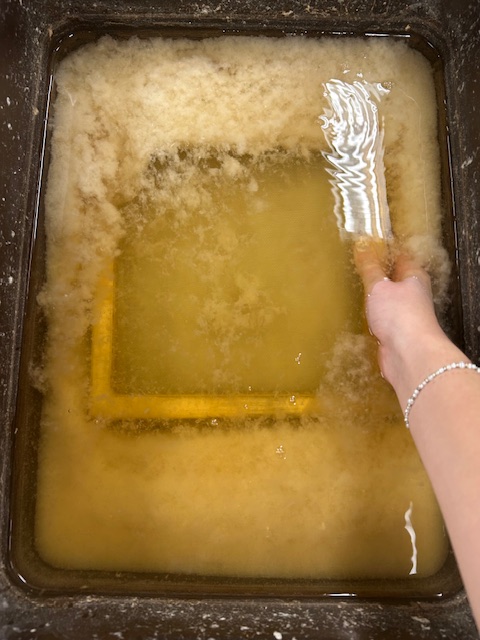
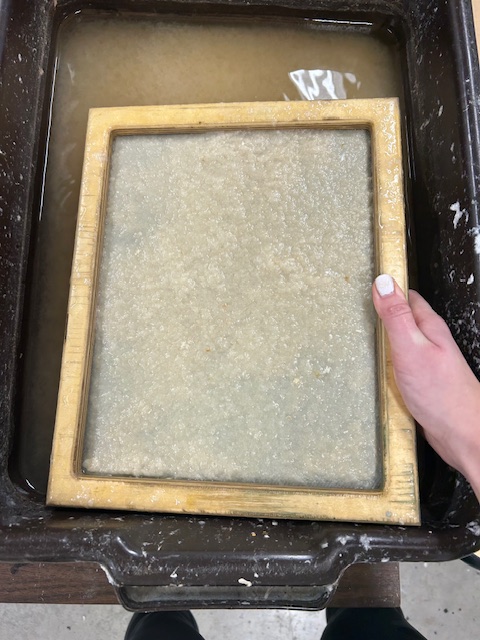
Now to actually make the paper, we use a sort of frame to capture the pulp into the shape of a rectangle piece of paper. It consists of two pieces, the rectangle frame, and the same shape frame behind it but with a mesh or wire screen with tiny holes to allow the water to go through. You put these two pieces together with the mesh screen flat behind the top empty frame, and place it into the water and move it around until the pulp fills the area. It might take a few tries to get the pulp even and to make sure you have enough, the water has to have a lot of pulp in it otherwise it won’t fill the space. Then gently tilt the frames to get most of the water out, and flip it over and press it down onto a piece of felt or fabric. It’s hard to explain in words so here are some pictures below:
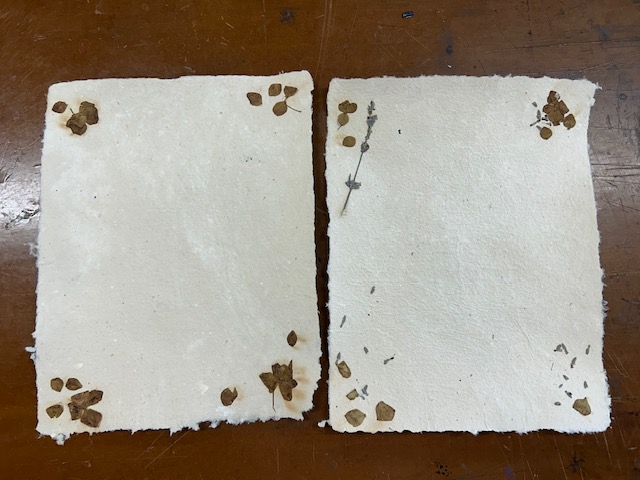
After you put the pulp “stencil” onto the fabric, you can also add anything you want to the paper here like little dried up leaves, stems, or lavender pieces like I did. Once you make a bunch of paper and keep stacking them on pieces of felt, it’s time to press all of the water out. There is a machine in the paper making room that compresses everything, by putting two pieces of plexi glass on top and bottom of the felt pieces and the high pressure machine squeezes all the water out. No matter how you do this, it is very important because otherwise the paper will not dry the way it is supposed to. Once the water is squeezed out of all the pieces, it is time to transfer each individual piece onto the drying racks. Leave them on the felt/fabric so that they can dry correctly. After about a few days they will be completely dry, and you can very carefully peel them up from the fabric. The edges will be rough so it can be cut any way you want, or keep it if you like the look. The paper can also be rolled to make it smoother and flatter.
Here are some of the finished pieces of paper I made and I added different dried leaves and lavender pieces! This is also after I put it through the big roller to smooth it out.
Overall I really enjoyed doing something new like this and now I have some custom pieces of paper I can do anything with! Write letters, draw on it, or I might even screen print some graphics onto them. Whenever the station is set up I know I will be in there making some more recycled paper!
Thanks for reading!
Ella