Printmaking is all around us! You can make a print with things commonly found around your house. I recently wrote a blog post about printmaking with plastic bags. I hope you enjoyed reading about it and maybe even trying it for yourself.
Today, I want to introduce you to… printmaking with cardboard! You probably have cardboard sitting around in your house ready to be recycled (I hope), so why not make some art?
For this project you will need cardboard, an xacto knife, a pencil, paint, and paper. I would suggest using a brayer or any kind of roller to distribute the paint evenly on the cardboard but a paintbrush will work just fine.
The first thing to do is to draw your design on the cardboard, it can be anything you want. I would suggest drawing big shapes because they’ll be easier to cut around. If you’re up for the time consuming challenge, you can always add as many details as you want to your design.
For this next part you have a choice. You can either cut out the pieces of your design and glue them to another piece of cardboard or you can peel back the cardboard of the areas around your design.
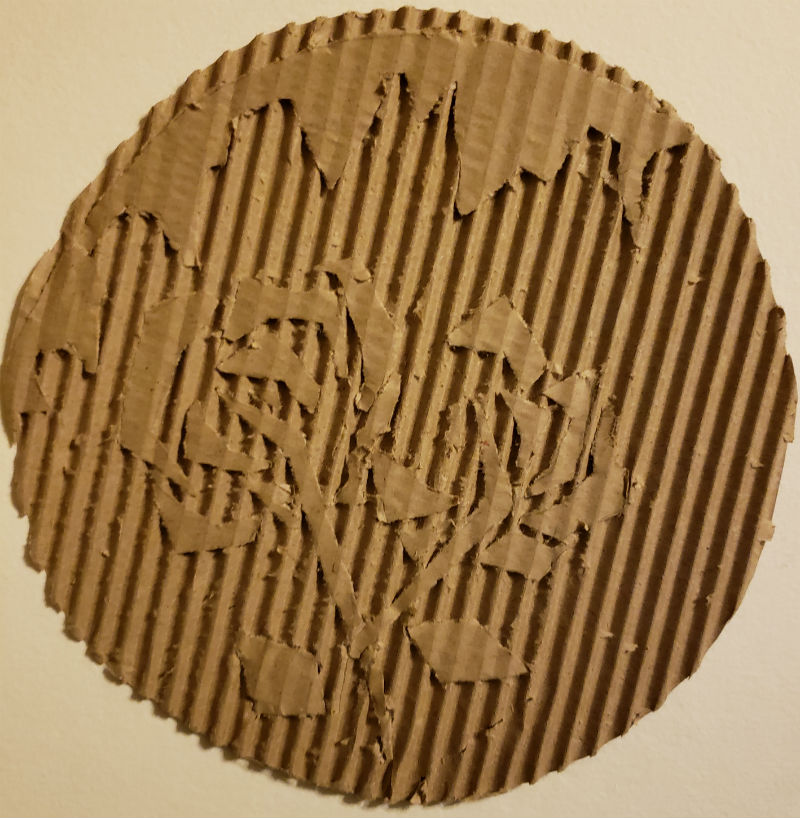
Cardboard Peeling Method 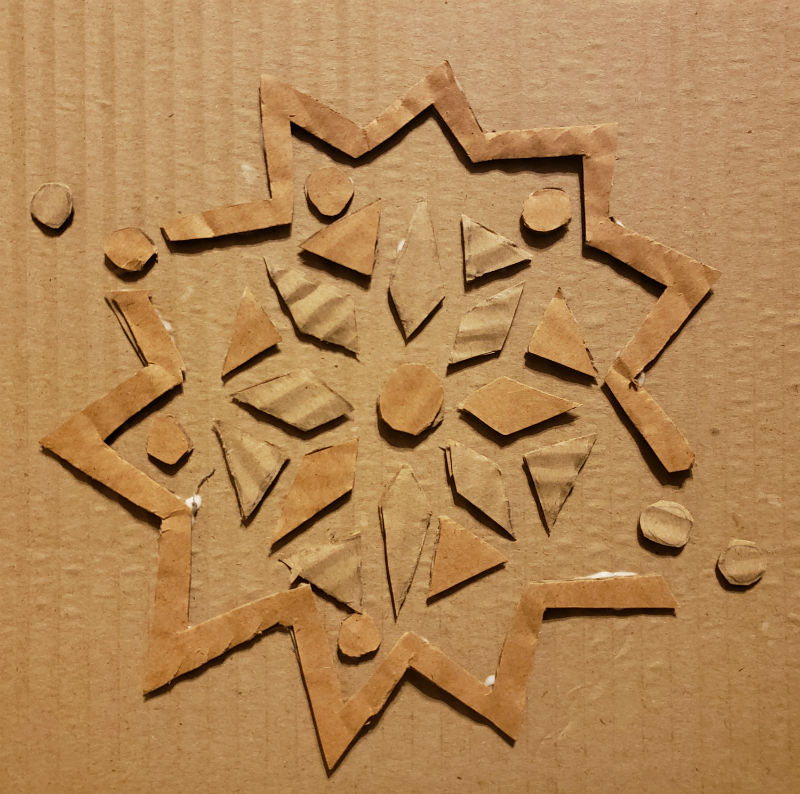
Cardboard Cut and Paste
At first I tried to use the peeling method. I had a very small and detailed design. I had to be very careful and slowly peel off the cardboard because sometimes part of the design would start to come off. In some places I wasn’t able to save the design but I was still happy with the outcome.
When I cut my design out and glued the pieces to another piece of cardboard, I thought about double stacking to make sure that it would leave an impression but decided against it only because I didn’t want to cut any more pieces.
Now you’re ready to print! Evenly ink your design and print your design on paper or whatever surface you chose. If you’re printing a peeled design be careful not to push down too hard on the cardboard. The design might get lost or flattened out among the ridges.
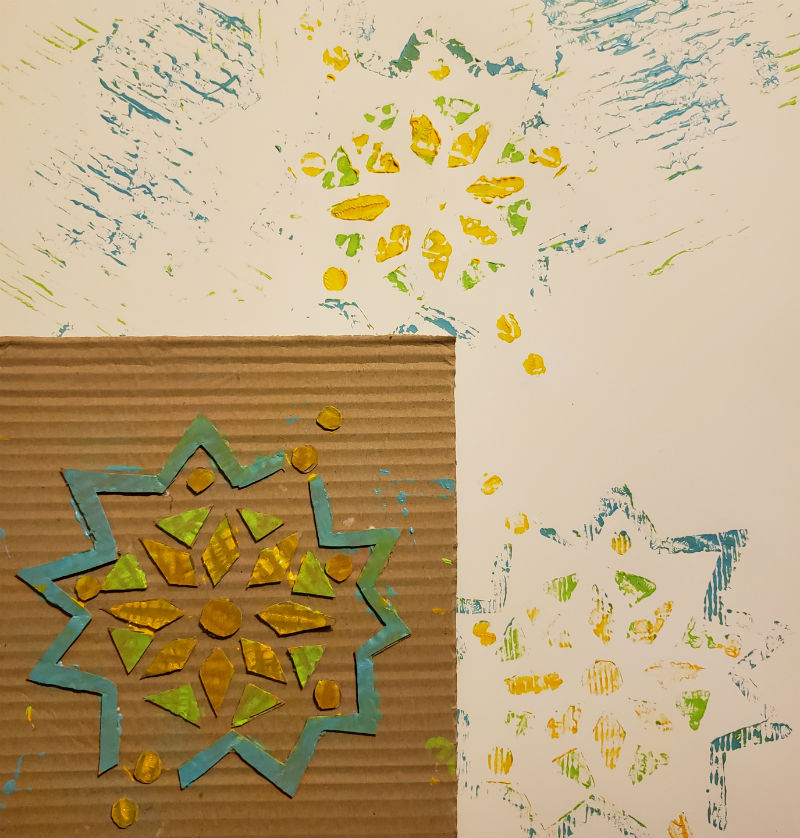
When I printed the individual designs I must have applied too much paint and pressed down too hard. The prints were not very well defined and just looked like lines on a piece of paper. One time I applied too little paint and the design was barely visible.
In the final print I used both designs to create my composition. I overlapped the prints to give the design texture. I inked each print differently and also changed the pressure I put on the cardboard while printing making each print unique.
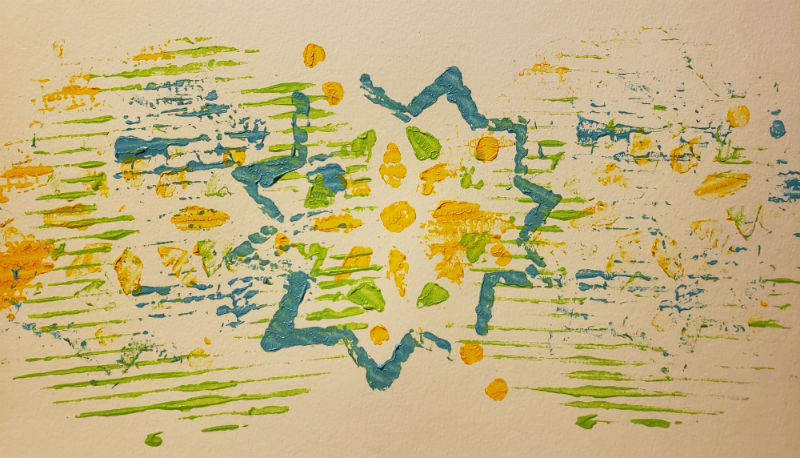
If your print doesn’t come out the way you want it to, don’t give up! A lot of things factor in to making the final print so try changing the way you ink the design or the way you press down to print but don’t give up!
When the mentor becomes the mentee…I might have to try this one with my classes. I might have to forward your blog about Romeo and Juliet to the English Department 😉
Glar to see you checking in and hopefully enjoying my blog posts!