Hello everyone! I hope you are having a good week! Today I am going to talk about a project that I got to work on this month. I’ve never really done a project like this, so it was a new experience for me.
I was asked to repaint a sign for a golf course in my area, a sign which had gone into a bit of disrepair and was starting to show its age. Here is a photo of what the sign looked like when I first brought it home with me.
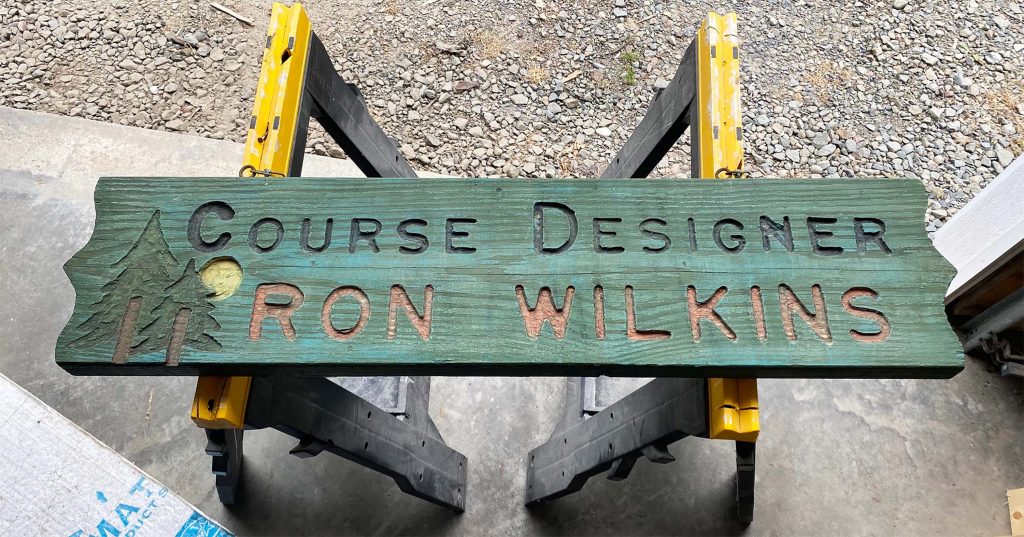
Along with the paint fading, there was a bit of water damage on it. This was more noticeable on the back of the sign. The first thing that I did, after taking a photo of the sign so I would know what colors to use for it down the line, was do a bit of sanding. Not too much though, Just to get rid of a bit of the paint on the top.


I purchased some paints online that I thought were similar to the colors that were already on the sign before I sanded it. I knew that they wouldn’t be a perfect match, so I ended up mixing a few of them to get the color that I wanted. The first thing that I painted were the black letters, and then I did the brown/copper ones. This took two coats of paint for each.
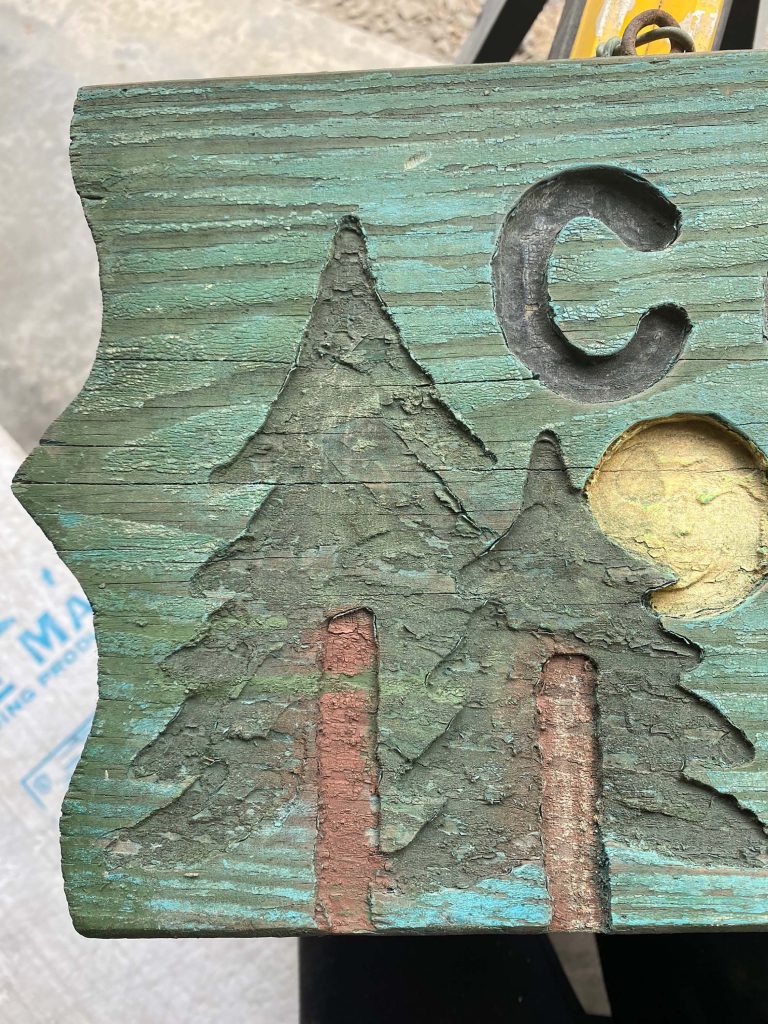
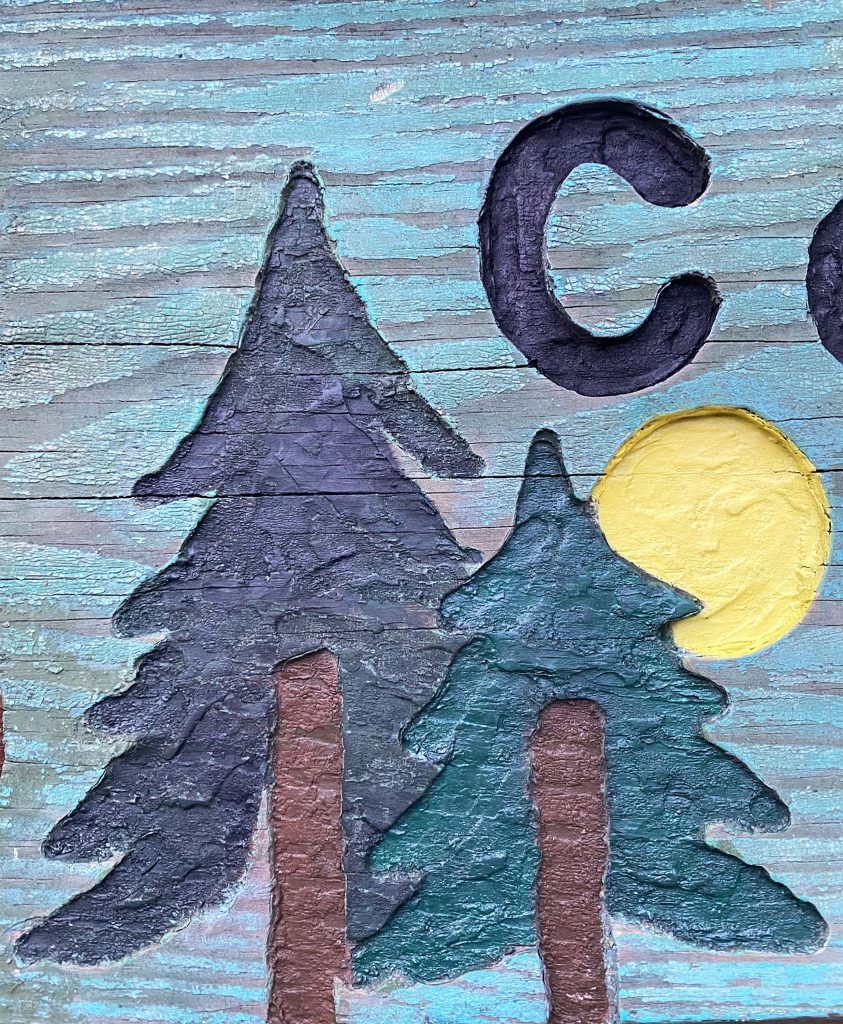
I then worked on the trees and the sun. Looking at the second photo, I know that I definitely toned that green down after I took the photo, it was just a bit too bright. The photo on the left was taken after I sanded the sign, which is why it looks so dull in comparison. Both photos were taken in different light also, which is something you should watch out for when something is going to be hung or displayed outside. You need to make sure your project looks okay outdoors where mistakes are more noticeable in bright sunny conditions.
Iv’e also found that taking photos of a project and then looking at the photo helps me find mistakes as well. Both for this project and my paintings. Another thing that help with this sort of thing is taking a break when part of a project isn’t working for you and coming back to it later.
For some reason I didn’t think ahead to the fact that I would have to go around all of the letters with the green paint that I needed to add on the larger part of the sign, so I ended up doing the green last. I had to fix the letters because I did end up getting green paint where I didn’t want it. I also painted the back the same green as well. I watered down the paint a bit when adding the green because I wanted a little bit of the wood grain to show through.
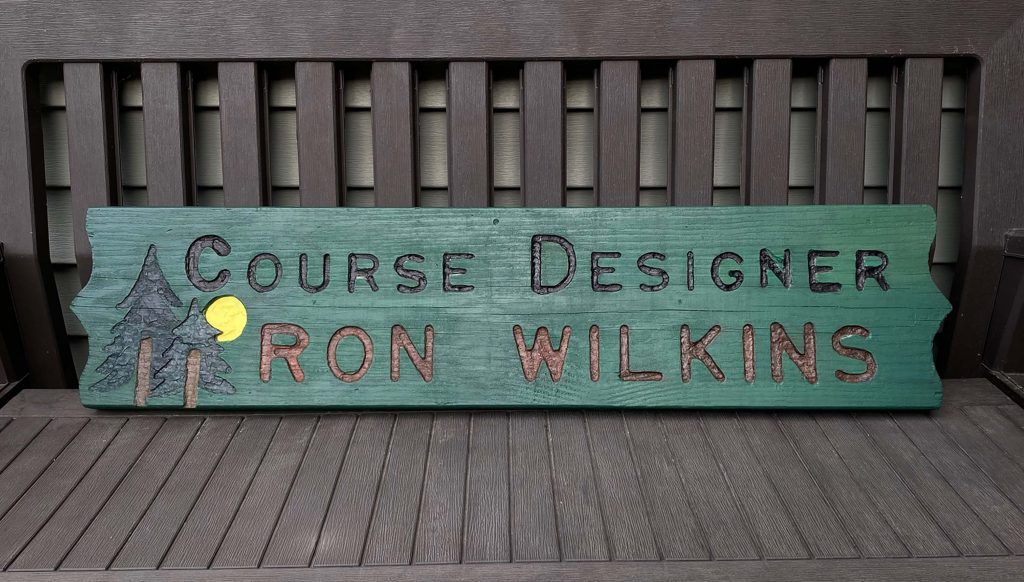
In the photo the sign has a bit of shine to it but I later sprayed it with some outdoor matte sealant in order to get rid of it. We also replaced the chain that the sign was hanging on. The sign should last for a while now!
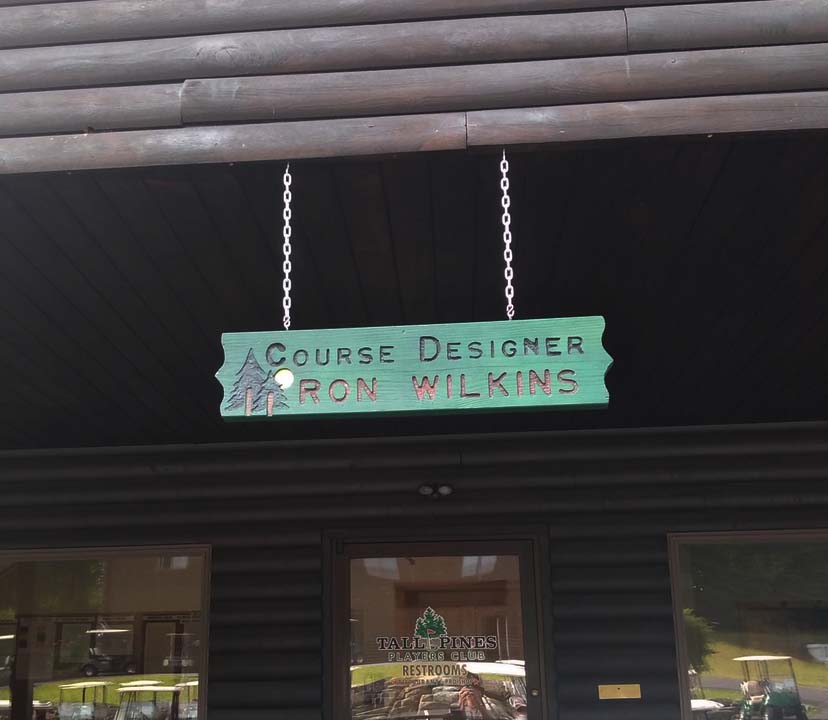
Here is a photo of it hanging! (Courtesy of my dad.)