My first jewelry piece integrating my thesis work finally came together last week. Since I find it difficult to be inspired to just sit down and sketch out a complete project, I wanted to quickly walk you through my process from start to finish!
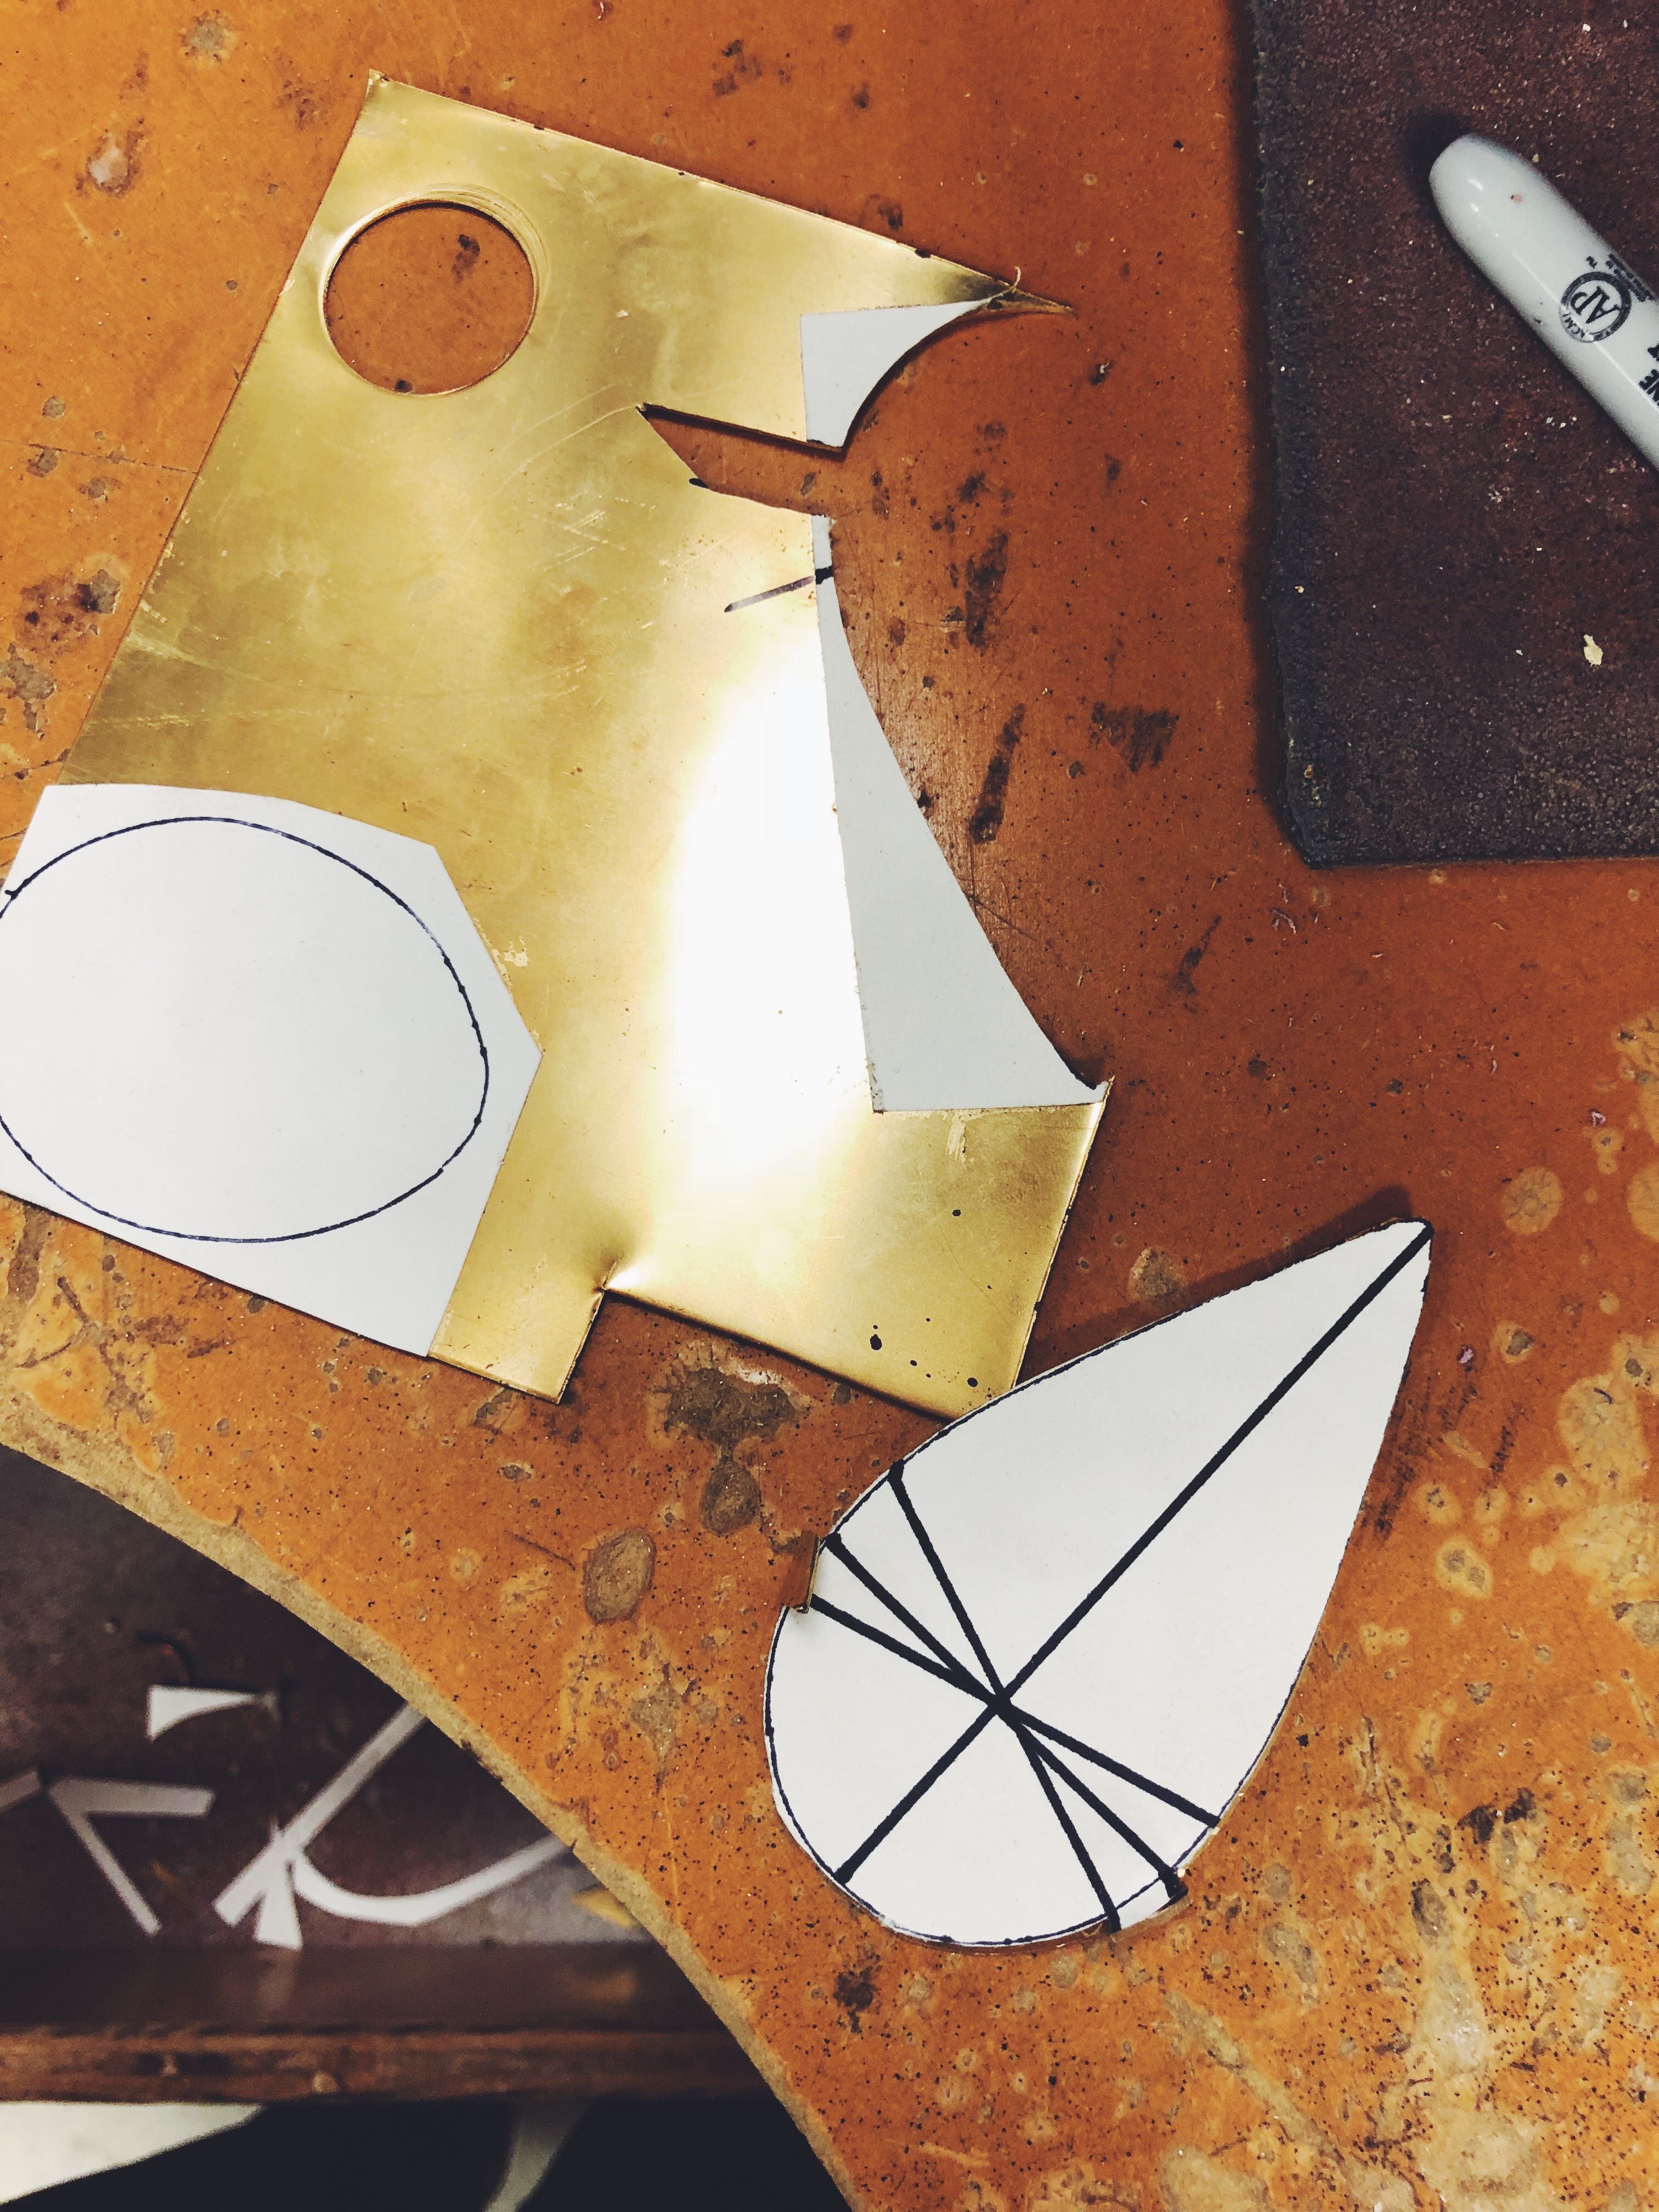
First, I tried to trick myself into planning my piece by tracing around the plaster shapes I wanted to use. Instead of drawing out my intentions for them, I ended up just cutting out the shapes from bristol board, rubber cementing them onto a sheet of brass, and sawing them out. About halfway through sawing the first shape, I decided to add little tabs to the bottom that can be folded over to hold the plaster form in place: some freestyle planning never hurt.
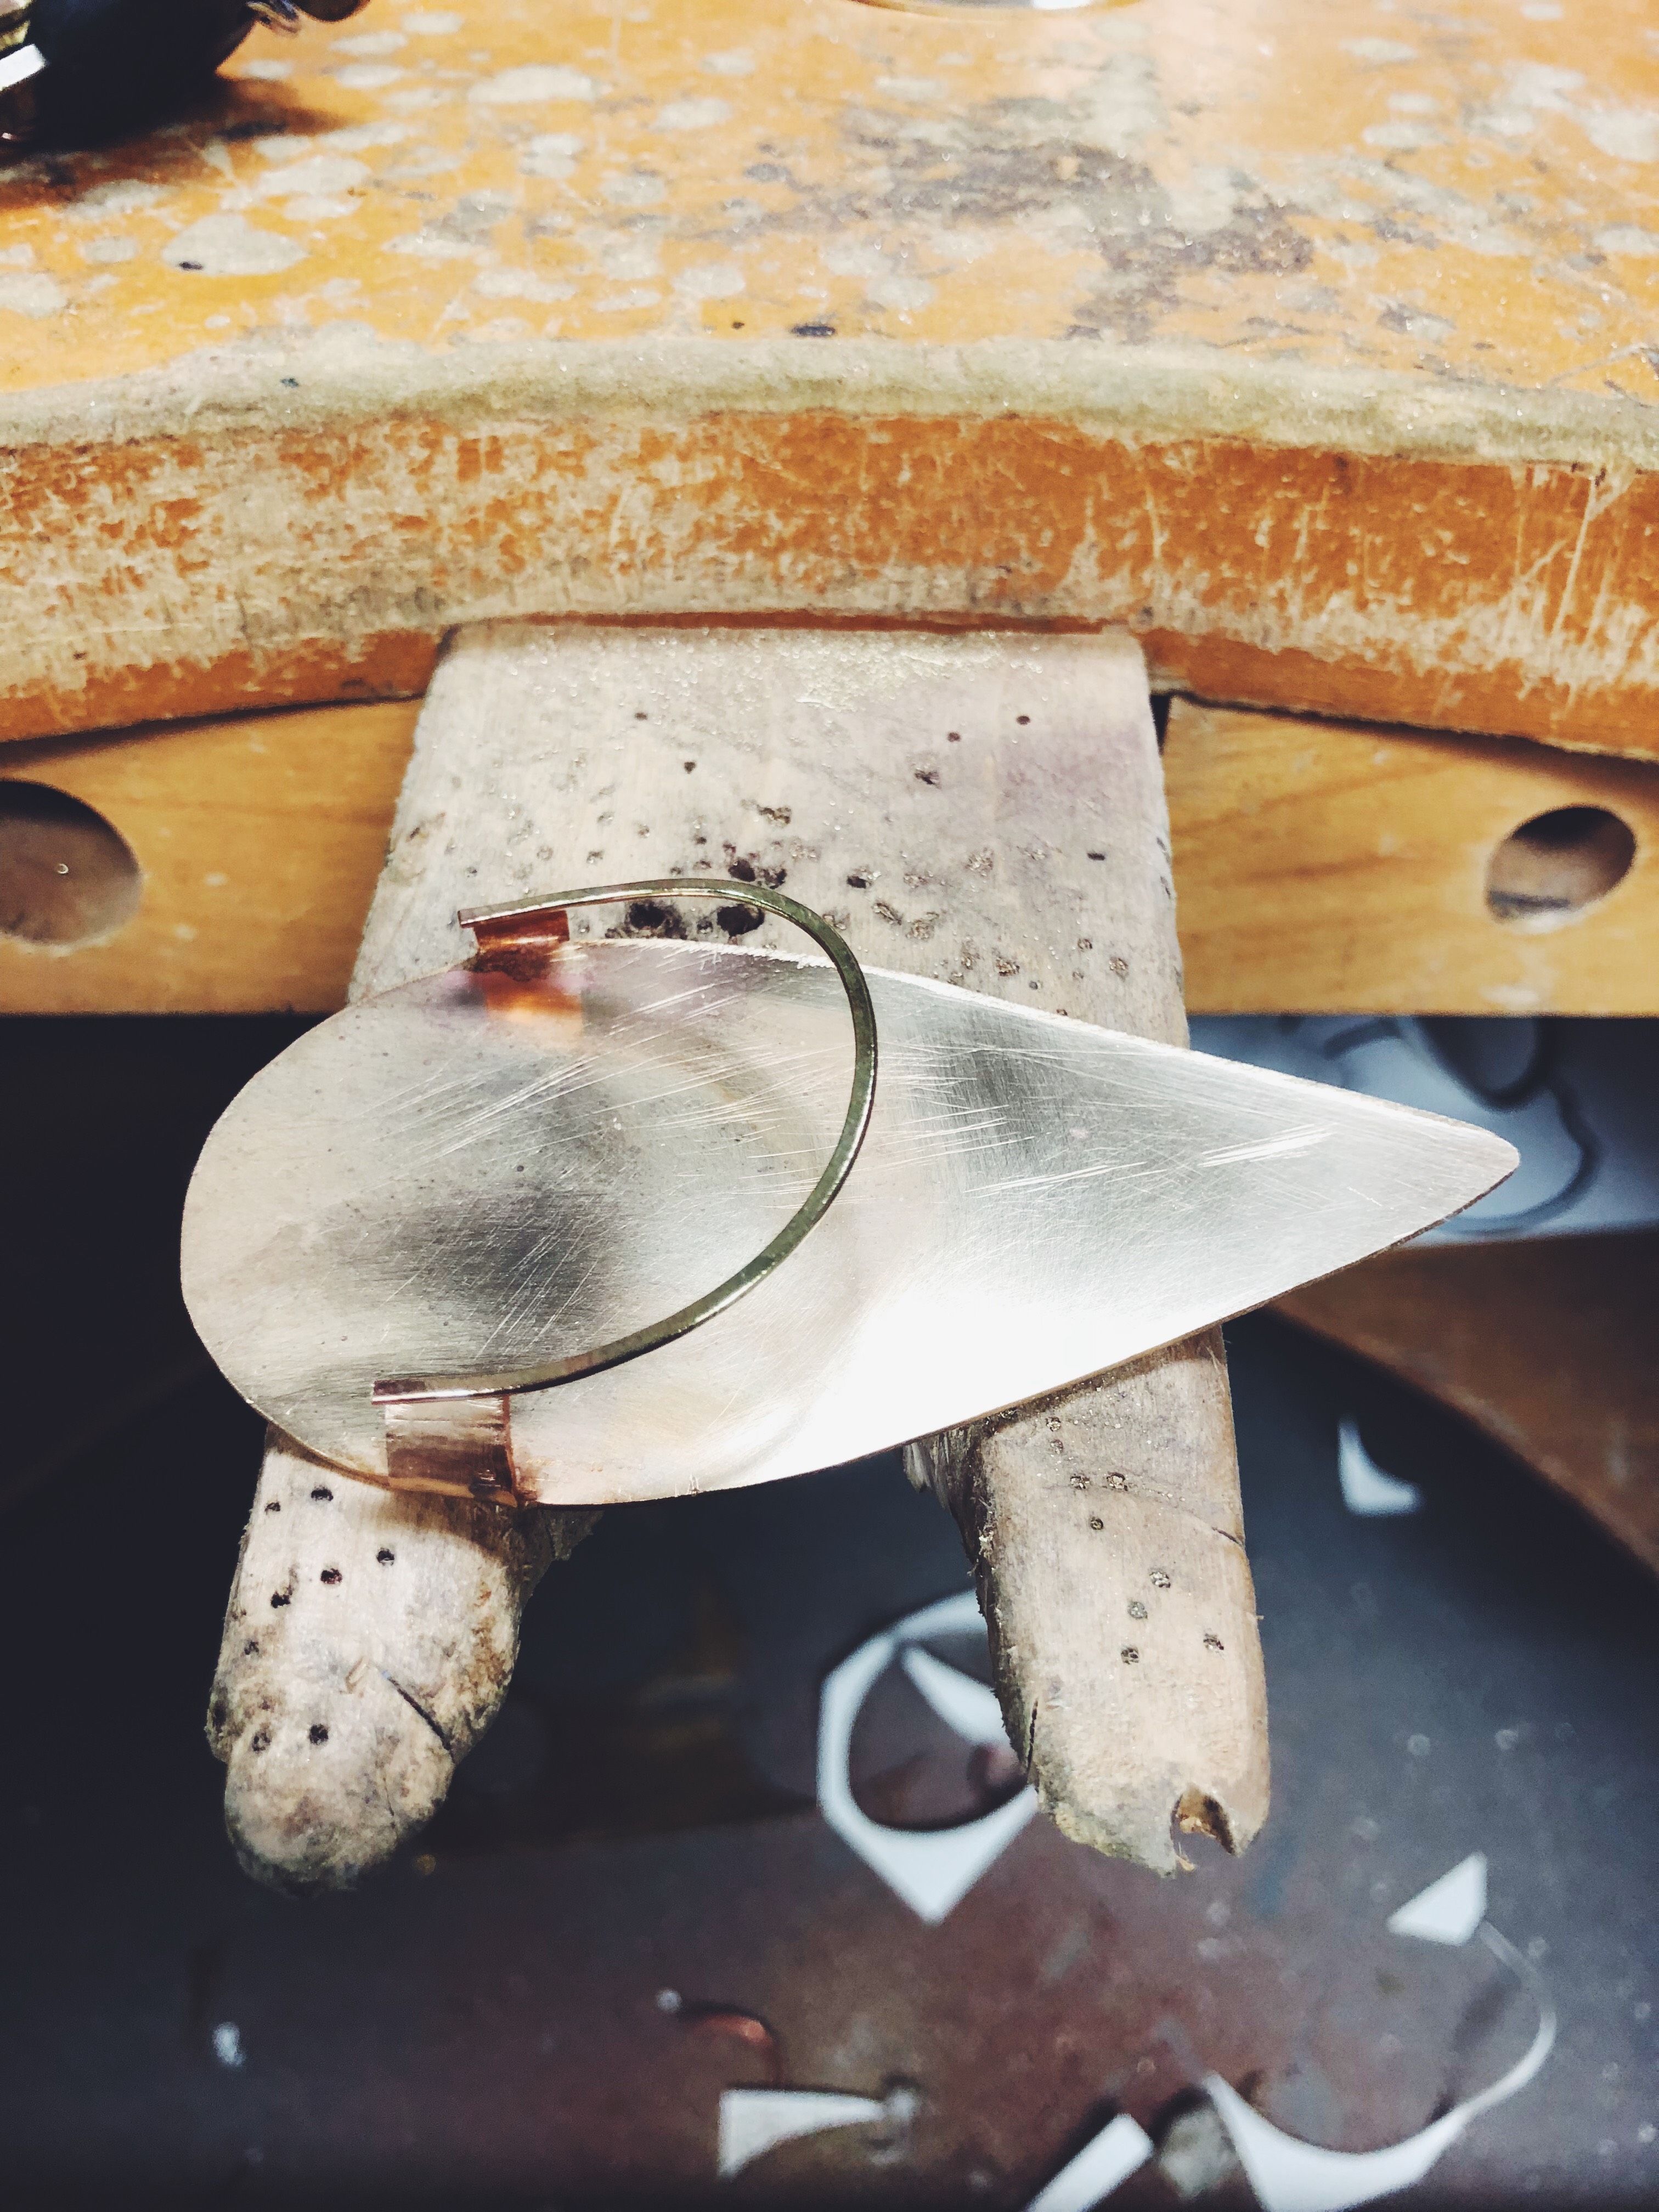
Next, I filed the edges of the shape I cut out and started to roughly sand the surface while I thought of an interesting way to more securely hold the plaster. I began playing with a strip of curled paper at my desk and draping it over the top of the plaster piece, and saw that it perfectly fit the curve of the form. I used this scrap of paper to (very accurately and scientifically, as you can imagine) measure out a piece of brass wire, then hammered the wire flat and into the same shape.
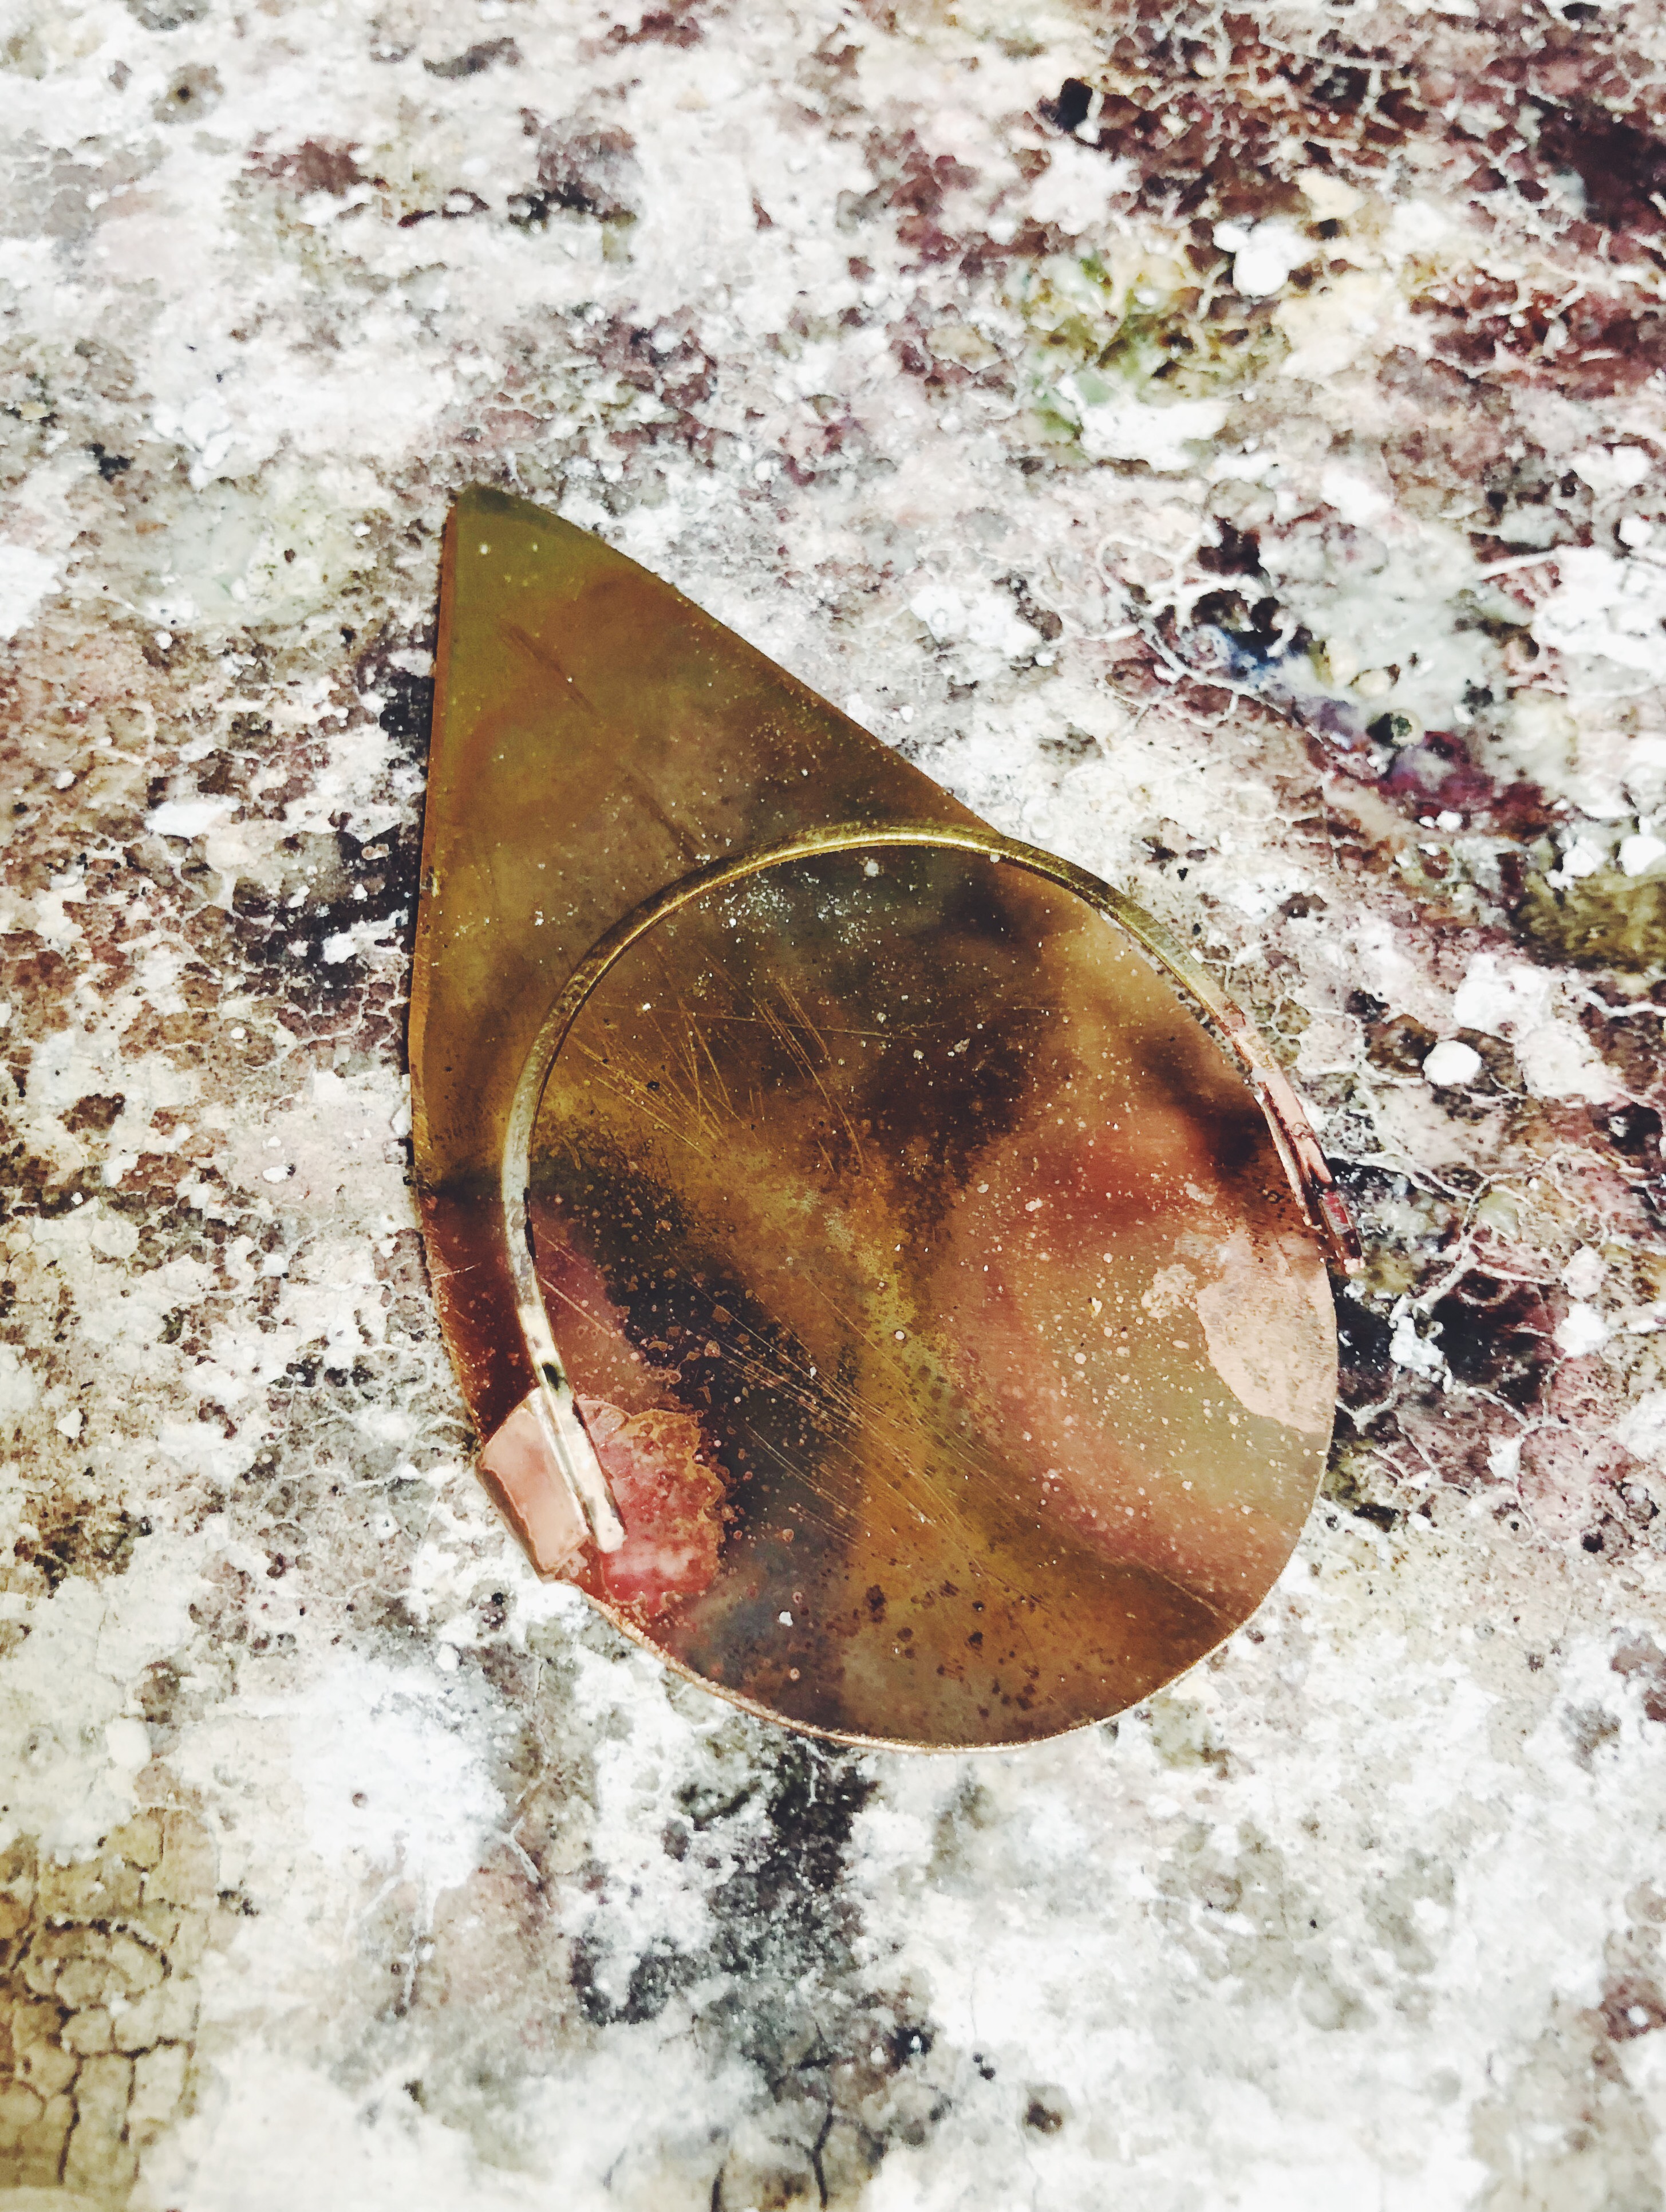
The most difficult part of metal work for me is soldering, as there are a lot of factors that you have to control at one time to get a perfect connection and seam. Before I could solder my wire to the solid brass backing, I had to file the edges of the tabs flat, then hammer the wire to lay perfectly against the tabs on both sides. After the whole thing was soldered, it had to be pickled and cleaned.
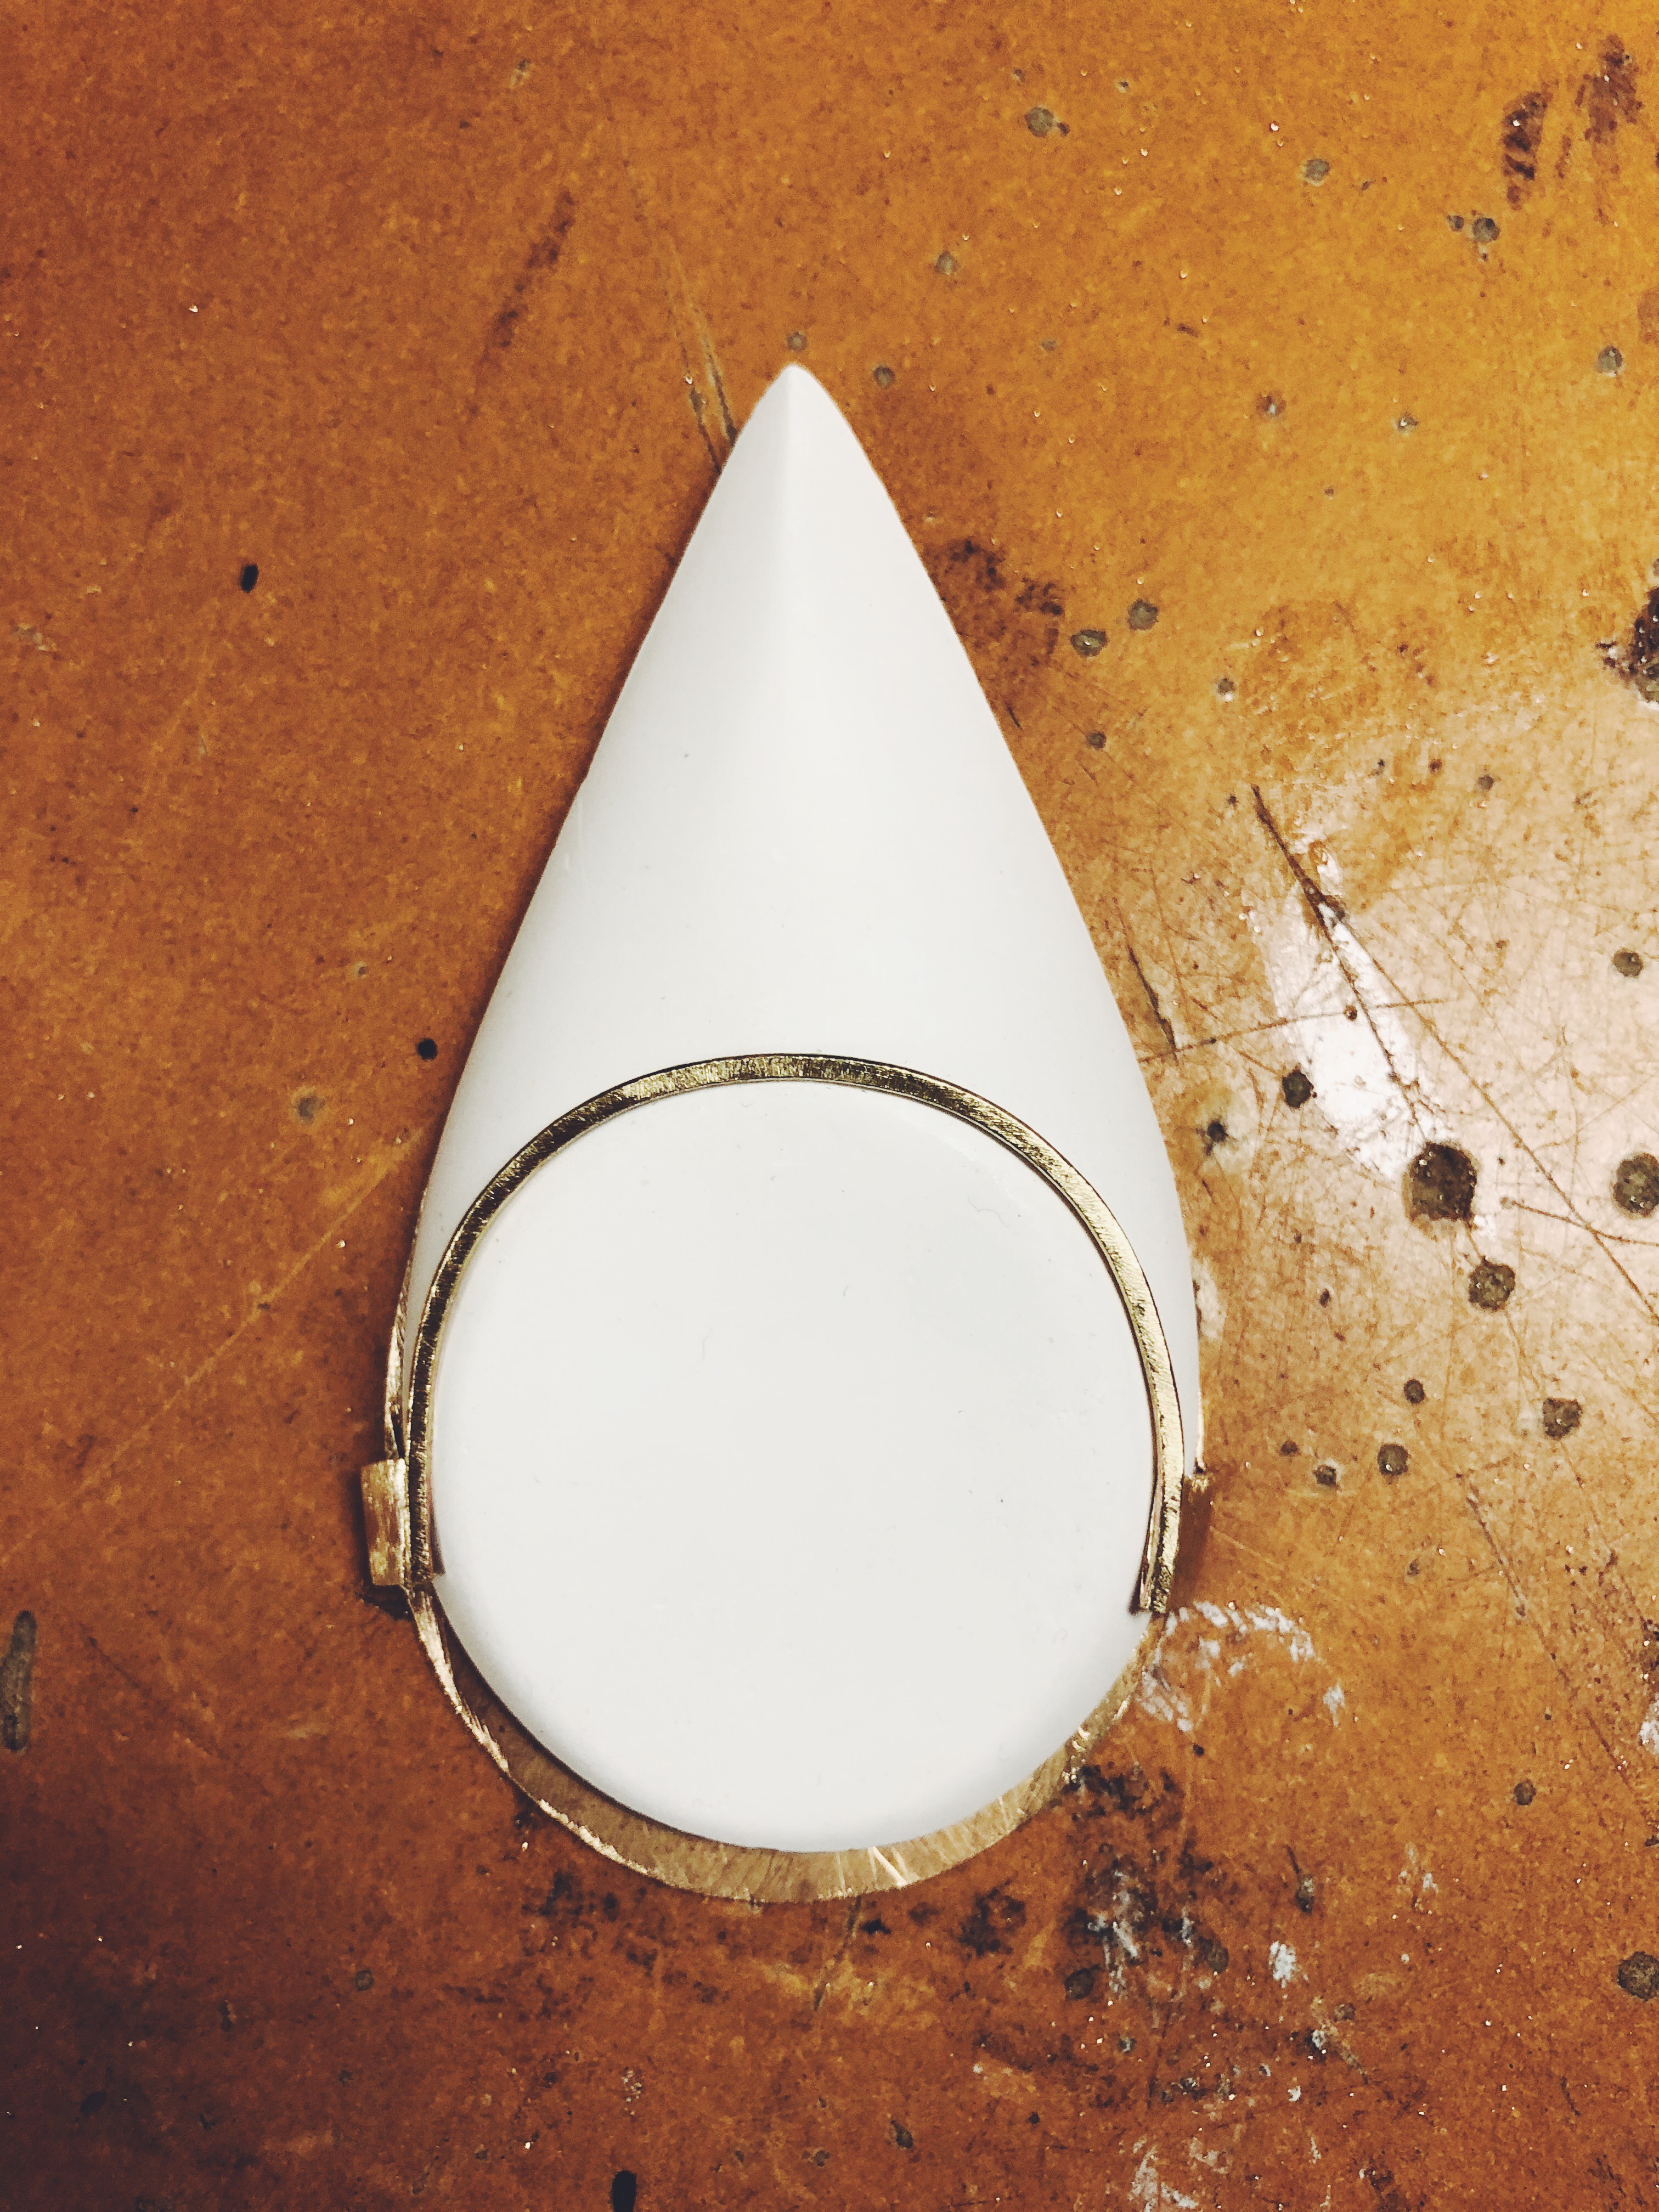
I fit the plaster back into the metal form by bending back the wire and sliding the plaster piece down, then pressing the wire back into place right above the curve in the plaster. I adjusted the length of the wire on the sides by snipping the ends off and filing them to match the width of the tabs. The metal piece still has to be sanded down before I can decide what exactly to turn it into, but I’m thinking it will end up as a brooch. Then I just need to make twenty more!
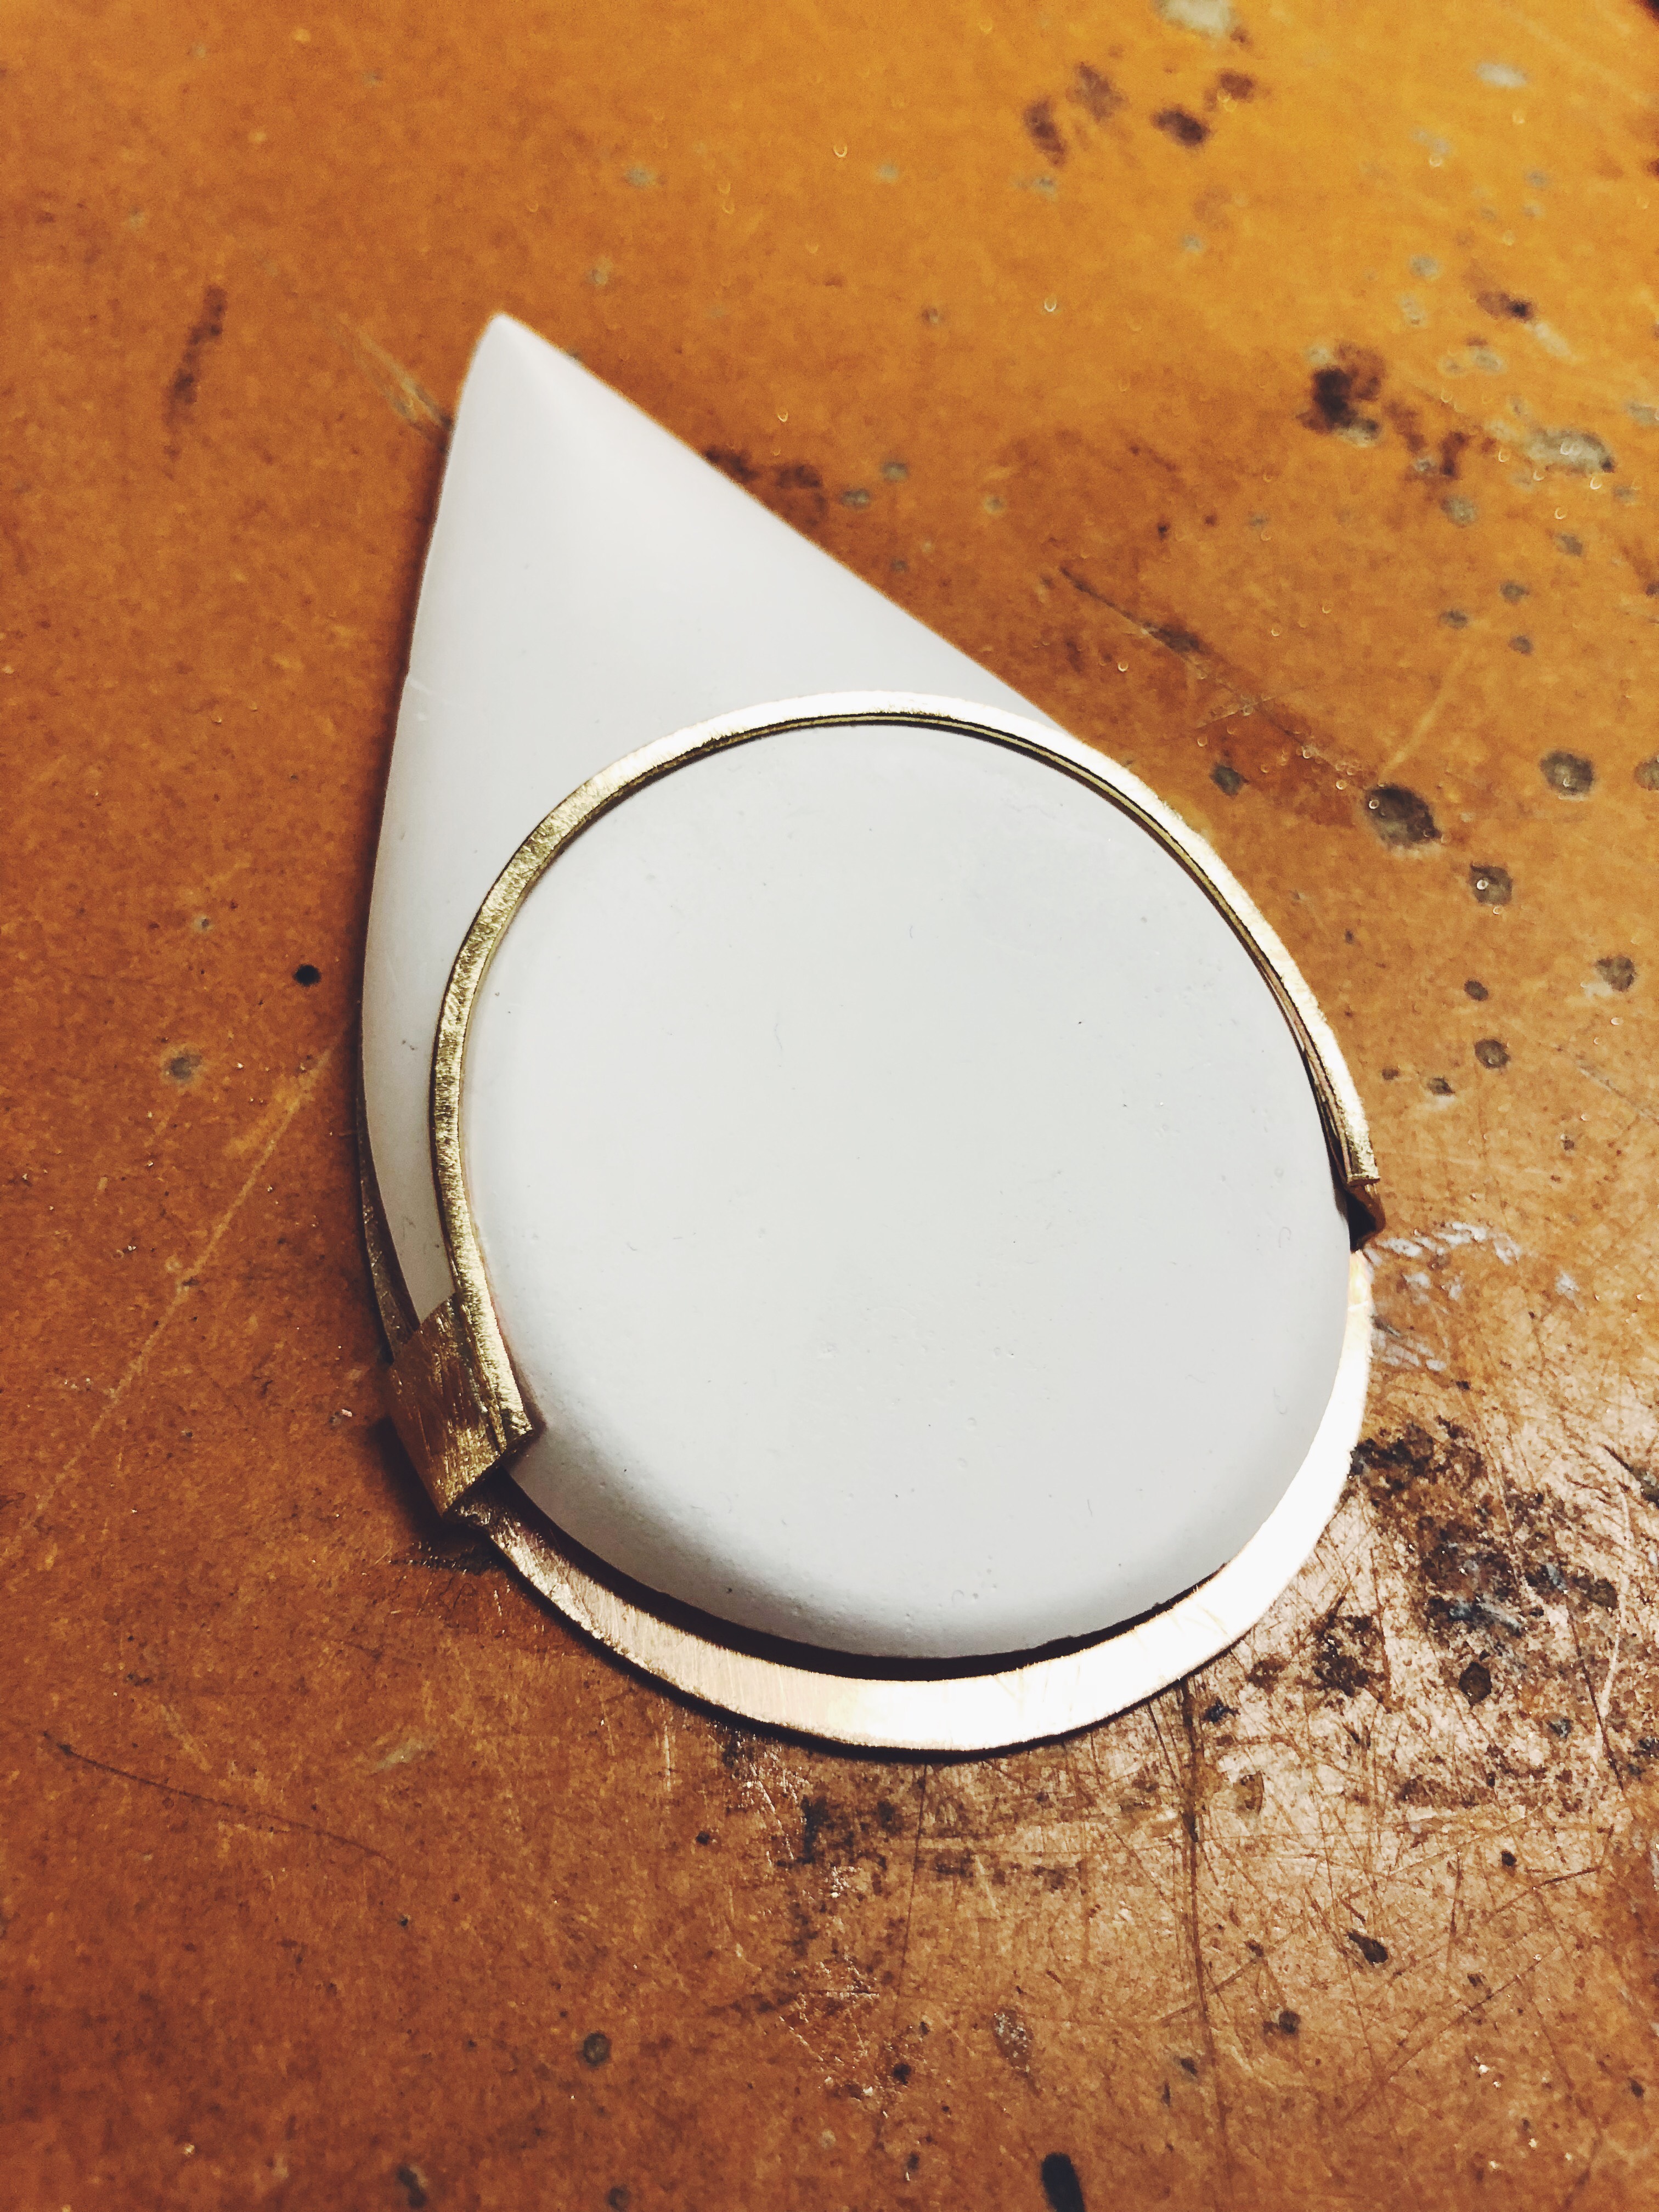
Featured Image: Jill Sibio, 2018