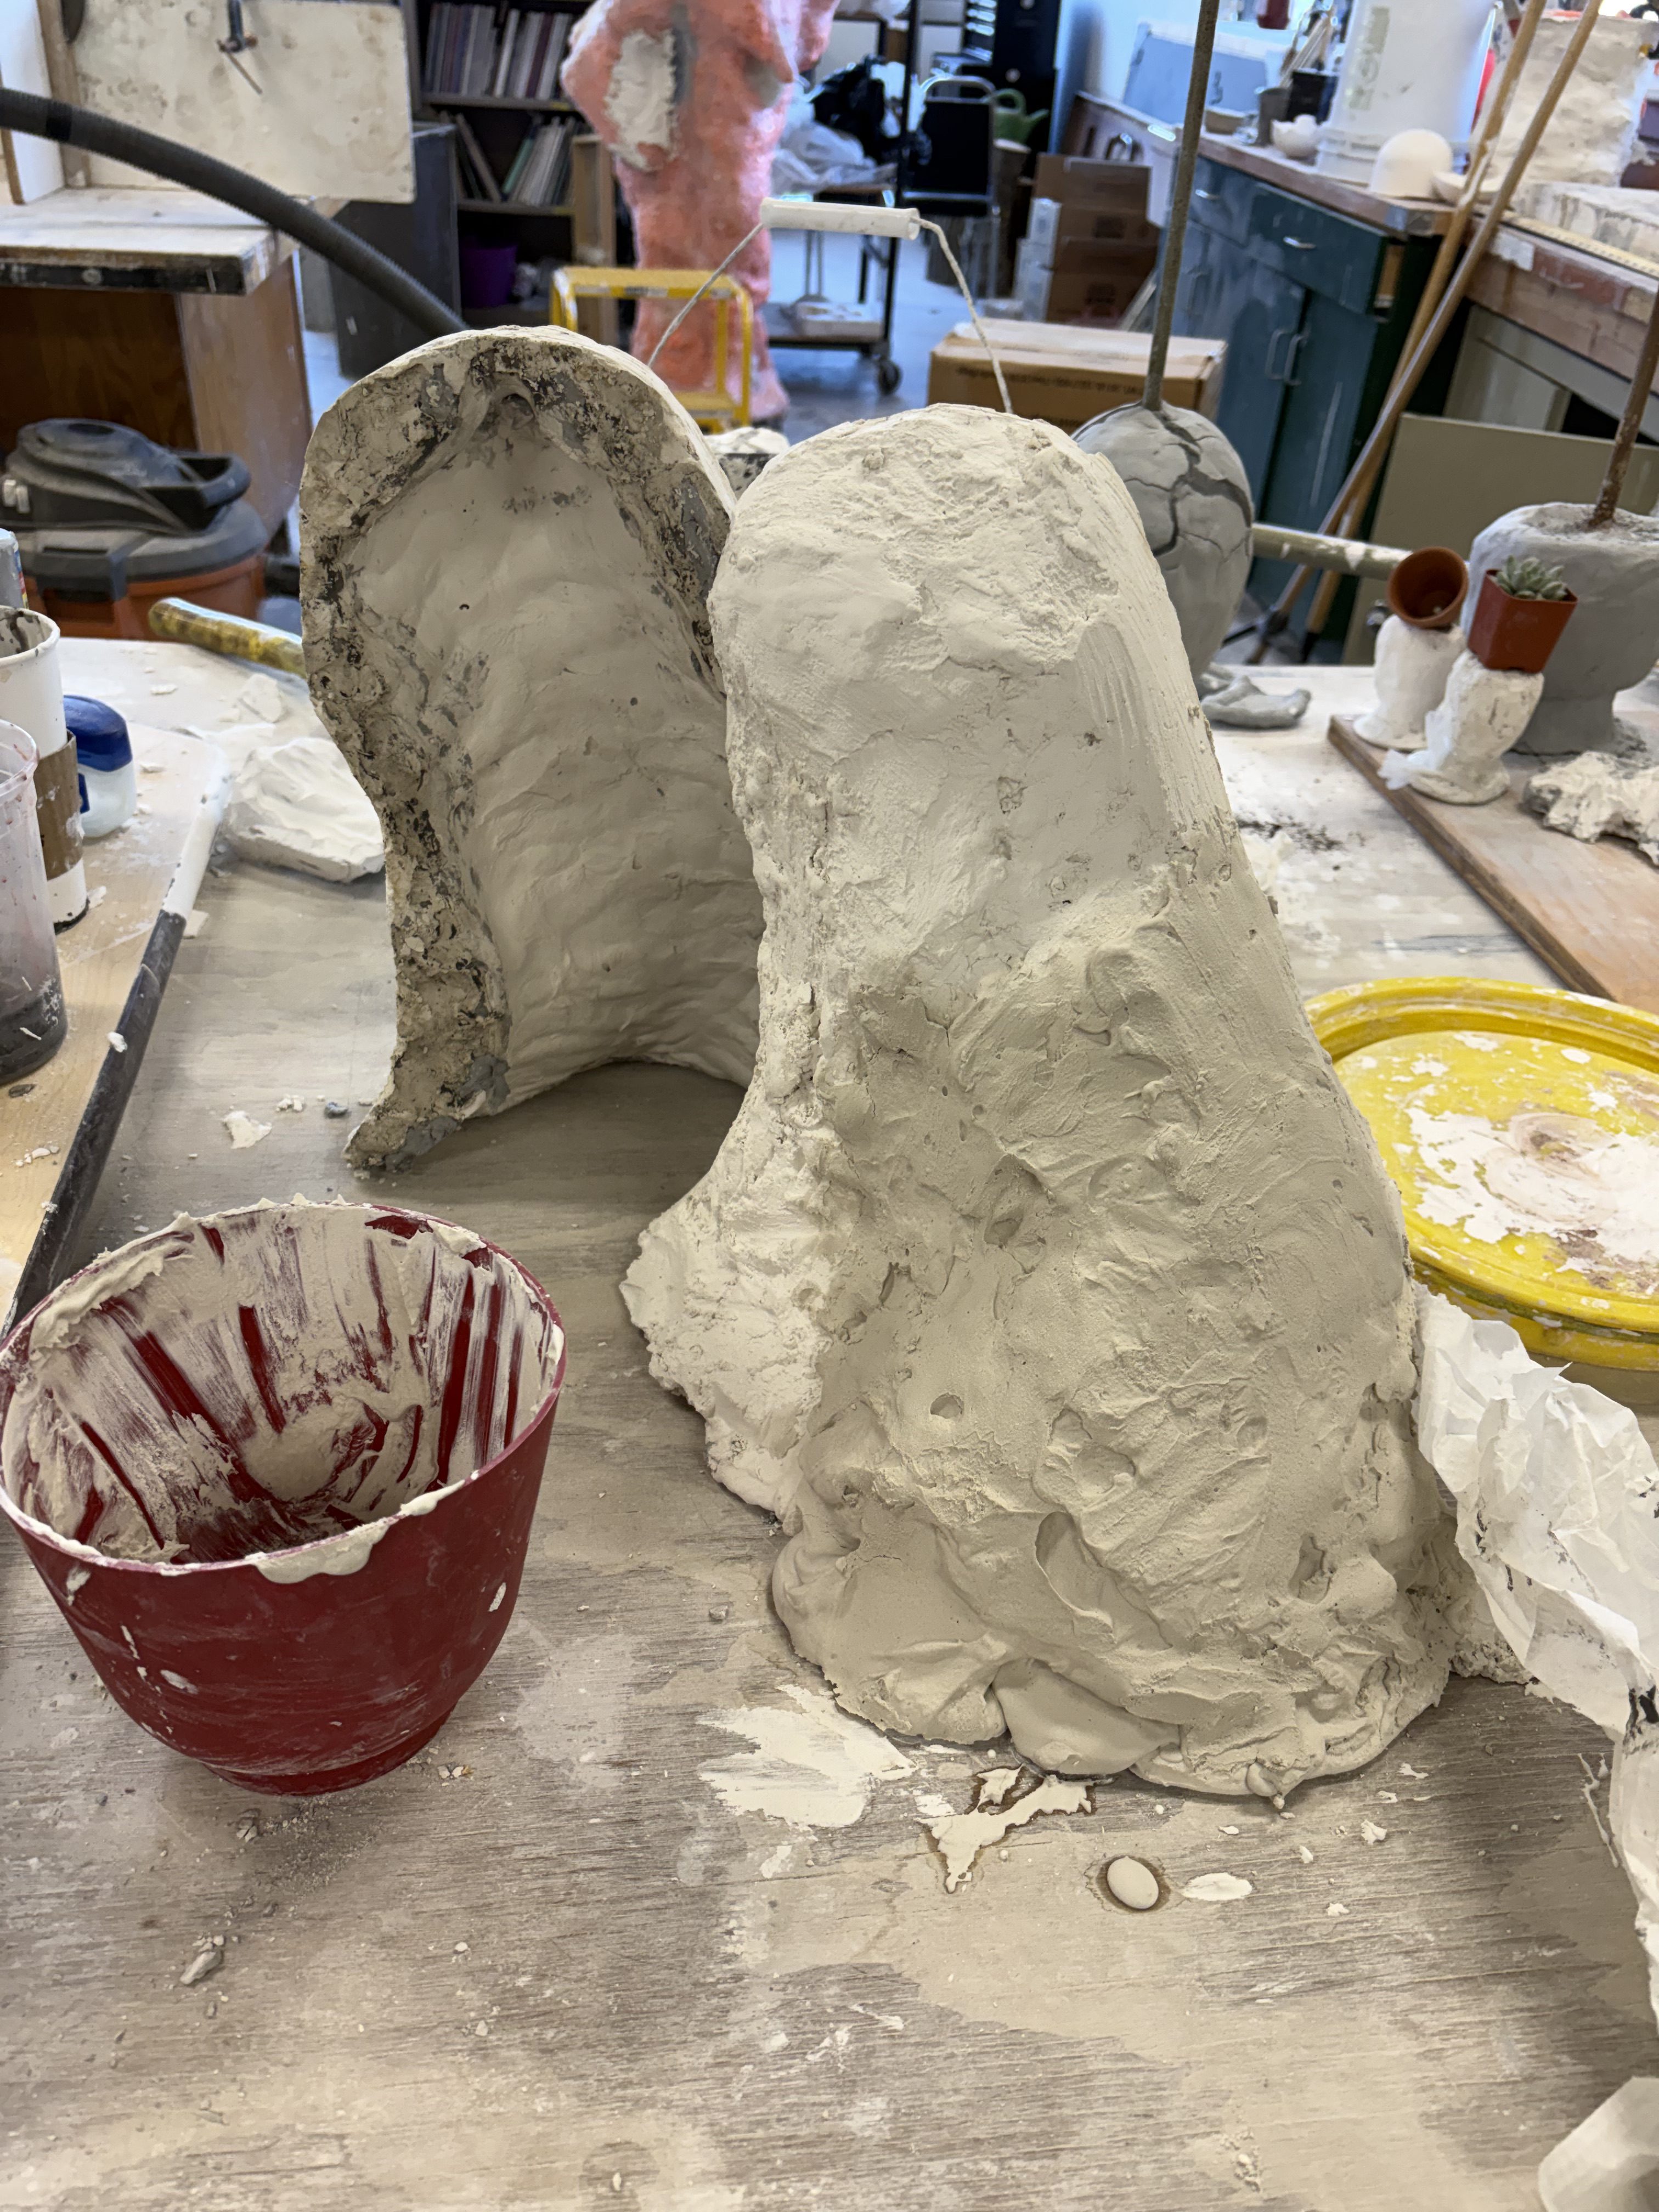
Hiya! This blog is going to be pretty much entirely centered on the progress of my cat sculpture. I started off by making the mother mould pictured below. I mixed up plaster and waited for it to start setting and then shlopped it on top of the rubber mould (shown underneath this picture) one half at a time. When I tried to free the second half, it broke the mould. This was ok! We were able to mix more plaster to put the pieces back together. The darker part in the picture below is the wet plaster
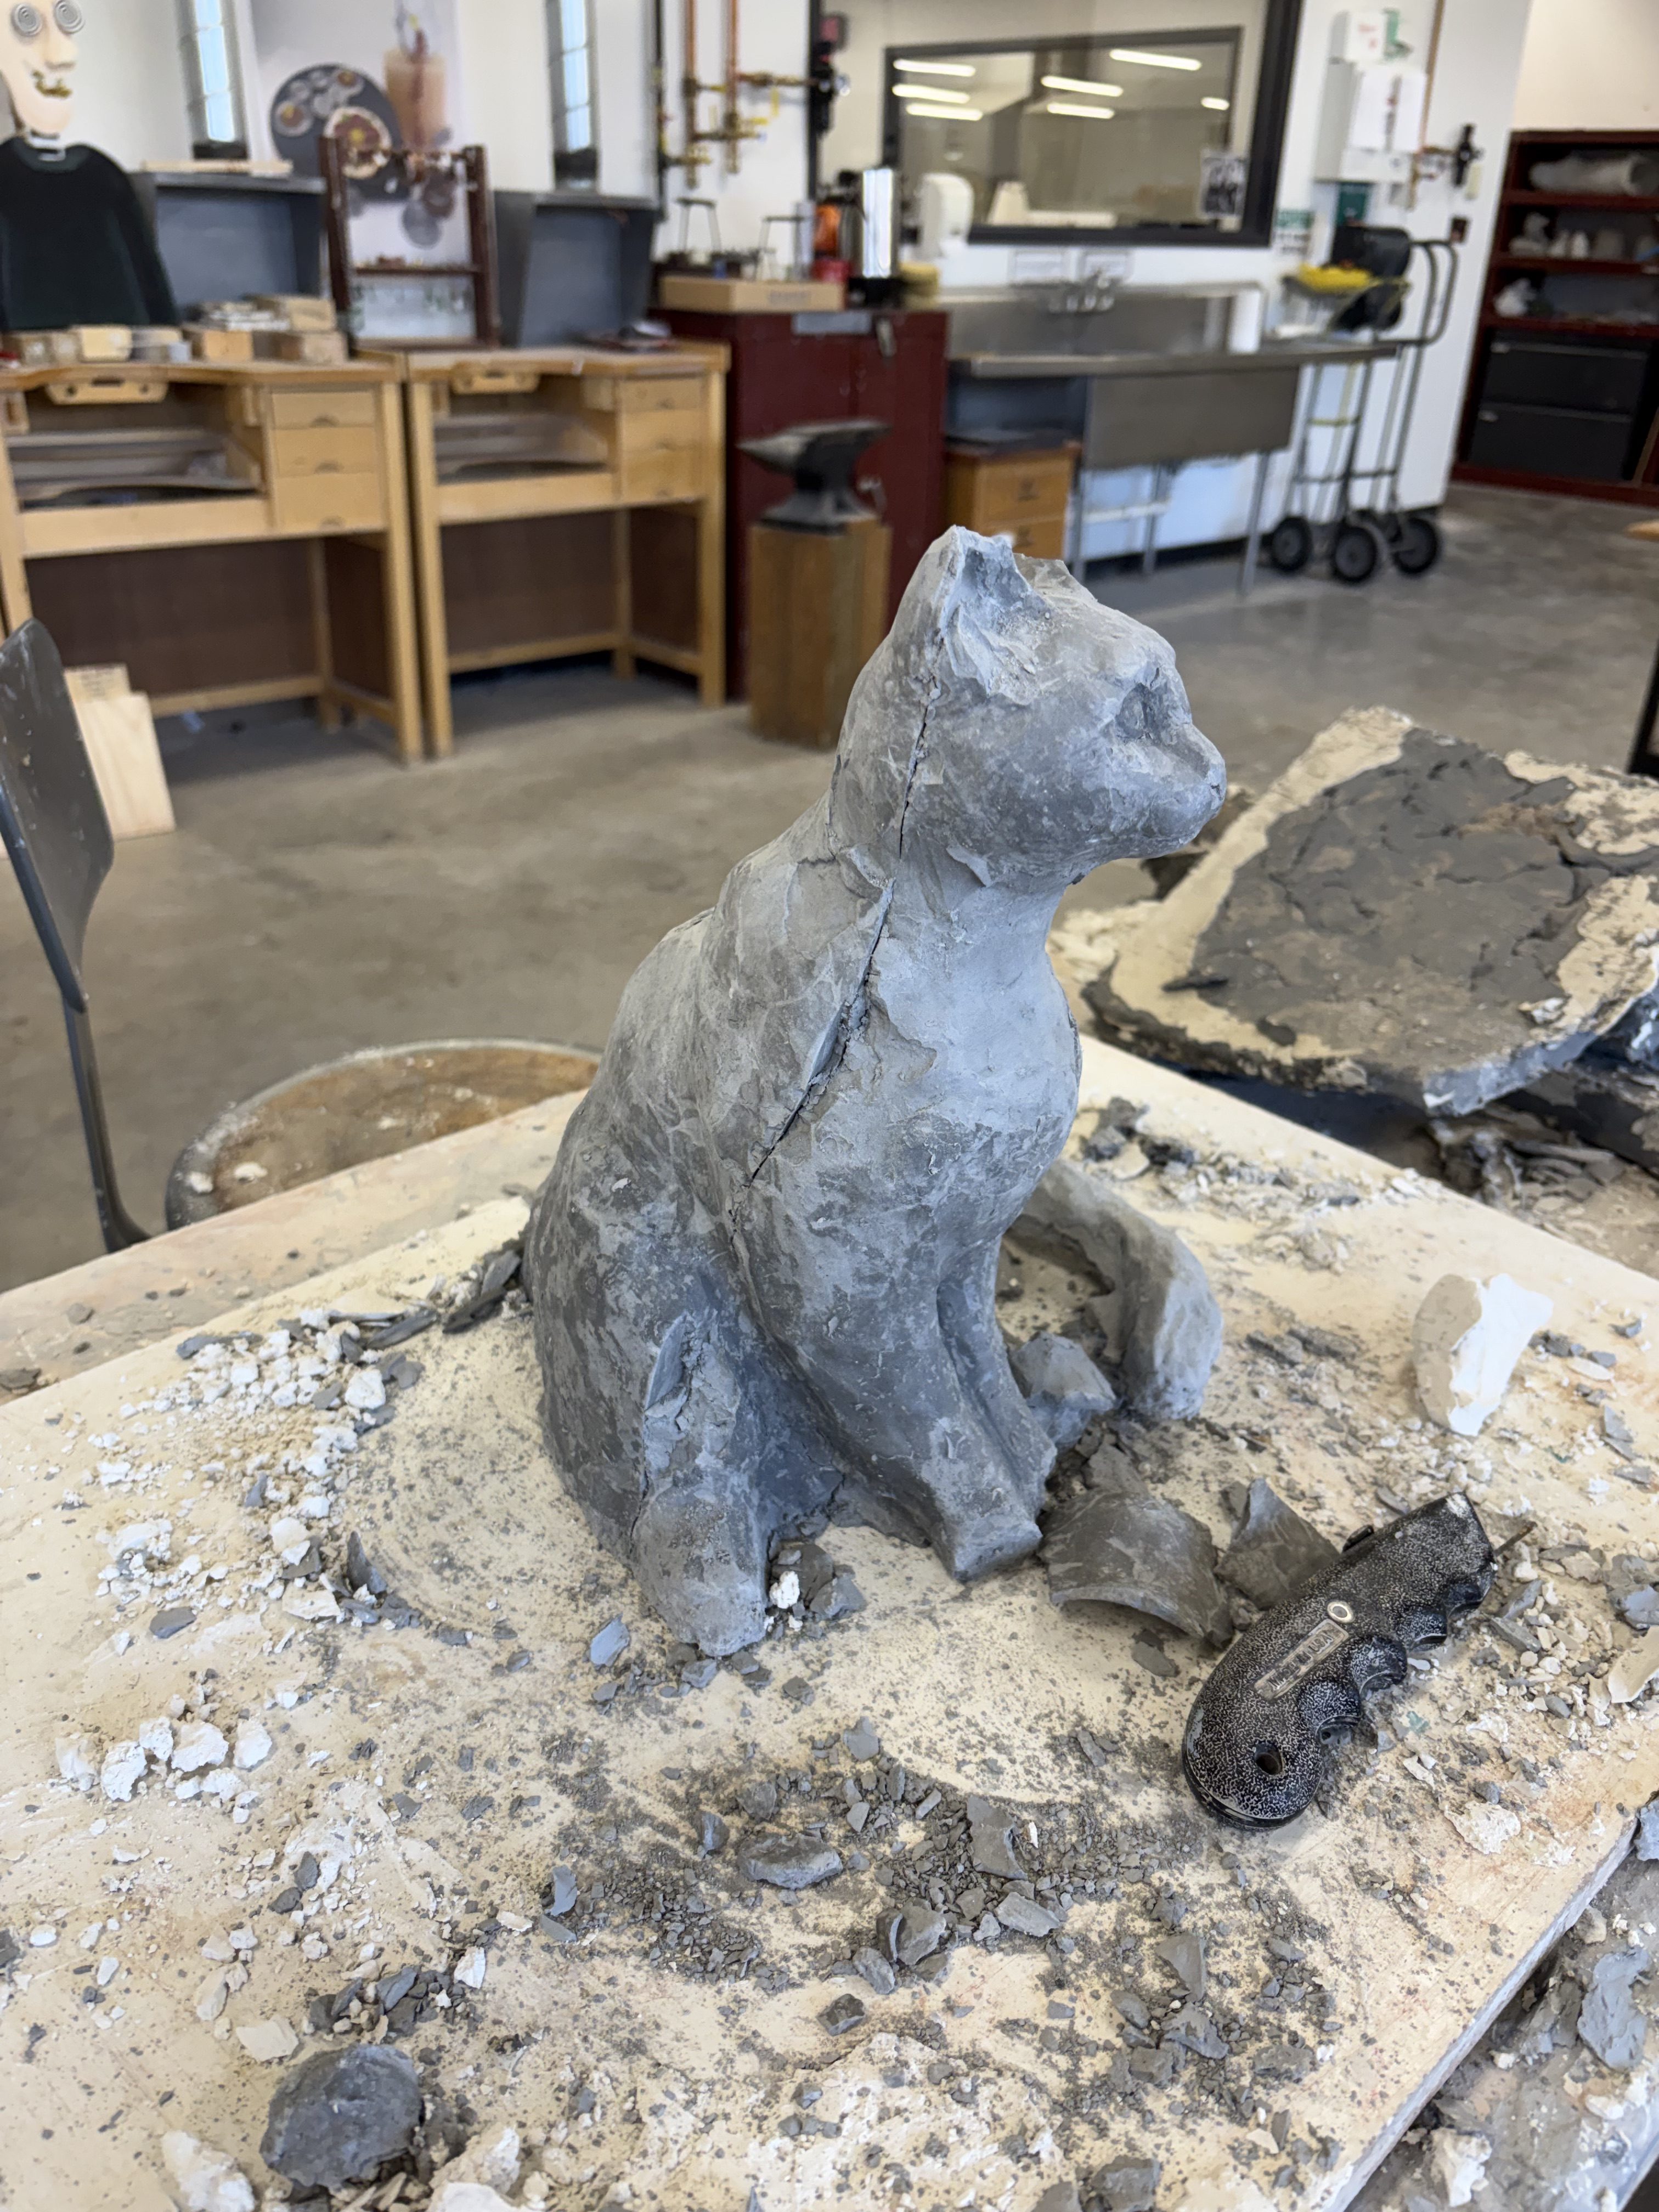
Once I’d made the mother mould and removed it, I could now free the clay cat from the rubber mould. It’s sad to say, but sacrifices had to be made to make the mould. This is what was left of the clay cat, but it’s worth it for what is to come.
Once the rubber mould was empty, plaster was ready to be poured into it. Without the clay cat inside, it’s hard for the rubber mould to keep its shape. This is what the mother mould is for! I sandwich the two halves of the mother mould around the rubber mould, secure it with a ratchet strap, and then flip it upside down. At this point, it’s ready to pour!
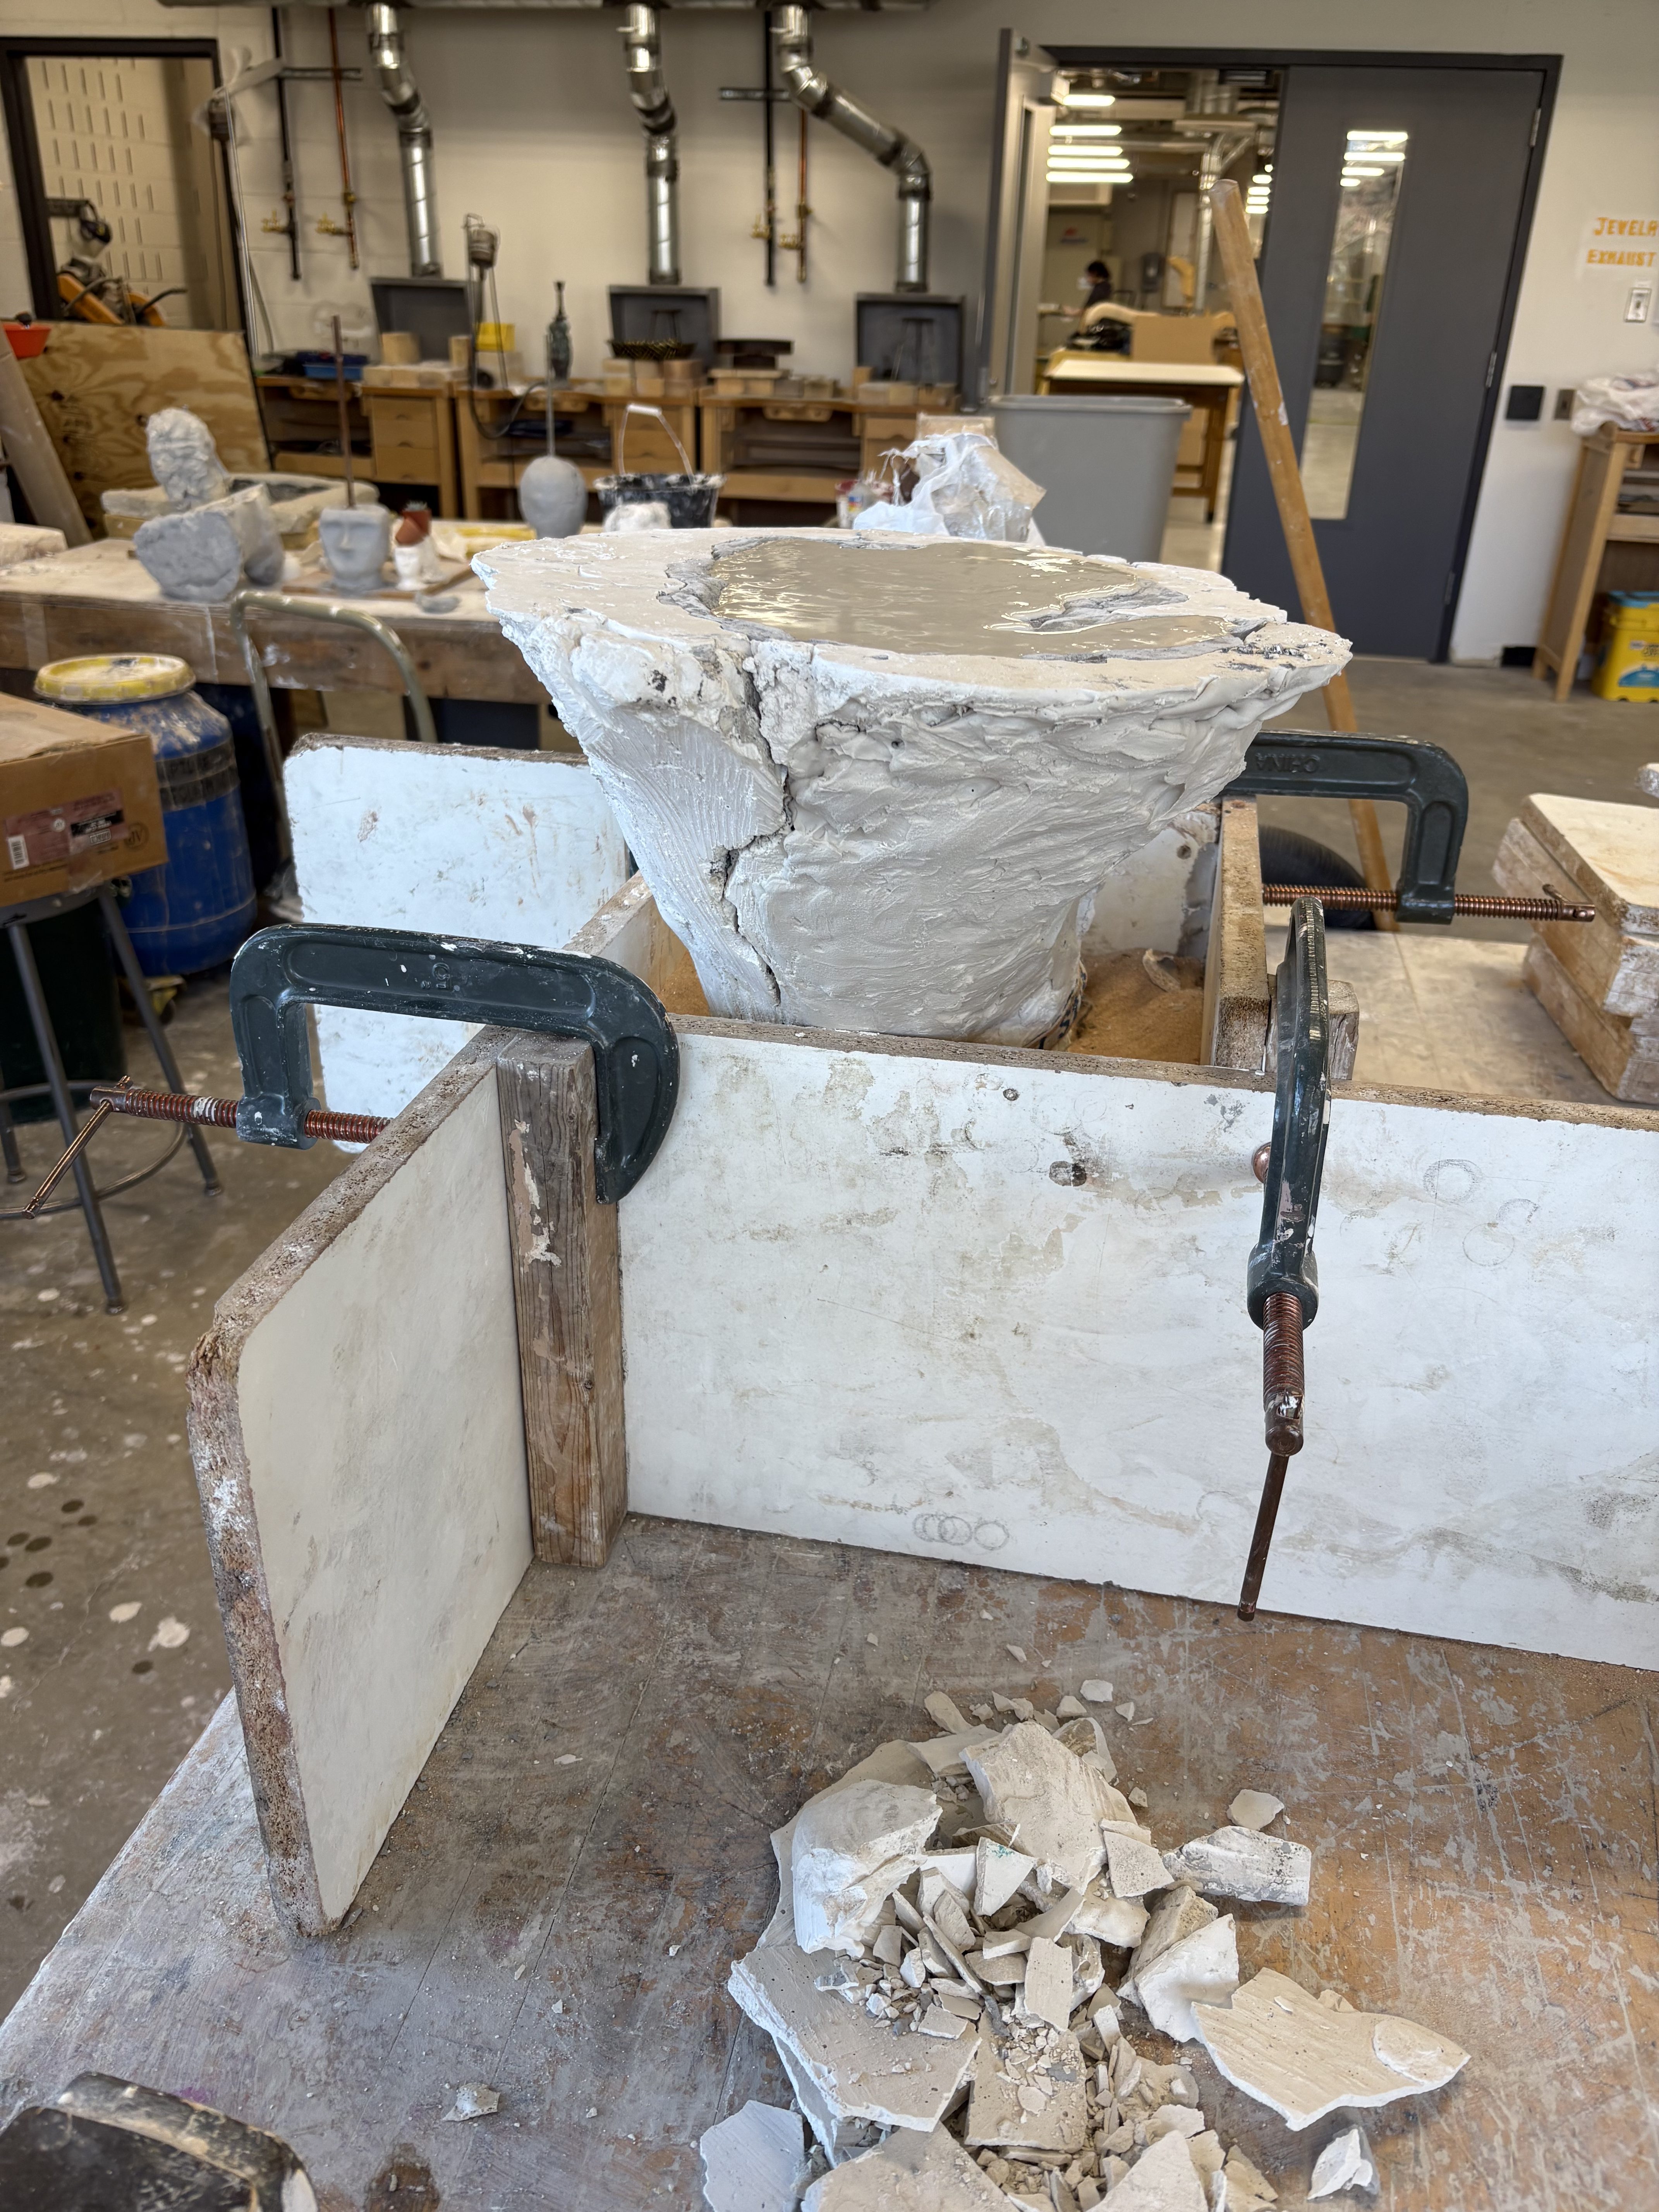
We place it in a box of sand in order for it to say upside down correctly. We also turned on the vibrating table feature to allow the plaster to settle and not have too many bubbles.

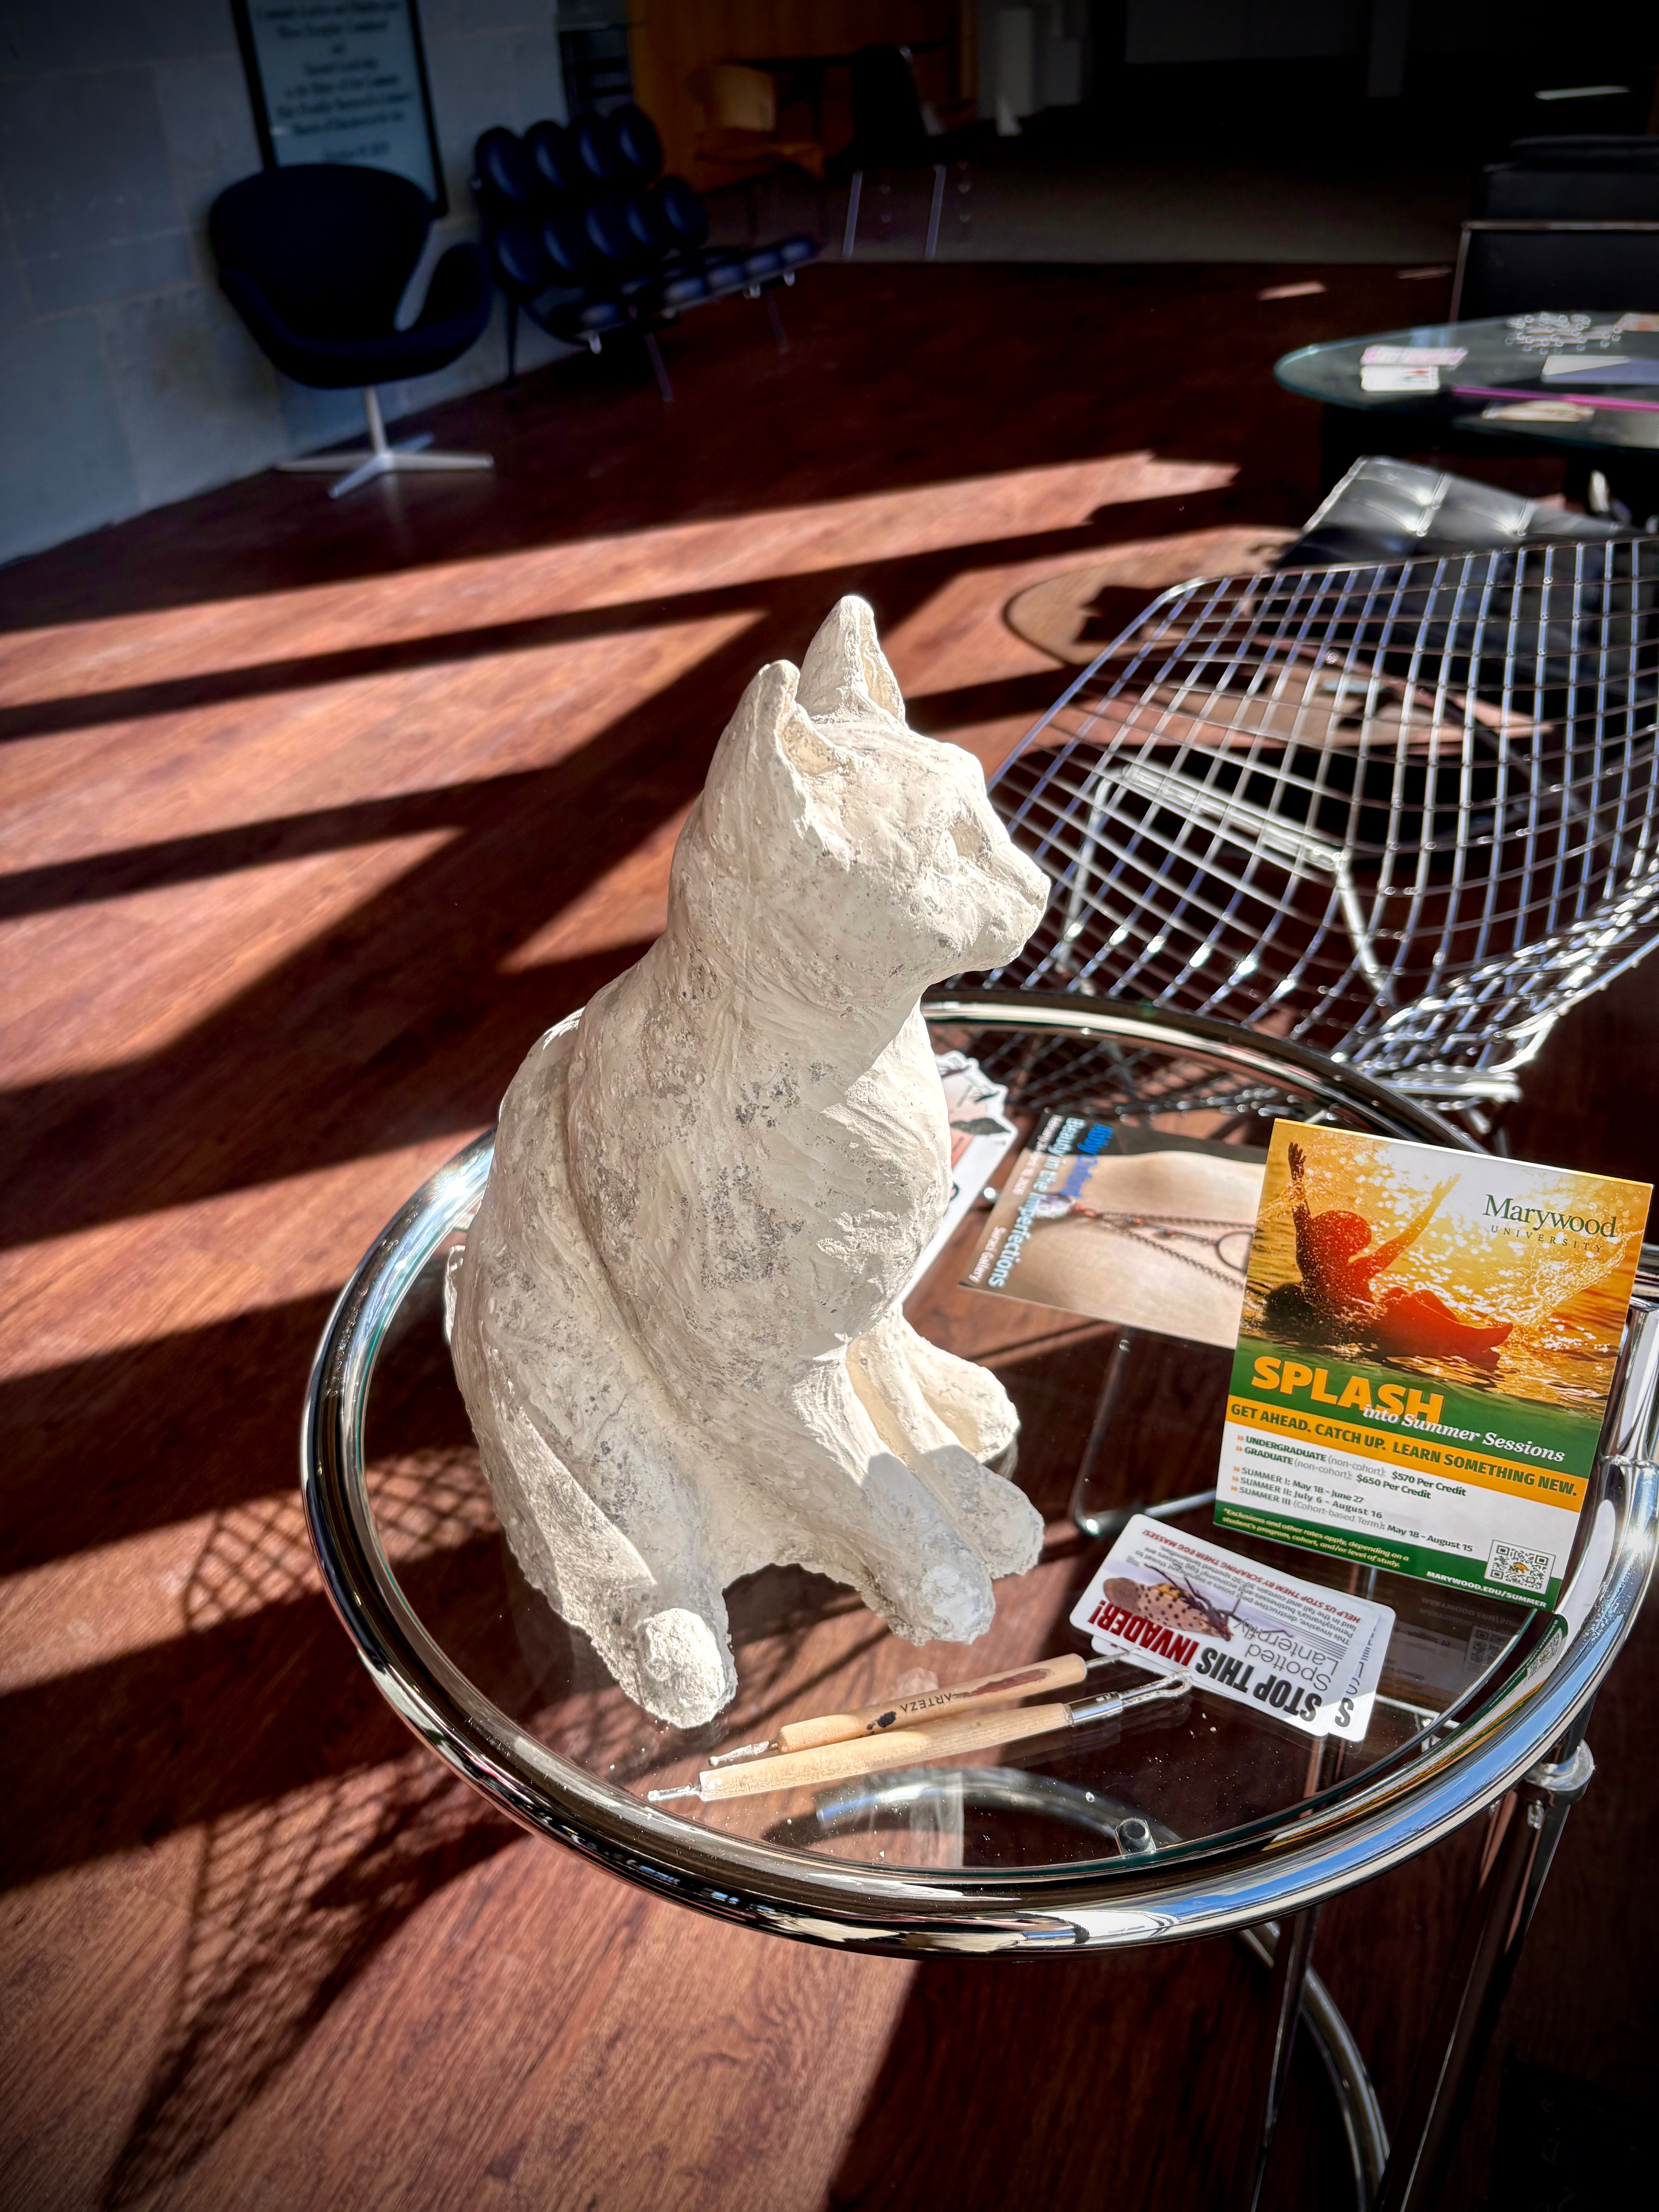
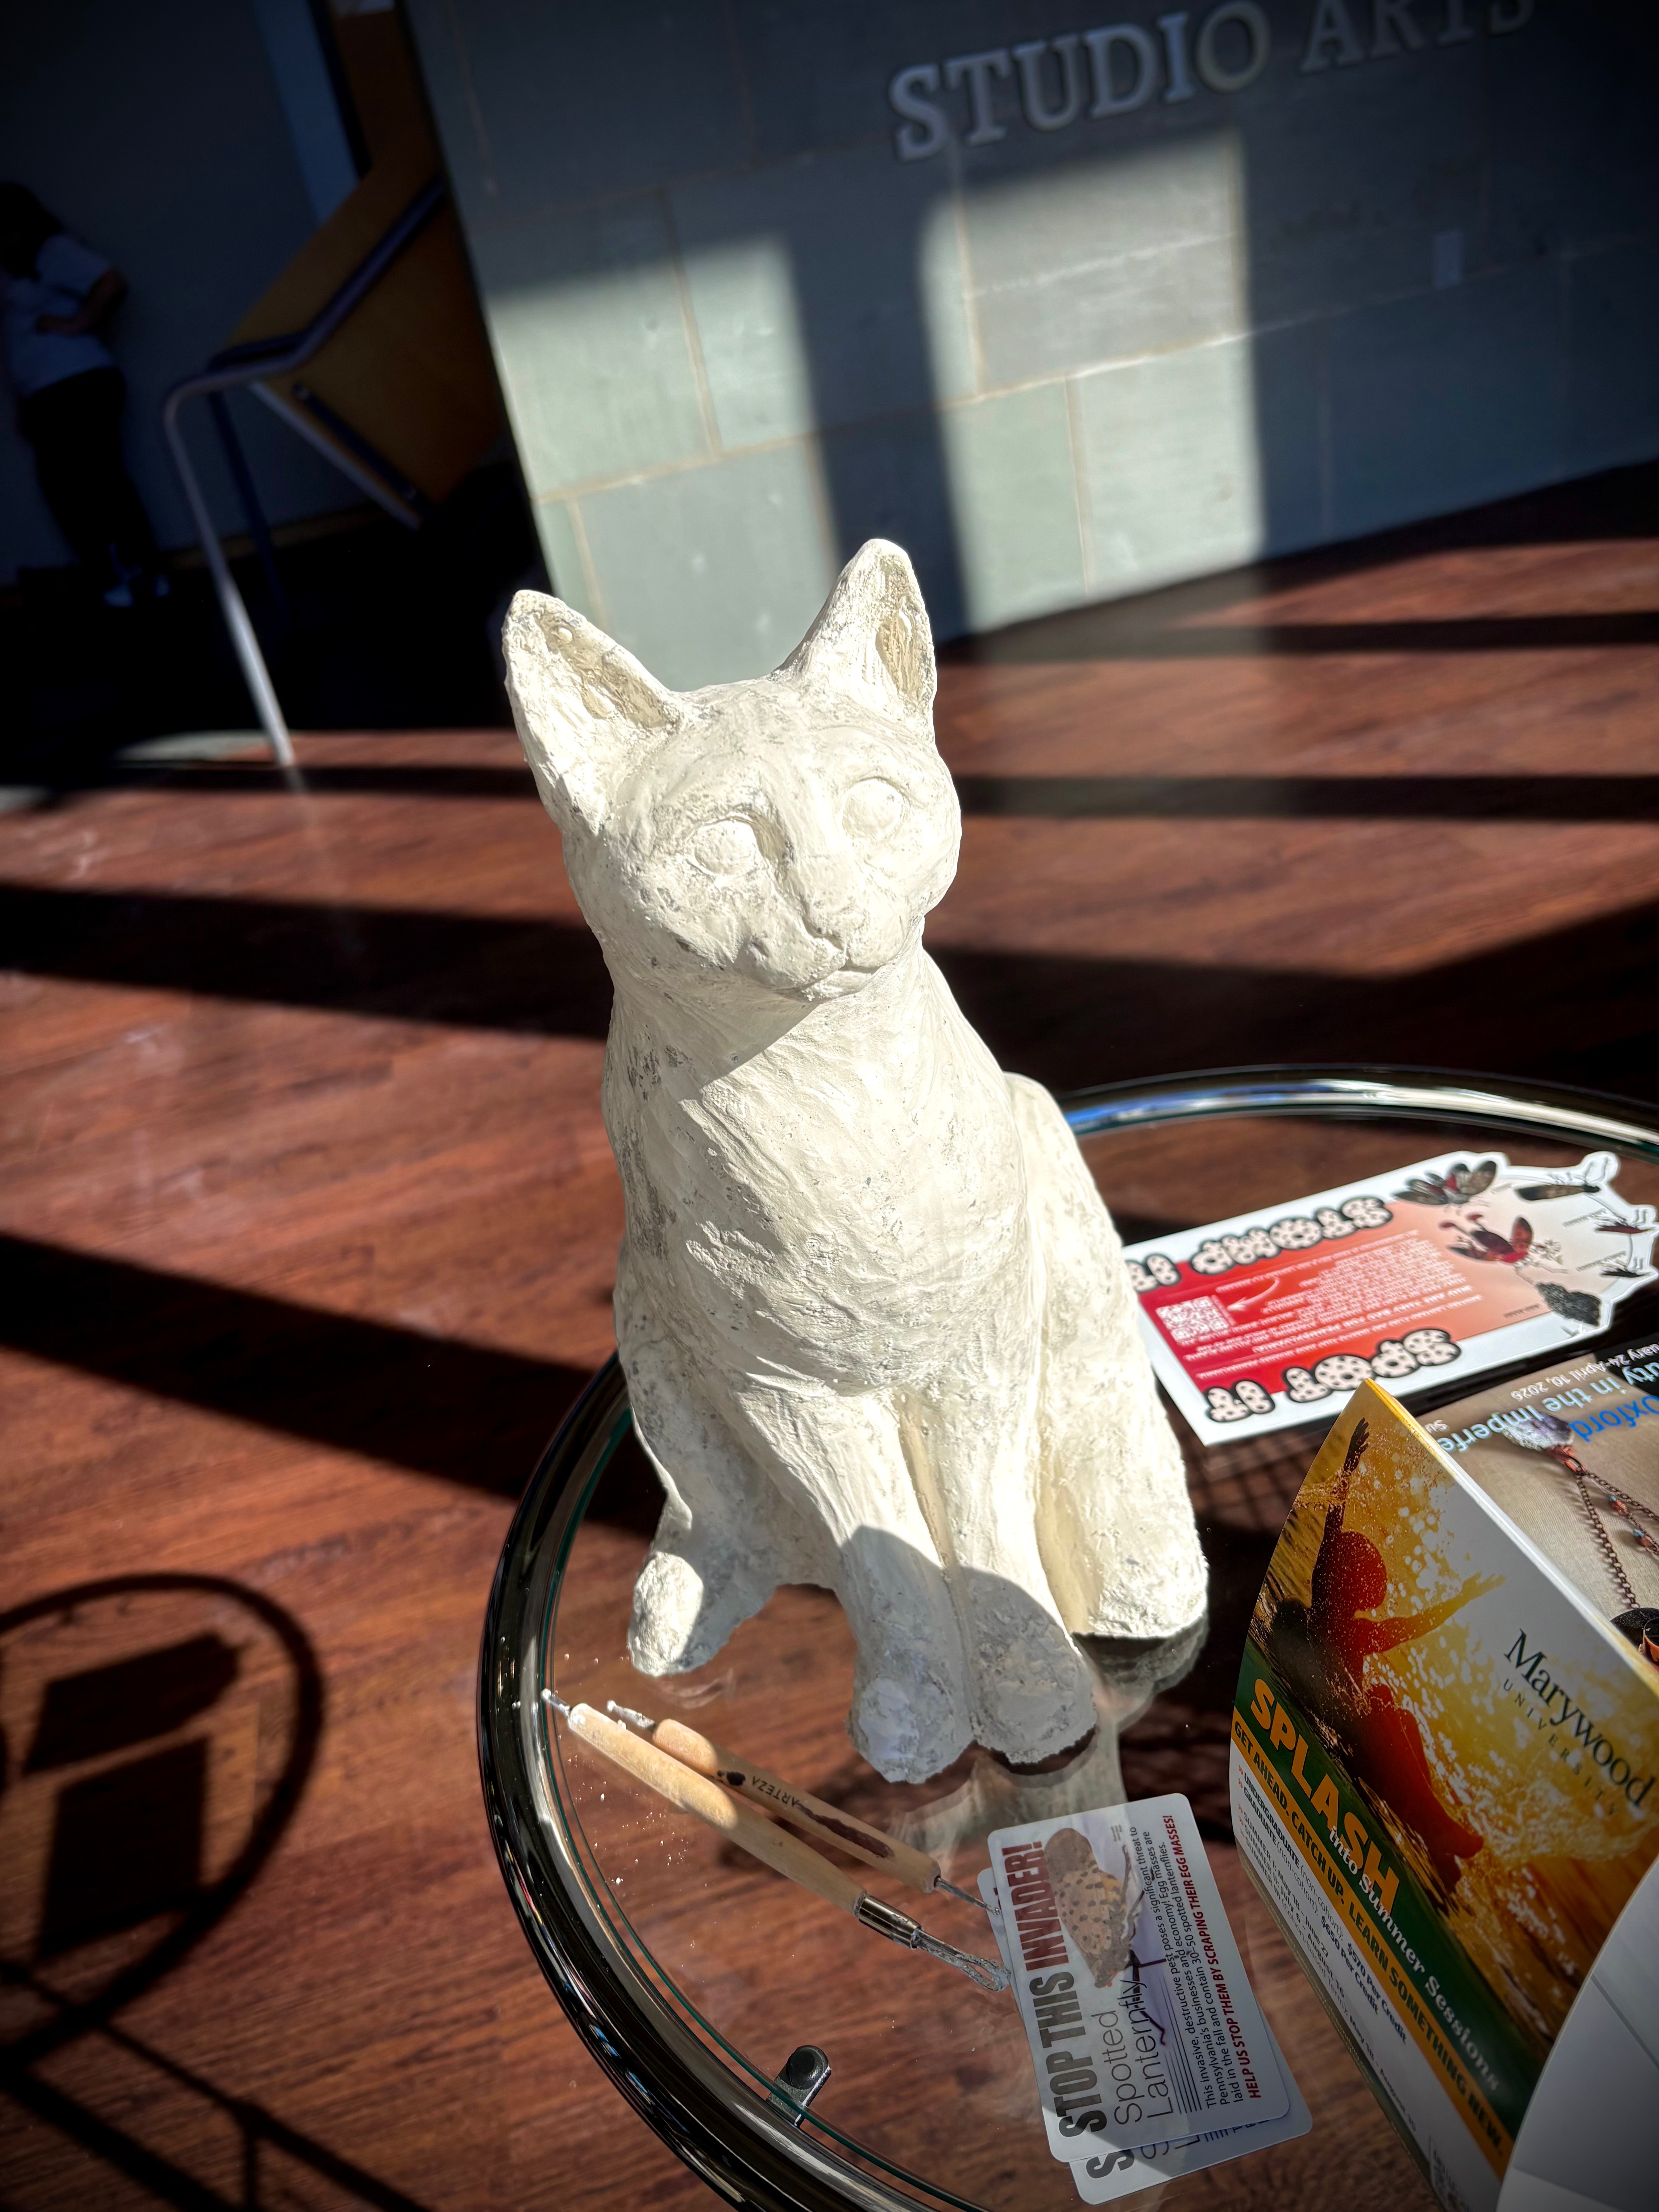
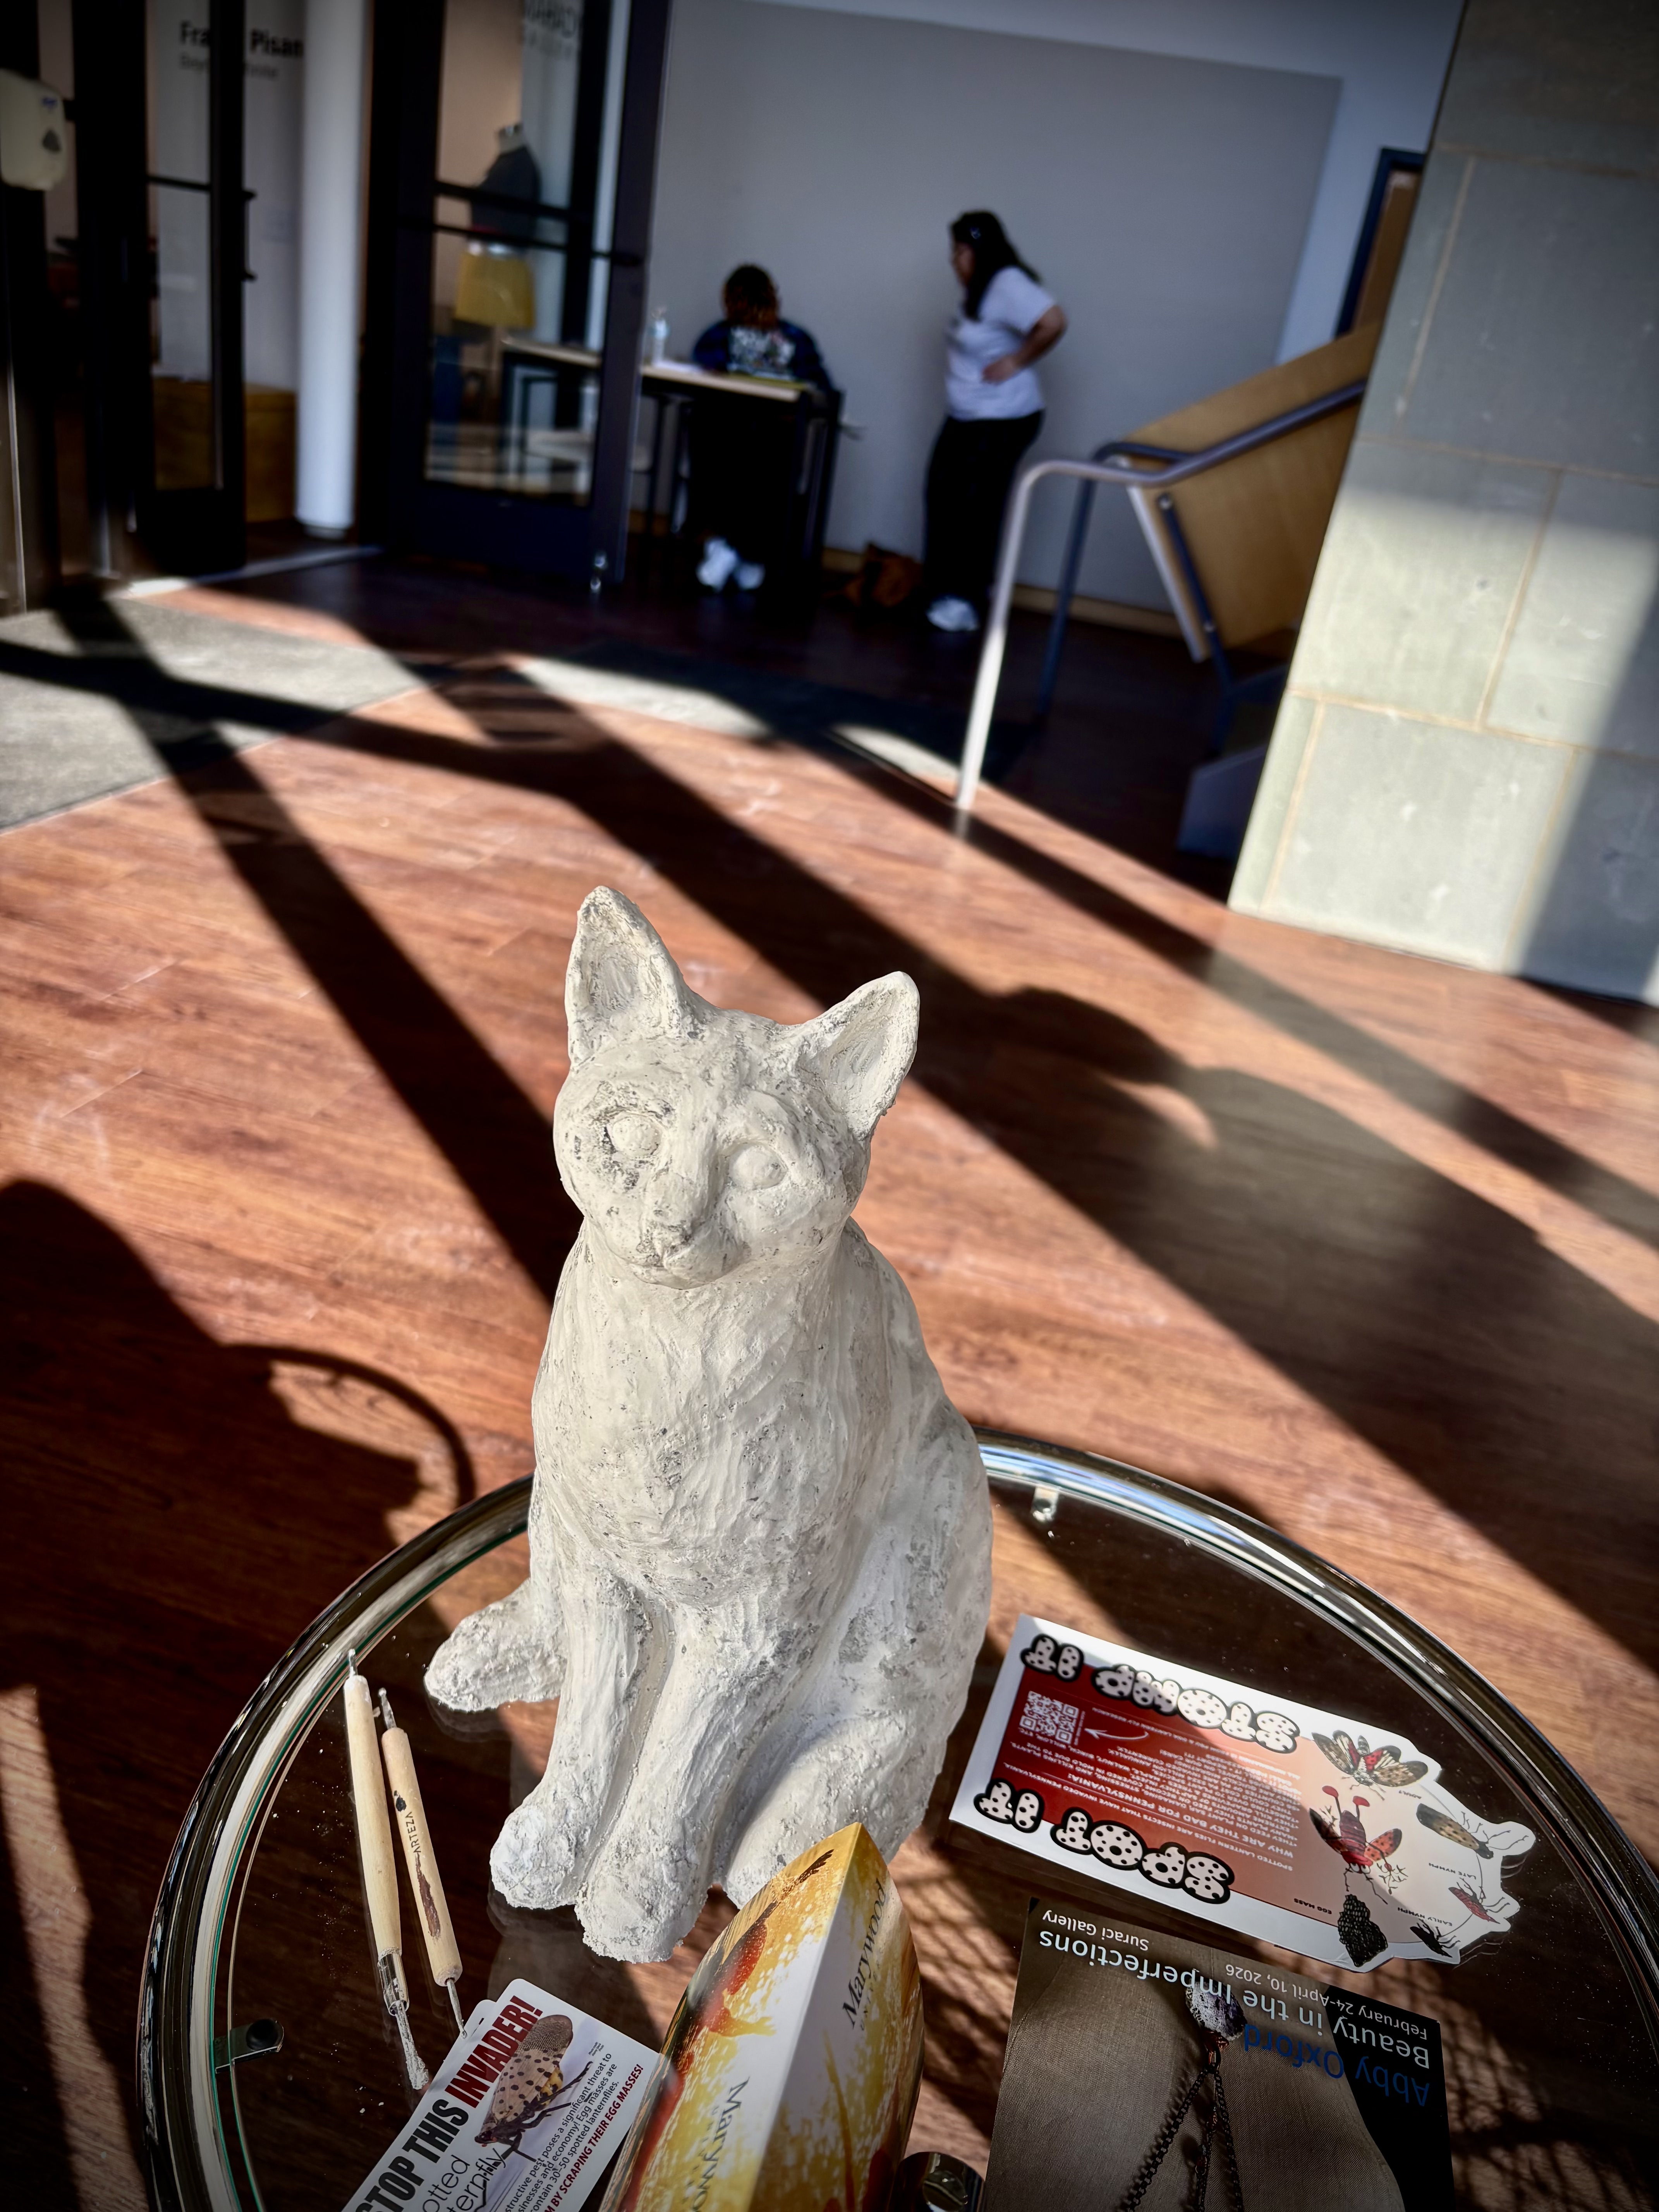
This is how the cat looked with a bit of carving done!
After a thorough sniff test, the muse approves of her image… I think.


I, of course, had to mess with it a little more before painting it. Tune in to my next blog to see the painted version of the cat!

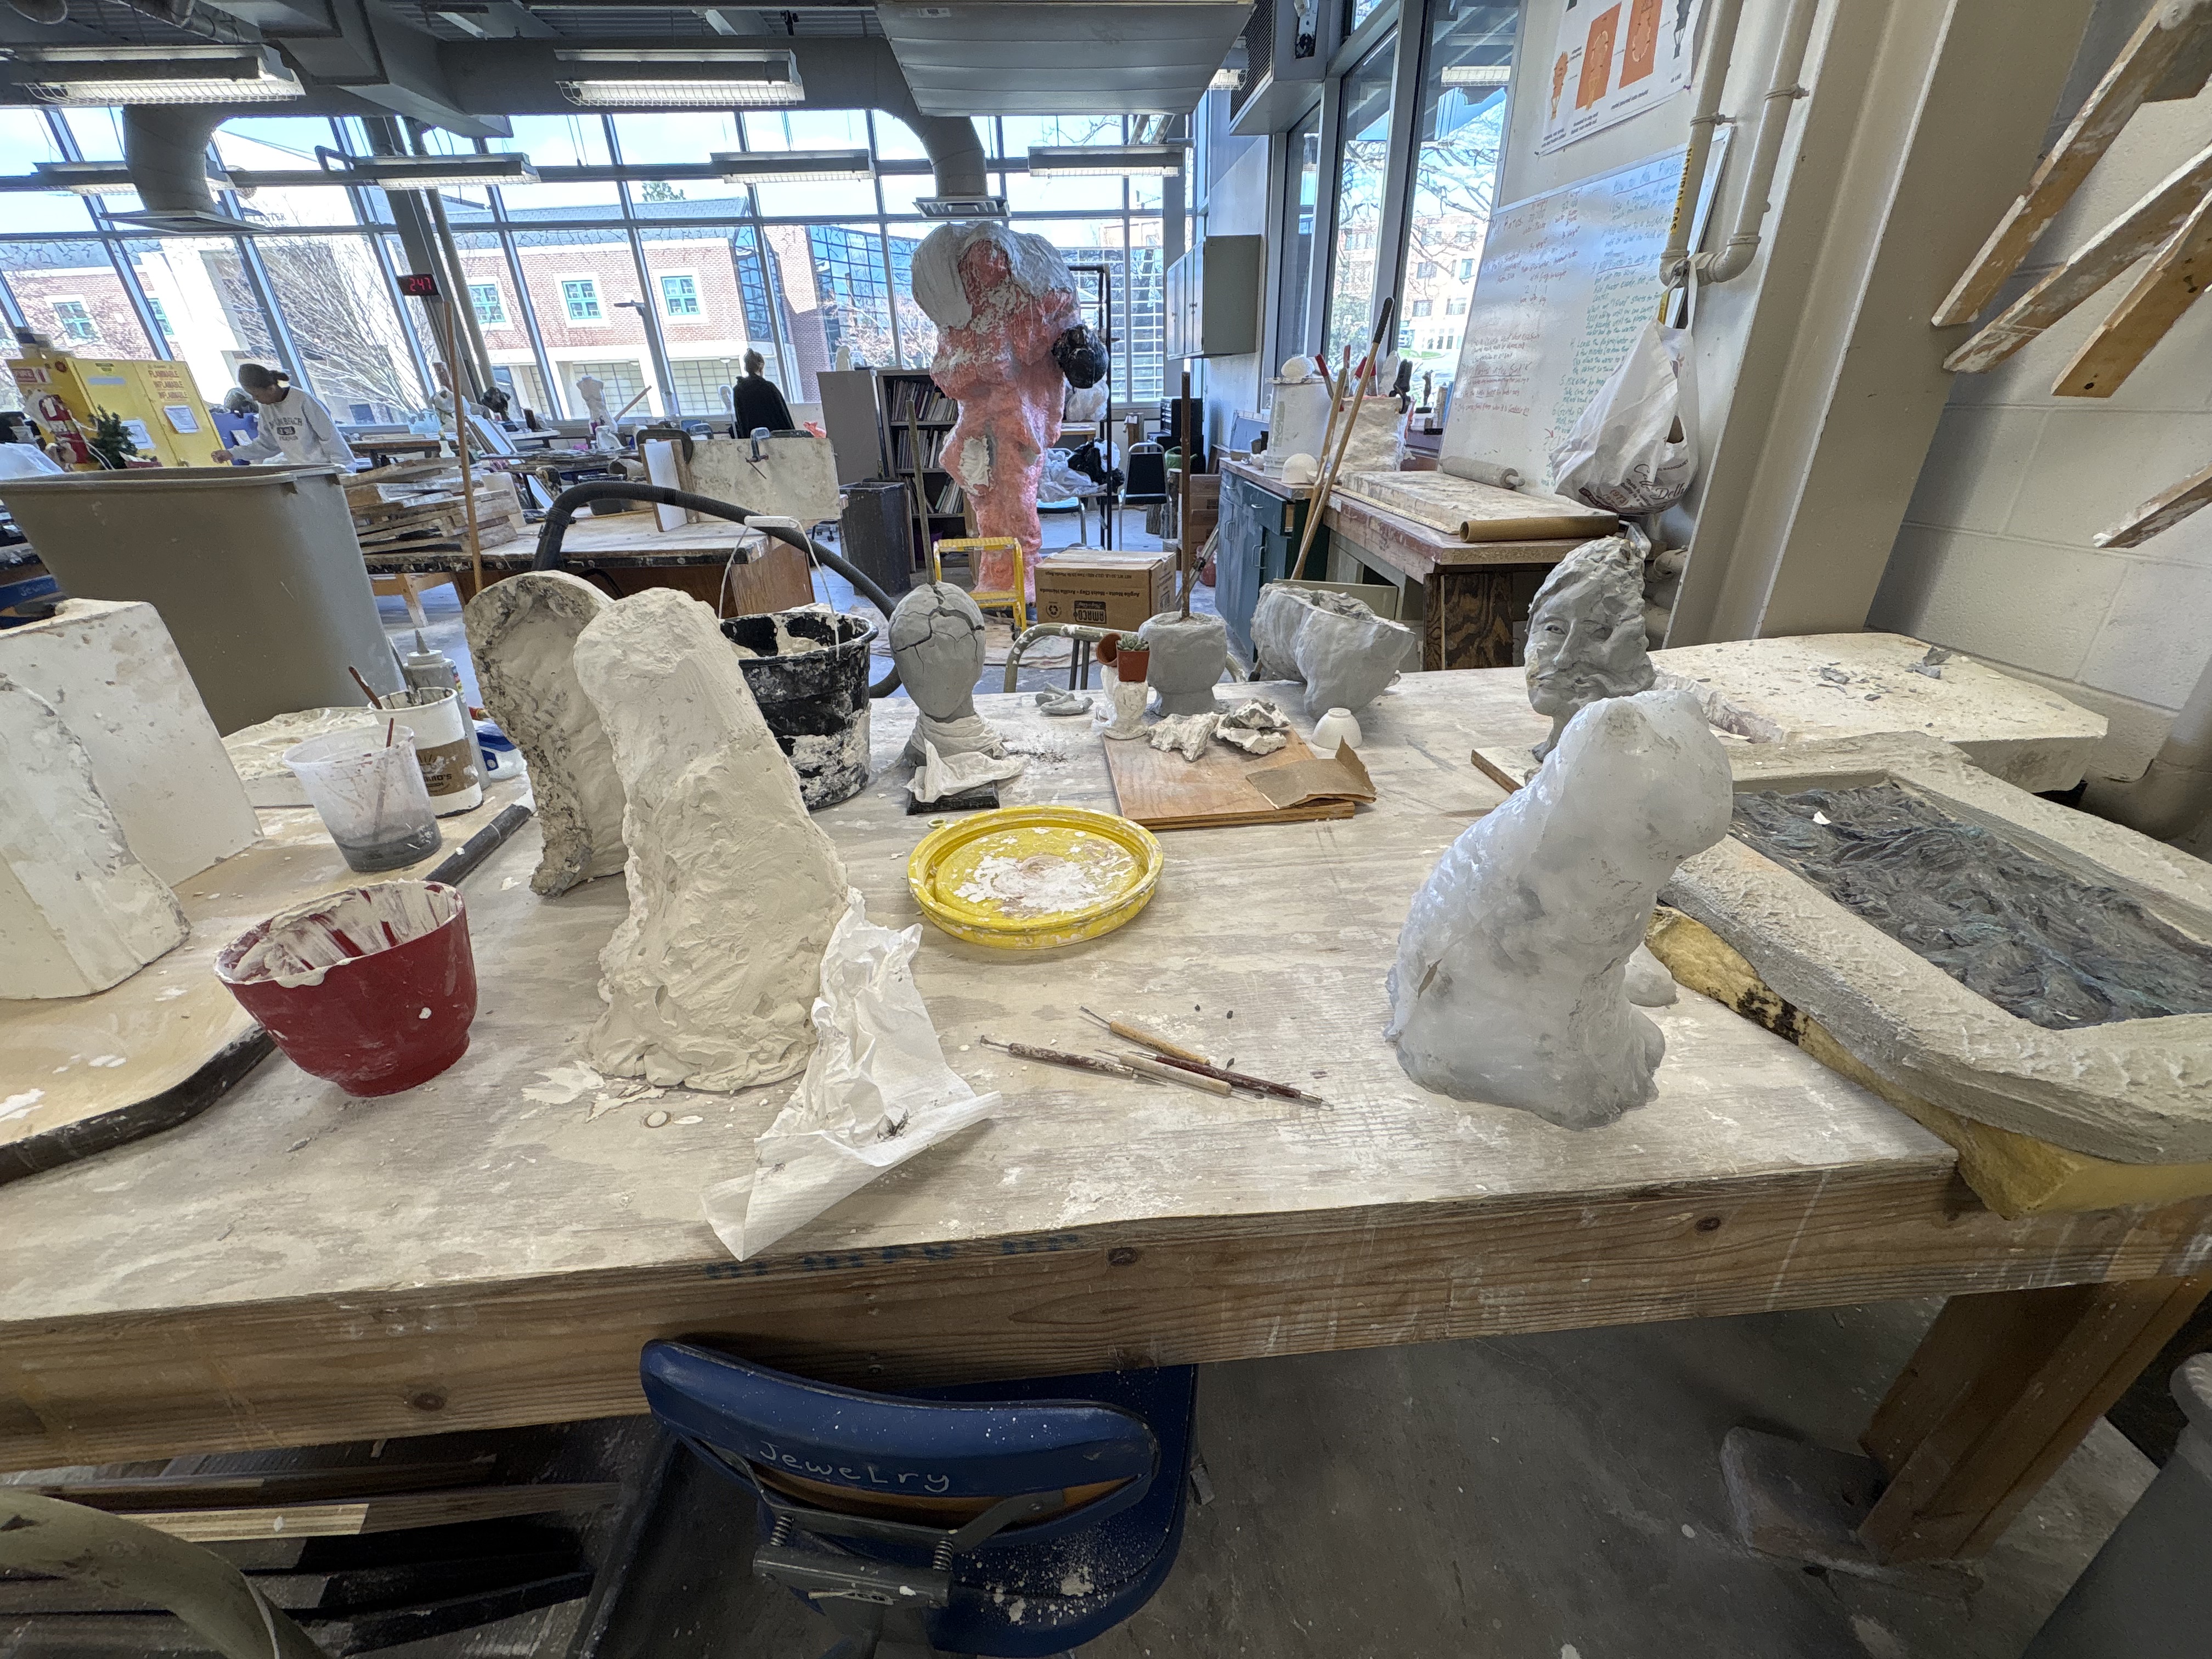
We leave off with a giant mess on my table. Will I be able to make something of this? We’ll find out soon.
More to come!