Recently, I’ve been seeing a lot of posts and videos online of “drip paintings” or “pour paintings.” With many graduation parties coming up, I thought it would be a good time to try it out myself (especially since they make great gifts!).
There are different techniques you can use to make a drip painting. For the method I chose, I picked my colors of acrylic paint. I choose black, white, two shades of gray, blue, and an aquamarine color. I layered the colors in the cup in no particular order. Then, using a mixing stick, I swirled the colors together.
After the colors are mixed together, that’s when you can pour the paint! I poured the cup full of paint on the canvas and began tilting the canvas so that the paint would spread and cover the entire canvas. Make sure you wear gloves, this part gets super messy!
After the canvas is covered, you need to let the canvas lay for a while to make sure all the excess paint is off the canvas.
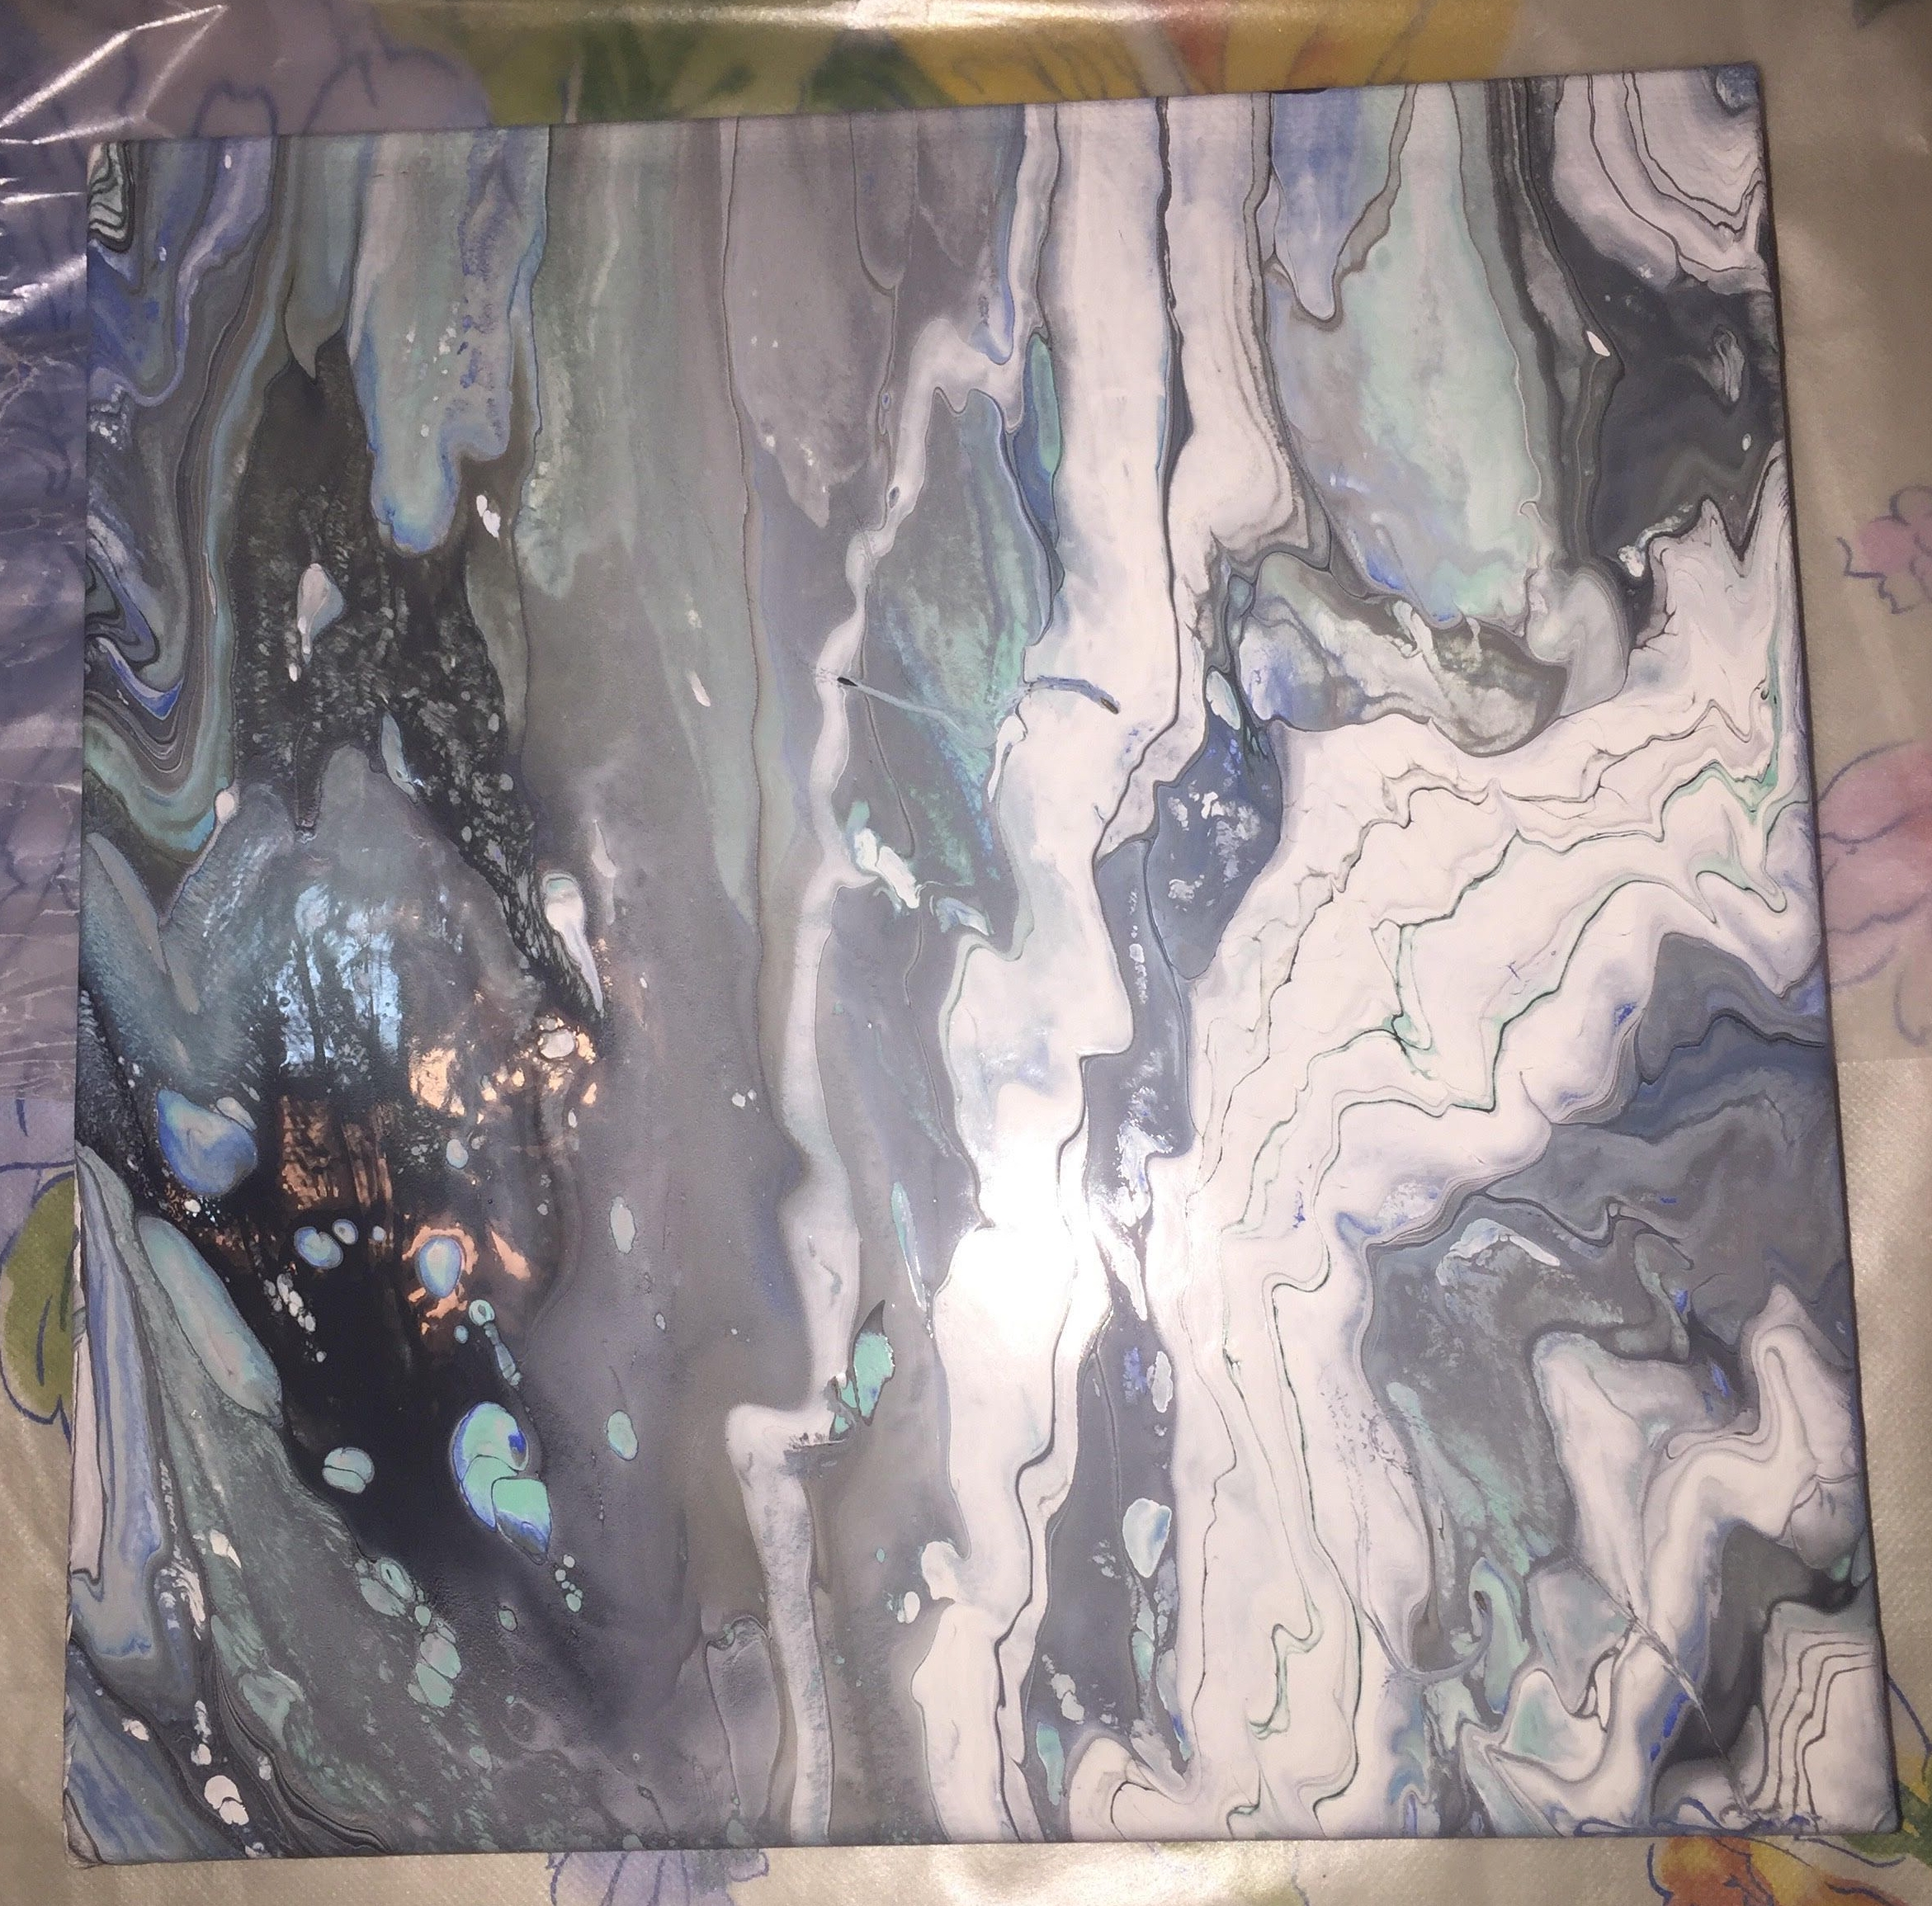 This was the finished product! I absolutely loved the way this turned out. It almost felt natural to me, in a way.
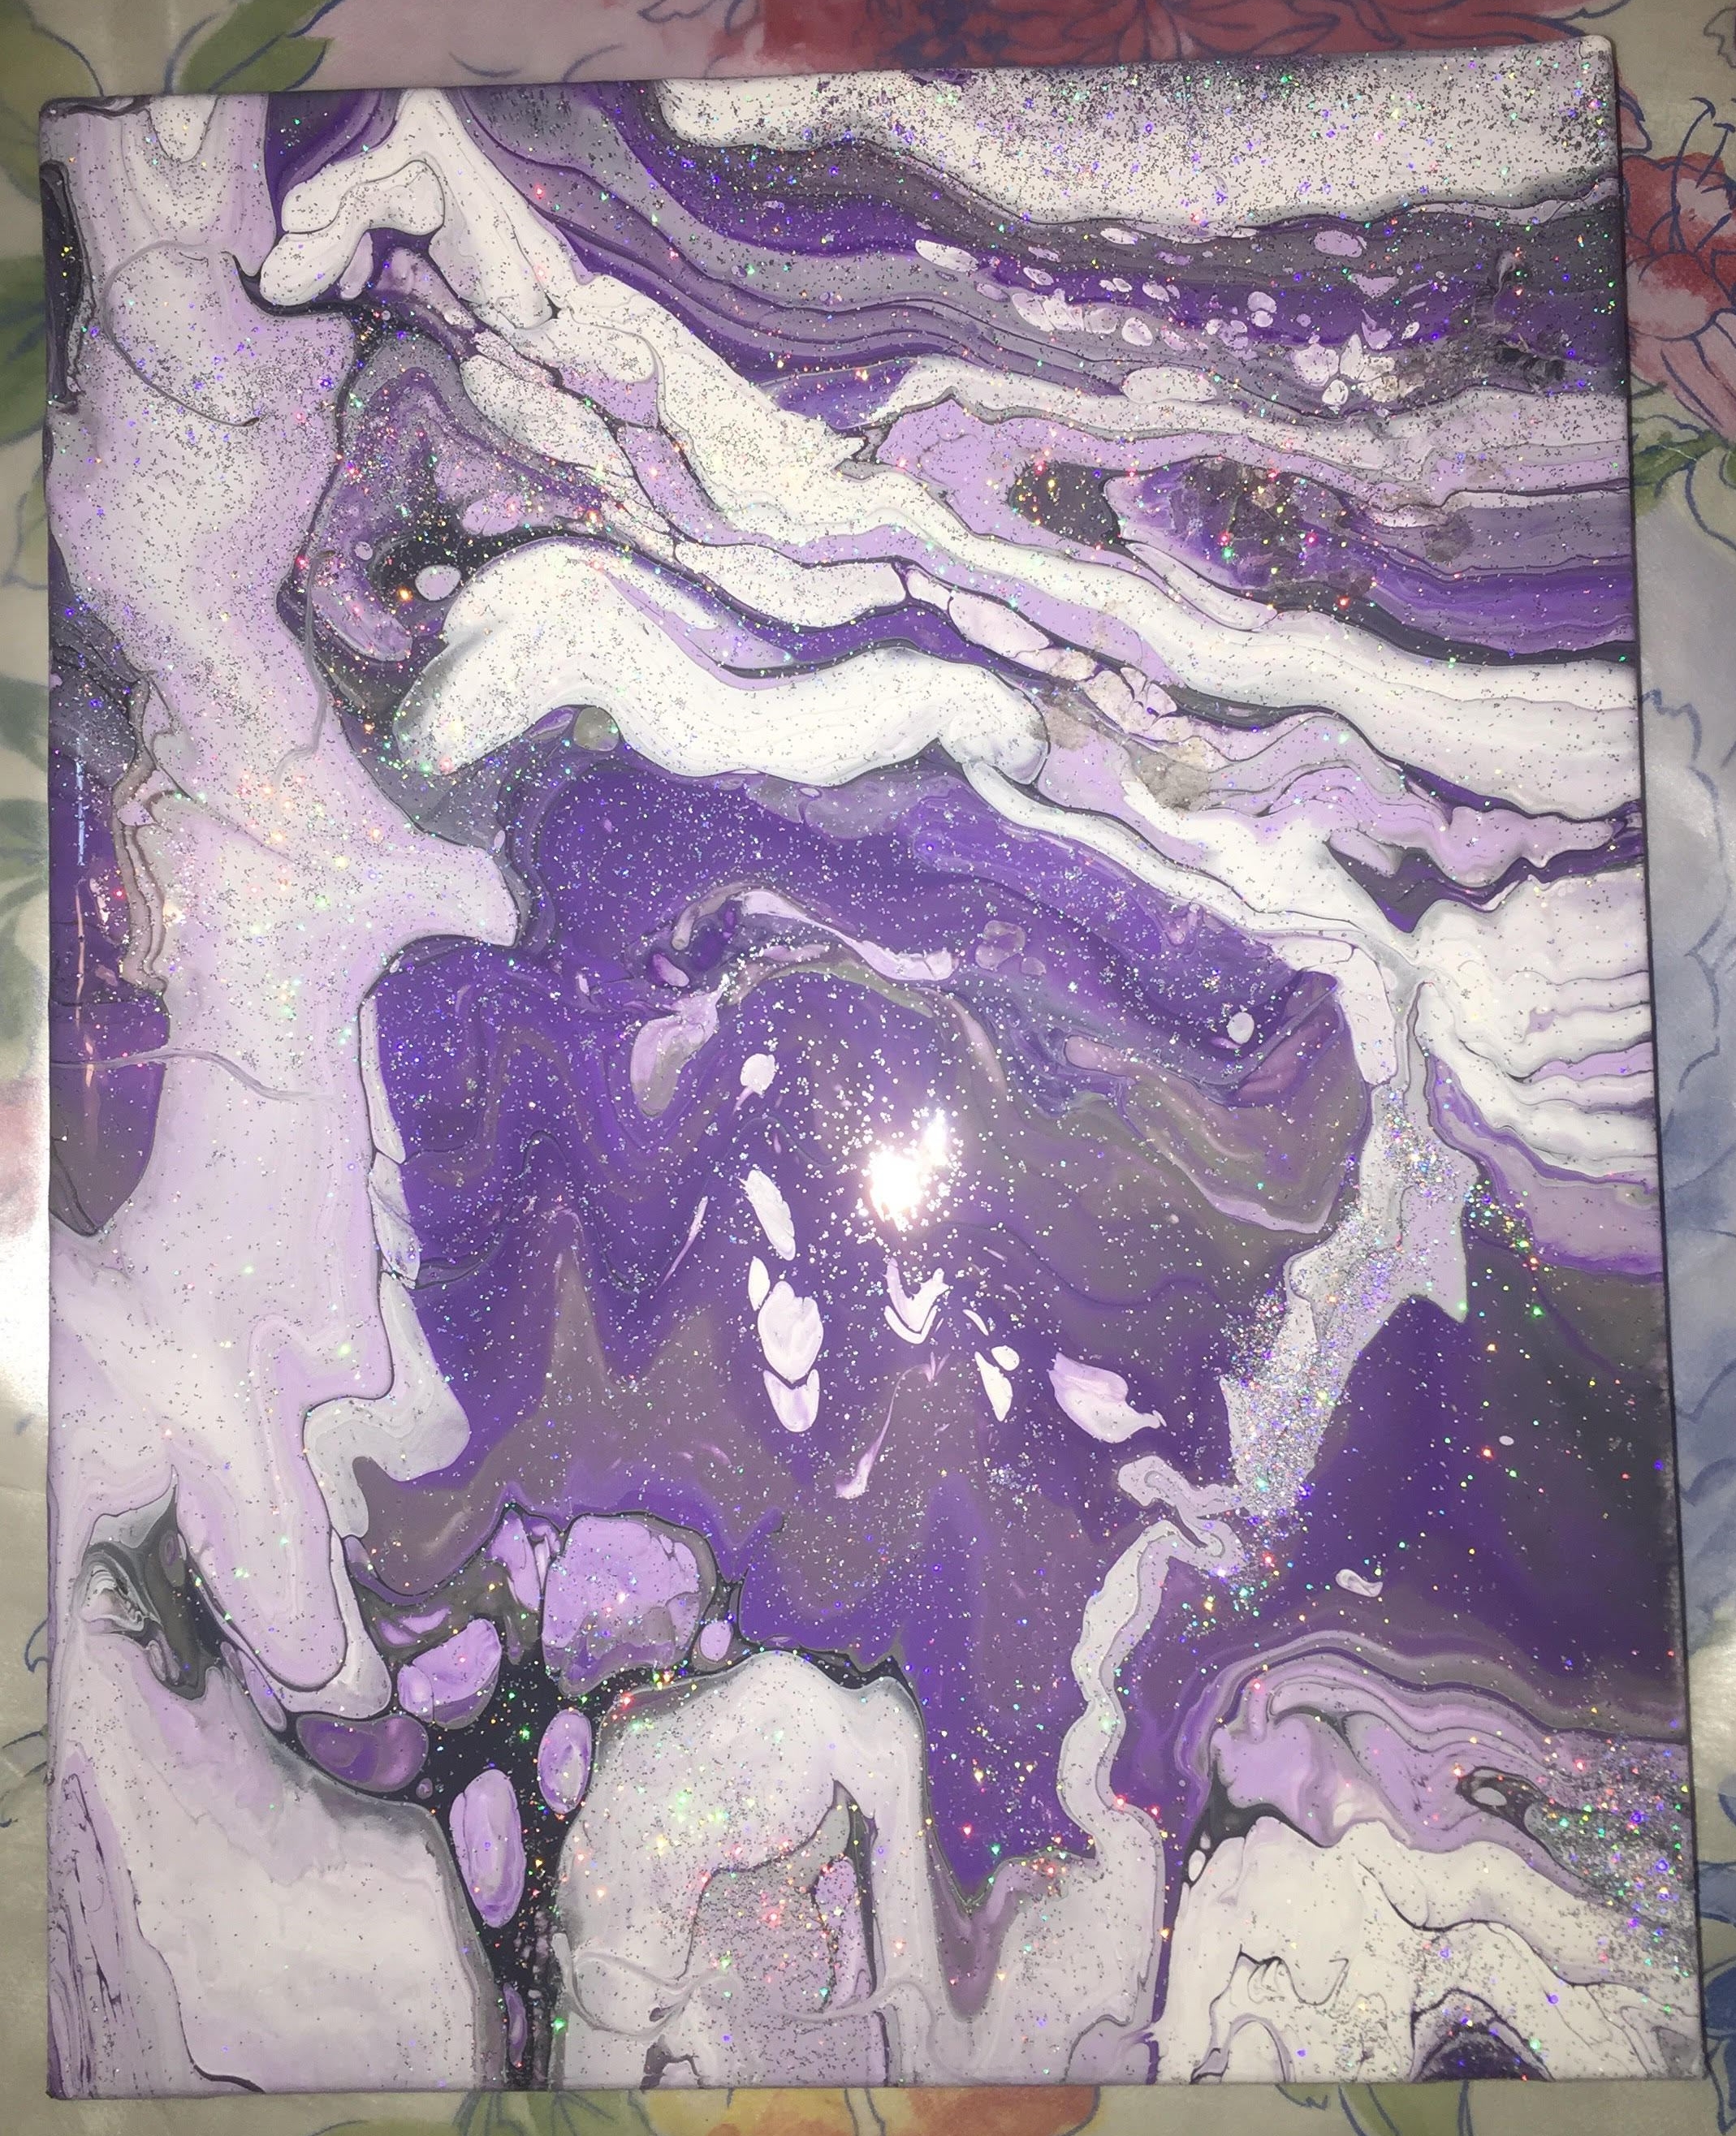
I ended up making another painting with the color purple. I tried adding glitter to this one for a little sparkle. I’m not sure how I feel about the glitter. However, my friend loved it, so I gave it to her as a graduation gift!
After doing some research on this process, I learned that sometimes artist will add silicone to the paint to create bubbles and unique designs, and then heat it so the bubbles pop. I would like to try this again using silicone in the future. Stay tuned!
Photo by Art by Lønfeldt on Unsplash