Hello and welcome back to the sculpture blog! If you haven’t read my first post, you can check it out here where I talk about and go through the steps of creating a paper mache replica of the famous painting The Scream by Edvard Munch.
For today, I figured I could show you a piece I was prompted to make by my ceramics work study teacher, Mark Chuck, which was to create my pet parakeet, Jack, representing his personality traits. For reference, here’s two photos of the little guy.

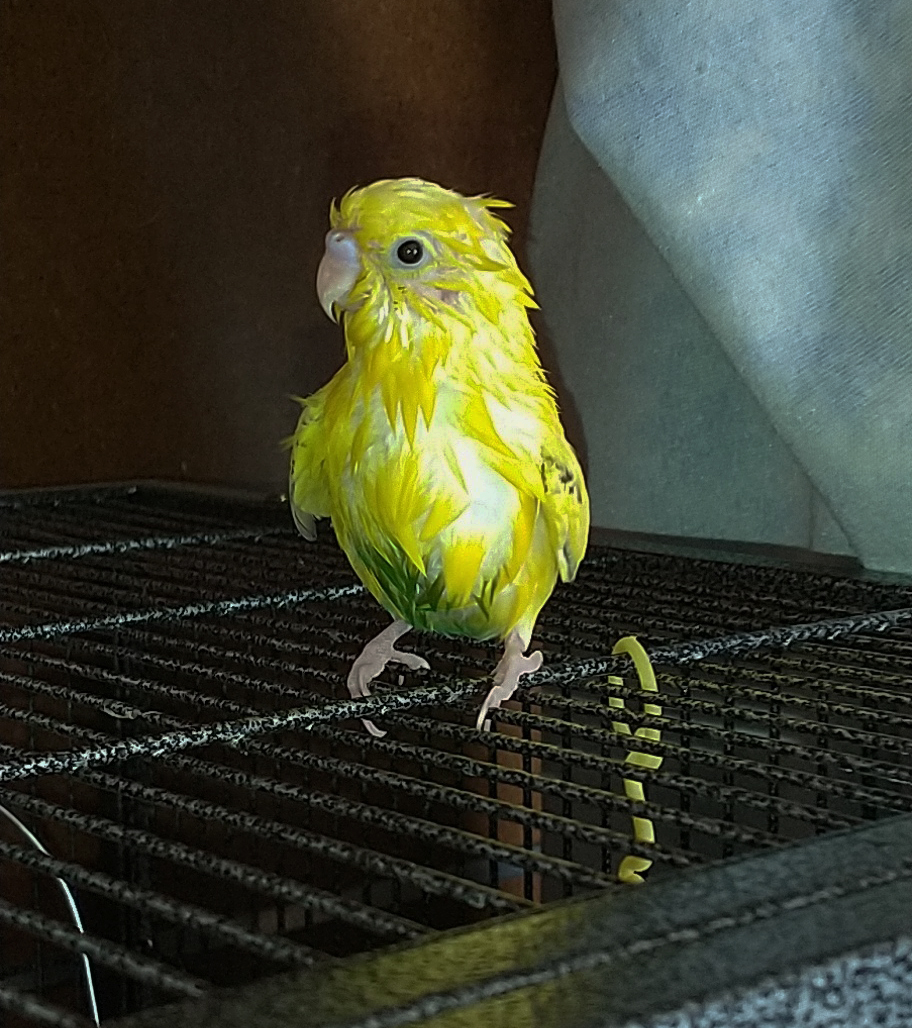
He may at first look like a cute little bugger, but I can assure you he is a vicious man. That sharp beak can easily penetrate skin, not to mention the lungs on this unit. He is loud and won’t let you forget it. I still feel bad for my classmates and teachers that had to deal with his voice during online learning.
Anyways, I was set to start making him. Now, I don’t have many pictures of the beginning process, but I can say that it took me a bit to figure out his shape properly, especially because I was forbidden from using a reference photo.

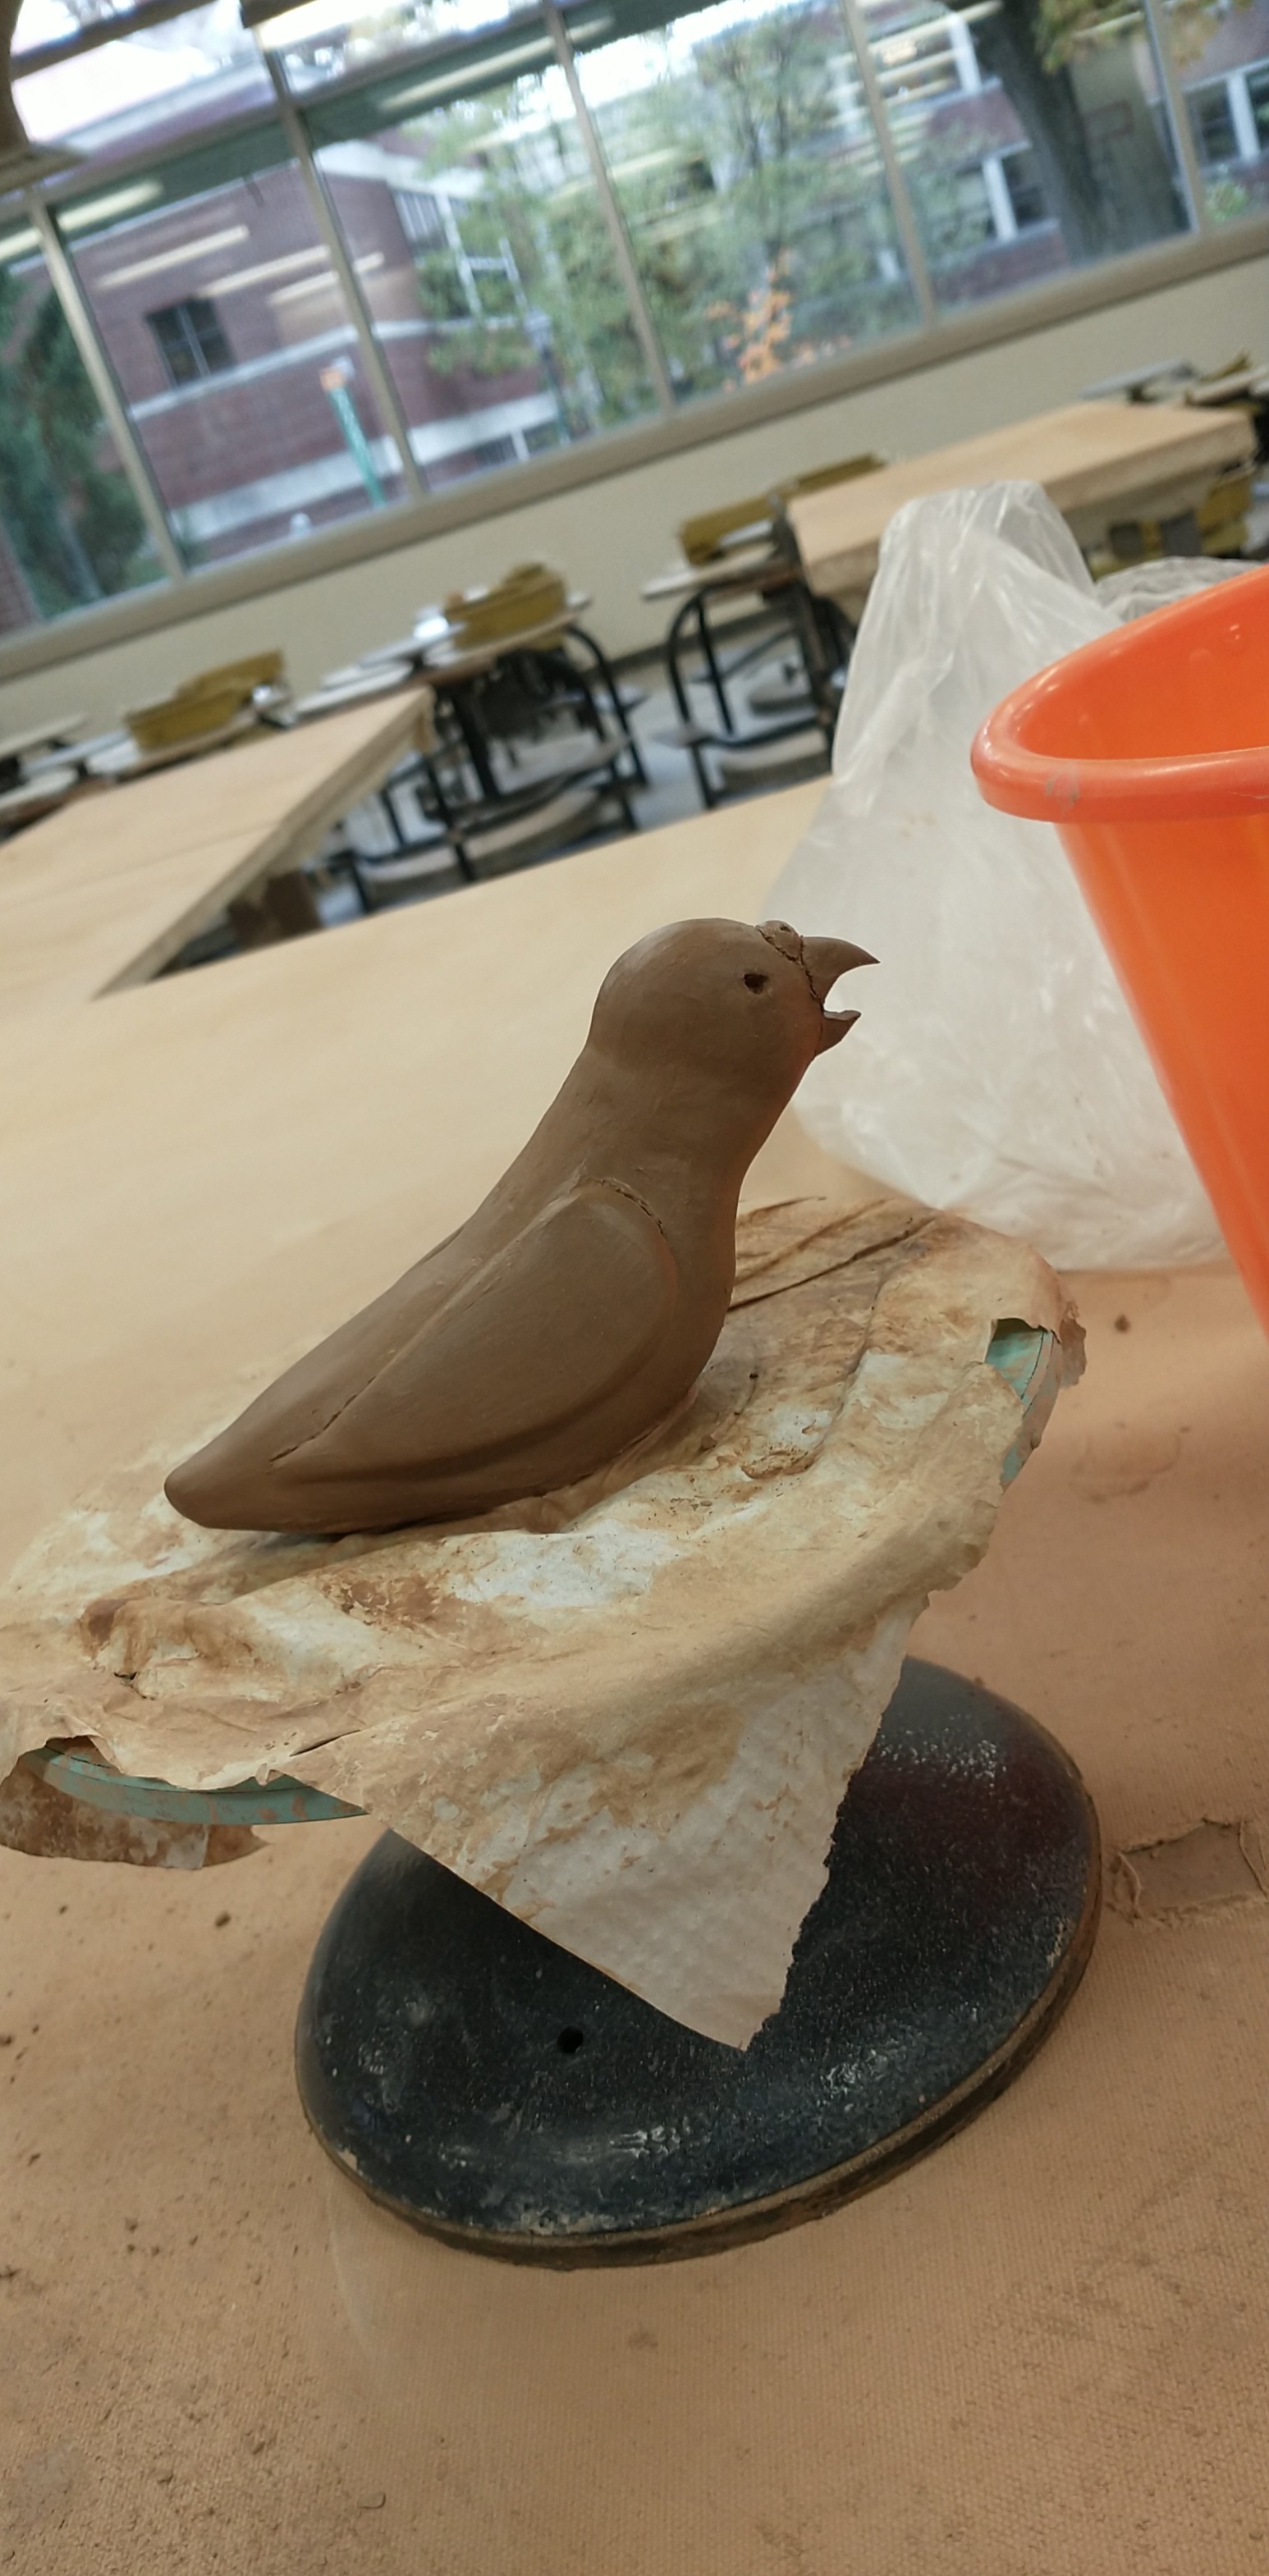

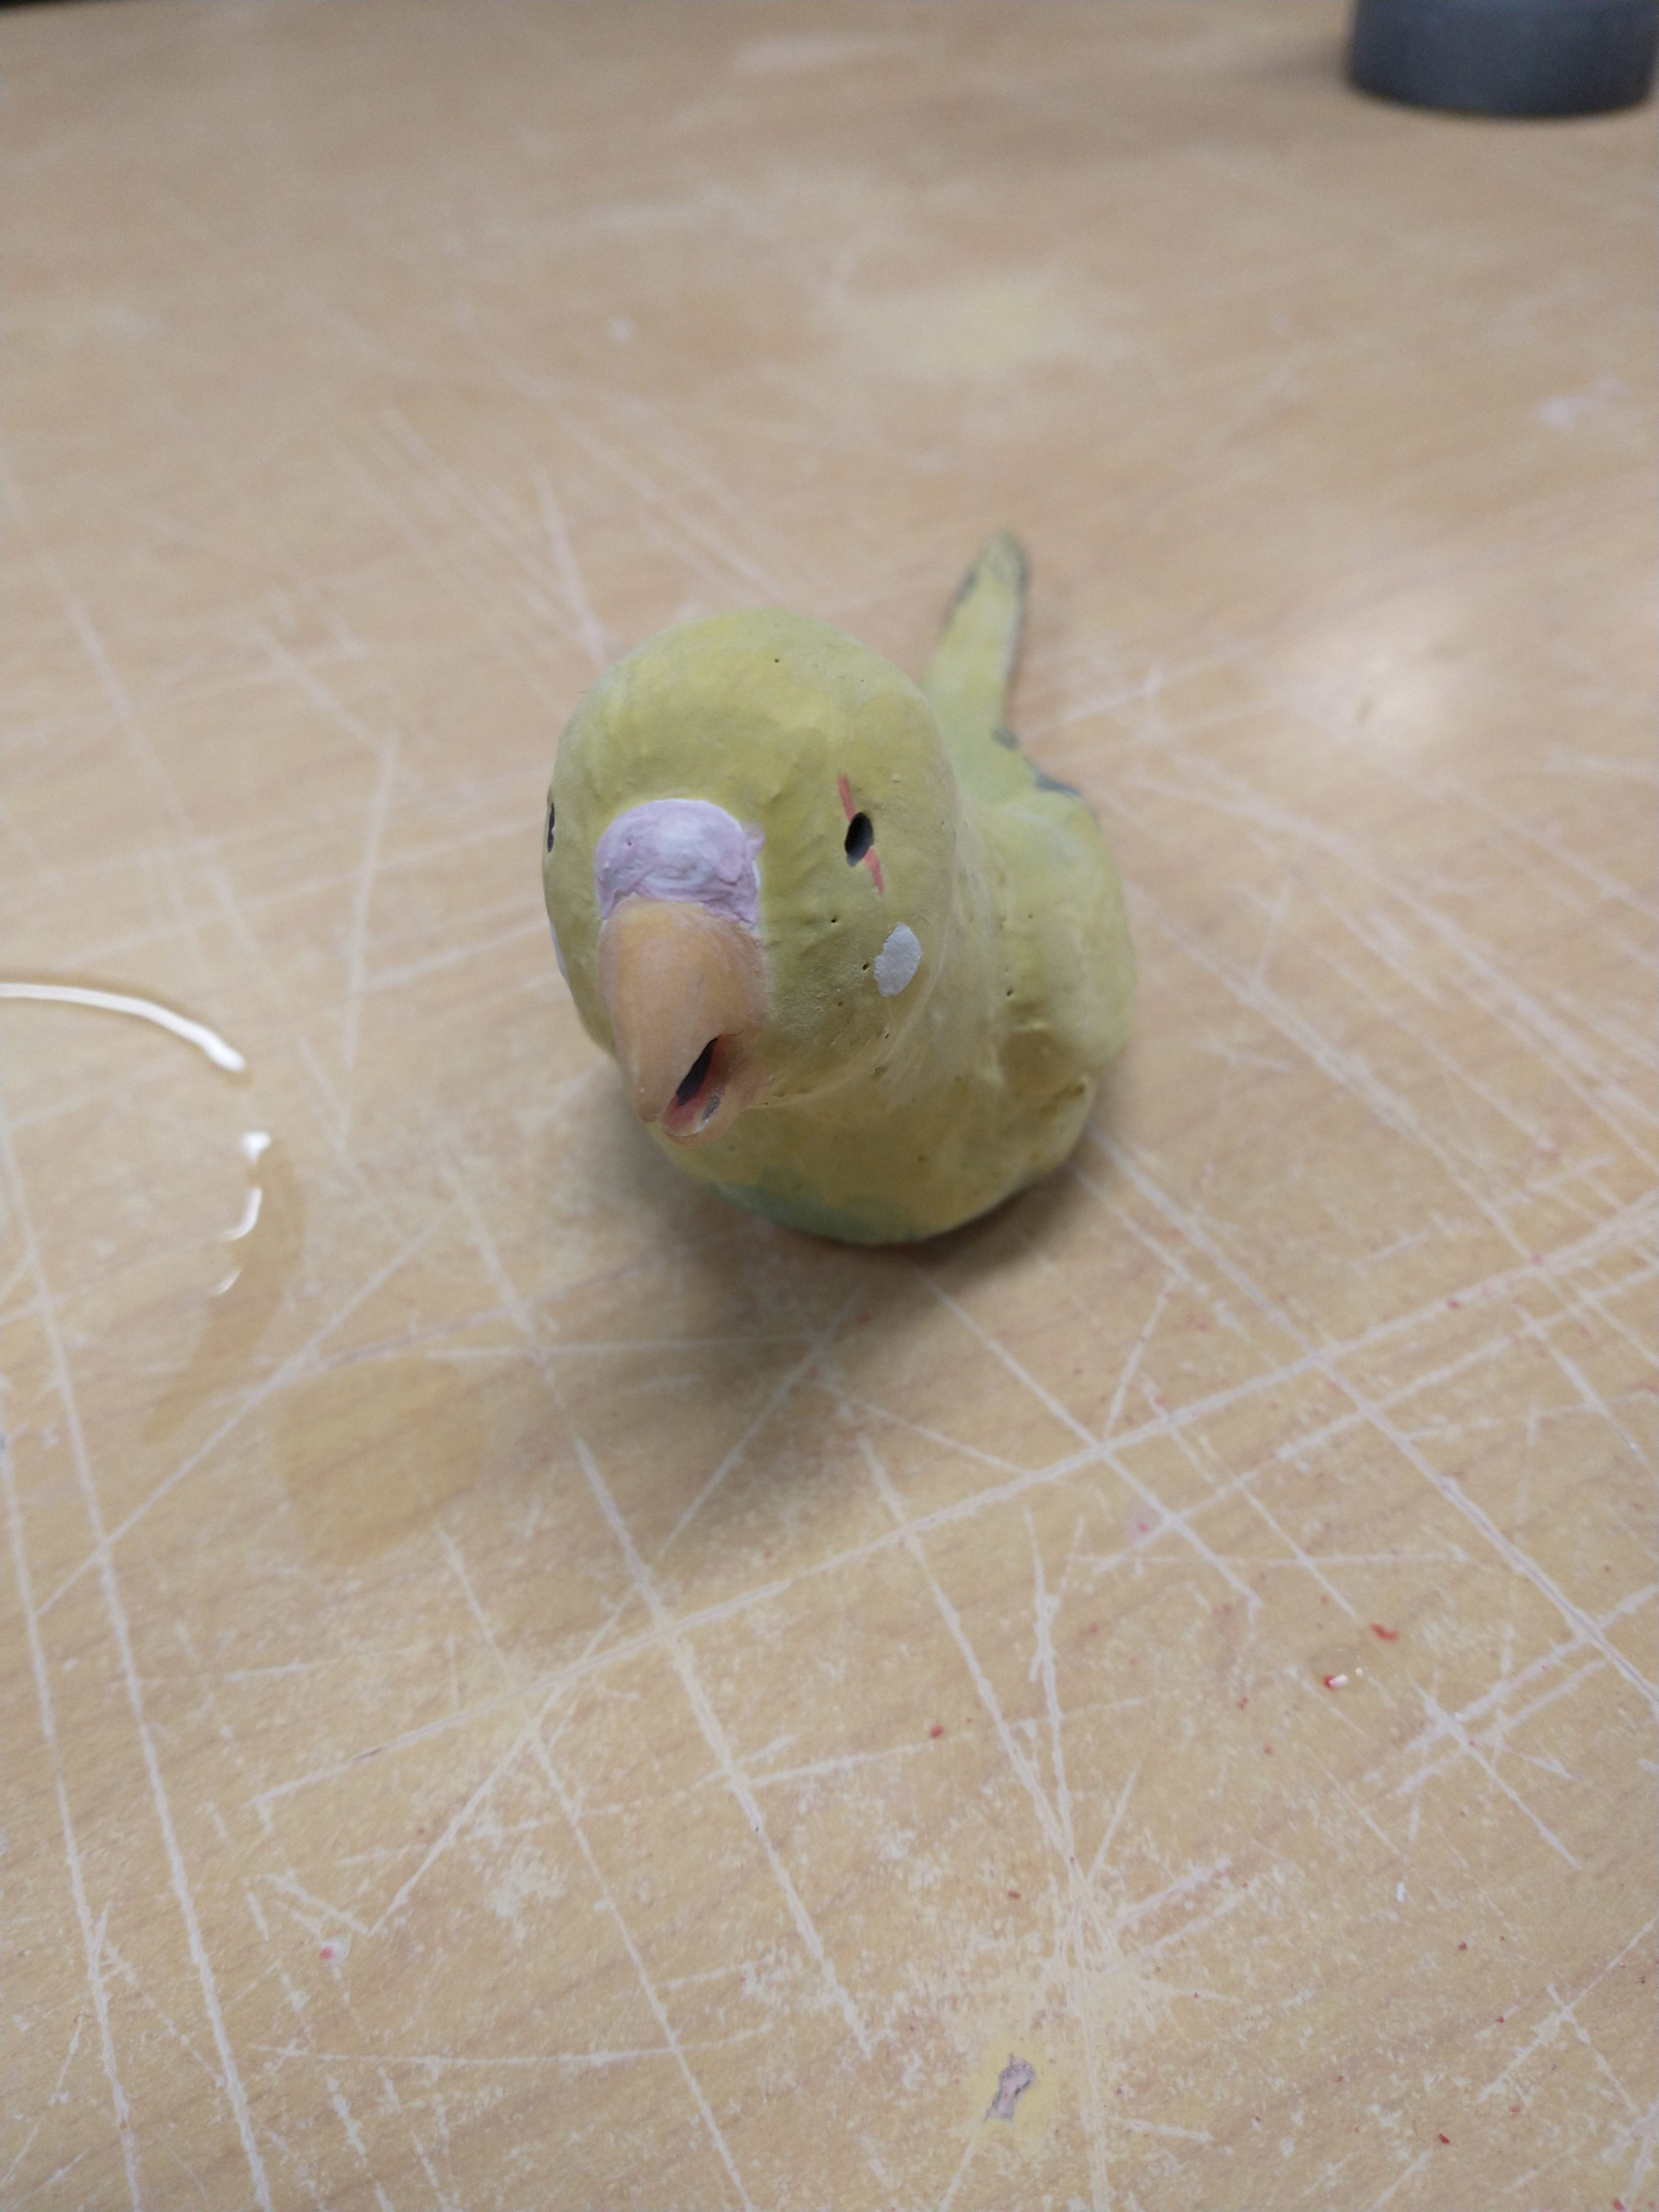
While making this, I had to contemplate how I was going to go about the tail. Parakeet tails are long and thin, they are made up only by a couple long feathers. This what going to be difficult because long and thin in ceramics usually equals a broken piece, so, I left his tail for last so future me can deal with it. My favorite part of making him was his beak. I formed both parts separately from his body. To do this, I attached them to my fingernails. This allowed me a lot of free movement to form and scrape his beak into the perfect shape, and I am extremely pleased with the results.
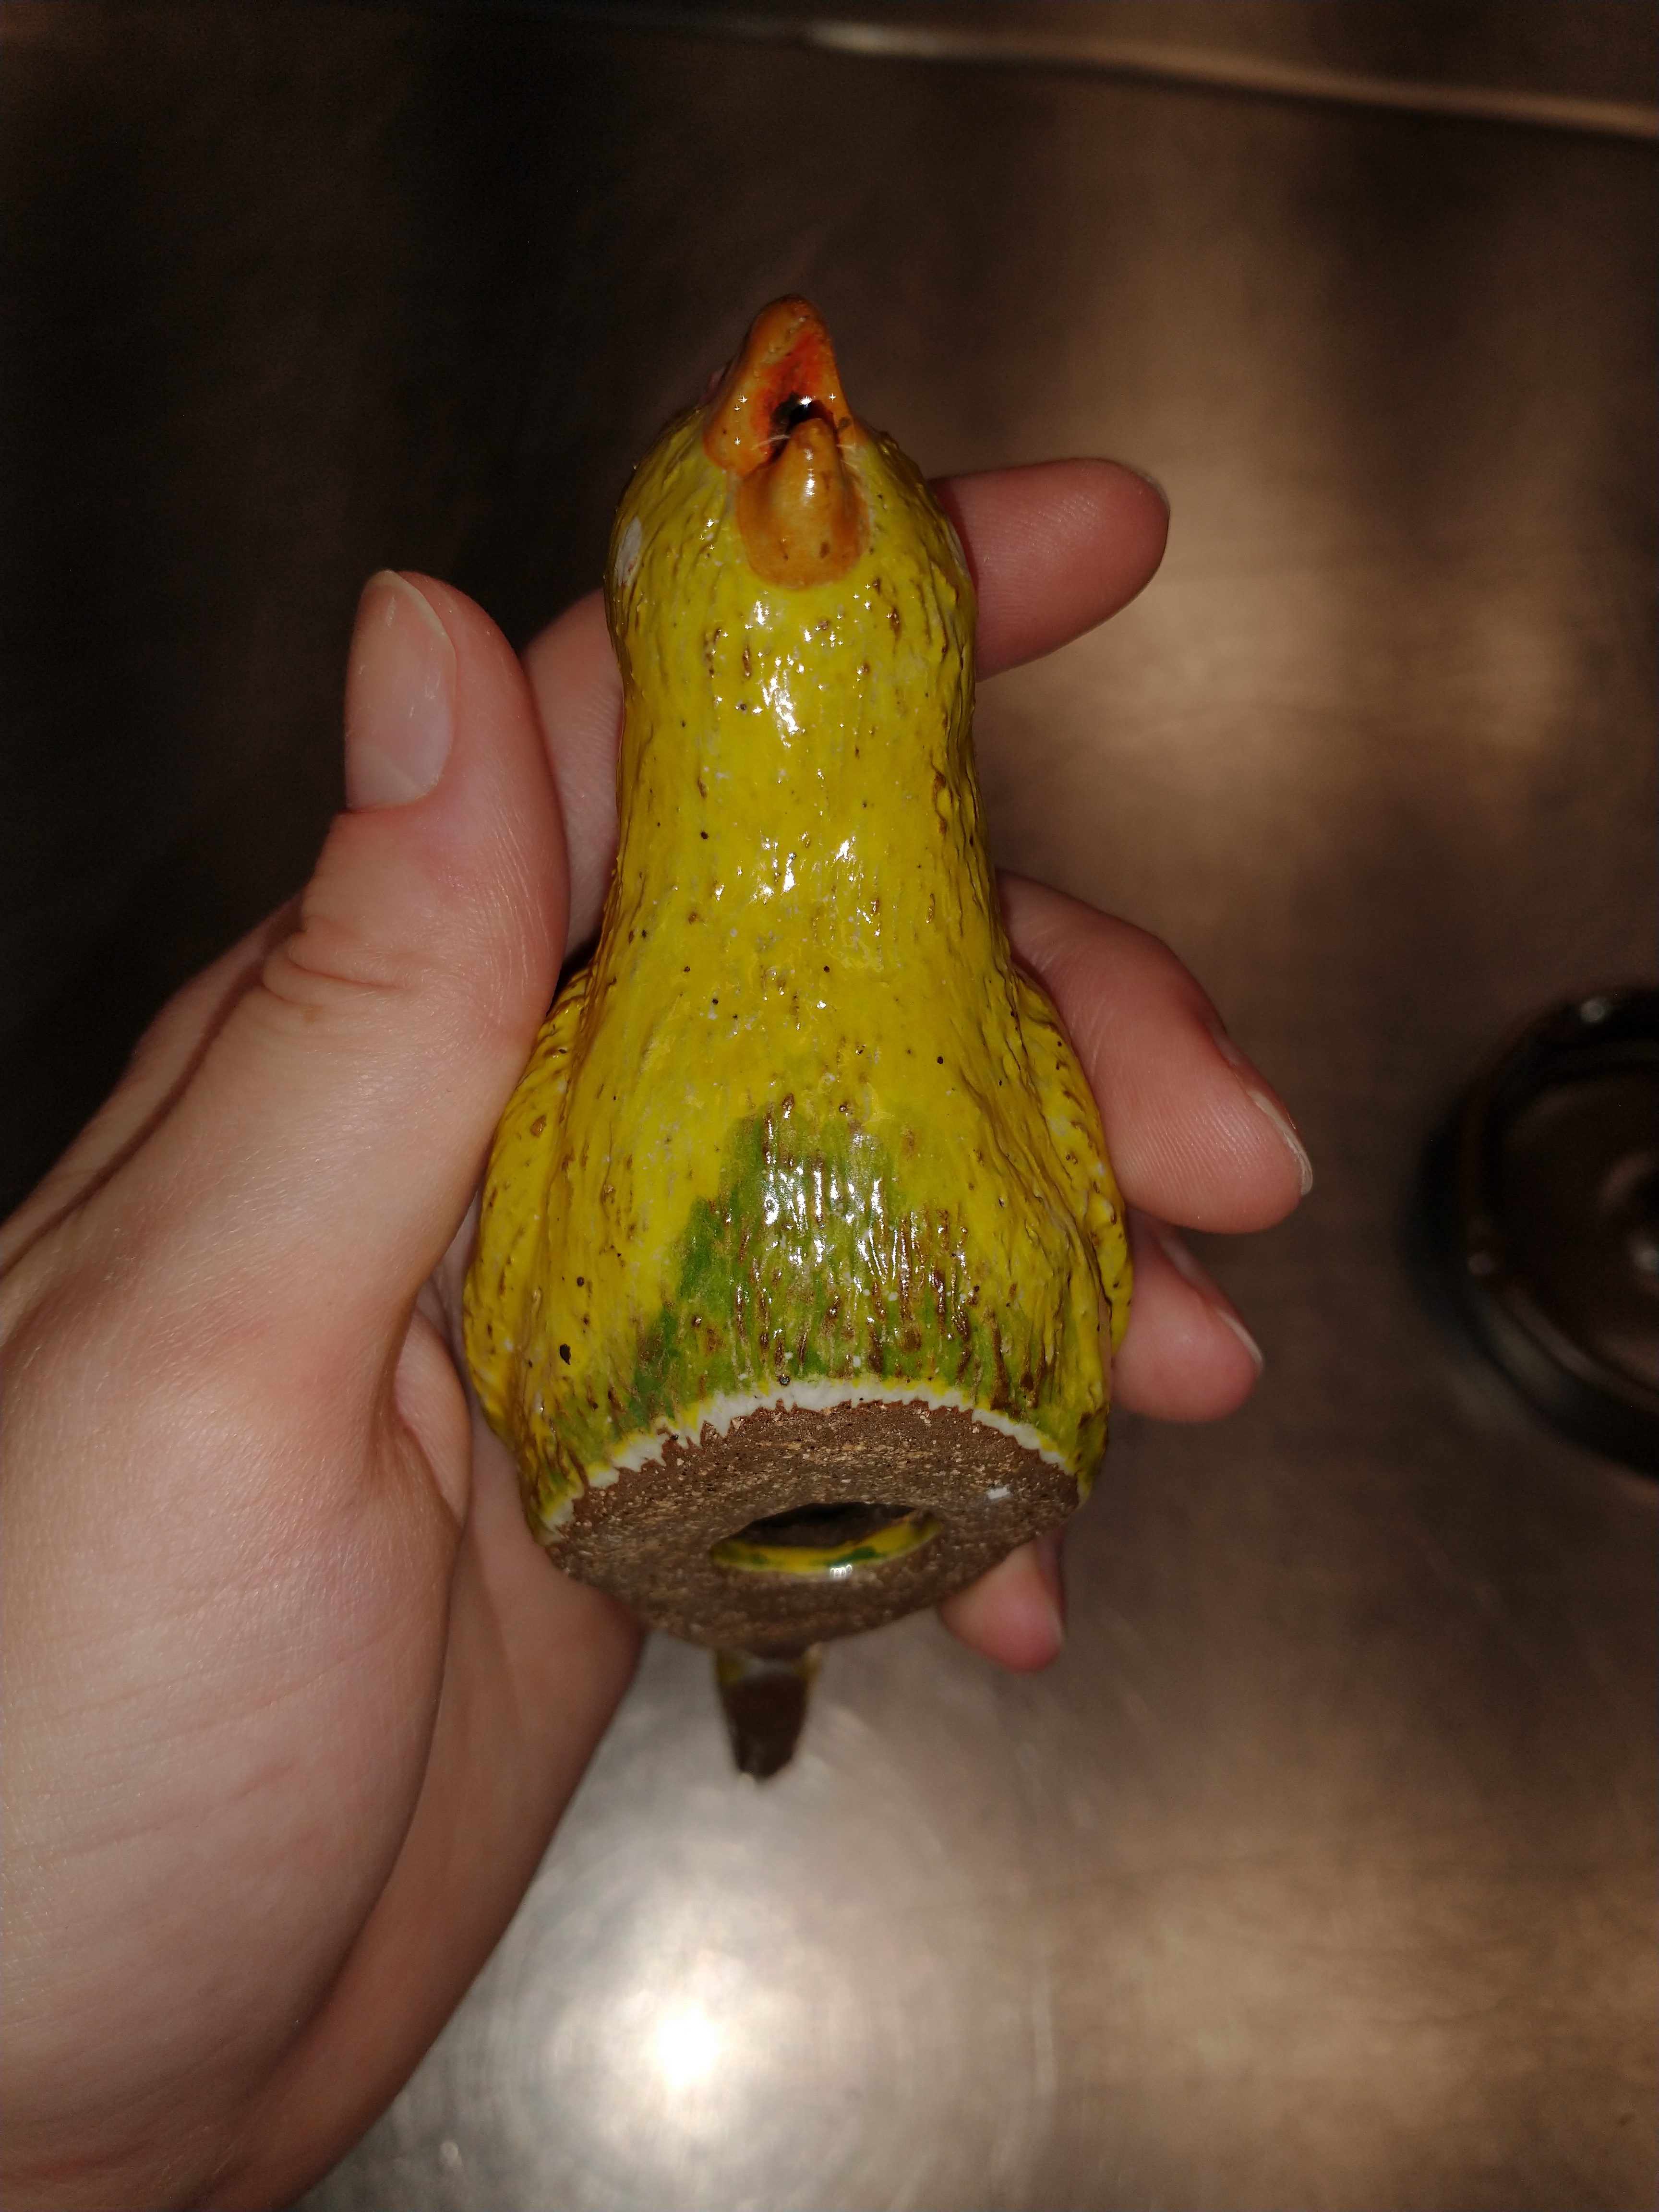
After these photos, it was time for me to empty his insides so he didn’t blow up in the kiln. His body was easy, I just had to make a small hole in his bottom and finger him out. The head was a different story though, I couldn’t reach it from the bottom without risking complete penetration so I was forced to decapitate him. This was very sad and nerve-racking, especially because I didn’t want to ruin his perfect beak, fortunately I did it successfully and re-attached his head.
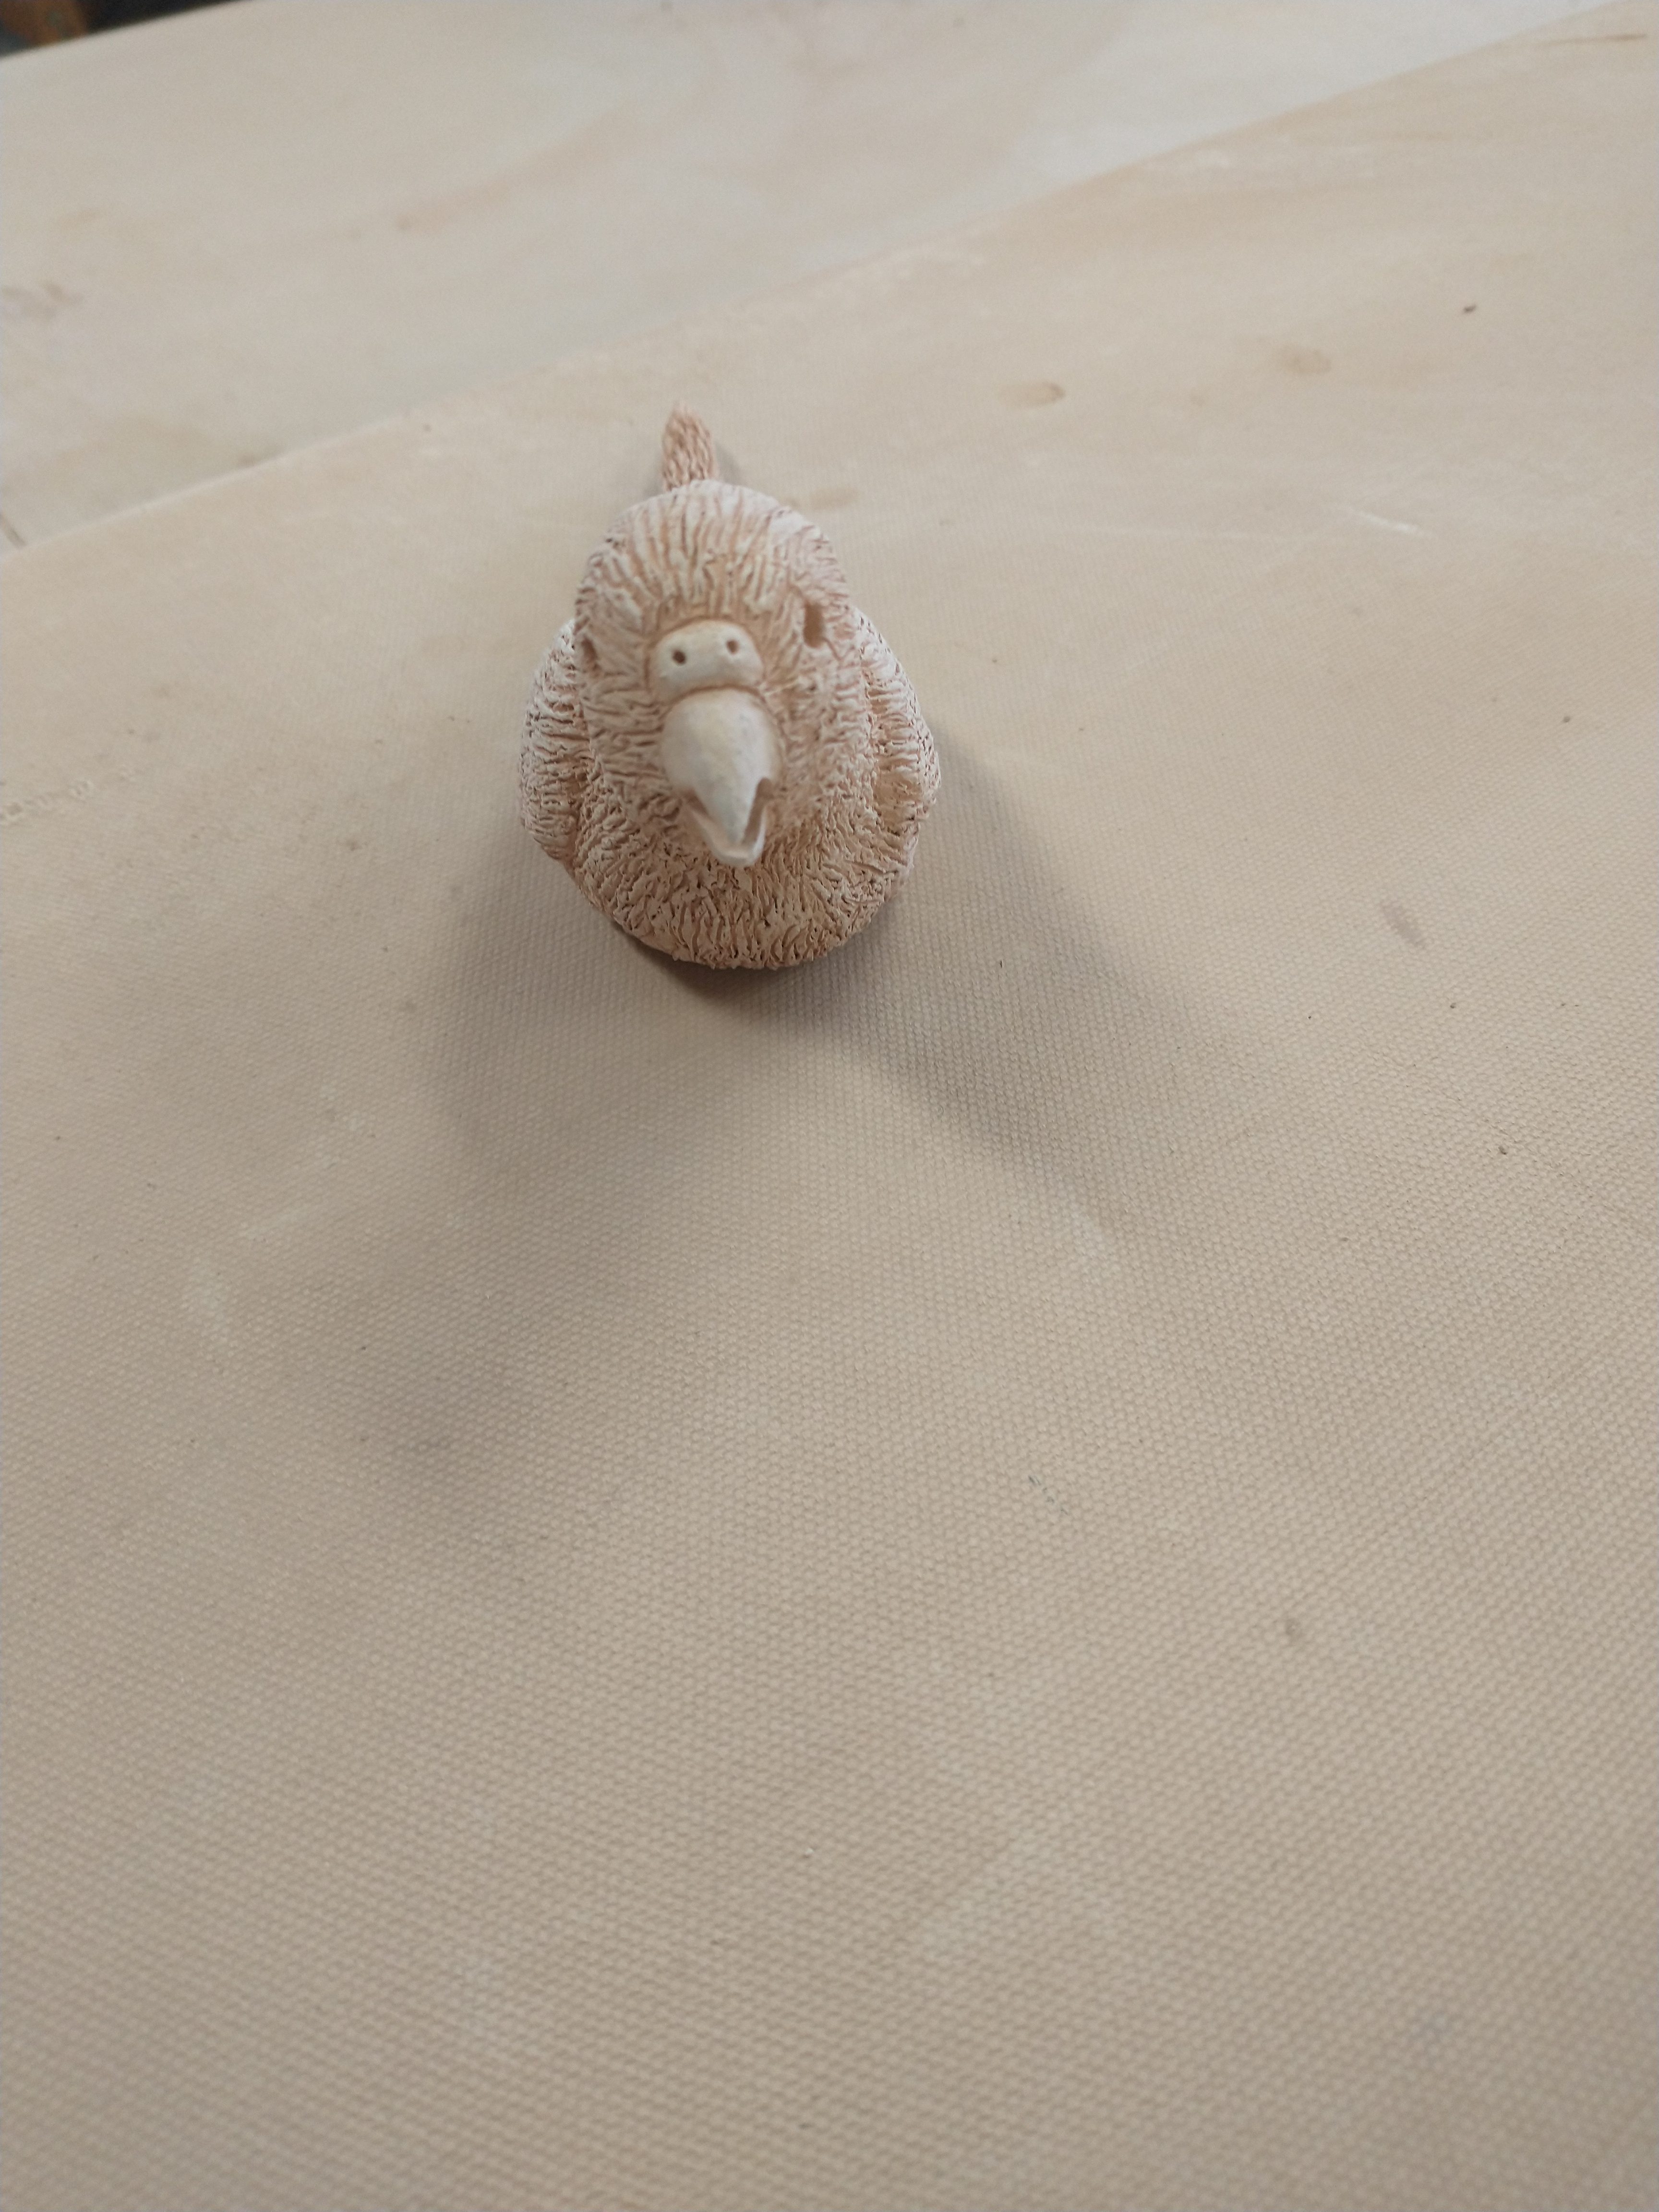
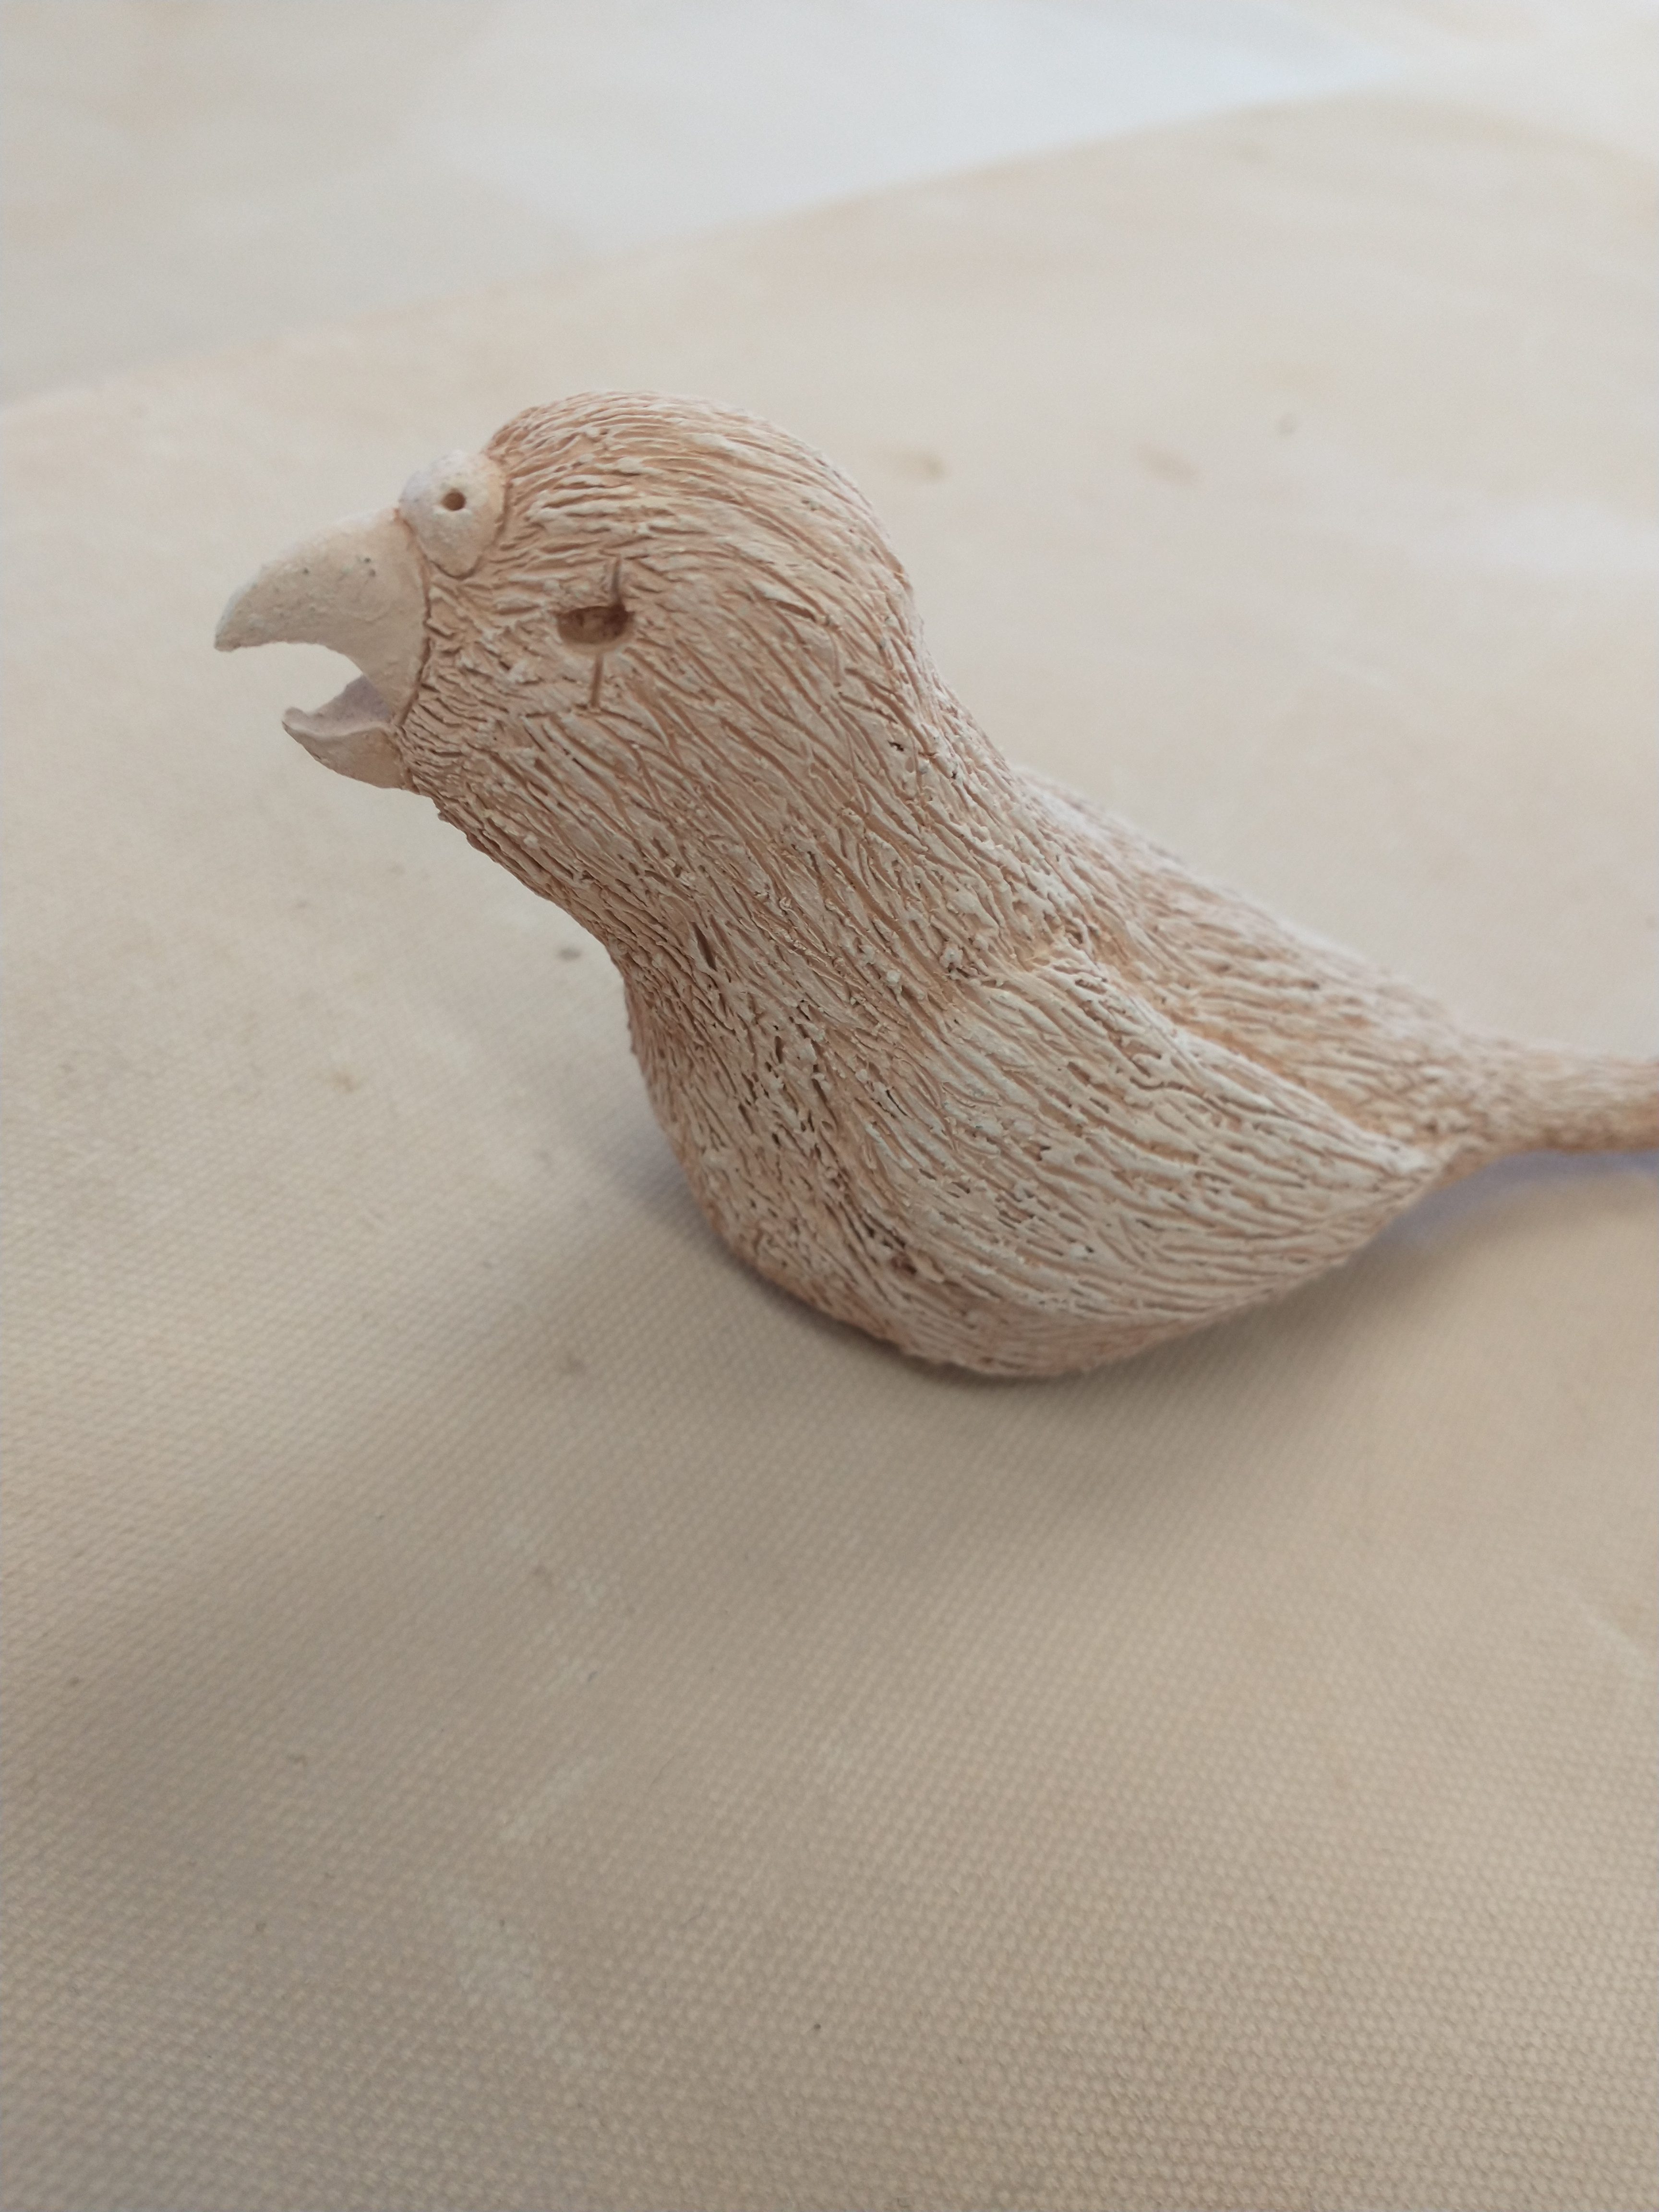
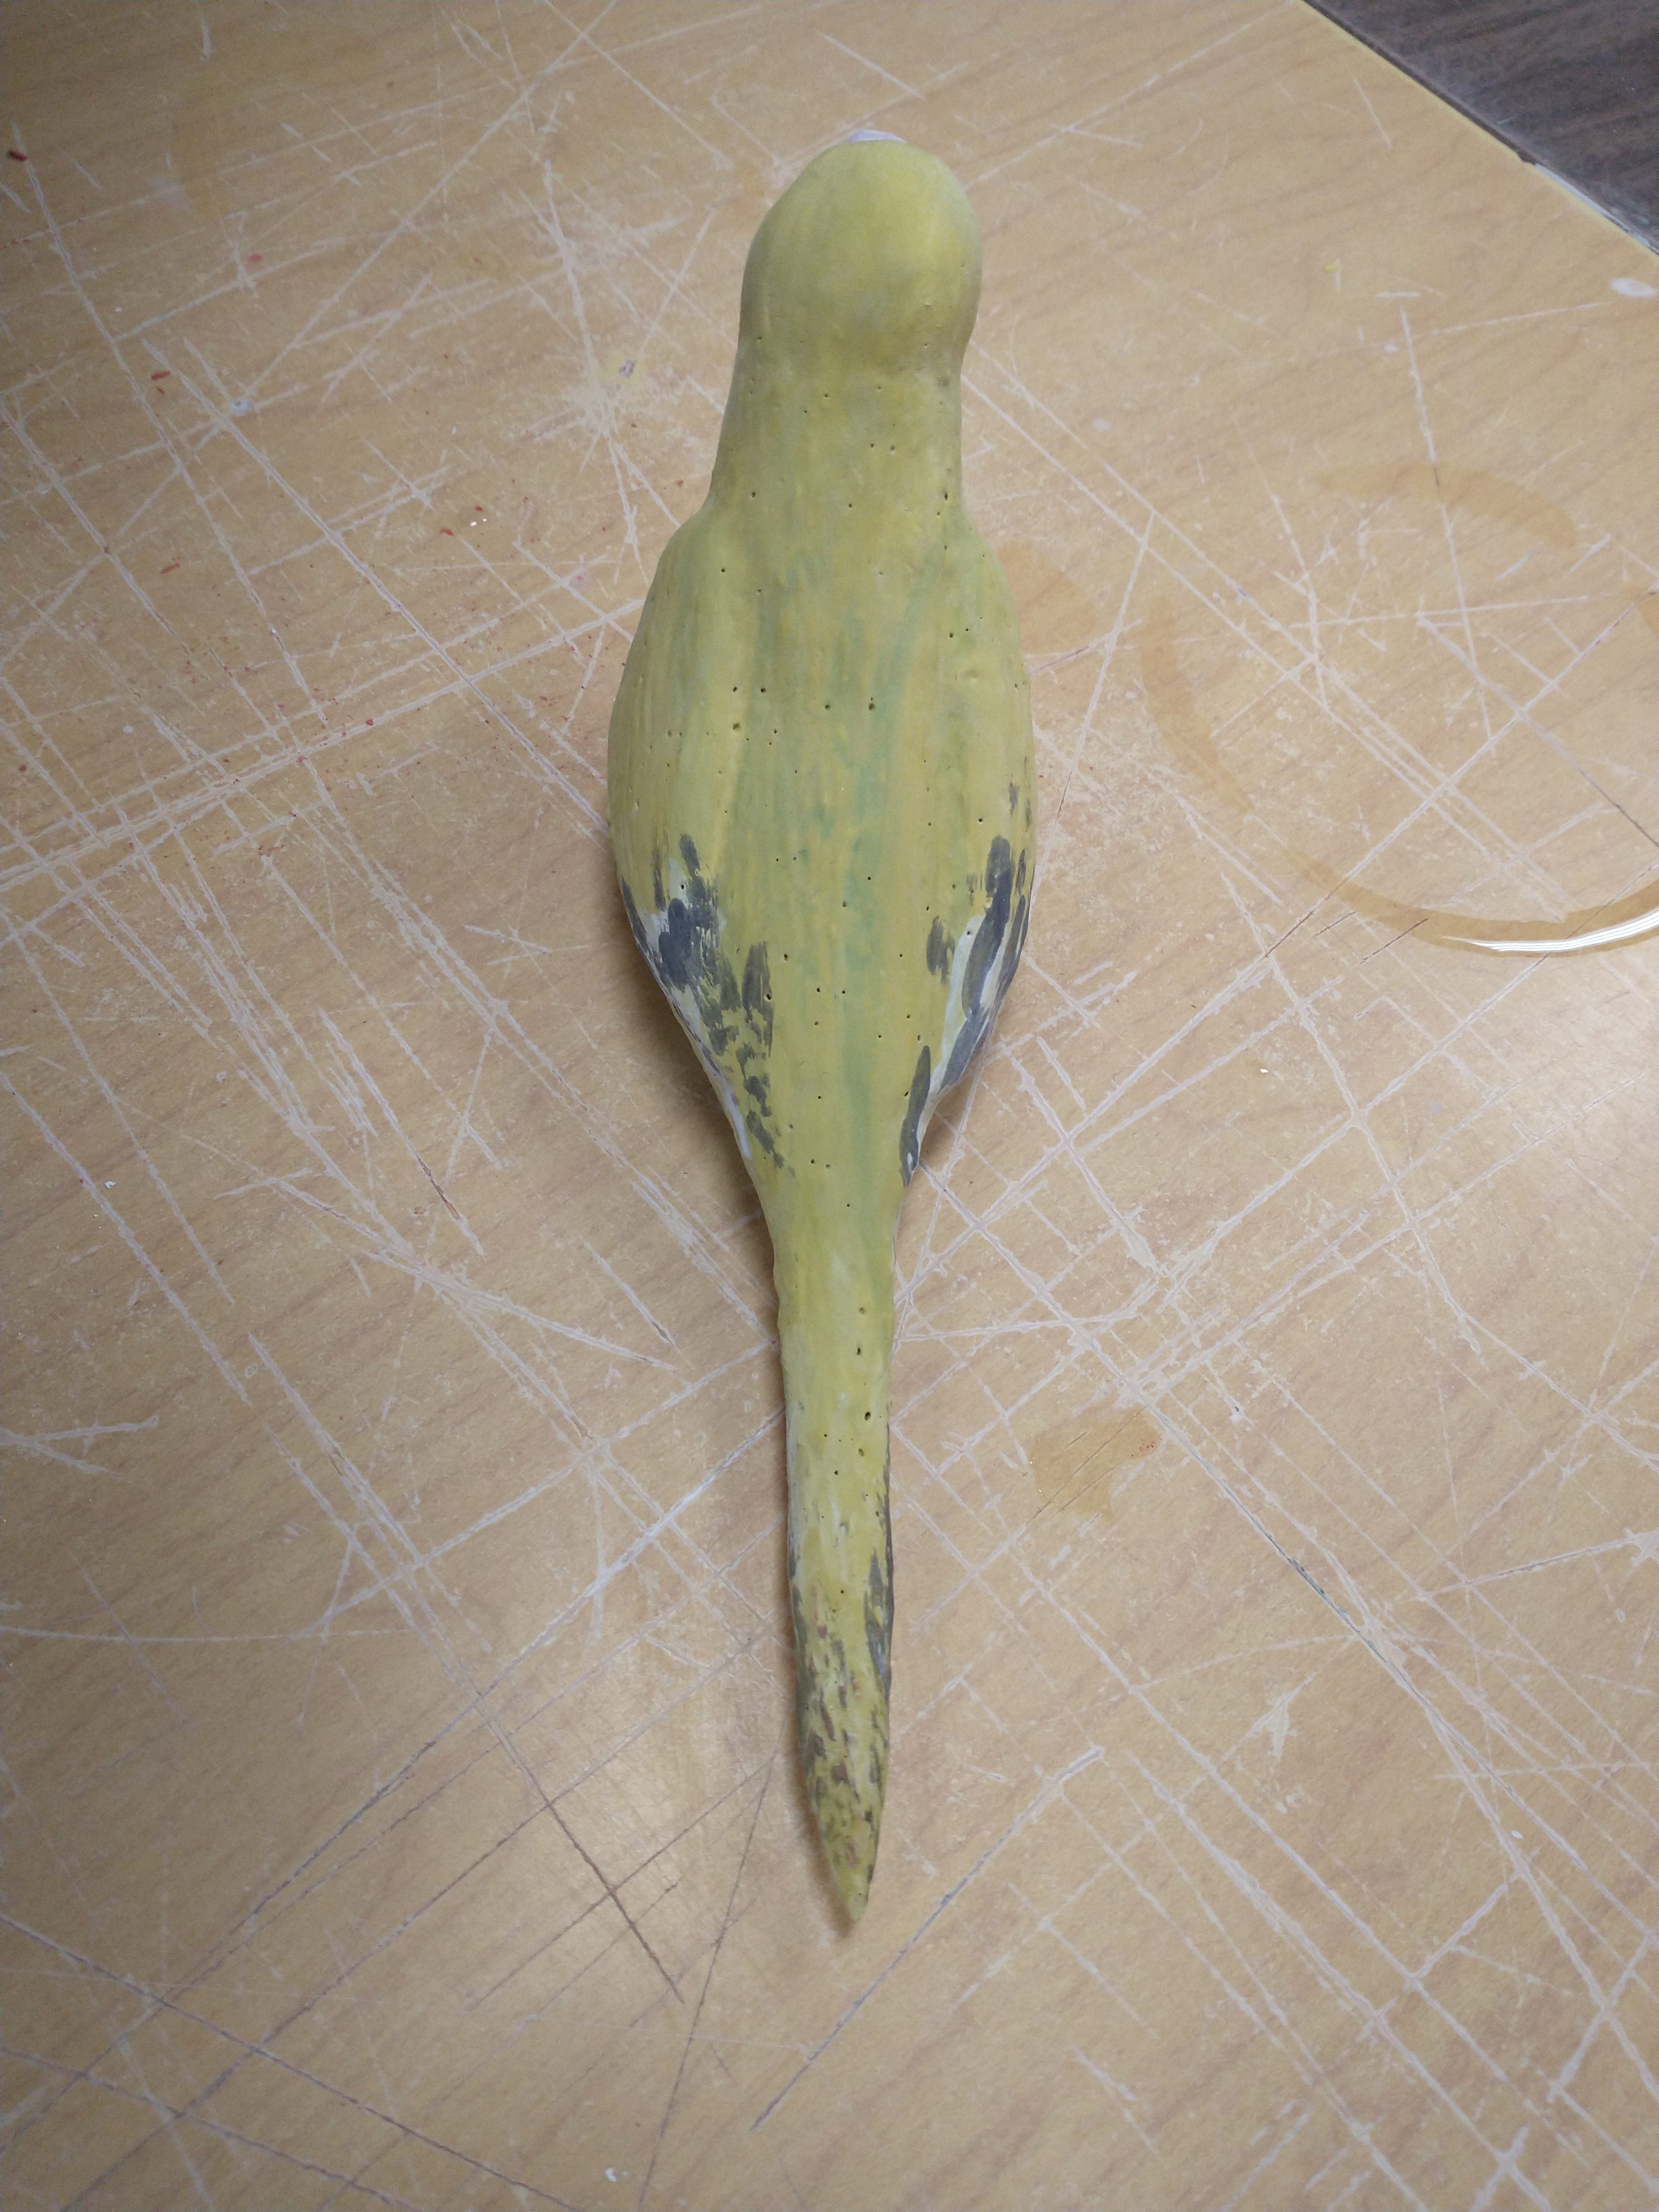
Now, on to the tail. I was able to make his tail, only with a few alterations to ensure it didn’t break. Firstly, I made it much shorter which lessens the risk of it holding too much weight at the end as well as it bumping into something. Secondly, it is much thicker. Feathers are incredibly thin and that just was not going to happen. So his tail is much more round than in actuality.
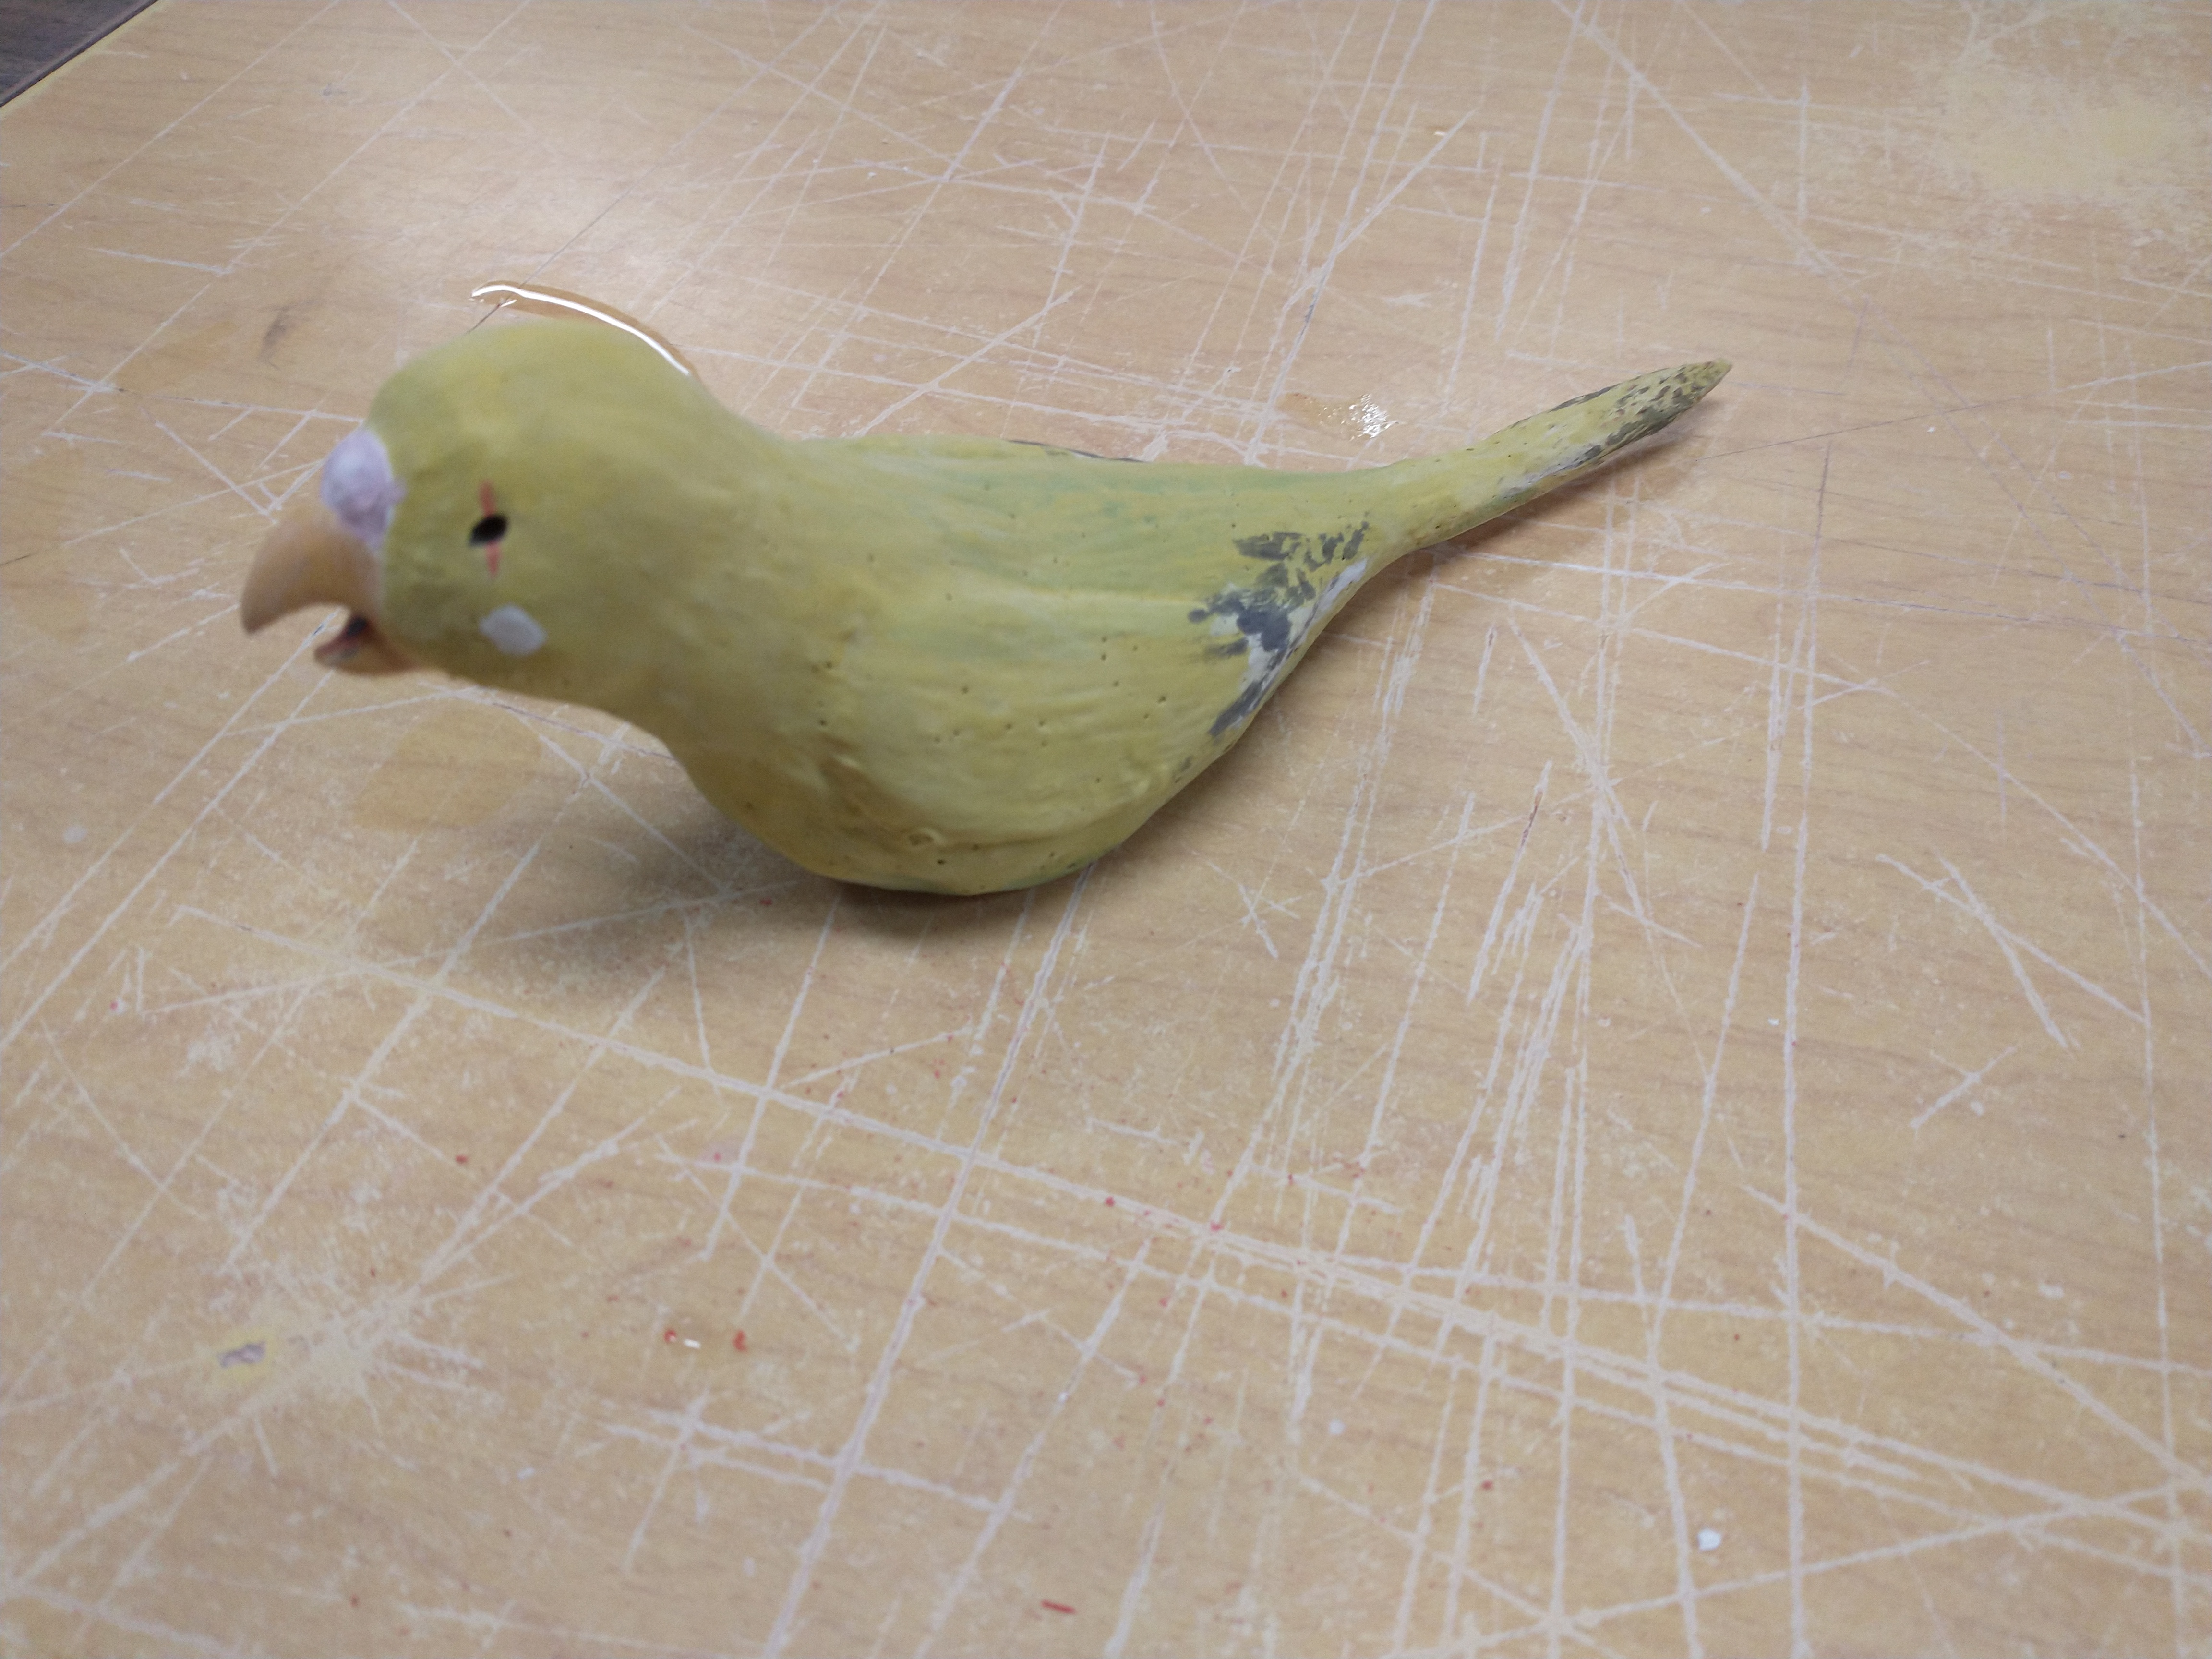
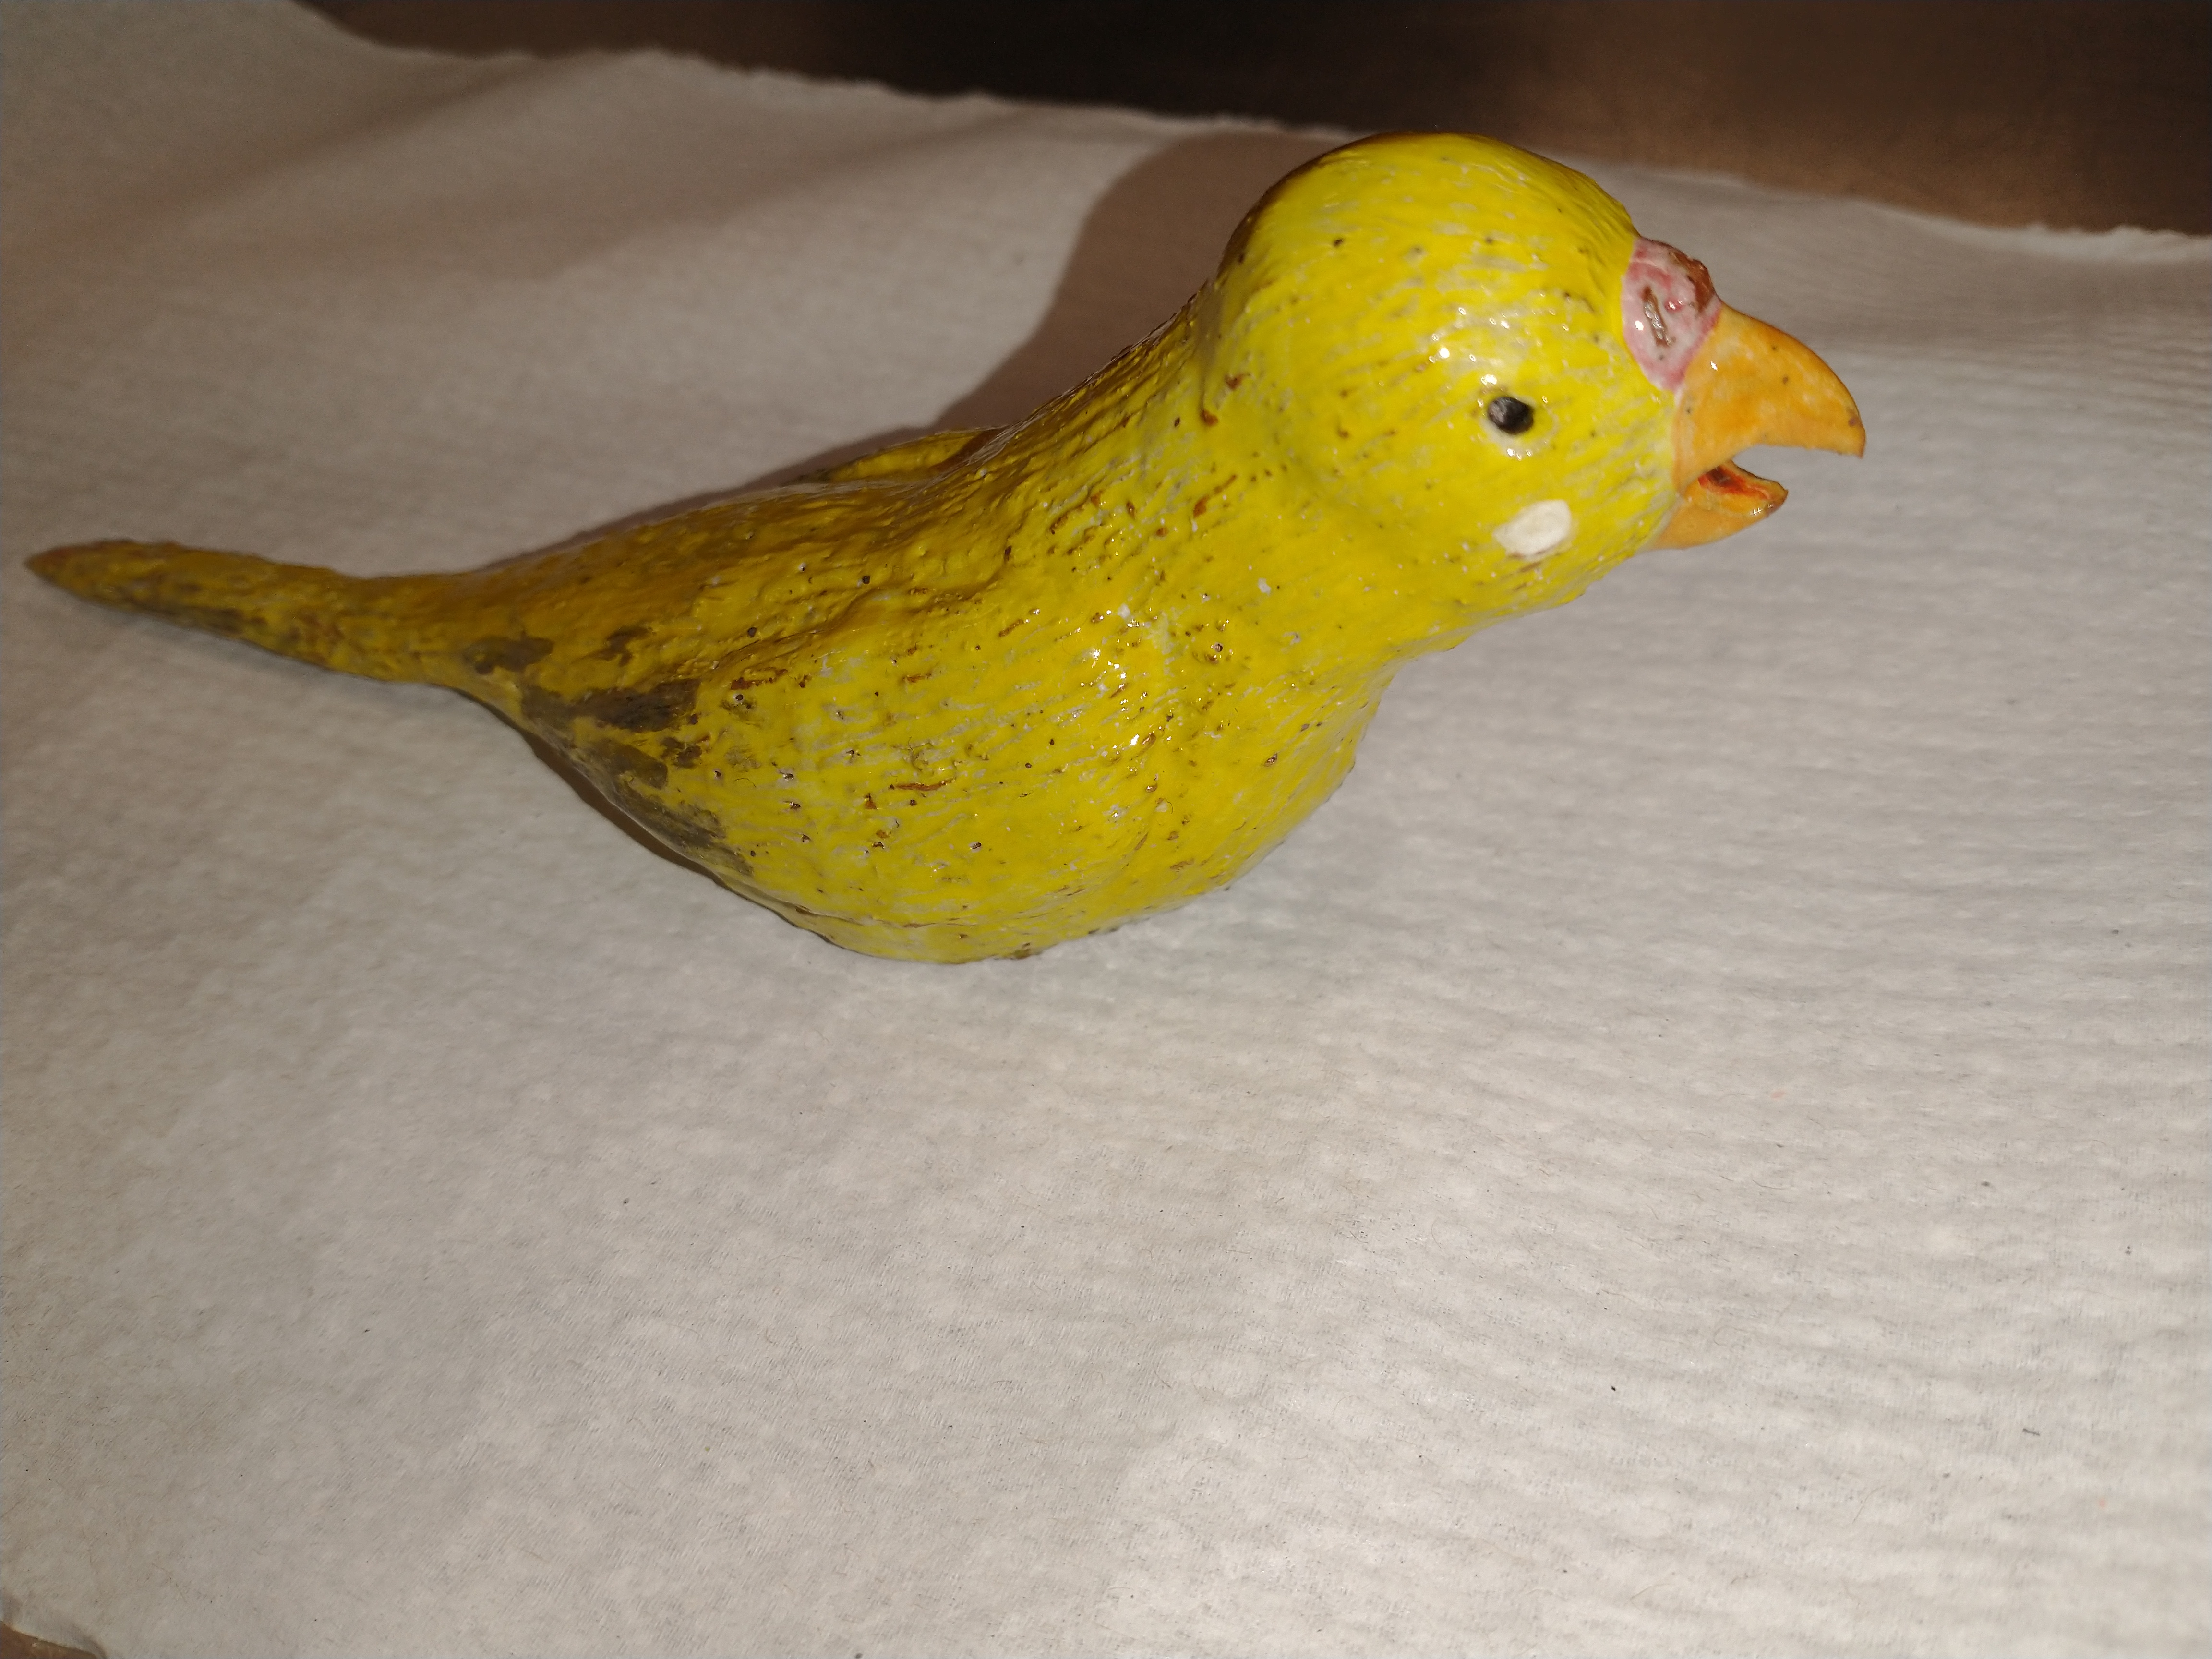
Then it was time for details, I covered his body in little lines and scratches to emulate feathers going down his body. I definitely could have spent more time on them to make them much more realistic, but I was working in one hour intervals and was impatient.
So, here he is completely dried and fired, ready for glaze.

For the glaze, he was dipped in white and I then painted his colors on him with a specific paint meant to be used on glazes. For this, I cheated and used a reference photo to make sure I got all his colors and color placements right. This process was much more relaxed.


Now, he was ready for another round of firing. This is the time you bite your tongue and hope for the best.
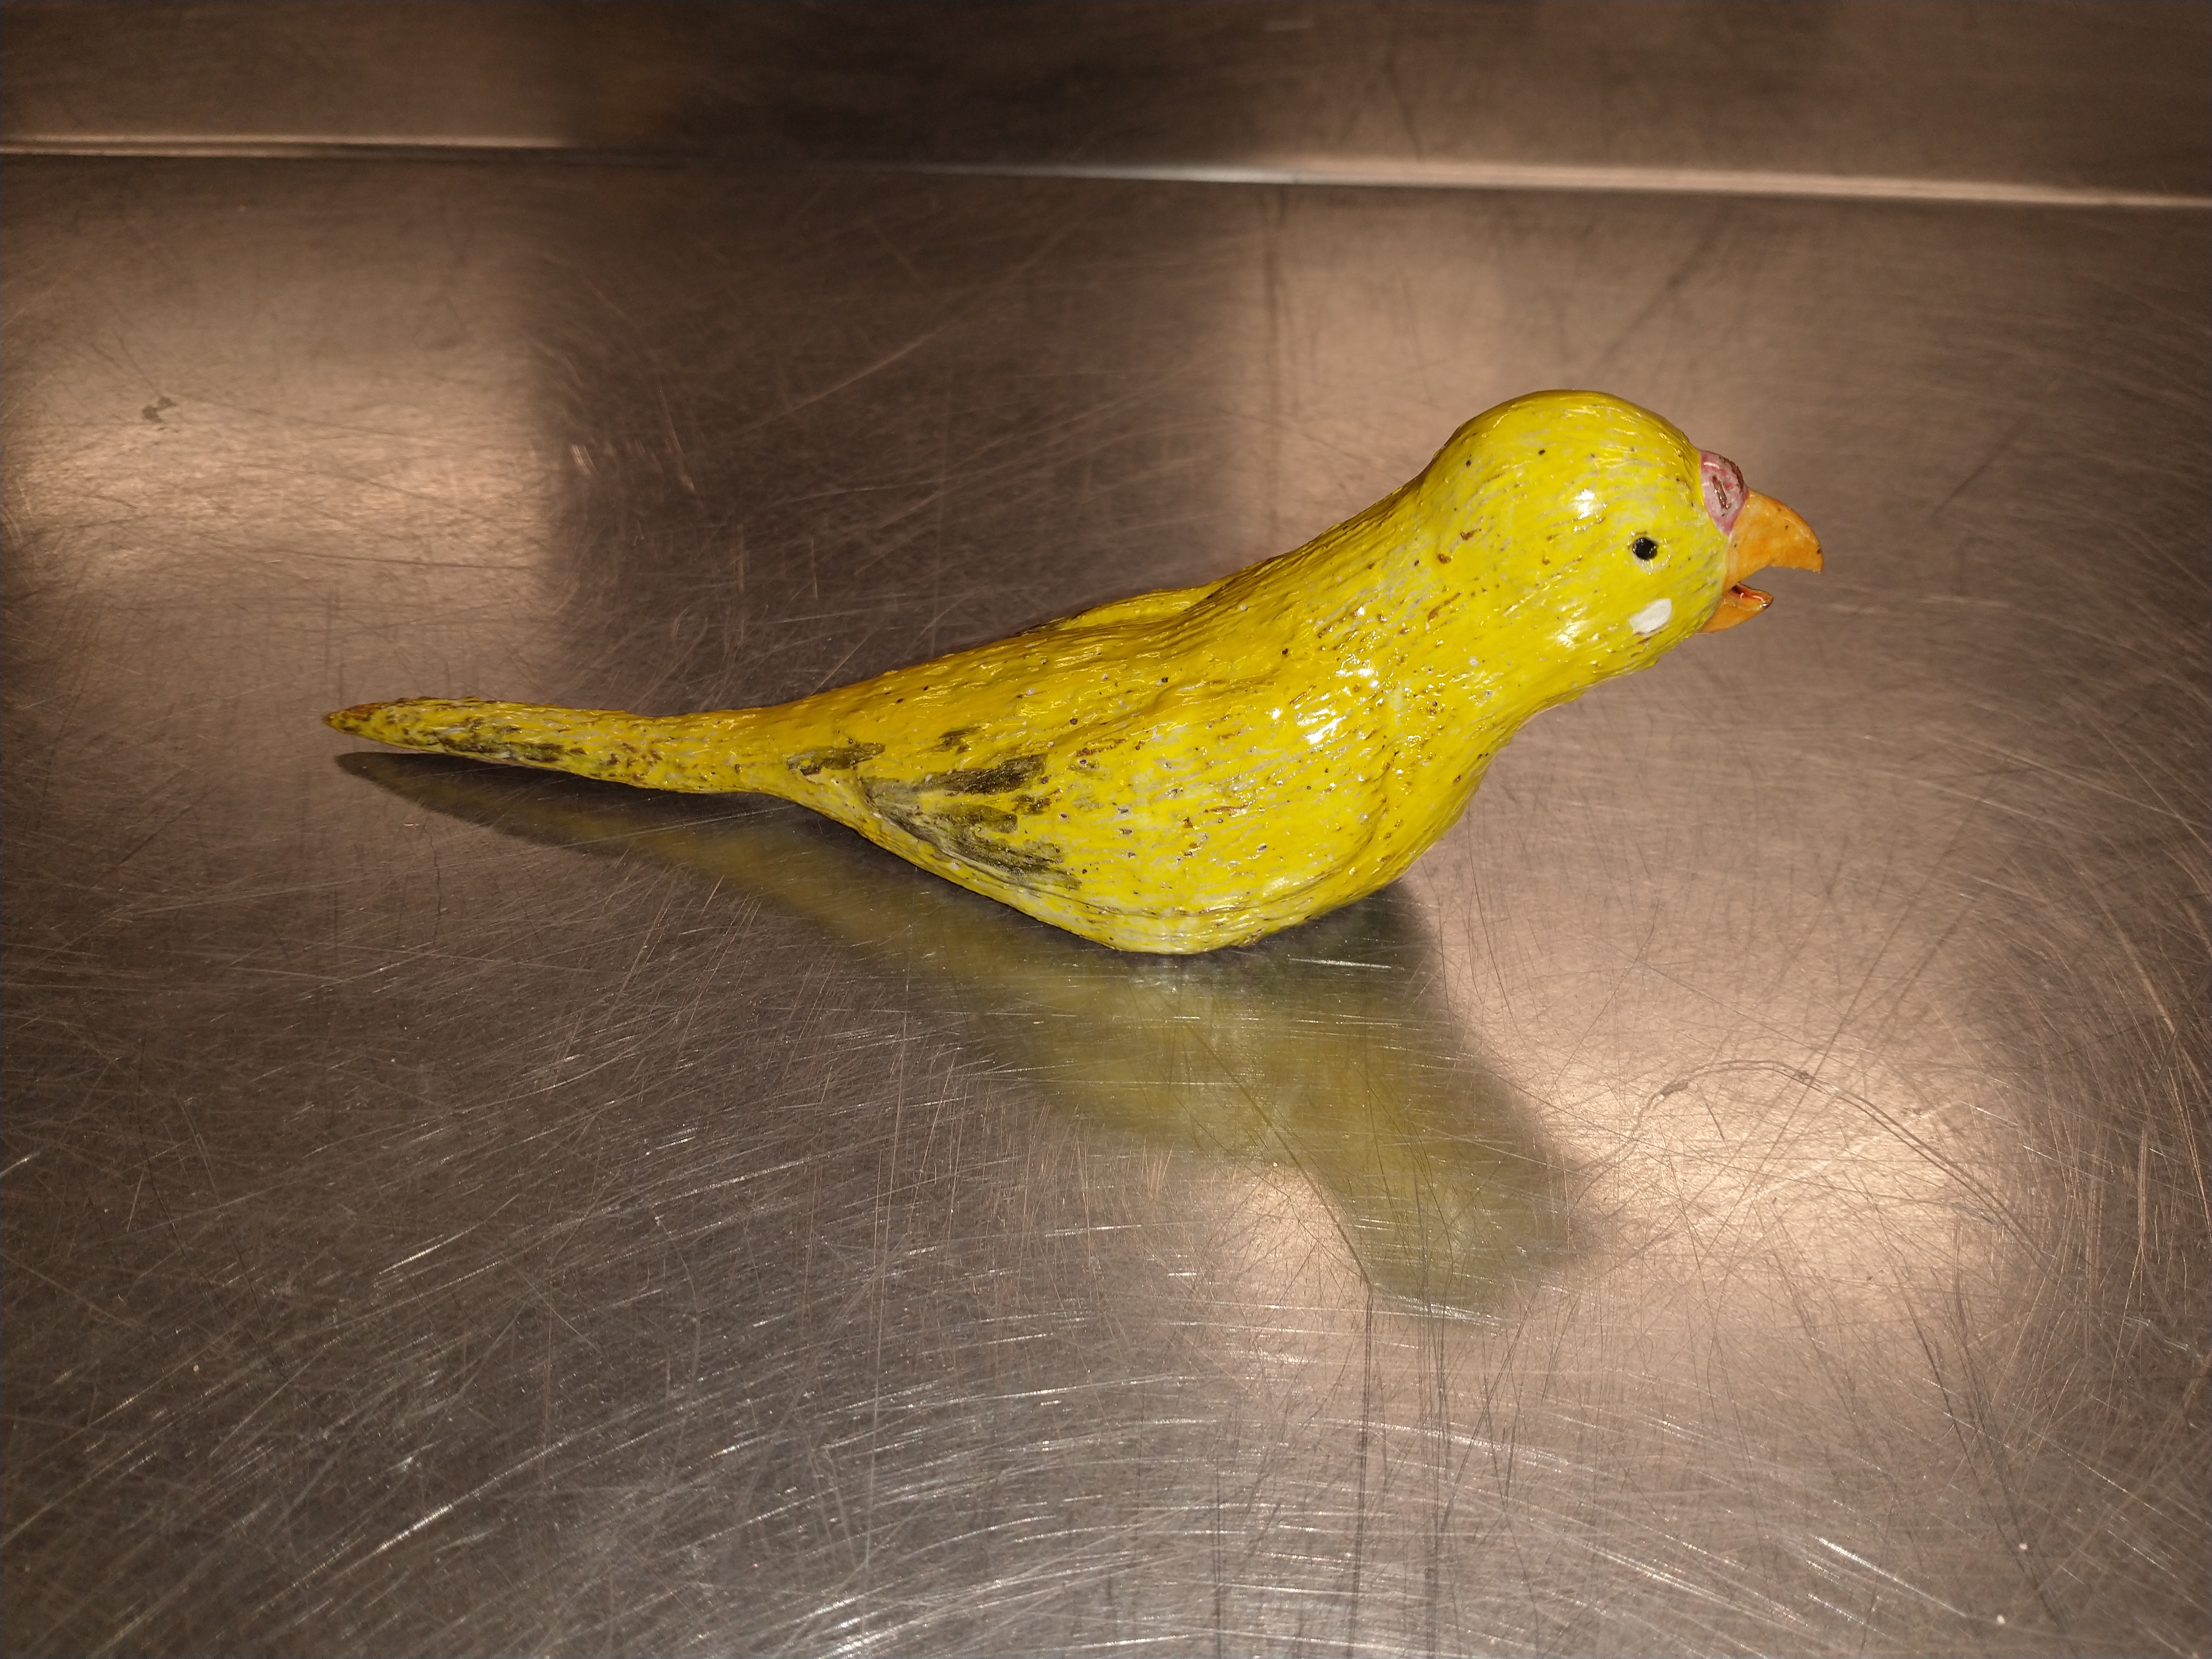

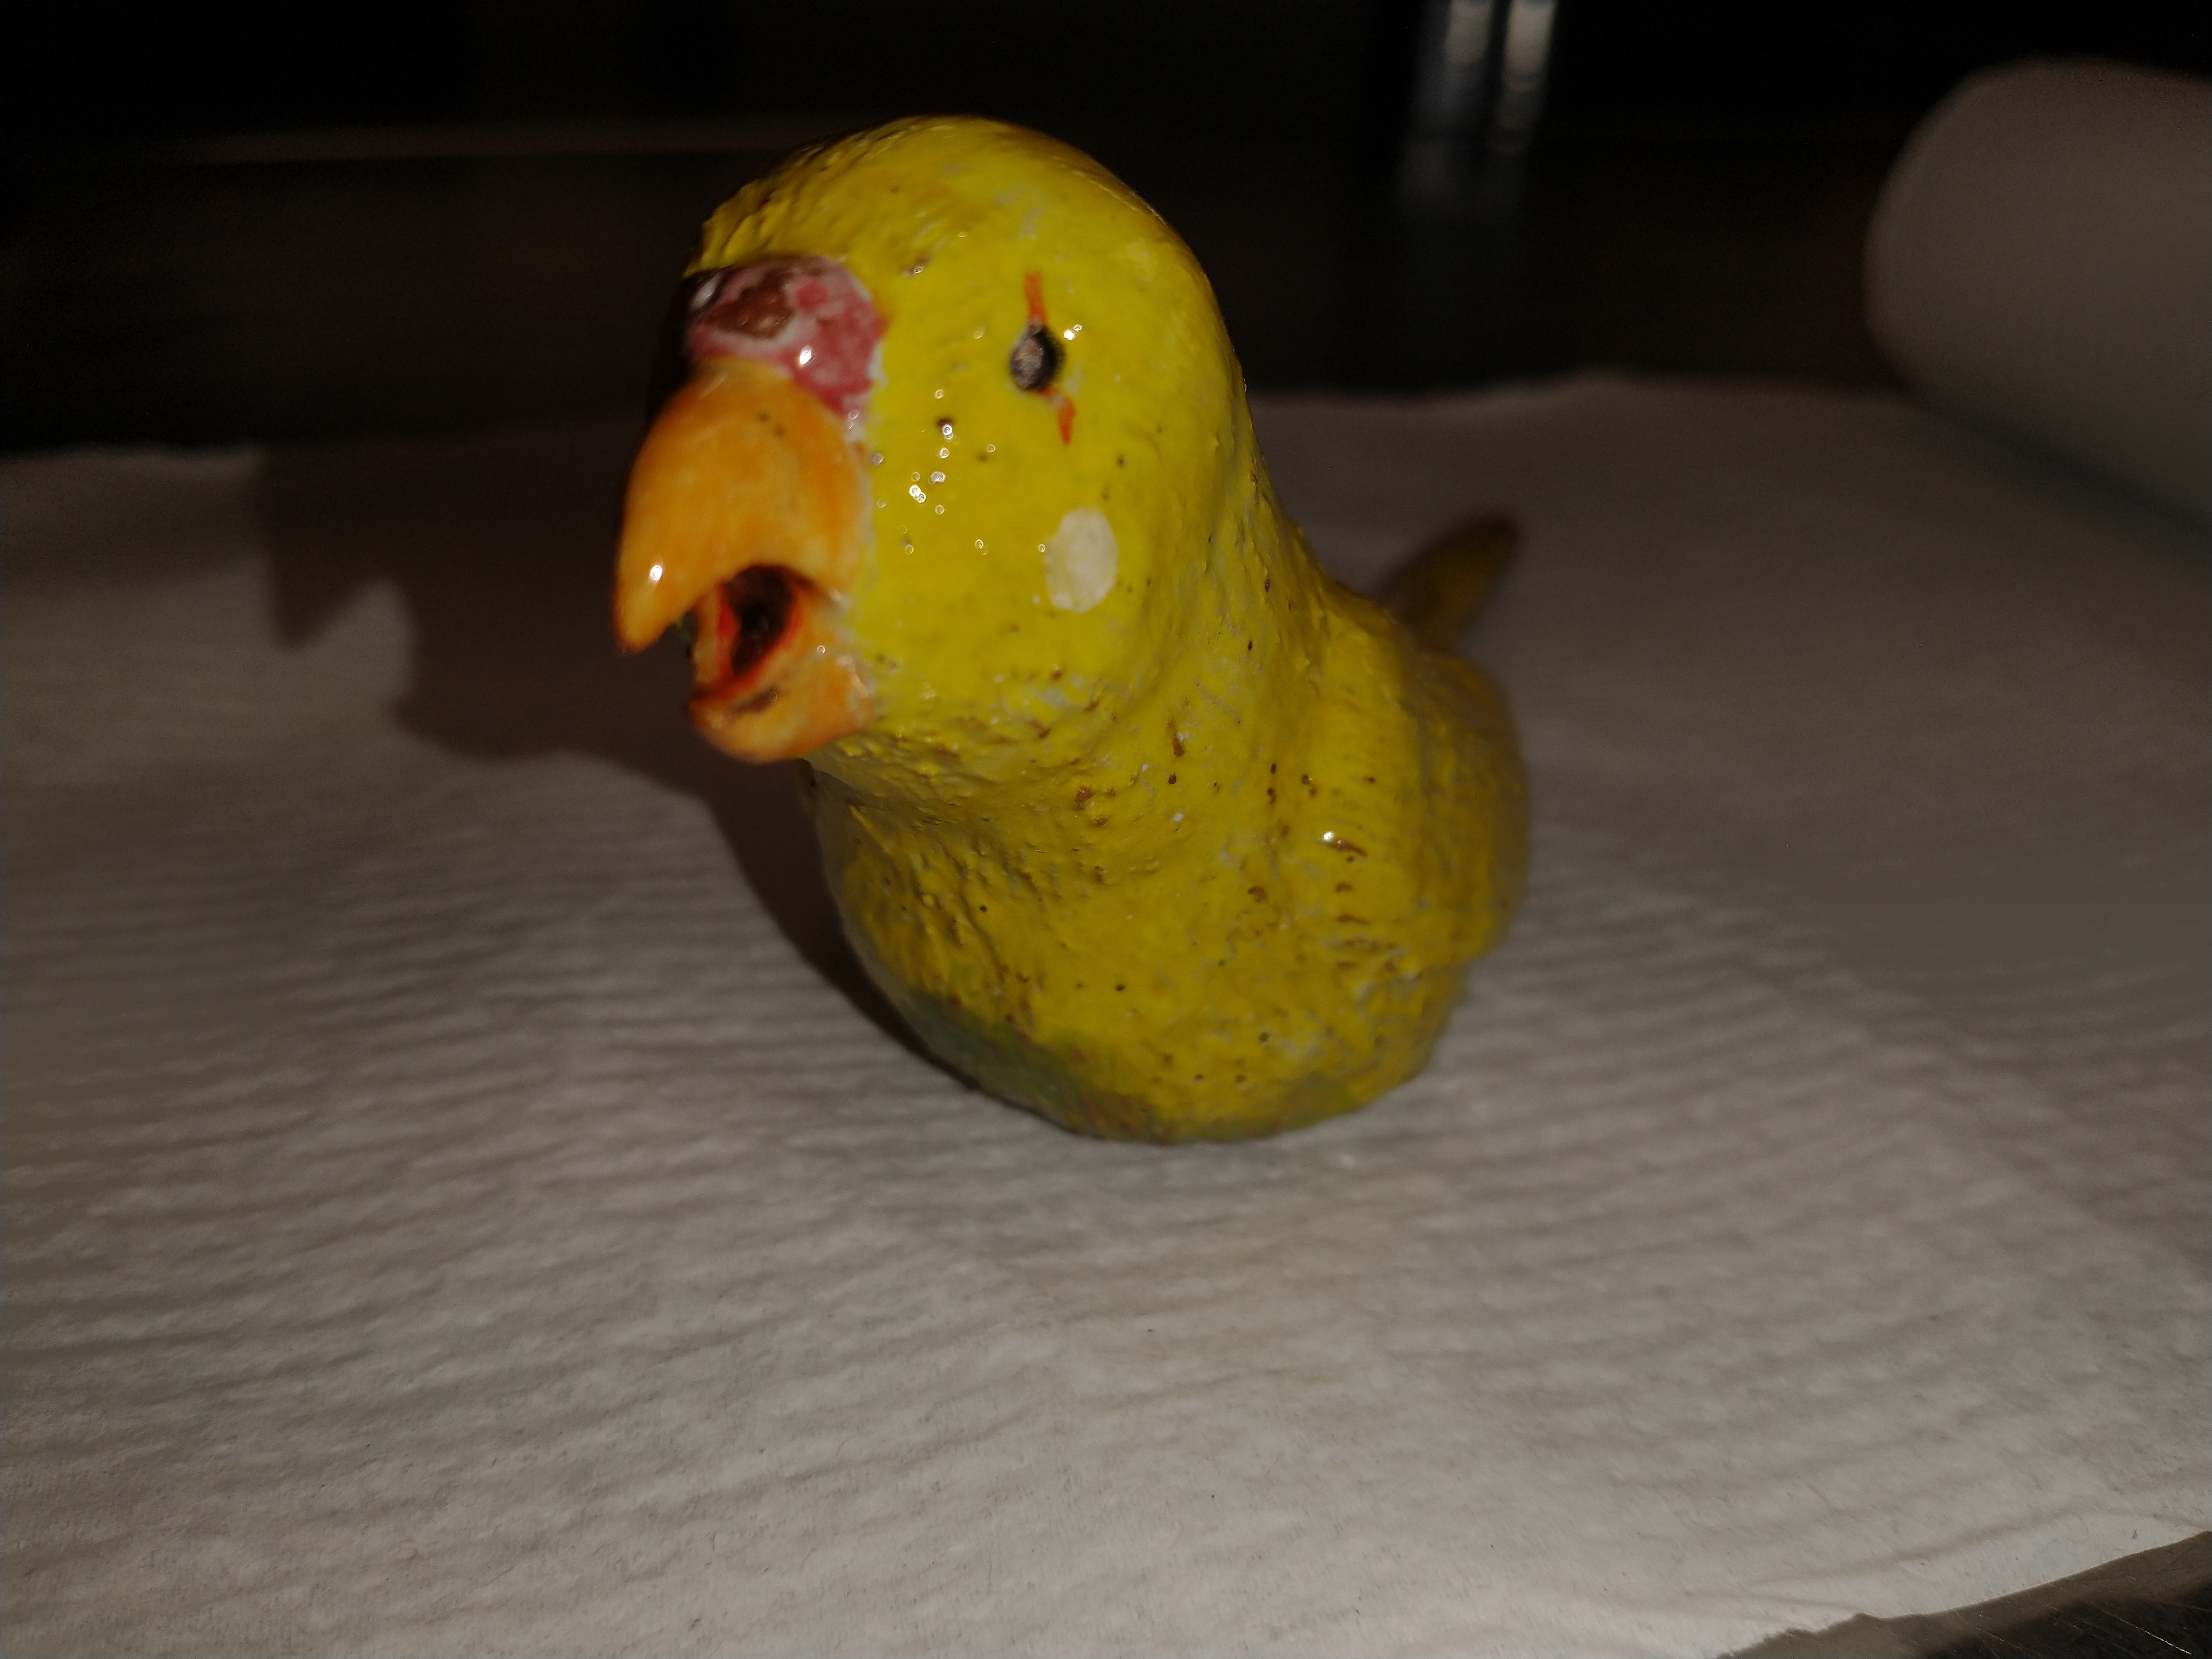
My apologies for the bad photos, but you get it, right? He came out perfect and durable. He is ready for his next fight. My only qualms is the glaze was a bit thin, especially on his nose, a.k.a. his cere. (Fun fact, it is impossible to tell a parakeets gender without a blood test. Although, you can guesstimate it by the color of their cere! I strongly believe that Jack is a female now that he’s fully grown, but he’s still my little man.)
Thank you for following along on my sculpture journey and please leave a message! Now, go out there and make something great!