Years ago I watched a YouTube video by some of my favorite creators, Evan and Katelyn, where they tested a store bought storm cloud versus their DIY storm cloud, both being electric. With this memory, I went to the open gallery, Natural Natural Wonders by Sue Jenkins where she briefly showed us some clouds that she and a student made. This reignited that memory and gave me an idea.
For this post, I will be showing you how I made an electric lightning rain cloud.

All I had used was a gallon milk jug, fairy lights with batteries and a remote, tape, hot glue, metal wire, an X-Acto knife or scissors, and something to poke holes in the jug. My idea was that the jug would hold all the lights inside as well as have some come from the bottom, then cover the jug in Poly-Fil to have it look like a lightning storm cloud that was raining.
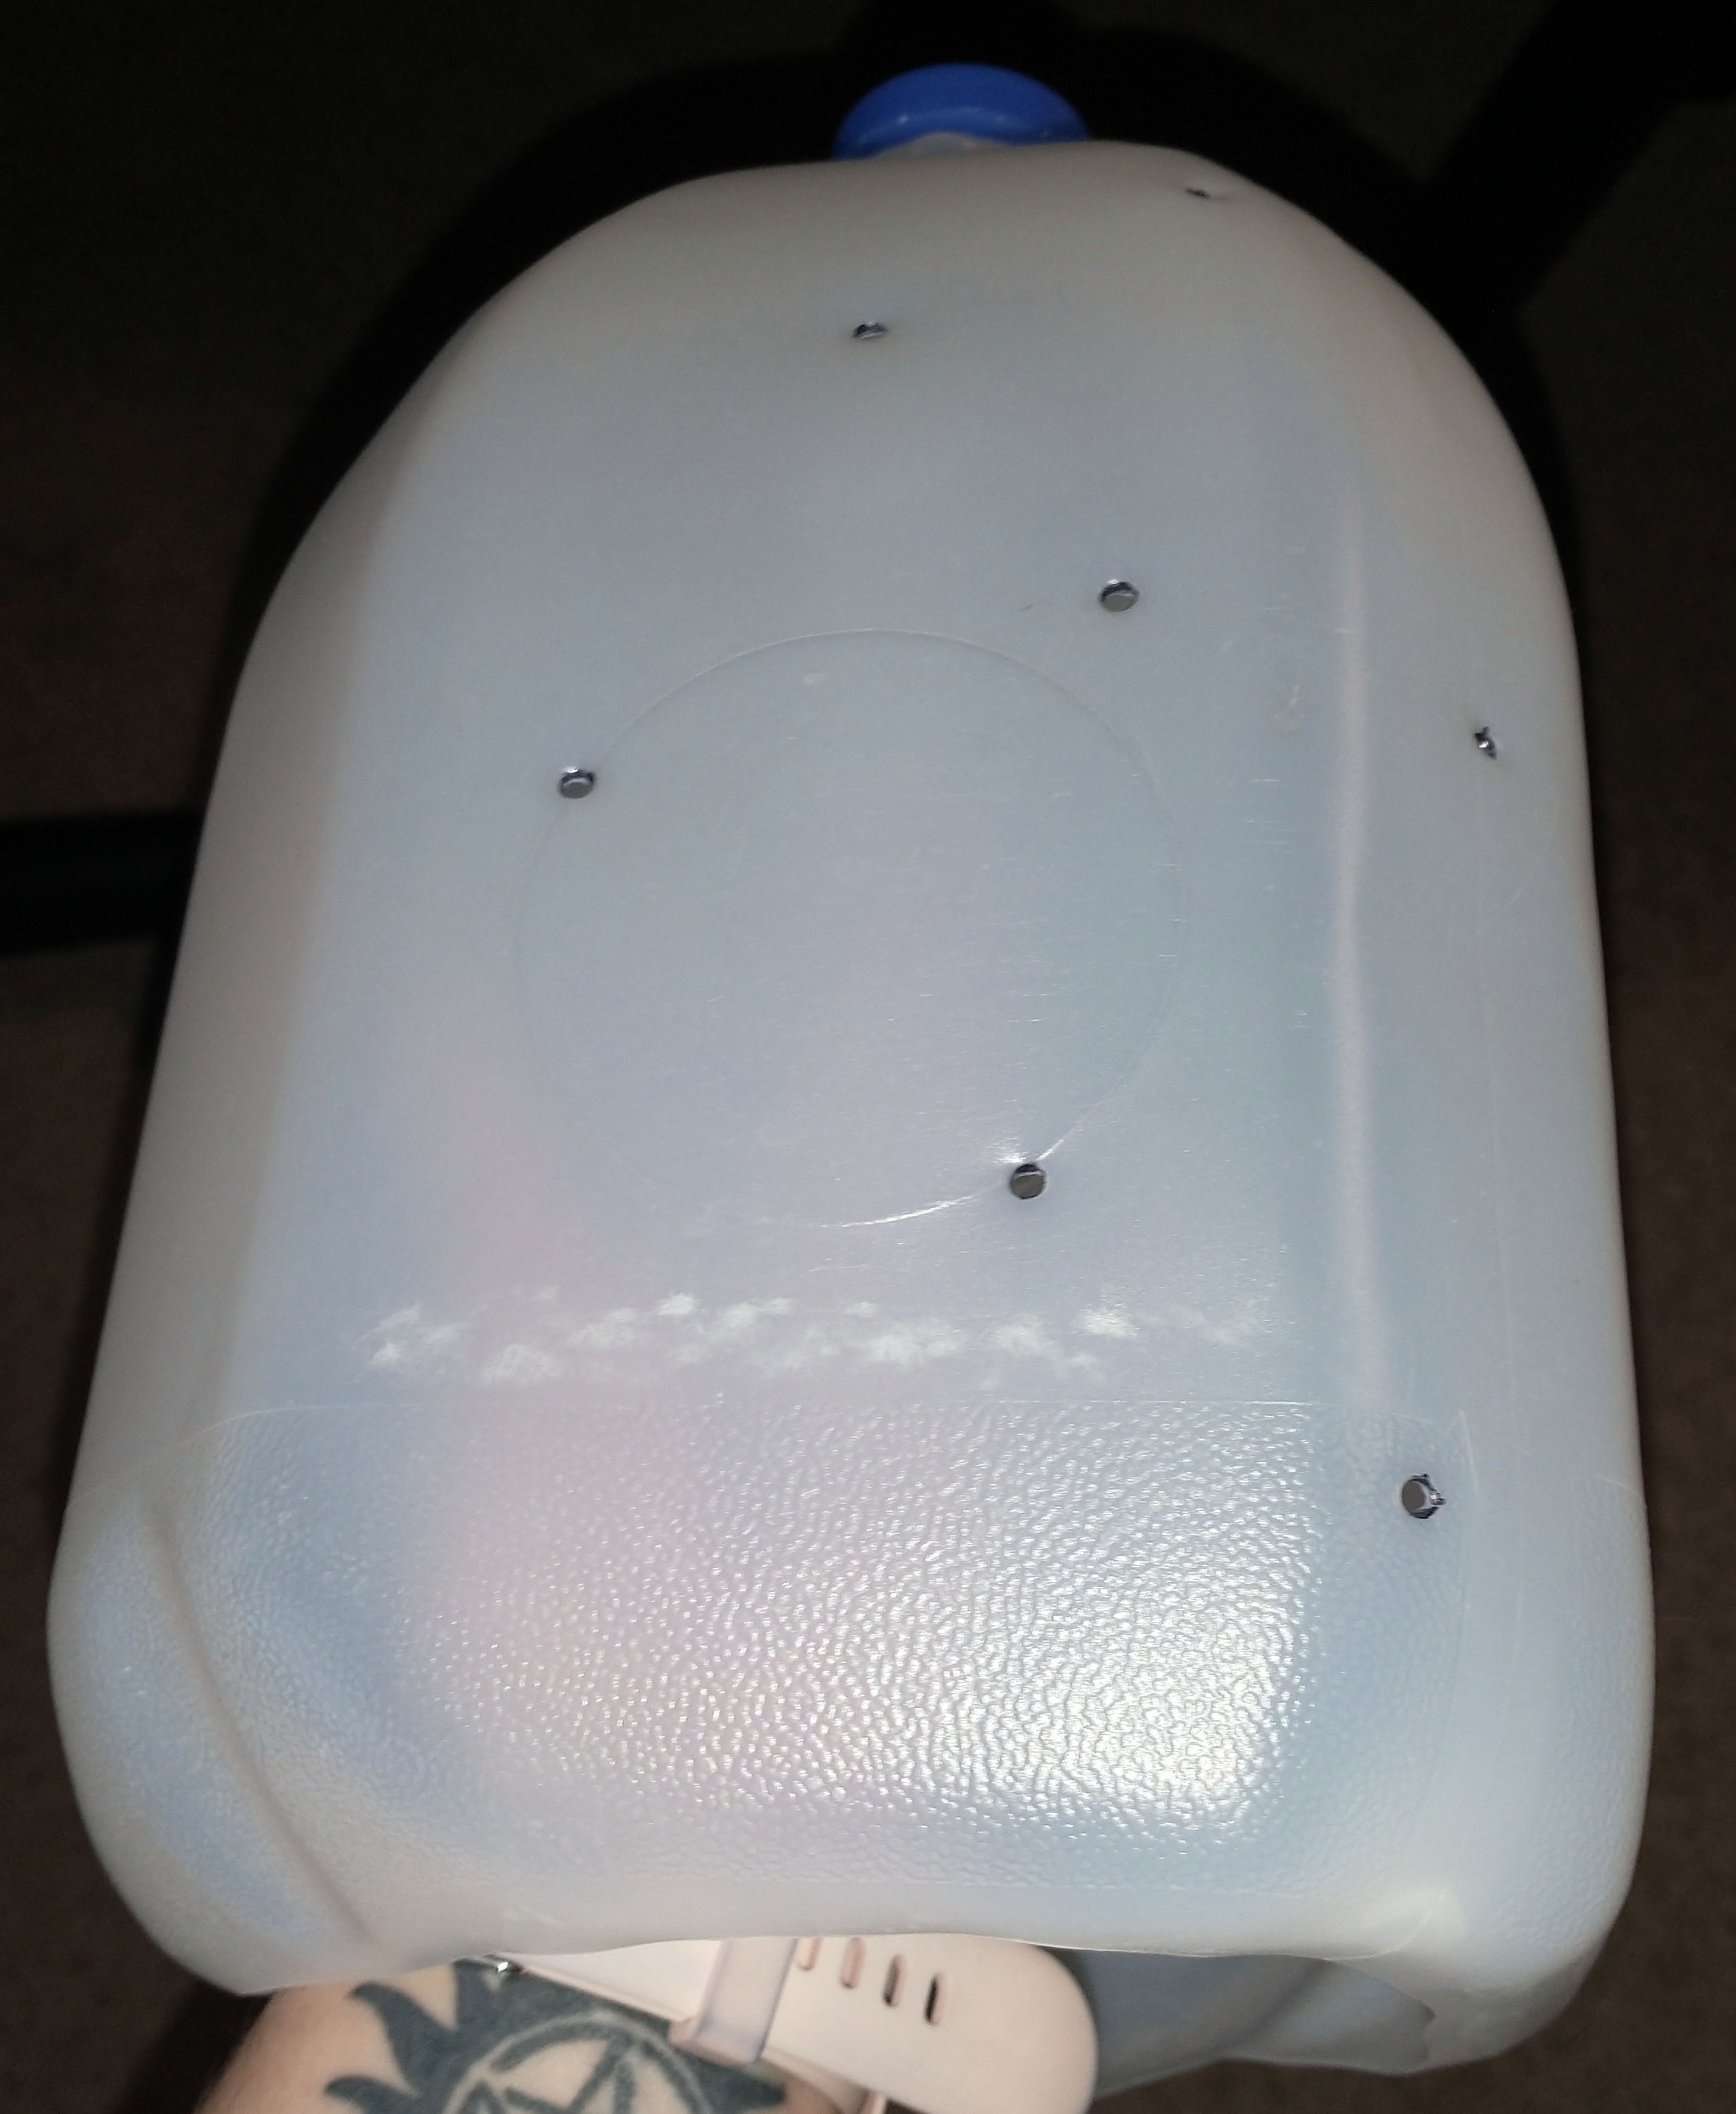
To start, I poked holes in the jug from the bottom of what will be a cloud. I also cut a hole in the bottom of the jug so I would have easier access to the inside.
Initially, my idea with the fairy lights was that since they are only connected with a metal wire, I could cut them and tie them together so separate strings of light could exit, but it didn’t work and I didn’t feel like doing a ton of research to figure out why, so I came up with plan B. Plan B was to twist them together so that the lights could exit and enter back through but have it still look like one wire.
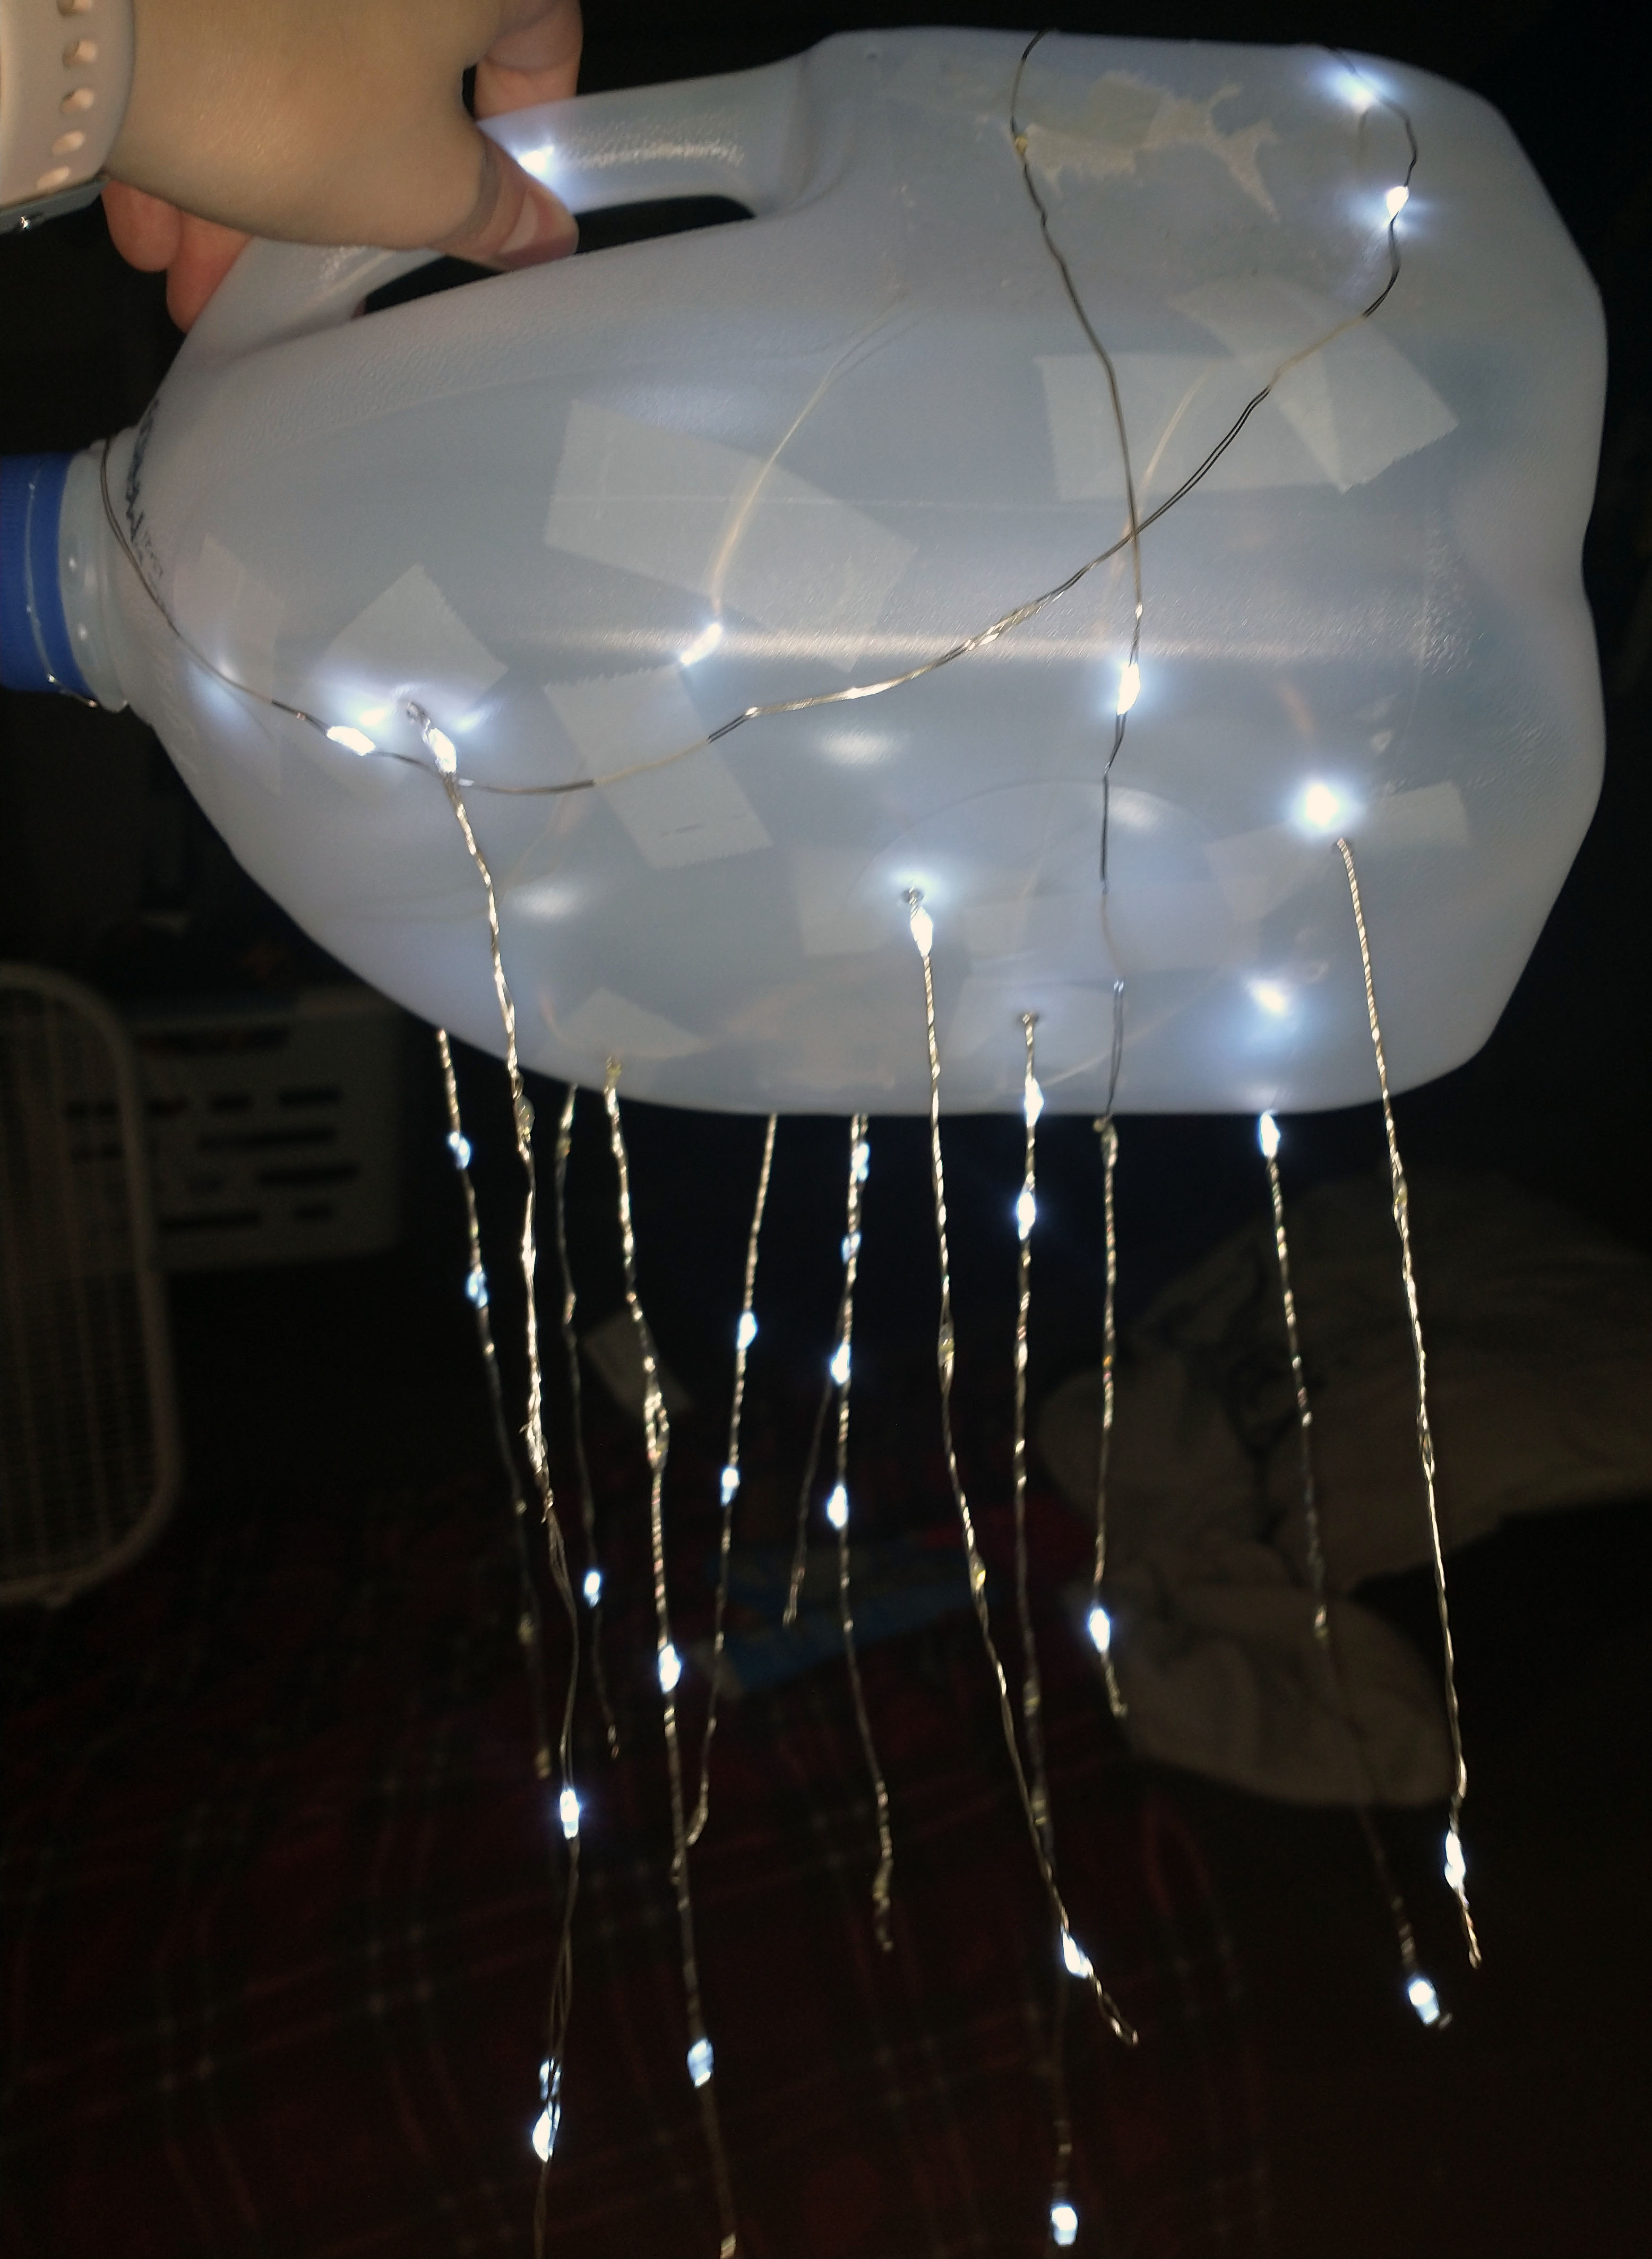
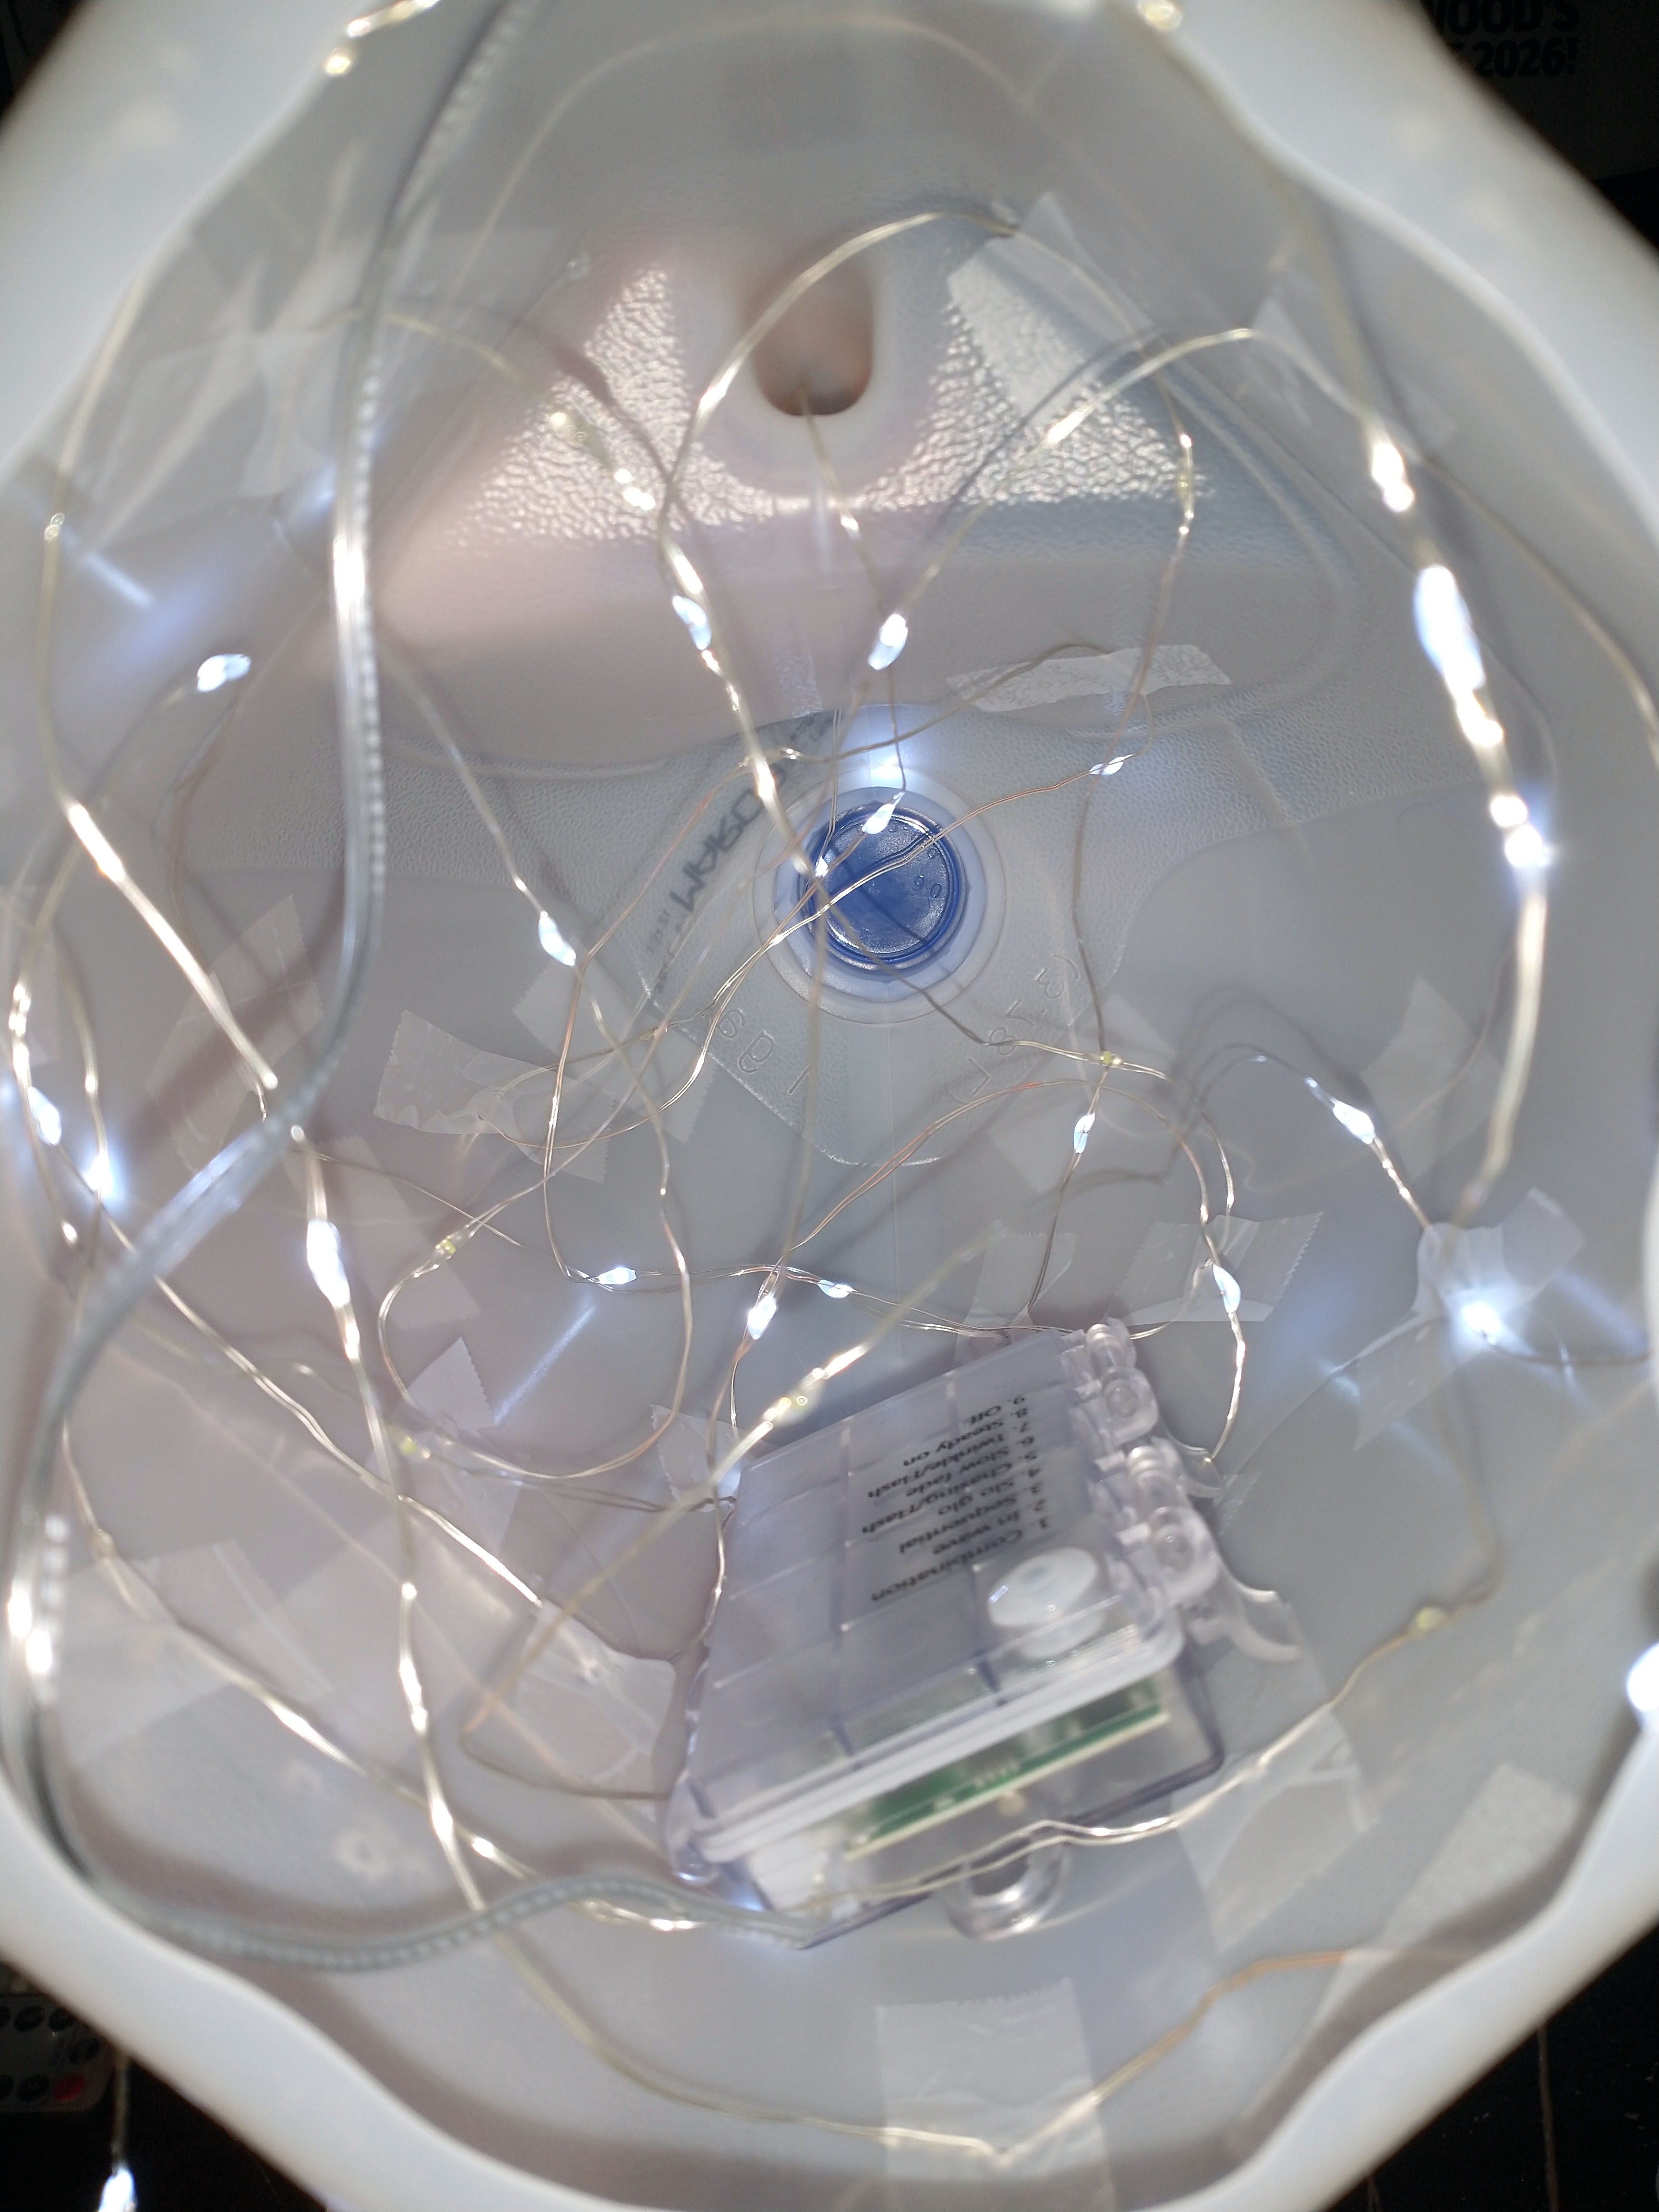
As you can see, that worked out well for me and I was able to scatter the lights well. I have them temporarily held with tape so that I could place everything where I wanted without it being too permanent. I have some lights on the outside of the jug as well since the jug isn’t entirely see-through and the lights inside may be too covered to see. With this, I started going ham with the hot glue gun.
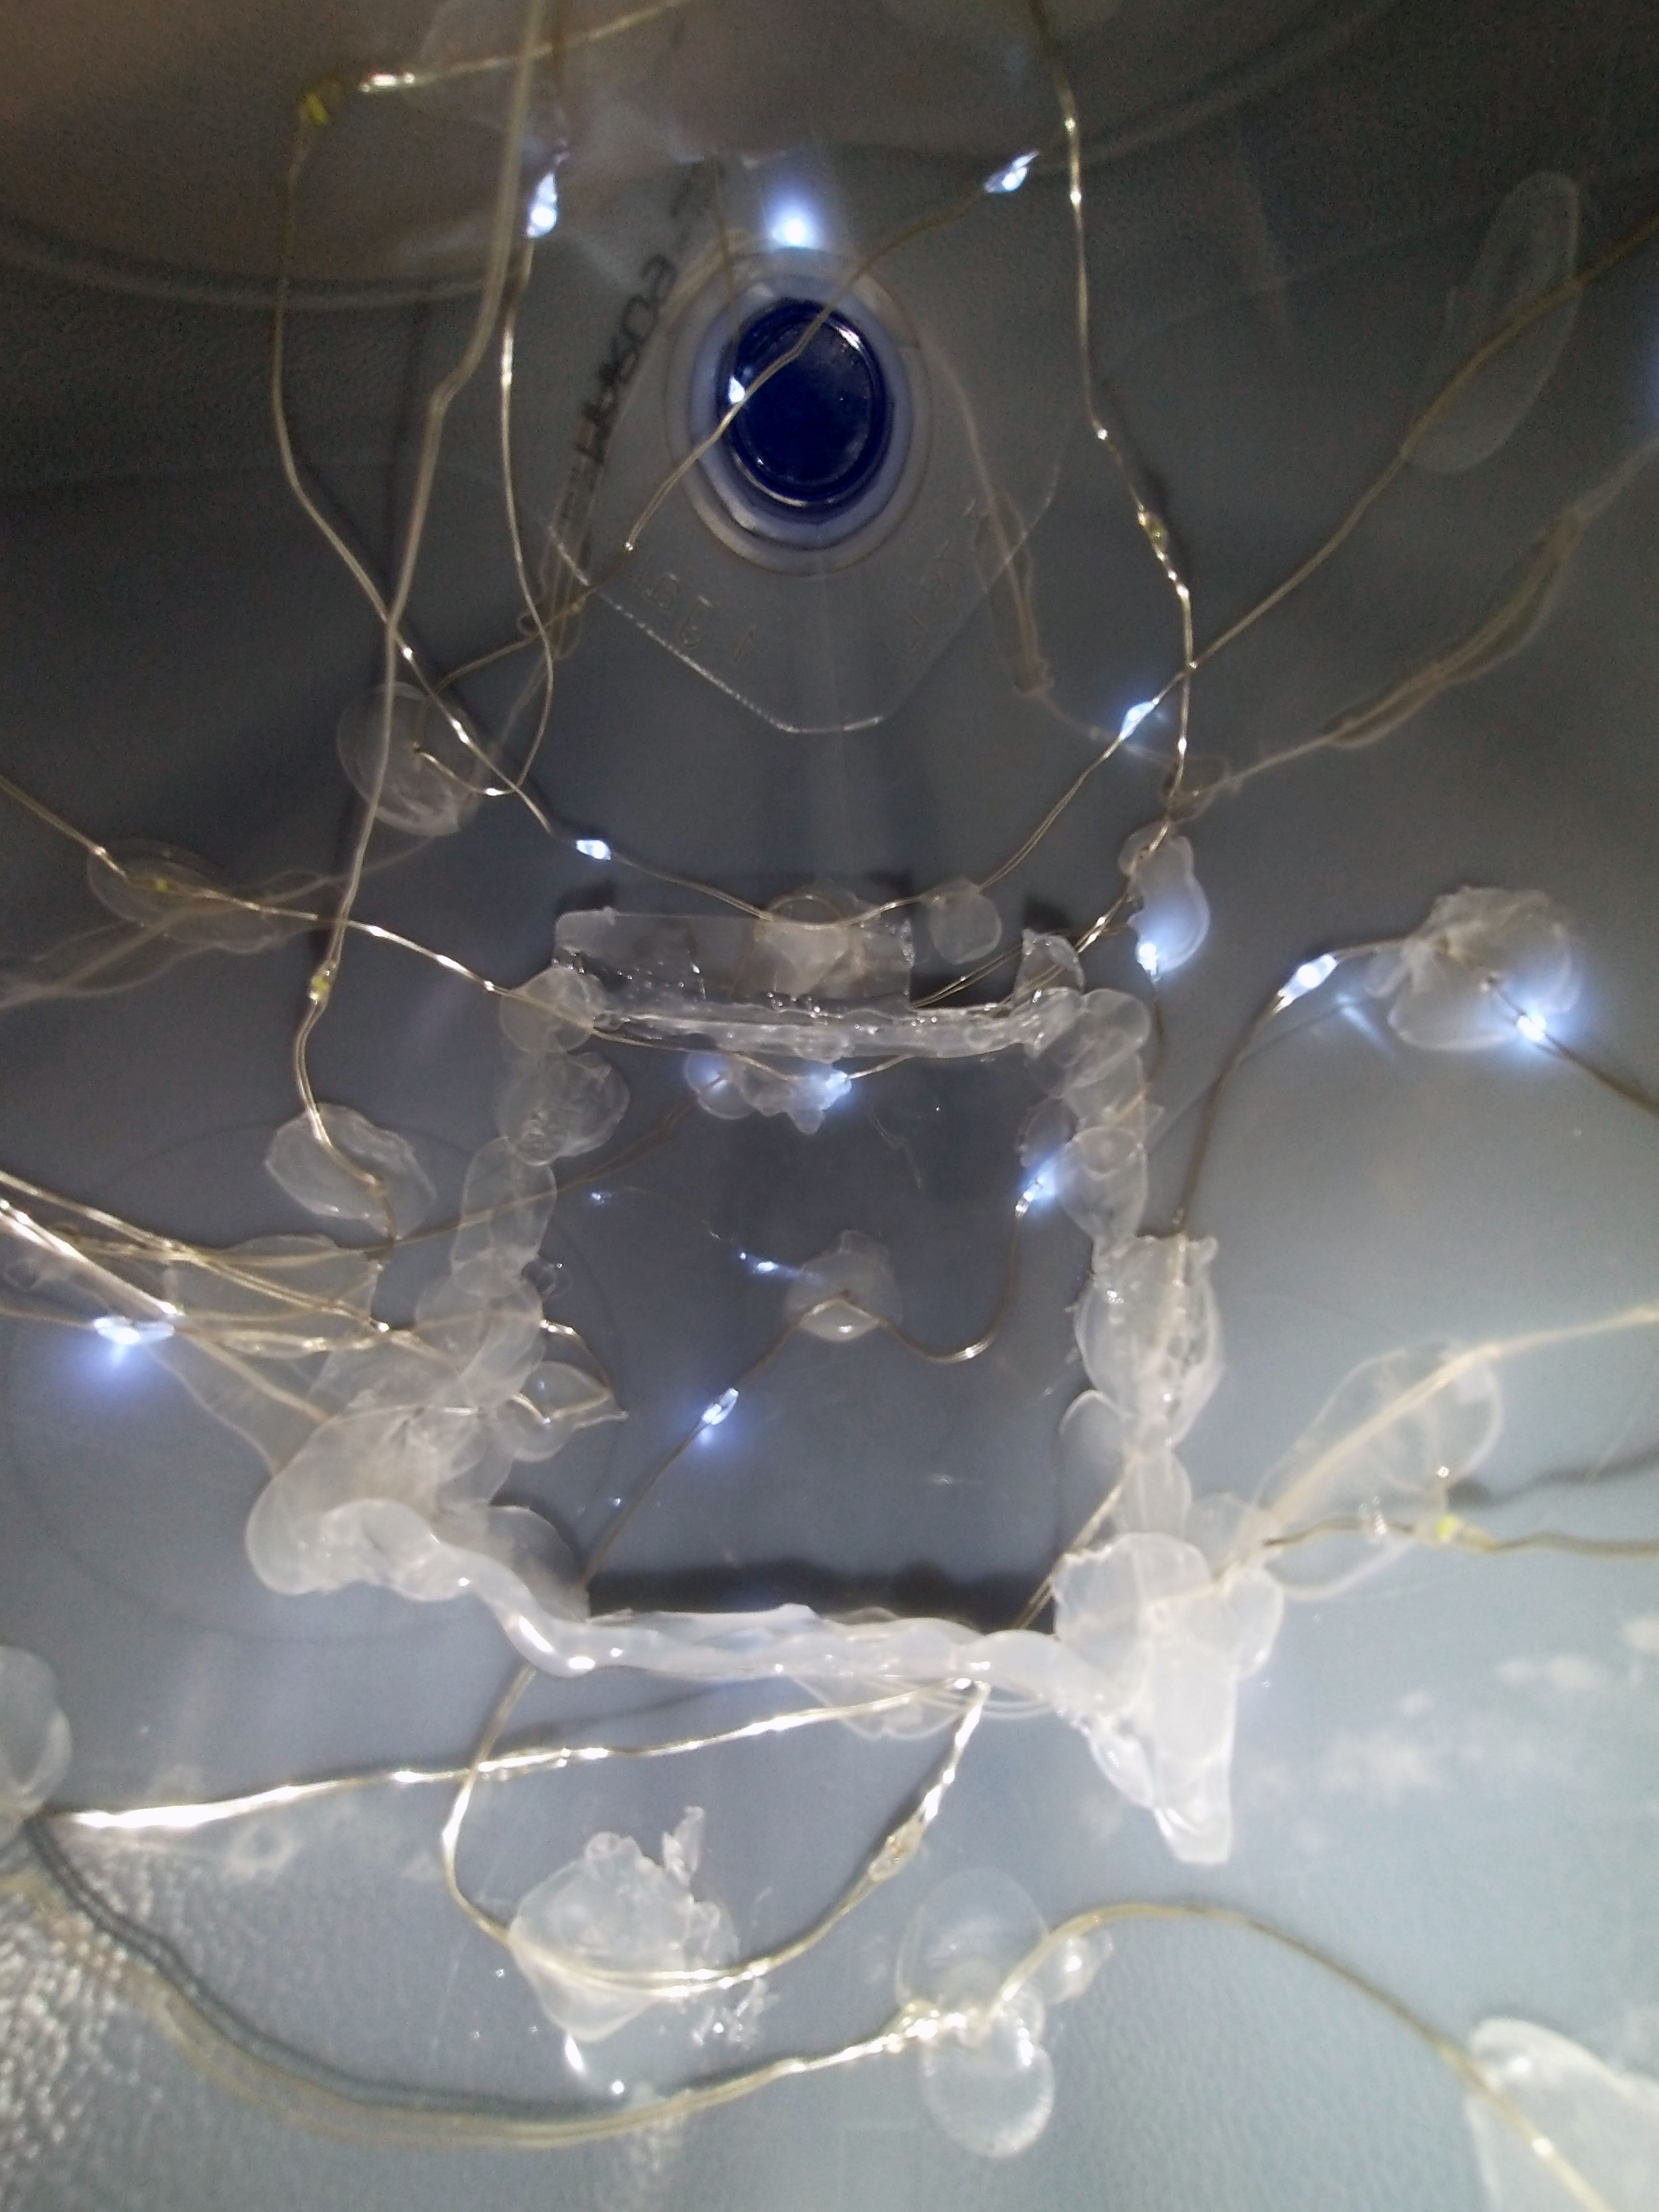
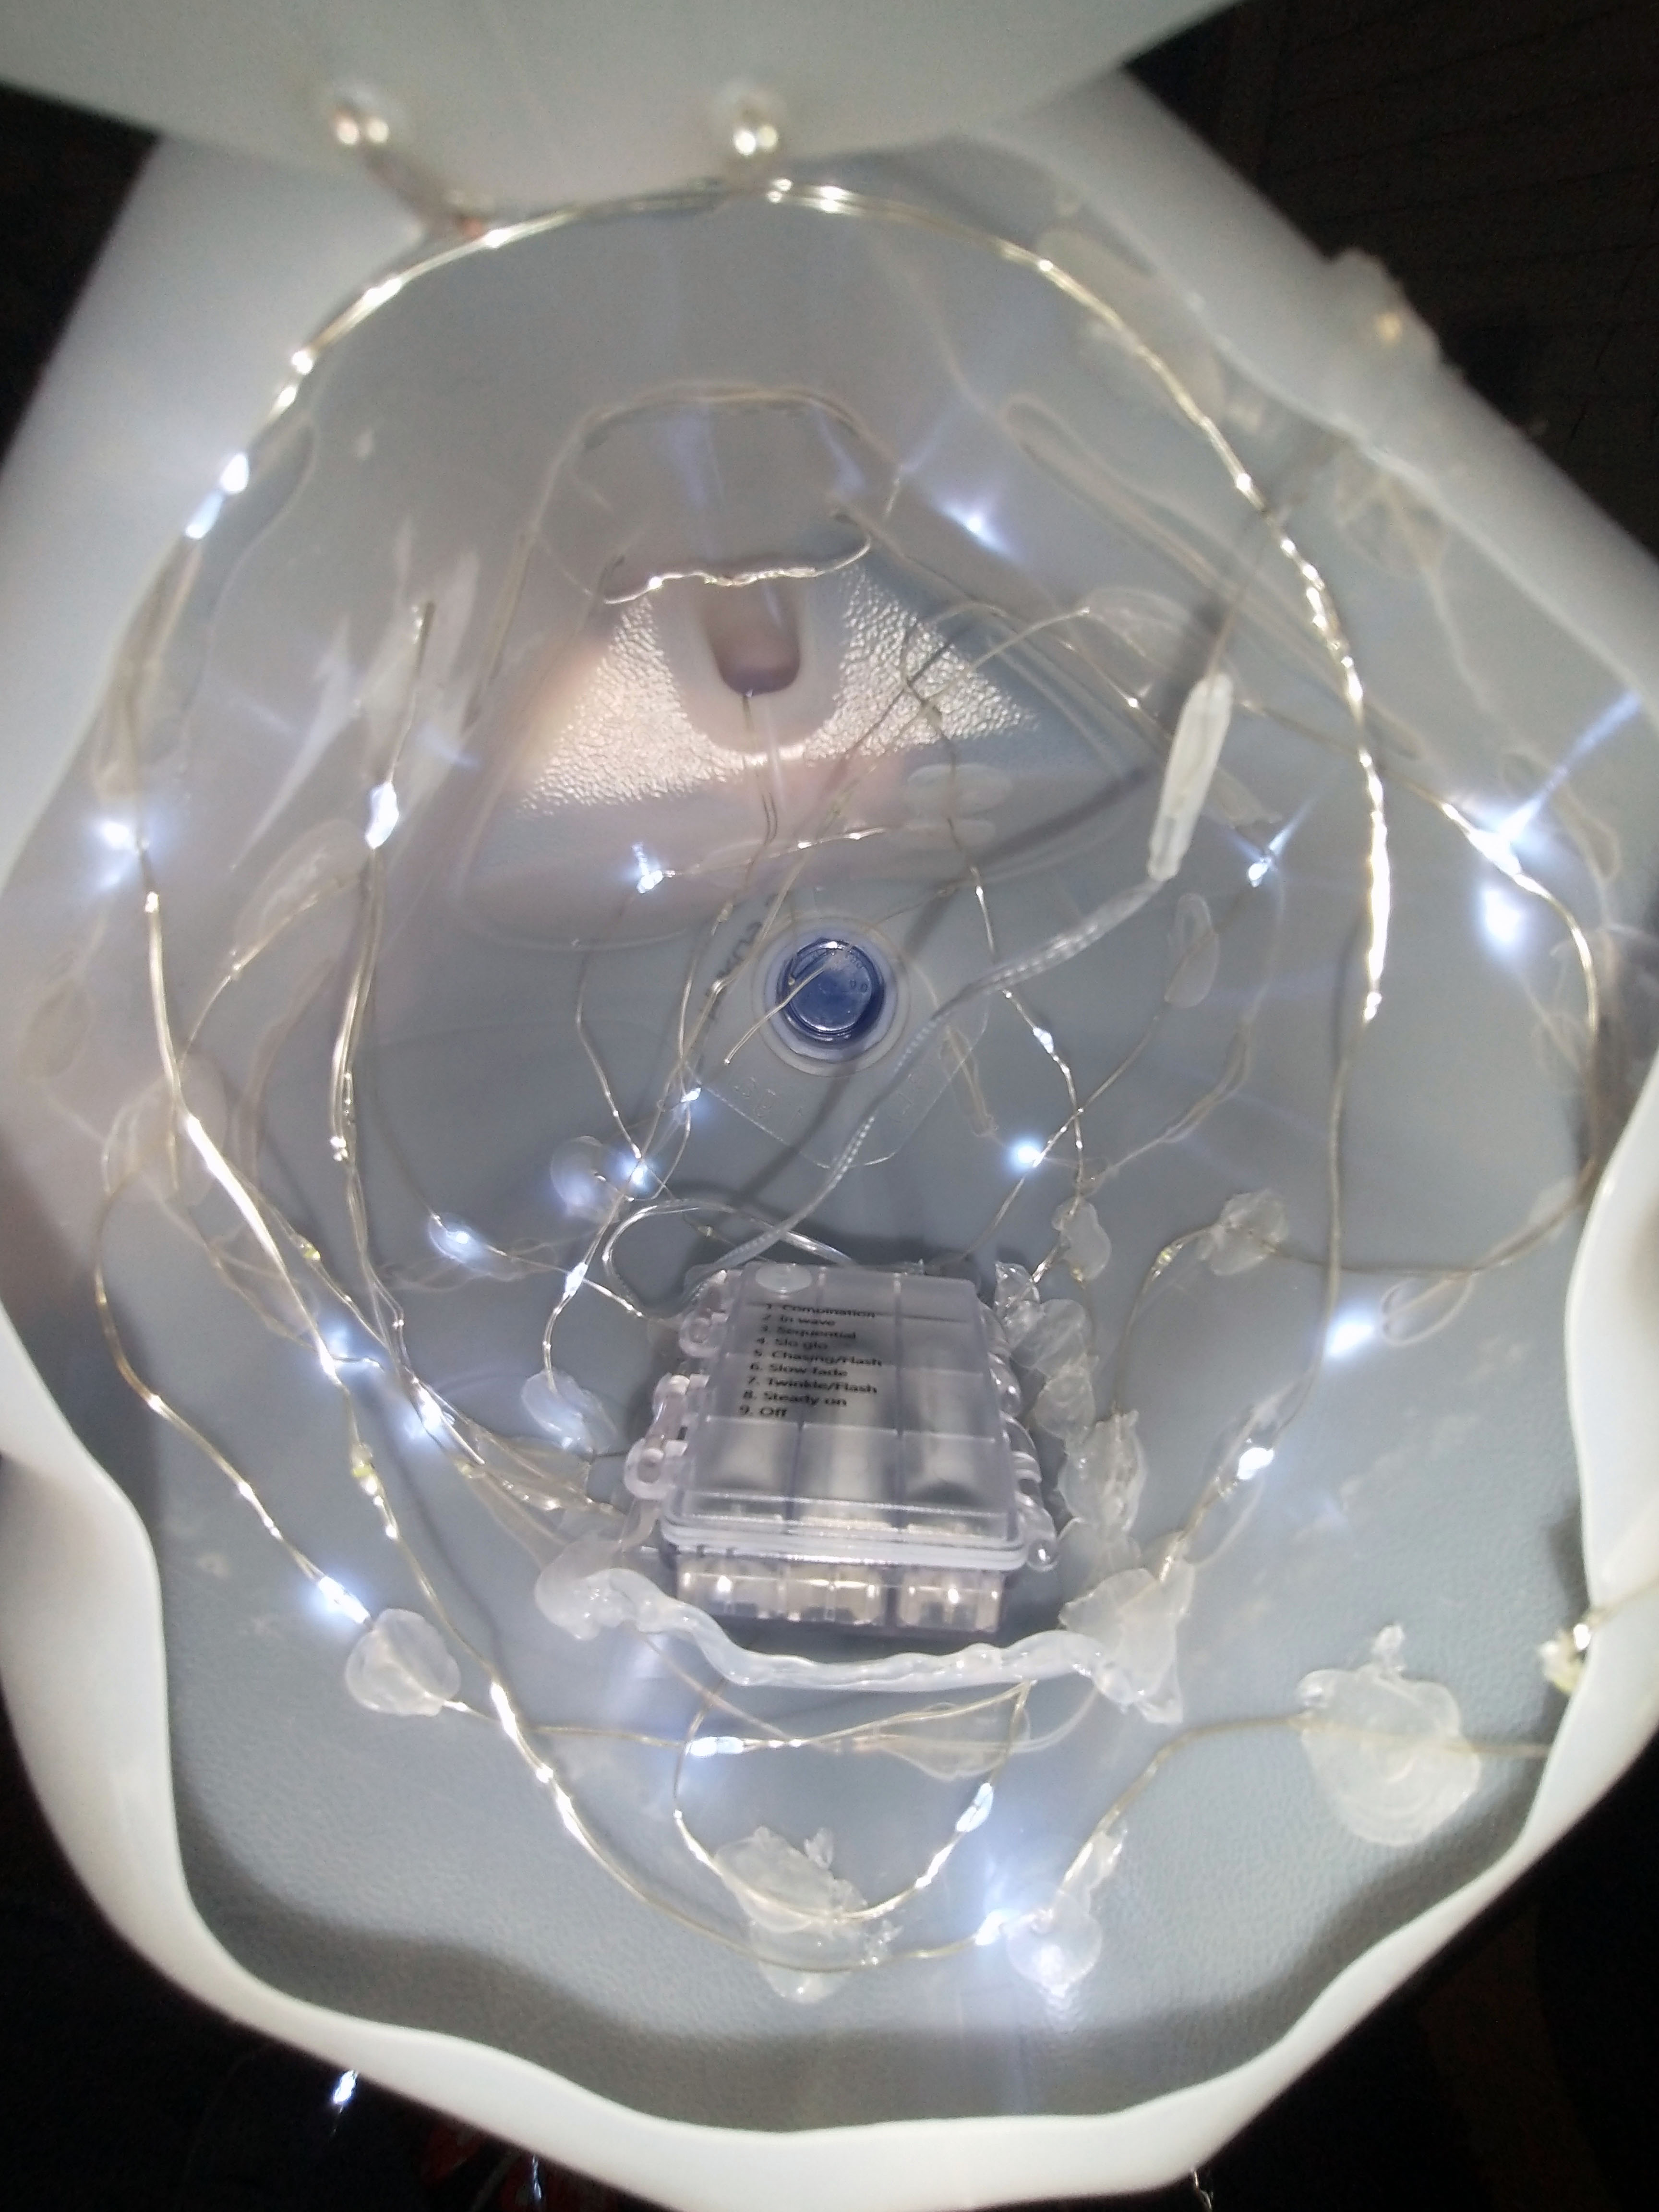
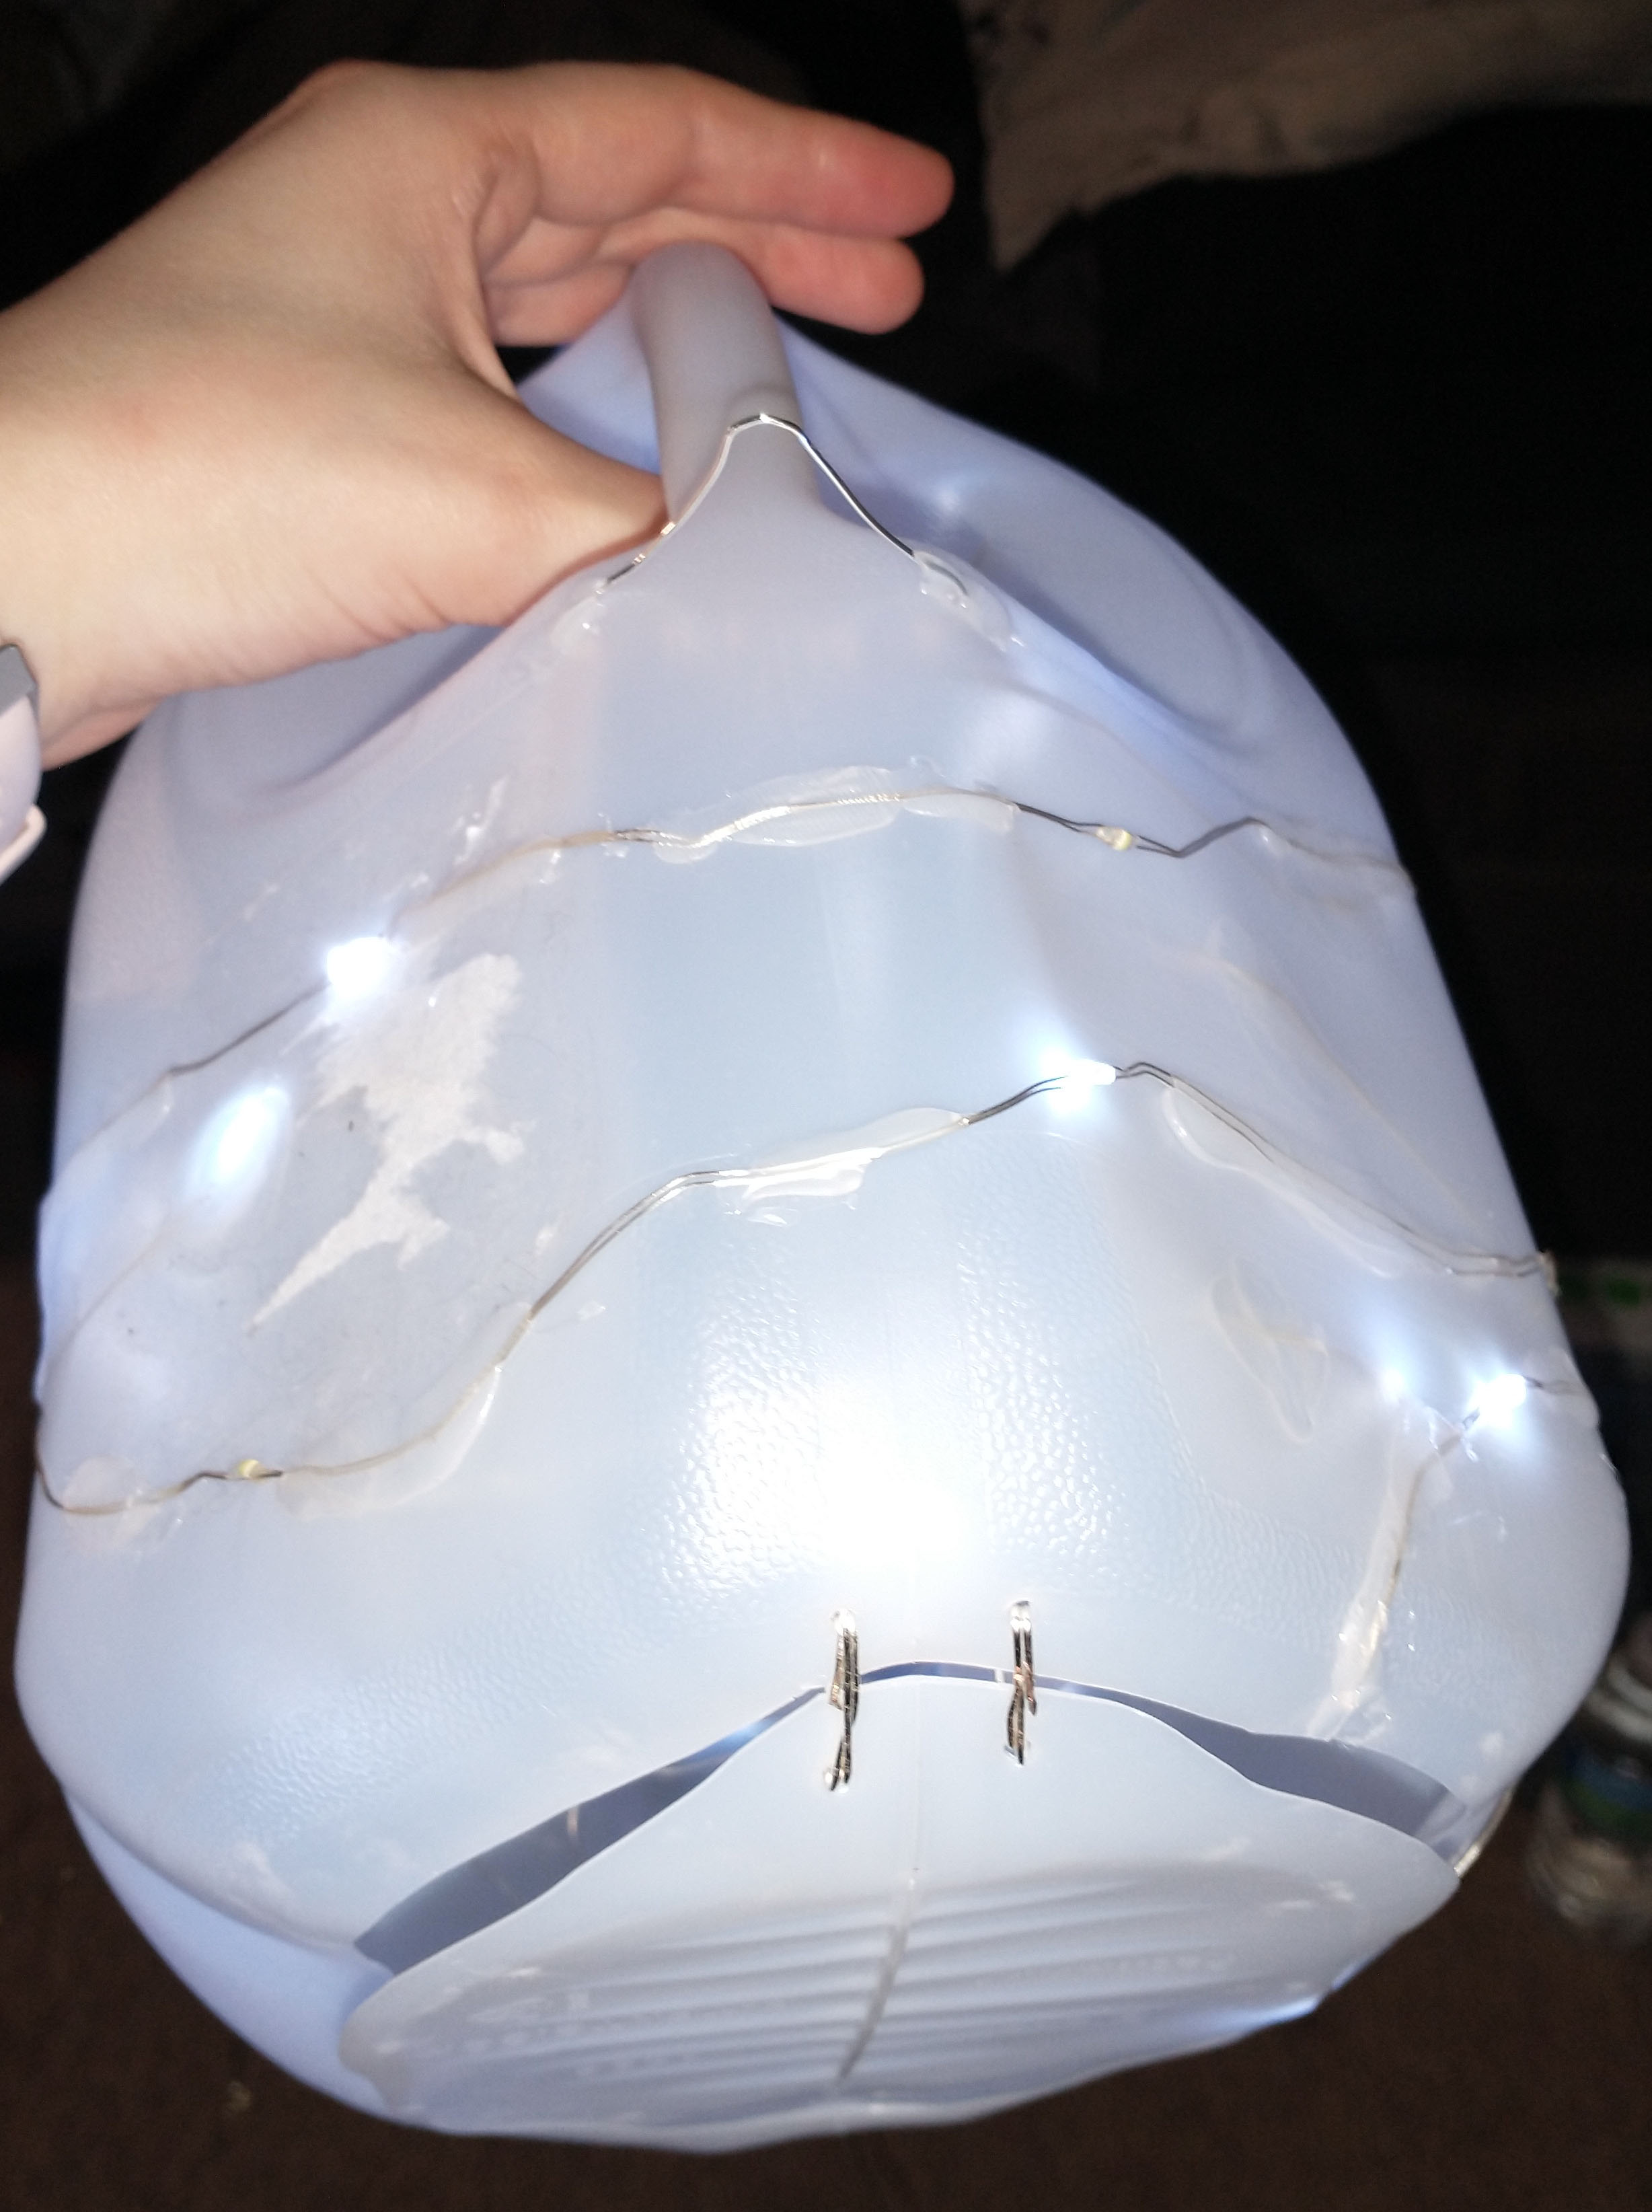

I glued all the holes where the lights exit from shut as well as all the loose wires on the inside. I pushed all as far to the sides as I could to make enough room for the battery pack to fit nicely. I then decided it would be better if the battery pack had something more stable to rest on that also evens out the weight. So, I cut a piece of plastic off another jug and glued it in the center for the battery pack to sit on.
I then poked two holes at the top of the cloud and created a wire hanger for it. I also made a hatch-door with the bottom piece of the jug we previously cut out. Then, it was time to make it into an actual cloud.
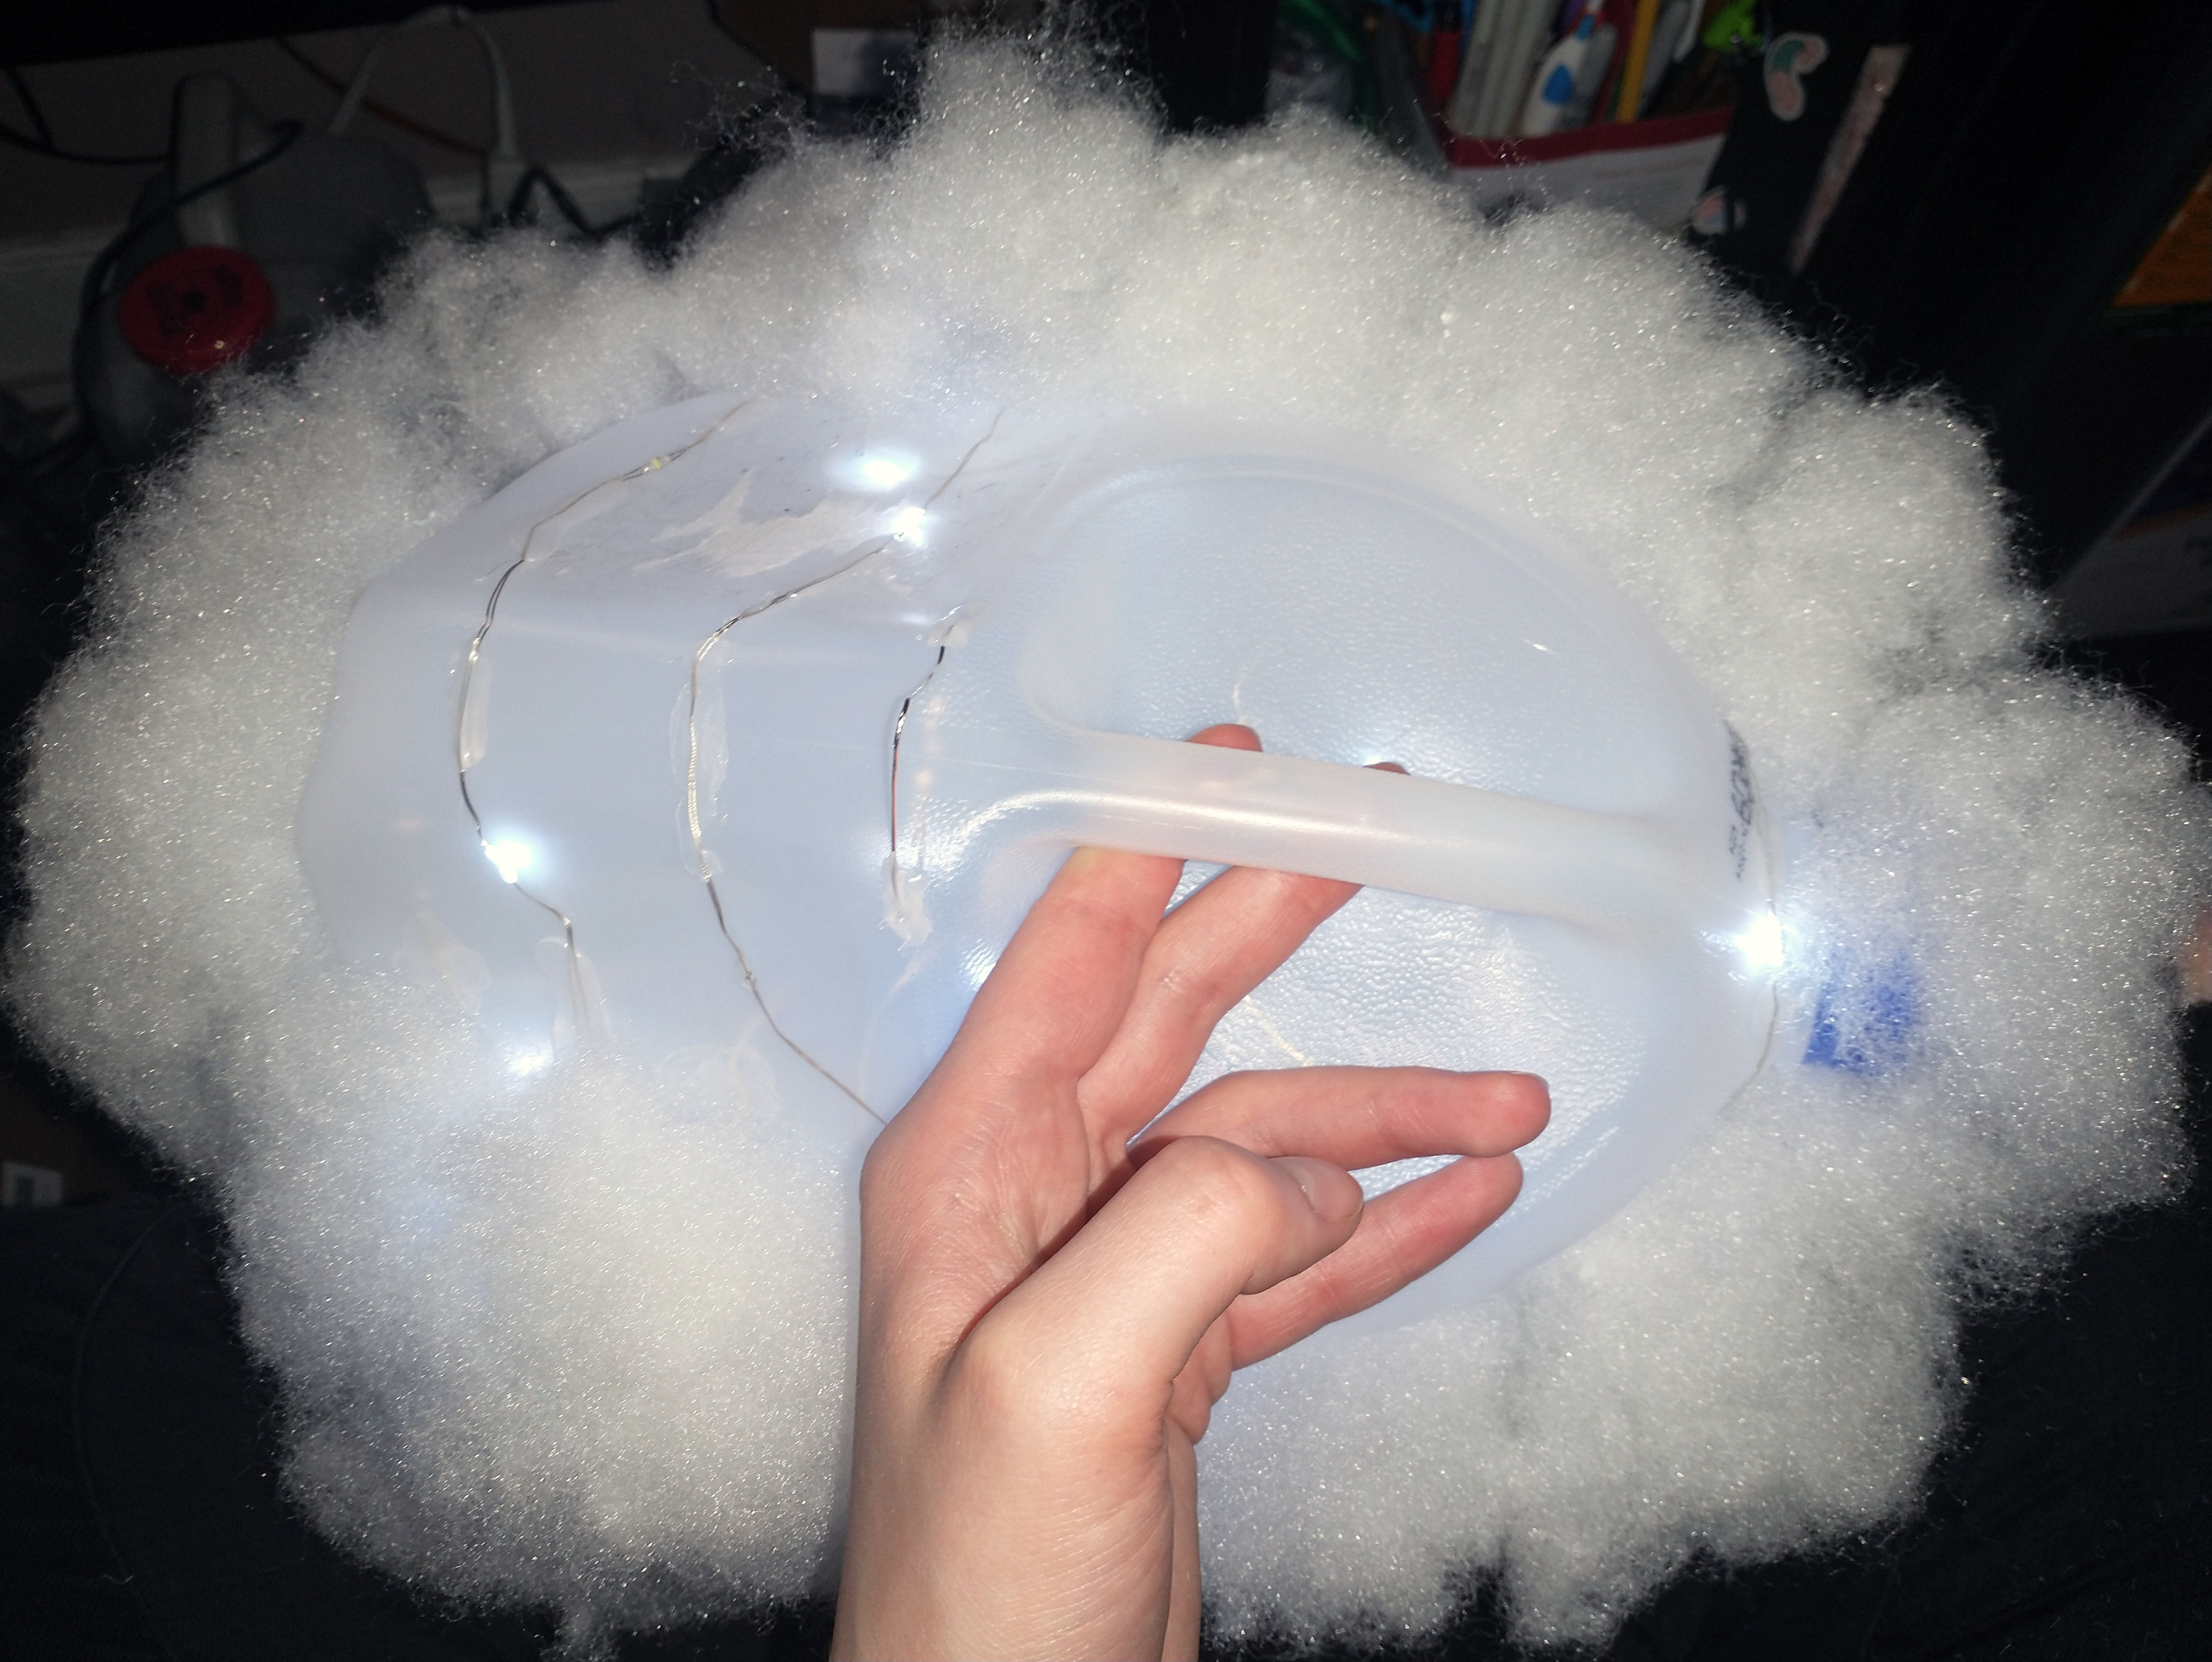
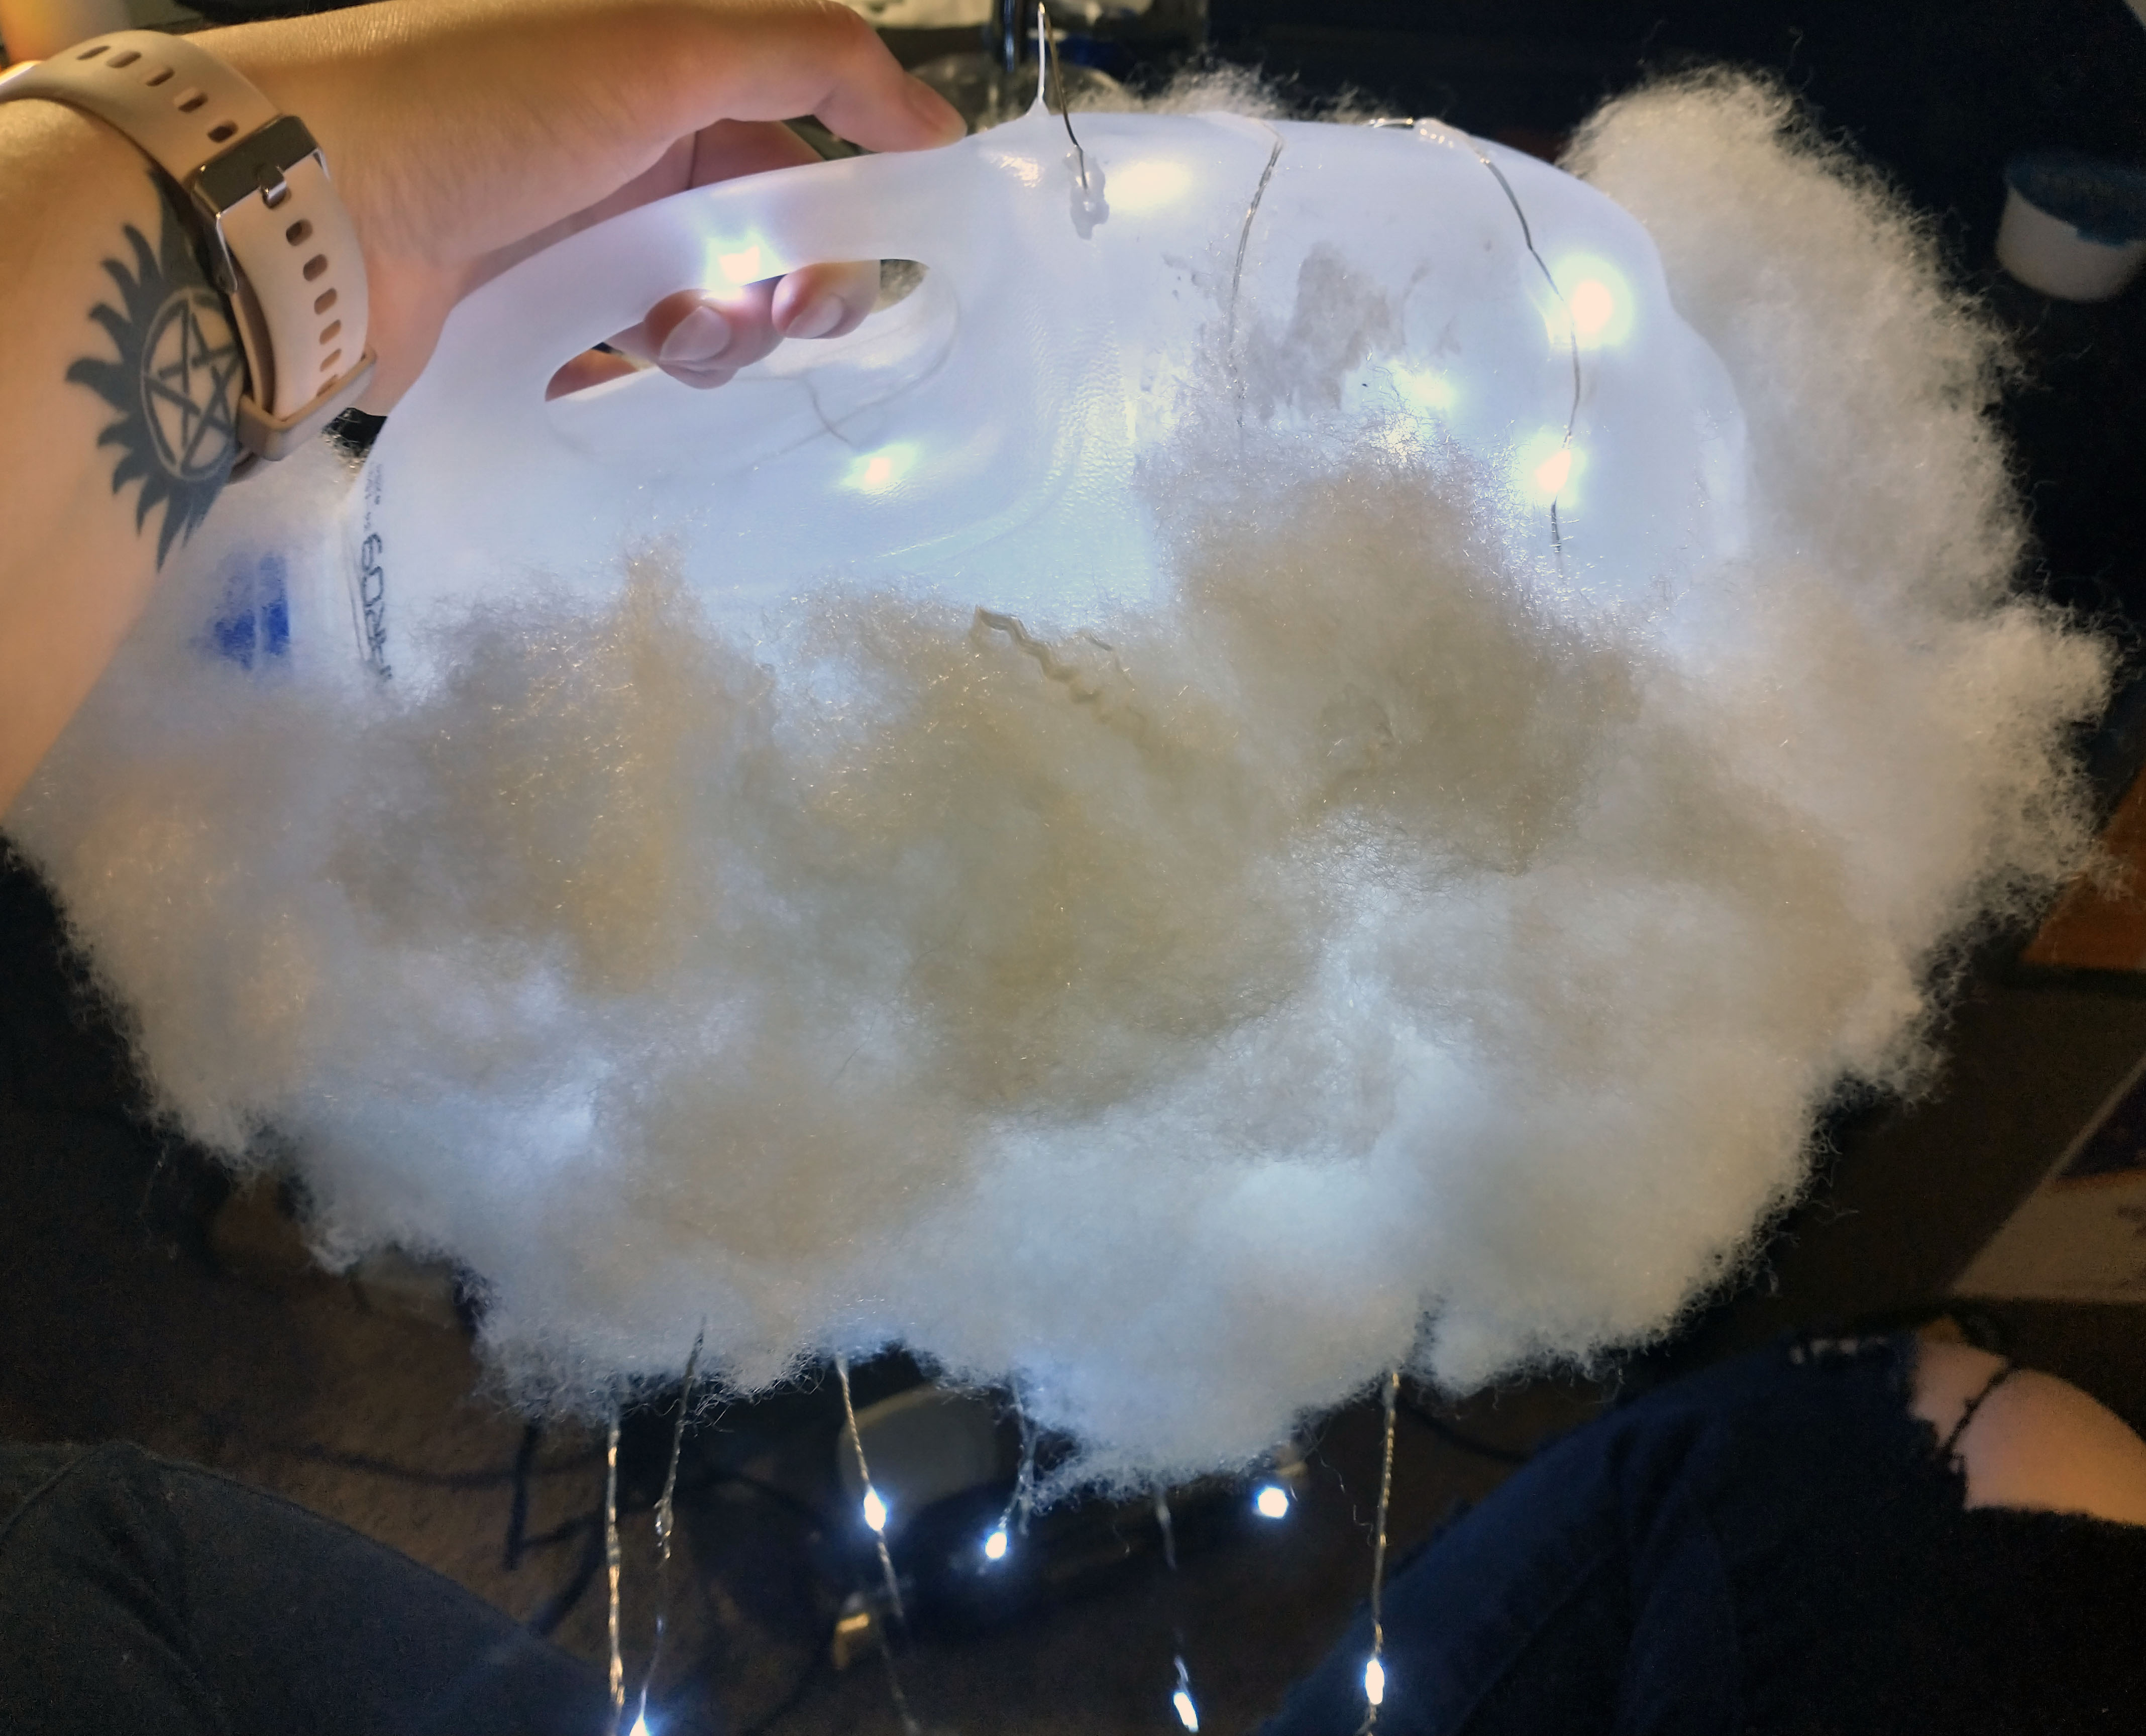
From here, I grabbed small portions of Poly-Fil and hot glued them onto the jug, including the hatch door. I made sure to fill in all the empty spots, especially at the bottom between the rain lights. As I got to the top, I made sure I was still able to easily grasp the handle to the jug as well as access the metal hanger. Once completed it looked like this…
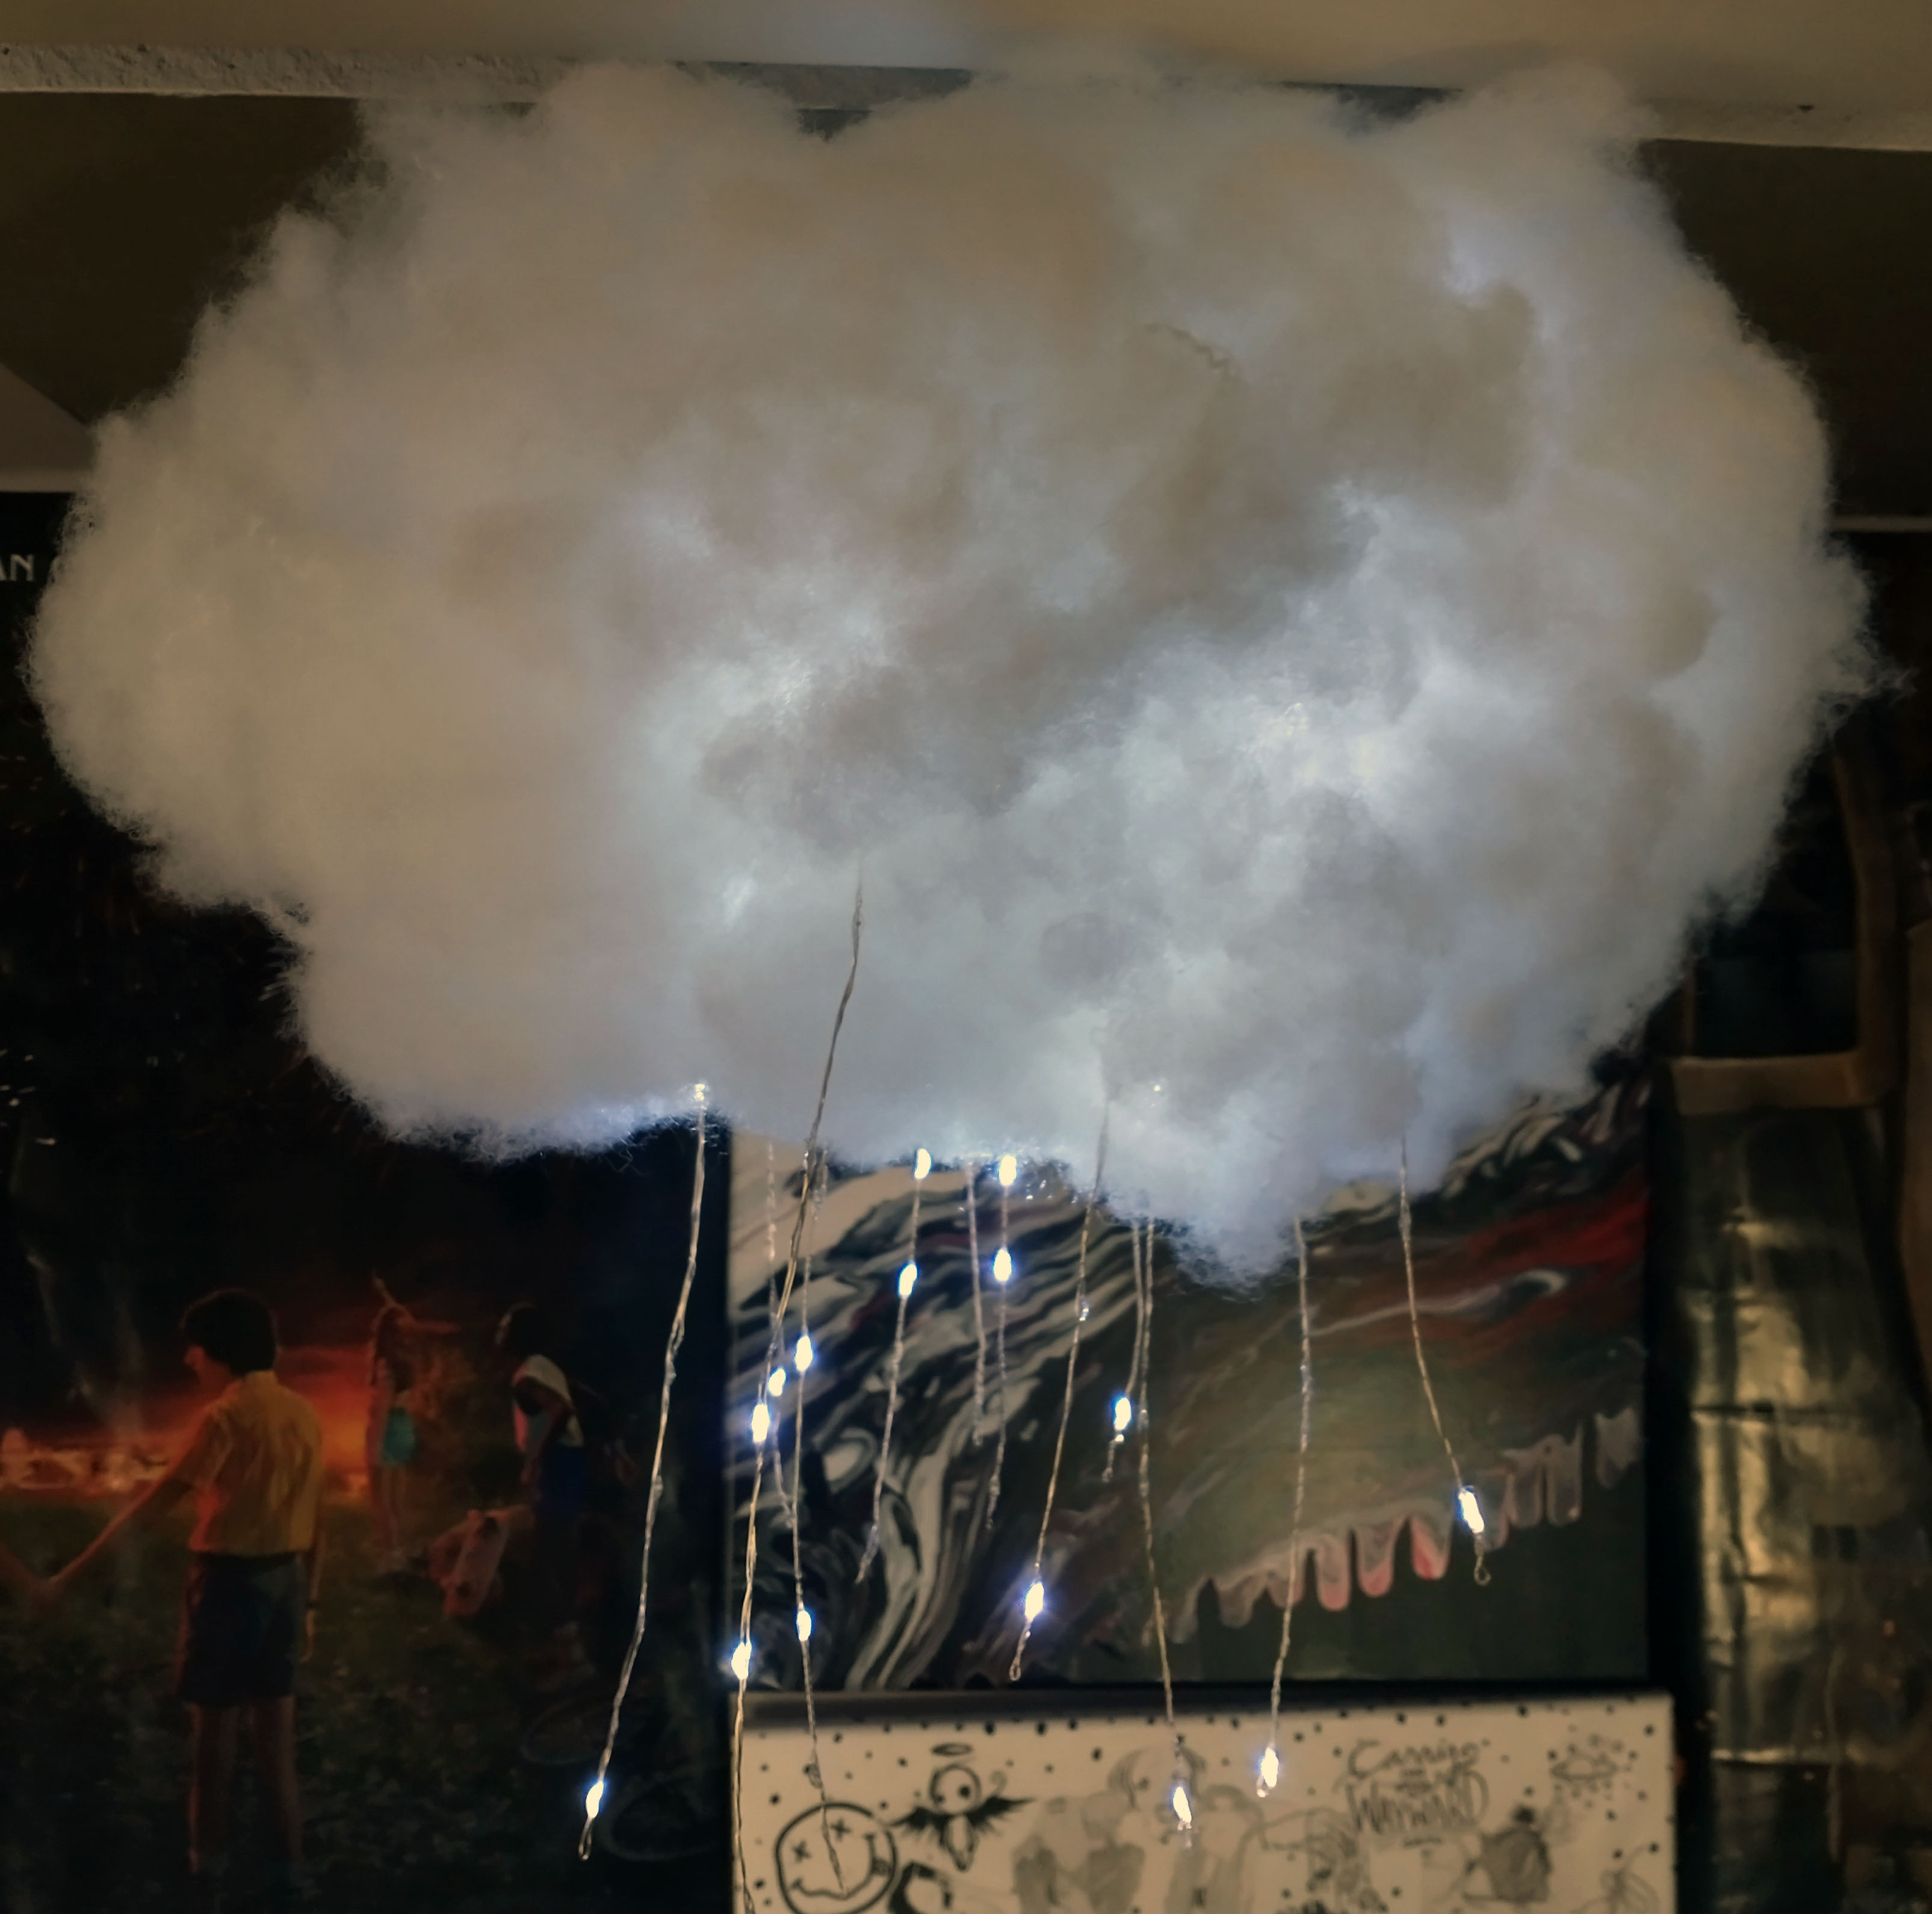
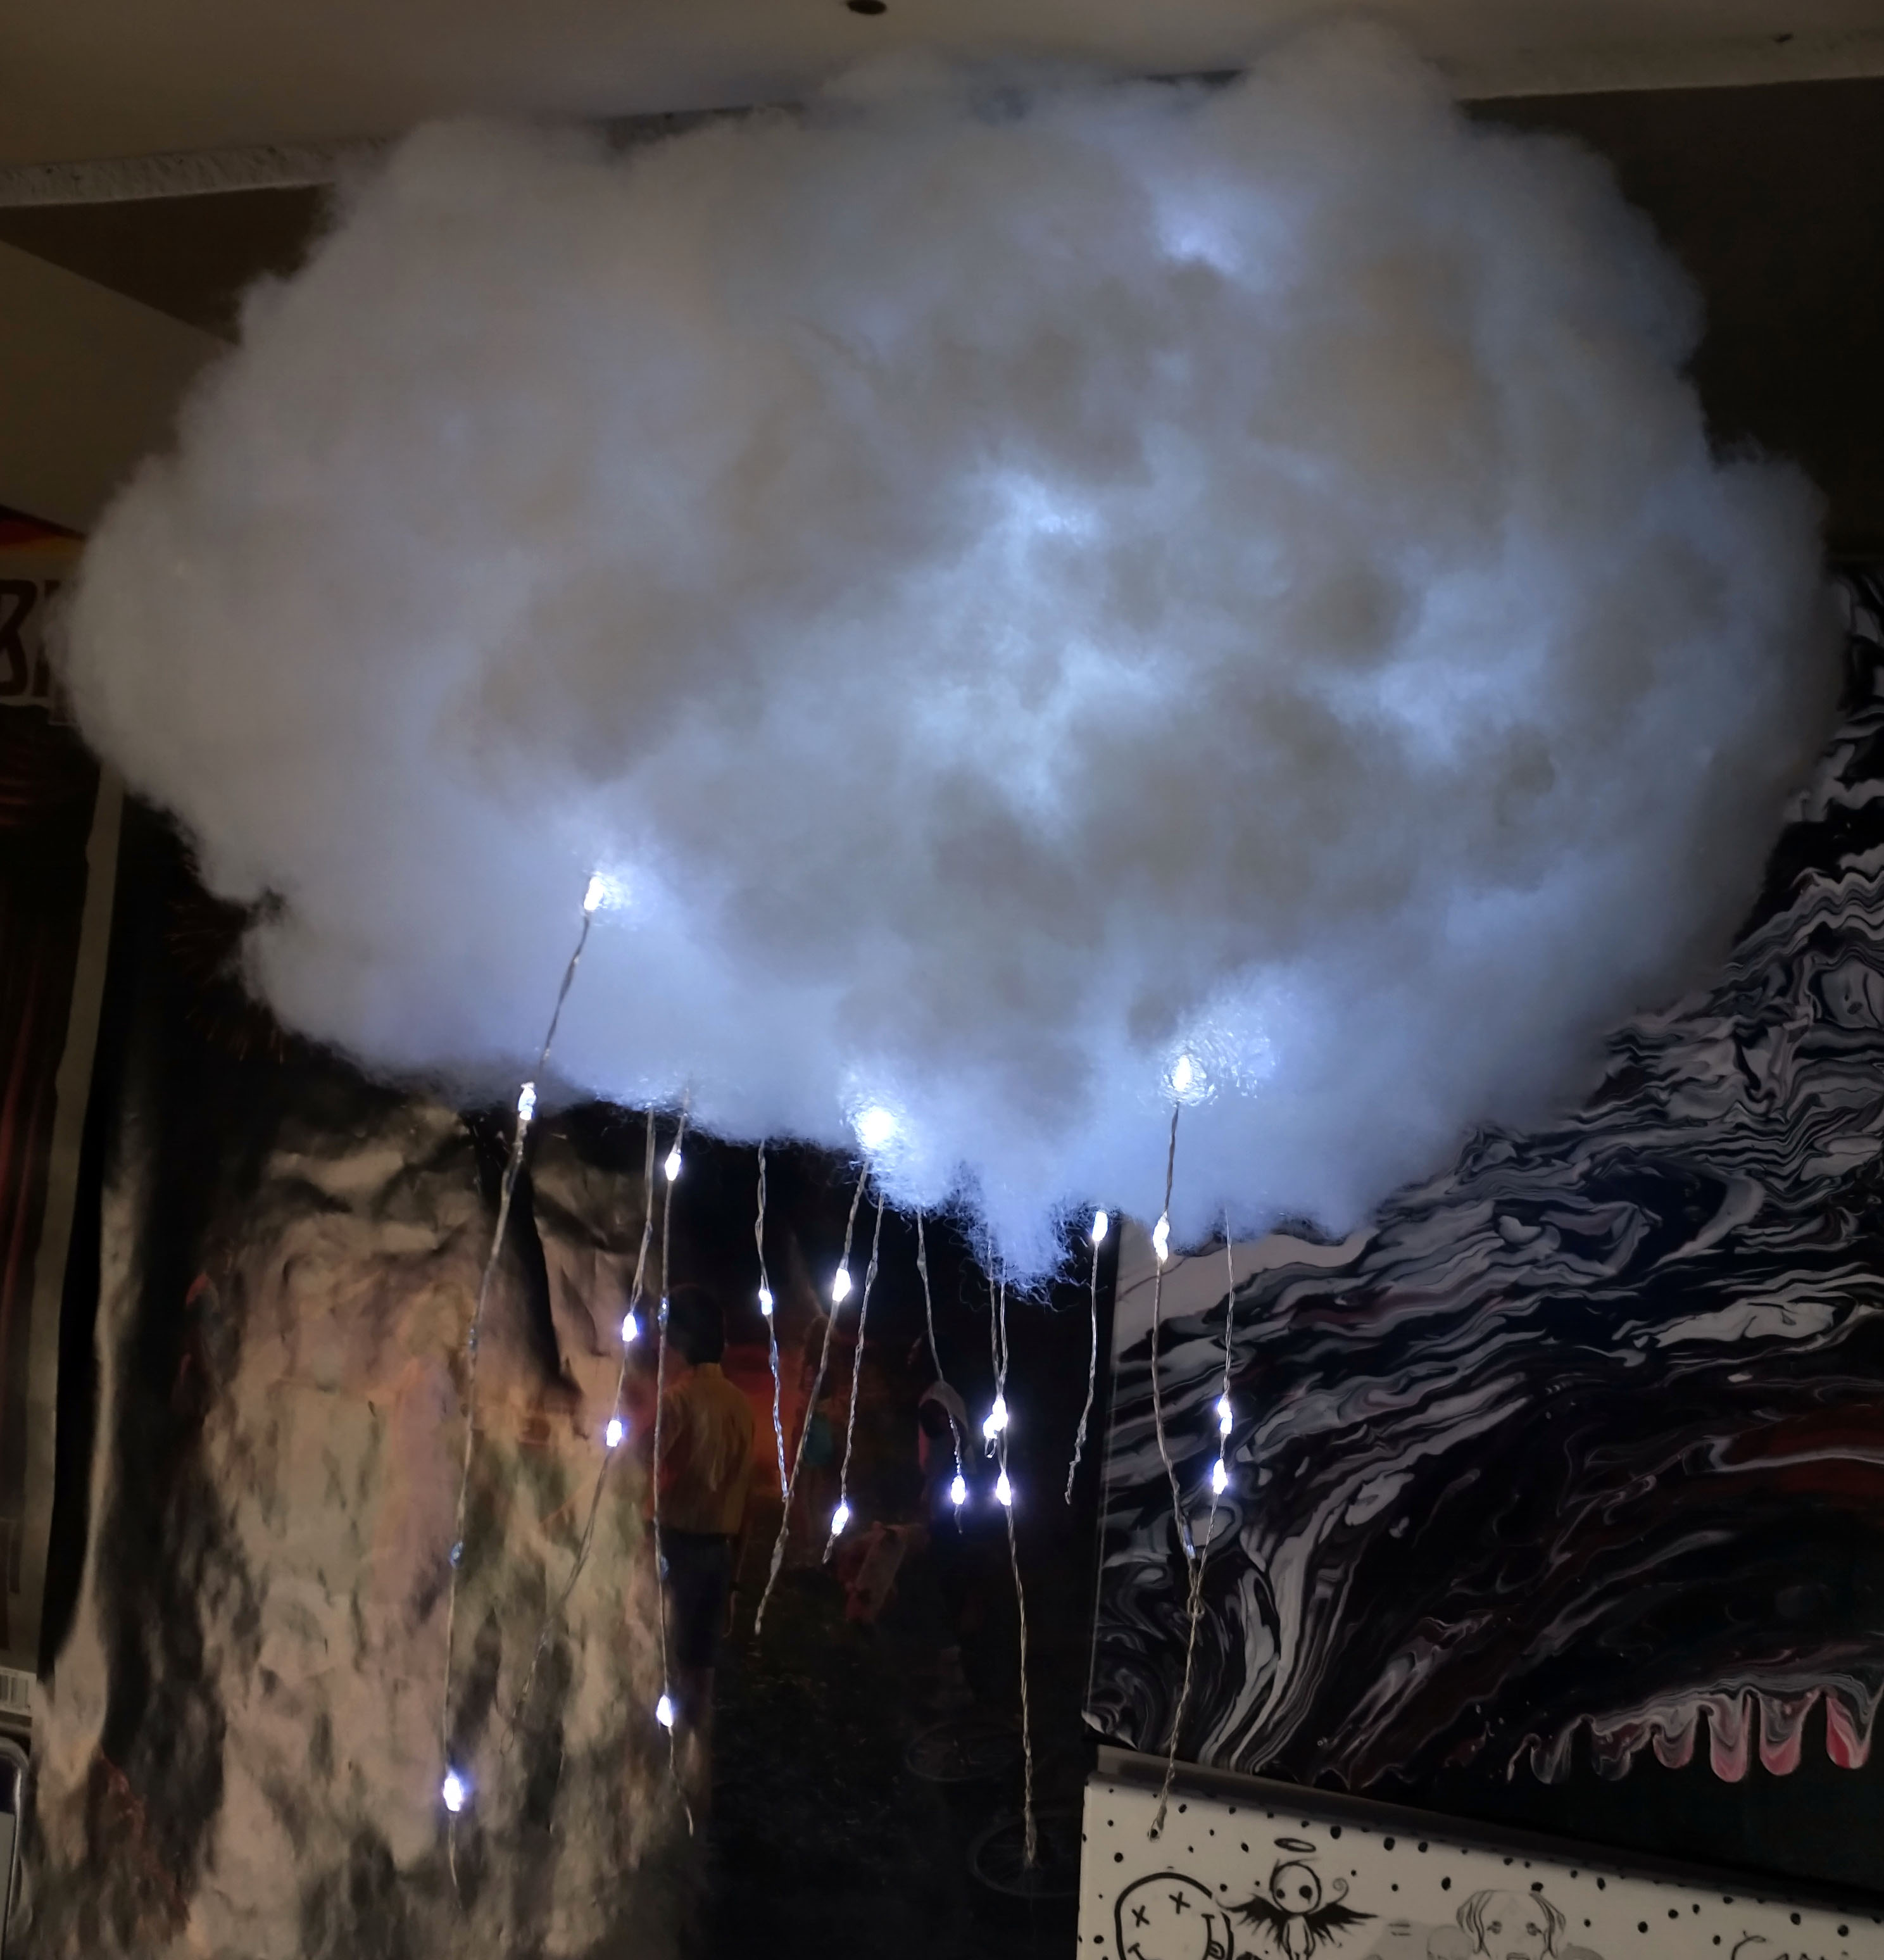
It takes a moment to straighten all the little rain lights, but it is worth the trouble. With the remote, I can turn on and off the lights as well as adjust the brightness and filter through different lighting modes. Being able to see it in person with the lights flickering makes it tons better. I definitely plan to make more as well as improve upon this idea, possibly adding raindrop jewels to the bottoms of each rain light.
This is so cool!!!
So glad you think so!