The latest craze in the art world is fluid painting also known as acrylic pouring. I found out about fluid paintings through various accounts on Instagram so I figured I would give it a go. To start I researched various websites, YouTube, and social media accounts to figure out how to create fluid paintings. All of the sites say to use acrylic paint, disposable cups, things to stir with, a canvas or wood canvas, a diluting medium, and water. The paints have to be thin but not too thin that they resemble water. Acrylic is the main paint medium because it is permanent. None of the websites I searched said anything about other mediums, but I wanted to try tempera paints since it is thinner then acrylic and still mixable with water for experimentation.
To start any fluid pour the colors that you want to use must be mixed together without adding water or other mediums. Once the colors are created add the diluting medium and water to thin enough so the stirrer is lifted and the paint will drop down in a stream. The colors now can be various consistency, but must still be pourable. Do this to all the colors and then get another cup and pour each color in various amounts and layers to combine. Set the canvas into an area you are not afraid to get dirty and have cups to raise it so paint will drip off.
Their are two methods, that I know of, the dirty pour and the flip cup. A dirty pour is taking the cup with all the paint and pouring directly onto the canvas. A flip cup is turning the canvas onto the cup and flip them over together. Let the cup sit on the canvas for a bit and then remove. The paint will come pouring out. This next part it is better to wear gloves, but I didn’t, to not get covered in paint. After there is a puddle of paint on the canvas tilt, angle, and move the canvas around to fill the canvas with paint. Finally let the canvas dry and you’re done!
Below are my results from liquid pouring with tempera and acrylic paint with various changes and manipulation to each artwork.
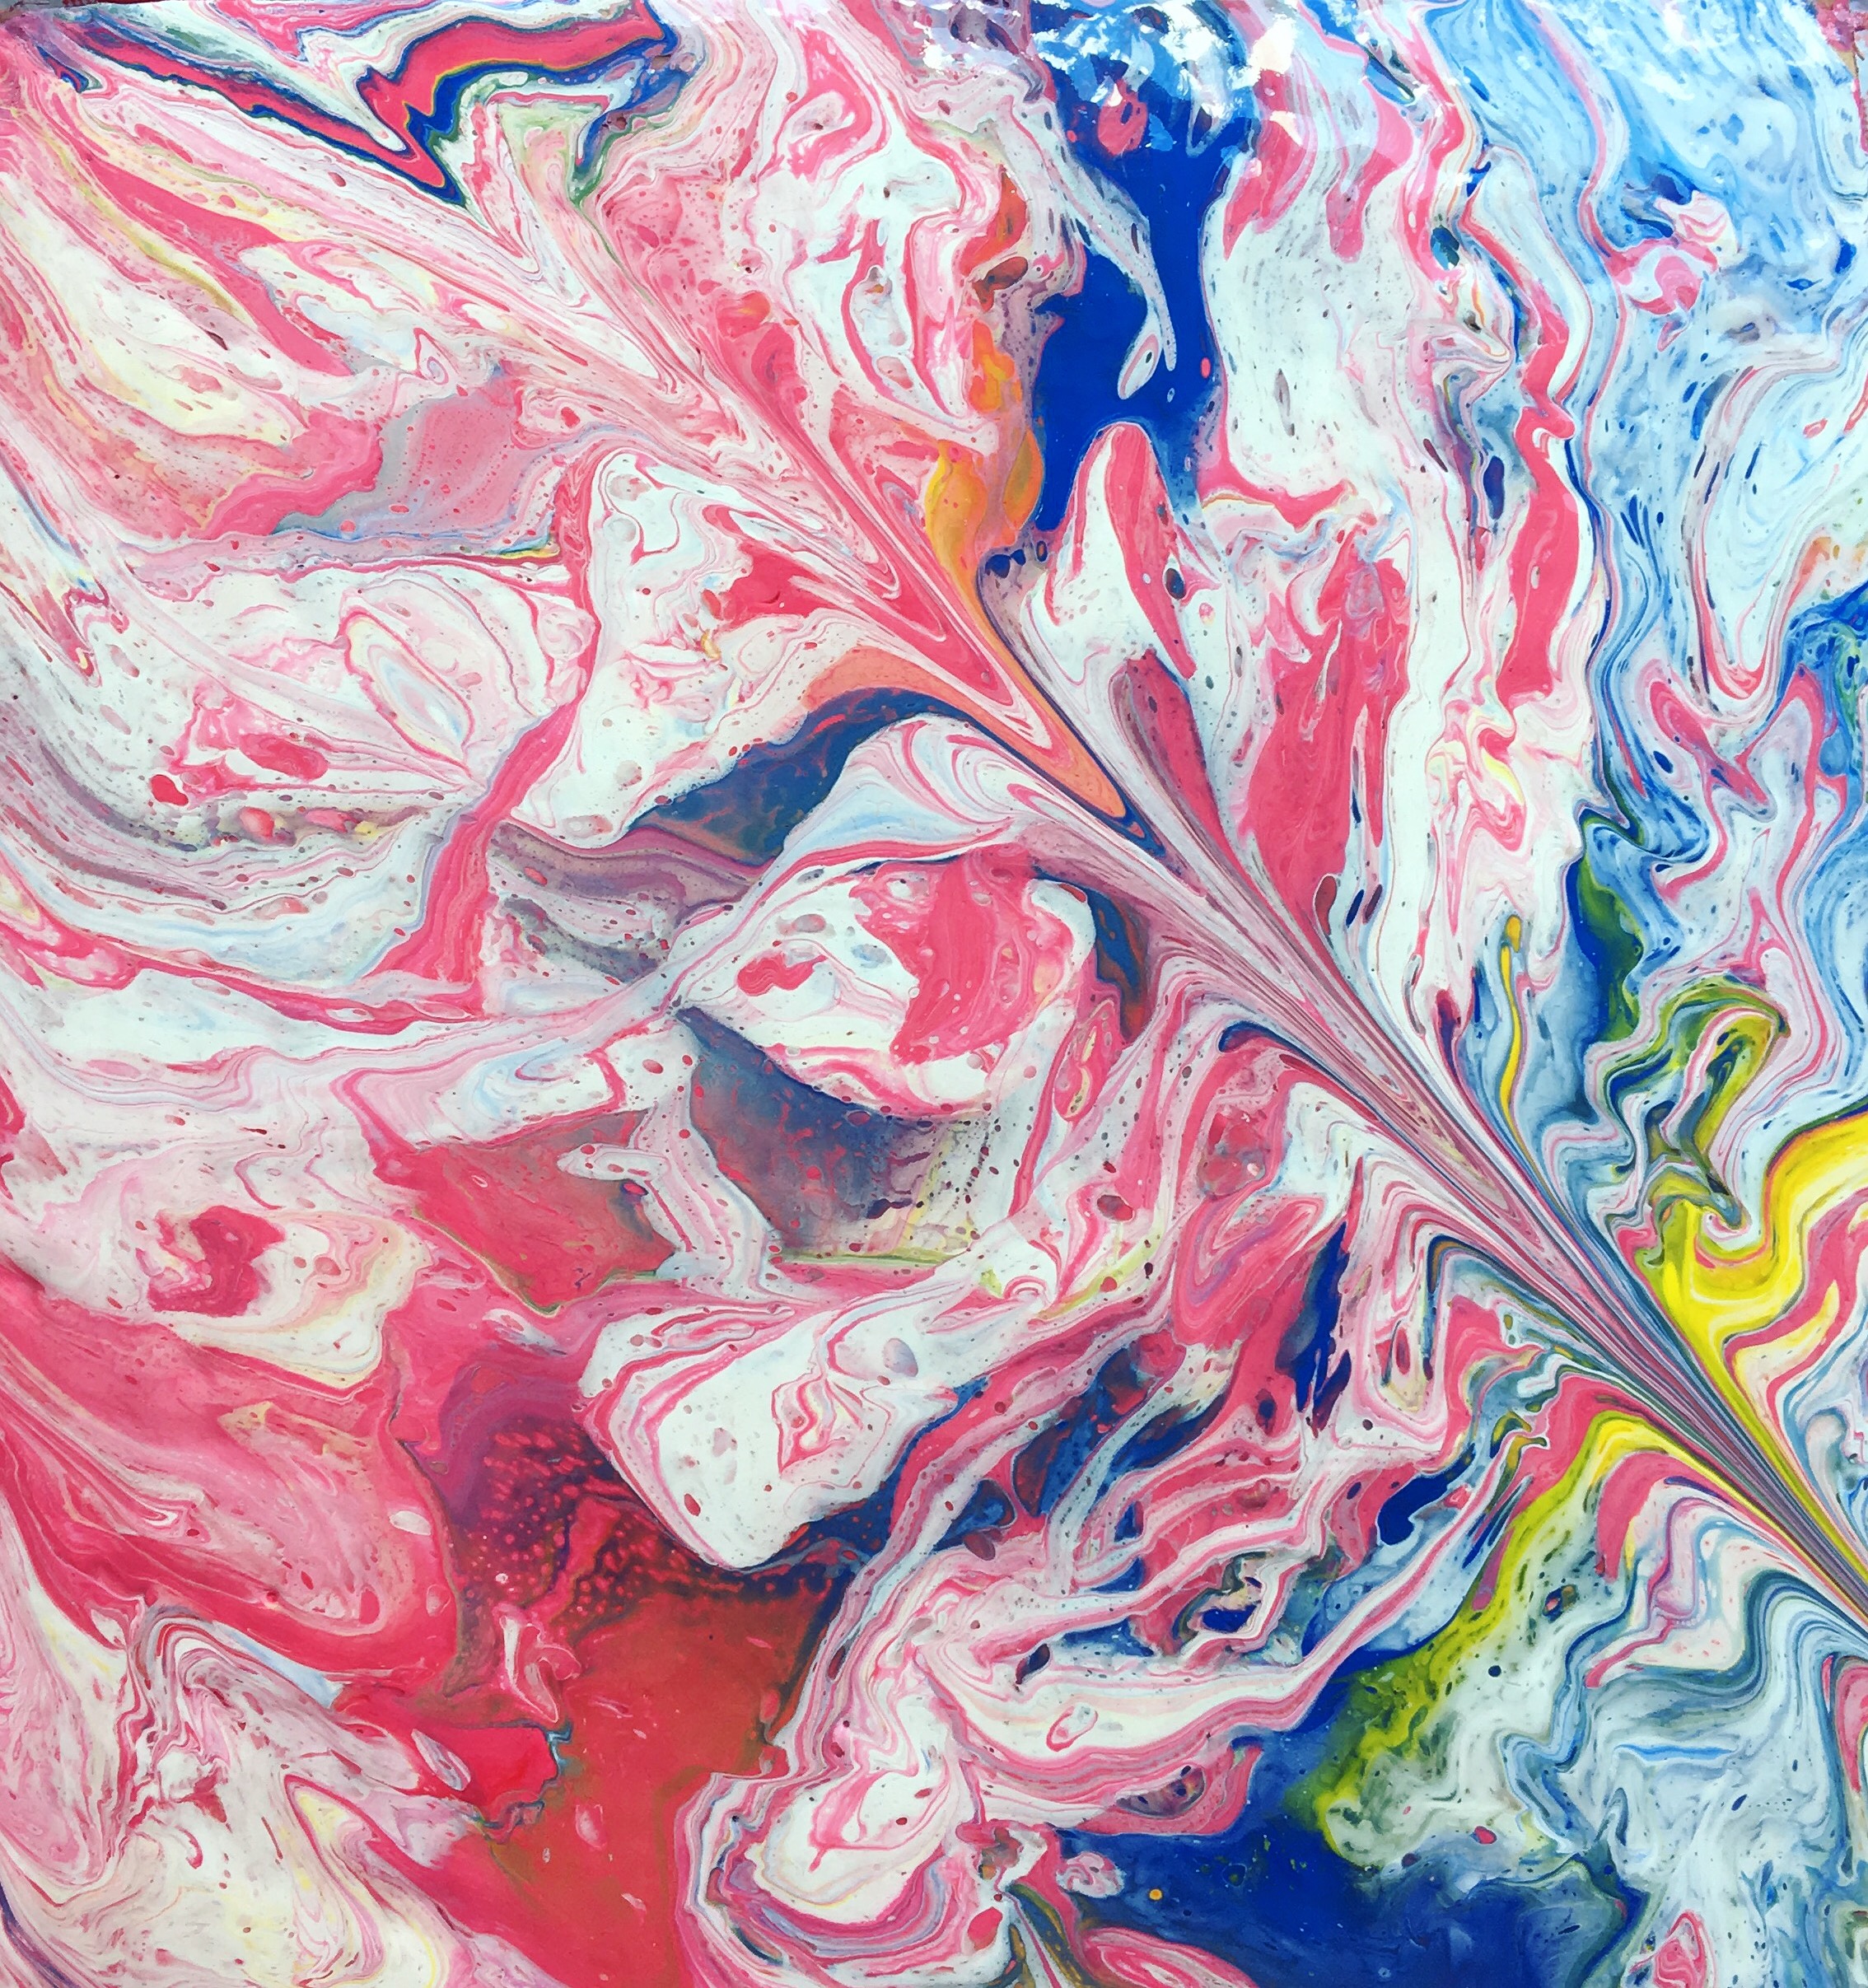
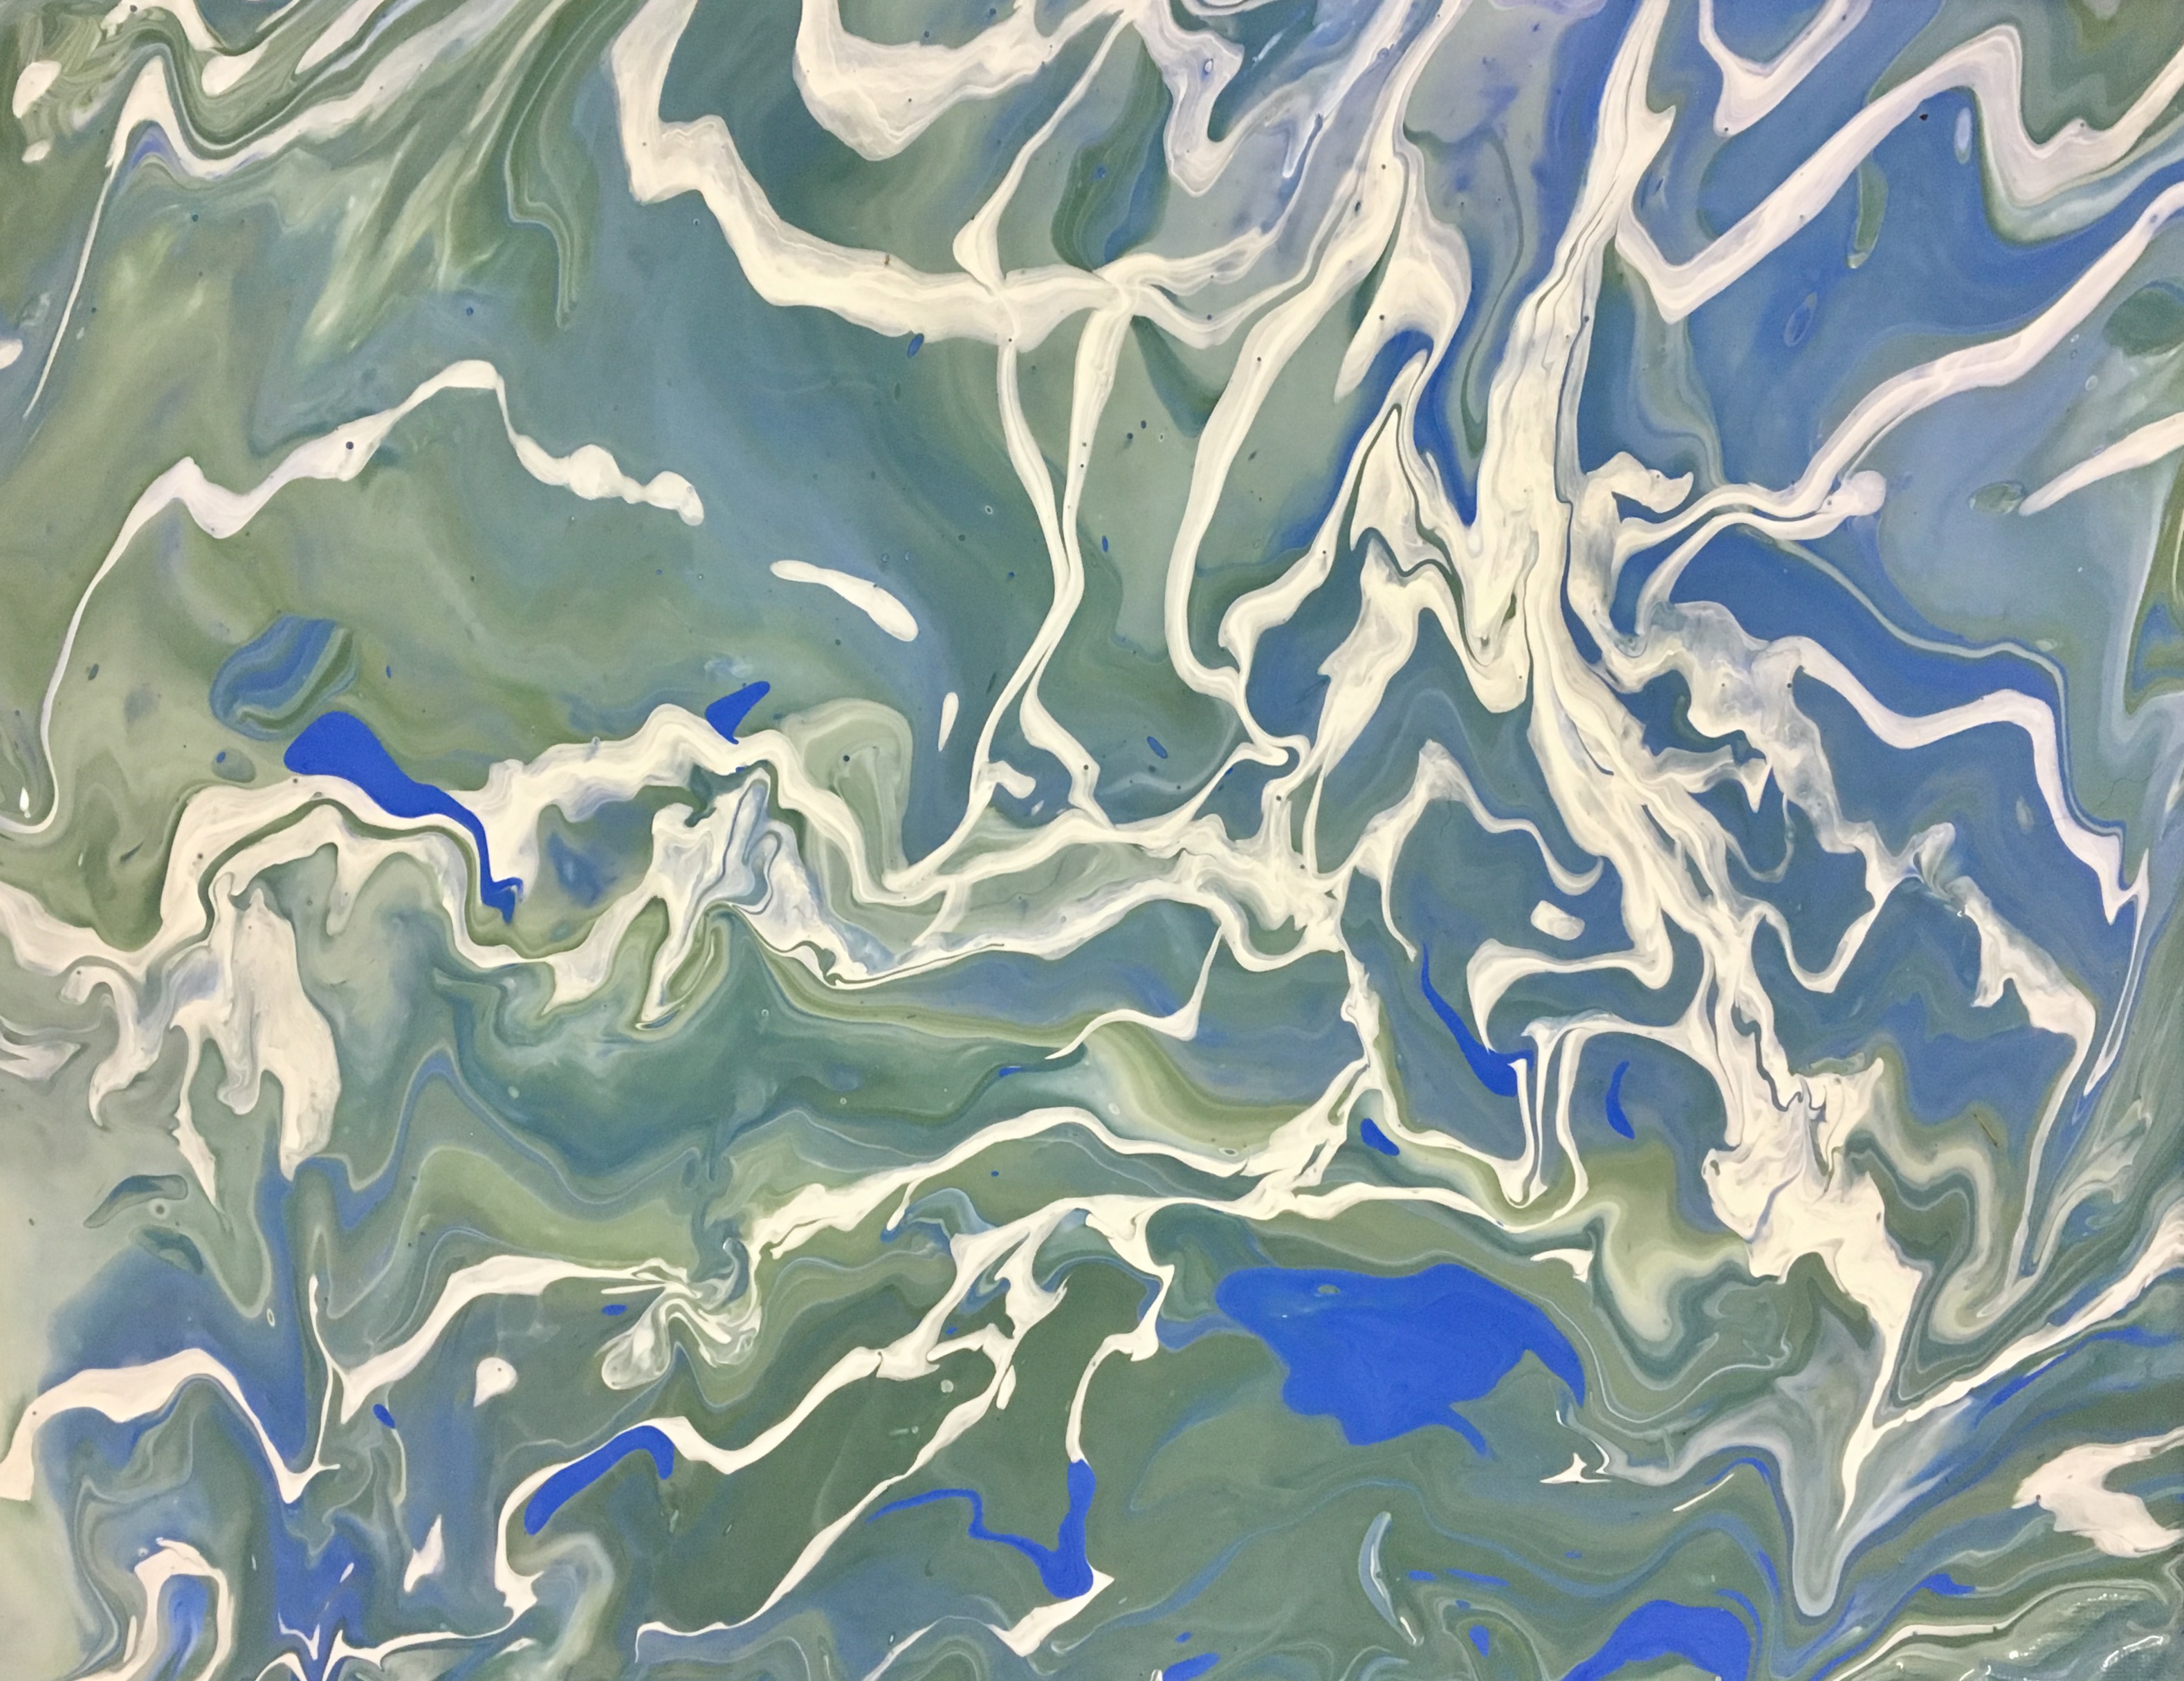
Tempera
The tempera paints were easier to thin down and used less material then acrylic but when they dry they are at risk for cracks if the right amount of paint is not applied. I think using tempera is a great idea to get a feel of how liquid pouring works and the consistency needed.
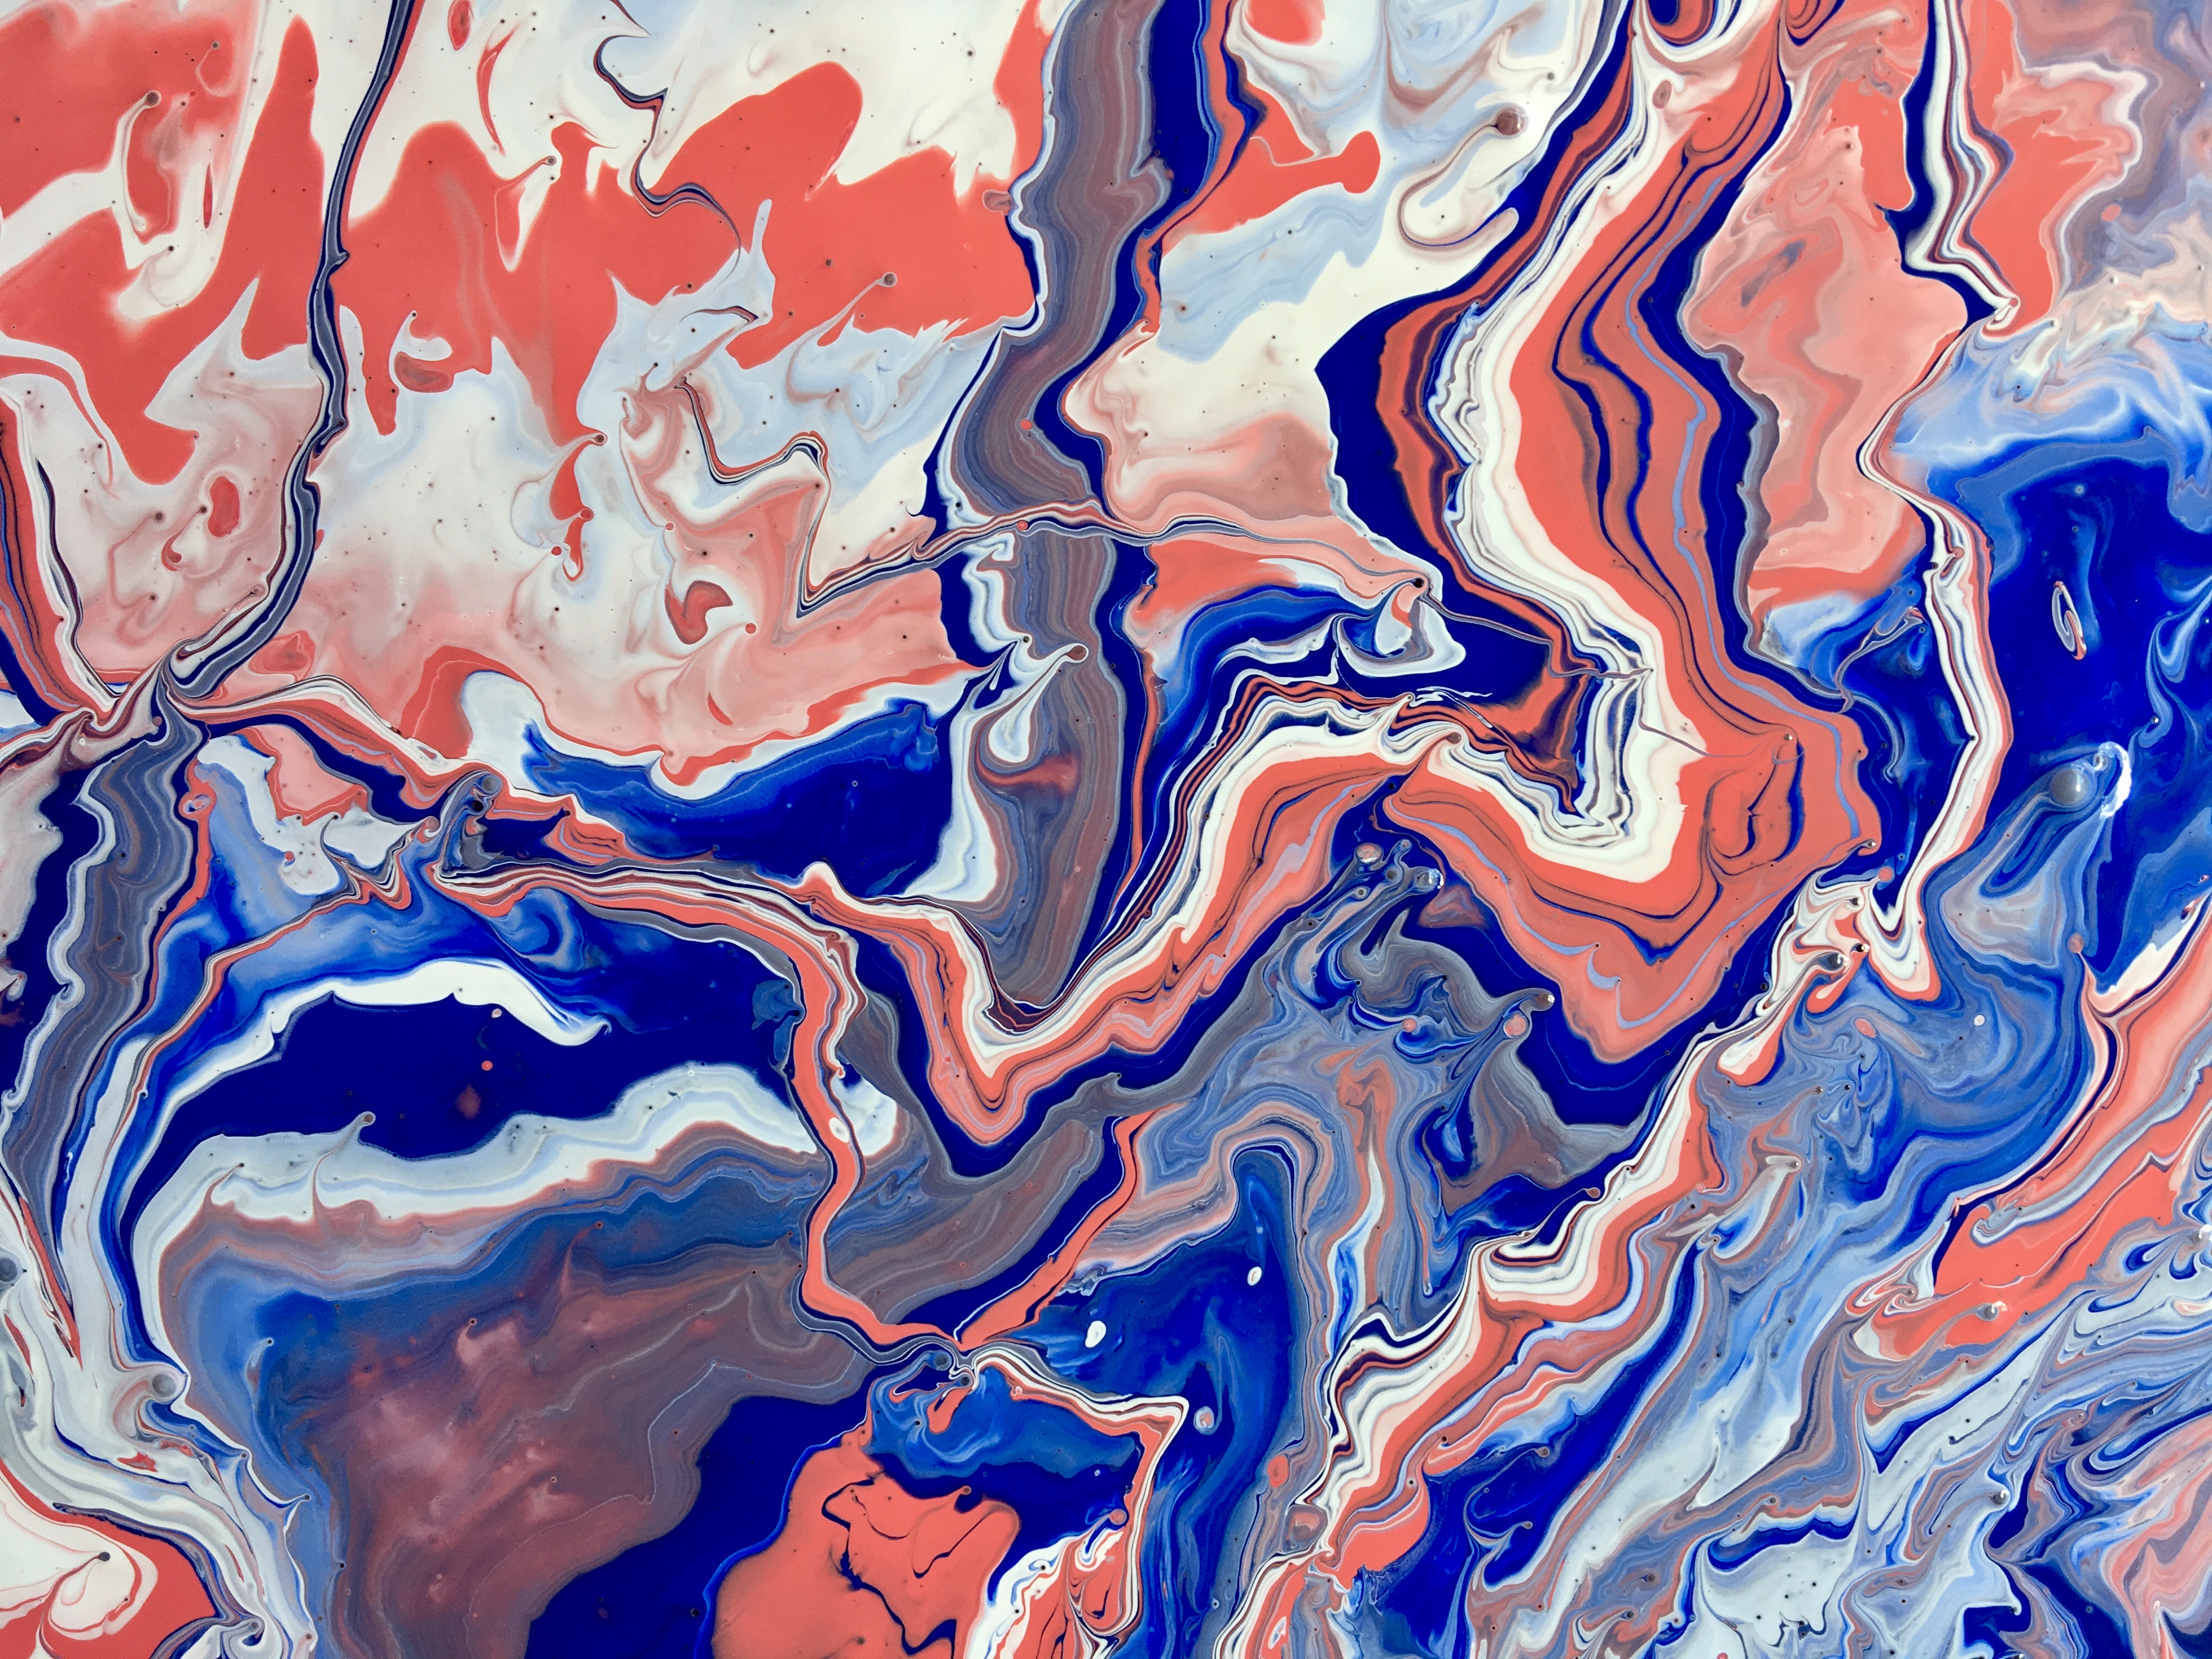
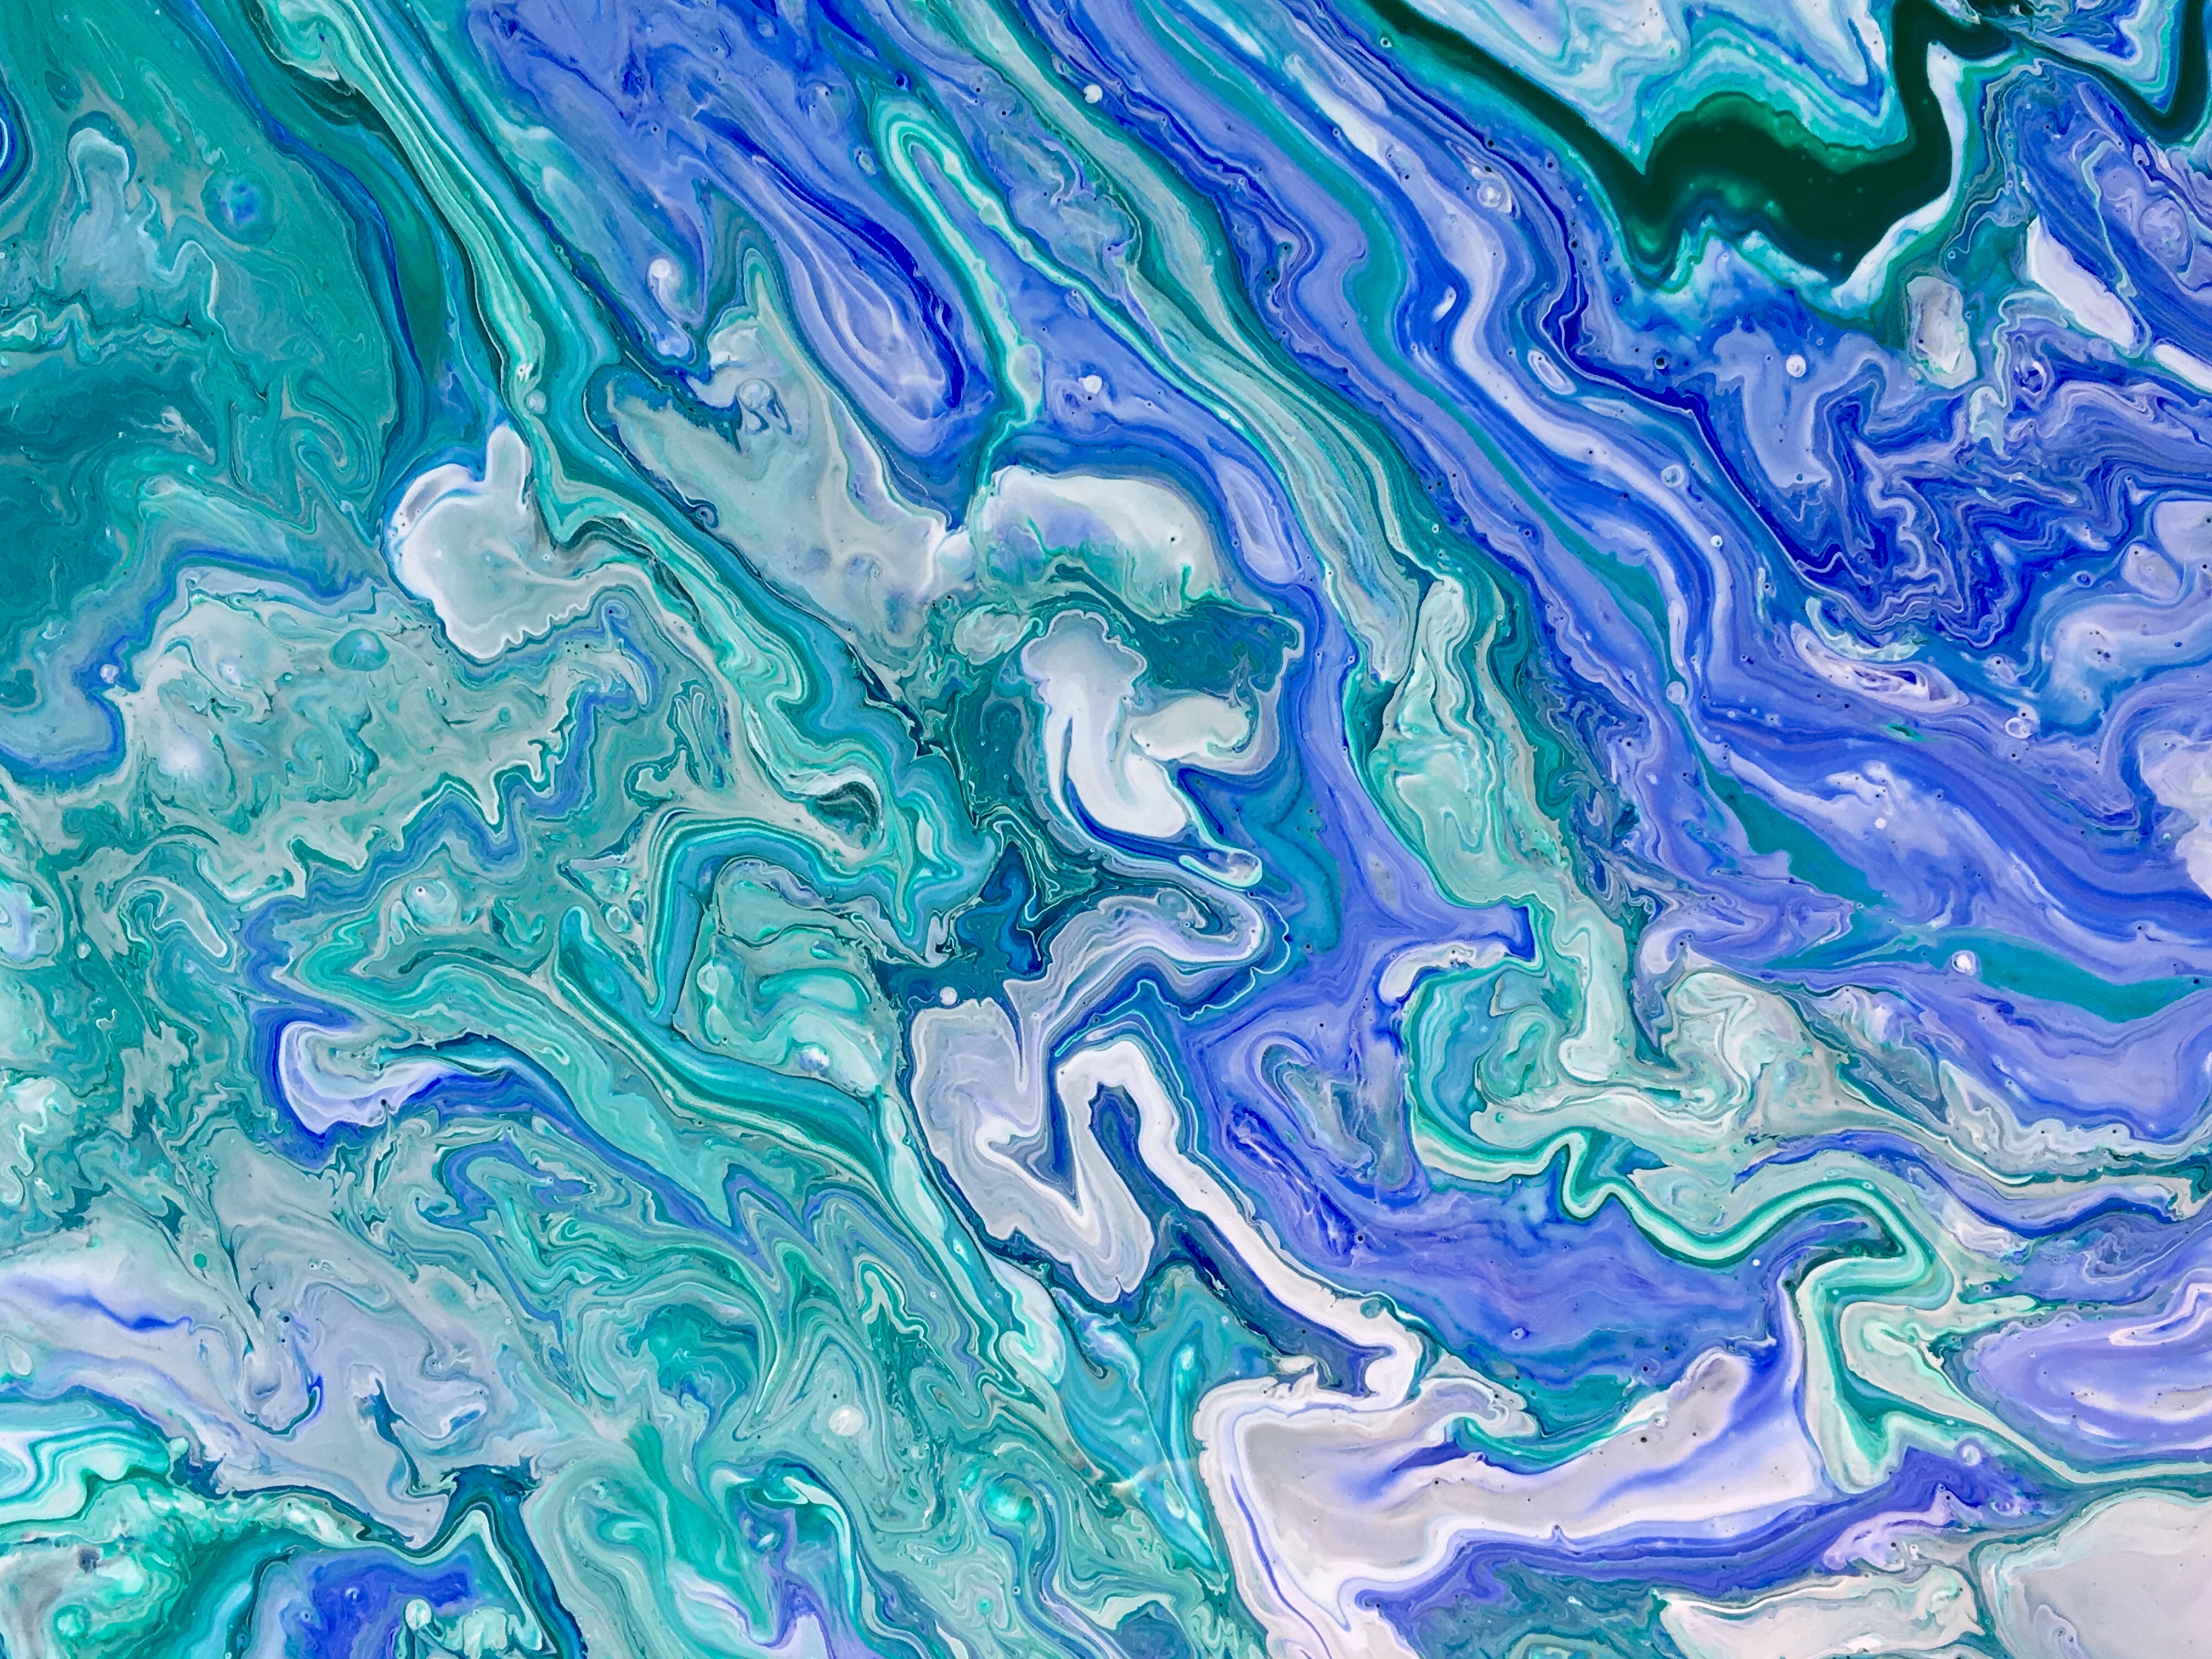
Acrylic
When creating the acrylic it involves more water and a diluting medium. All of the websites say to use a pouring medium, the most popular is from liquitex, to be the diluting medium. I did not have any of that so I used gloss fluid medium from liquitex which also thins acrylic paint and glossy. I was on a search to create my own pouring medium which can be done with PVA glue, which is a neutral ph white glue, and water but I had no luck in finding it yet.
The acrylic ended up being a higher success then tempera for the smoother and glossy finish. It is much easier to control the acrylic paint to achieve vibrant swirled colors.


A result I learned from both mediums is that when combining the paints into a cup to be poured onto the canvas it is all about densities. Some of the paints I made thinner and layered them on top of thicker paint and vice versa to see how they pour in the end. Even the way the paints are poured into the cup alter the results. The paints can sink into the bottom or sit onto the paint creating layers. I am still trying to figure out how the paint reacts to each other and with other additives as well. Something I have been trying to achieve with the experiments is cells that develop. In my research it says that silicone can be added, likewise as rubbing alcohol and applying heat. One YouTube video I watched achieved cells without any special additives just the pouring medium, water, and paint! The only way to figure it all out is to go out and try, so more experimentation ahead.