Hello everyone! This week in my Photoshop class we started a photograph retouch project. I wasn’t able to finish the project this week so I will have to continue with the rest of the steps in next week’s blog!
My professor asked us to bring in some old and damaged family photographs. We scanned all of the photographs that we brought in so we could edit all of them after learning how to properly retouch a damaged photograph.
For the retouch project I brought in around twenty photographs from my grandpa’s side of the family. As we were looking for the old damaged photographs I got mini history lessons of everyone that was in the photographs. I honestly didn’t know half of the people in the photographs that I brought in to retouch. And that was shocking to me because I thought I knew most of the family, but I guess I don’t. After this project, and when I give my grandpa the originals back with a copy of them retouched, I am going to sit down with him and learn more about my family.
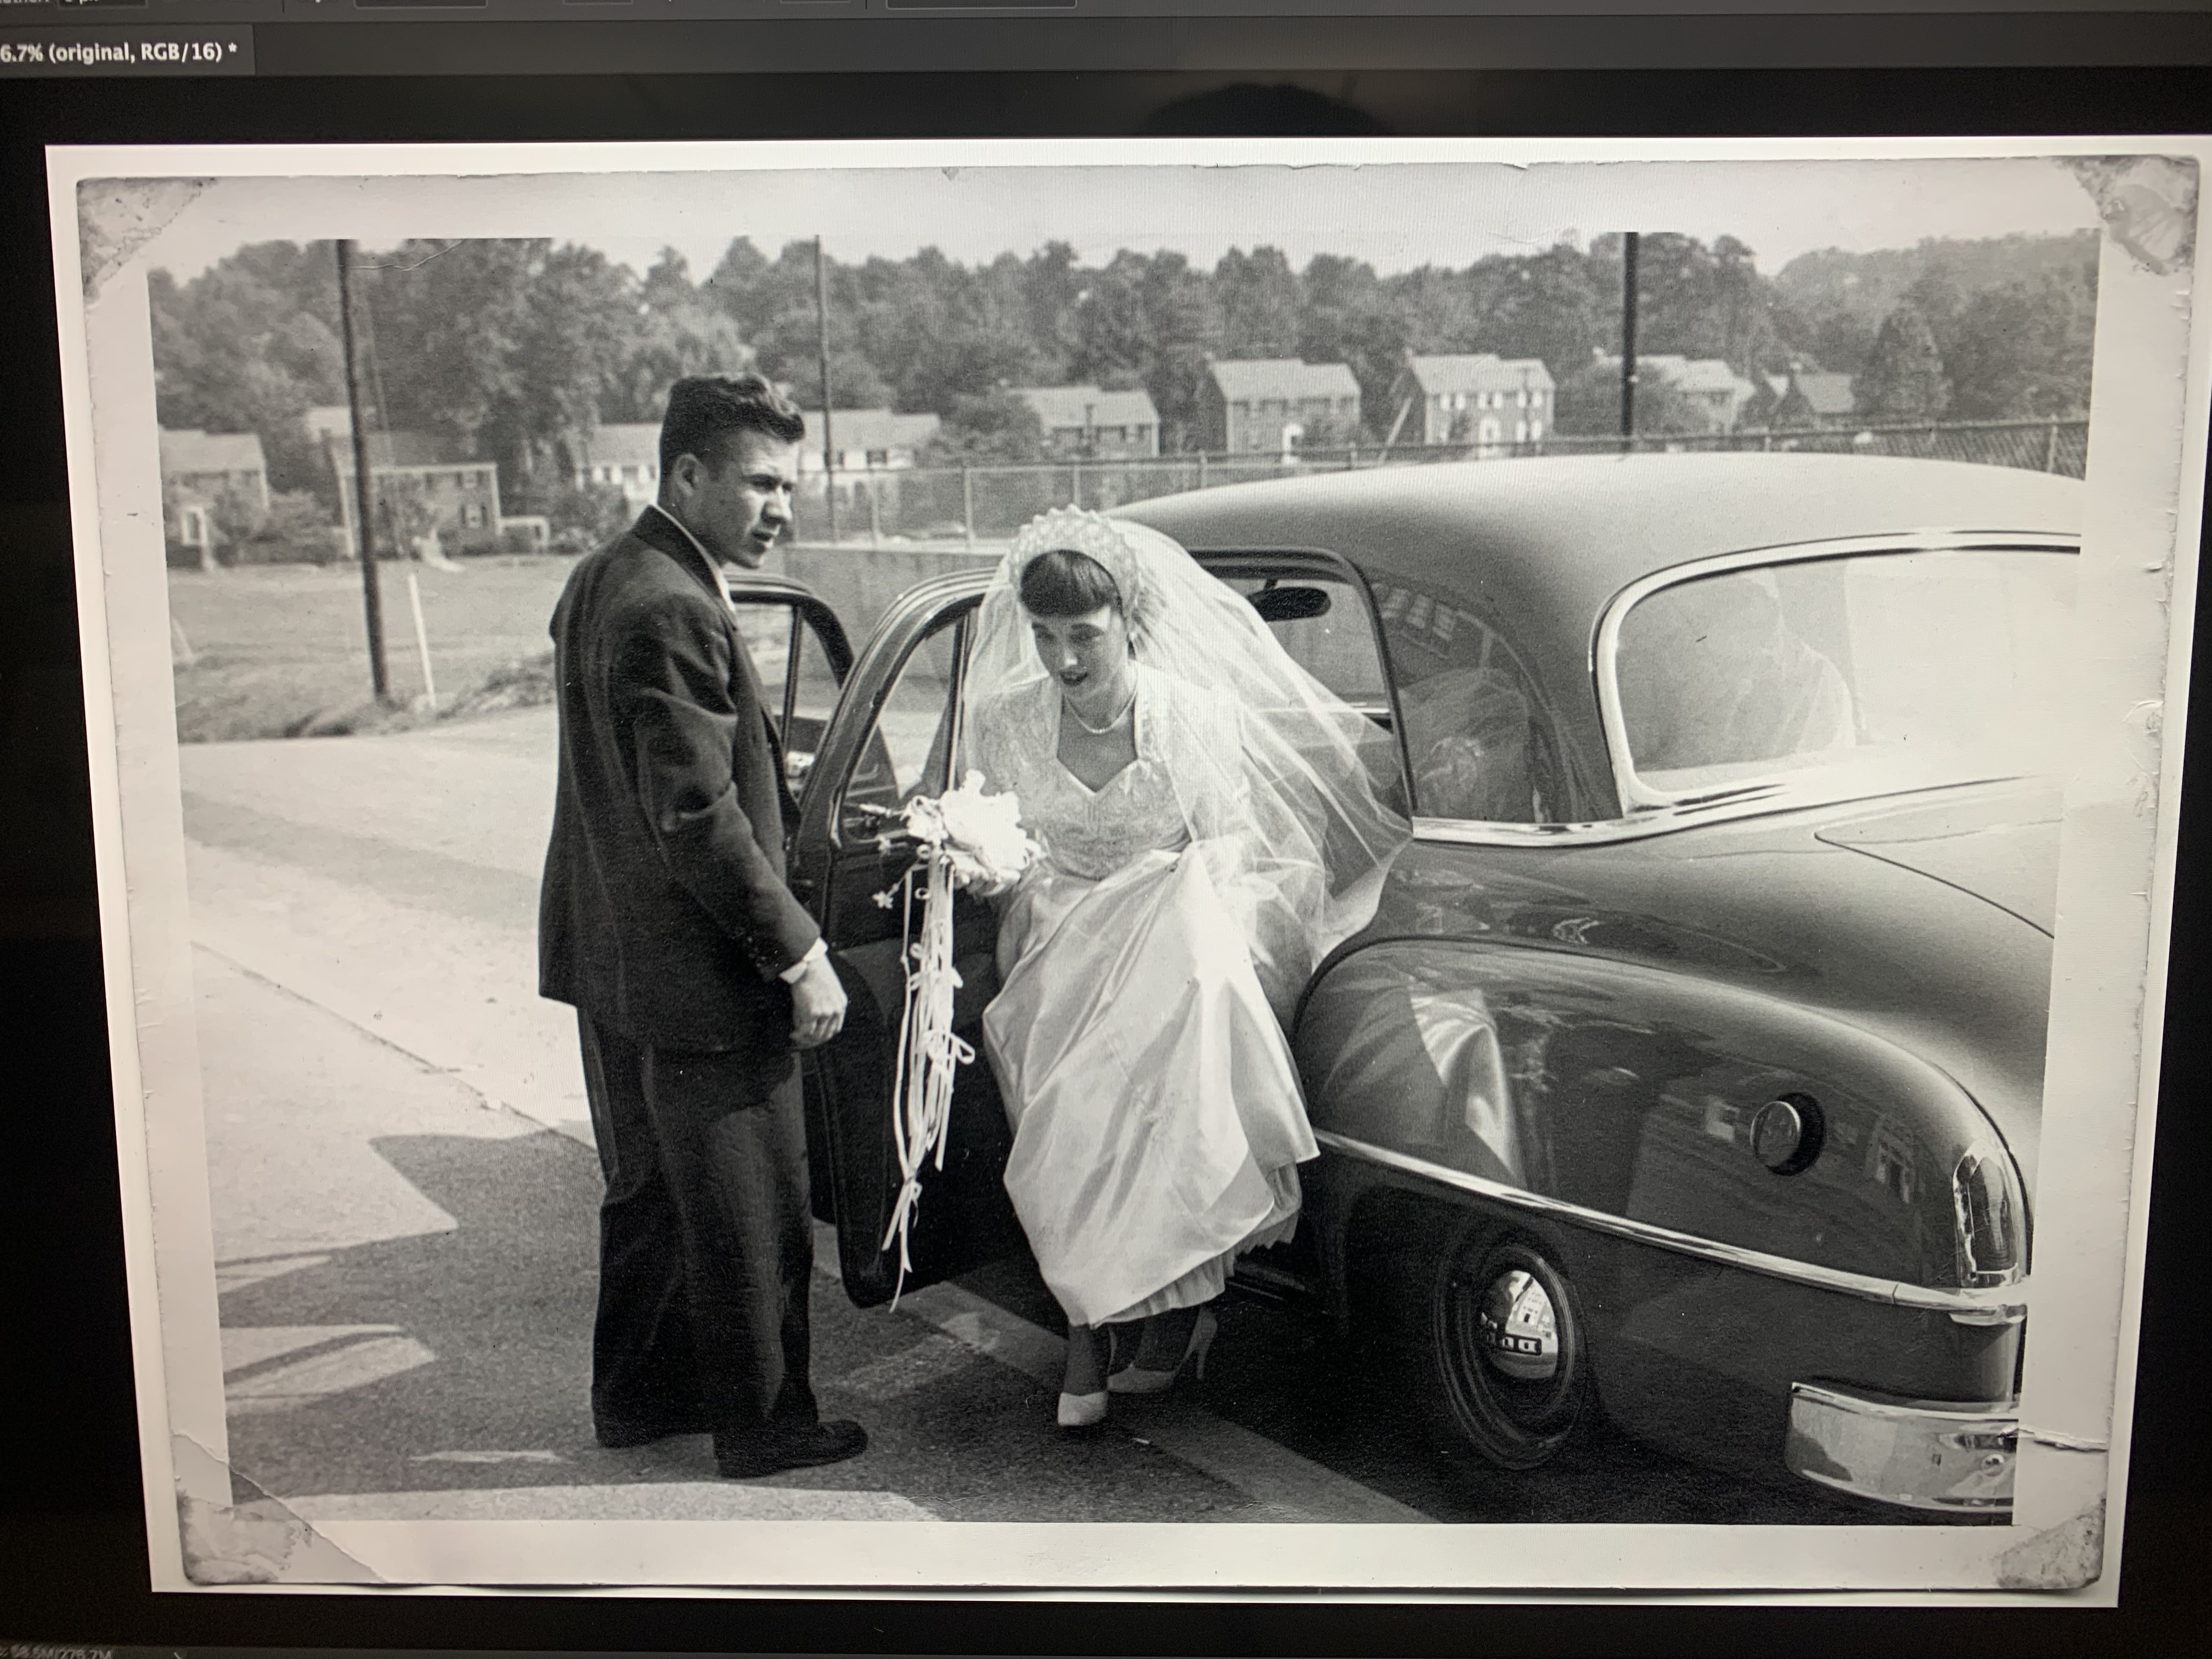
The first step of retouching a photograph is scanning the photographs. My professor wanted us to use certain settings depending on what size of photograph we wanted if we were to print the image out, so everyone’s was a little different. The original scanned version of the photograph can be seen below.
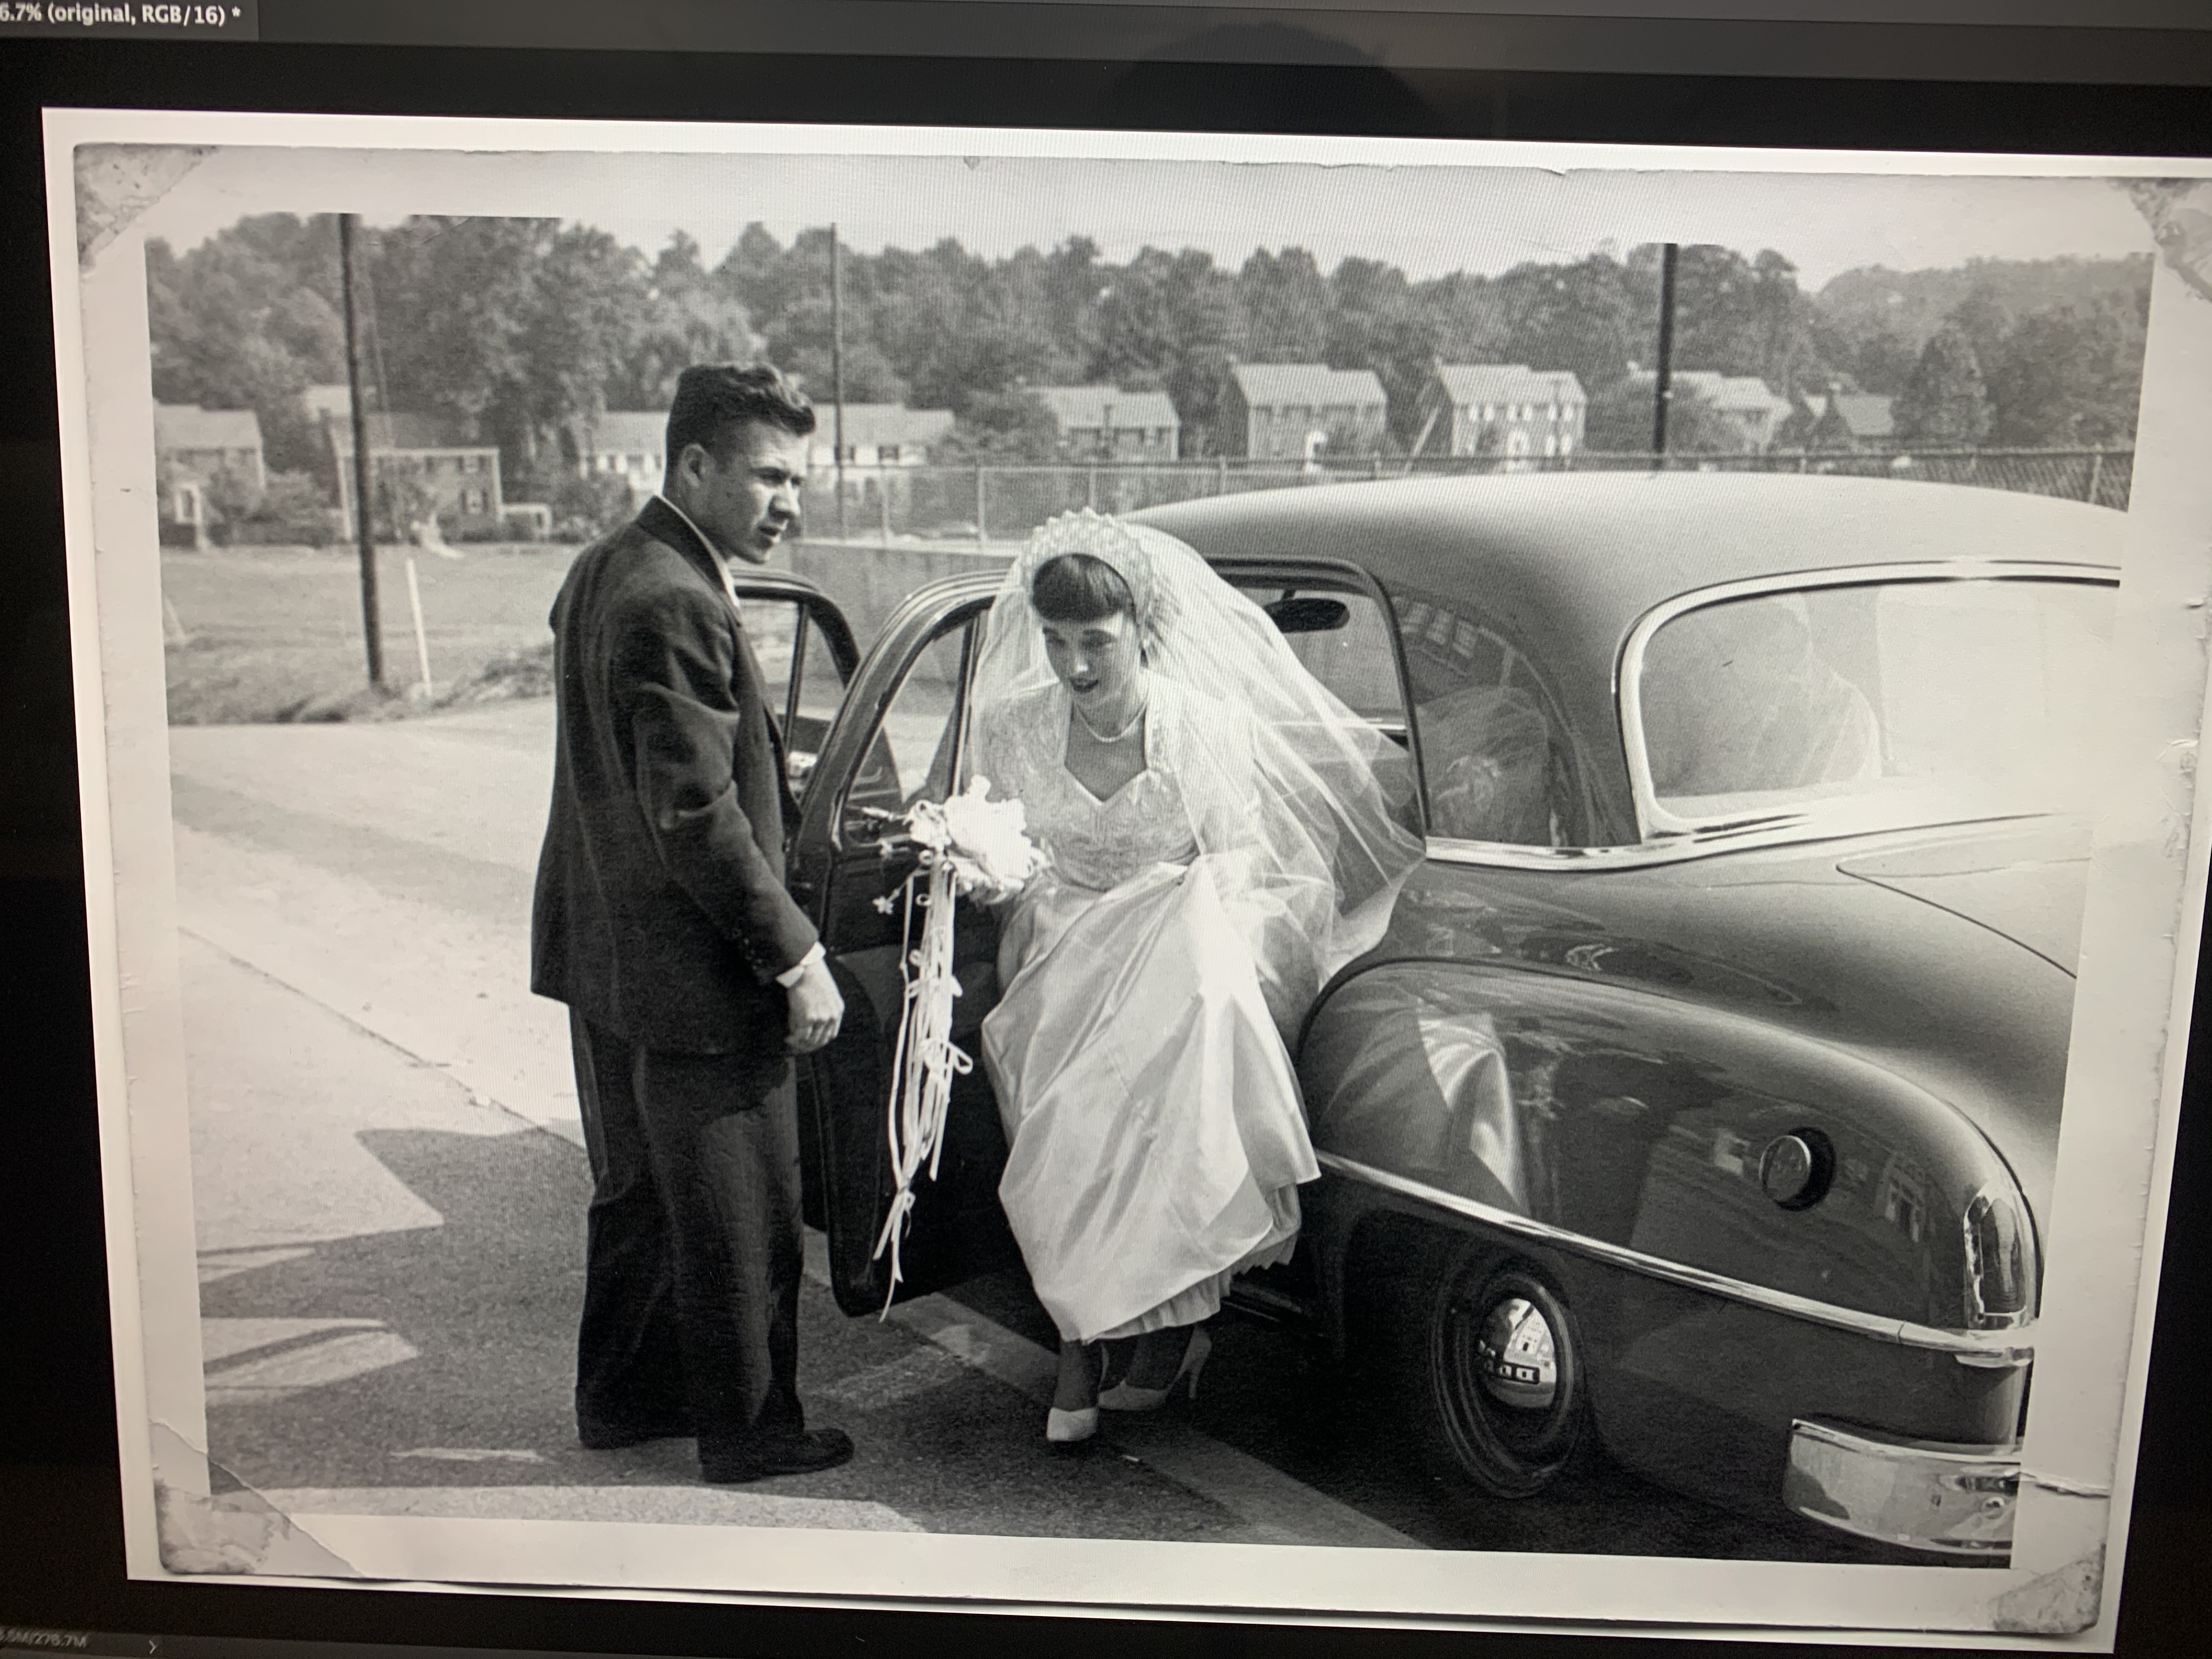
The second step of the retouching process was to start getting rid of the tiny white and black dots that covered my photograph through Adobe Photoshop. I couldn’t see all the dots on the original, I saw way more in the scanned version when I zoomed in to start editing. My professor showed us a way to get rid of all the dots by using a history brush and a lighten and darken mode of the brush. As seen below.
The third step of the retouching was to get rid of the larger black and white dots that the history brush couldn’t get rid of. I used the healing brush in Adobe Photoshop. Along with the dots I also got rid of some folds through out the image portion of the photograph if they were close to the larger dots. As you can see below.
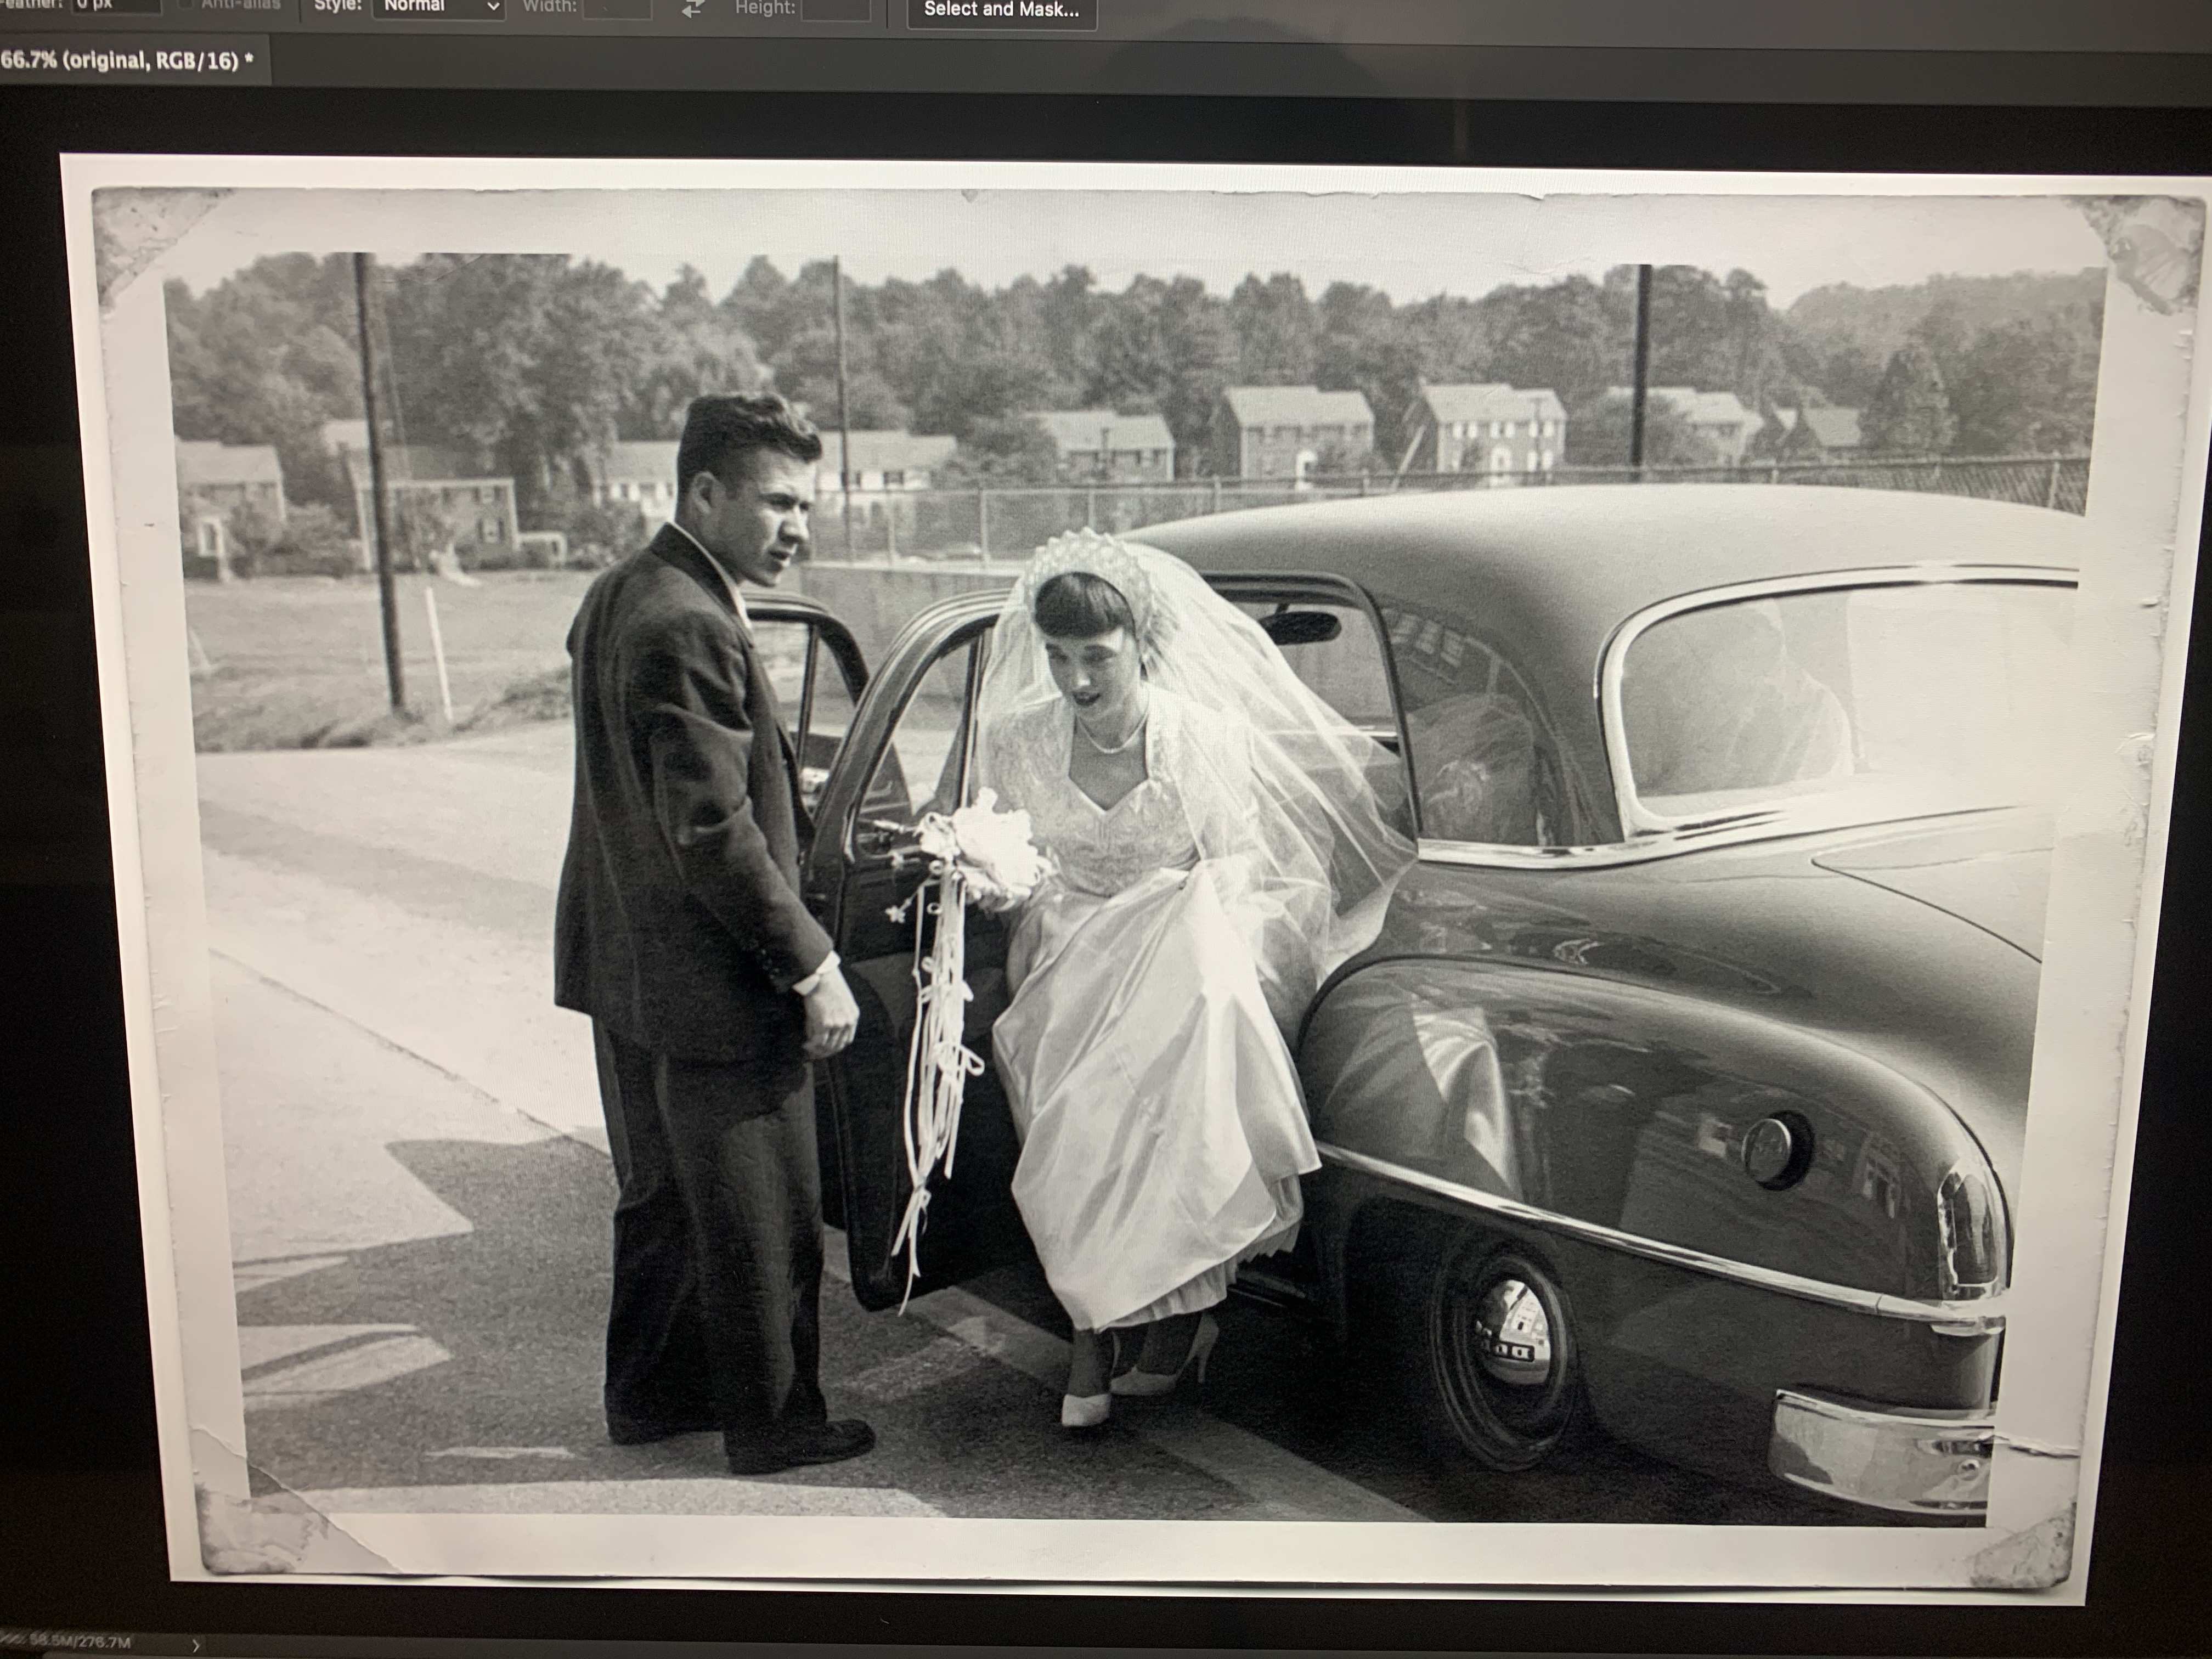
The fourth step of the retouching was cleaning up the border around the image. This was the last step that I was able to work on this week. I wasn’t able to completely finish the border, but I got a good portion of it completed, as seen below.

Next week when I continue this project I will finish the border and start adding color throughout the photograph. I will keep you updated with my progress on this photograph retouch.
That’s it for this week! I’ll talk to you all next time!