For those of you who may not know, as a senior in the art department we participate in a gallery show as a graduating class and preparing for it in our final semester can be just as crazy as it sounds. But only if you wait until the last second to do everything!
Lately, there have been so many things on my mind that preparing my portfolio and finalizing some of my pieces for display have been pushed to the back burner and completely forgotten about. But I’m here to say, as a busy student teacher who is beginning to take over the full course load at my placement and is therefore writing lessons nonstop, that it’s okay to remember to do things last minute. It’s better to remember last minute than to remember after the fact, right!?
So this weekend I spent some time editing my pictures for my portfolio, and here are a few tips for those of you who may not be photography majors.
Good lighting!
You don’t need a studio to be able to get good lighting to take decent pictures. Most of the time natural light is your best option, but if you’re sans natural light a desk lamp that can be angled will do the trick. I bought a light studio over winter break to help me take my pictures and I love it. I will be bringing it in to school for my ceramic students to take pictures of their completed ceramics.
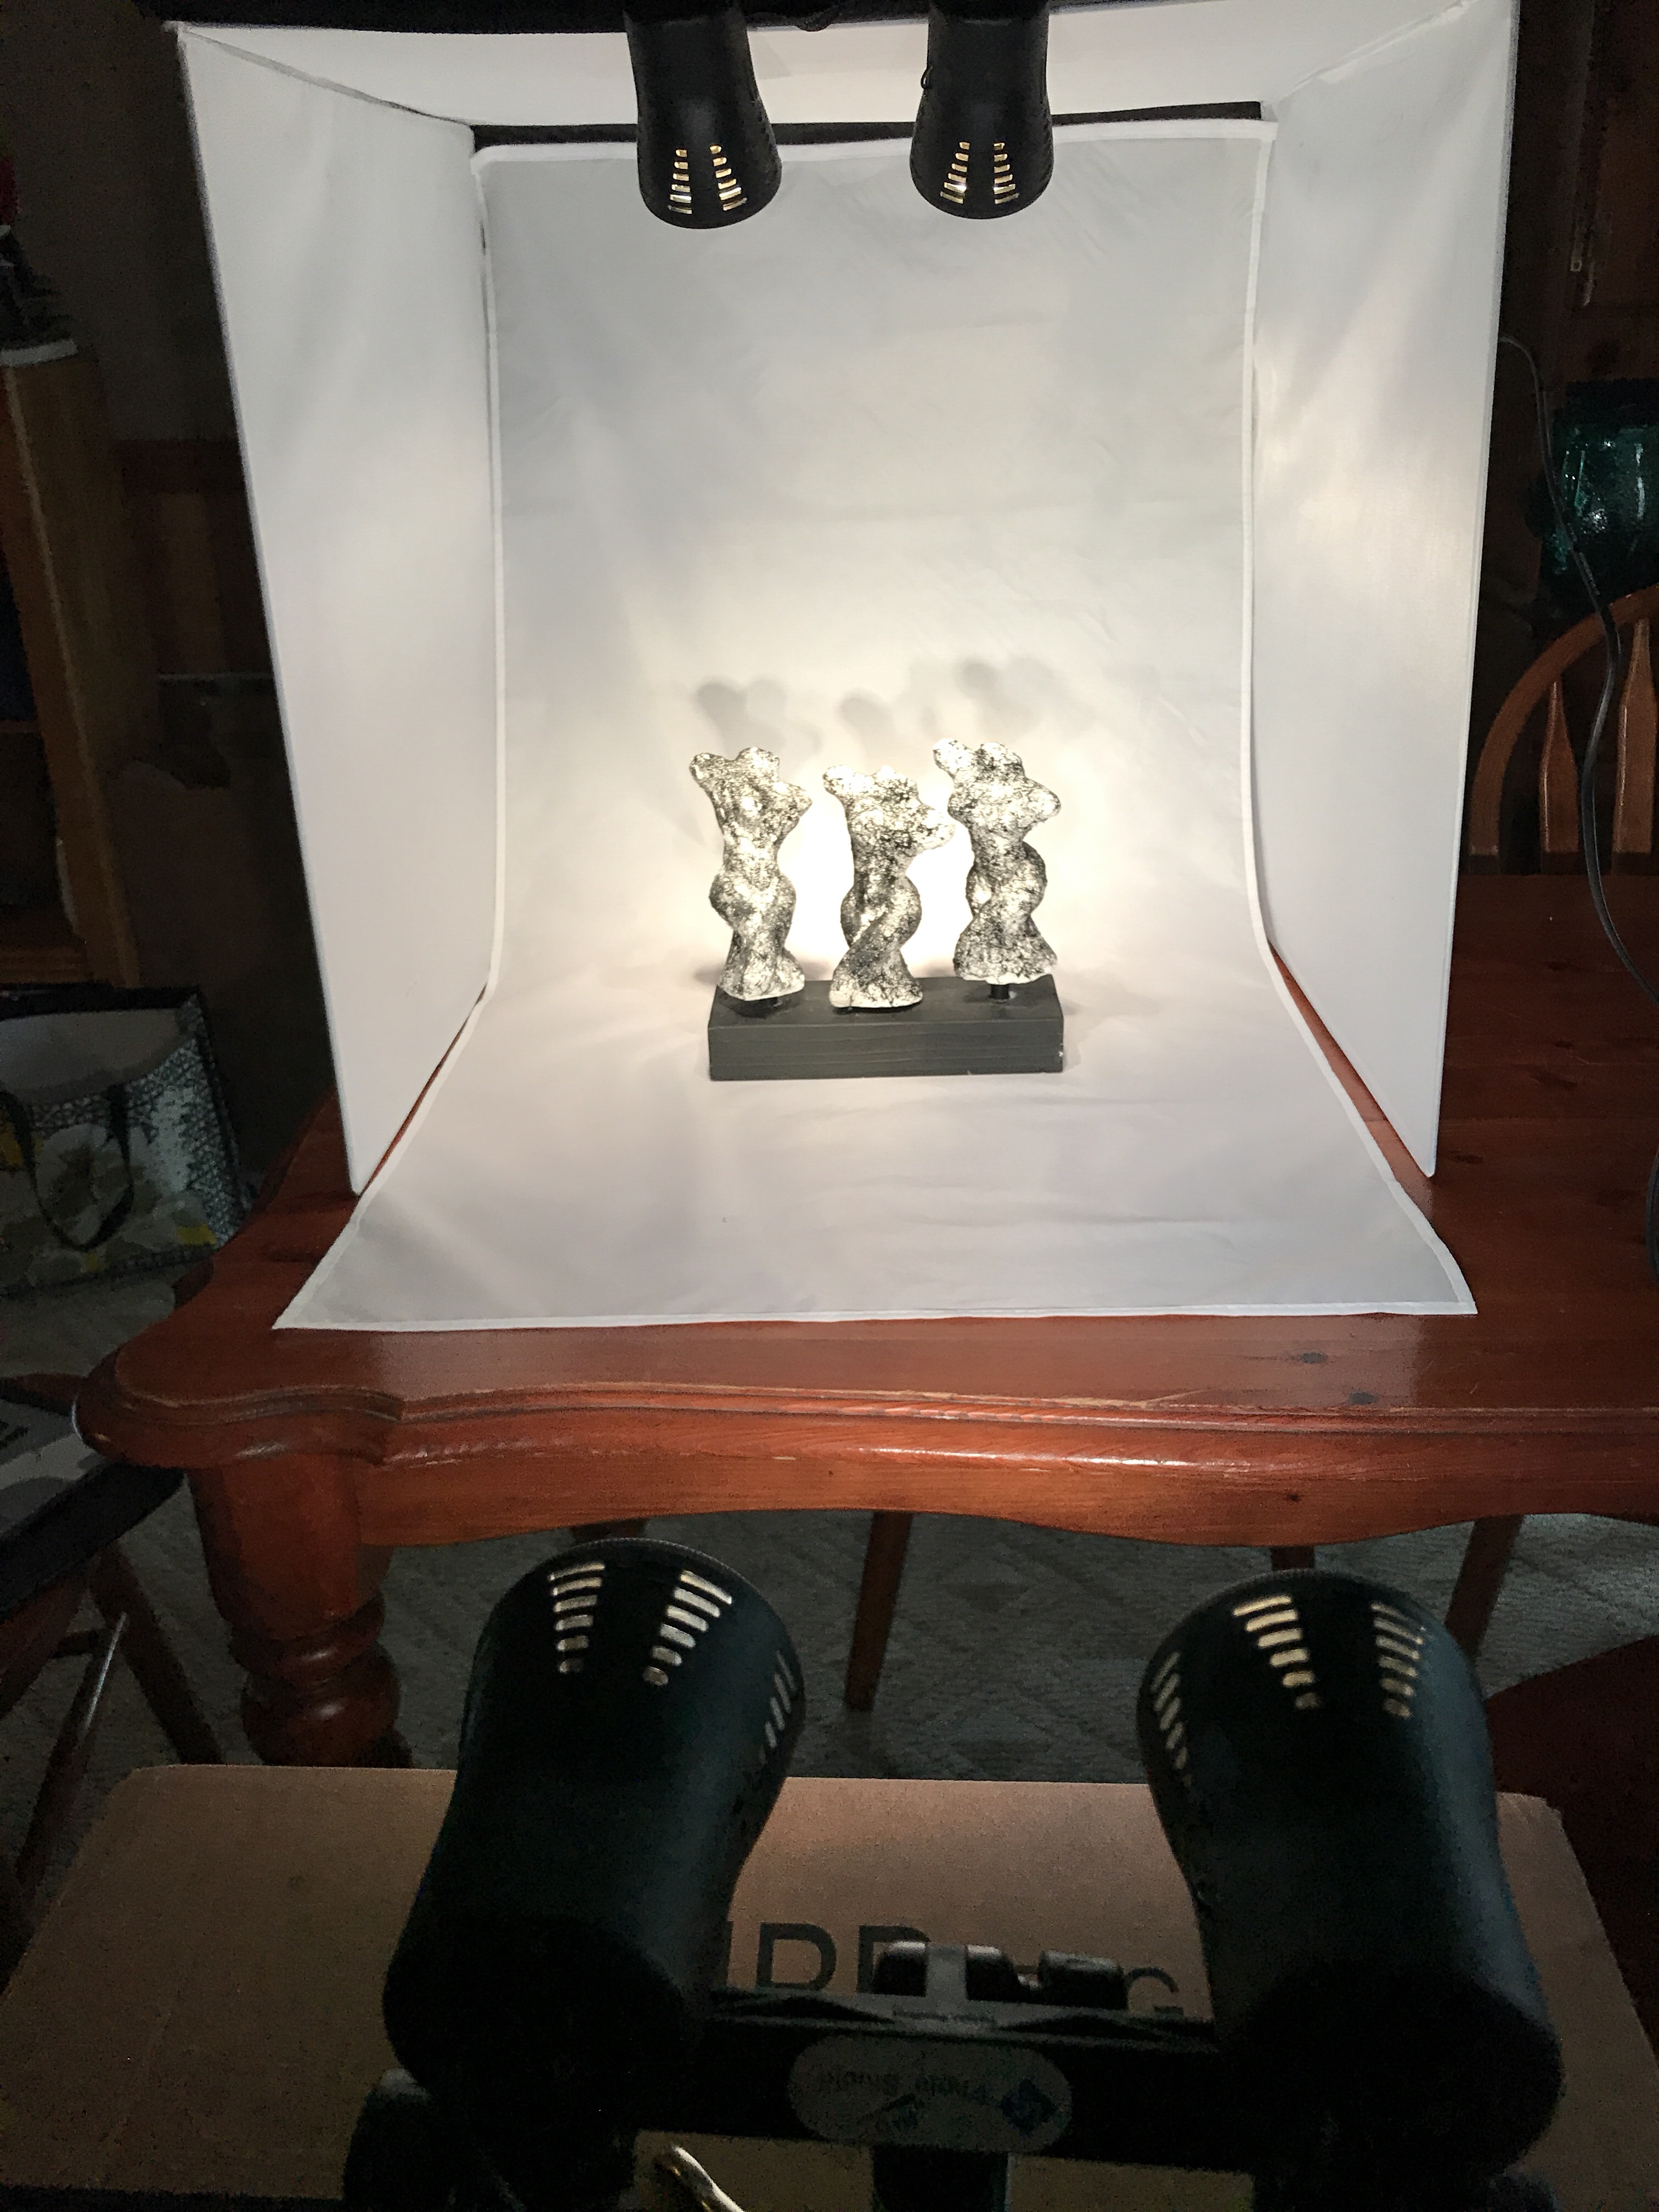
Use a neutral background!
I always prefer to shoot my images on a solid white sheet, but sometimes white just isn’t going to work with the piece being pictured.
Set aside time to work alone
Plan on not being distracted or disturbed during this time. It sounds ridiculous but it makes it so much easier to get everything done faster.
Adjust the image Saturation, Lightness, and Color Balance
Use the “like select” tool on Photoshop to highlight the whole background, including shadows to adjust in your images’ saturation first and then inverse the selection to change saturation, lightness, and color balance on the piece if needed.

Calibrate with Pencil and Charcoal Drawings
If adjusting a pencil or charcoal drawing, click the black and white button and adjust from there to save yourself some time.
Cropping!
Cropping is your best friend when editing. With 3D pieces you want minimal background to be seen and with 2D, make sure the image is cropped straight and to the edge of the piece.
