For those of us who are junior art students at Marywood University, portfolio review week has come and gone. This harrowing time full of frantic preparation and anxiety-filled waiting is a vital step in the artist’s development from student to professional. As a graphic designer, I’ll approach writing this portfolio guide from a digital design point of view, and most of my tips and tricks will be tailored towards other graphic design undergrads. However, some of the more basic information could also be helpful for illustration majors or other art specialties.
What’s a Portfolio? Why Should I Care?
Before digitization, a portfolio was a thin, flat folder or case that held papers and would be the artist’s go-to for transporting examples of their work to show potential employers. Now that more and more artwork is moving into the digital realm, an art portfolio could be a PowerPoint presentation, InDesign booklet PDF, or even a website! Whatever presentation format you choose, it’s vital you have a collection of 12-20 of your strongest examples of work organized into an aesthetically pleasing presentation to show reviewers and employers. More than a resume, a portfolio will show that you have the design, illustration, or other artistic chops to execute the skills you claim on paper and will give potential employers the chance to study your style to see if it’s something that would fit their brand.
Help! I’ve Never Done a Portfolio Before!
Don’t worry! To put together your first portfolio just gather together your best/favorite pieces from class, commissions, and personal projects from the past 1-2 years. (You can bring in older pieces if you have to, but I’d recommend creating new pieces to round out your portfolio instead if you have the time to really dedicate to it.)
When sorting through your pieces, try and pick out a few examples for most of the following categories: logo design, web design, advertisements, UX/UI design, typography, and hand lettering. If you also do illustration, include that too! It’s okay if you don’t have examples of all of these categories. Every designer has a specialty, and if this is your first portfolio you may not have found that specialty yet. For example, in my freshman review, I had no idea what I wanted to focus on, so I just chose 2-3 pieces from each art class I had been in in the past year as well as 3 personal pieces and presented that. By the time you get to the junior review, though, you should have narrowed down a few areas of focus in your work. Here’s how I did mine.
Junior Review
I started by gathering together a folder of my recent work and organizing it into four “piles.” These piles were typography/lettering, illustration, logos, and book covers. Last semester I started pursuing book cover design as a dream job, and so I had a series of pieces relating to that pursuit. Even though these weren’t my best or most polished works I still wanted to show them because they were examples of my self-direction and creativity, plus then I’d get feedback on them.
Once I had my “piles” of content and I discarded the weakest pieces in each category, I opened InDesign and got to work on my presentation. I used my personal logo to guide my layout and colors. In the image of my opening slide, you can see how I chose to layout my presentation.
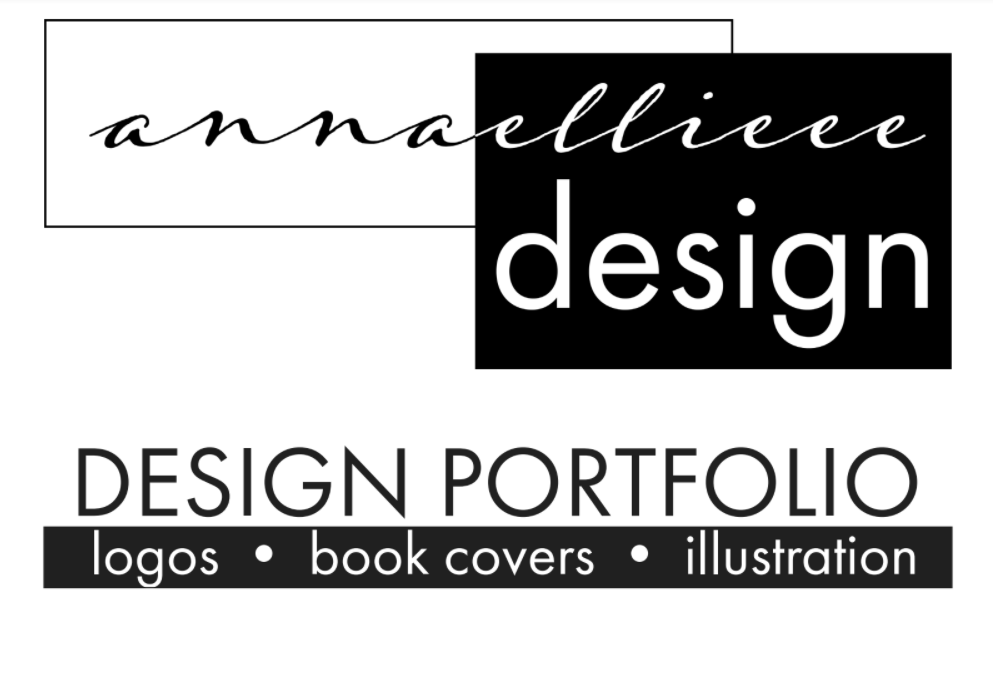
My logo introduces my chosen branding, “annaellieee design”, and a clean black and white, graphic theme. I repeated this layout on the introductory slides for each of my sections.

The categories I ended up using were “Brands & Logos” “Book Covers” and “Illustration & Design”. I chose to separate my work this way and open with my logo design because I’ve done a lot of commission work over the past year, and most of it was logos, so I wanted to highlight that section of my work. My weakest section of work, Book Covers, was in the middle of my presentation because I didn’t want to open or close with what, in my opinion, was my worst work. I closed with my Illustration and Design section, which was where I got to push my creativity and show a wide range of skills, from rendering and digital painting to vector design and hand-lettering. I made sure my final piece was brightly colored with strong graphic and lettering elements to leave a positive impression on my reviewers, and my very last slide was a thank you for the reviewer’s time and a repeat of my logo, as well as my social media tags. The reviewers usually have to see the entire major in one day, so thanking them for their time will not only leave a positive impression, but it’s just a nice thing to do.
Important Reminders
The first and most important reminder is: Don’t Panic. These words may fall on deaf ears if, like me, you’re a very anxious person. So try to keep in mind that your reviewers are there to help. They want to prepare you for presenting your portfolio out in the real world, and that help is ultimately what you’re paying for with your tuition. If you feel lost or overwhelmed, try approaching a professor or upperclassman to ask for help. Breaking things down into categories helps me, as does remembering that your presentation doesn’t need to be overly fancy. Keep it clean, your art should be the focus, not your presentation design.
When presenting, you should be clear about discussing your goal or assignment for the piece and any techniques or methods you learned while making it. Be ready to explain your thought process and justify your design choices, but don’t over-explain every piece.
A short checklist often helps me stay organized, so if you’re overwhelmed in the weeks leading up to your portfolio review, here’s the basic rundown.
- Put your best foot forward with your best work
- Don’t include half-finished work or pieces you aren’t proud of
- Make sure your presentation is clean and clear
- Put the focus on the art
- Provide examples of multiple styles and skills
- Such as: logo design, typography/hand lettering, web design, and advertisement/marketing
- If you have a specialty: dedicate a portion of your presentation to it
- Don’t overshare – 20 pieces max
- If you have a lot of larger projects with multiple interconnected pieces, aim for 12-15 projects
- Be prepared to talk about each piece or project if asked
- Know what the assignment was and how you fulfilled it
- Ask for help if you need it
- Your professors are there to help!
When it comes down to it, remember to use this opportunity to practice and give it your best. Good luck!