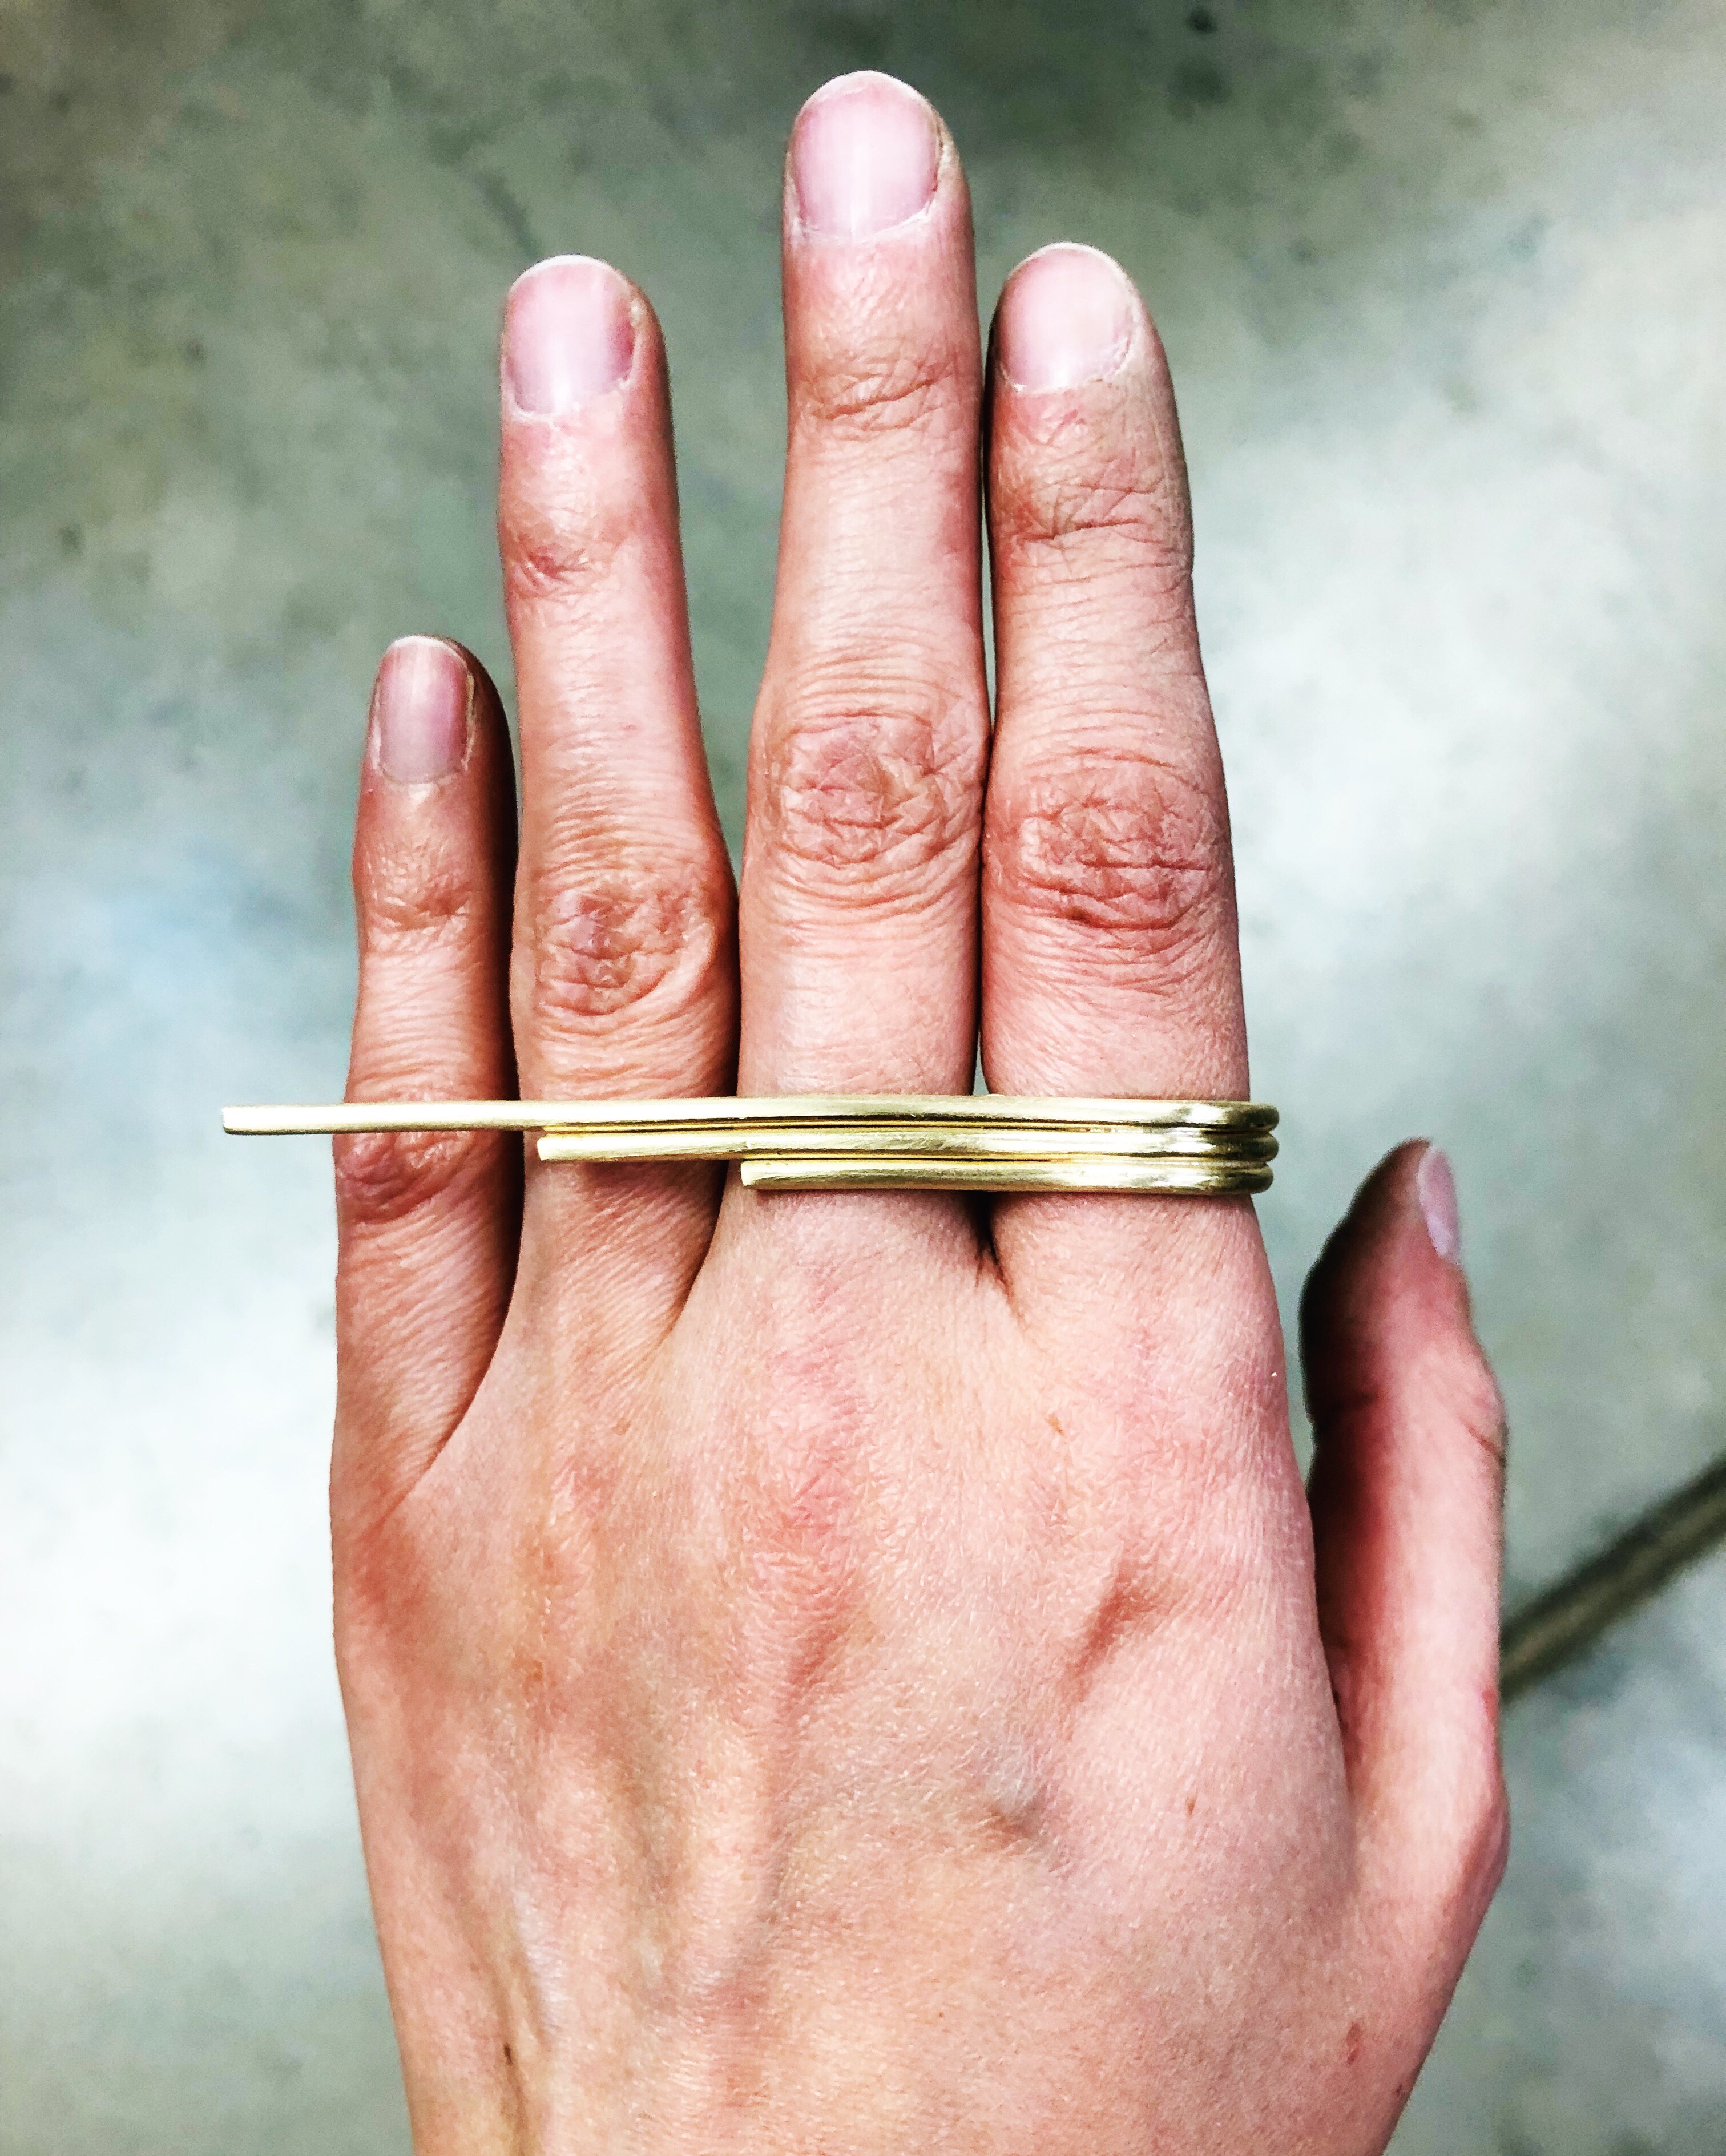
I started and finished another wire ring since my last blog post, so I decided to share this process from beginning to end. According to my last post, I should have about three more pieces to make this week – but maybe we’ll come back to that later.
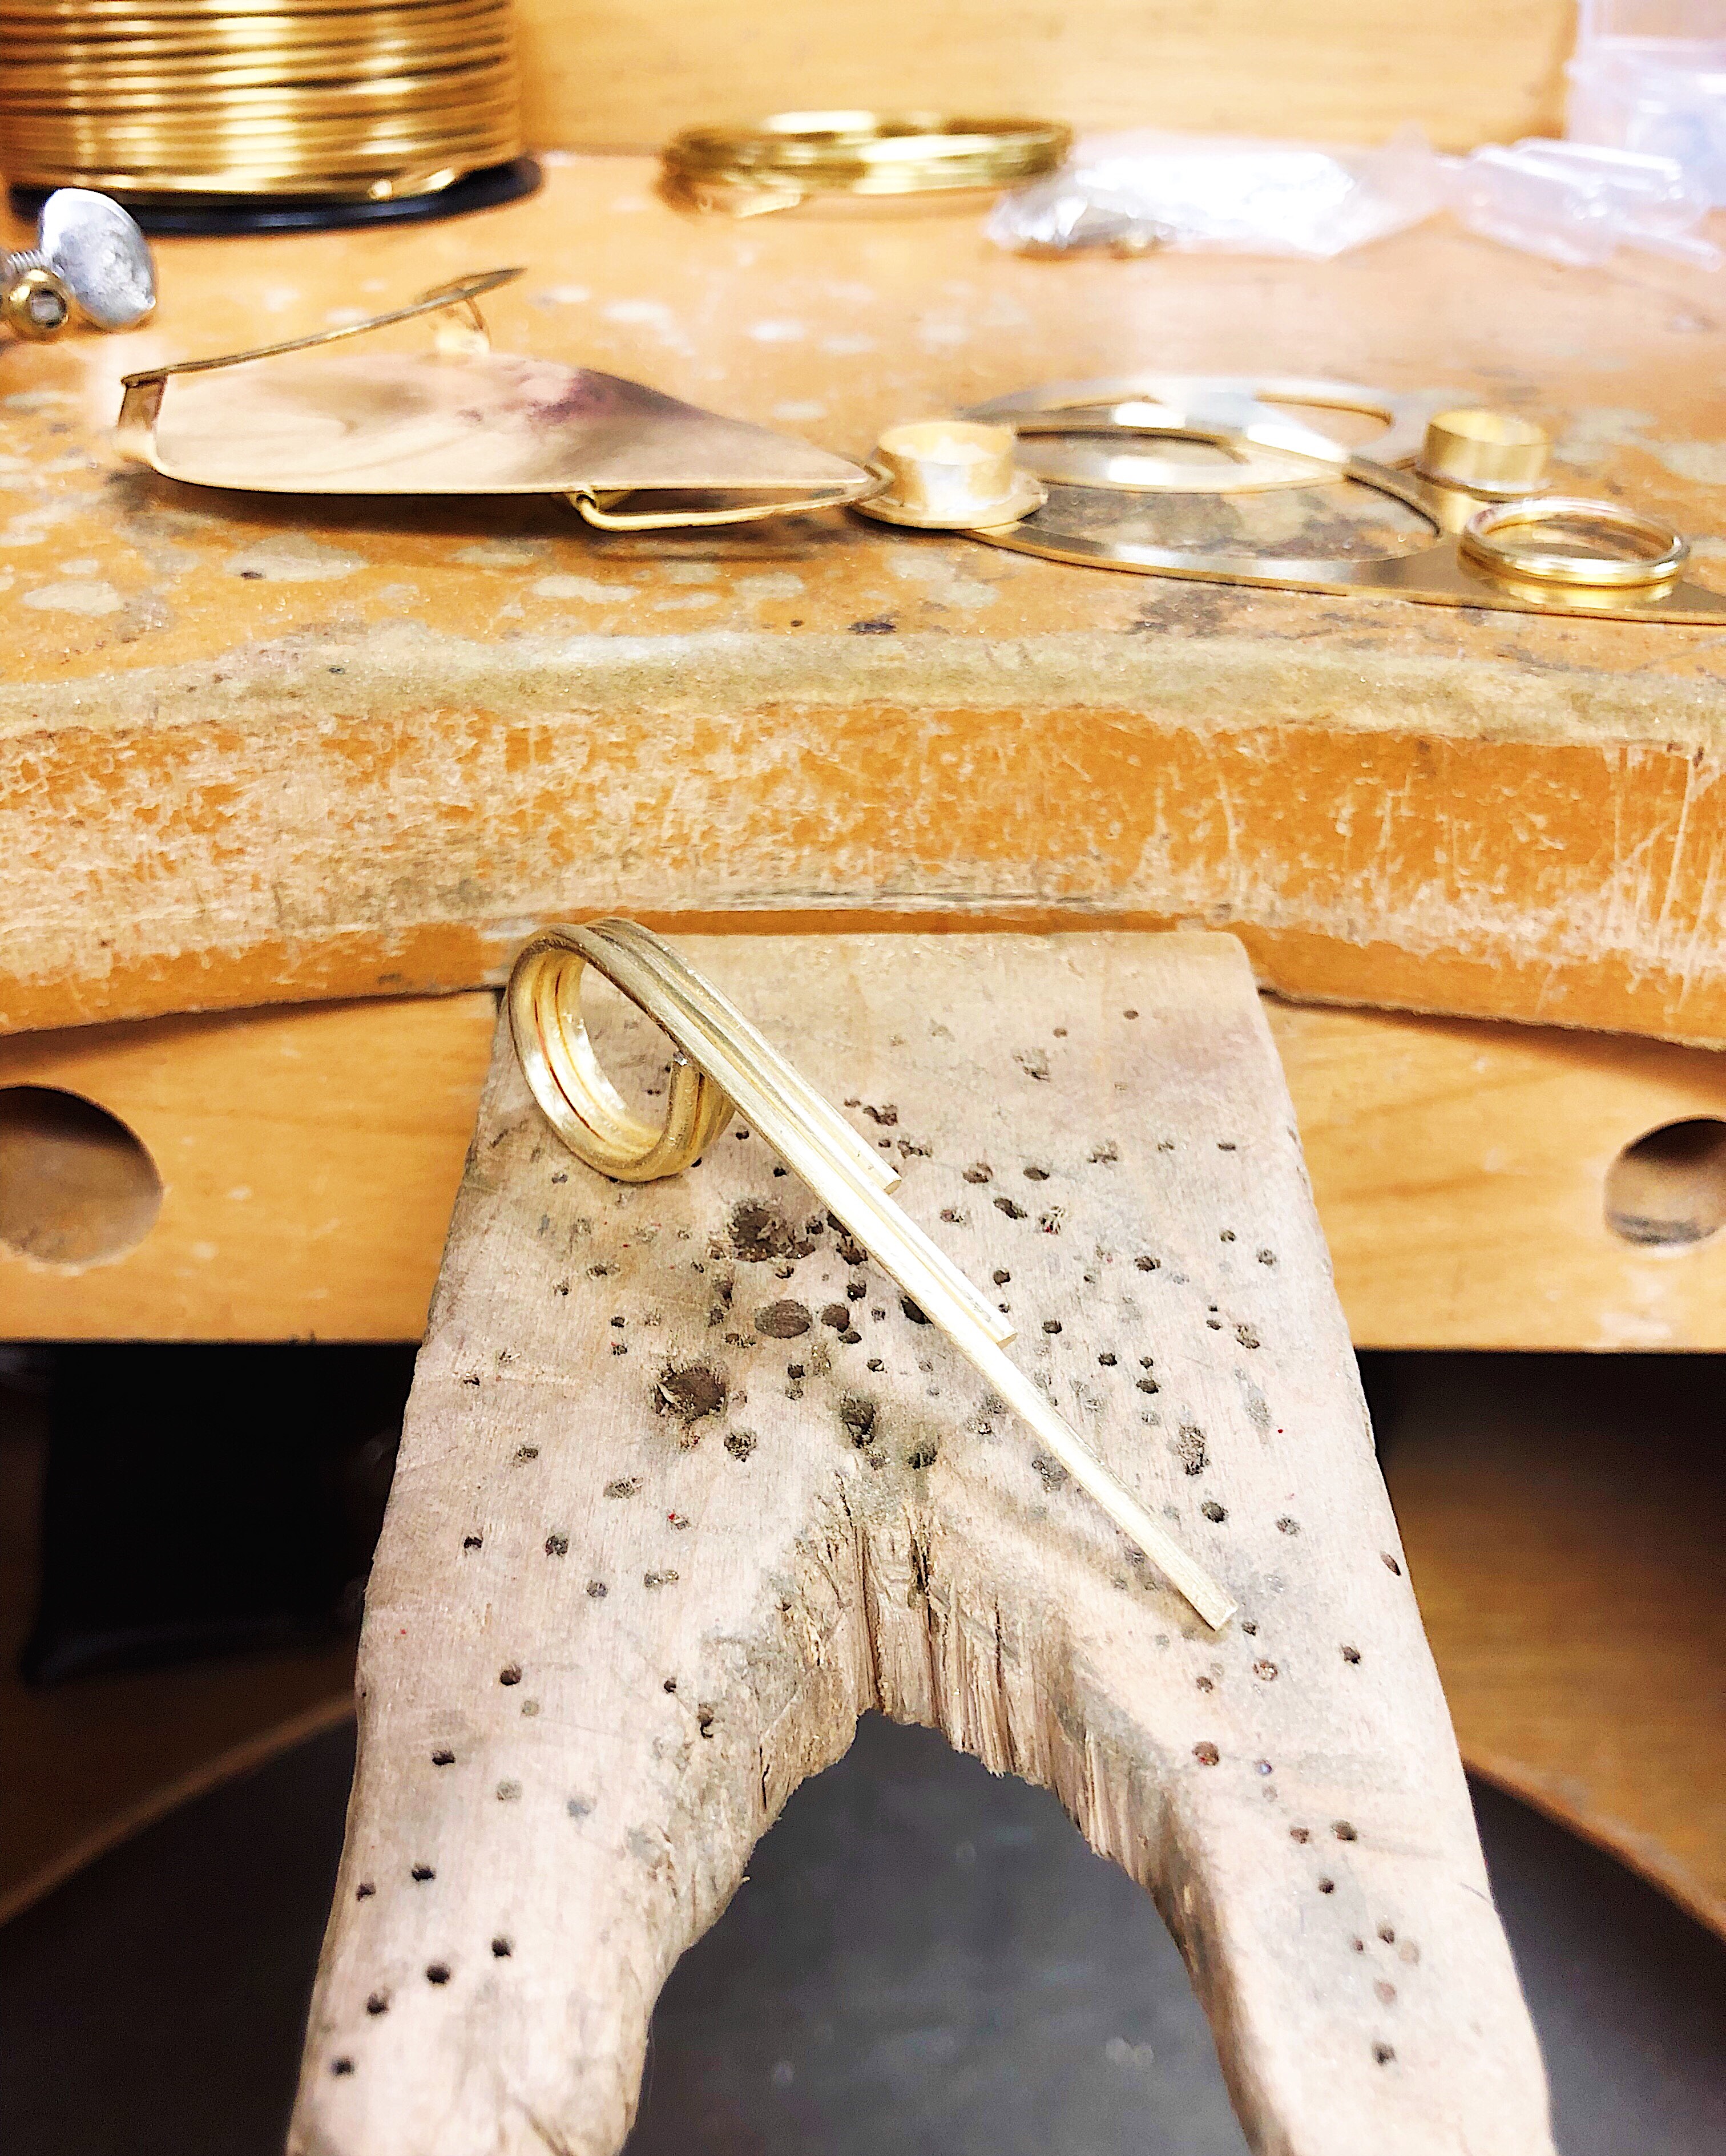
I started this ring by snipping three pieces of brass wire at varying lengths. I then had to use pliers to form the end of each wire into a loop that could fit over my finger. I made sure the shape of each loop was the same by stacking the three wire pieces on top of each other, then gently hammering them on the anvil with a rawhide hammer. I filed the ends of the wire flat to make sure they closed the loop snugly. To give the ring a more solid construction, I ended up soldering the wire at these filed points so the loops would stay closed.
After pickling the brass wire in super pickle (chemical solution made to clean brass), I stacked the wire loops on top of each other and held them together with tweezers. I then soldered these wires together from the inside, resulting in a three-banded ring that would not come apart. After another quick bath in the super pickle, I filed any nicks in the wire and sanded the entire ring with different grades of sandpaper until shiny and smooth.
(Side note: I posted the final piece on my art Instagram account – jill.sibio.art – if anyone is interested in following!)

Featured Image: Jill Sibio, 2018