Welcome to another segment of, The Work In Progress. One of my favorite printmaking techniques is drypoint, so this evening I’m very excited to share with you my process working on, “Hana.”
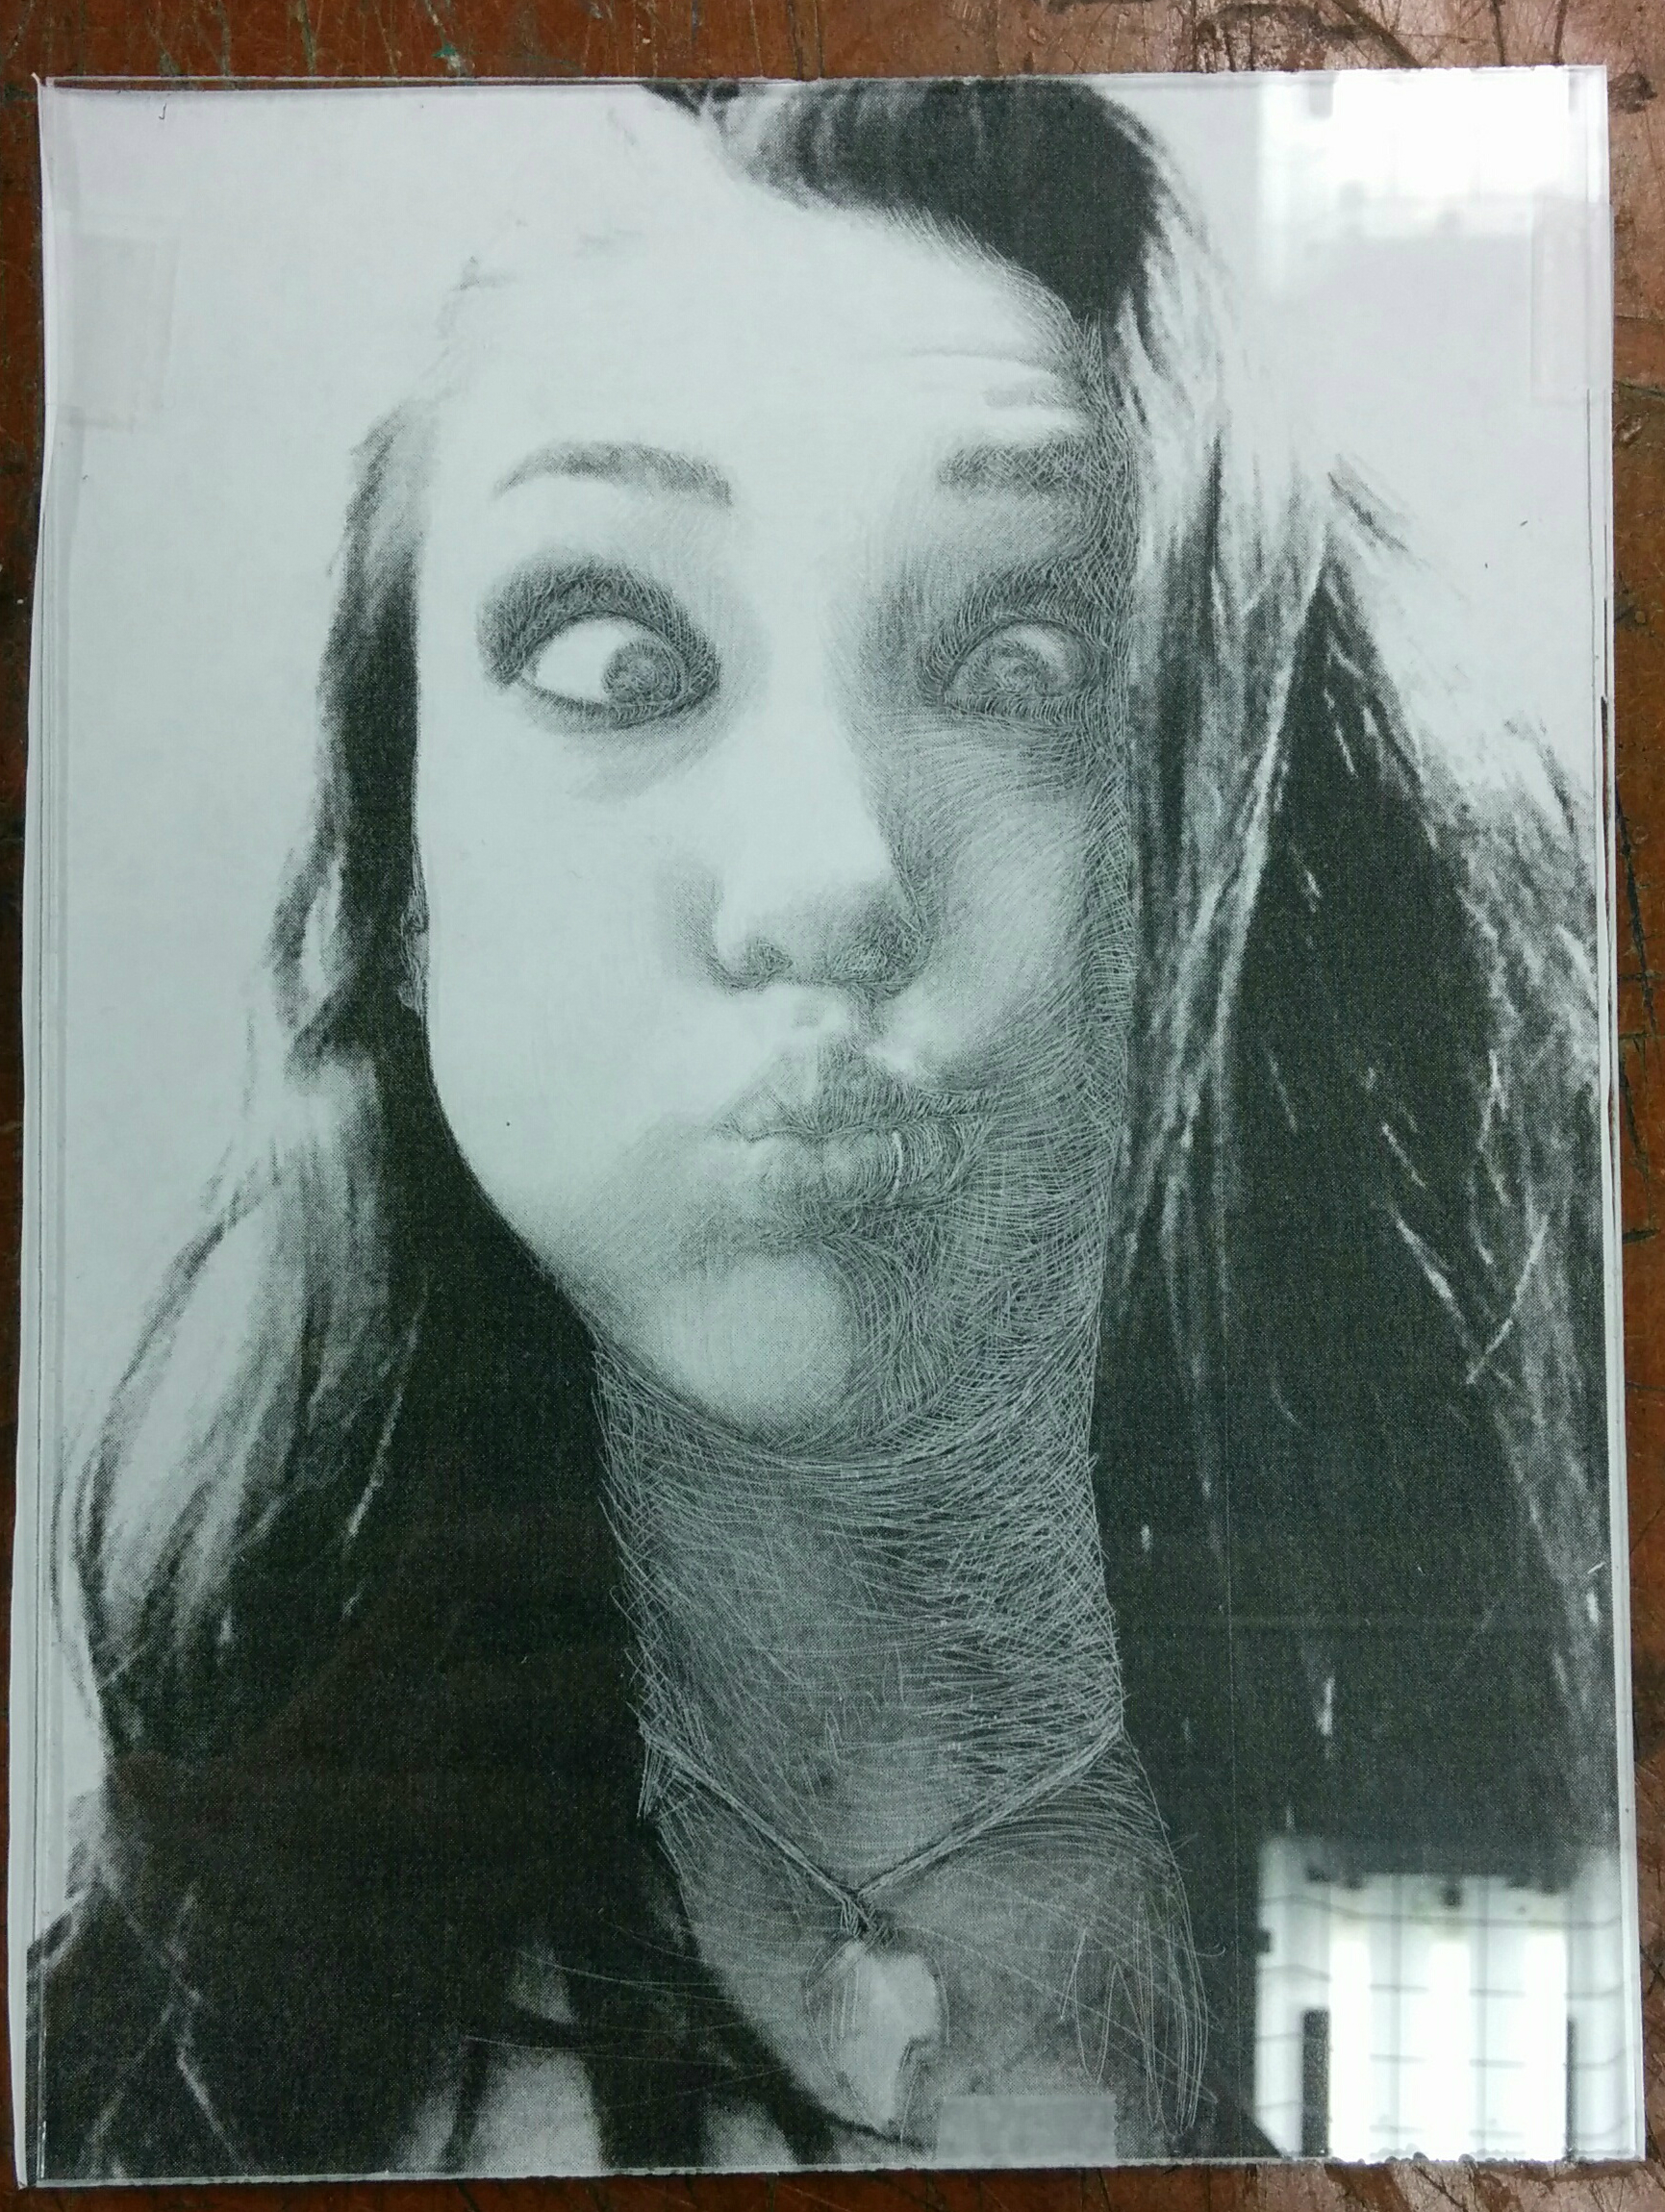
For a cheaper substitute to metal engraving, I used plexiglass instead. While both work well in the drypoint process, metal does last longer. It wouldn’t matter in my case since I wasn’t going to print out hundreds of proofs anyways. The other benefit of using plexiglass is that you can see your design or picture underneath for an easy and accurate engraving.

The drypoint technique involves using any tool that can make a scratch or mark on the surface of the plate. These engravings are the trenches that hold in the ink when applied on the surface. Excess ink on top can be wiped off however little or much as you would like. Cross-hatching allows darker spots wherever needed, while lighter strokes leave thin marks. Also, the direction of the marks has a big impact on the design, much like working with pen and ink. As I have learned in the past before working, I need to be sure not to overwork a piece, so I take states or proofs along the way.
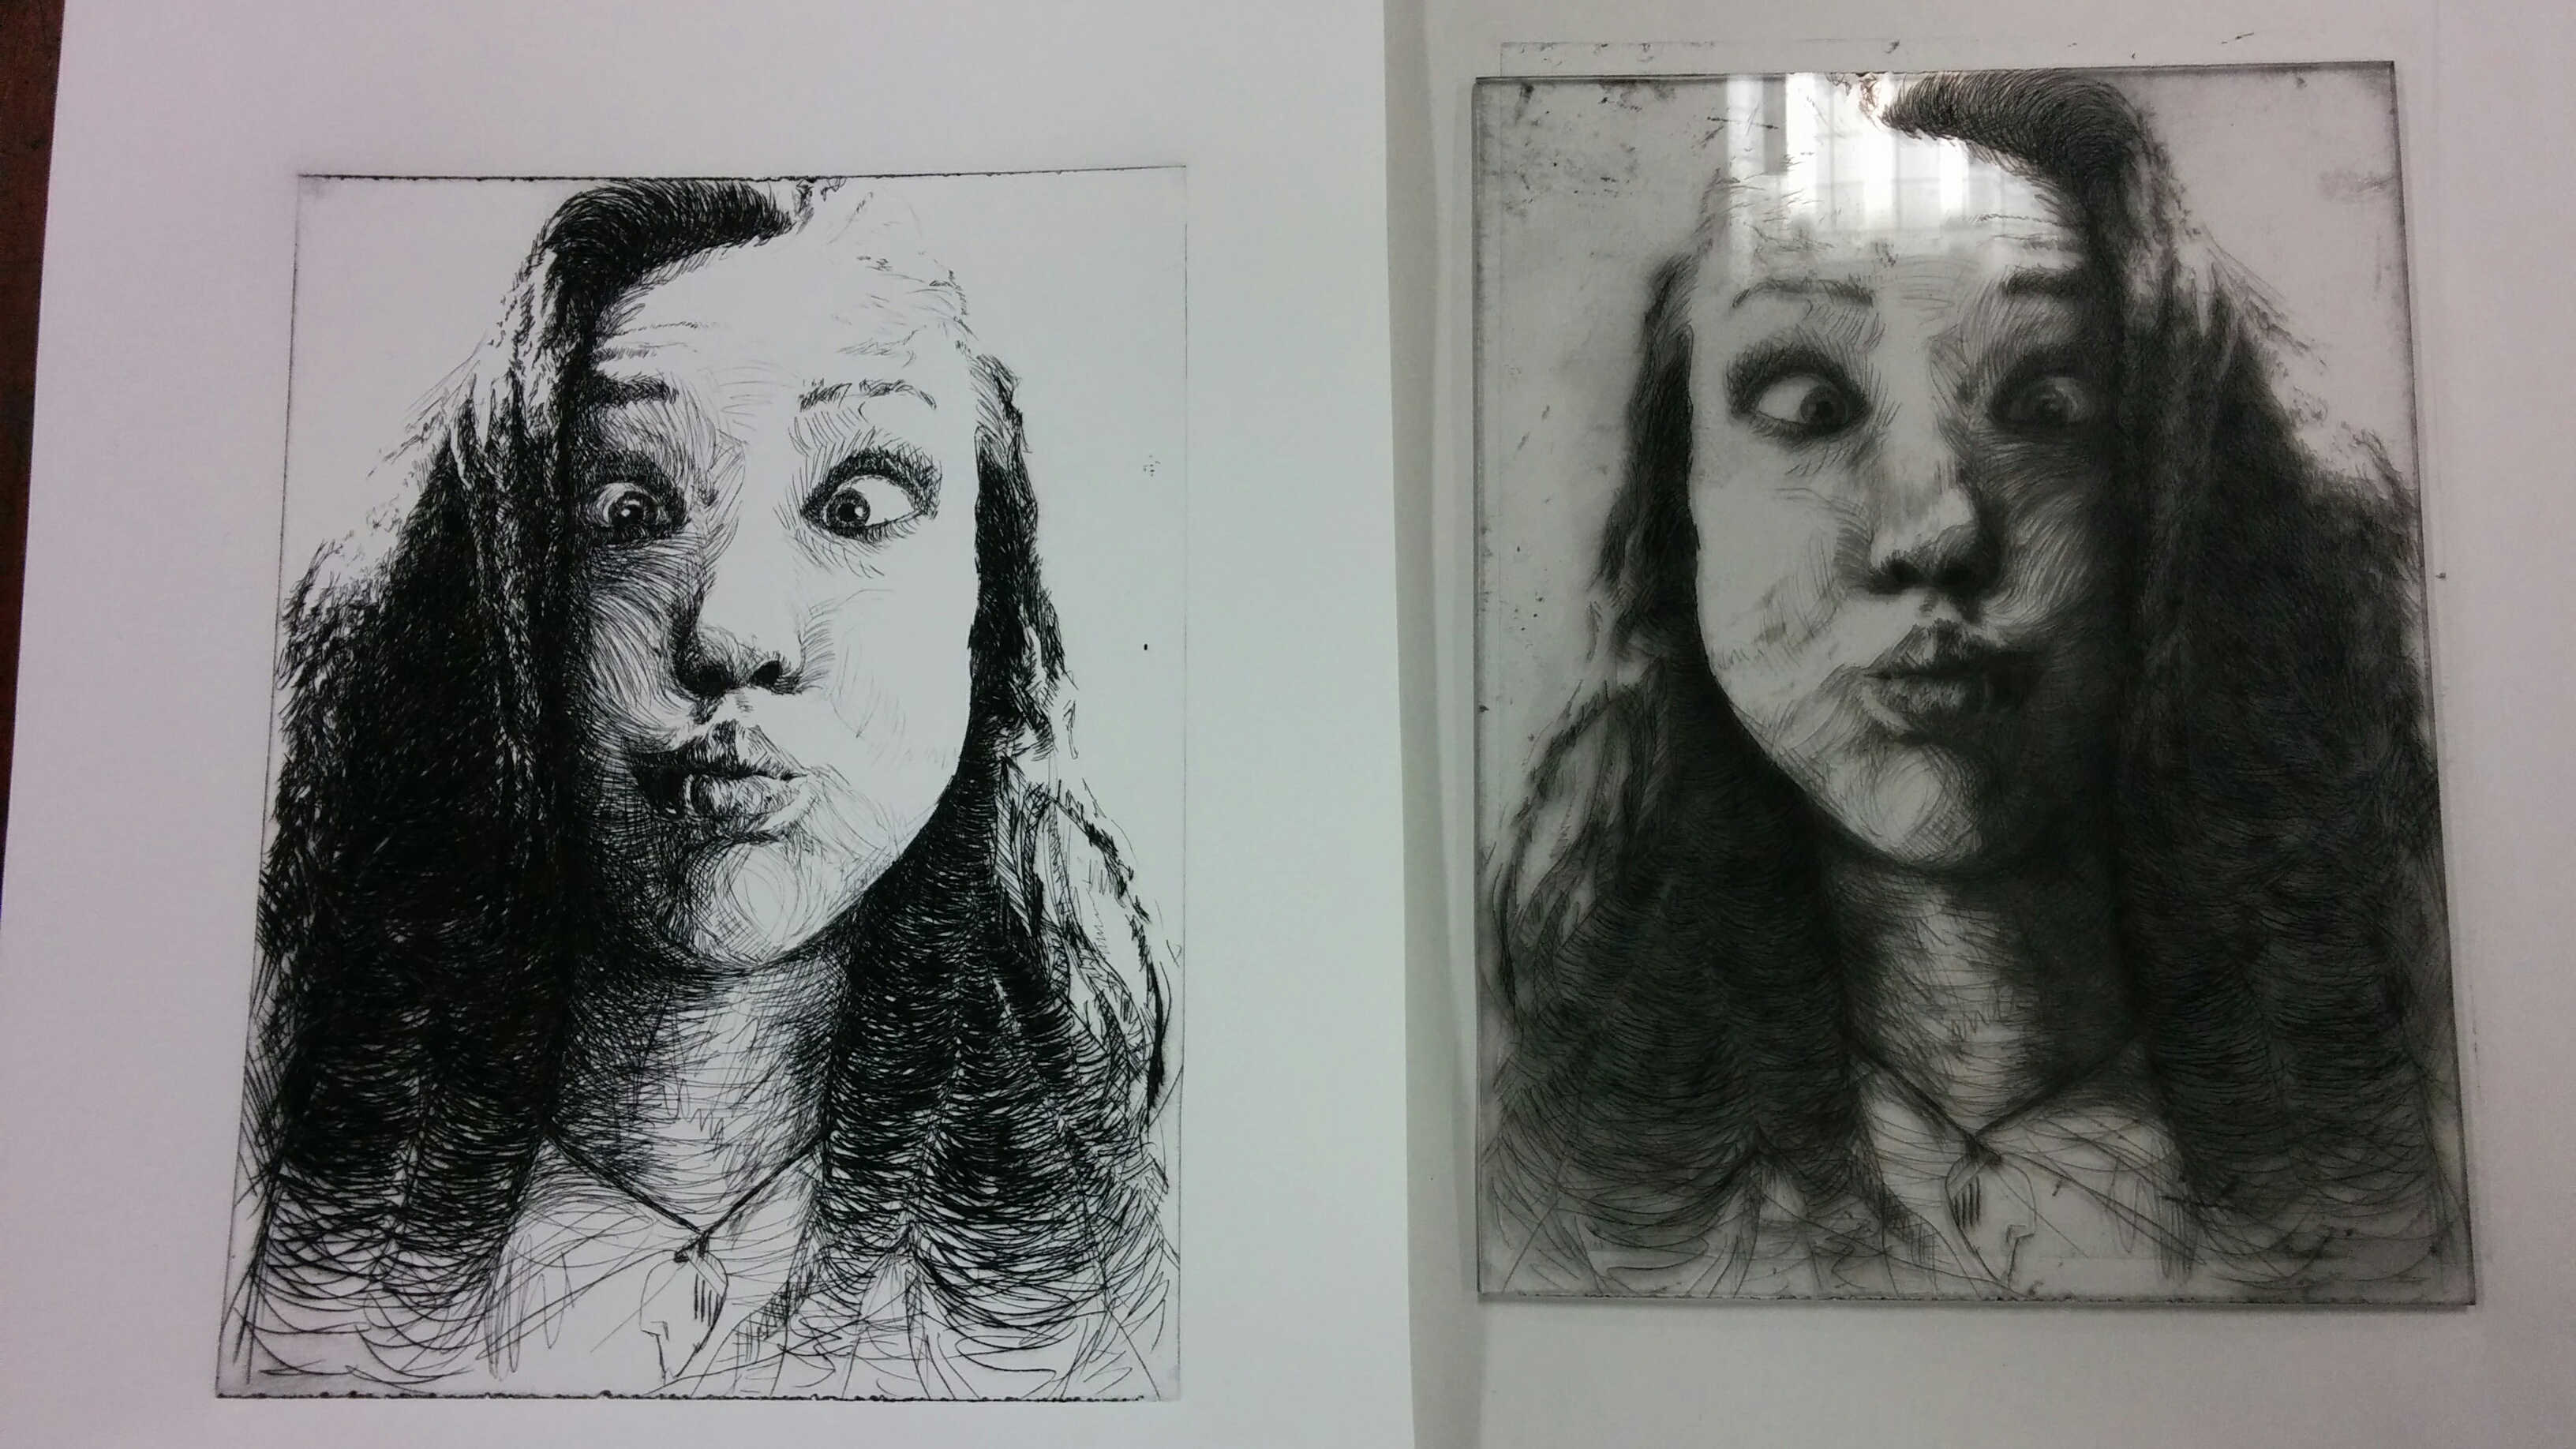
For State I, I was pretty happy with the outcome. The lines came out crisp and clear with no abnormalities. The picture above shows the proof and the matrix. This is just a reminder that the inked up plate is not your design. The end result is the proof, so never feel too confident until that first state comes out. There are a few changes which I wanted to go over though.
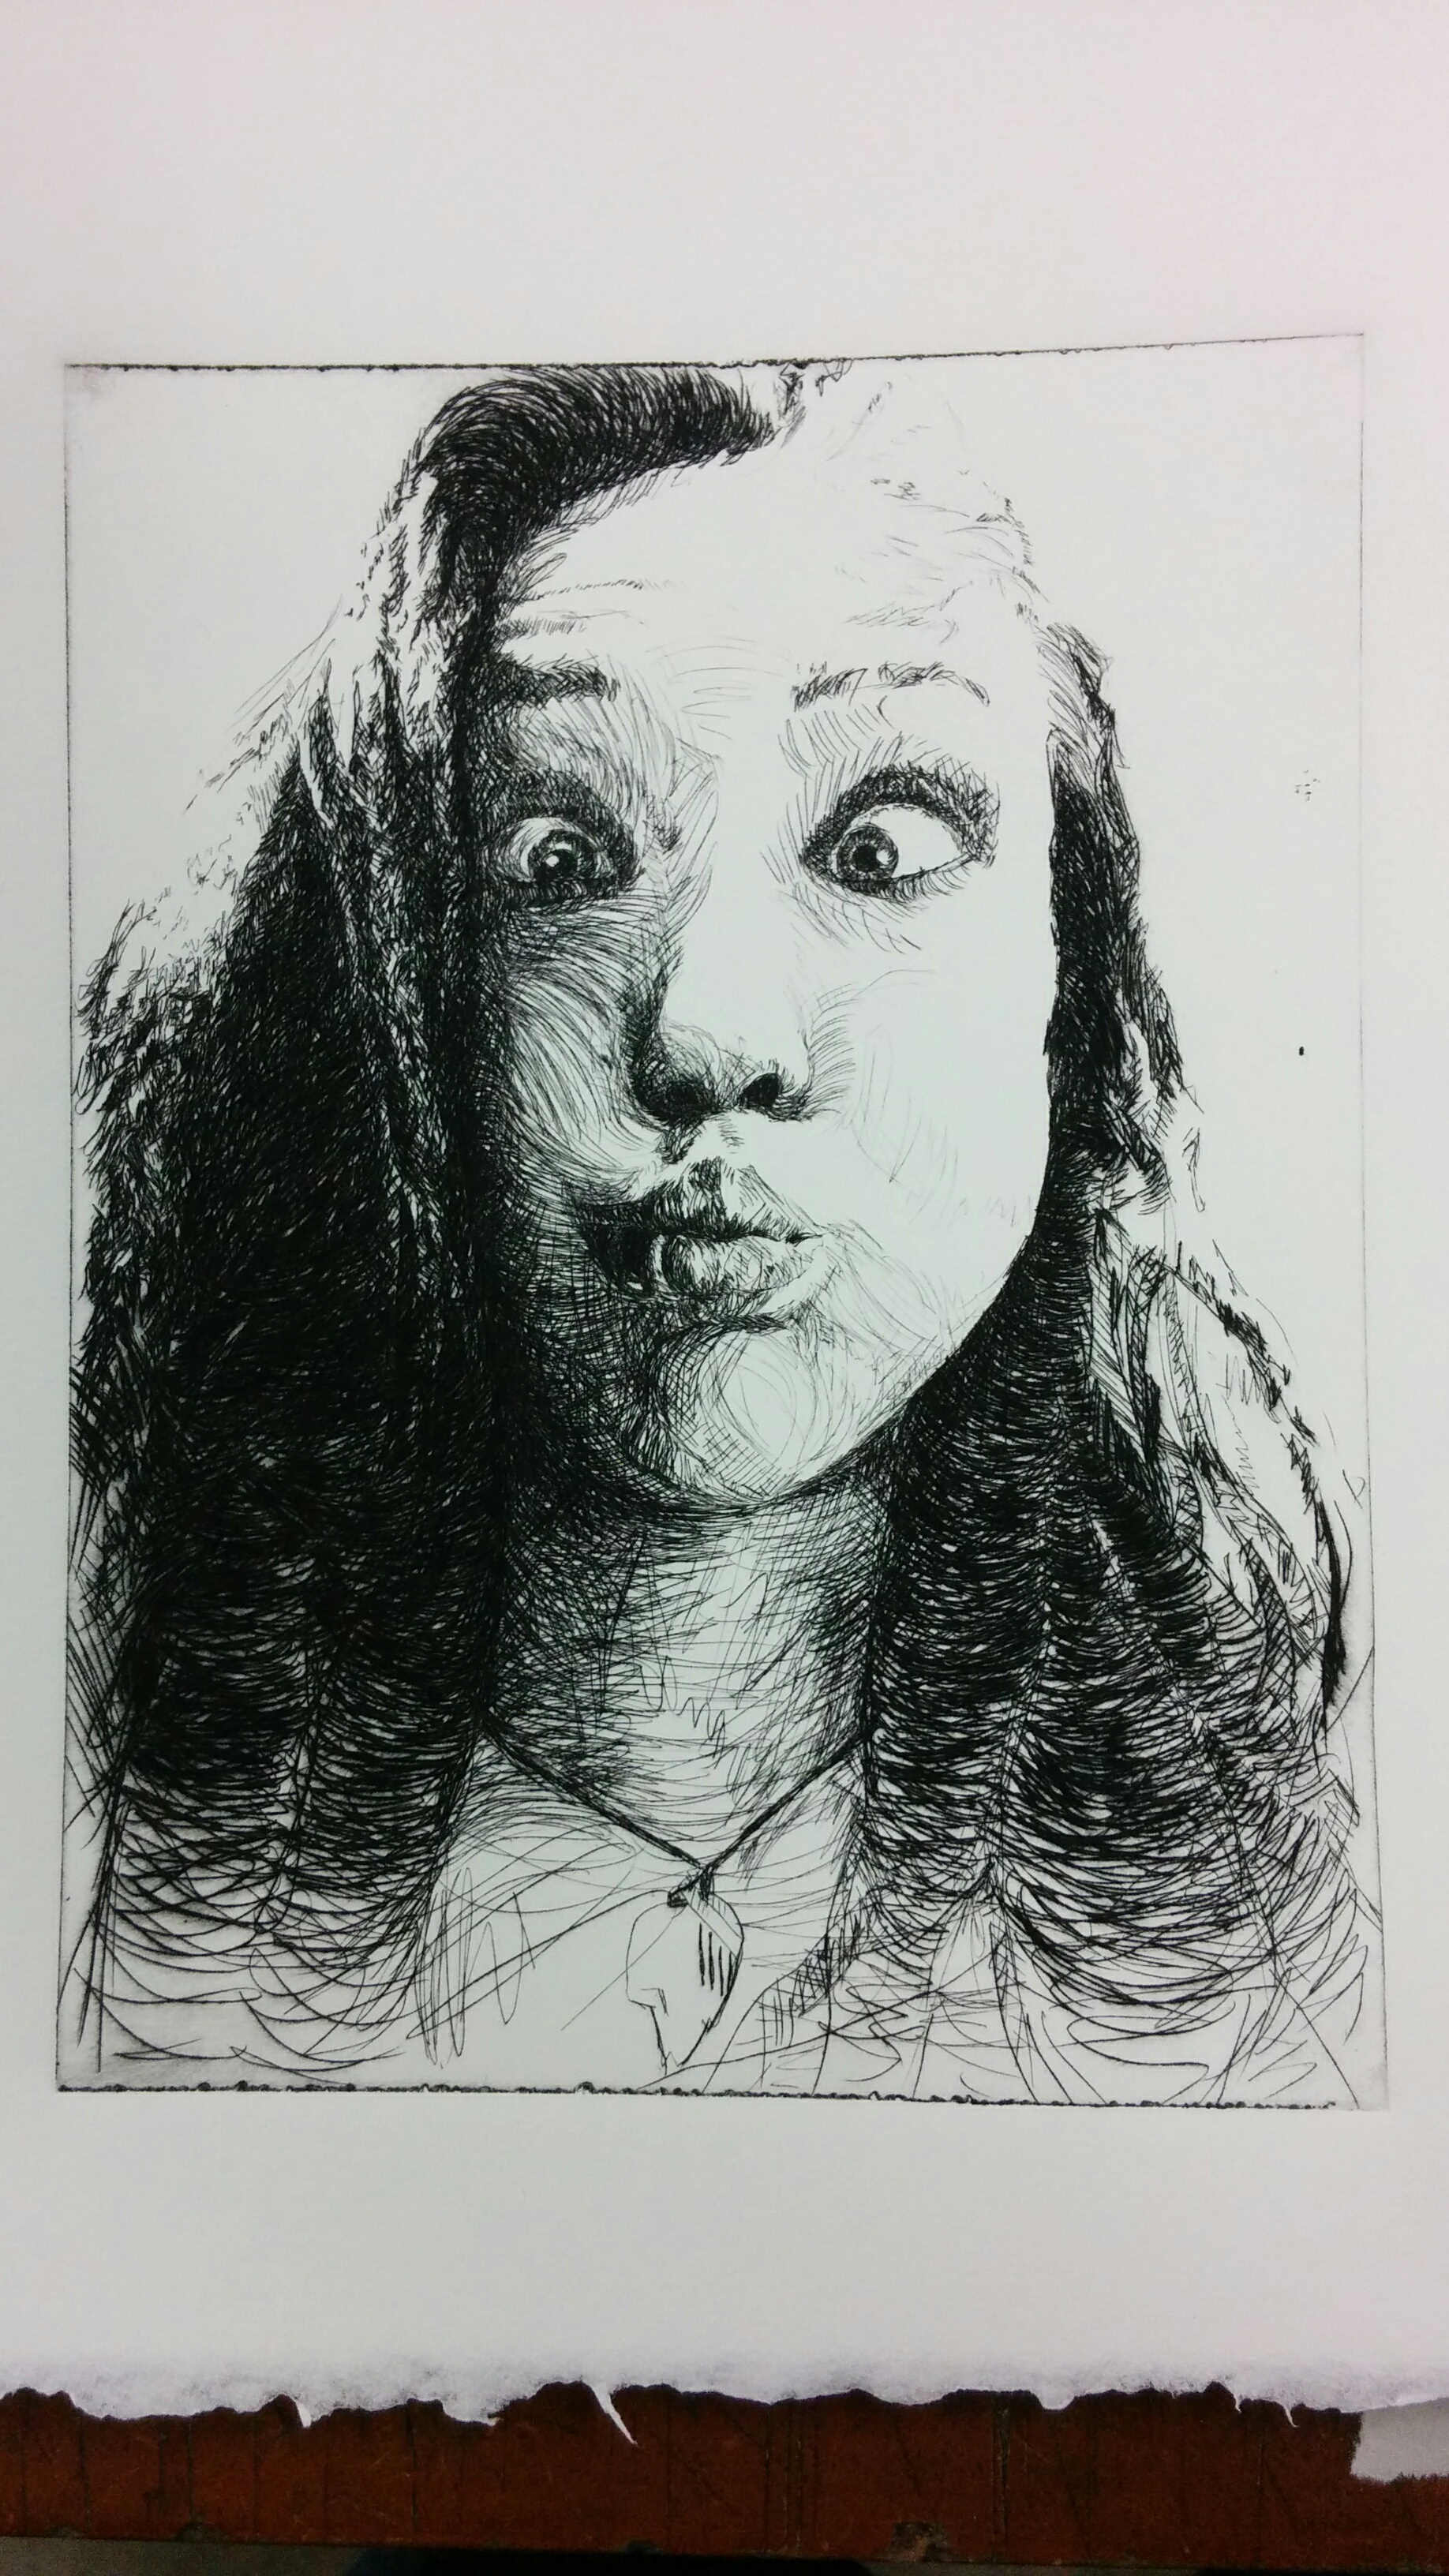
I noticed that the emotion that I wanted to capture in her was not the same. I needed her to look more rustic and loose. Some of the changes include: adding more form to her necklace, increasing the volume of her hair, smoothing out the sides of her face, give more form to her nose, engraving light lines here and there for a more detailed look, and finally adding more ink into the matrix.
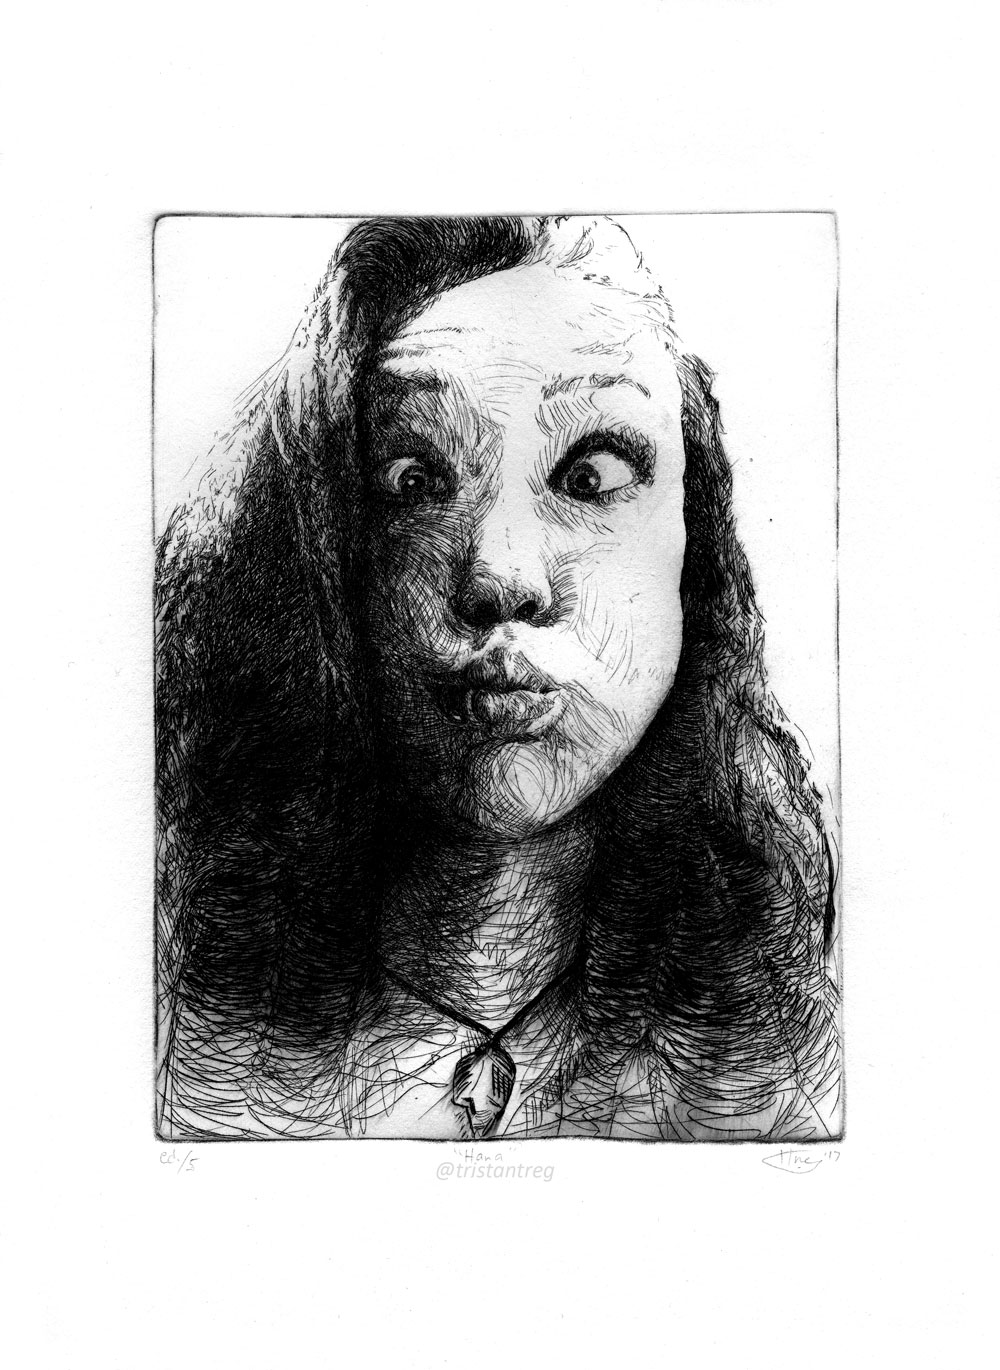
The final edition came directly after State I. Although I worked afterwards on the inking process, I felt more connection to the heavily wiped plate. The highlights shine out more and contrast with the black ink to support my chiaroscuro style. While I do like a more musty look to her, this edition of a clean presentation to the form leaves me satisfied. Part 2 will explain my thoughts on my second edition of, “Hana.”
This project elevated my love for drypoint, and I will cherish the times when I work with it. It’s simply motivating to engrave on a clear plate; to scratch into something to produce a design so close to the fine art realm. The process is something that you can’t experience with any other technique in printmaking. The closest to drypoint comes etching, and I’m definitely ready to dive right into it.
Please leave a comment below if you have any critiques or comments, or simply just LIKE and SHARE!