Welcome to another segment of, The Work In Progress. Etching is an interesting way to create an intaglio proof with acid, showcased in the making of my, “House Etching.”
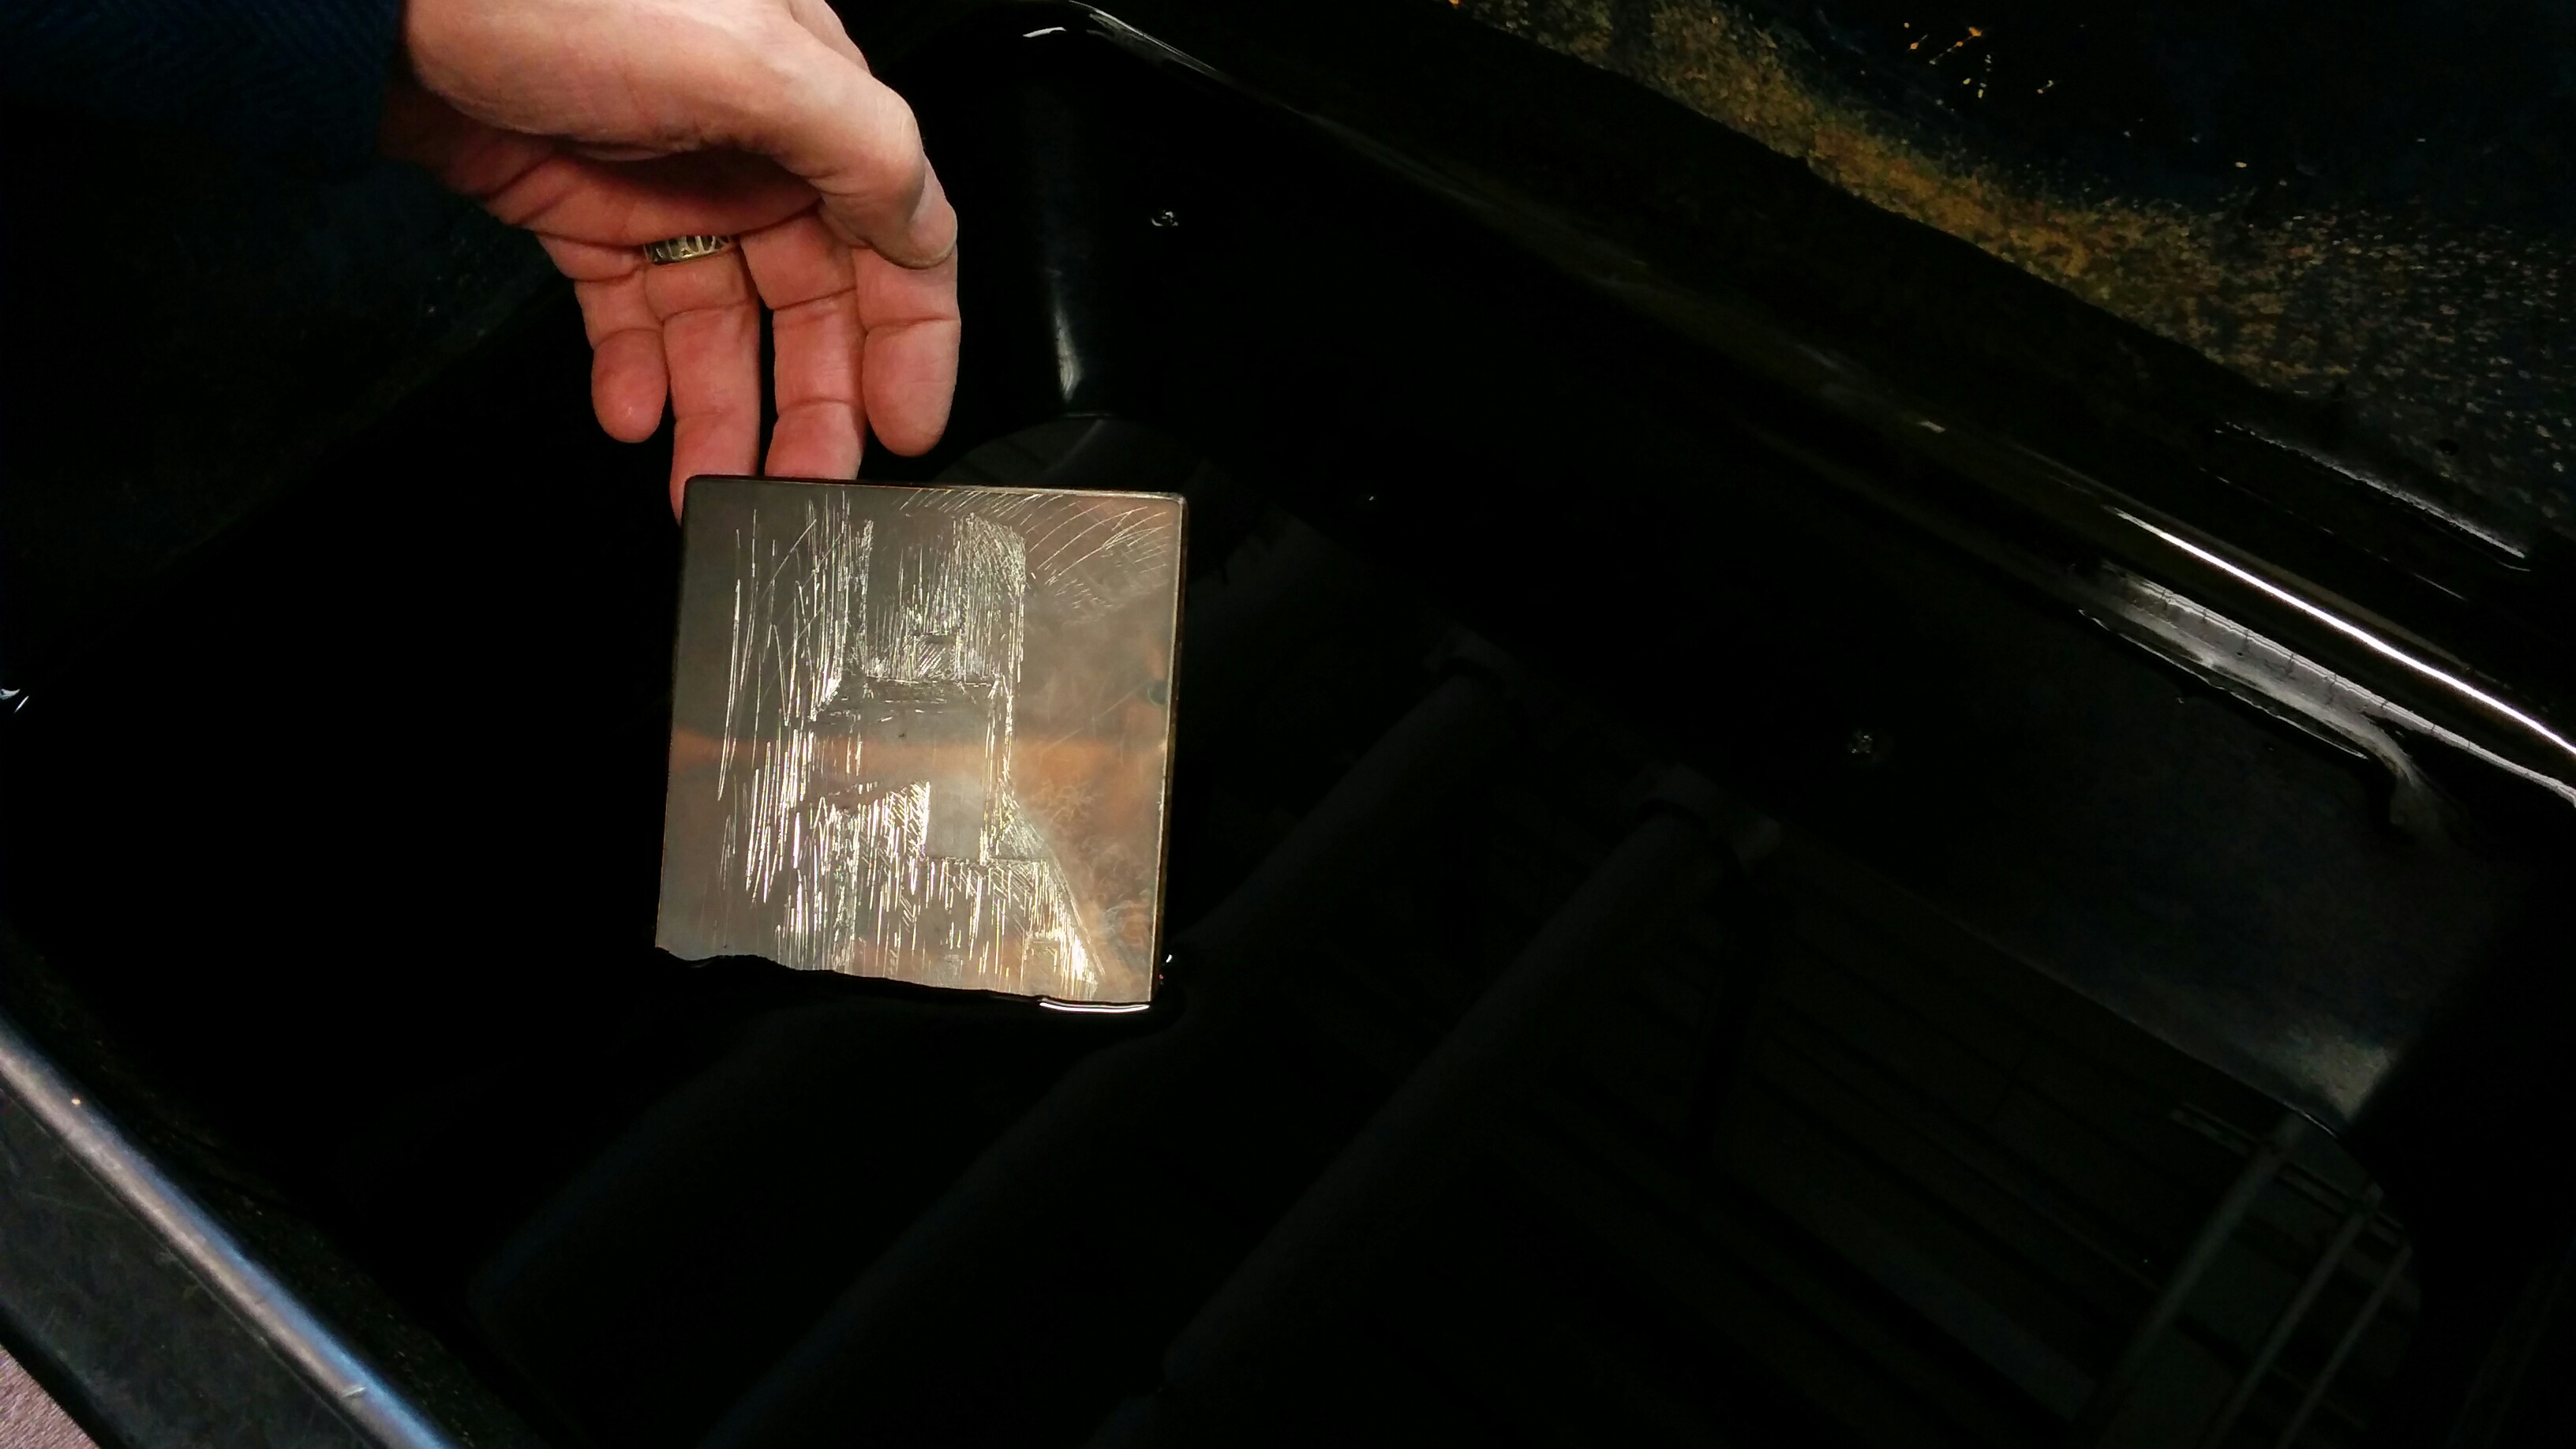
Etching and engraving are two different techniques that fall under the intaglio process. For this project, I used the wet intaglio process, which means that the plate was submerged in an acid bath, or mordant. To start, I grounded my plate in order to later scrape my design onto it. I’m not engraving into the plate, but rather just taking away the ground. The exposed plate (the shiny zinc areas) will be etched by the acid later on, creating a burr for the ink to rest in. A key note is not to etch in lines too close to each other, or else the acid will remove everything in that region, which can create less of a detail and more of a spot. The aquatint method can help create tonal effects, but stray away from too many cross-hatches in one area.
The exposure time in the acid bath can vary. The minimum time should be about 10 minutes to create a noticeable burr, while a stronger line that can hold more ink could be submerged up to 30 to 40 minutes. It’s always good to experiment with the times, especially when using different types of acid.
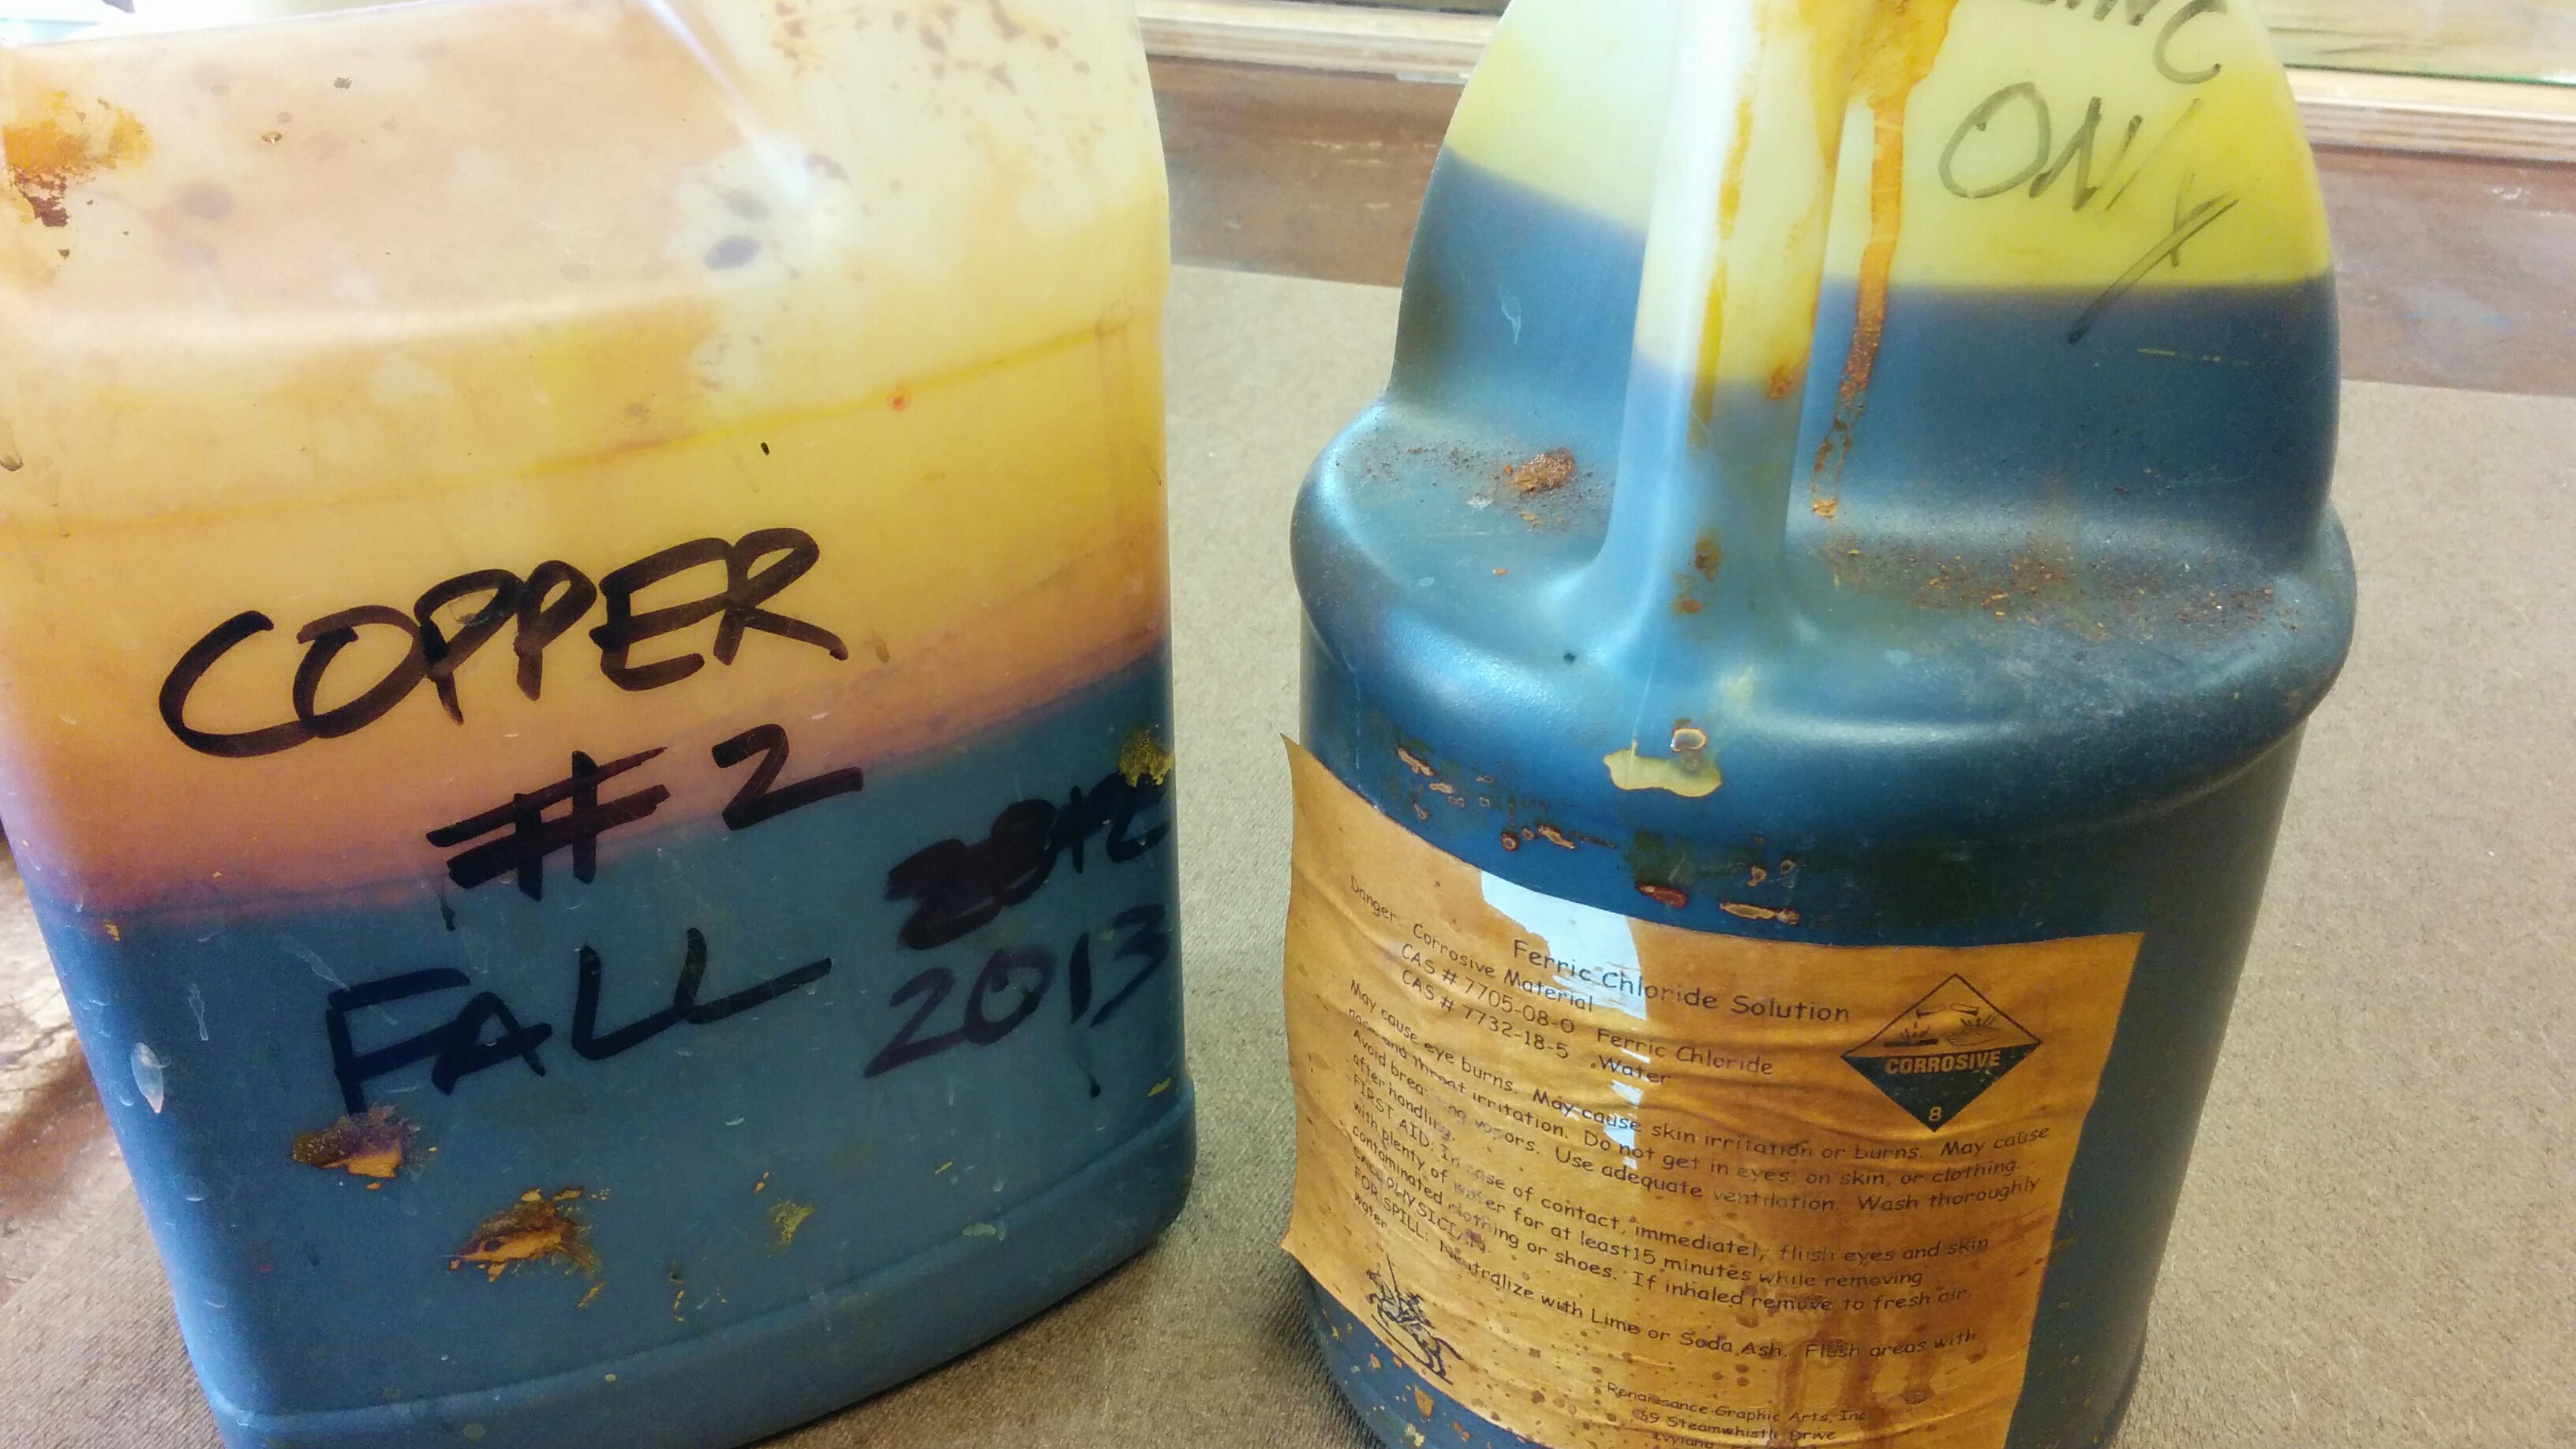
Which acid you use is important to know when you’re ready to etch your plate. While there are a variety of printmaking acids, I used a less-toxic version called, Ferric Chloride. It’s more salt based as opposed to Nitric acid which is extremely toxic. For example, while the Ferric Chloride isn’t as dangerous to be exposed to on your skin, just breathing in Nitric acid can cause a shortage of breath. Since I’m using a zinc based plate, the safer and easier route would be to use the saltier acid. A final note is that you can save the mordant after continuous uses, but the strength of the etching will decrease over time. Especially if you’re only etching two or three times, it’s best to reuse it.
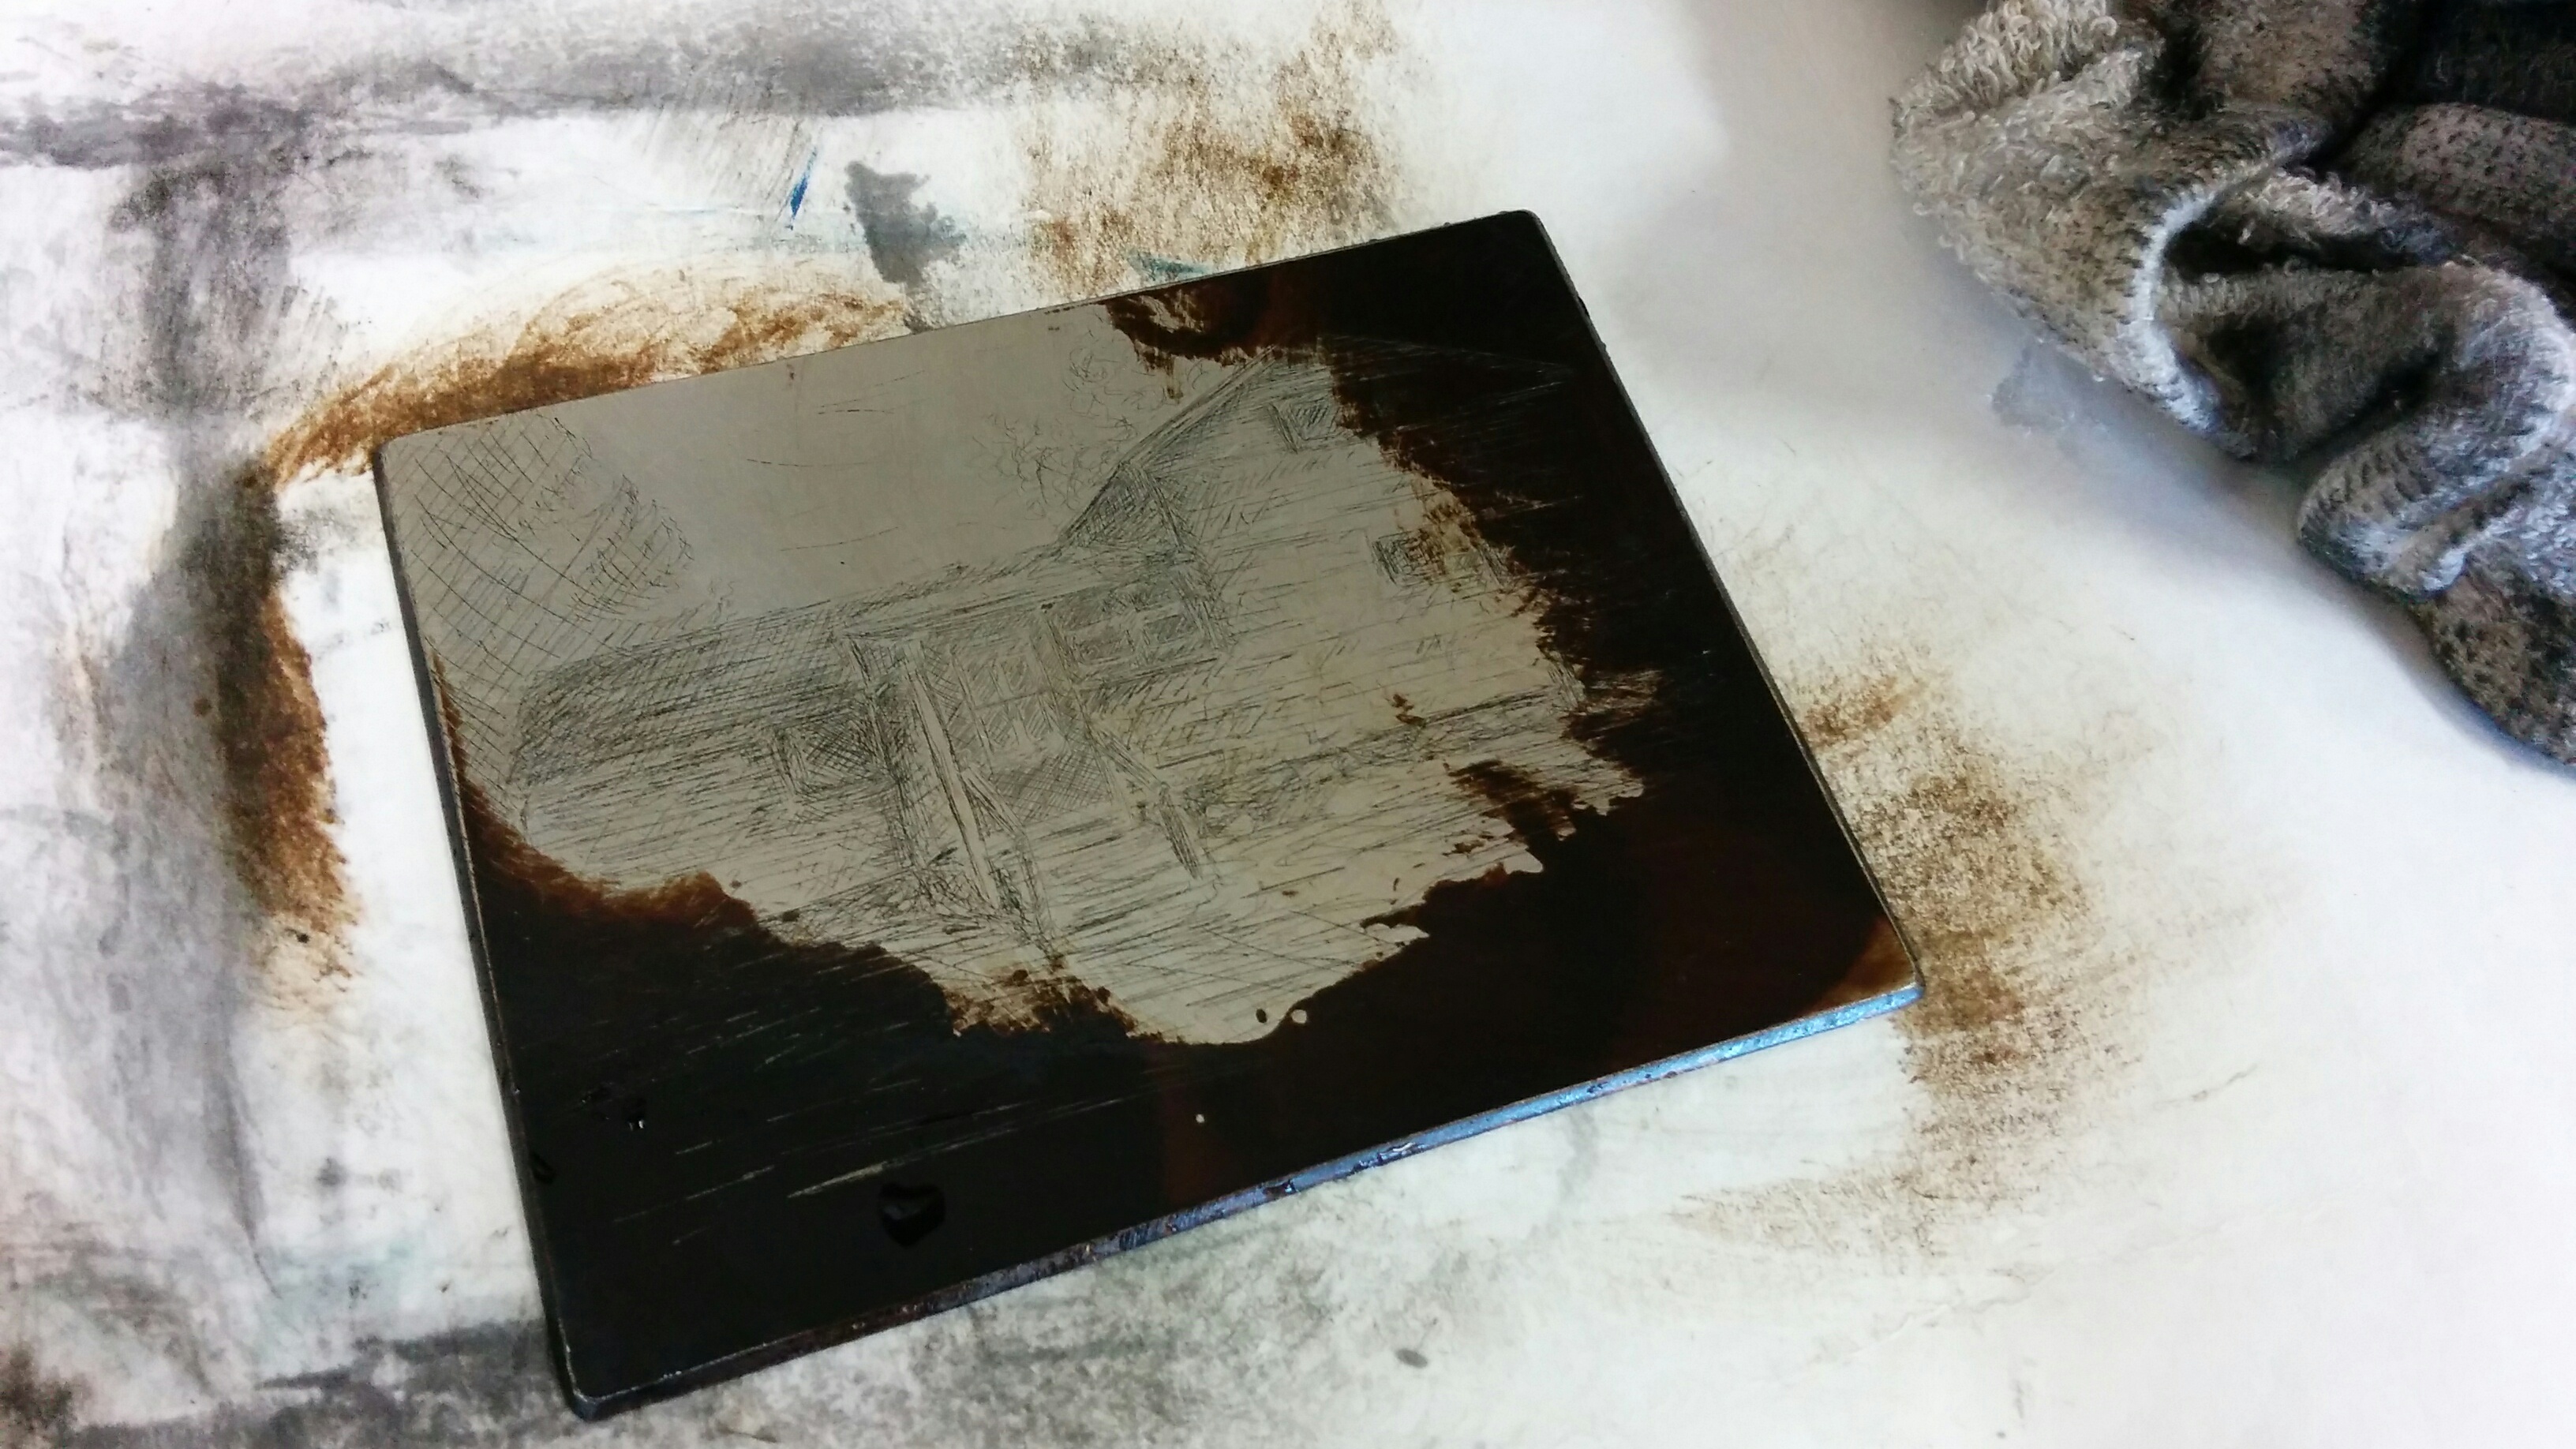
After my plate had time in the acid bath, I washed off the excess mordant in a separate bucket. I then used turpentine to remove the ground in order to print the plate. While you can use wet charcoal on the plate to scrape off any inconsistencies (such as foul bites), it’s best to do it before the etching process. There is no harm in scrubbing it after etching, but doing so may alter the design slightly. Either way, it produces crisper and cleaner lines. The matrix above has gone through this process three times in order to produce a final proof.
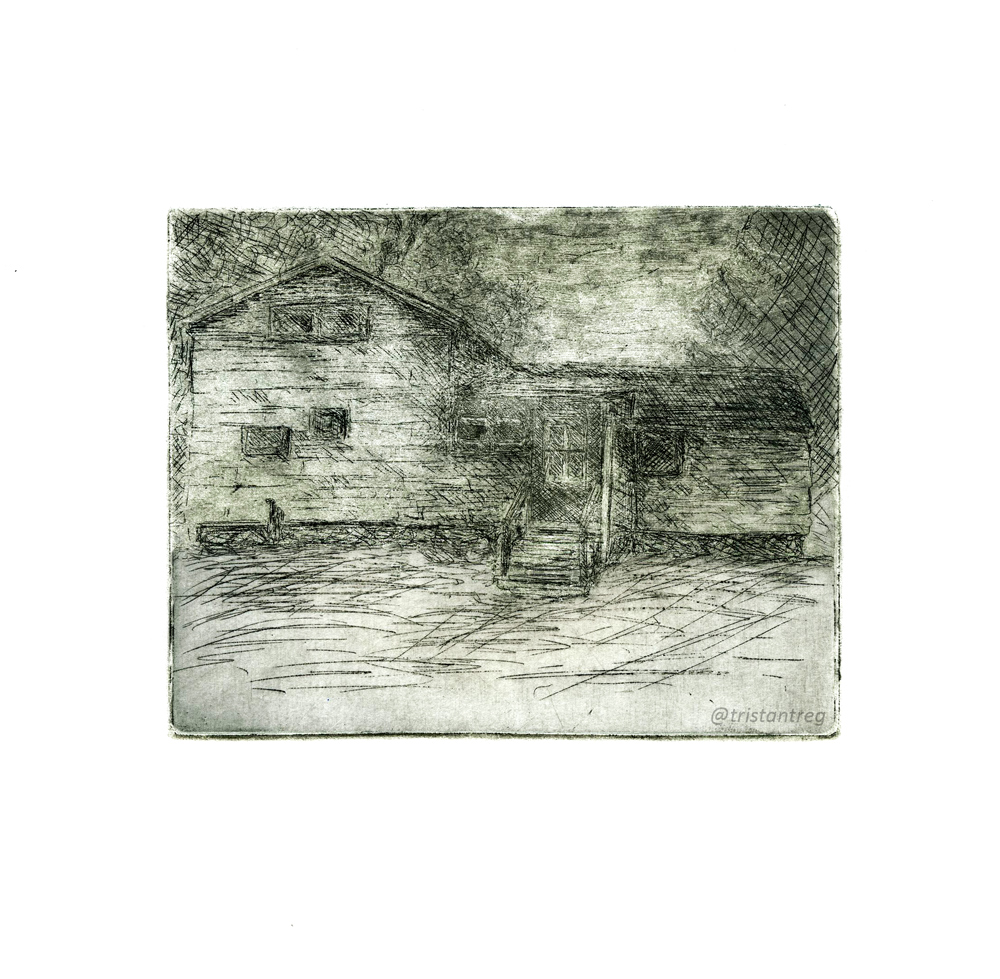
The final edition gives an ominous atmosphere with its musty spots, sharp lines, and undefined background objects, with the overall design being an old house. I went through various proofs in order to see which flaws where more distinguishable. For example, the door used to be the darkest part of this house, but I altered its tonal level to the surrounding areas in order to make it look lighter in comparison. There also needed to be more depth and dimension, so the foreground became lighter than the background, and the sky eased into the setting sun.
This was my first etching and it was an experience that I wanted to have for a while. Letting acid create my lines seemed out of my control, but with a few simple tricks, I was able to create a successful, one of a kind print.
Please leave a comment below if you have any critiques or comments, or simply just LIKE and SHARE!