Welcome to another segment of, The Work In Progress. The process of engraving into a metal plate goes back centuries, but with new products on the market comes my take on “Toray Testing.”
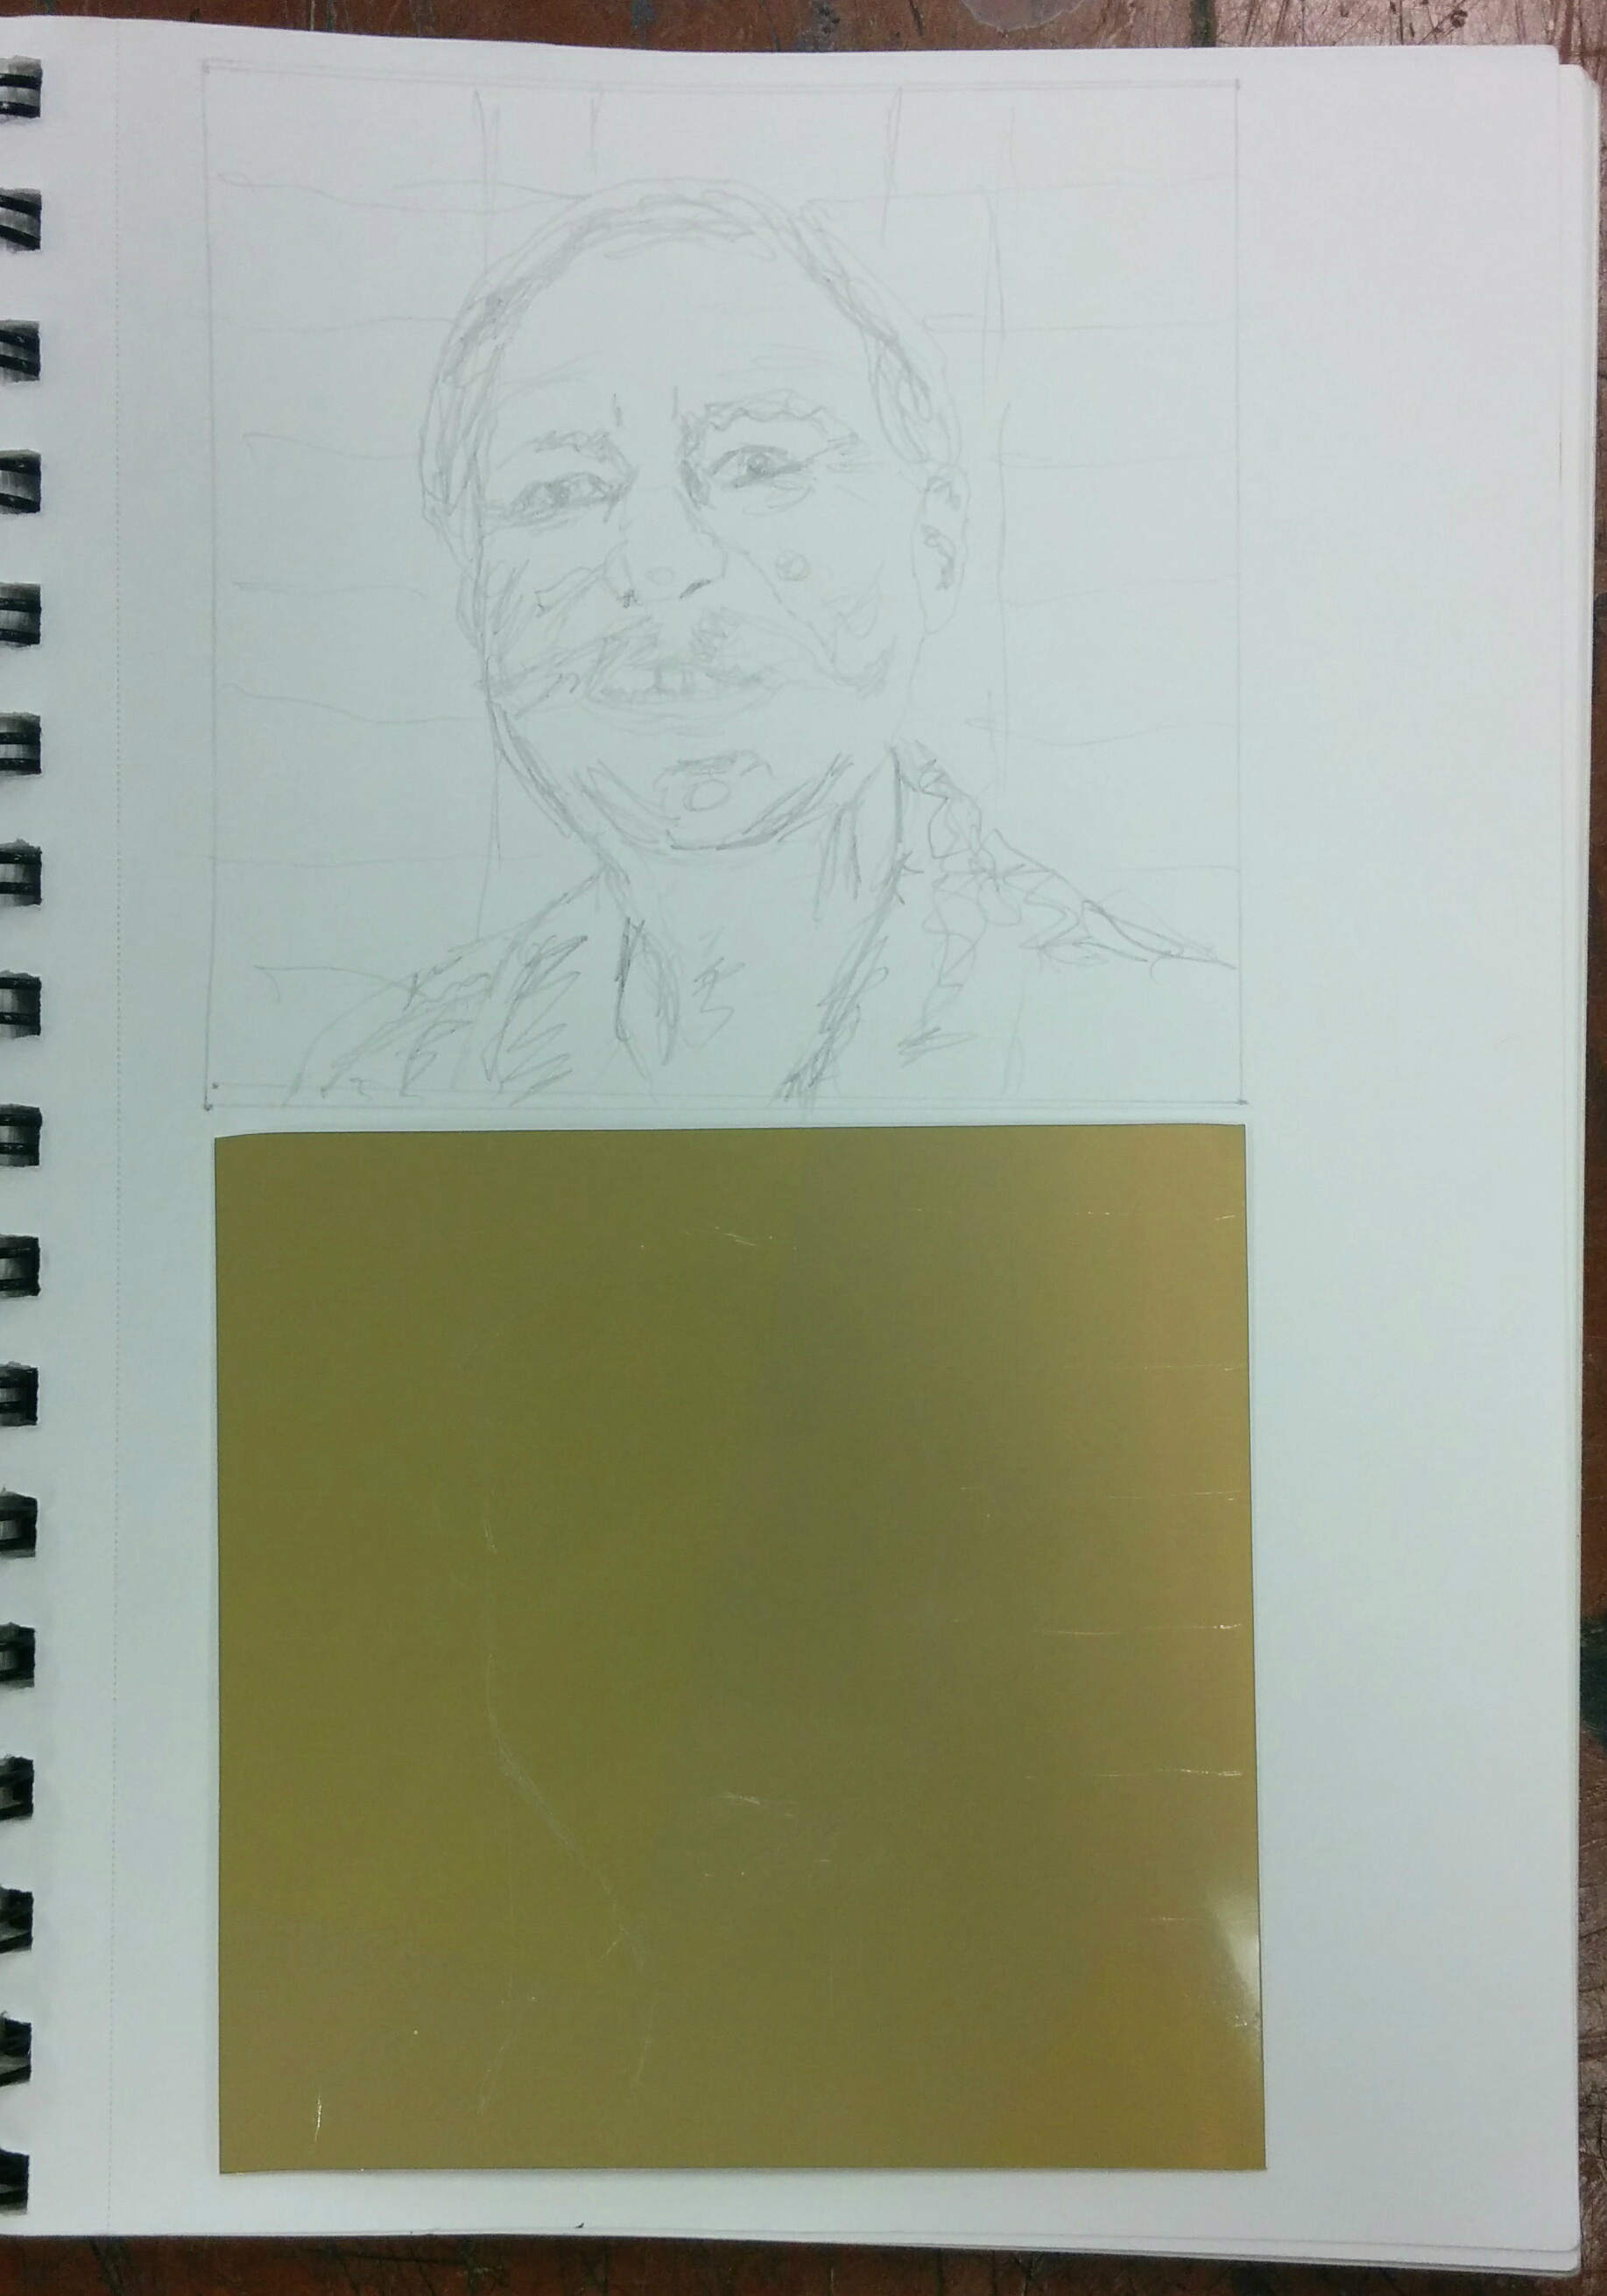
Before I started my design, I needed to know the concept of a Toray plate. This is because different techniques alter different styles toward factors such as line widths, lines strokes, and ink registration. Within the lithographic sense, it uses the idea that water and grease don’t mix. In other words, the greasy areas of your design attract the ink, while the water repels the ink. Toray has the same idea, but without the water or grease. The plate consists of several layers which basically perform the same concept of being the grease (bottom layer of metal) and water (top layer of film). After the design is engraved into the plate, a brayer rolls ink onto the plate leaving color only within the scratched marks while the clear parts naturally repel the ink.
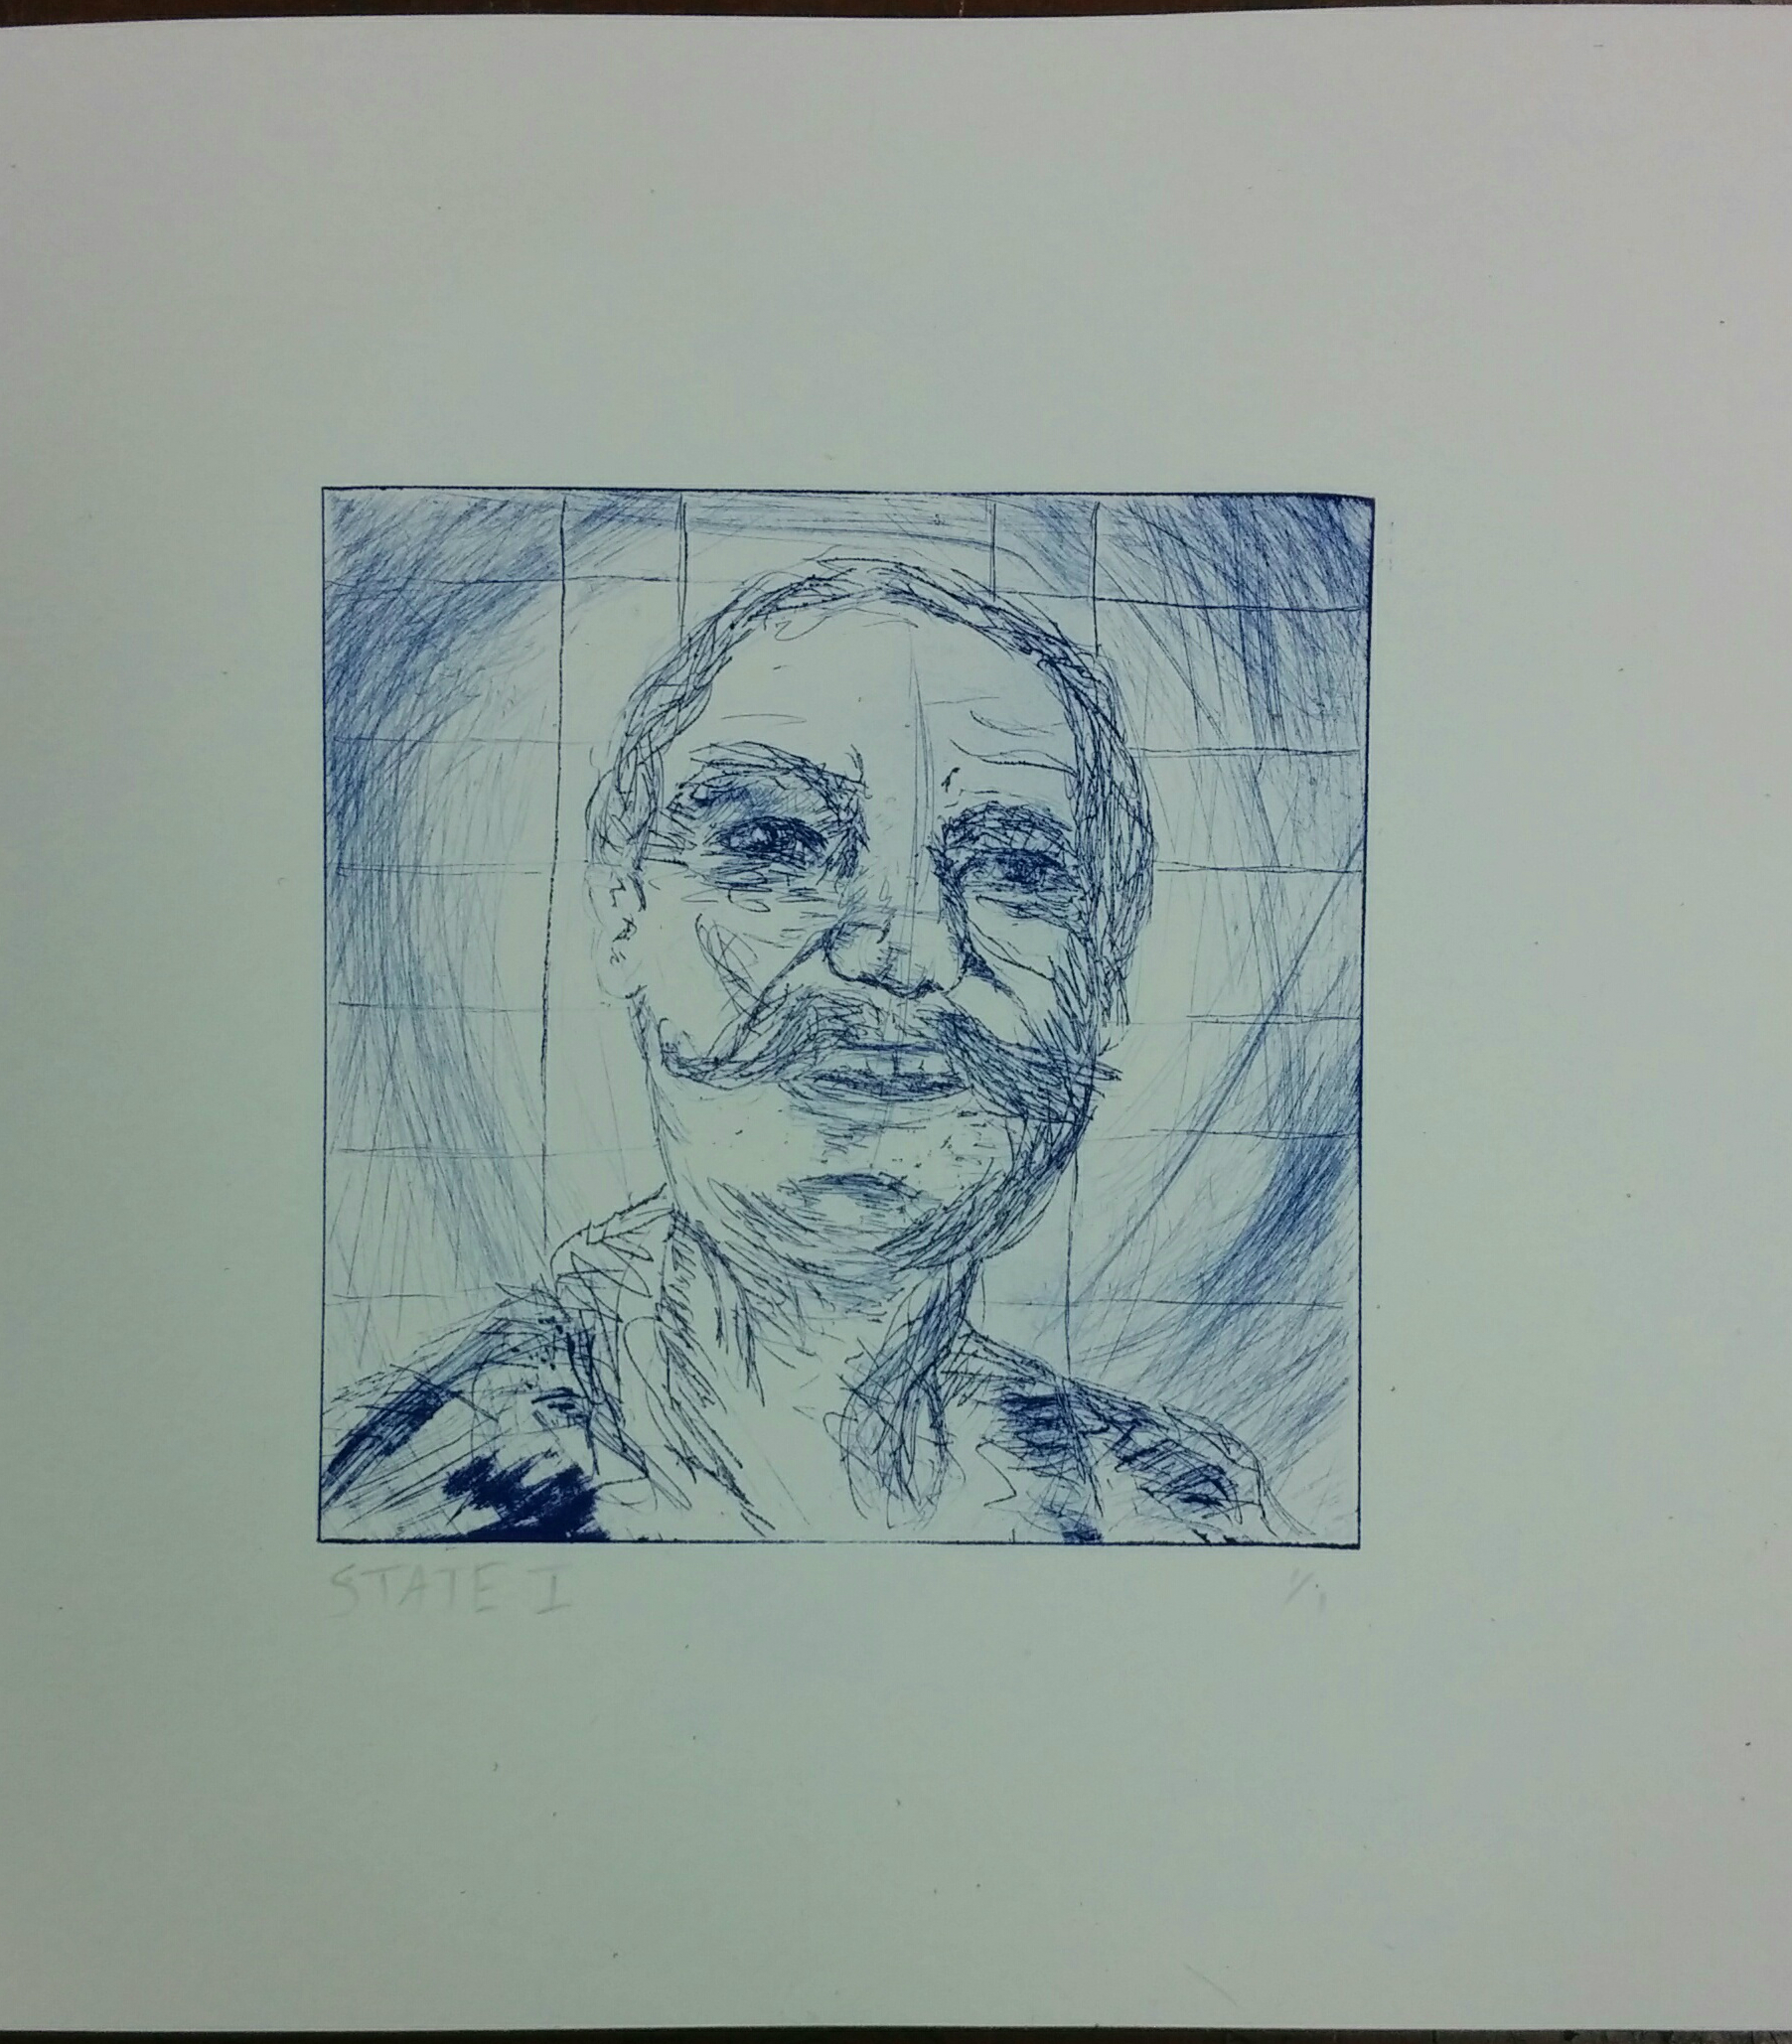
My first state shows how I used different tools to my advantage. The traditional method is to use a diamond tip engraver to receive fine points and a sharp edge to the marks made. That’s what I used for the main figure. Other details include the scuffed lines in the background and the bold marks on the shirt. I used sand paper to create a light shade to contrast with the direct form, as well as a typical blade to literally scrape off the top layer of the plate. These methods provide a nice flow and excitement to the piece, or otherwise it might look bland and one-dimensional.
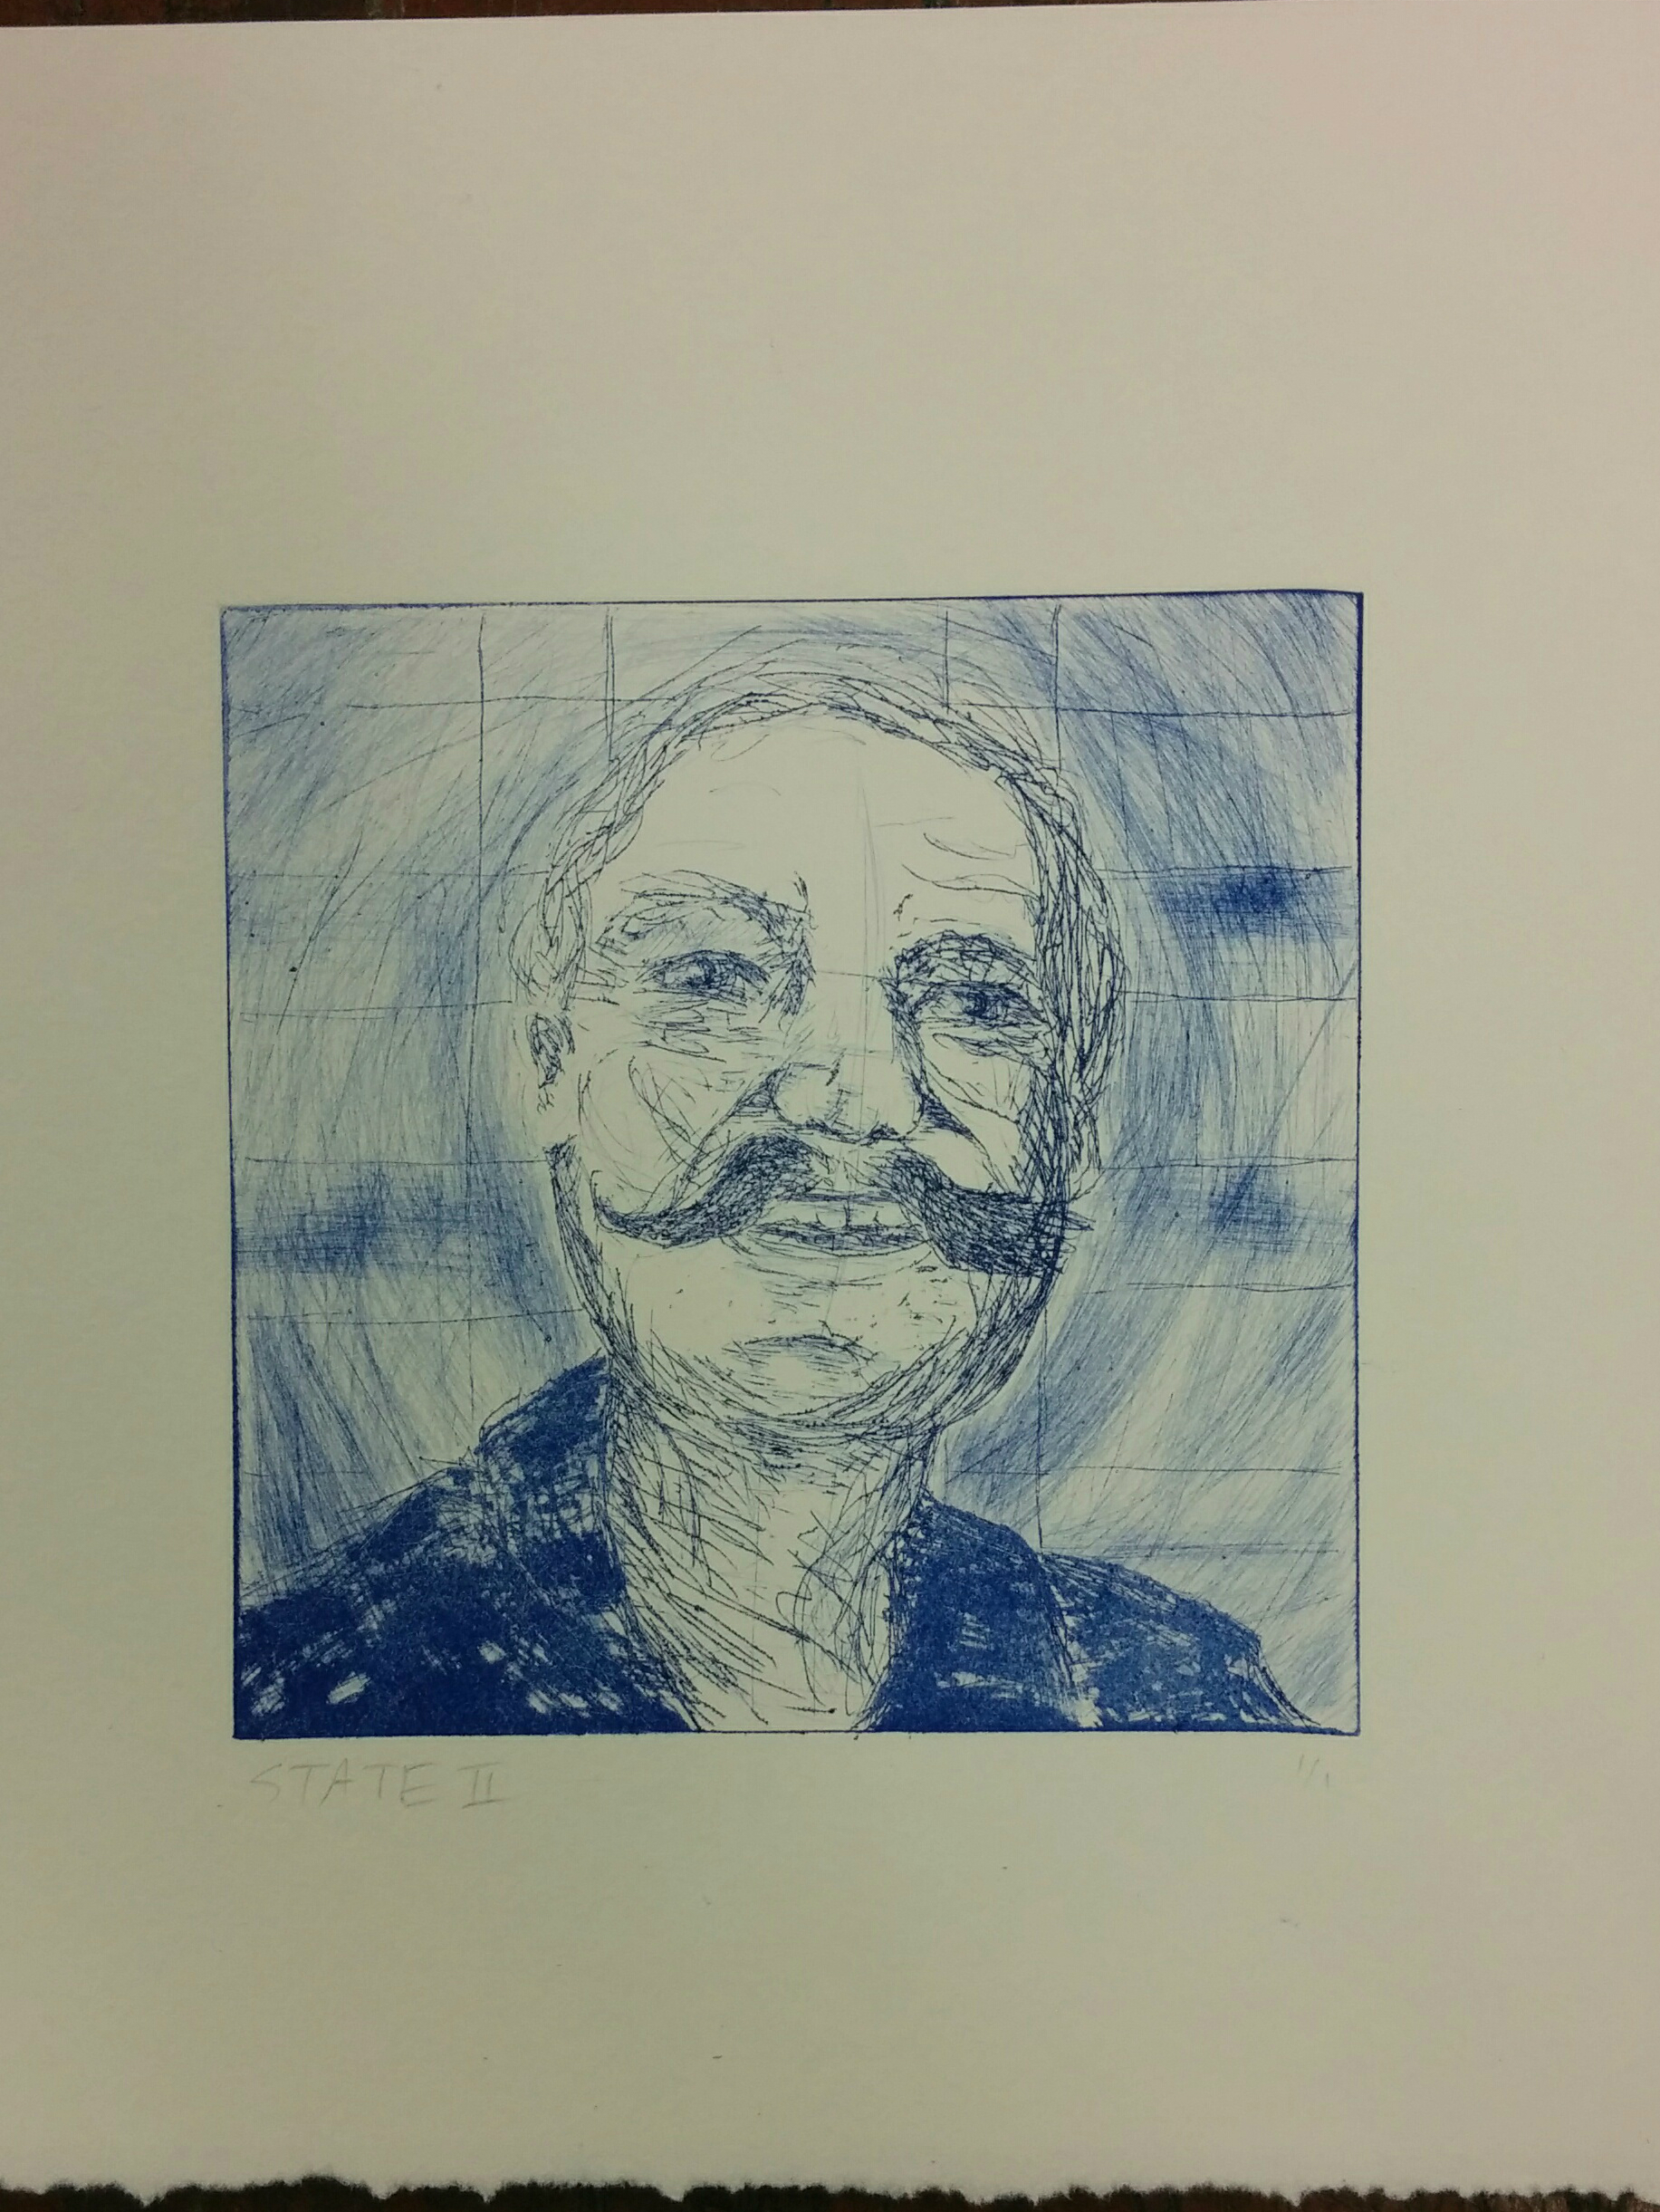
In State II, I laid out my improvements to the proof before. Now I can see which parts accepted or repelled ink, as well as how my overall design felt. I wanted the head and neck to have a foundation to rest on, so I scraped off more of the shirt’s form, but not too much in order to keep with the style of the face. The value of the piece needed to increase in general, and the background needed more involvement.
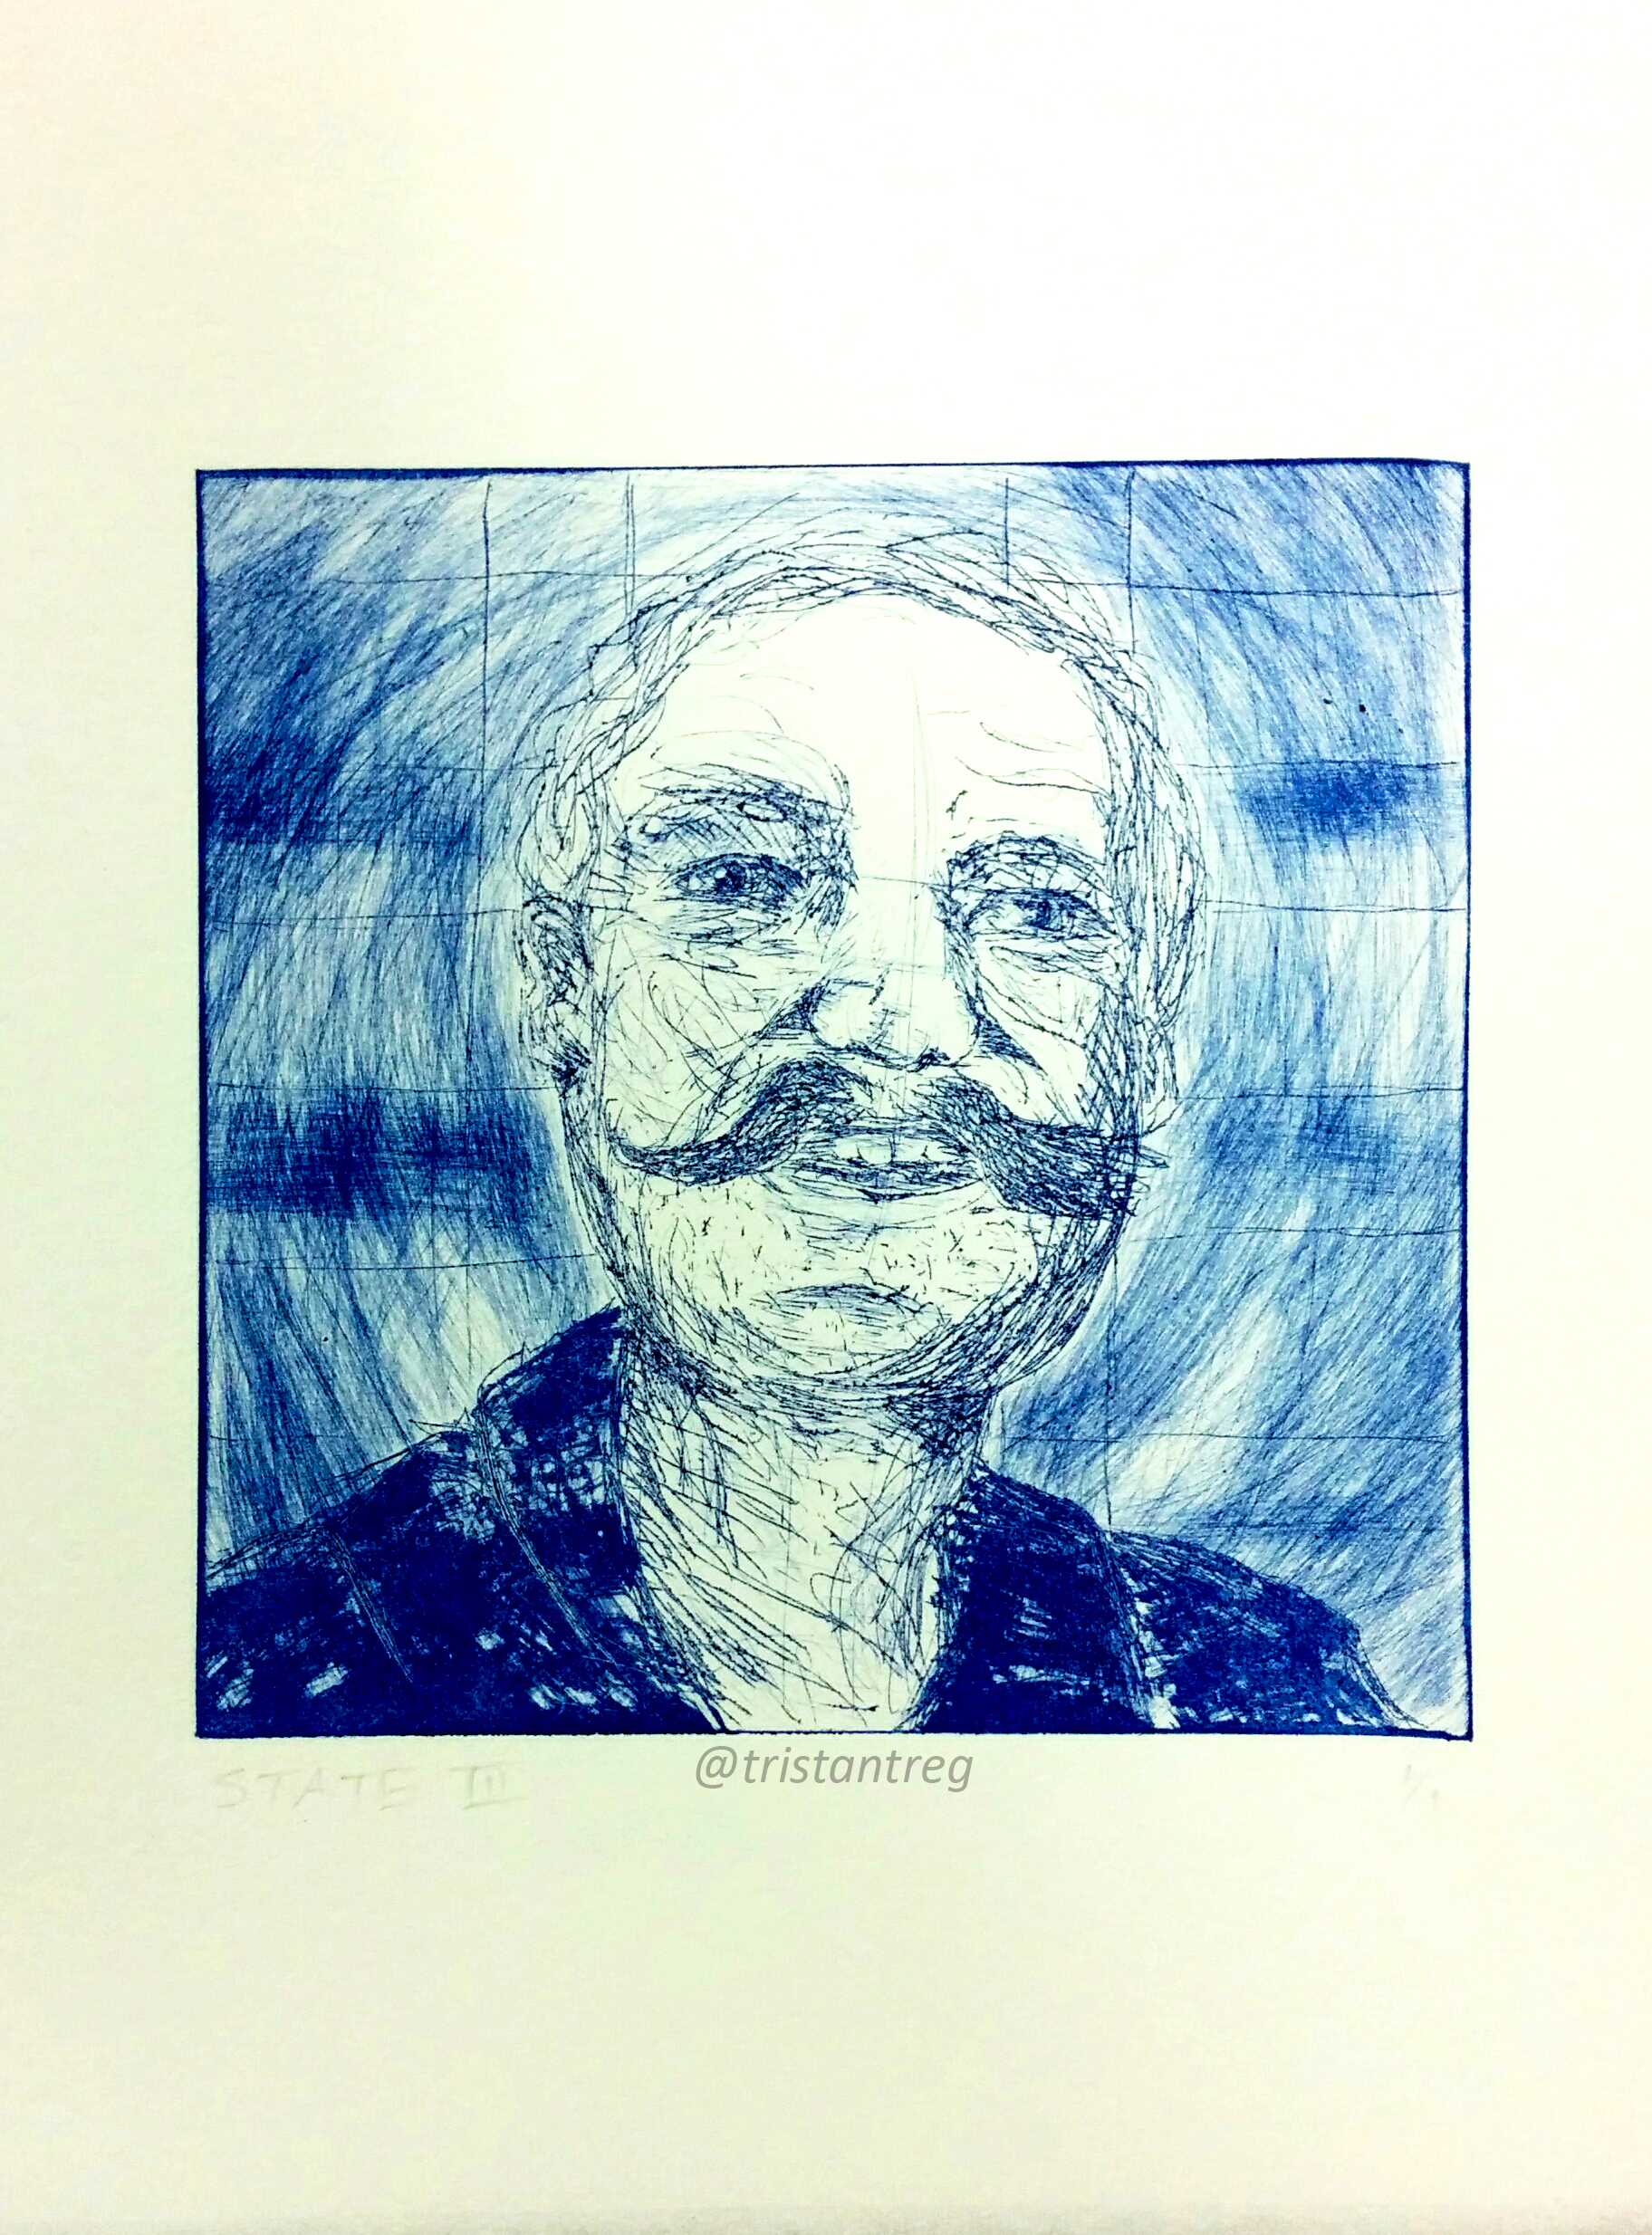
In my final state, I was able to make subtle changes to the plate, being careful not to engrave too much since I would not be able to undo my actions. I did scratch more parts in the background horizontal to the eyes and mouth in order to have movement and a balance in value and hue. The character left a perfect fit to the Toray process as he possesses scruffy and mesmerizing features in his stance, attitude, age, and mustache.
While it is an interesting process to go through, Toray can be very messy and tedious. Washing the plate after every print is an example, especially since it comes with dangers. Using different chemicals other than turpentine could leave your plate being destroyed and ruined. Lightly loosen the ink with a cotton swab, since you don’t want to cause unintended scratches. After patting the plate down, run it under high pressured water to clean off the turpentine and ink. When practicing this Intaglio process, be careful not to mix up your turpentine bottles with alcohol, or else someone’s “Dürer” print would end up looking like Malevich’s work.
Please leave a comment below if you have any critiques or comments, or simply just LIKE and SHARE!