Hi everyone! I hope you’re all doing well. The cloudy weather we’ve been having here in Scranton has been a little unmotivating, but I’ve still been up to some good art making! If you read my last post, you saw the test glazes I made. I’ve finally gotten around to putting them on some test tiles, so as I write this, those tiles will go in the test kiln on Monday and be out by Tuesday! I’ll share those results in my next post! I’m super excited to see what they look like, and what the clay looks like, because I haven’t seen this new cone 6 clay glaze fired yet!
Other than that, I’ve also been experimenting with surface textures on my pots, altering my wheel thrown pots, and adding handles to the mugs I made a couple of weeks ago. But for the most part, I’ve been planning out glazing ideas for the pieces that have been making their way out of the kiln. I’m kinda waiting on the cone 6 test glaze results to fully plan out my cone 6 pieces, so I’ve only planned a few of those, along with some of the cone 10 pieces that are ready to go.
First, I’ll show you some unique pieces I’ve made to try to find my style. I haven’t found a technique or surface texture I feel super drawn to, so I decided to try a couple of new ones. First, I attempted a technique I’ve seen where you use a wire tool to cut flat layers off of the surface of a pot. I think it made a cool, rustic-looking piece, and it would look great with a glaze that changes color over breaks or surface texture. I did this on two pieces, and I think it’s a cool idea, but I can’t see myself doing it again, at least in the same way. Here’s one of those pieces.
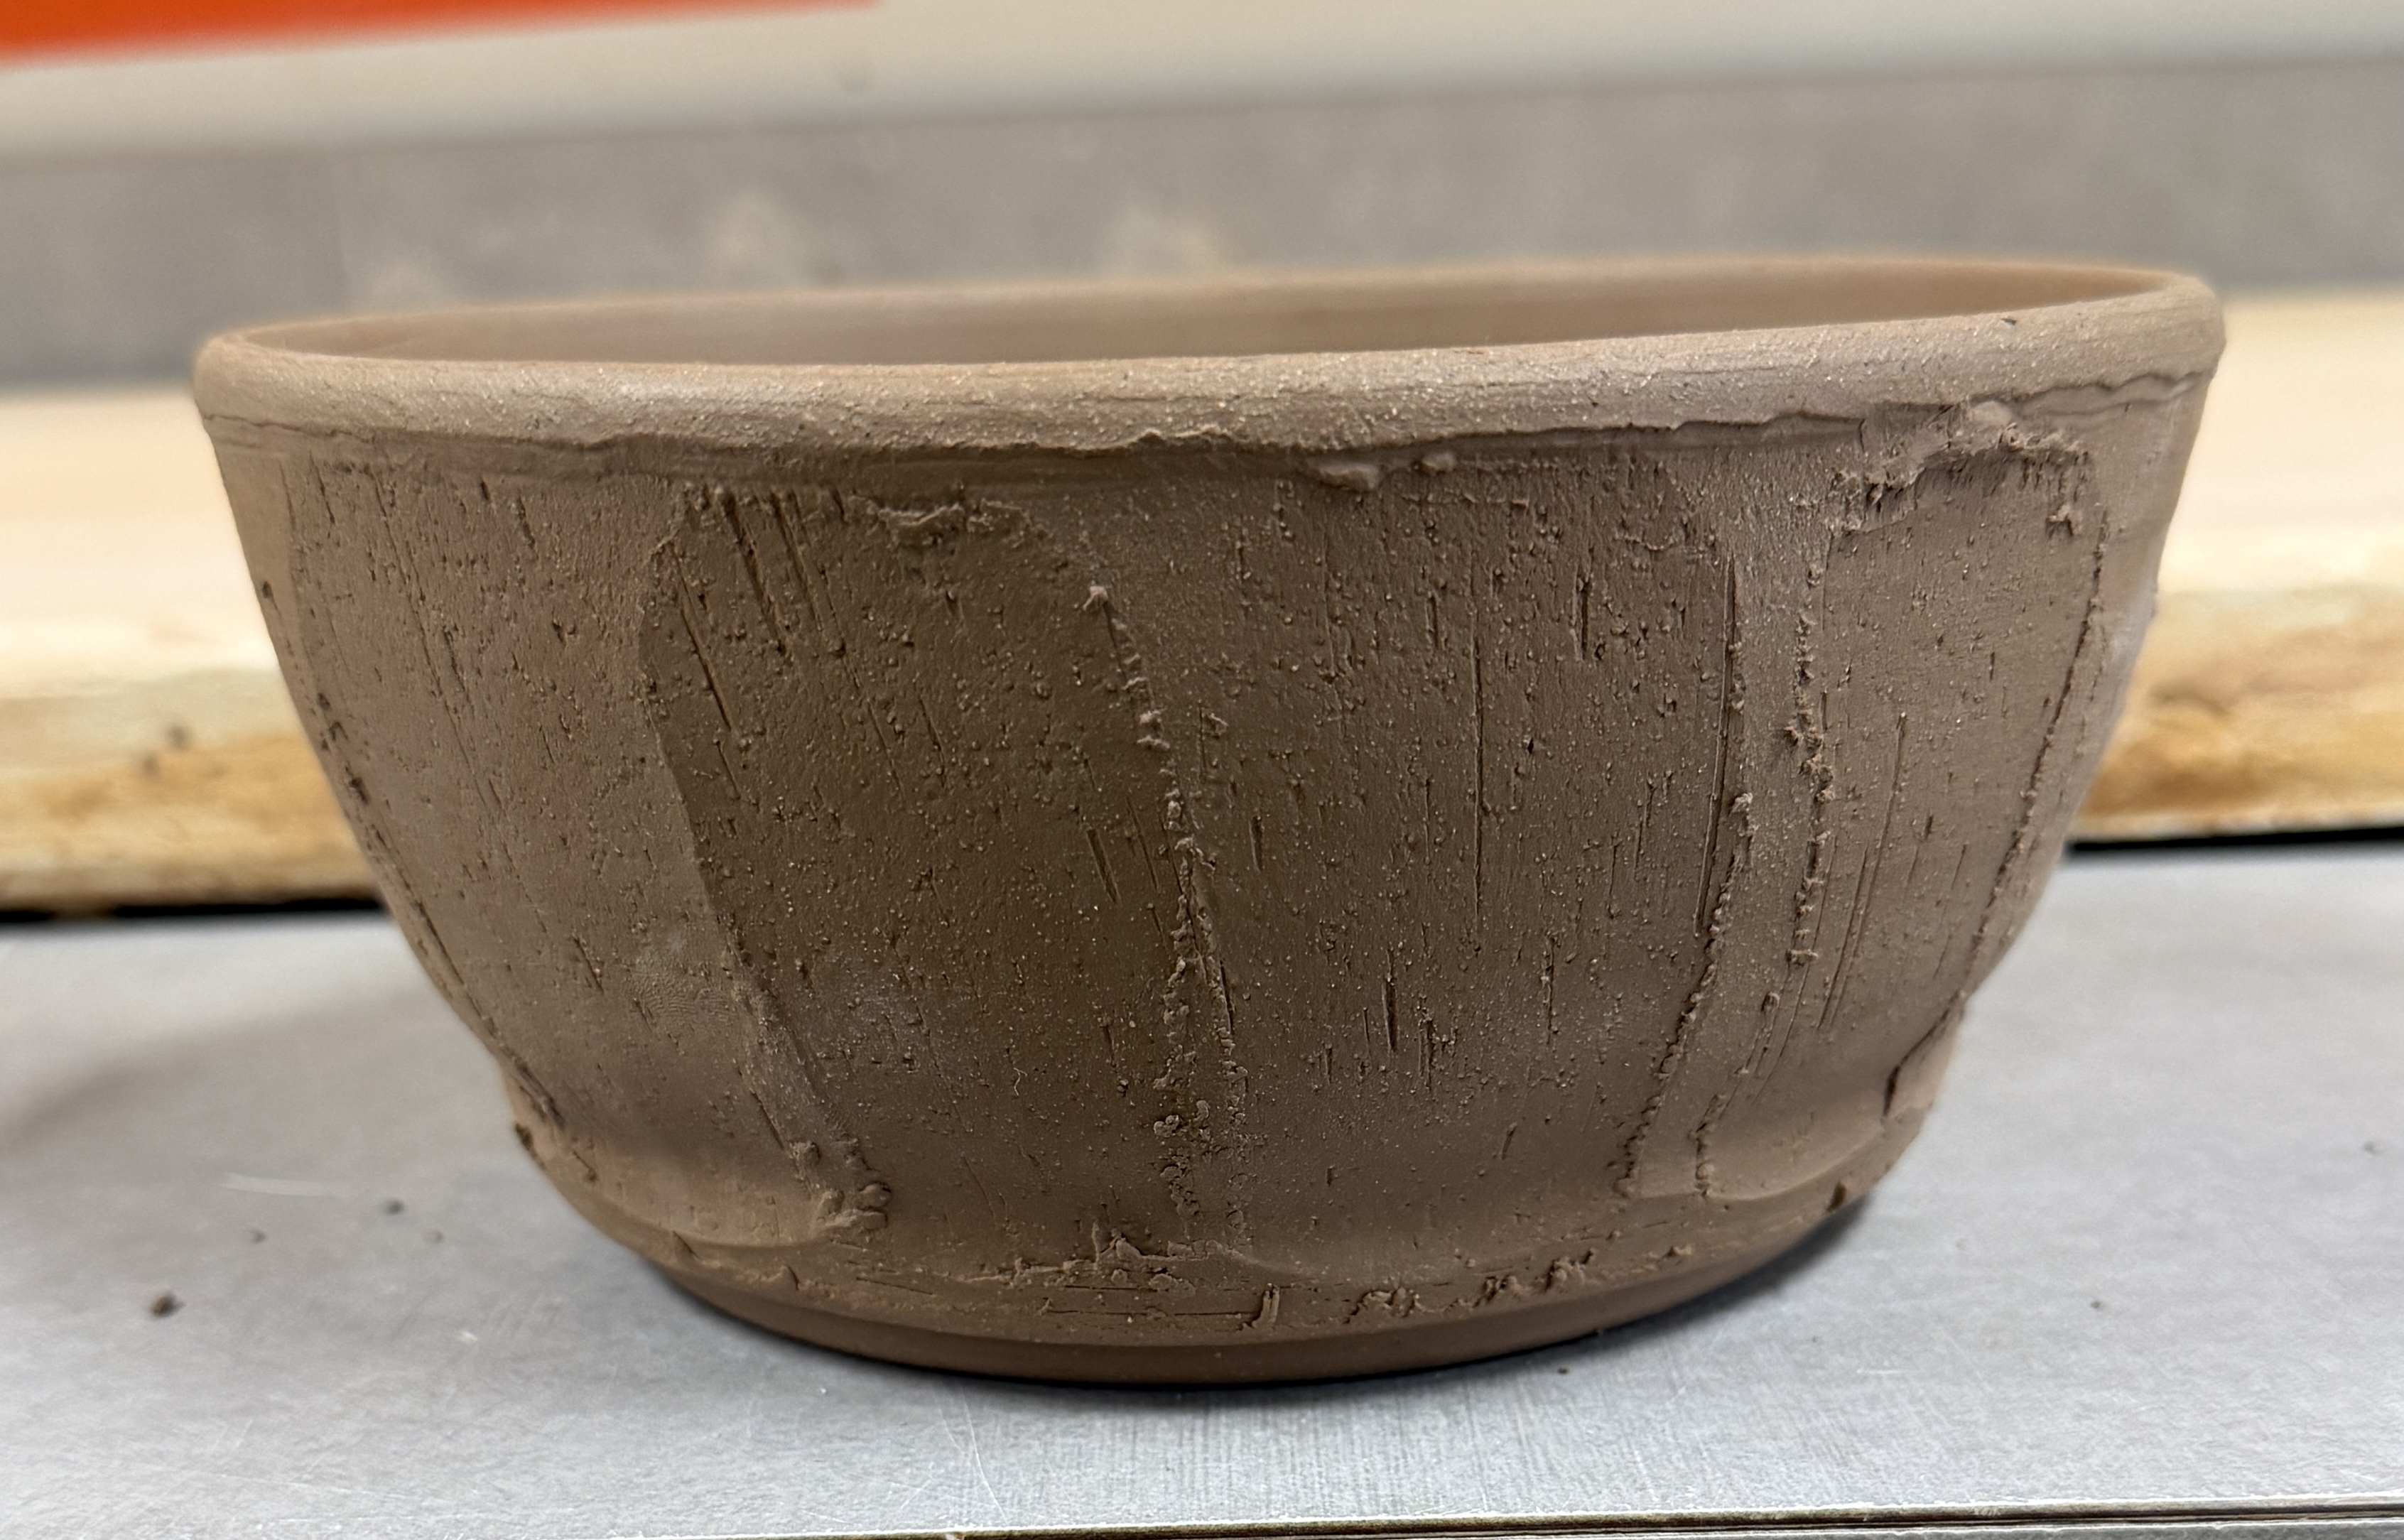
Then I also tried altering one of the vases I threw on the wheel. I cut the rim of the pot to create a more fluted/ stylized edge. It reminds me of something you’d see around Easter. I think it turned out very cute, but again, it’s not really something I connect with. I think it just took too much time to complete, but I would consider trying it again in a slightly different way. Here’s the before and after.


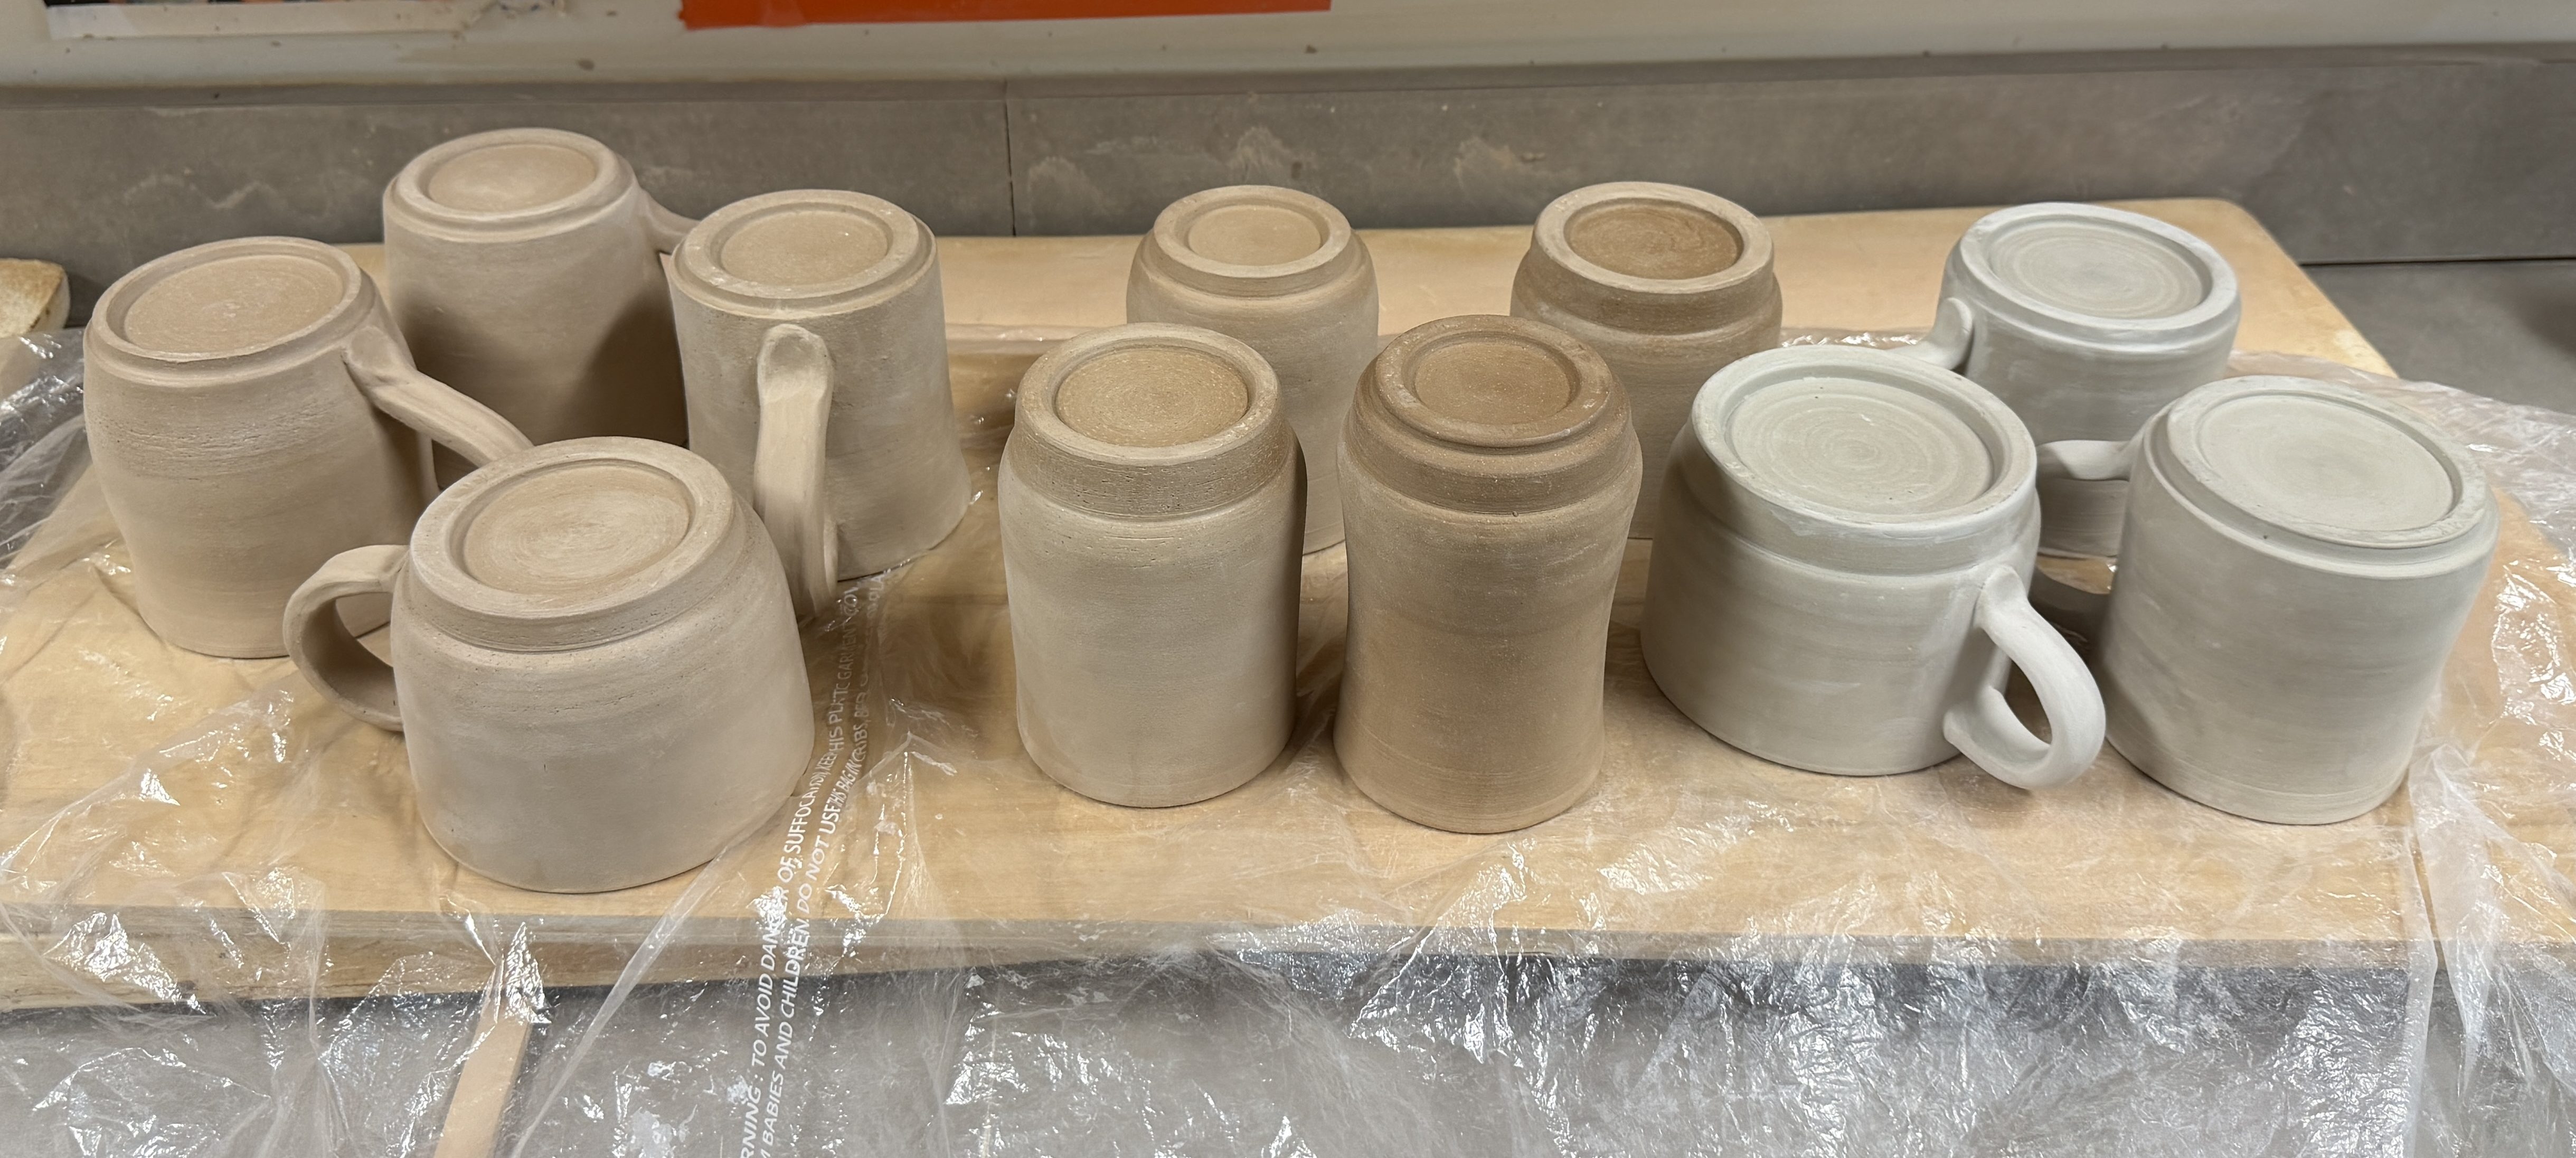
I also mentioned that I added handles to the mugs I made, and I wanted to show you all quickly. Only about half have handles because some were too dry to attach handles once I finally got around to it. Luckily, the ones that were too dry were great shapes for tumblers, so it worked out. This is the only picture I have of them!
Finally, as I mentioned before, I’ve been planning a lot of my glazing. Glazing isn’t my favorite thing, but having a solid plan before I start makes it a lot more enjoyable. One example is the stacked lidded jar I mentioned in my last post, which came out of the bisque recently. So, I started planning what I wanted to put on it, beginning with a sketch of the surface. I measured the jar’s dimensions, then cut paper pieces to match. This let me sketch what I wanted to paint on the surface and see exactly where everything would go before committing to the real thing. I really like how it looks as a rough sketch, so I’m excited to start painting it! I’ll show you what it looks like after being bisque fired and what my sketch looks like!


I have many more ideas for my other pieces, but they’re not as intricate as that one, so maybe I’ll share more ideas in my next post. Anyway, that’s all I have for this week. I hope I’ll have more glazing updates for you soon, especially with the test kiln results! Thank you for reading, and stay creative 🙂
-Jenna