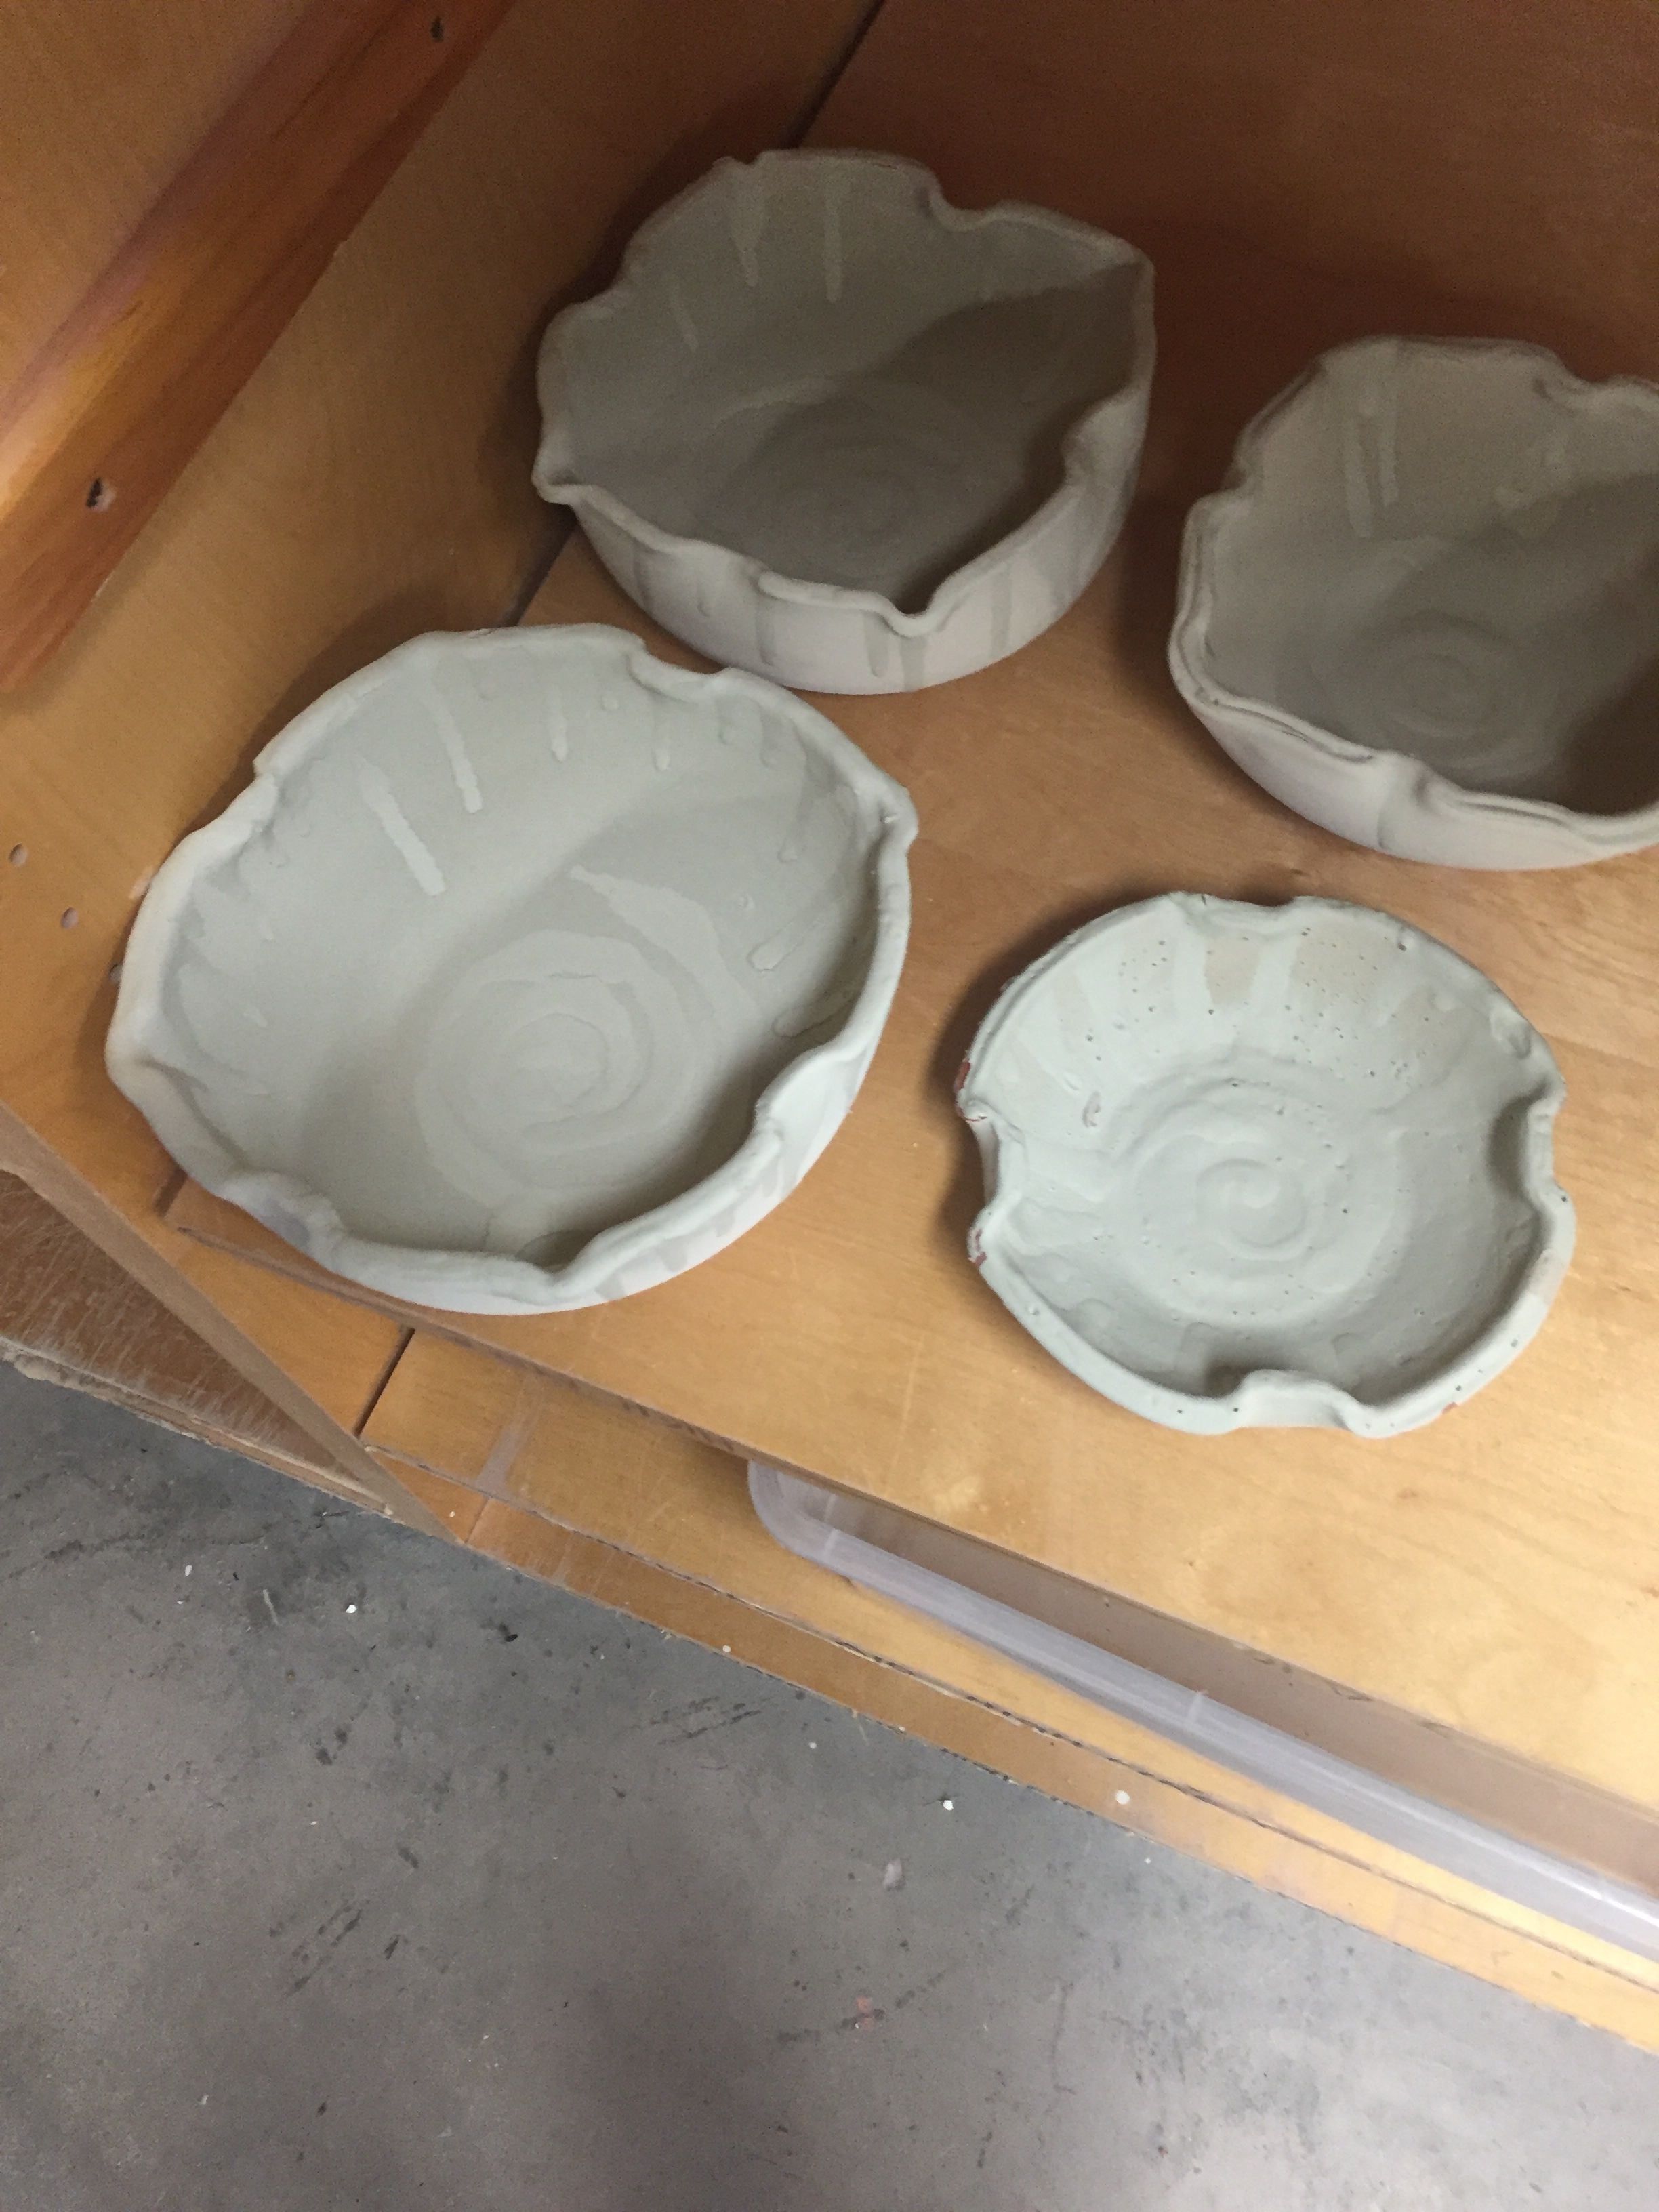
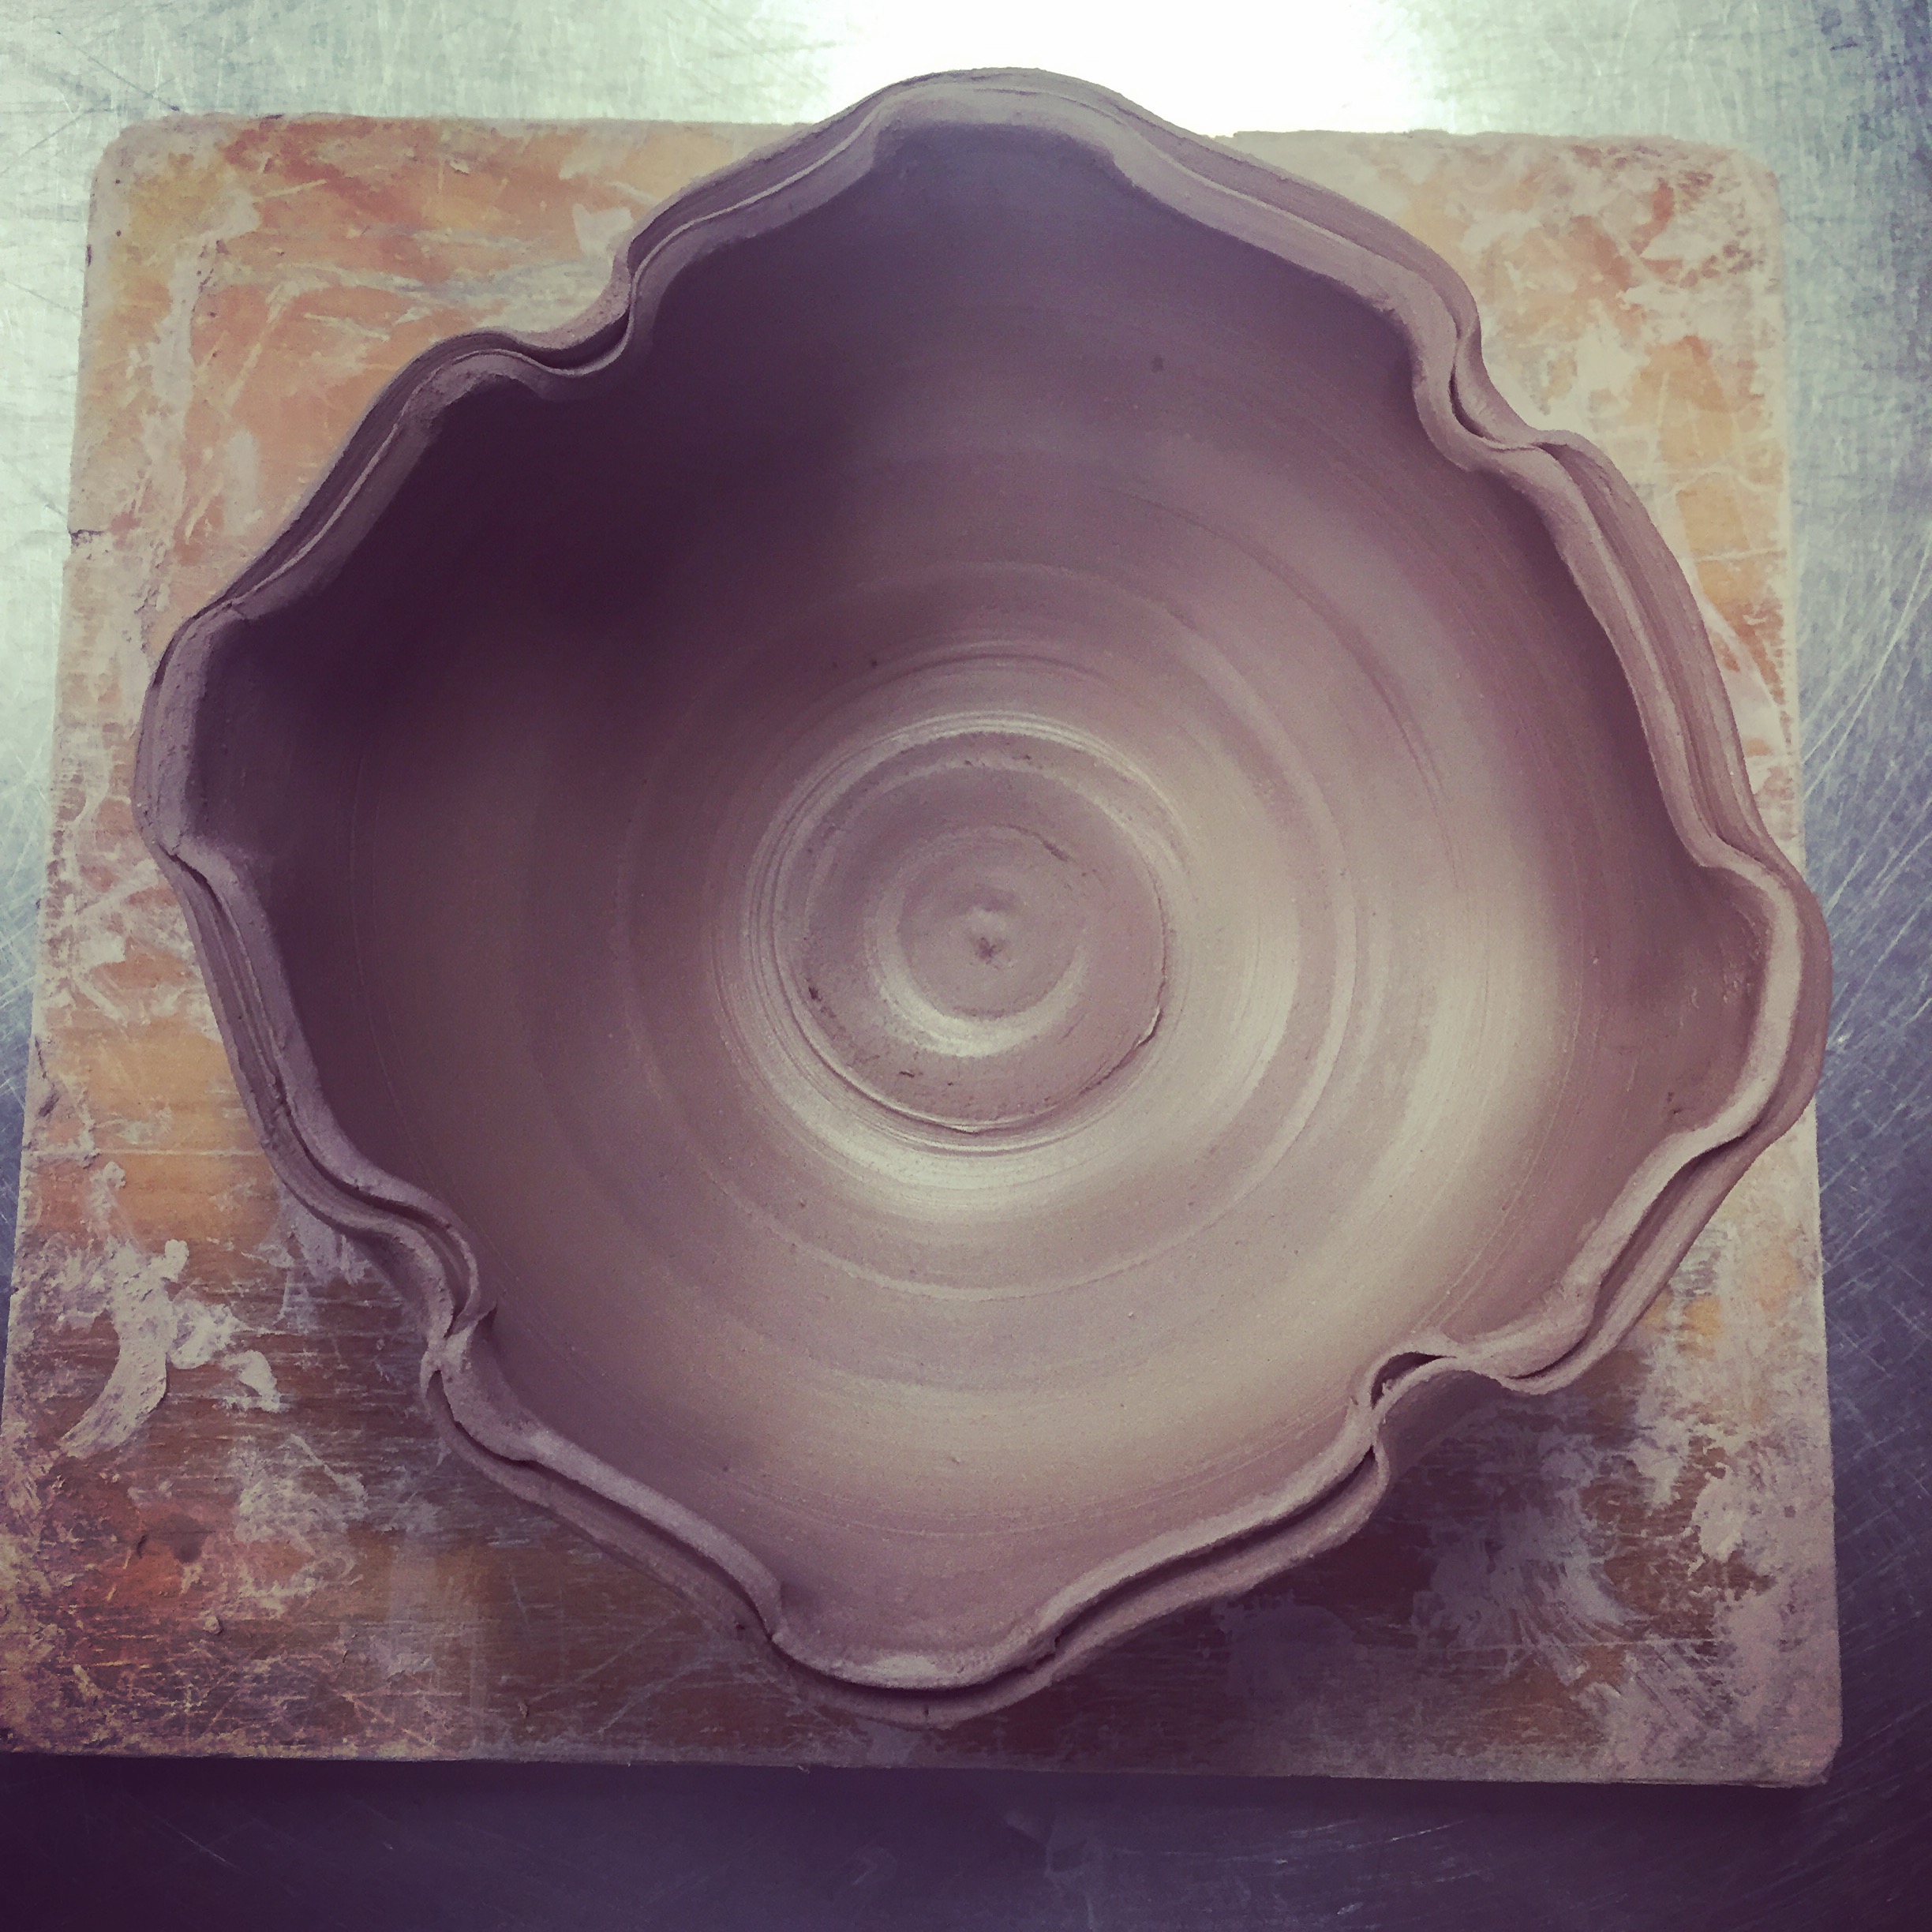
Out of all the work I completed last semester, I think I was most content with a set of altered bowls I made. The process for these bowls took longer than usual because I altered the rims of each one. Usually when I throw a bowl, I like to make the thickness of the rim relatively thin in order to keep the weight of the bowl down. For these bowls I left the rims nice and thick, that way when I altered the bowl, the clay was still strong enough to hold the alterations. On some of the bowls, I split the rim by putting a thin wooden tool in the middle of the rim, giving the illusion of two separate rims. It made the thick rims look more delicate and less chunky. I was quite excited about this solution I came up with, but once I glazed the bowls the small indentation was filled with glaze and no longer noticeable. Once I was finished throwing the bowl, I altered the rim. I did so by pinching certain sections, and pulling some inward and pushing some outward. It was a truly rewarding process.
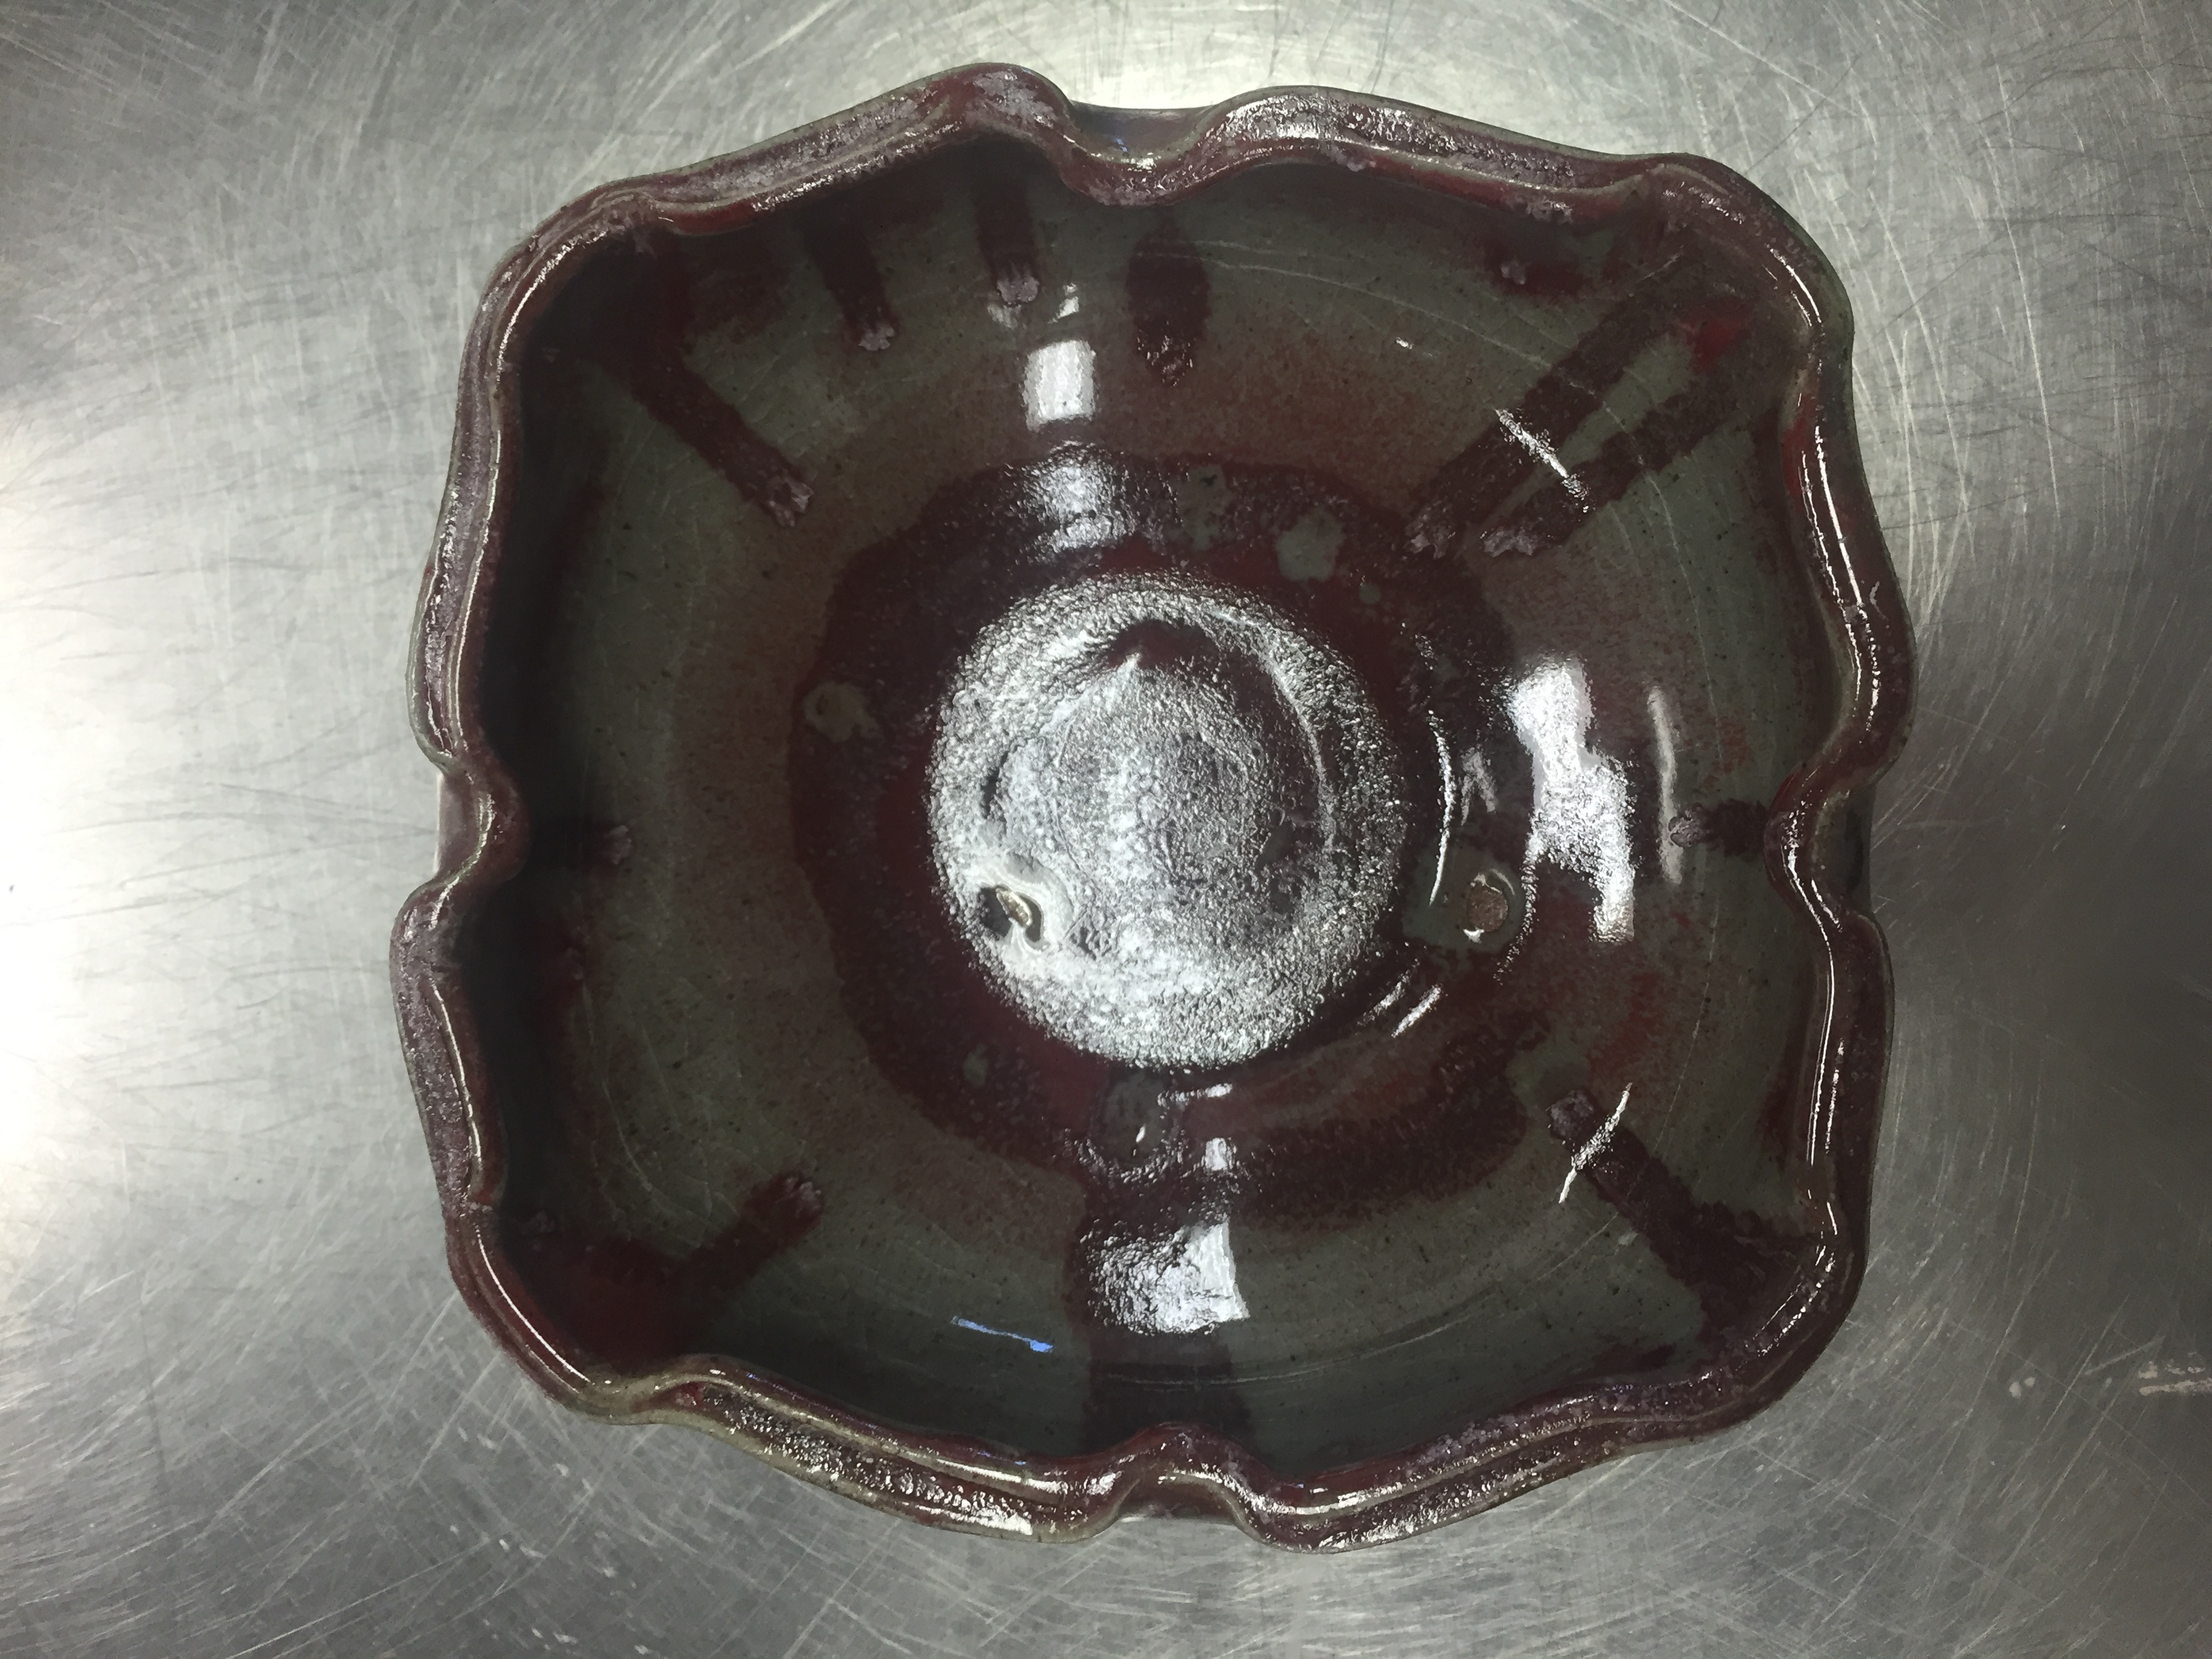
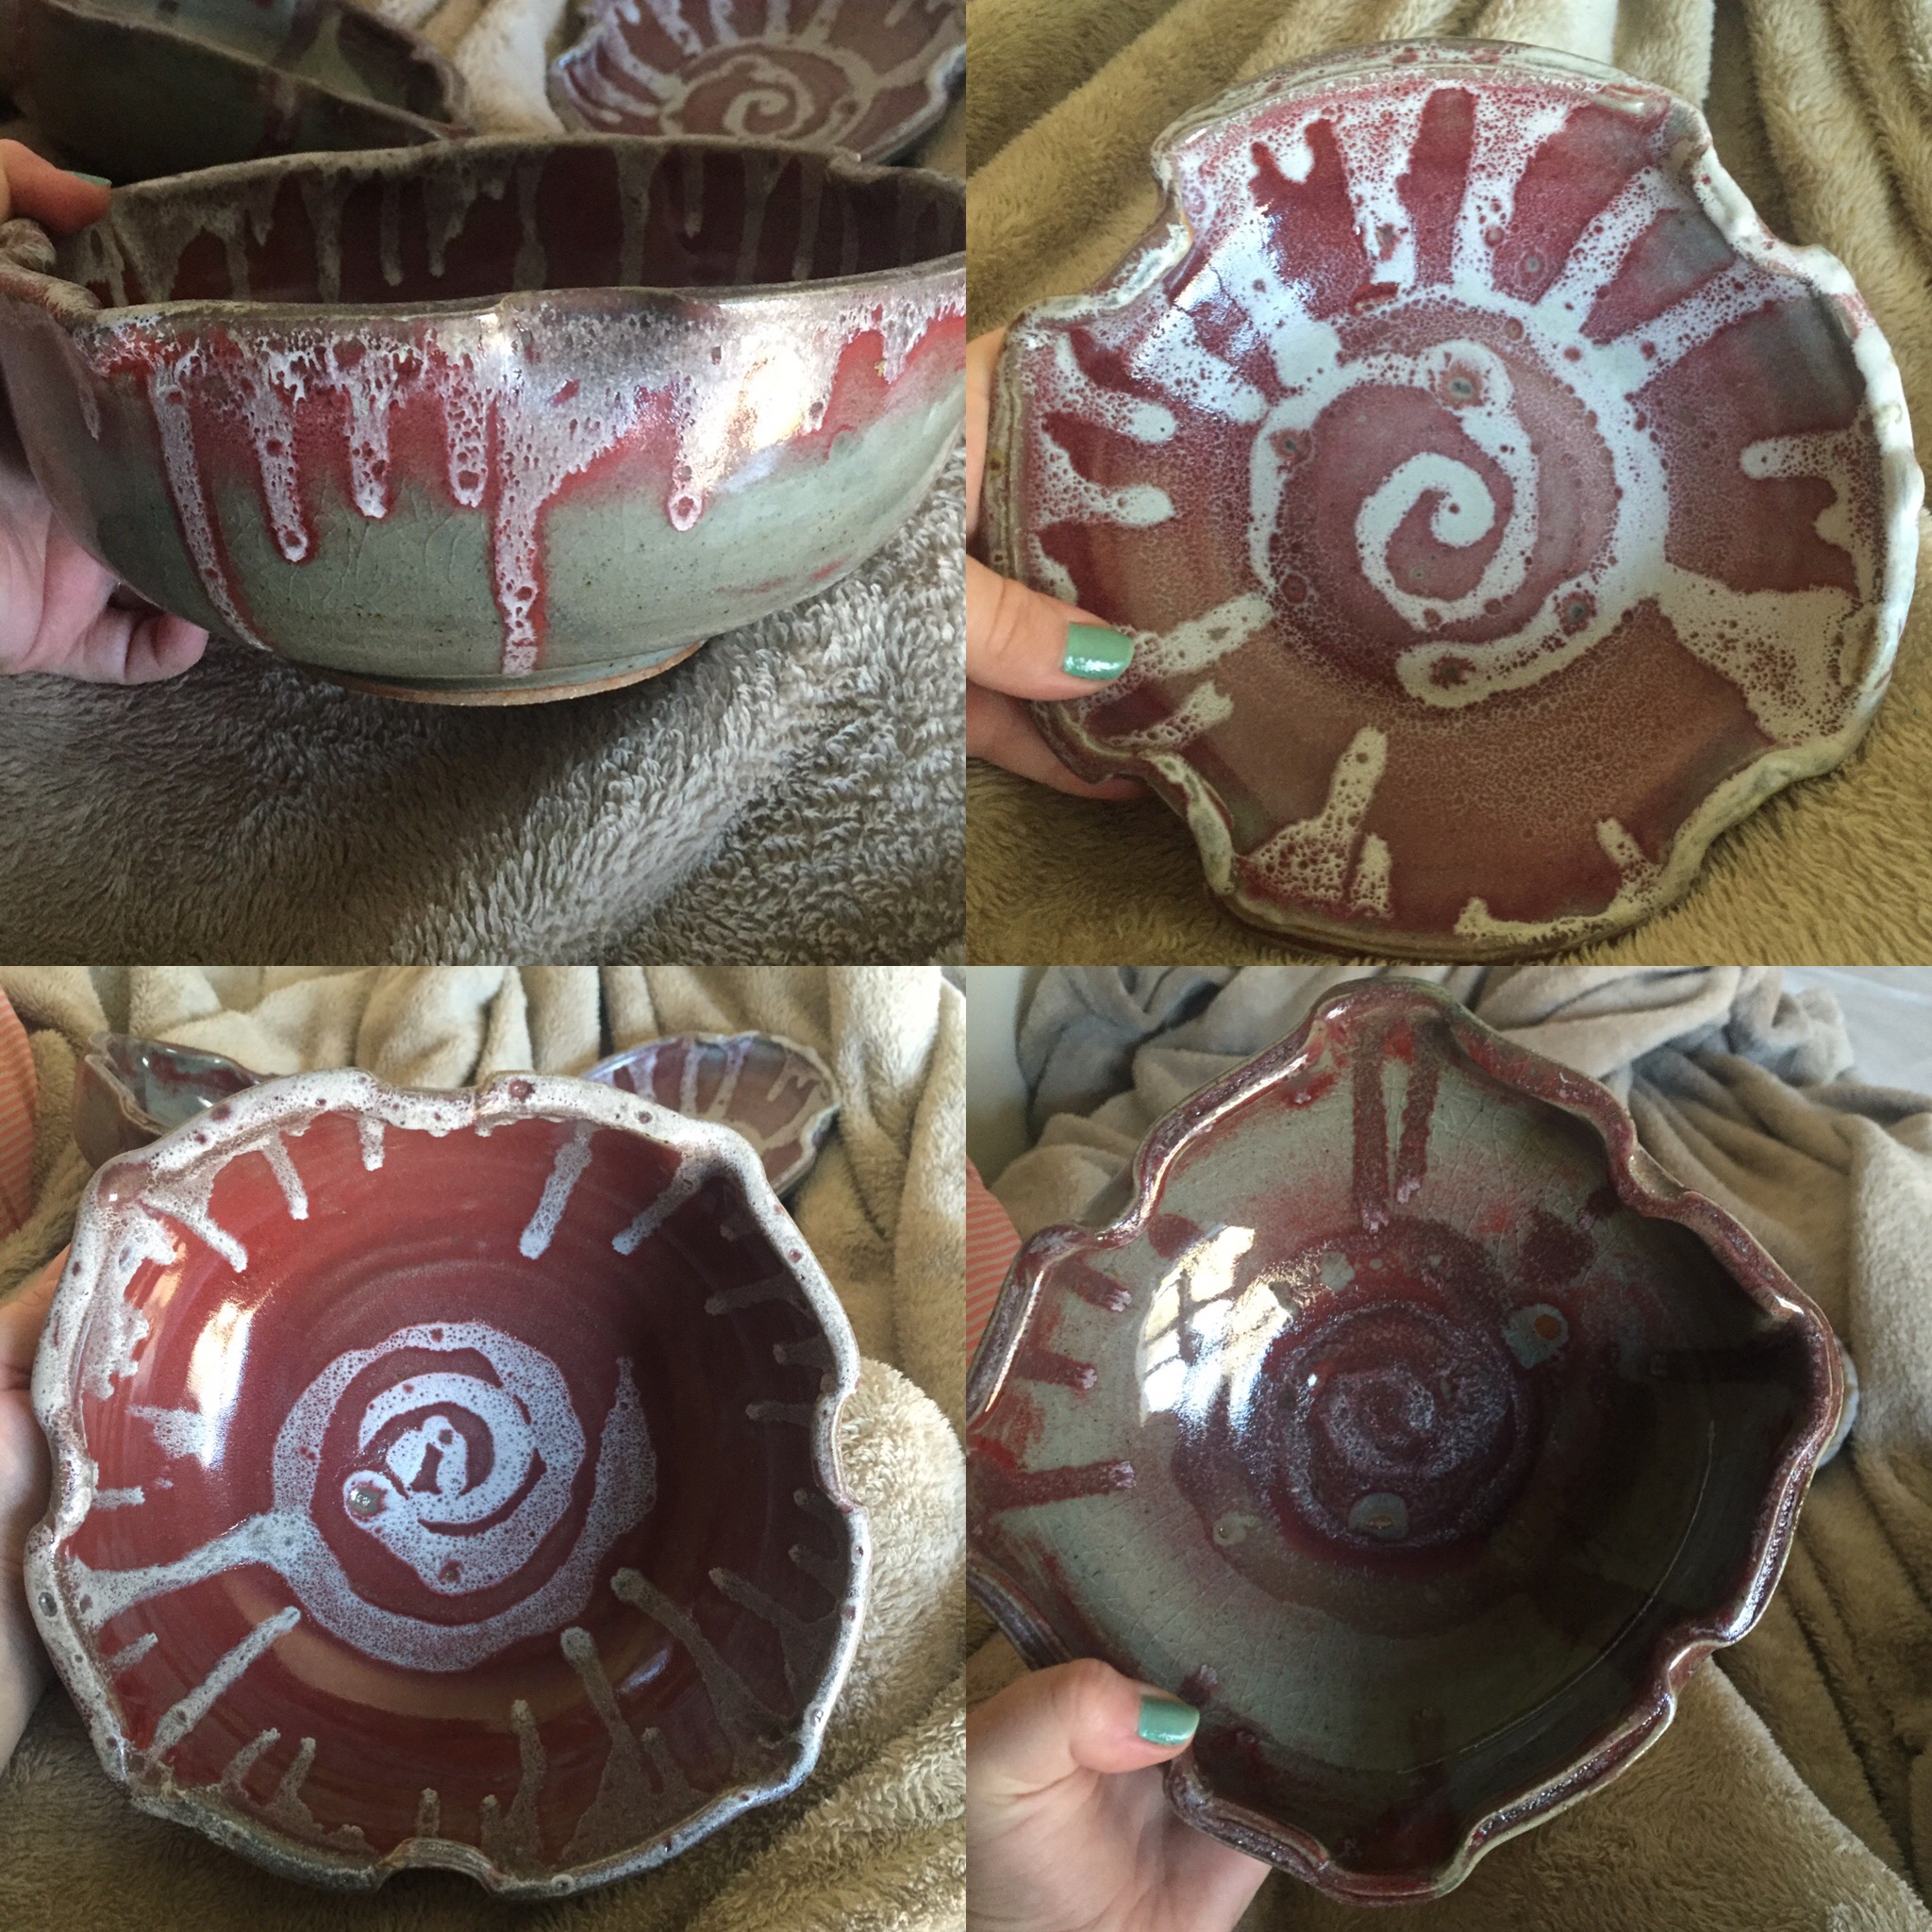
After the bowls were bisque fired, I had to pick a glaze. For these bowls I layered multiple glazes in order to get a rich red glaze, and the white spirals on the inside. To get the white spirals and drips I trailed another glaze on top with an eye dropper. When the bowls came out of the glaze fire I was so happy with the results, and I can’t wait to use the combination again. Although I intended for this set of bowls to be a “nesting” one, where they all sit inside one of another they don’t sit right. After throwing them I forgot to account for the altered rims which changed the diameter of each bowl, so at least I know where I went wrong. How do you like them? Feel free to leave your comments below!