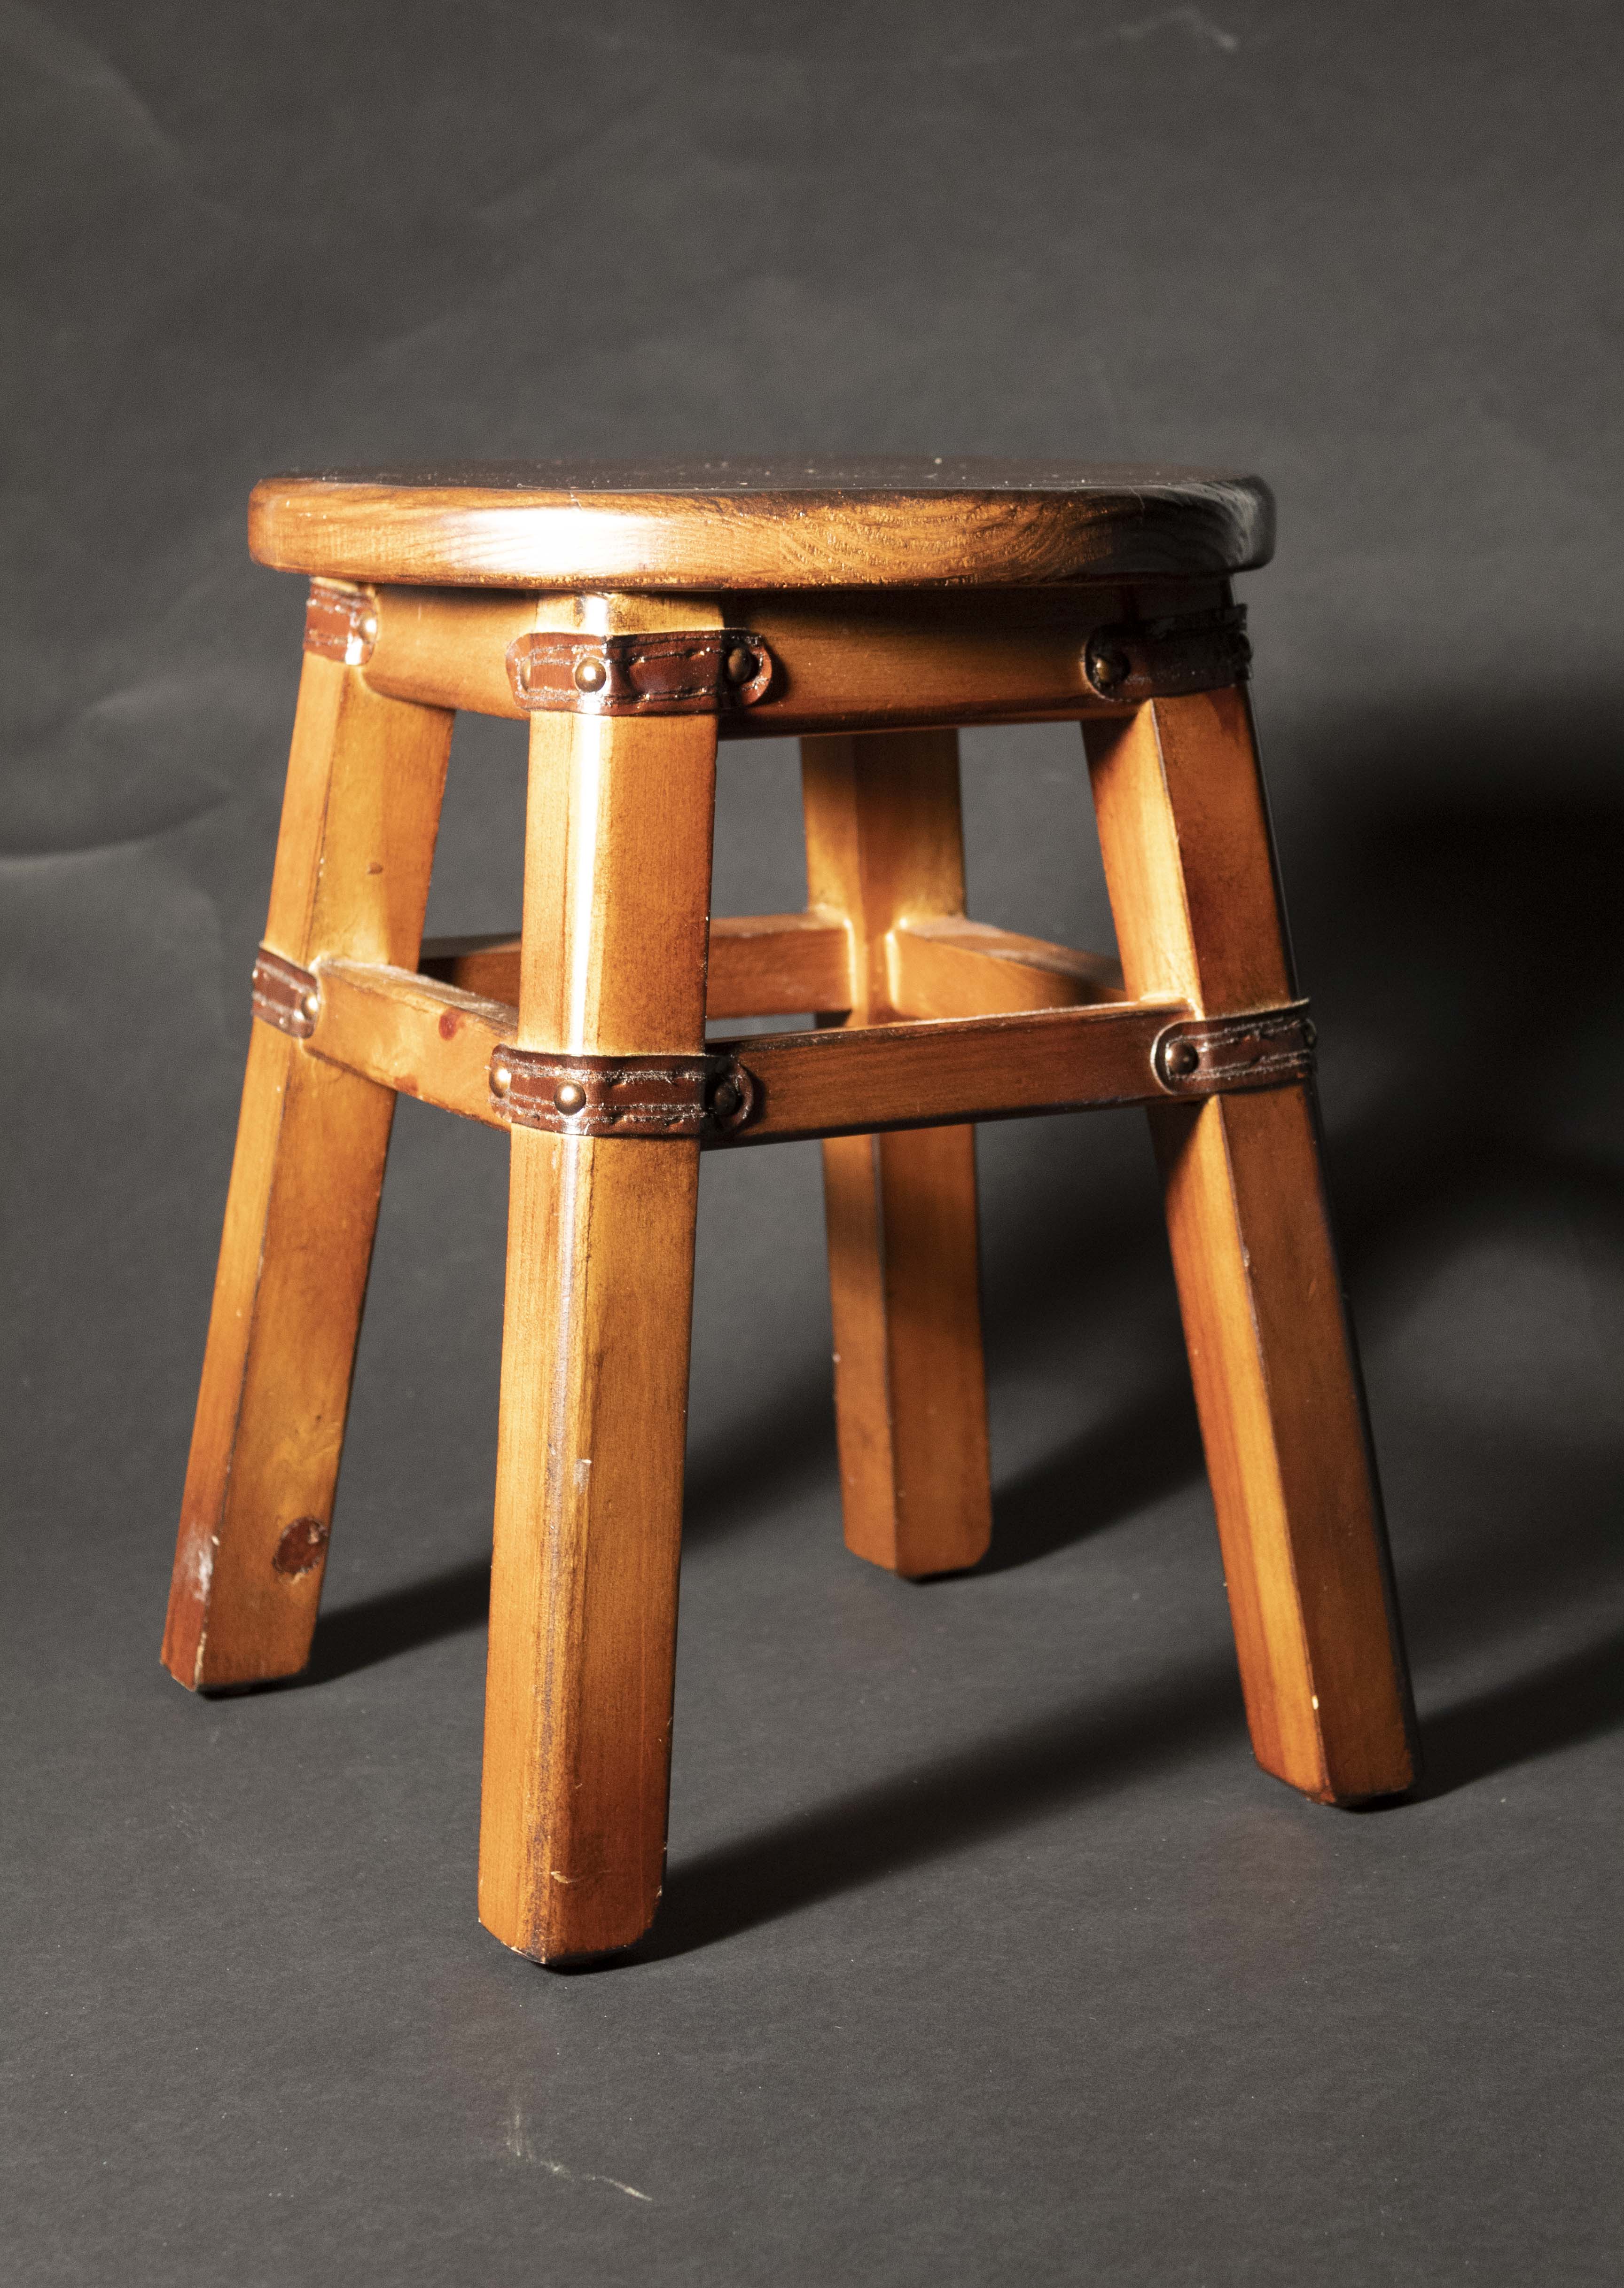
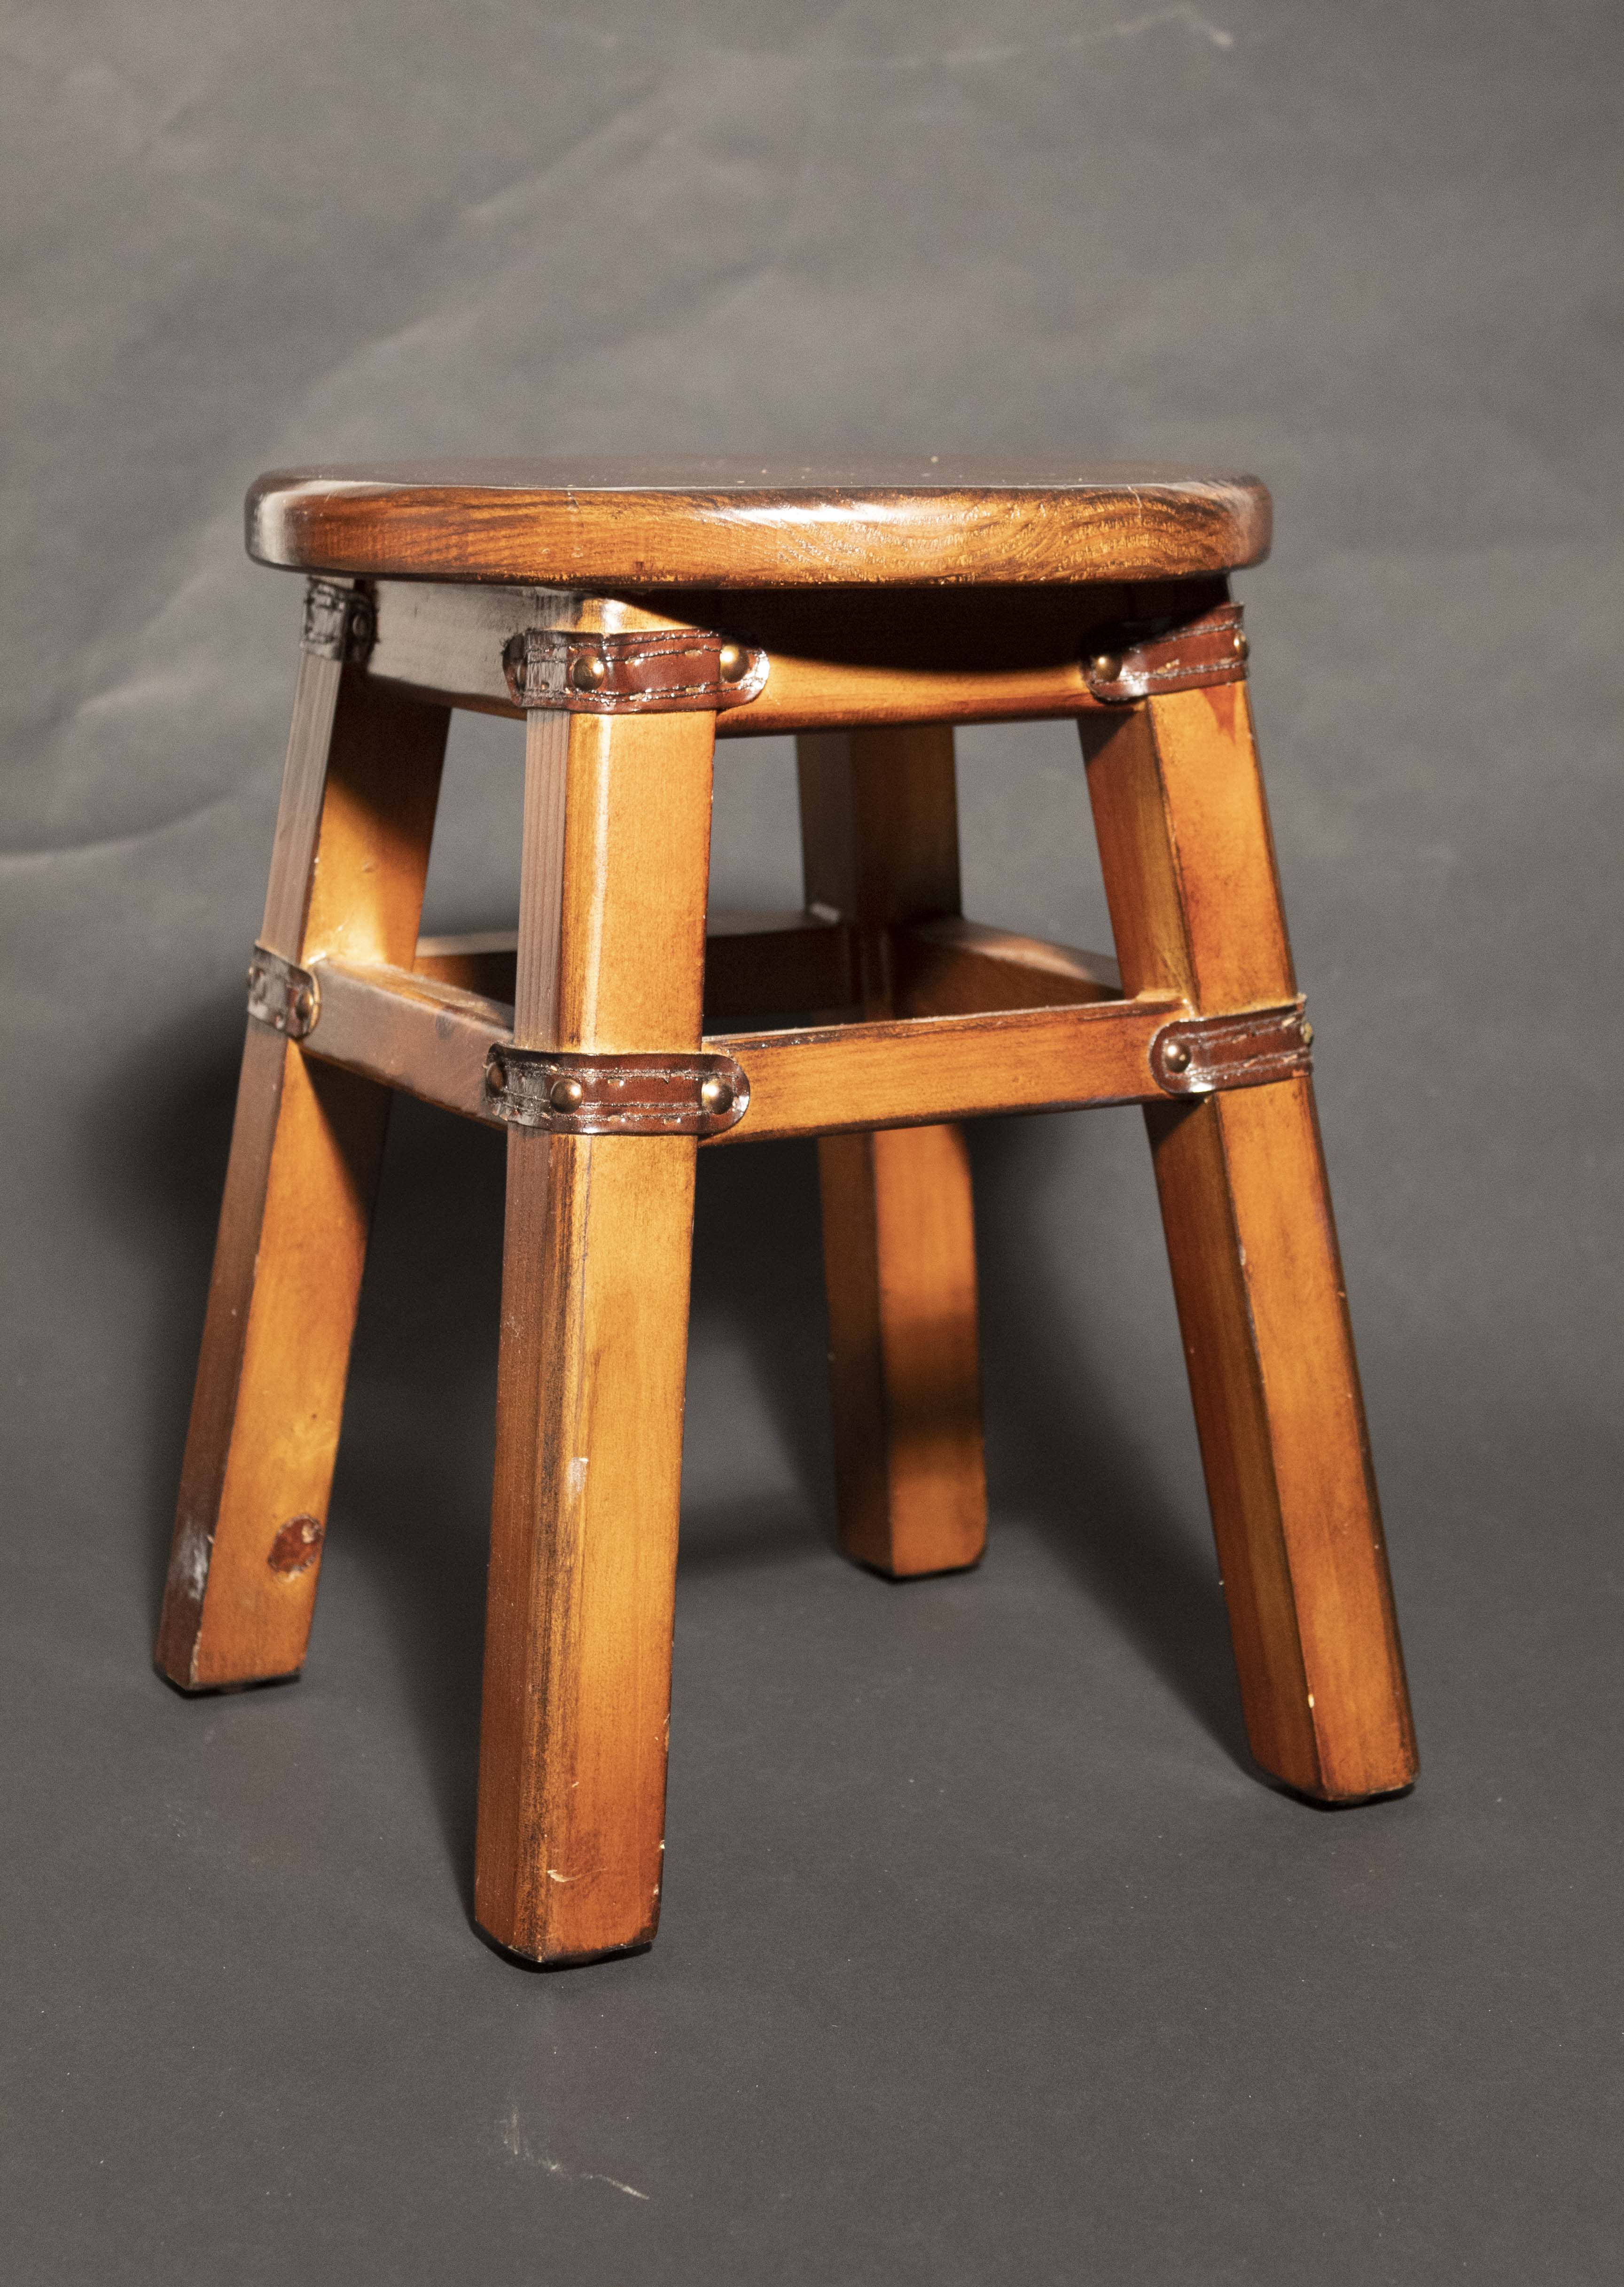
This week, our class is focusing on how to control light and correct color within a photograph. To do so, we were tasked with taking seven different photos. We are to choose an object about the size of a cereal box and note how the light effects it within indoor and outdoor settings.
Within the photos that need to be done outside, we are to observe how the natural sunlight effects shadows and details within the object. We were asked to take two photographs, one in specular light and one in diffused lighting. Specular lighting is light that directly hits the object, which allows for harder edged shadows. Unfortunately, it sometimes can’t capture all the detail because of the high contrast between the object and shadow. Diffused lighting is light that passes through something so that the object isn’t hit directly with it. For instance, a cloudy day has diffused lighting. This softens shadow edges and evens out the lighting between object and shadow, which allows for a little more detail to be shown.

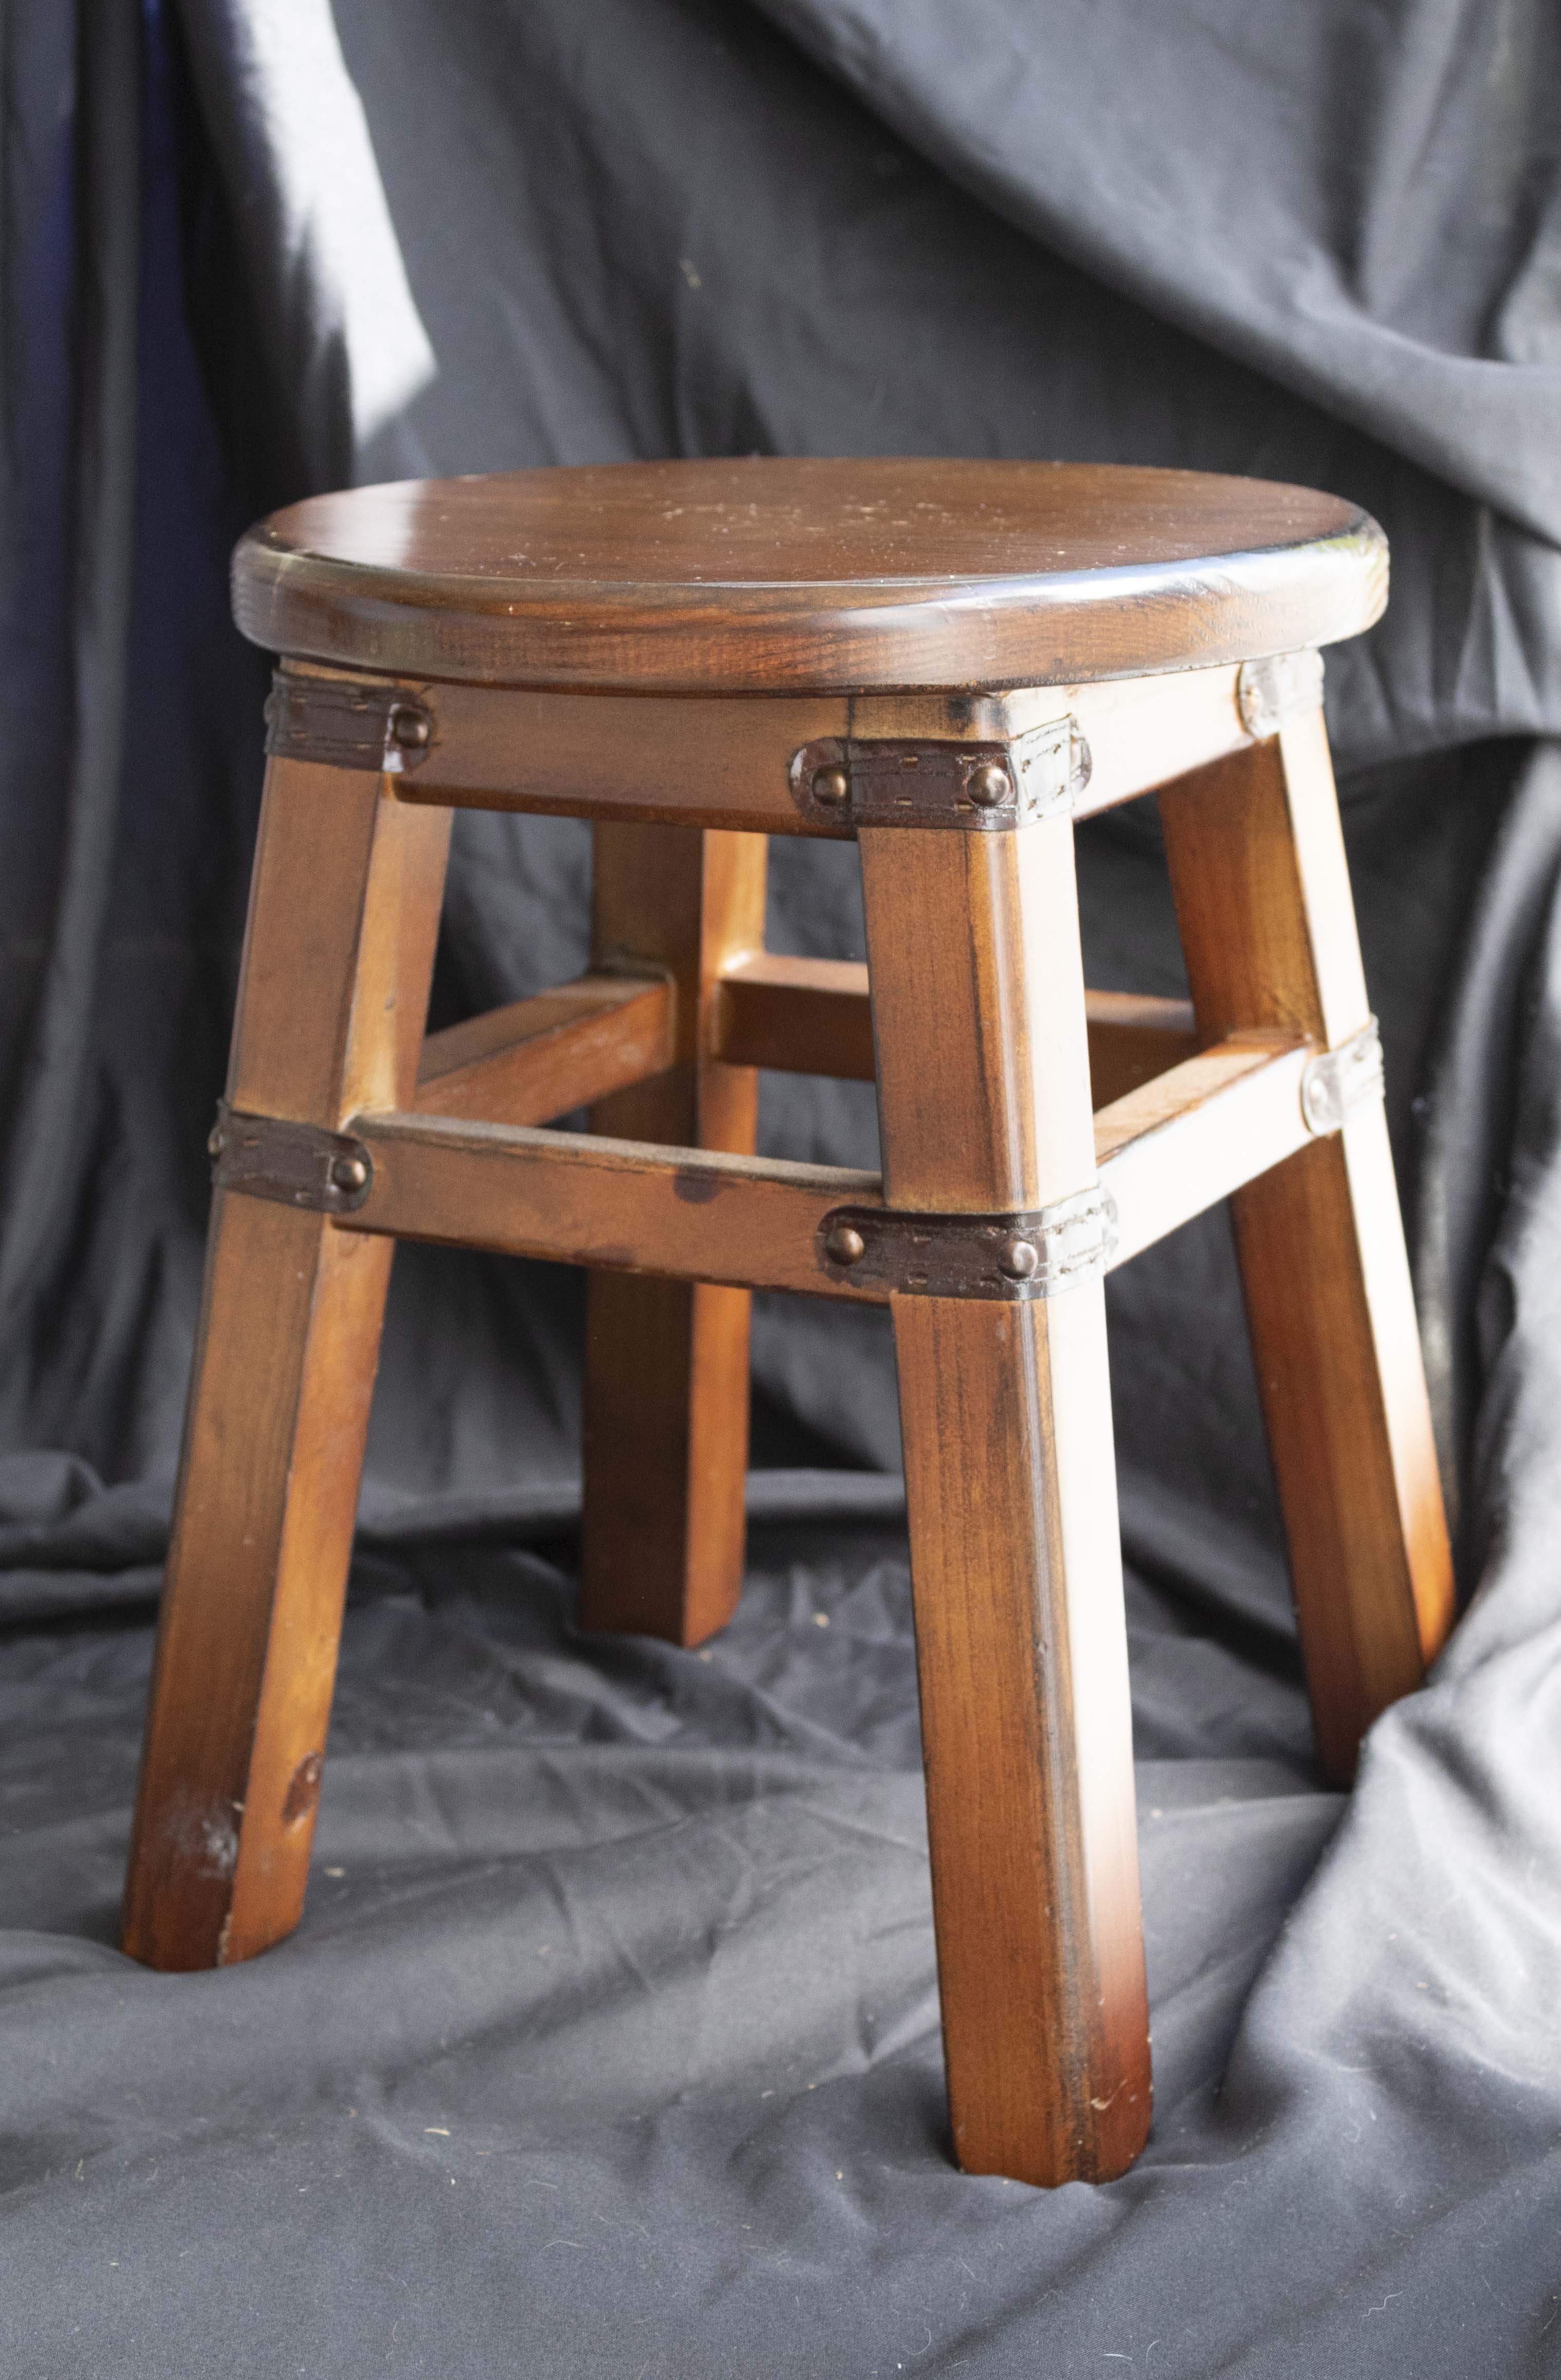
In order to capture both, we had to wait for a sunny day. Specular lighting was easy enough on a sunny day. All that was needed to be done was setting up your object and setting your camera to the right exposure. Diffused required a little bit more. In order to create the diffused lighting, we had to hold something in front to block the sun and cast a shadow on our object. I did so by holding up a shower liner and then adjusting the exposure accordingly.
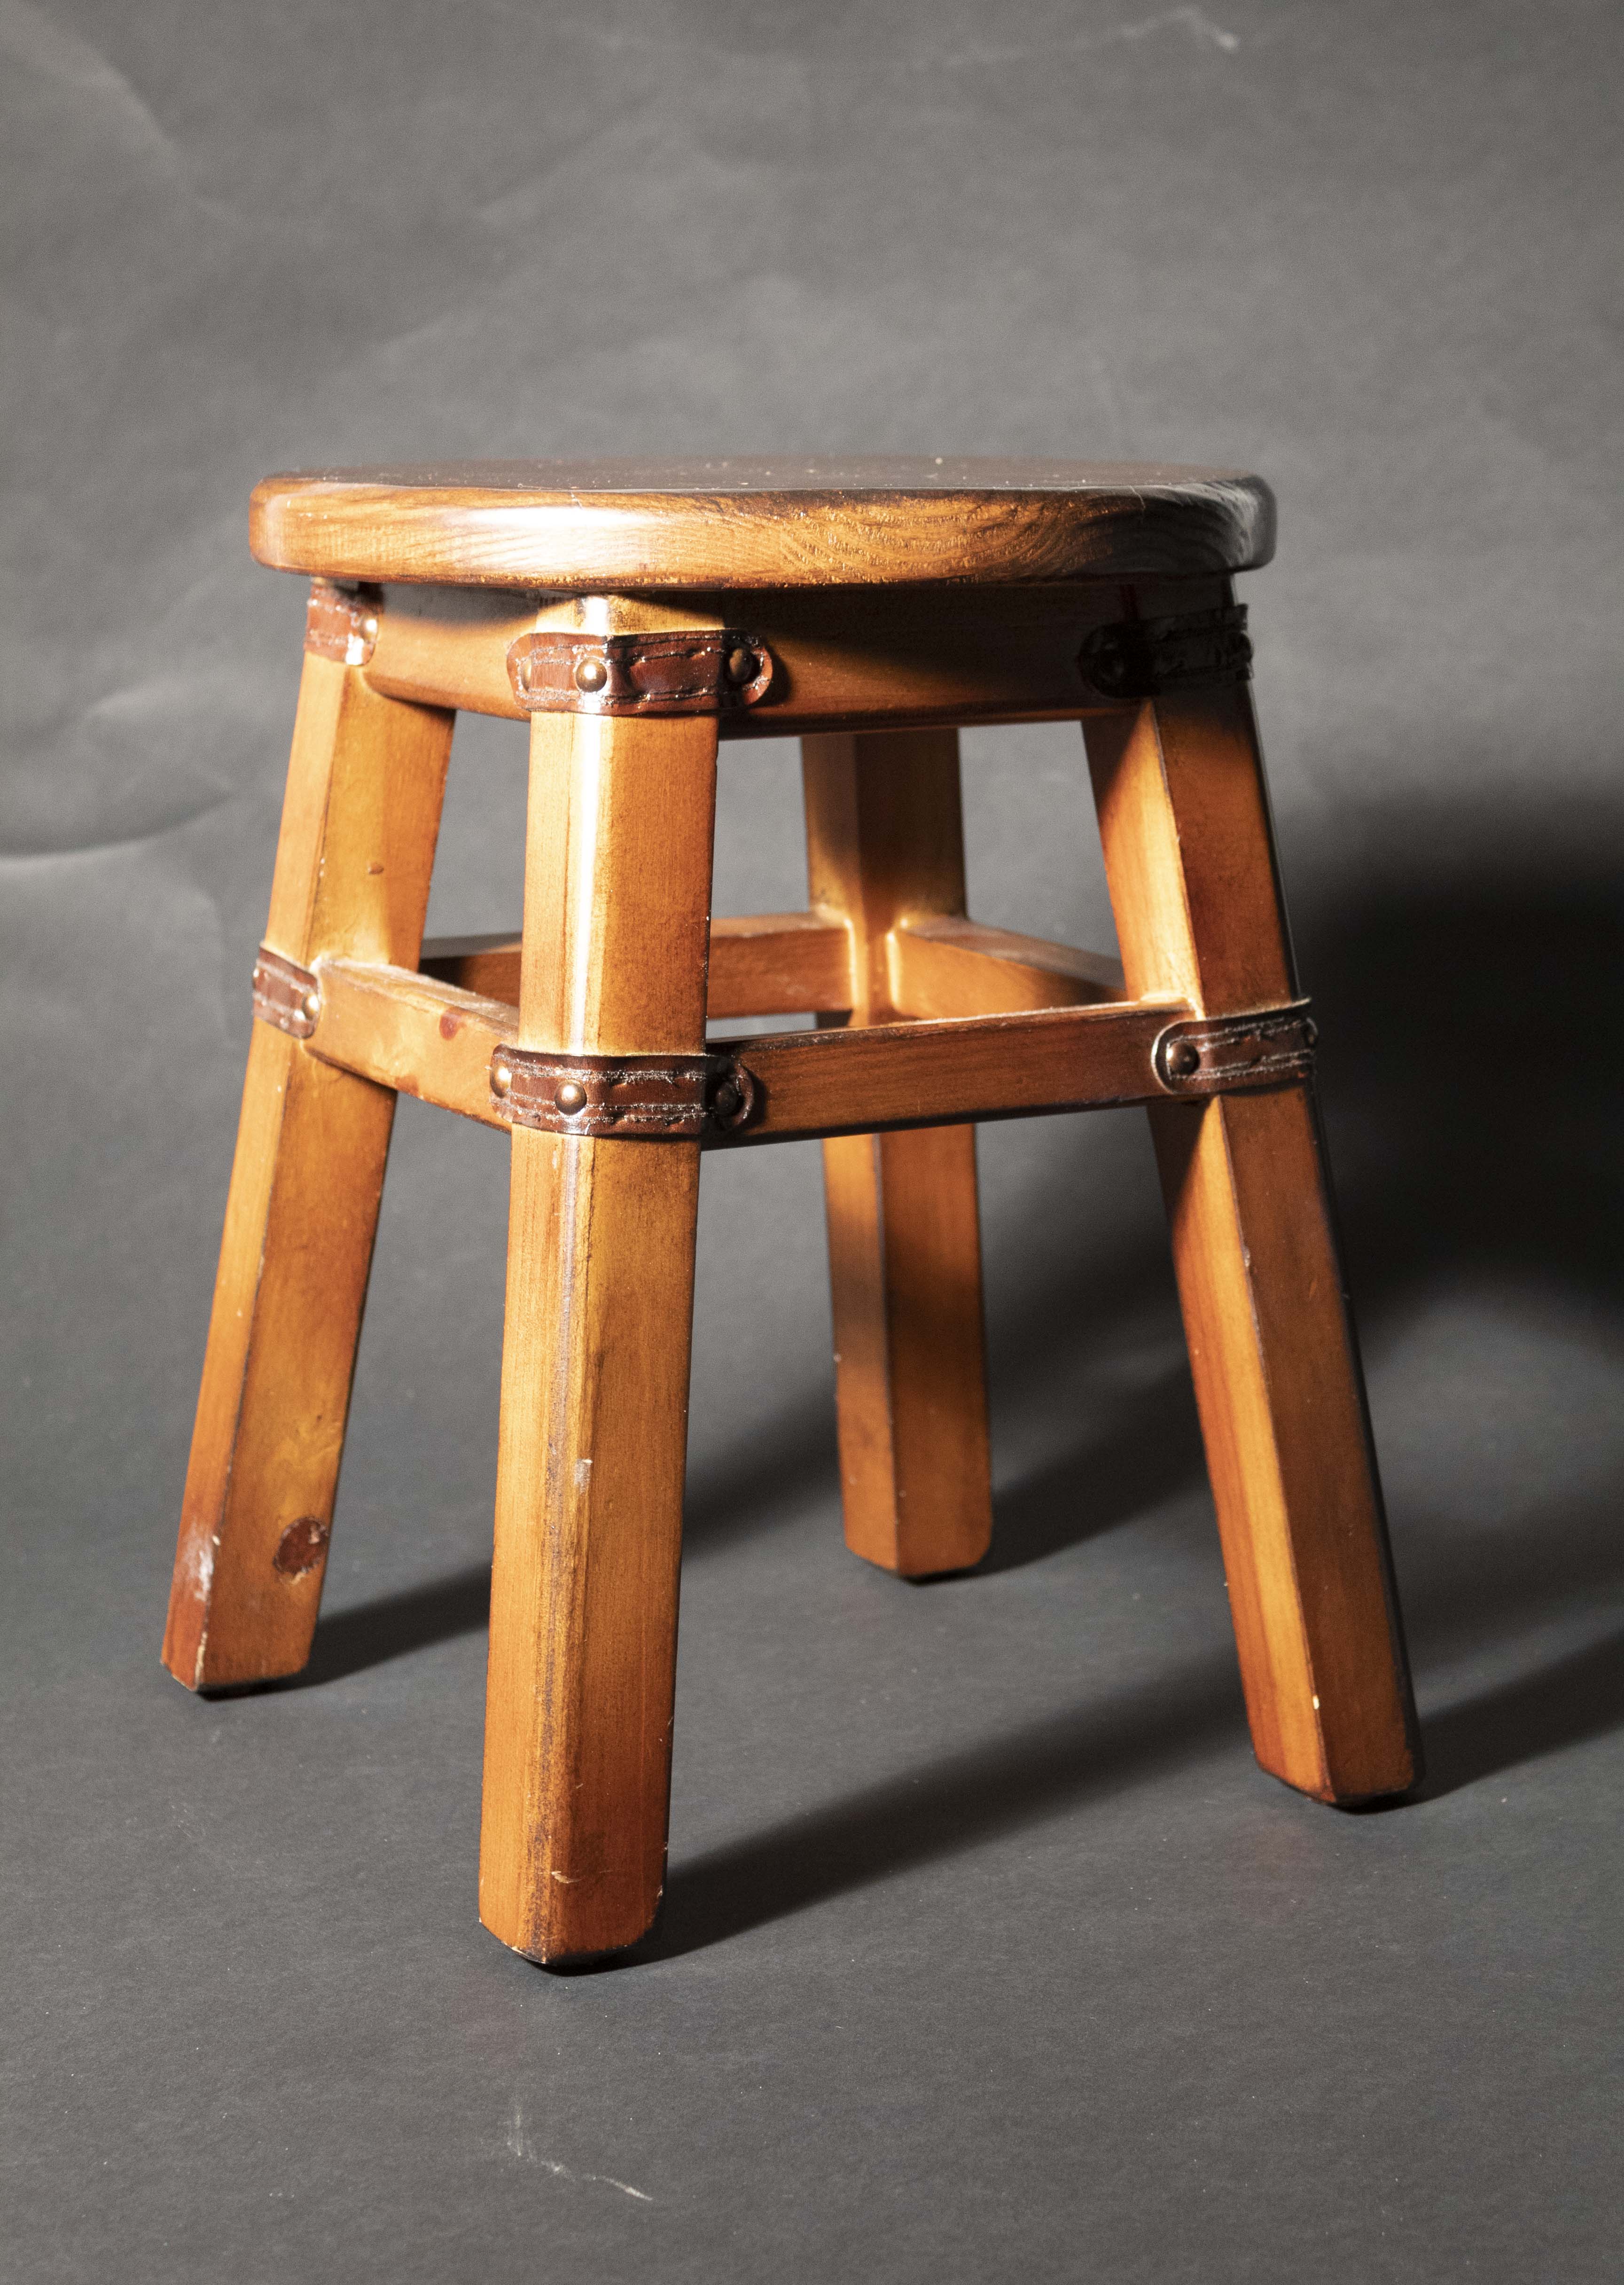
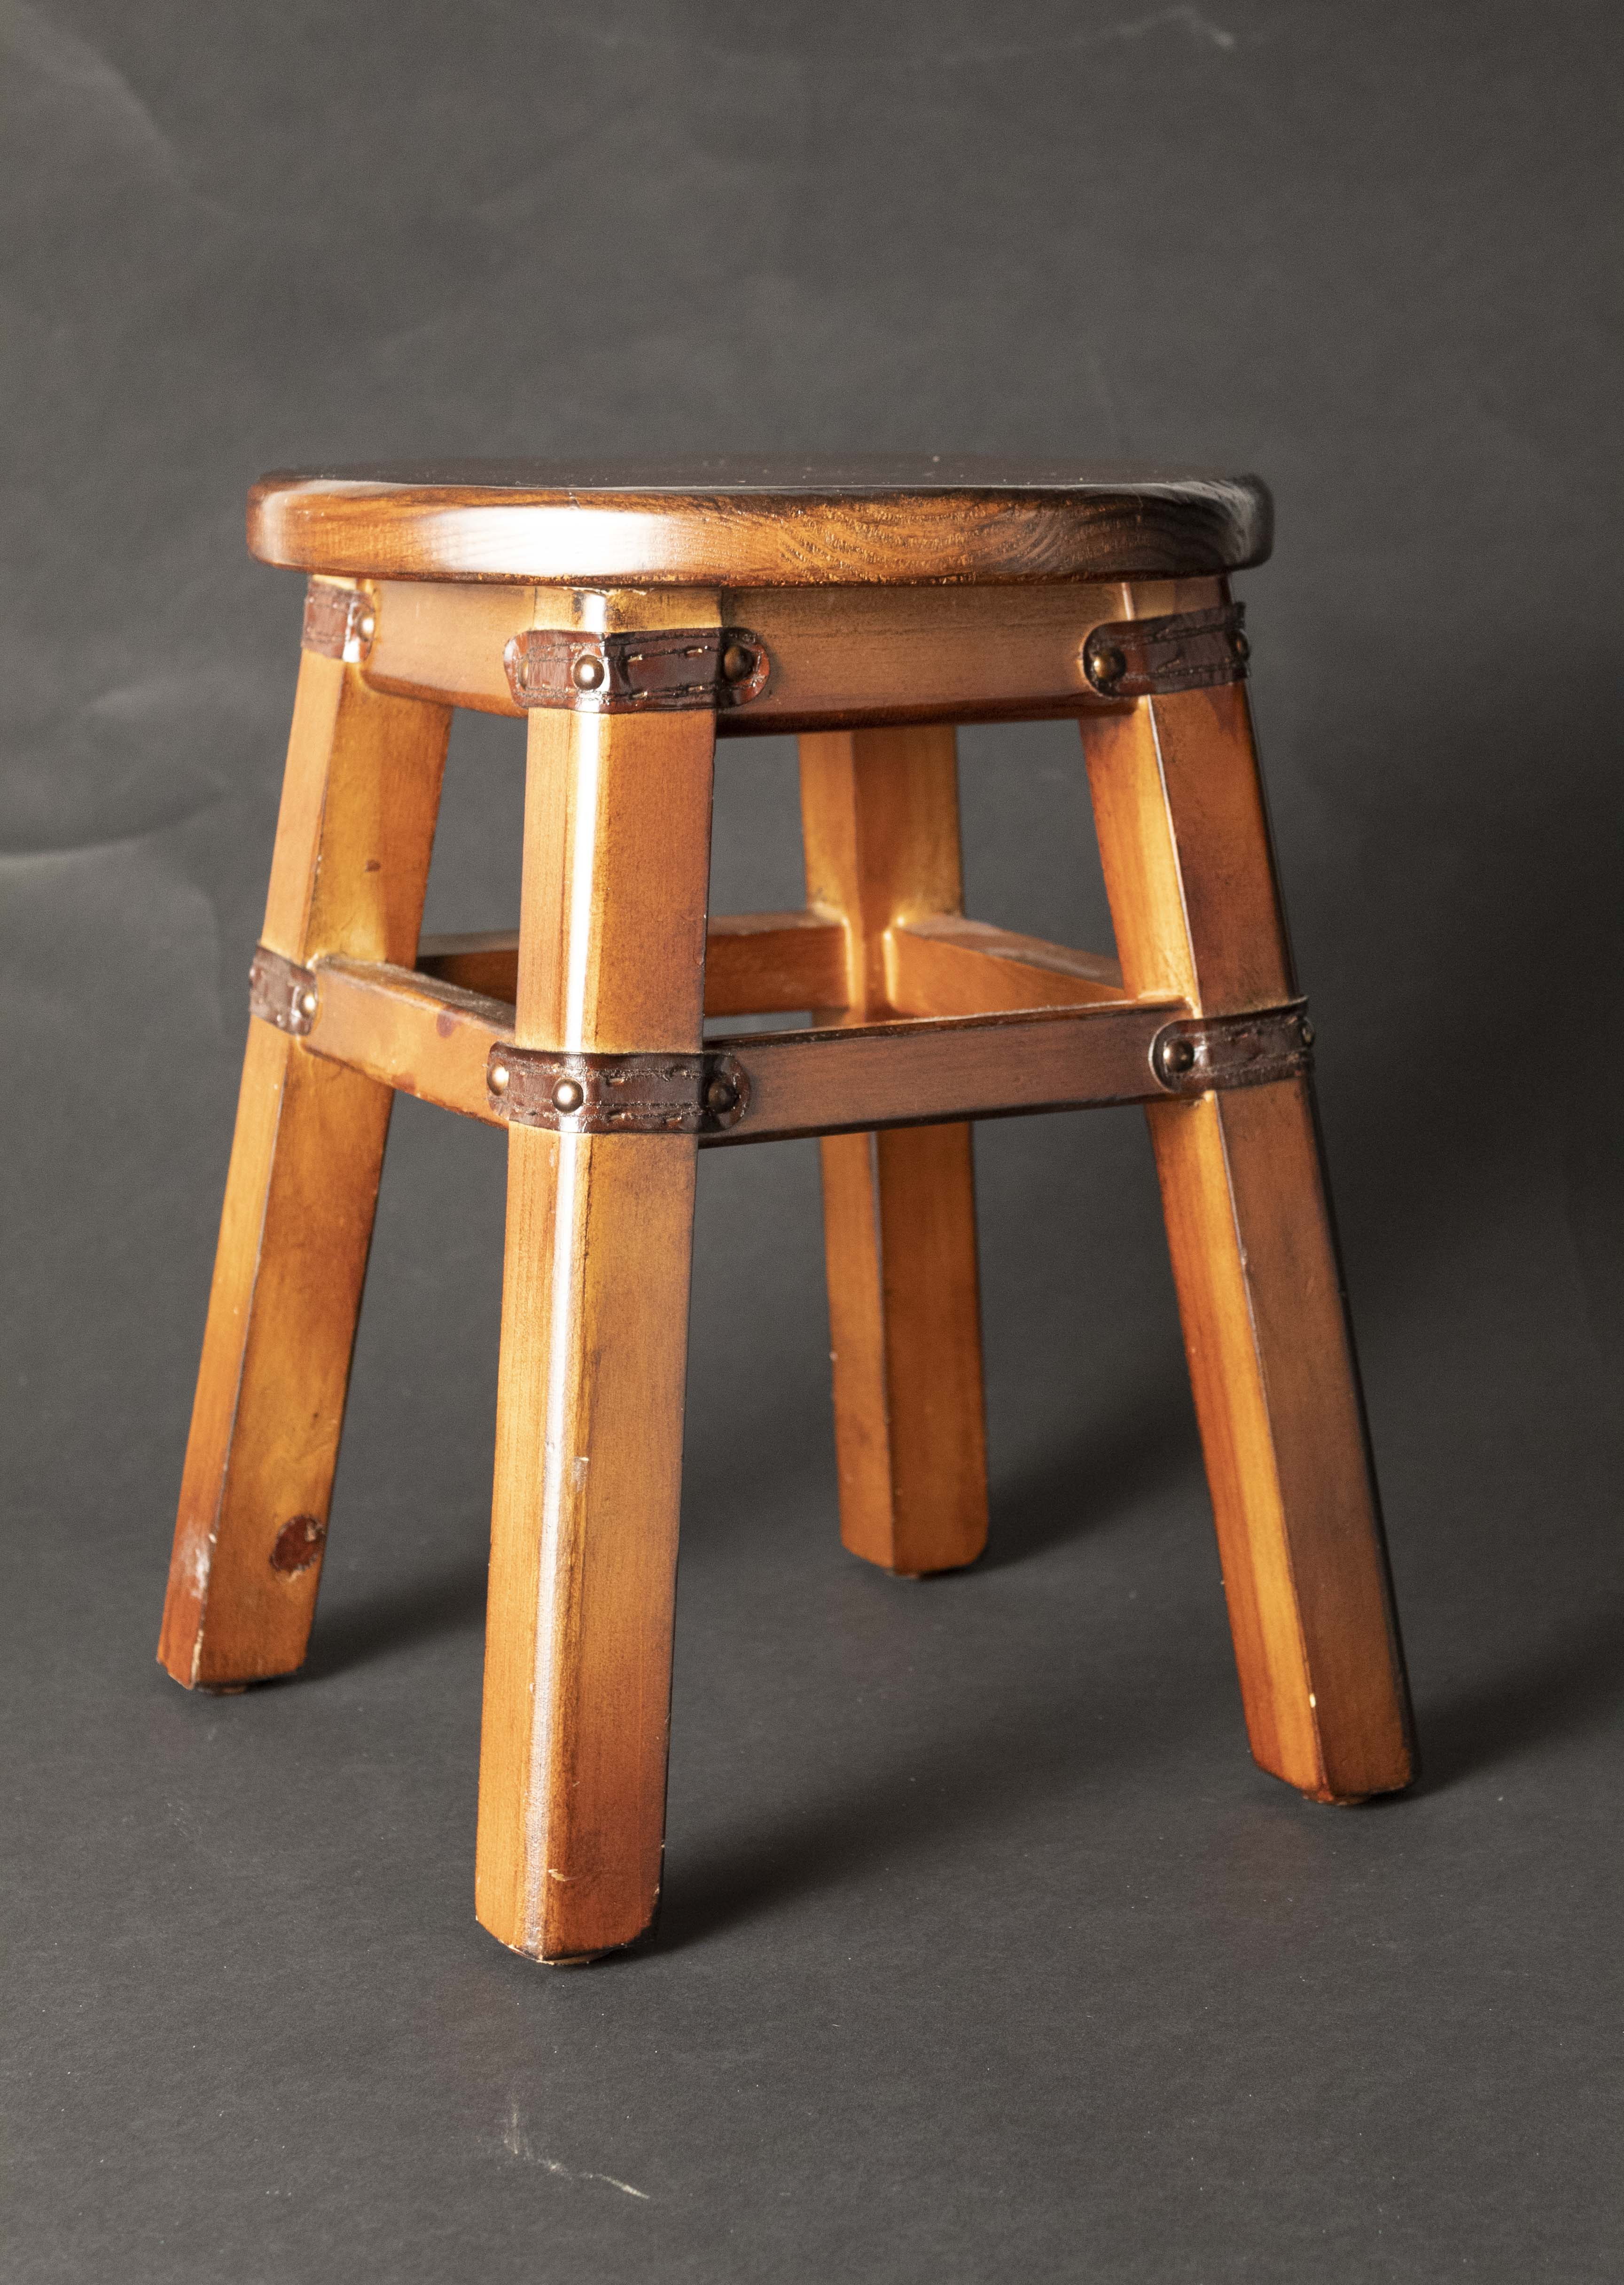
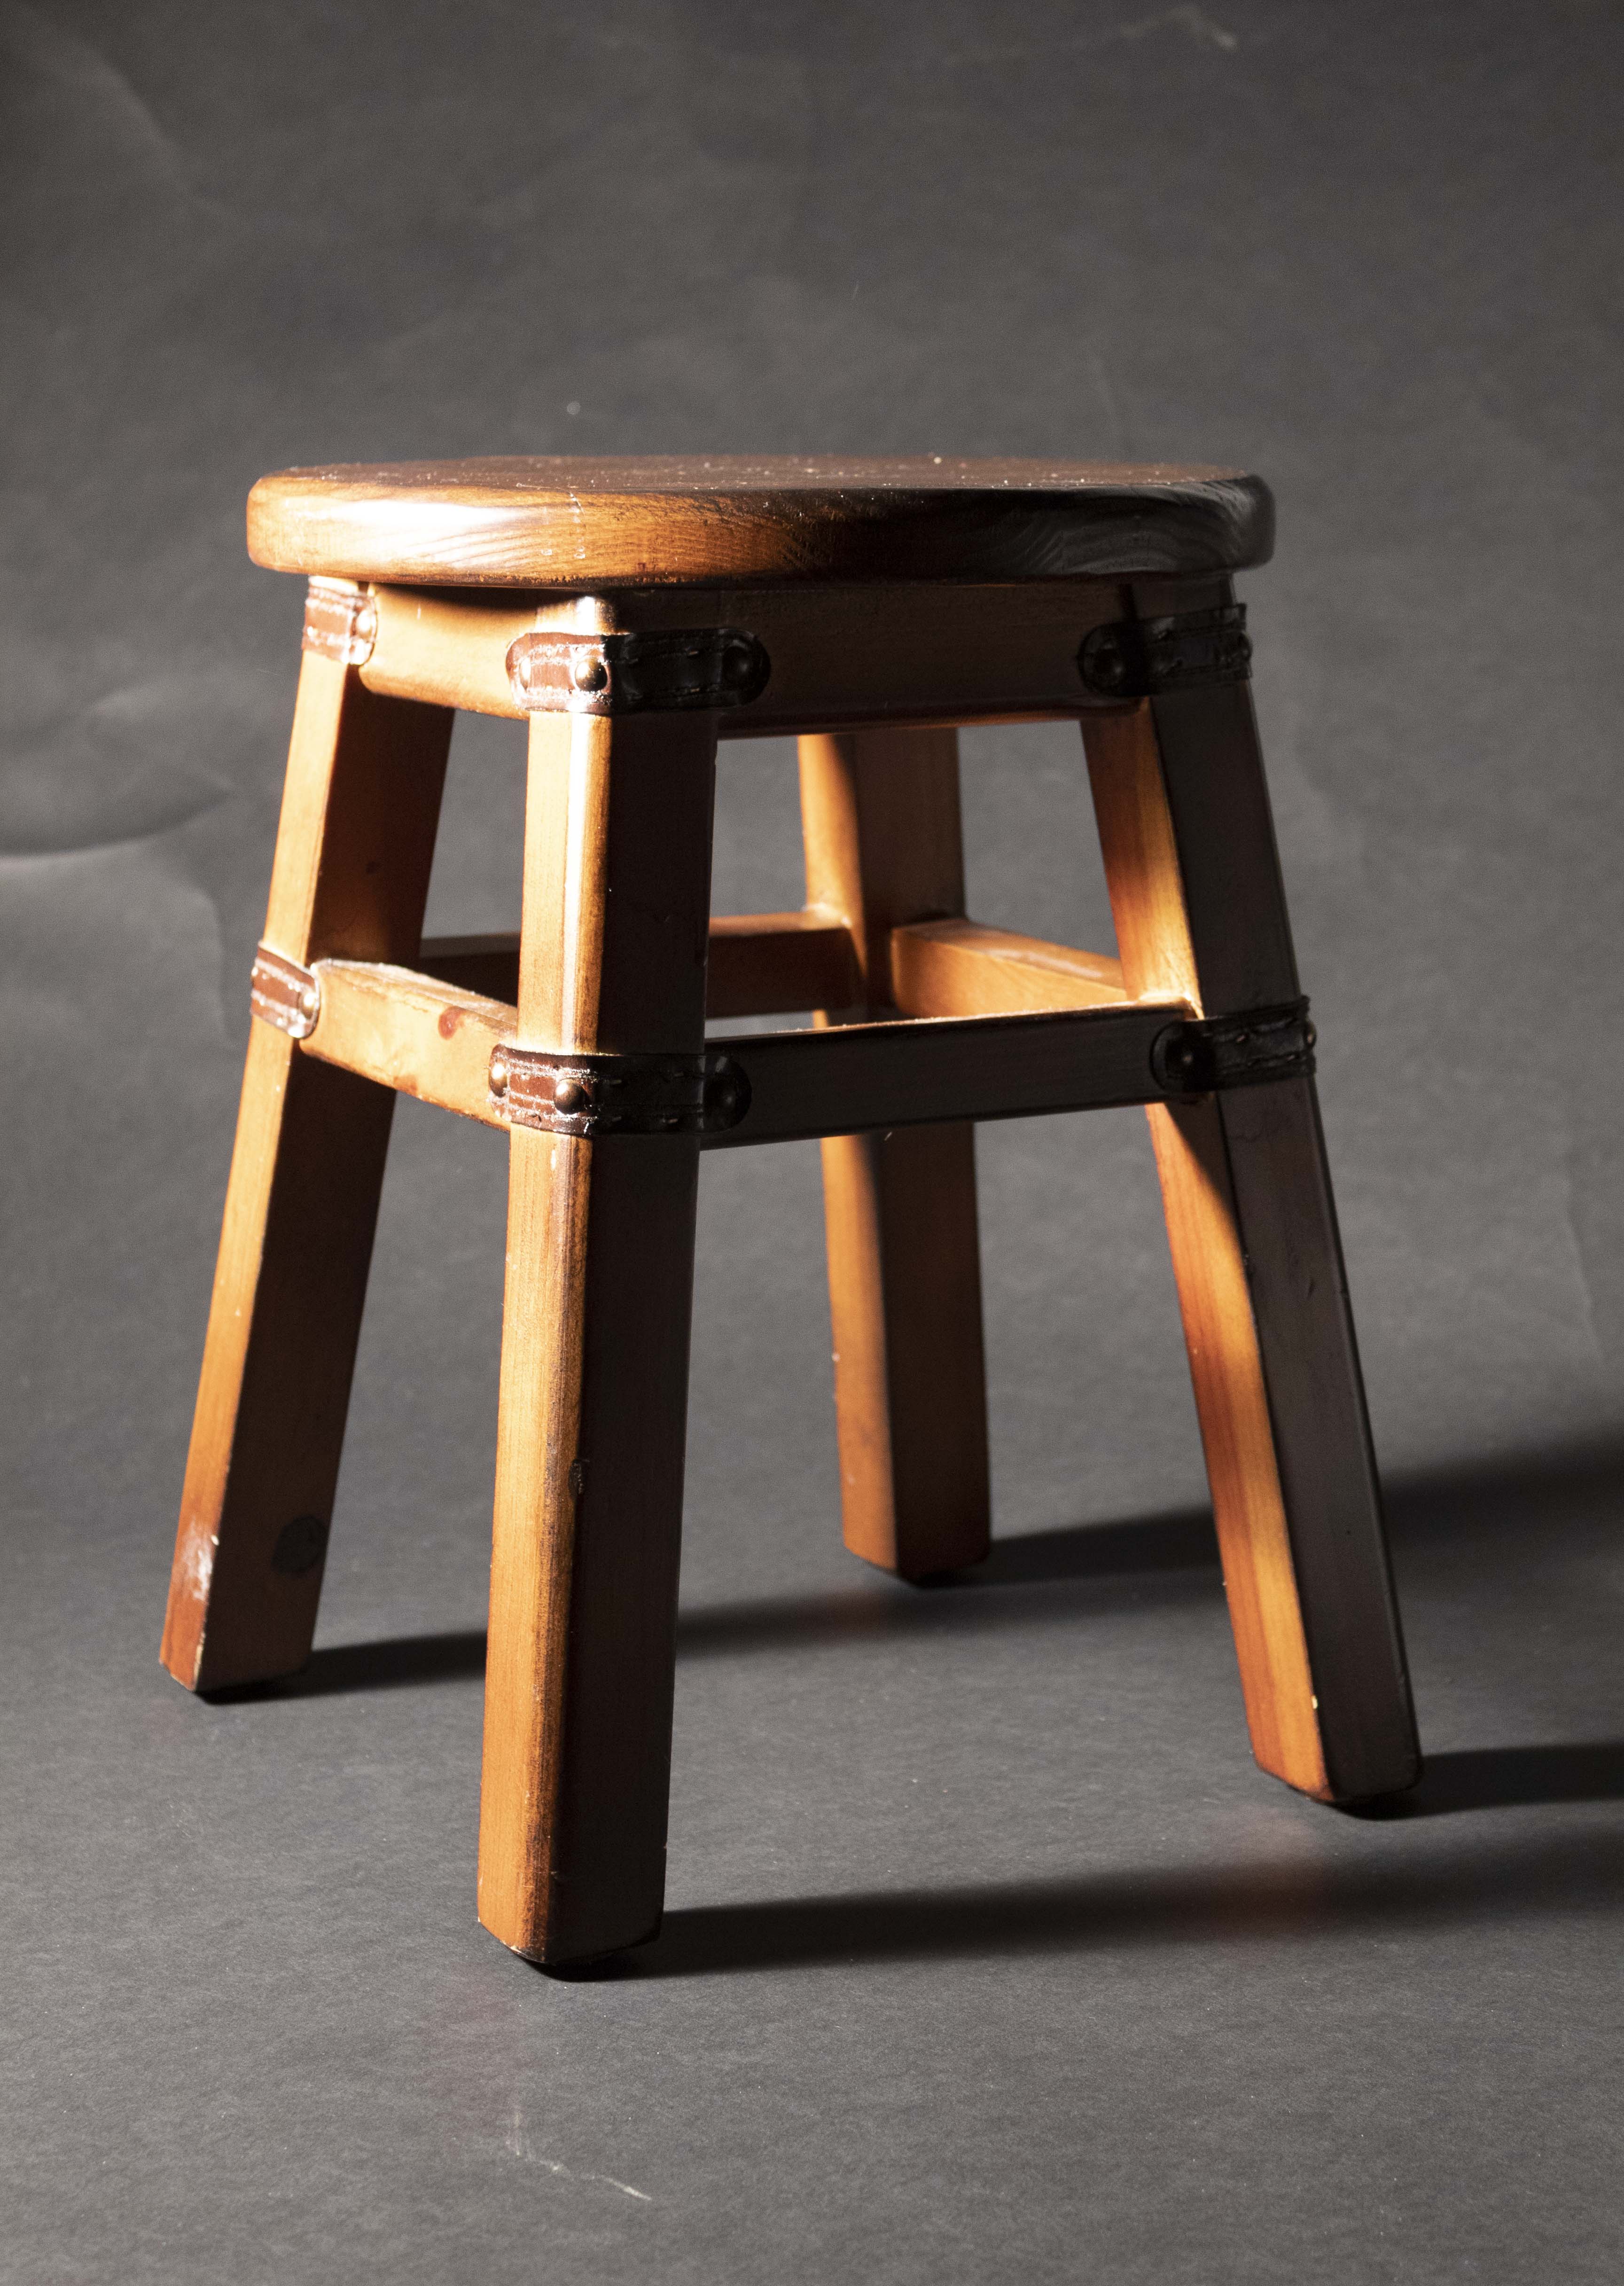
The next two photos have us focusing on the same elements and techniques as the first two, only within the studio. We are to take a photo of our object in specular lighting, which is also known as bare bulb lighting. The second photo, same as before, will be diffused lighting in which we place a sheet in front of the light.
The following three photographs focus on the shadow of the object. We will observe how the shadow and object change as we move the light to three different areas. The first will be at a 90° angle, which will put the shadow directly to the left or right of the object. The bulb will be placed at the side of the table which the object is placed on to achieve this effect. The second will be at a 45° angle, which will move the shadow slightly forward or behind the object. For this, the bulb will be placed at the corner of the table. The third will be what is known as butterfly lighting. The bulb will be located behind the camera so as to shorten the shadow and creating an effect of mid-day lighting.
This assignment will help us understand how to control light so that while we progress into the semester, we can accurately handle studio lighting.