I’m very happy to announce the completion of the crochet dragon from the last post! In this episode, I’m going to go through the different parts I’ve crocheted up over the past two weeks and talk about the process as a whole.
We left off with the body fully crocheted and the face fins sewn on. I had part of the first arm of the dragon done. Shown below are images of the first arm completed, as well as the two arms held onto the body. Before I sewed on the arms, I wanted to finish the legs first to get a better idea of where each limb should go onto the dragon.
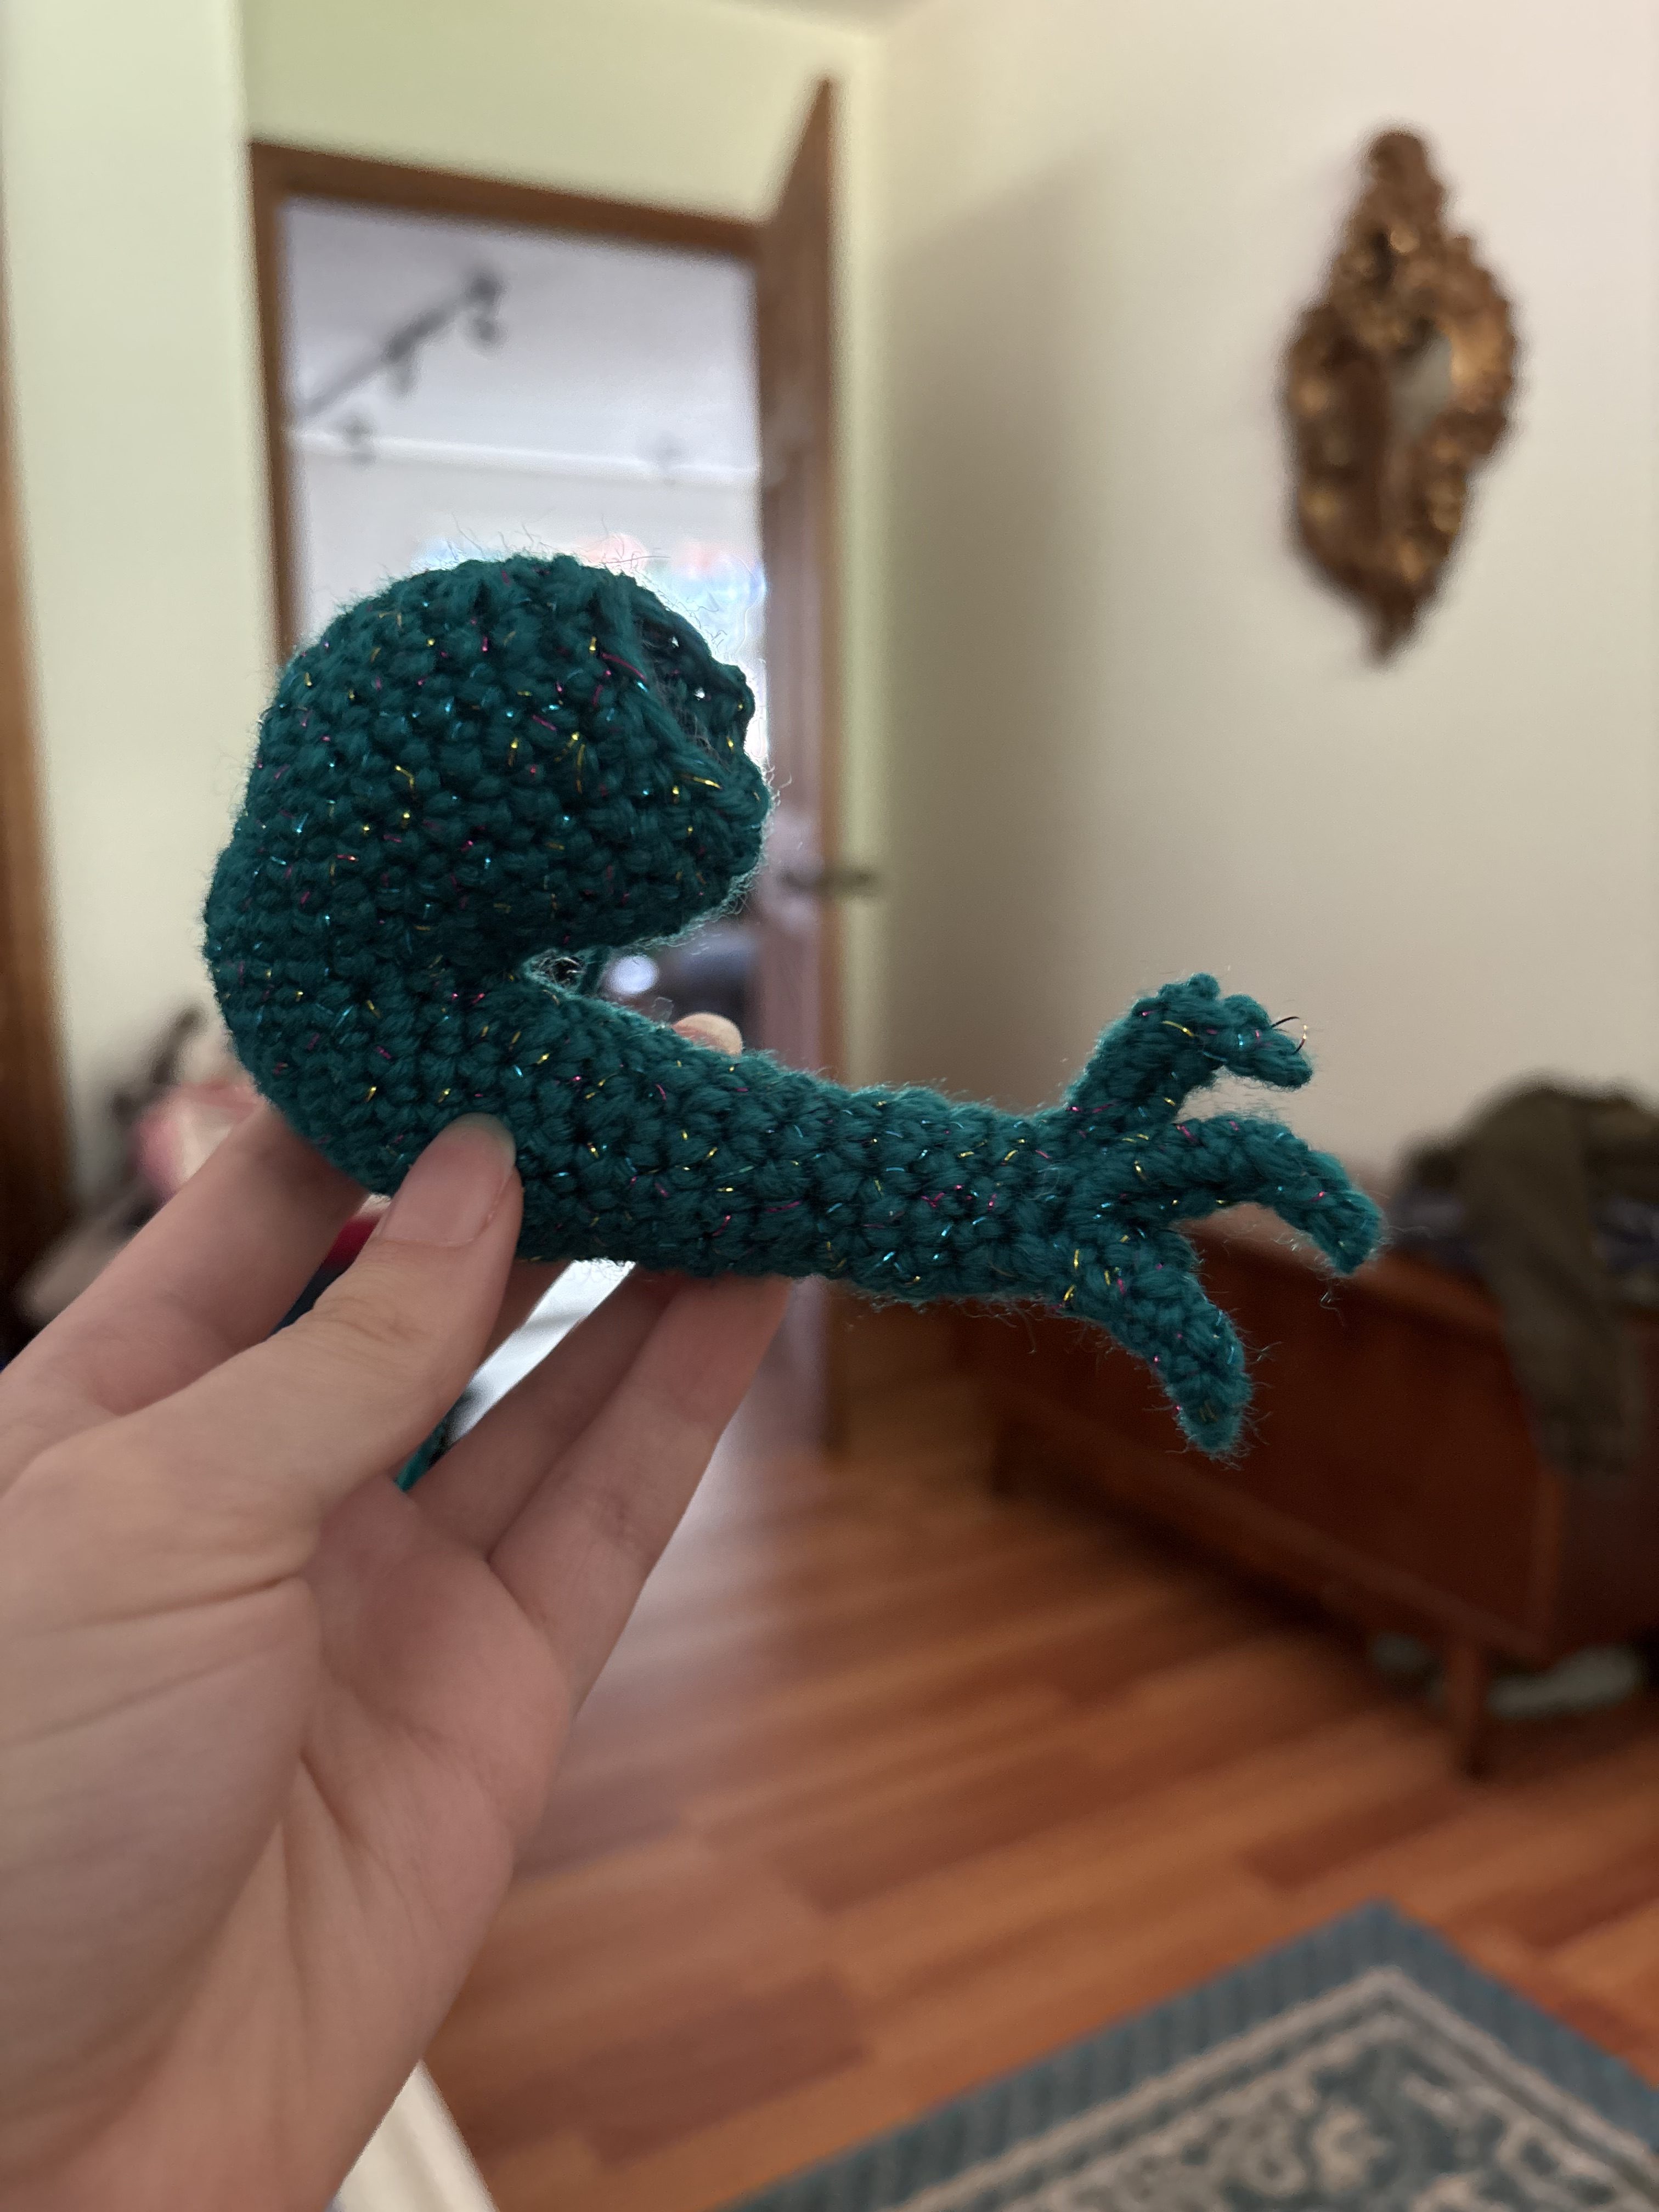
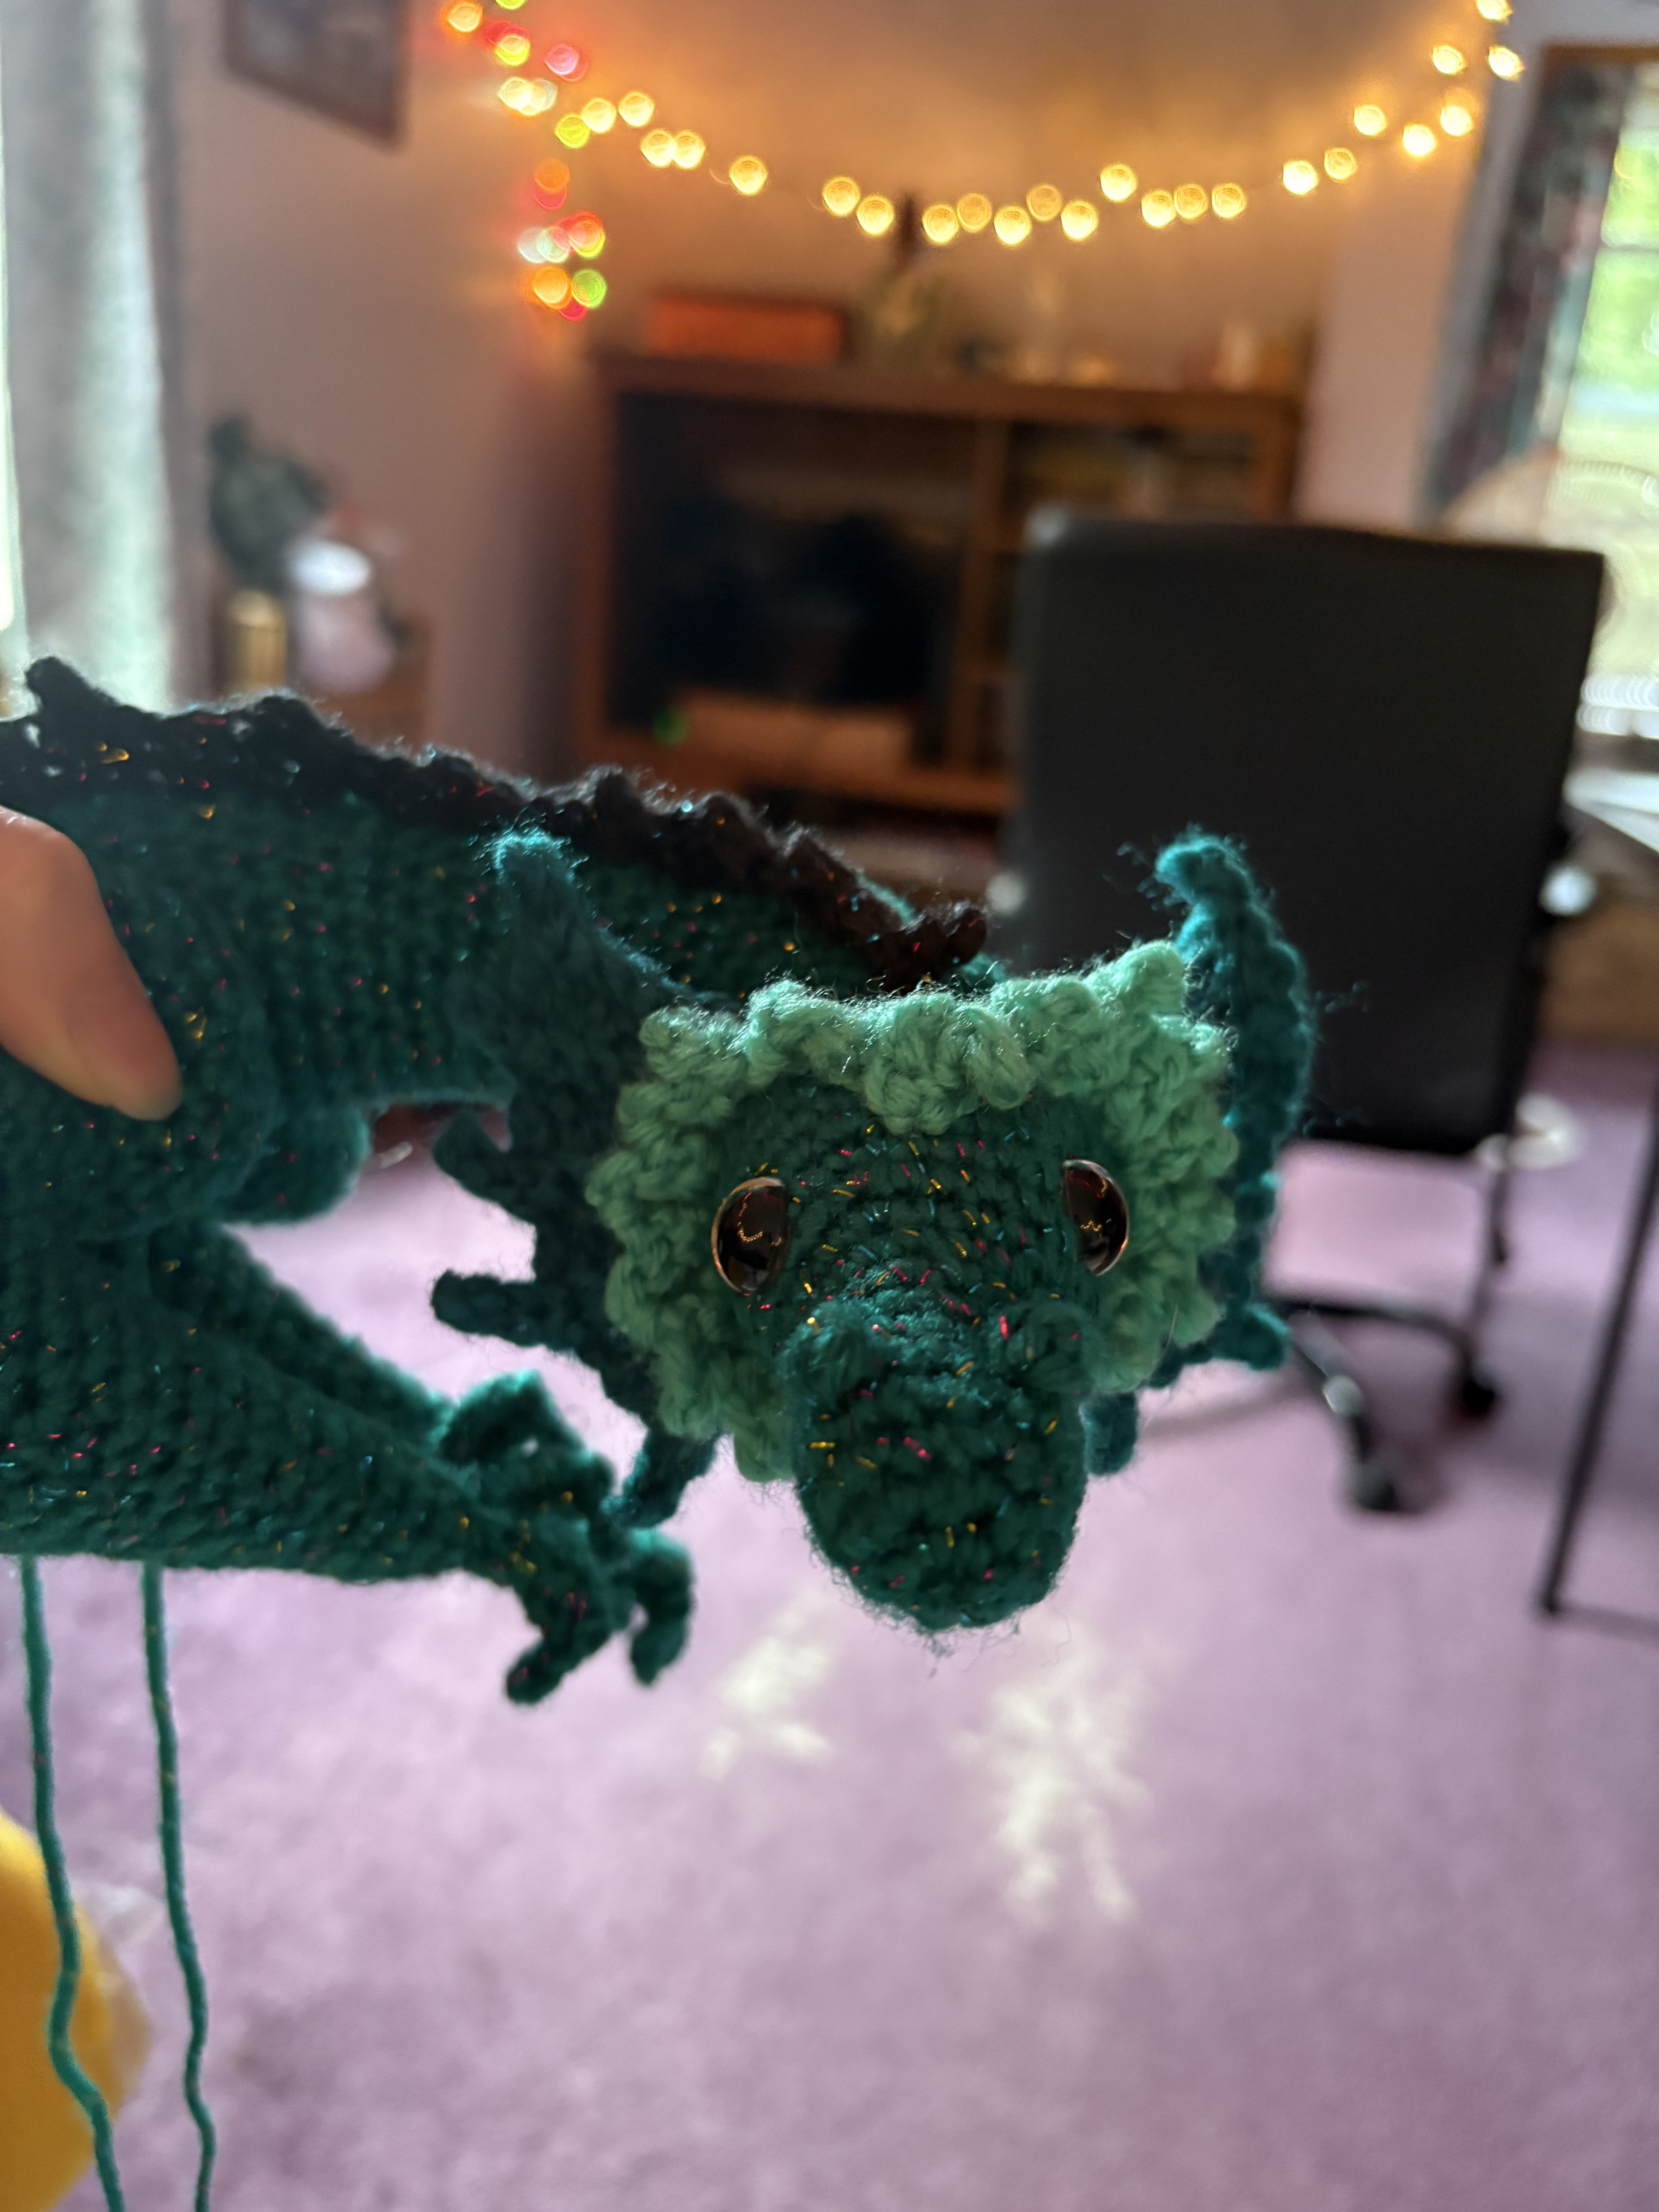

Next, I crocheted the back legs of the dragon and sewed them on. I was sort of on a roll at this point as I really wanted to truck through and finish the dragon after putting him off for so long. The hands and feet are the most difficult part as they are small and finicky. Working into the chain stitches differently provides different results, which threw off the angle of the fingers until I figured out what was going on. When chaining up for the fingers and working into them, working through the back of the chain stitches was best to keep them from twisting. For the claws, working through the middle produced the “pointy” look I was going for 🙂 Lots of trial and error.

It was officially time for the wings. I’d hoped they’d go faster than they actually did. They’re more complicated than they look. I started off by crocheting two of each wing piece, shown in the leftmost image. I then crocheted the first two wing pieces together. This is different than sewing, as you create stitches between two finished pieces to connect them. It’s important to match the pieces up beforehand and ensure that they correspond with each other and, if they don’t, you have to keep in mind which piece is bigger. I’ve been bitten by this before in the past. As you’re crocheting, you get closer and closer to the end and realize the pieces do not end at the same point at all, and you have to start over. It’s no fun, but nothing like that happened during this process because I pinned the two ends together and made sure to line up the pieces every few stitches to ensure they were still in alignment. I started at the tips of the first two wing pieces, worked my way down, chained and slip stitched to create the little boney bit that sticks out, and then slip stitched back up the way I came so that I could turn around can connect the next piece. After doing this for the first wing, I did the same on the second.
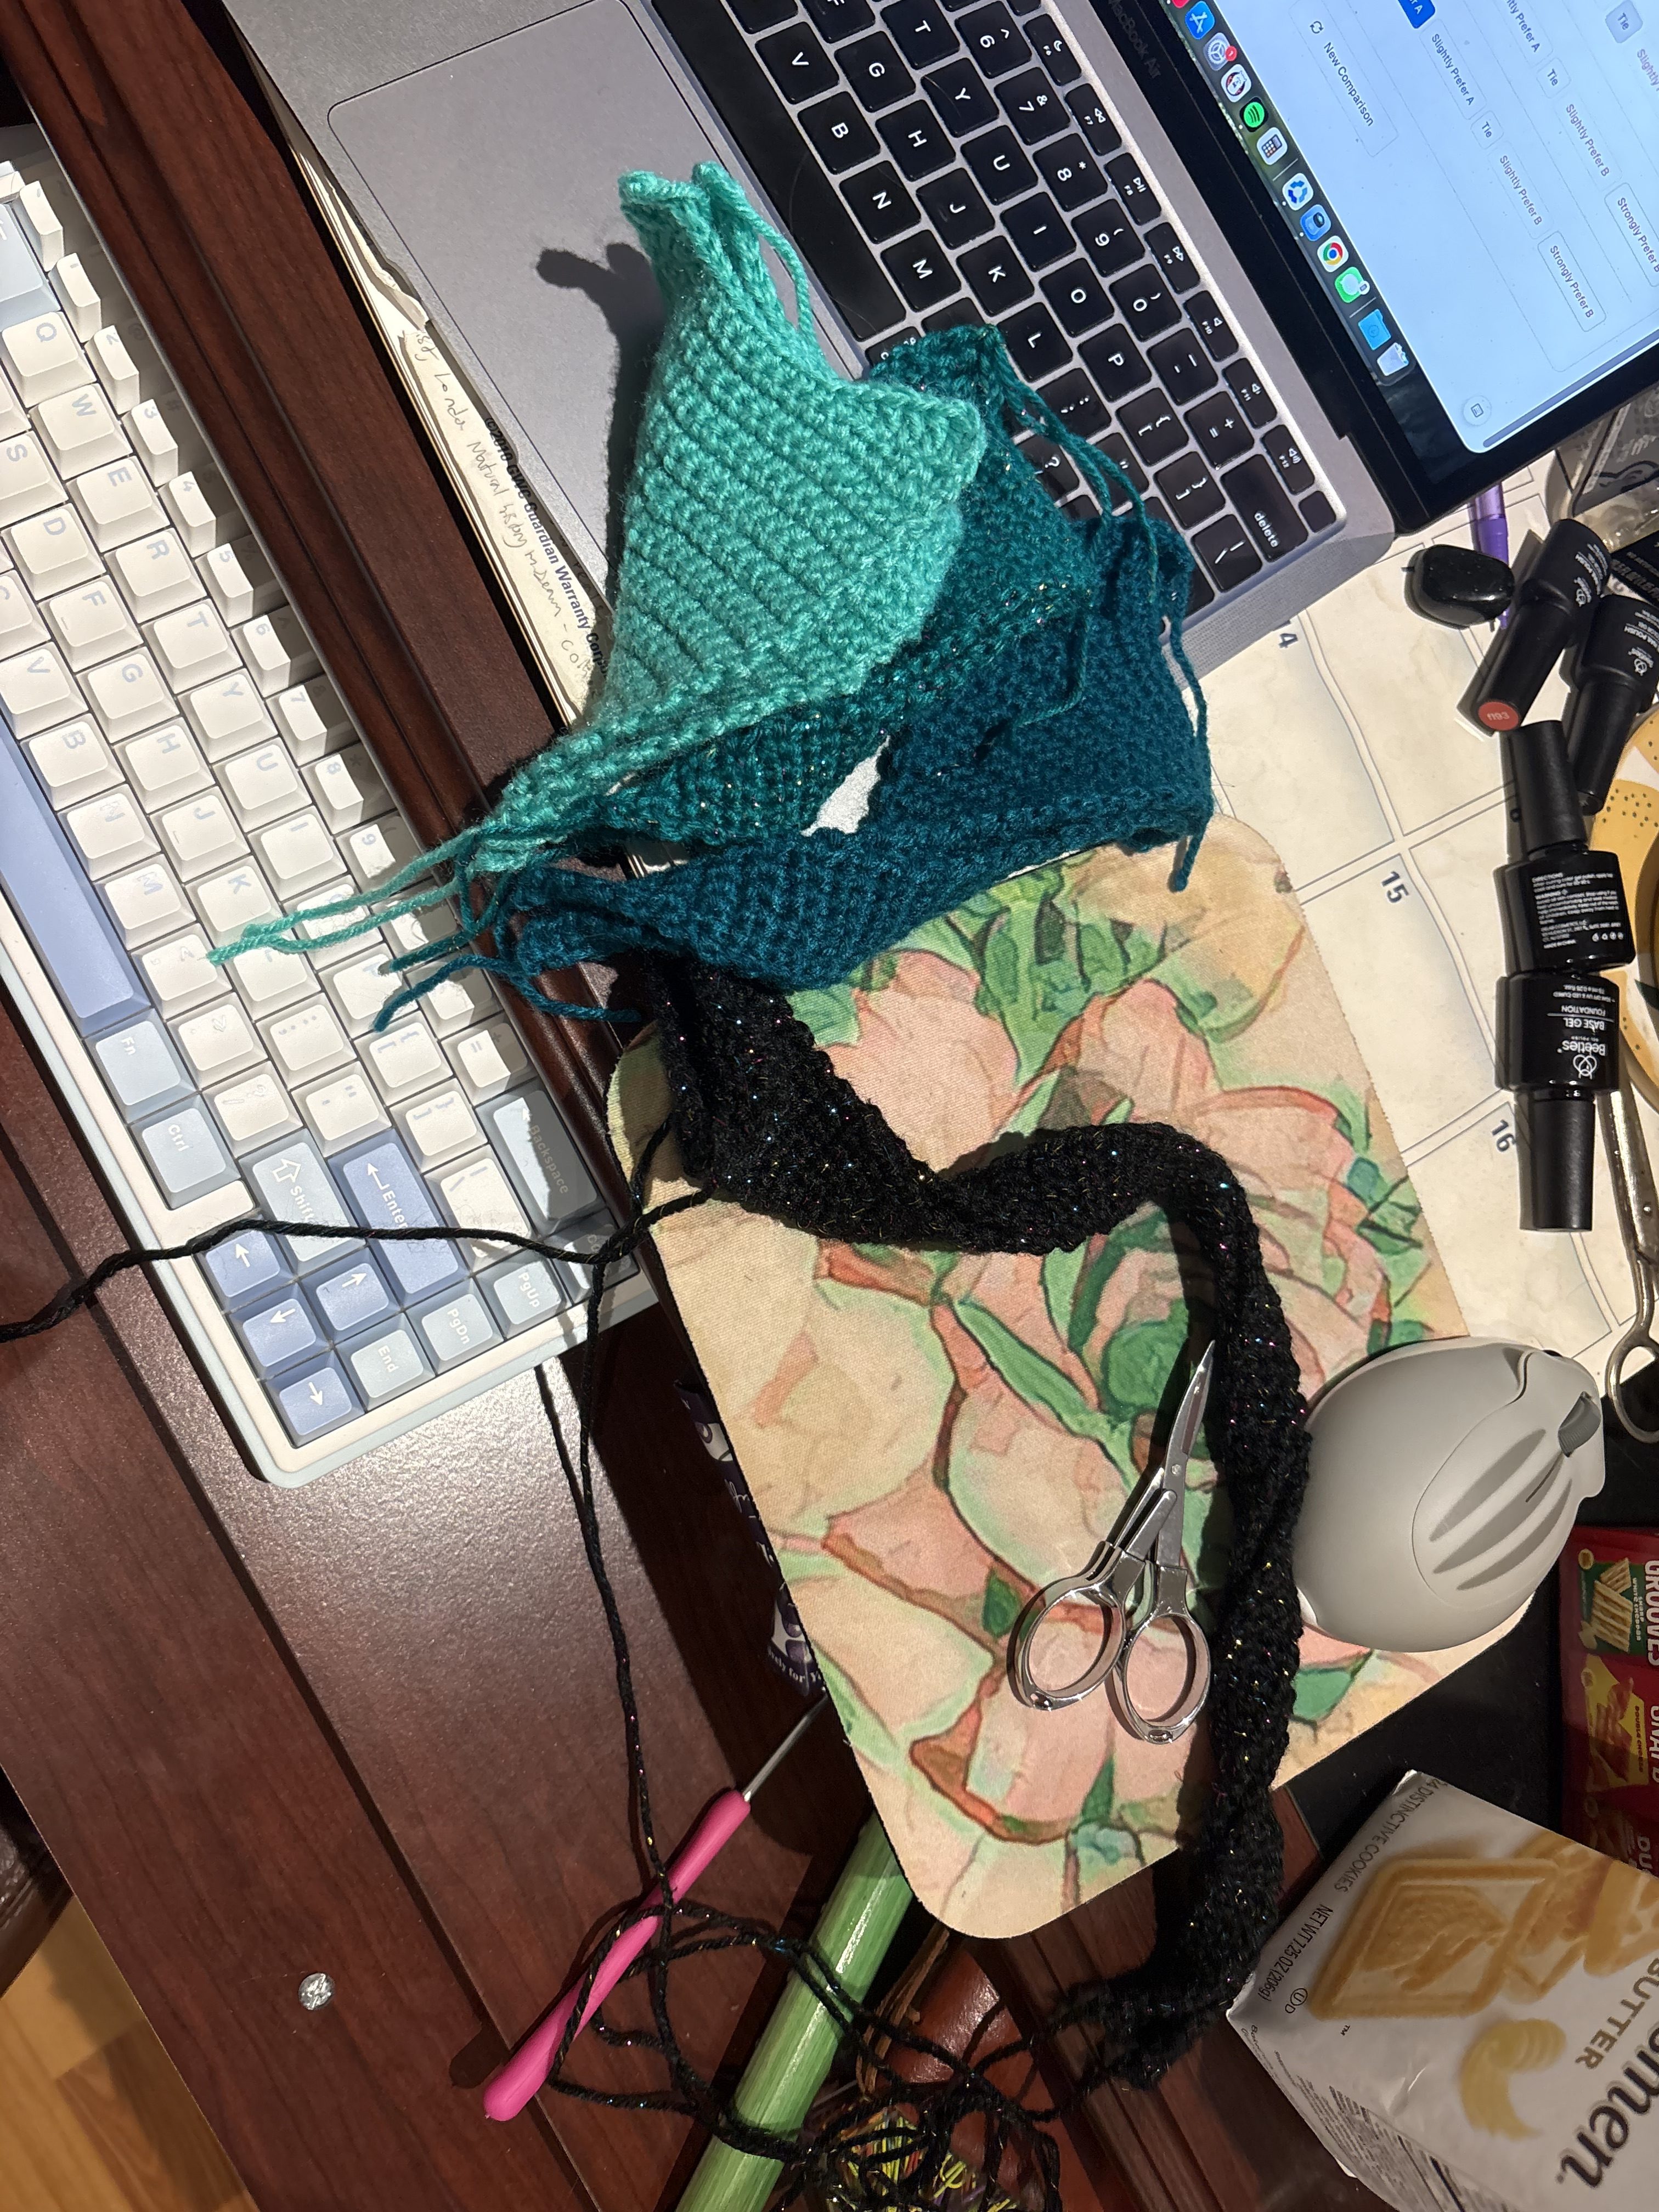

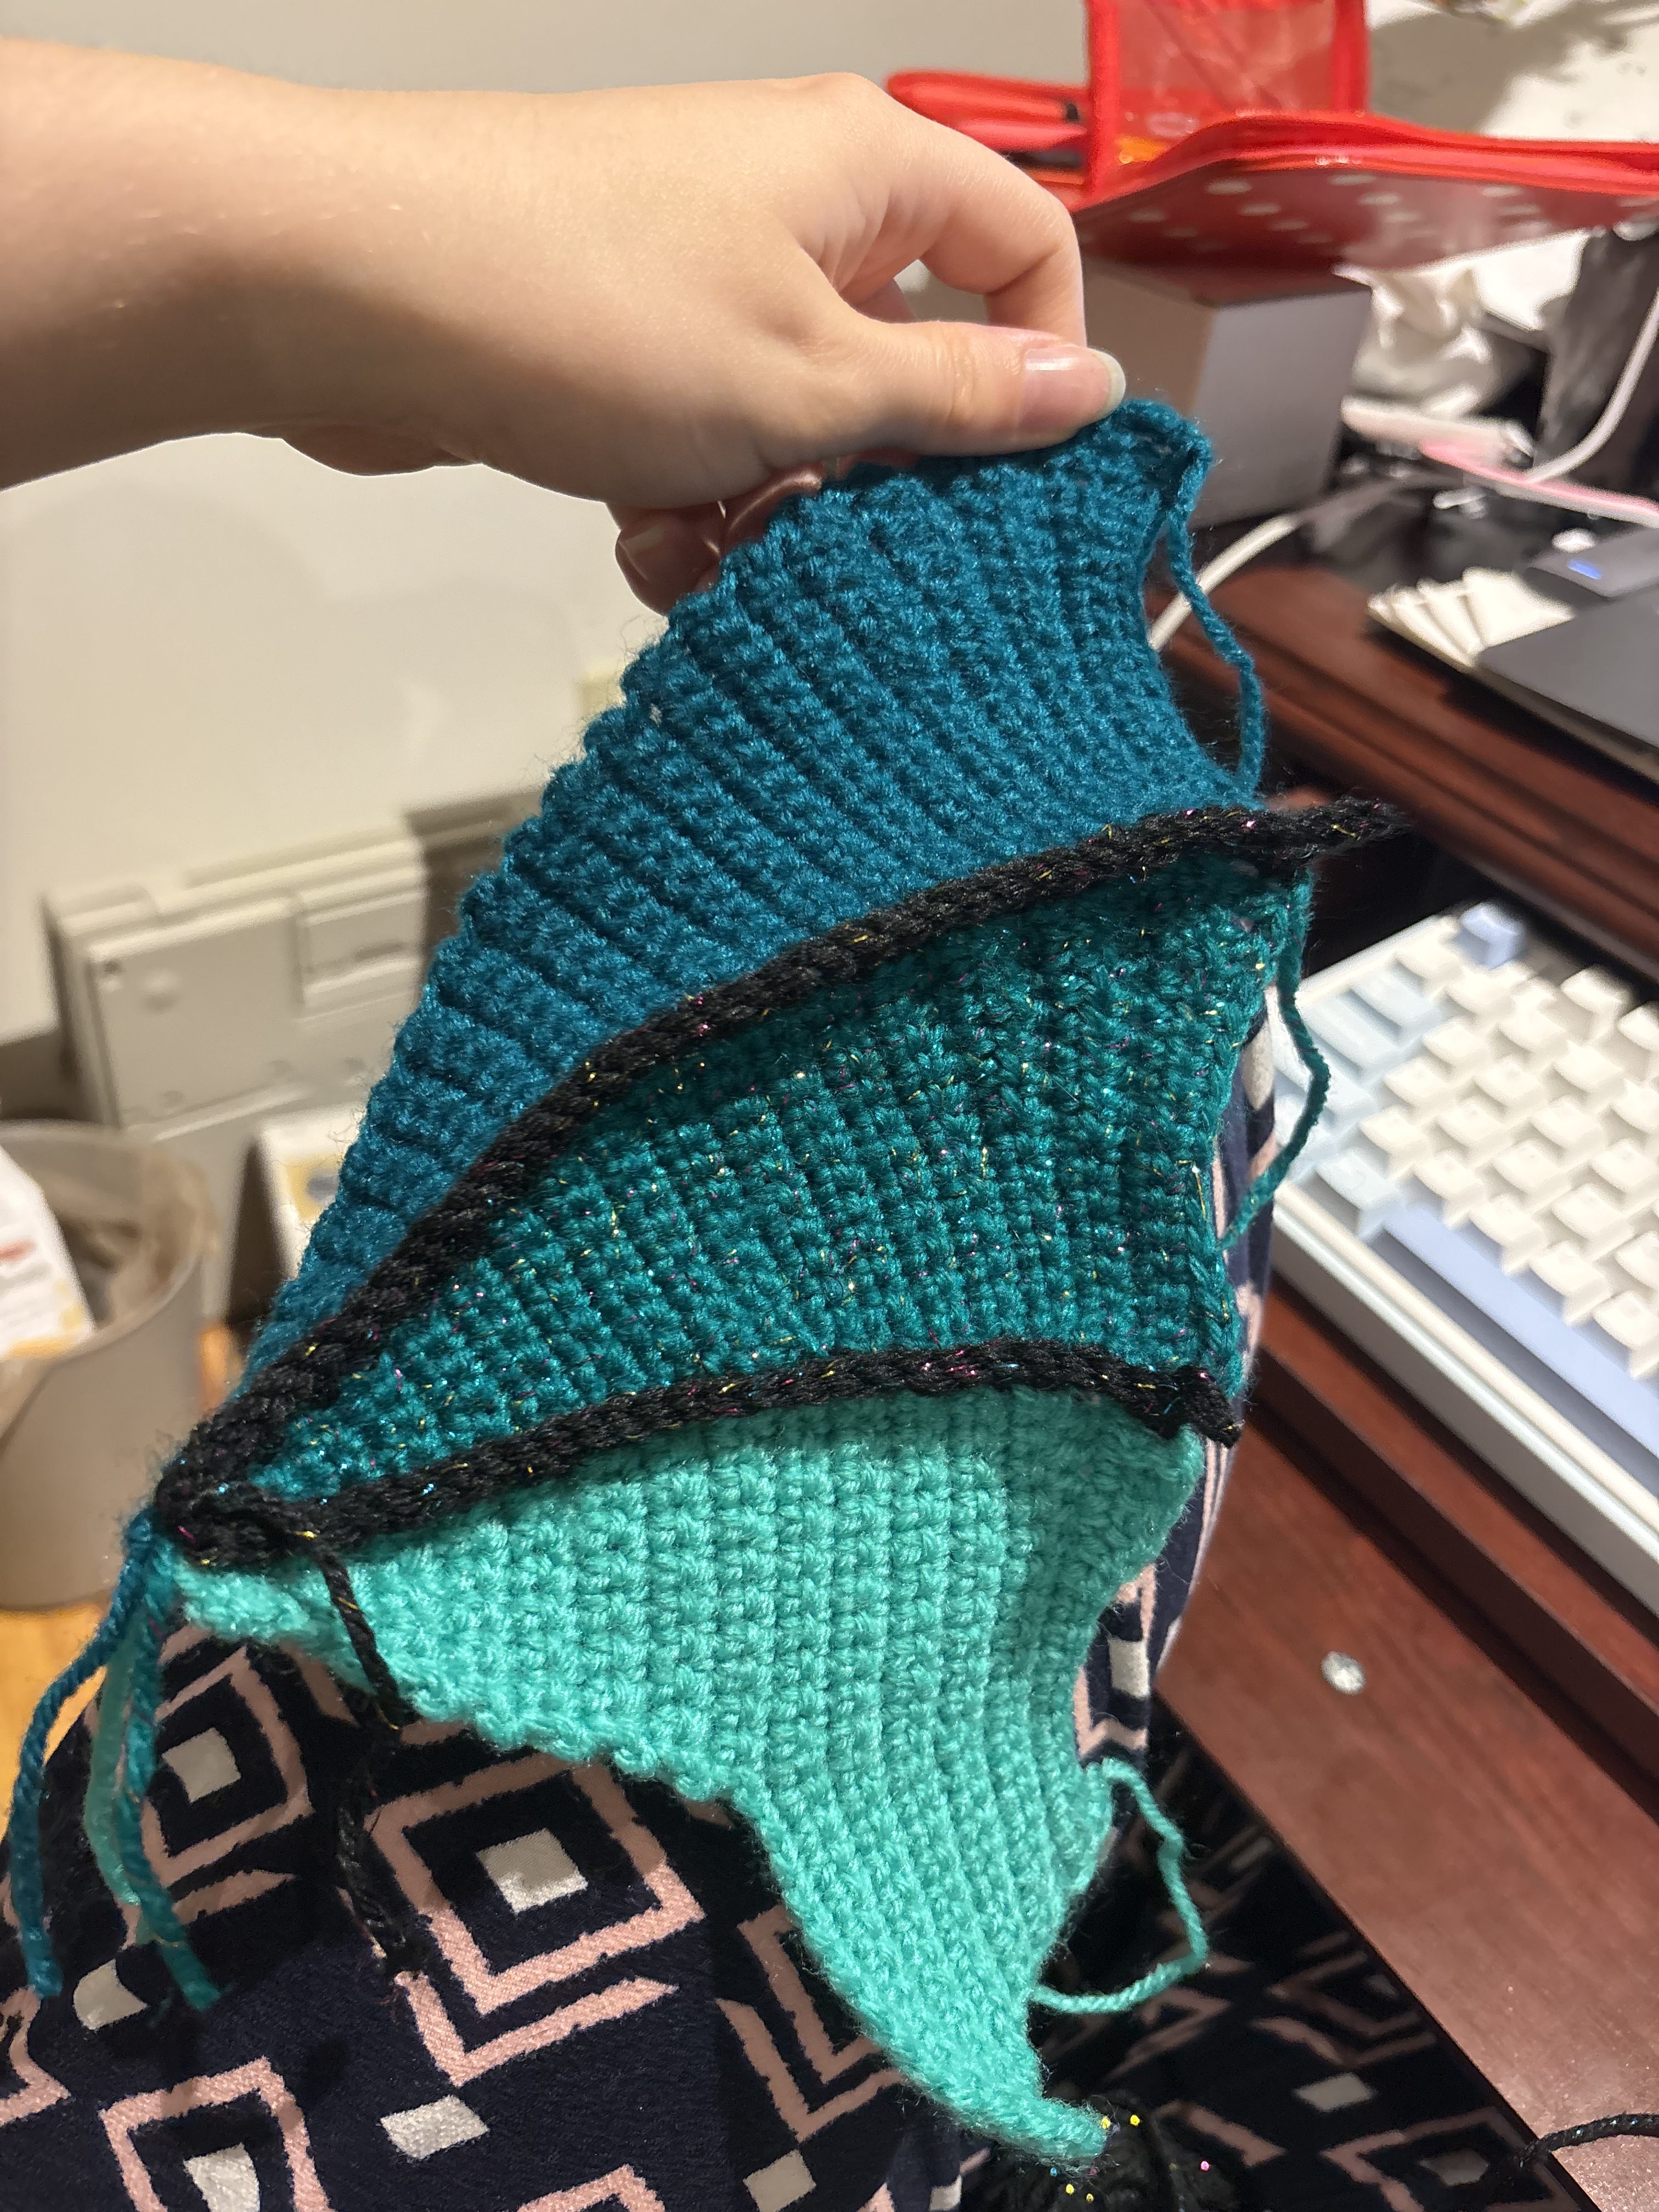
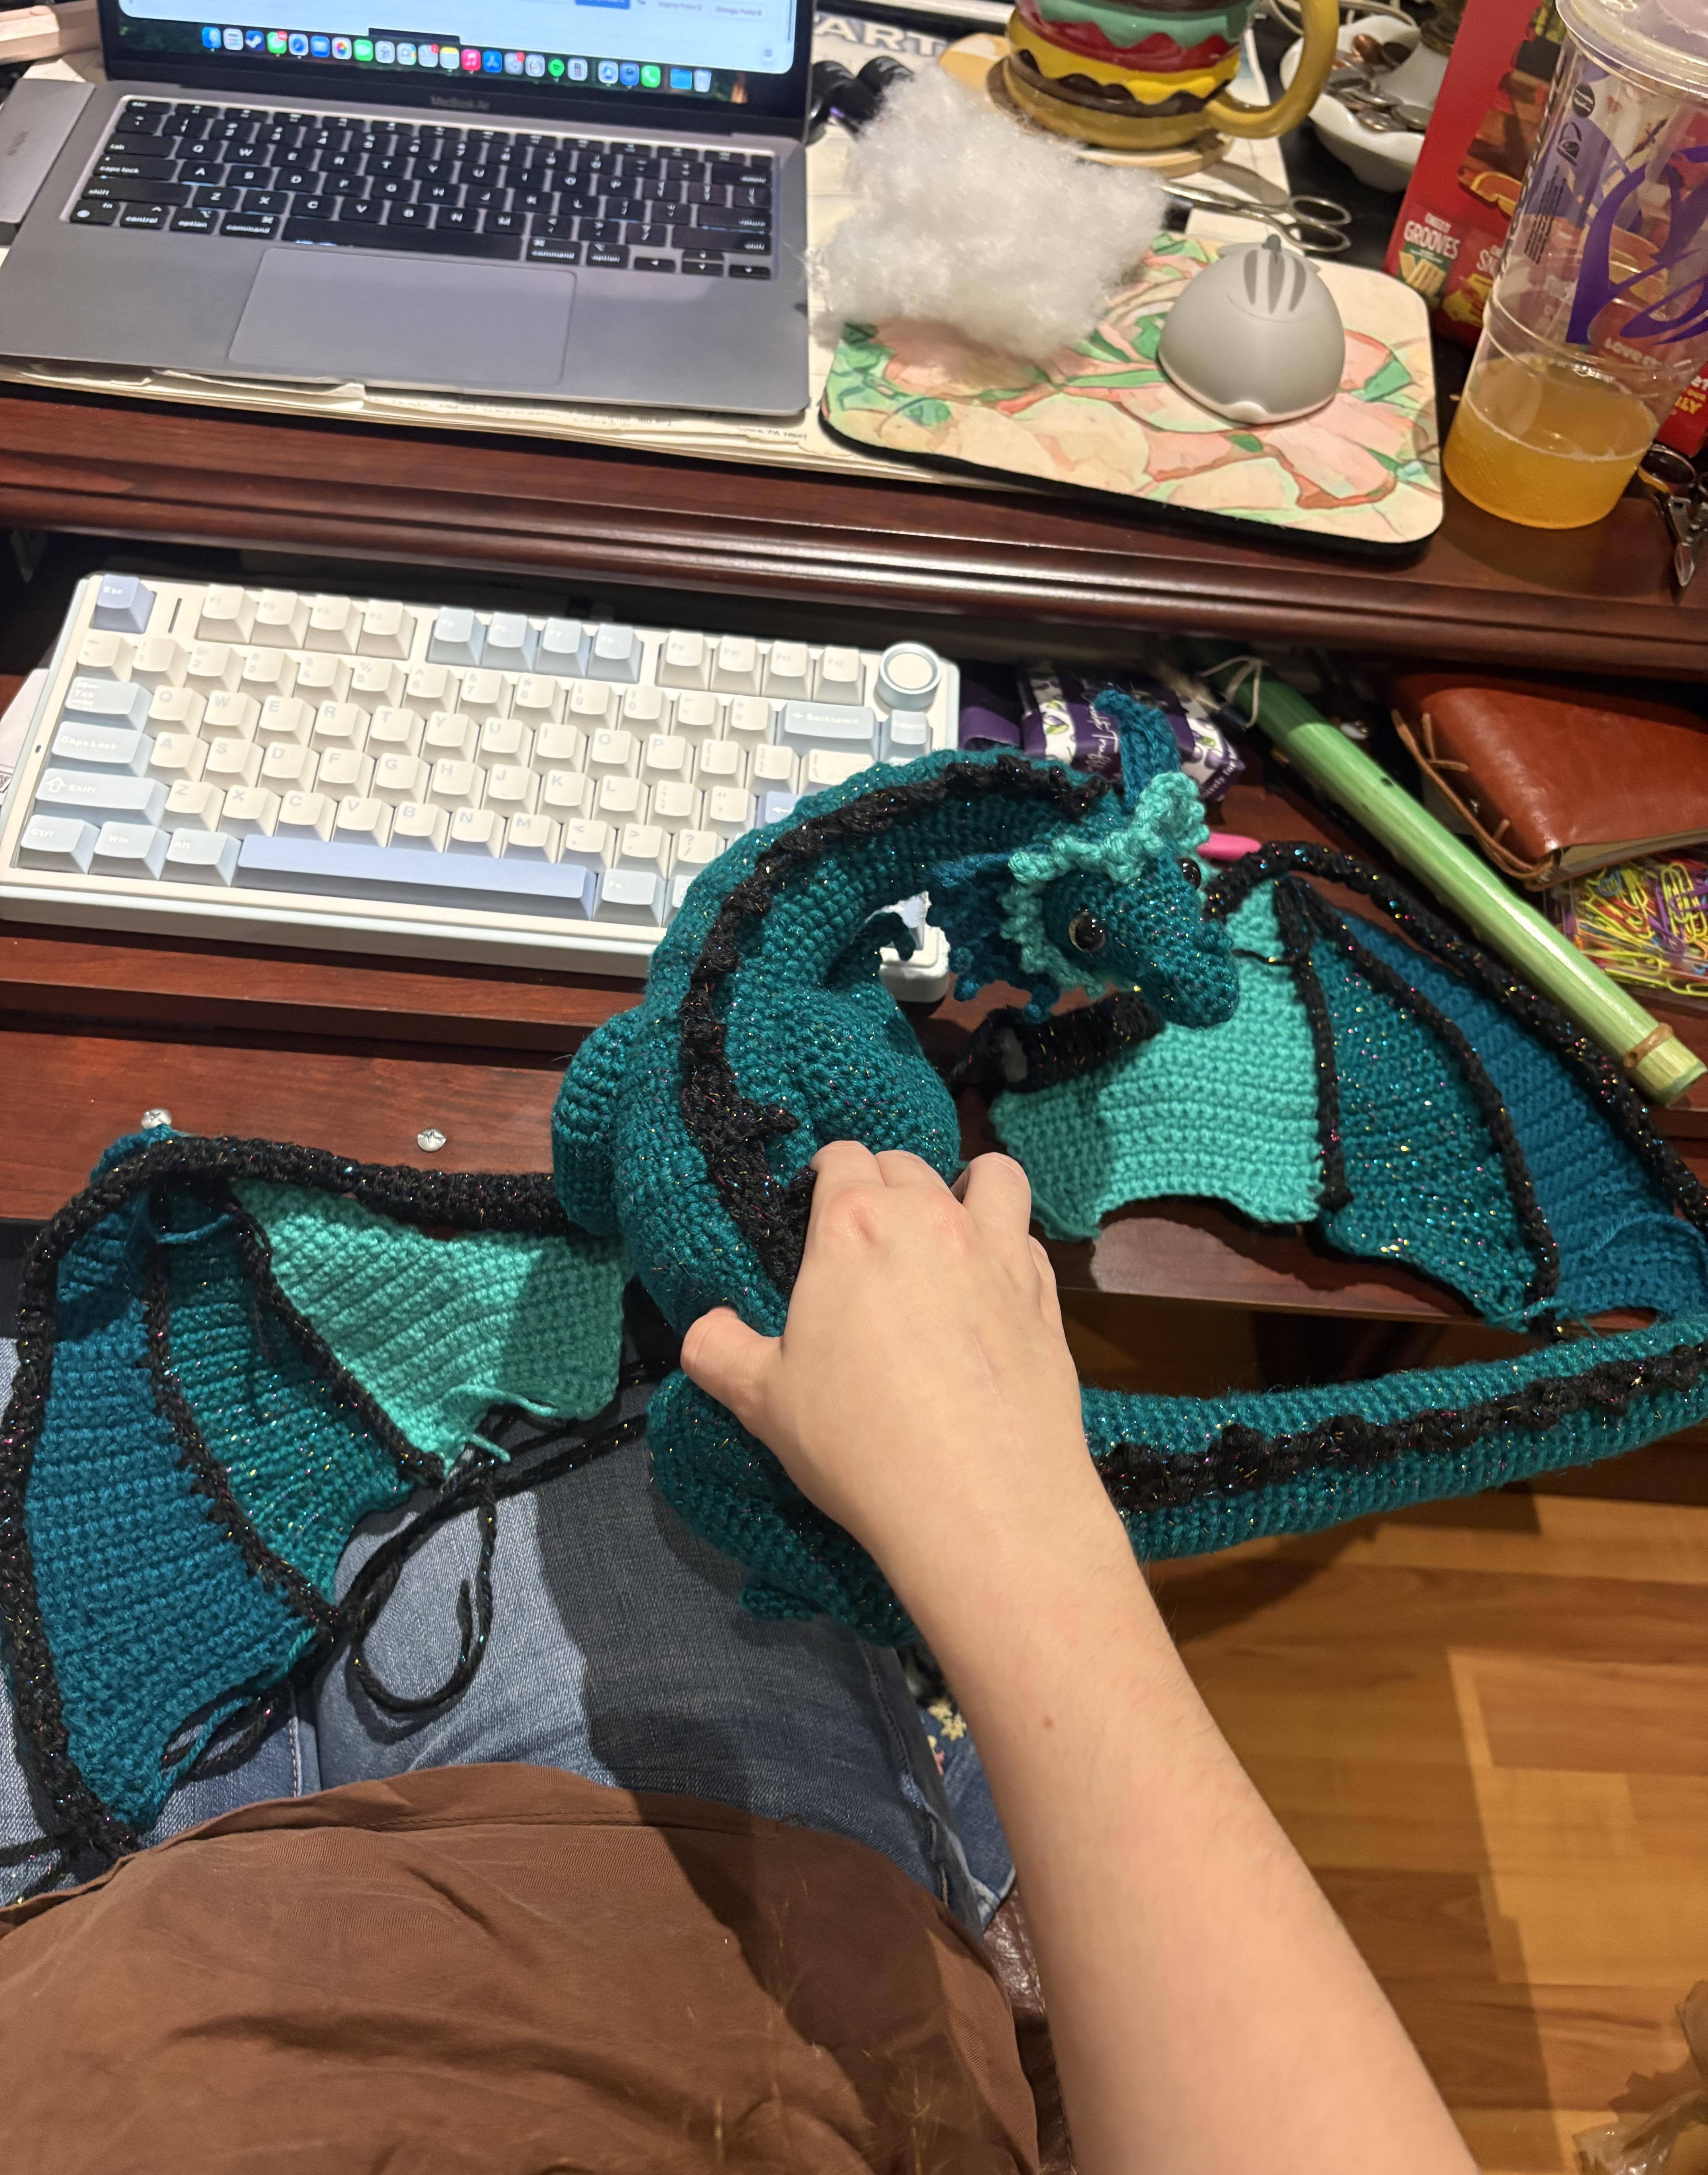
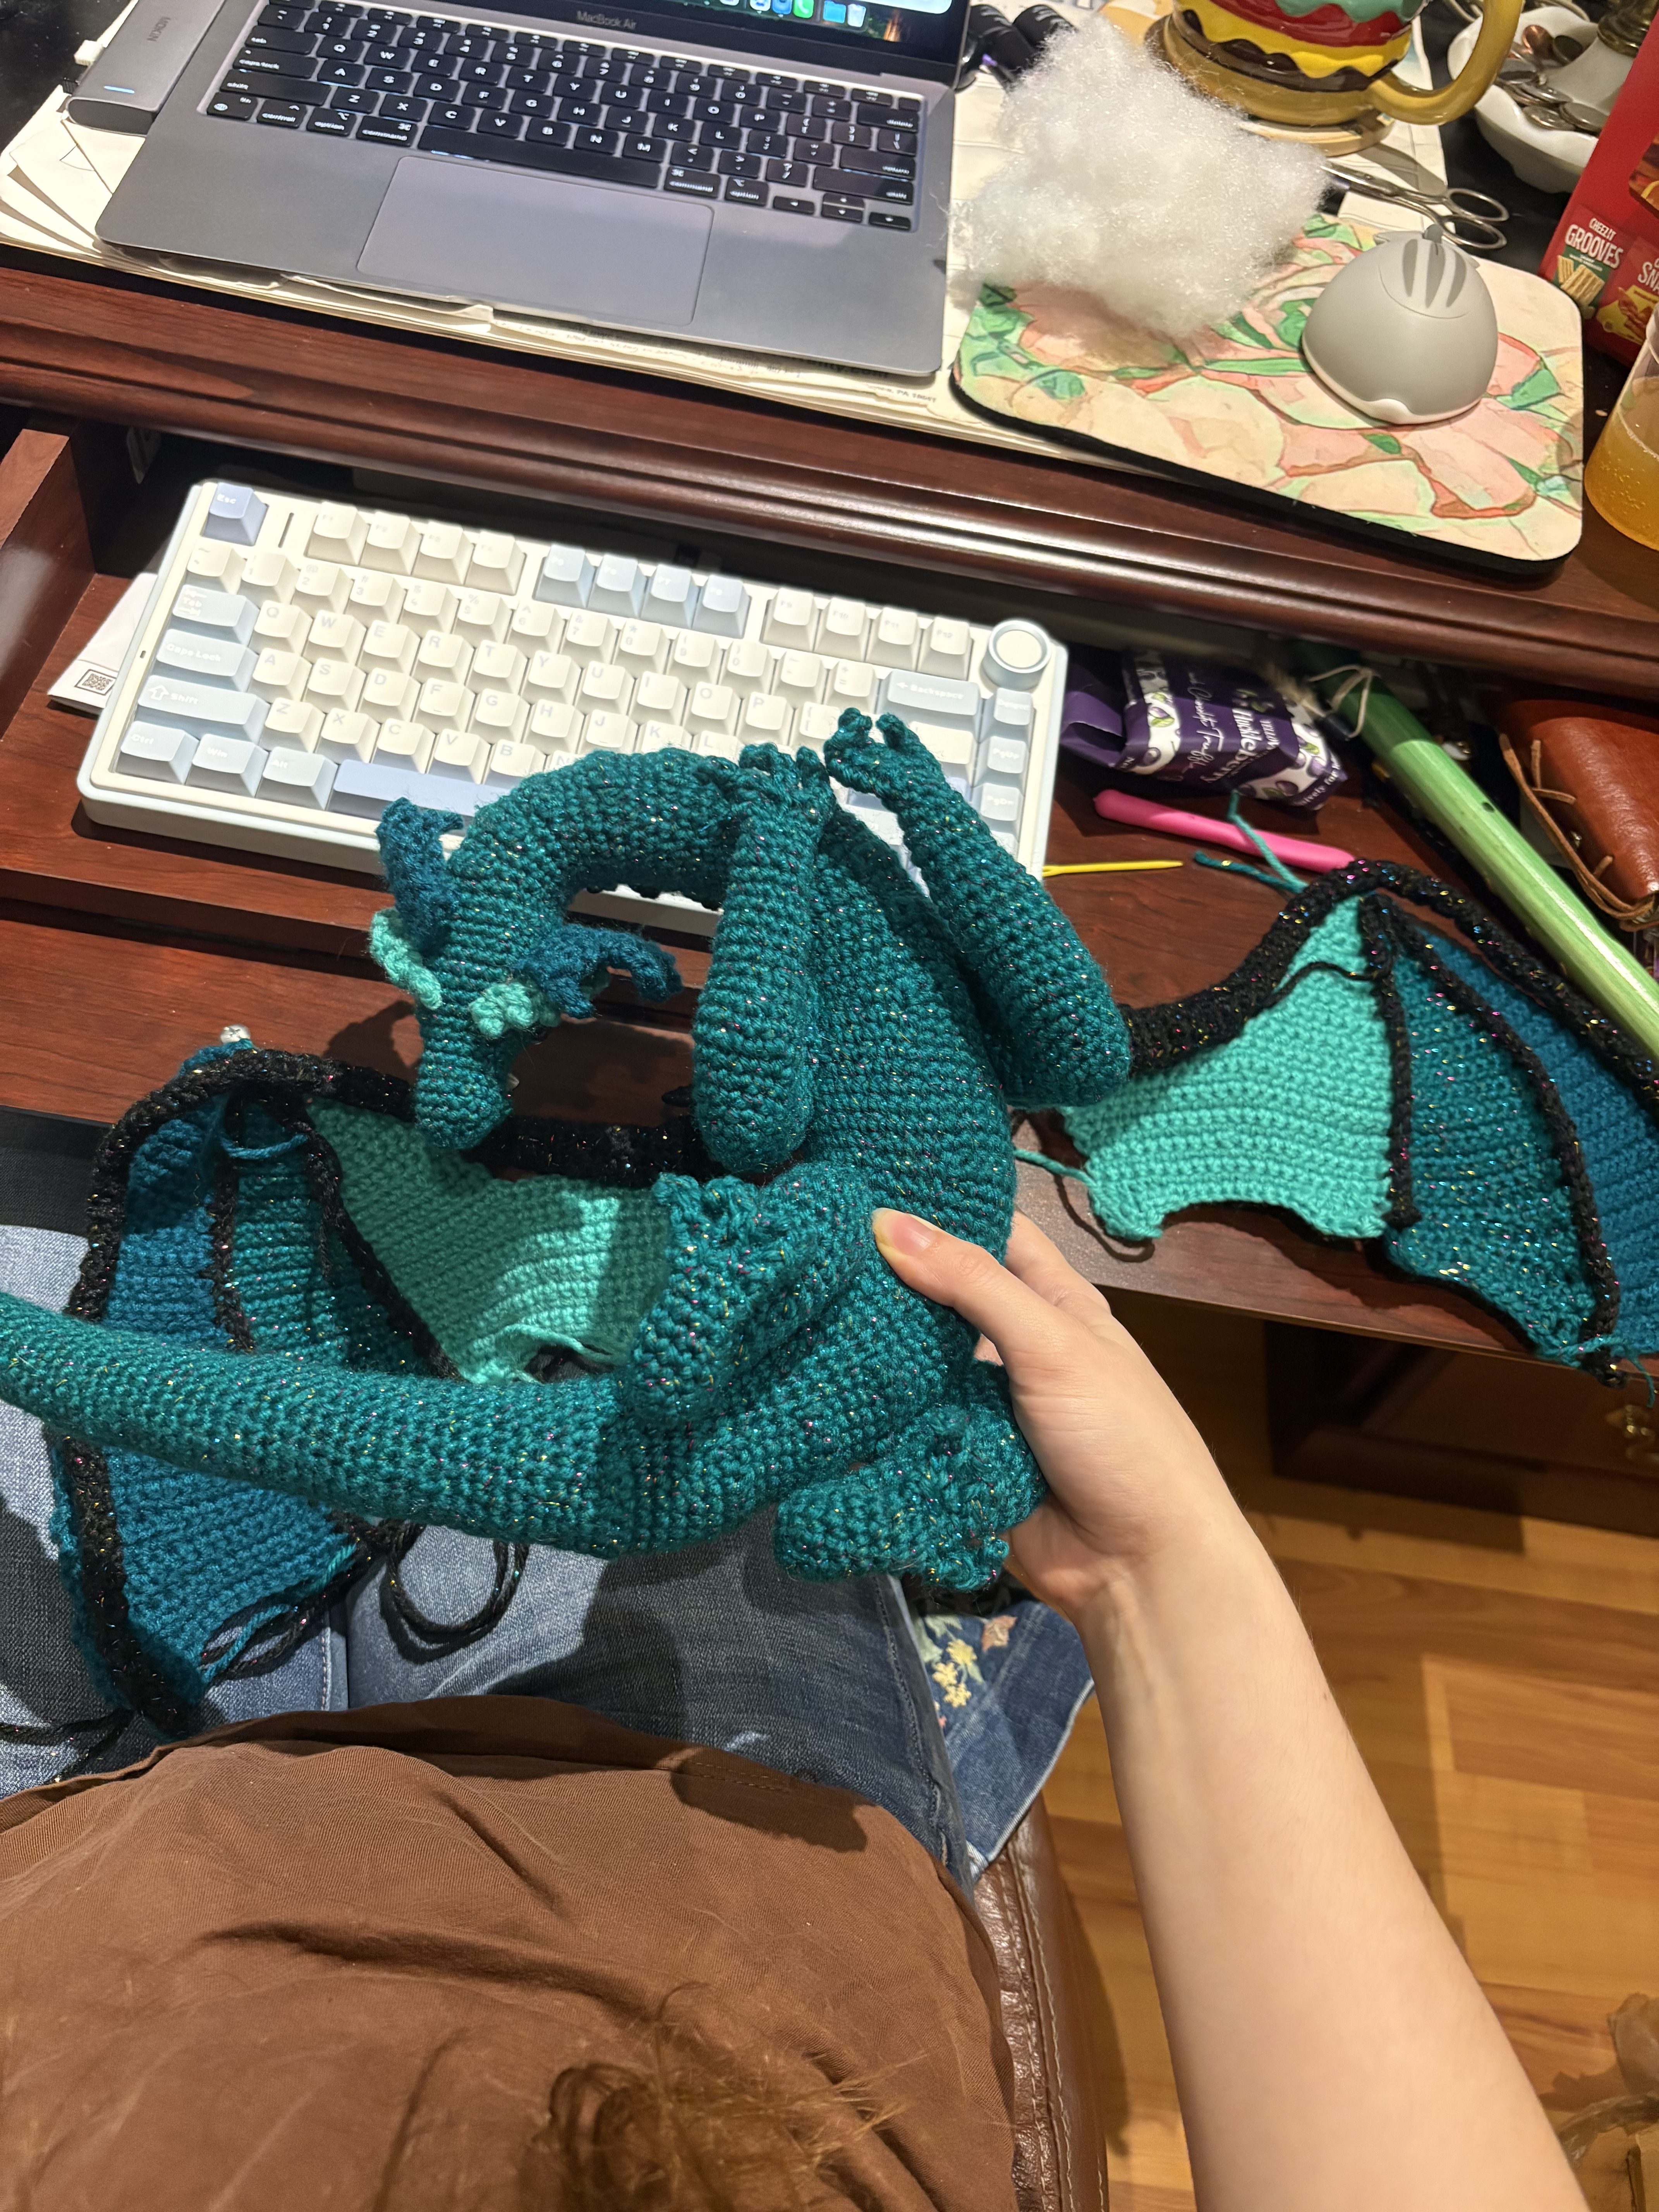
Now, I sewed up the black wing arm piece. It was worked flat and not in the round as it seems in the images below. I sewed both sides together to form the tube. I stuffed the lower portion of the wing arm and then pinned it onto the wing. Because of the pieces that were crocheted together, the wing wanted to fold inward on itself, so I used stitch markers (the colorful safety pin looking bits) to keep the wing arm oriented onto the wing properly. I sewed this on as securely as I could to keep the wing decently flat. The less stitches I do, the less structurally sound the whole thing is, so more is definitely better for an already floppy piece like this. As you can probably tell from these images, I was deep into computer work at the same time. I’m nothing if not a multitasker 🙂
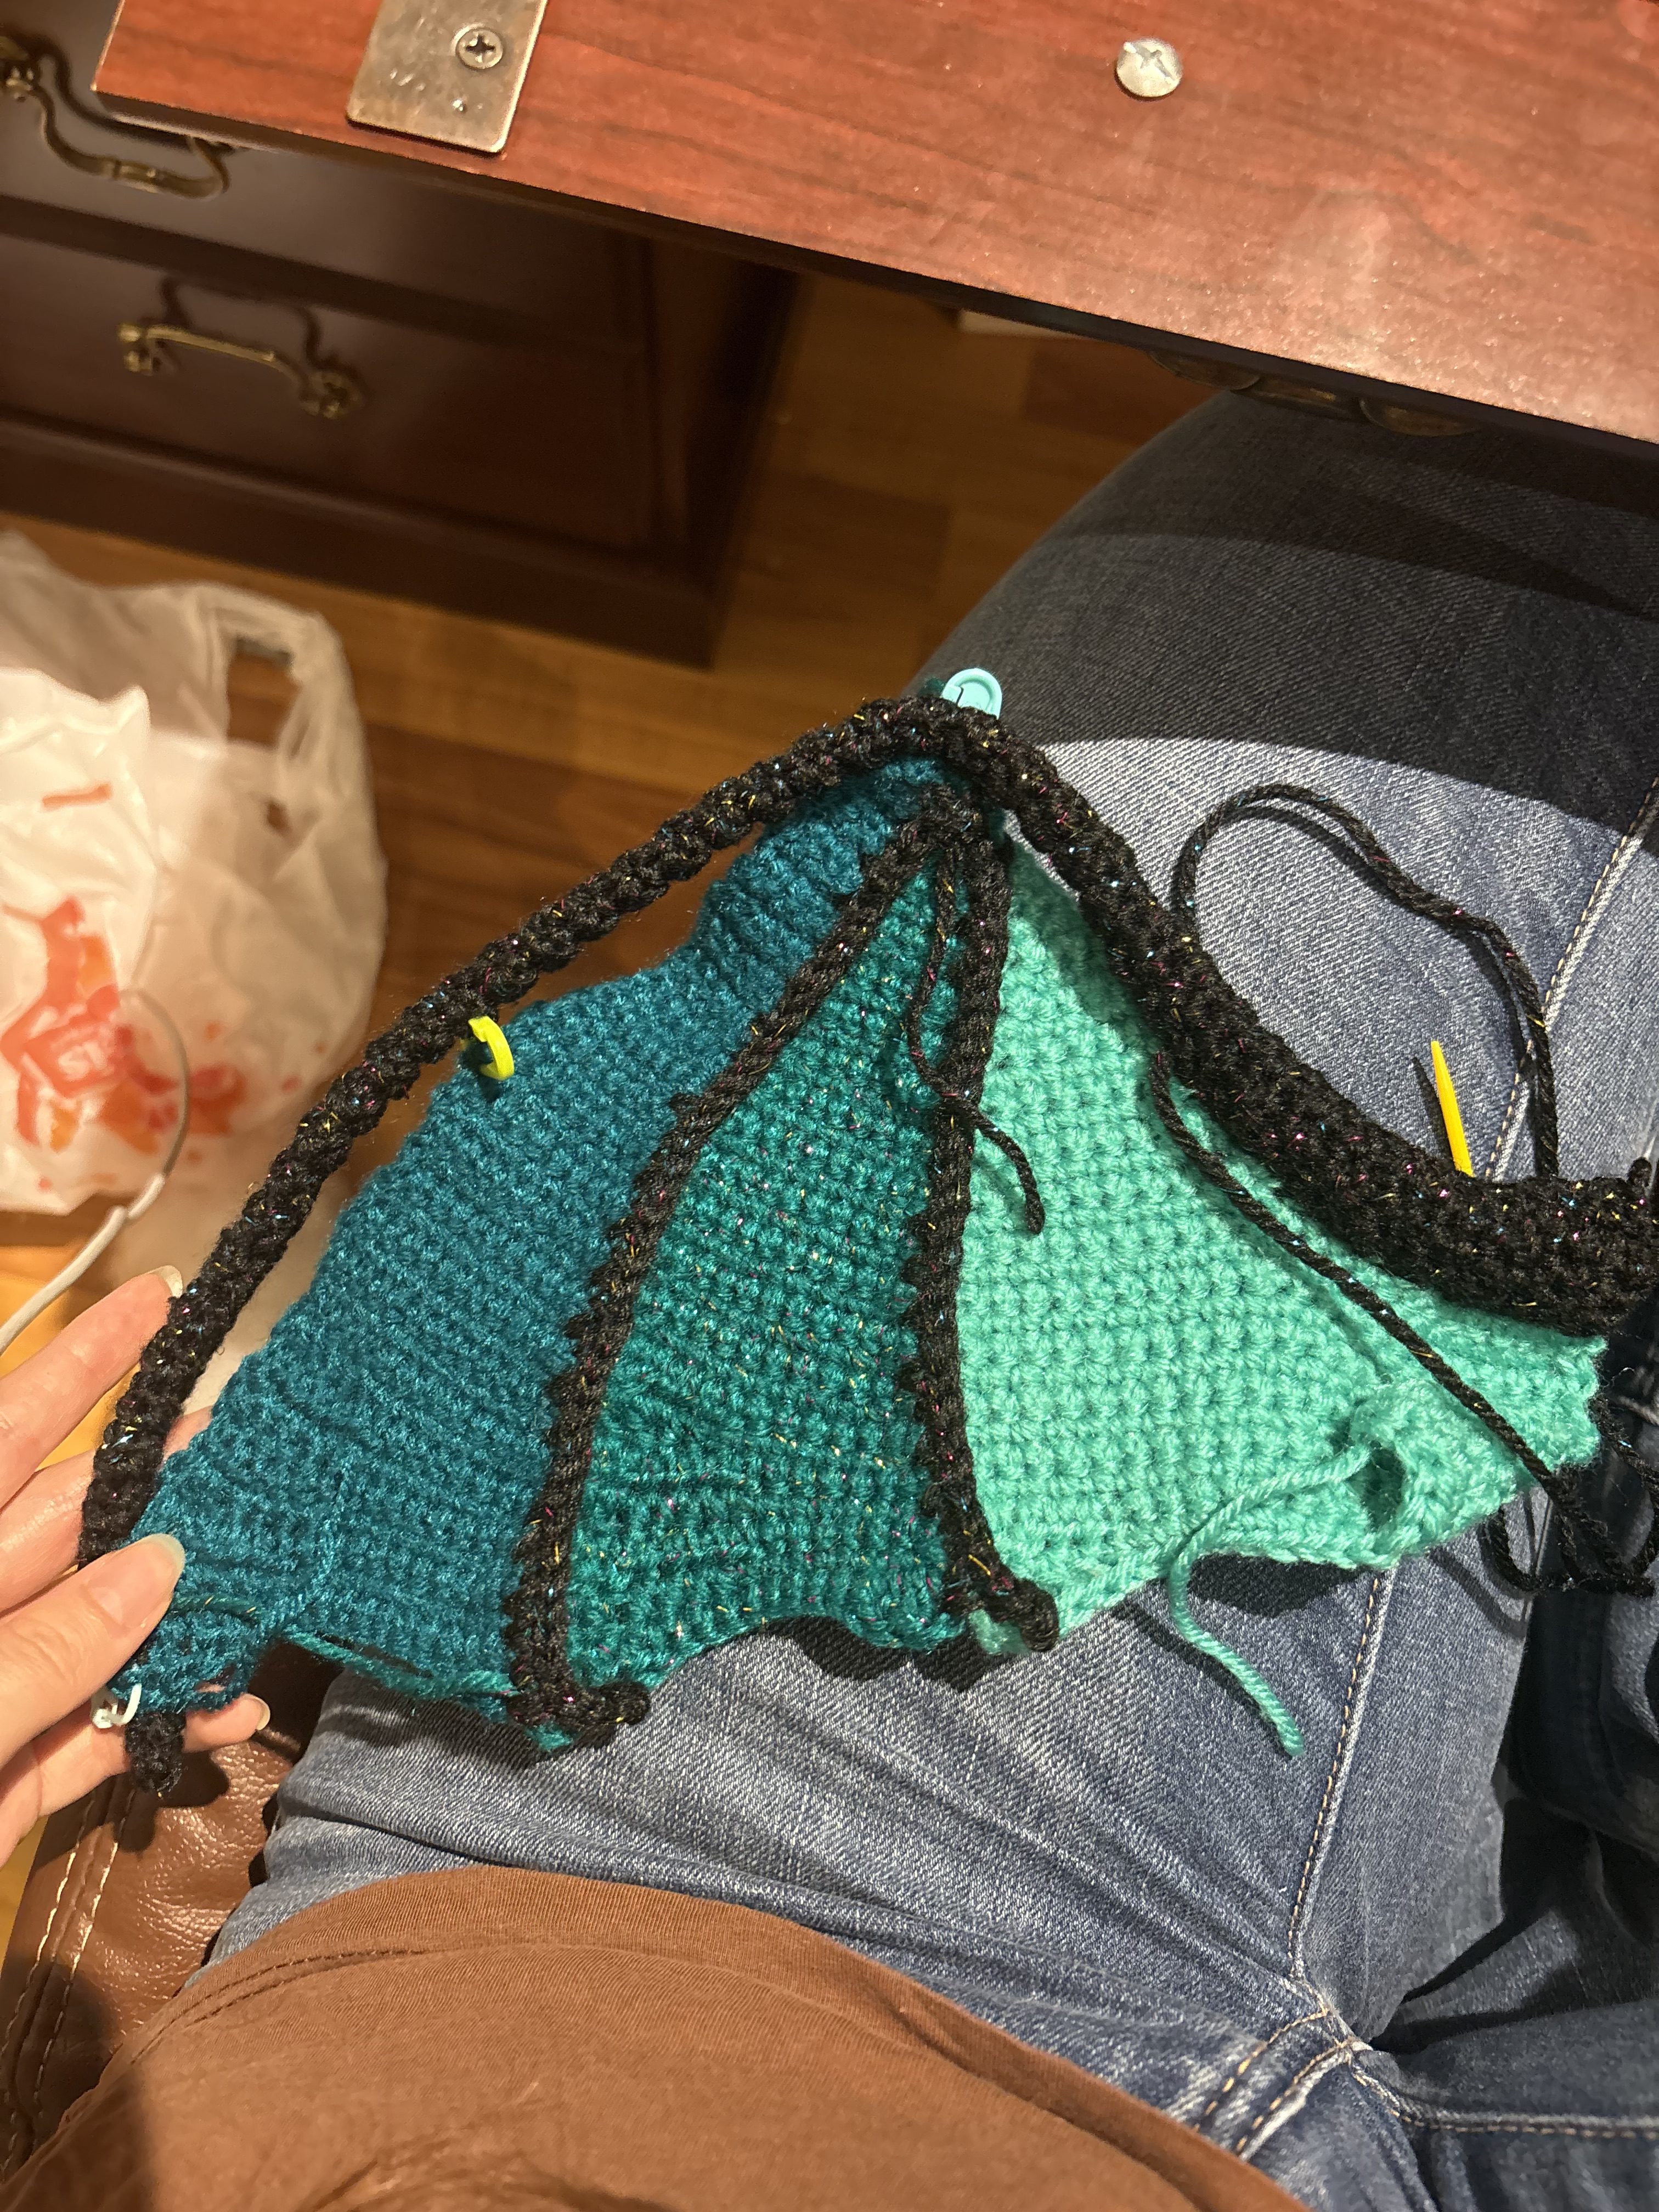
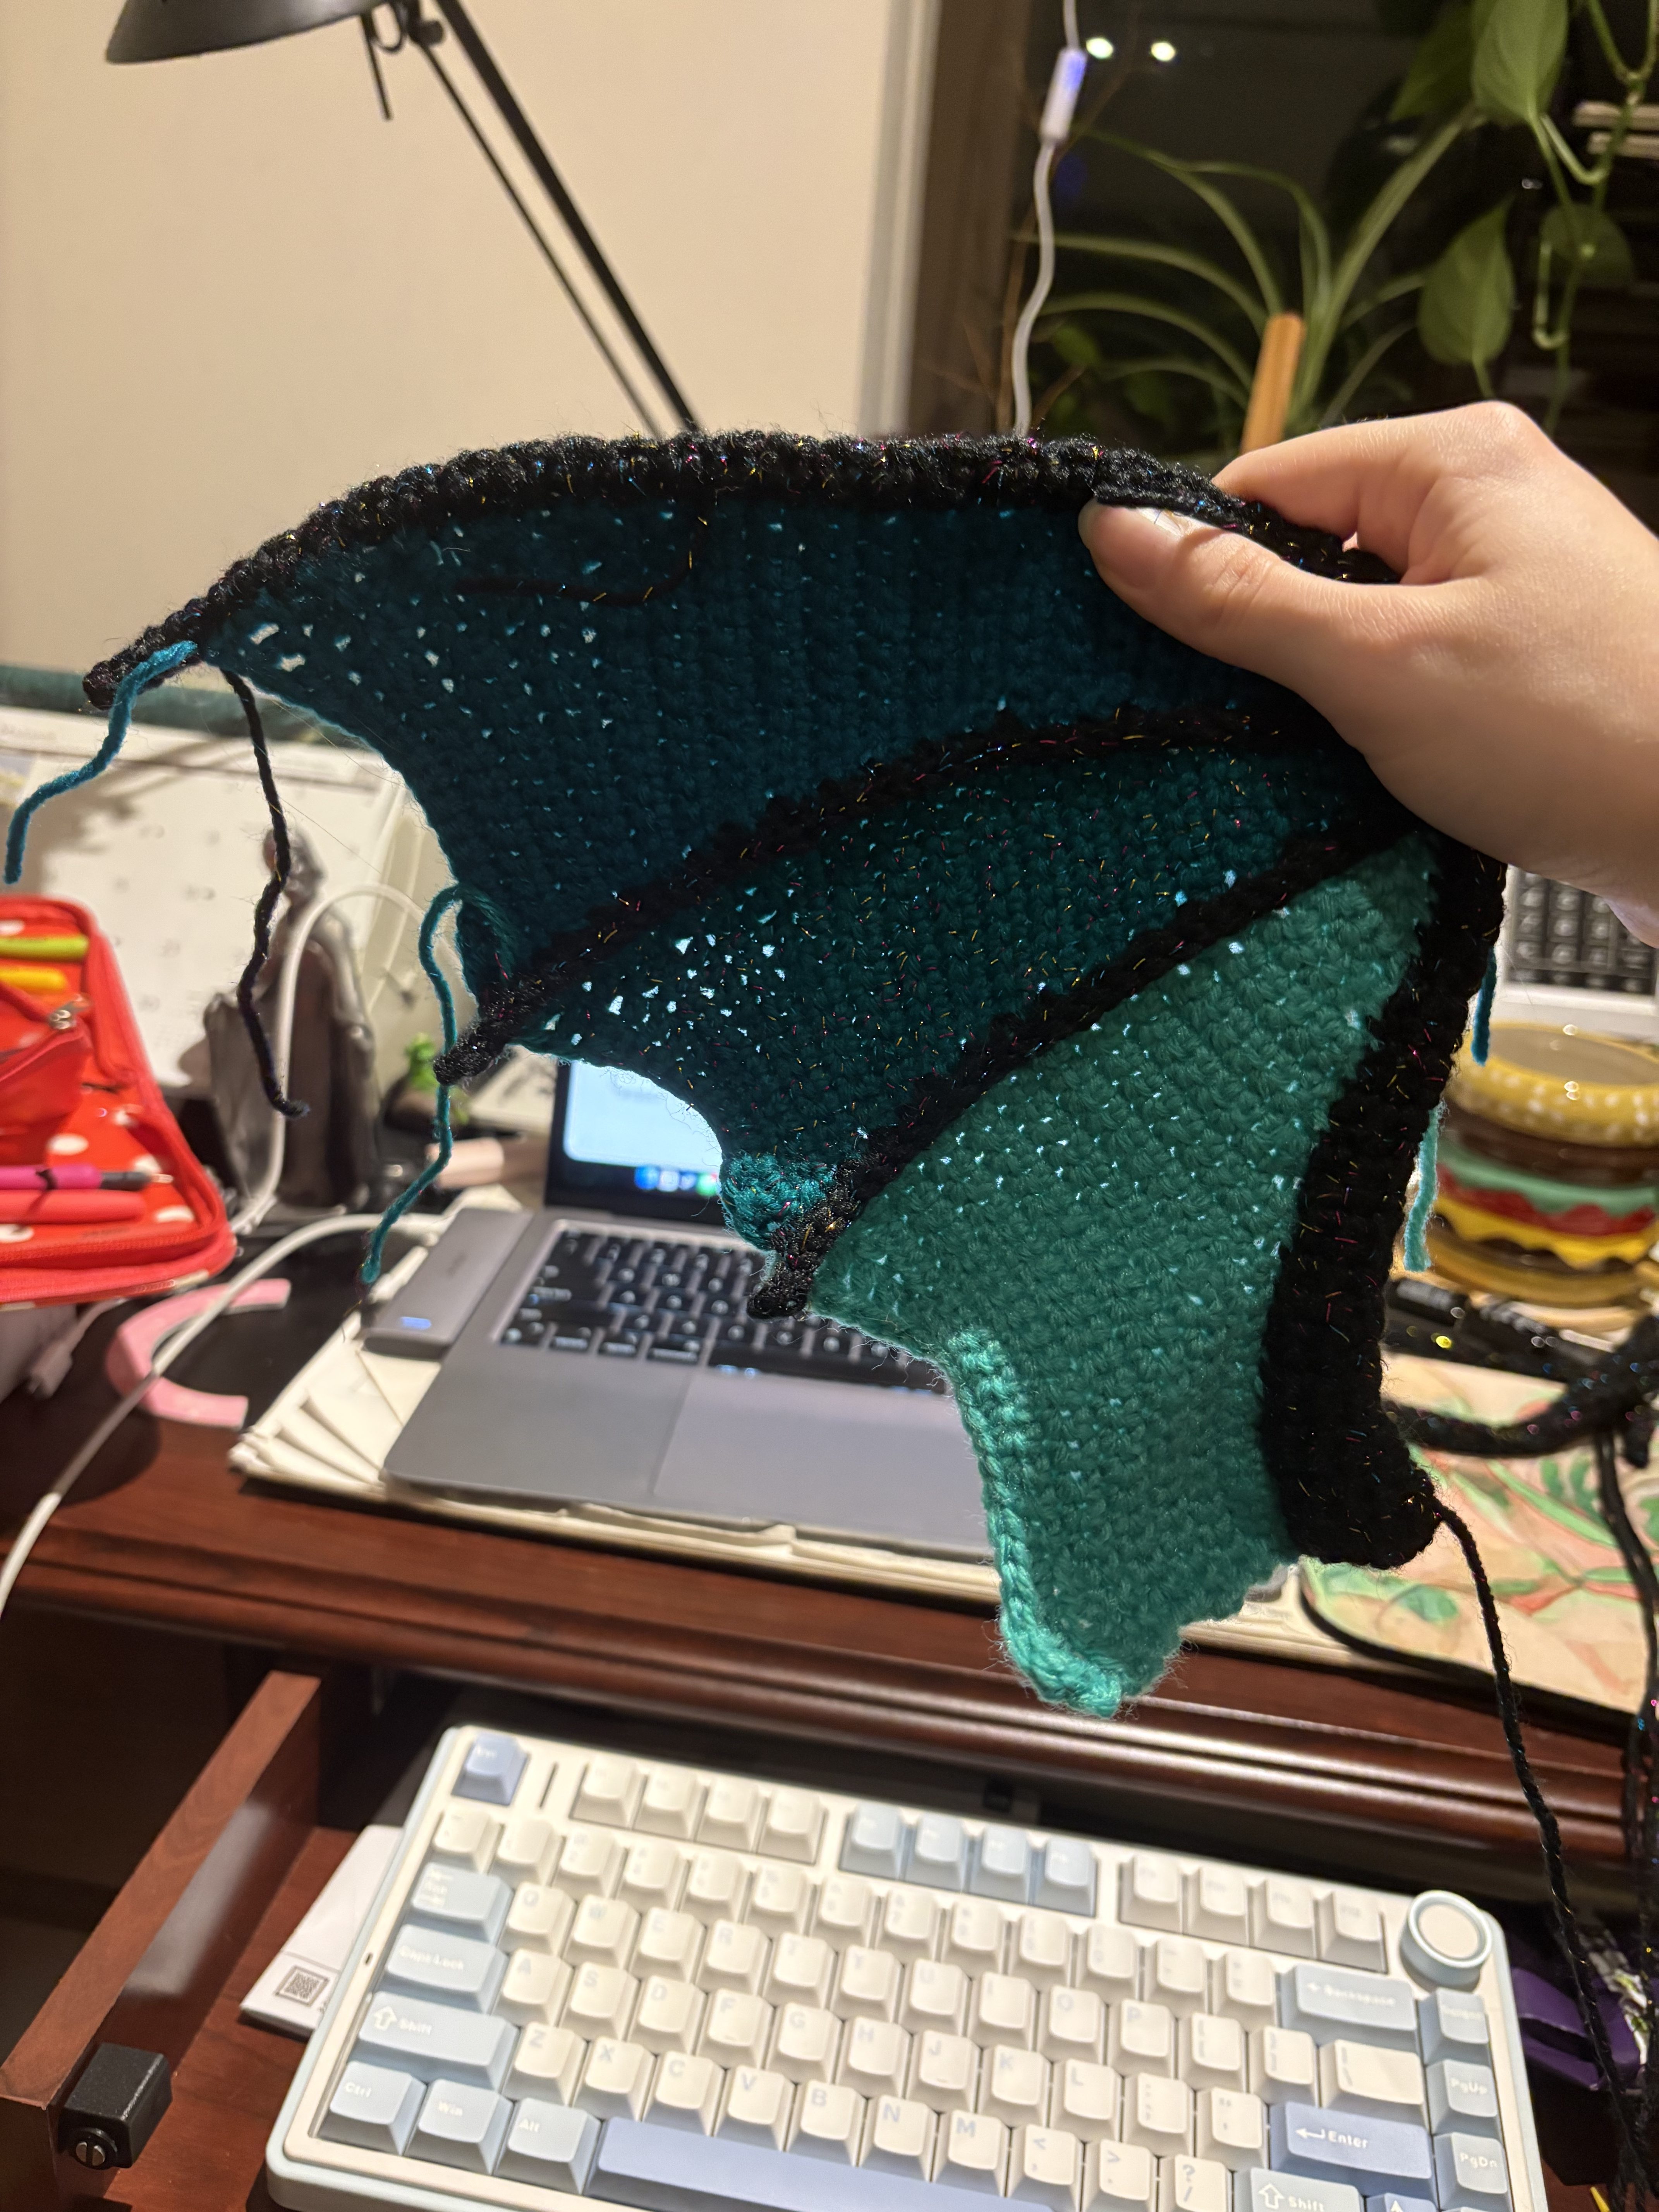
I had to sew in all the ends on these wing pieces (and also the legs, although I neglected to mention it). Sewing in ends is my least favorite part, as it’s more of a “clean up” process than a “creation” process. I like making things and seeing them come together, but seeing sewn in stragglers not exist anymore doesn’t give me the same satisfaction. There were lots of sewn in ends throughout the project. I begrudgingly accepted their existence and that I would have to deal with them, but the best projects are the ones where I can just put them inside a stuffed area instead. The wings were not one that I could simply do that with. So, once I had handled those, I was ready to sew the wings onto the dragon, as well as the horns I had made way earlier. I neglected to sew them on in the fervor of making legs and wings.
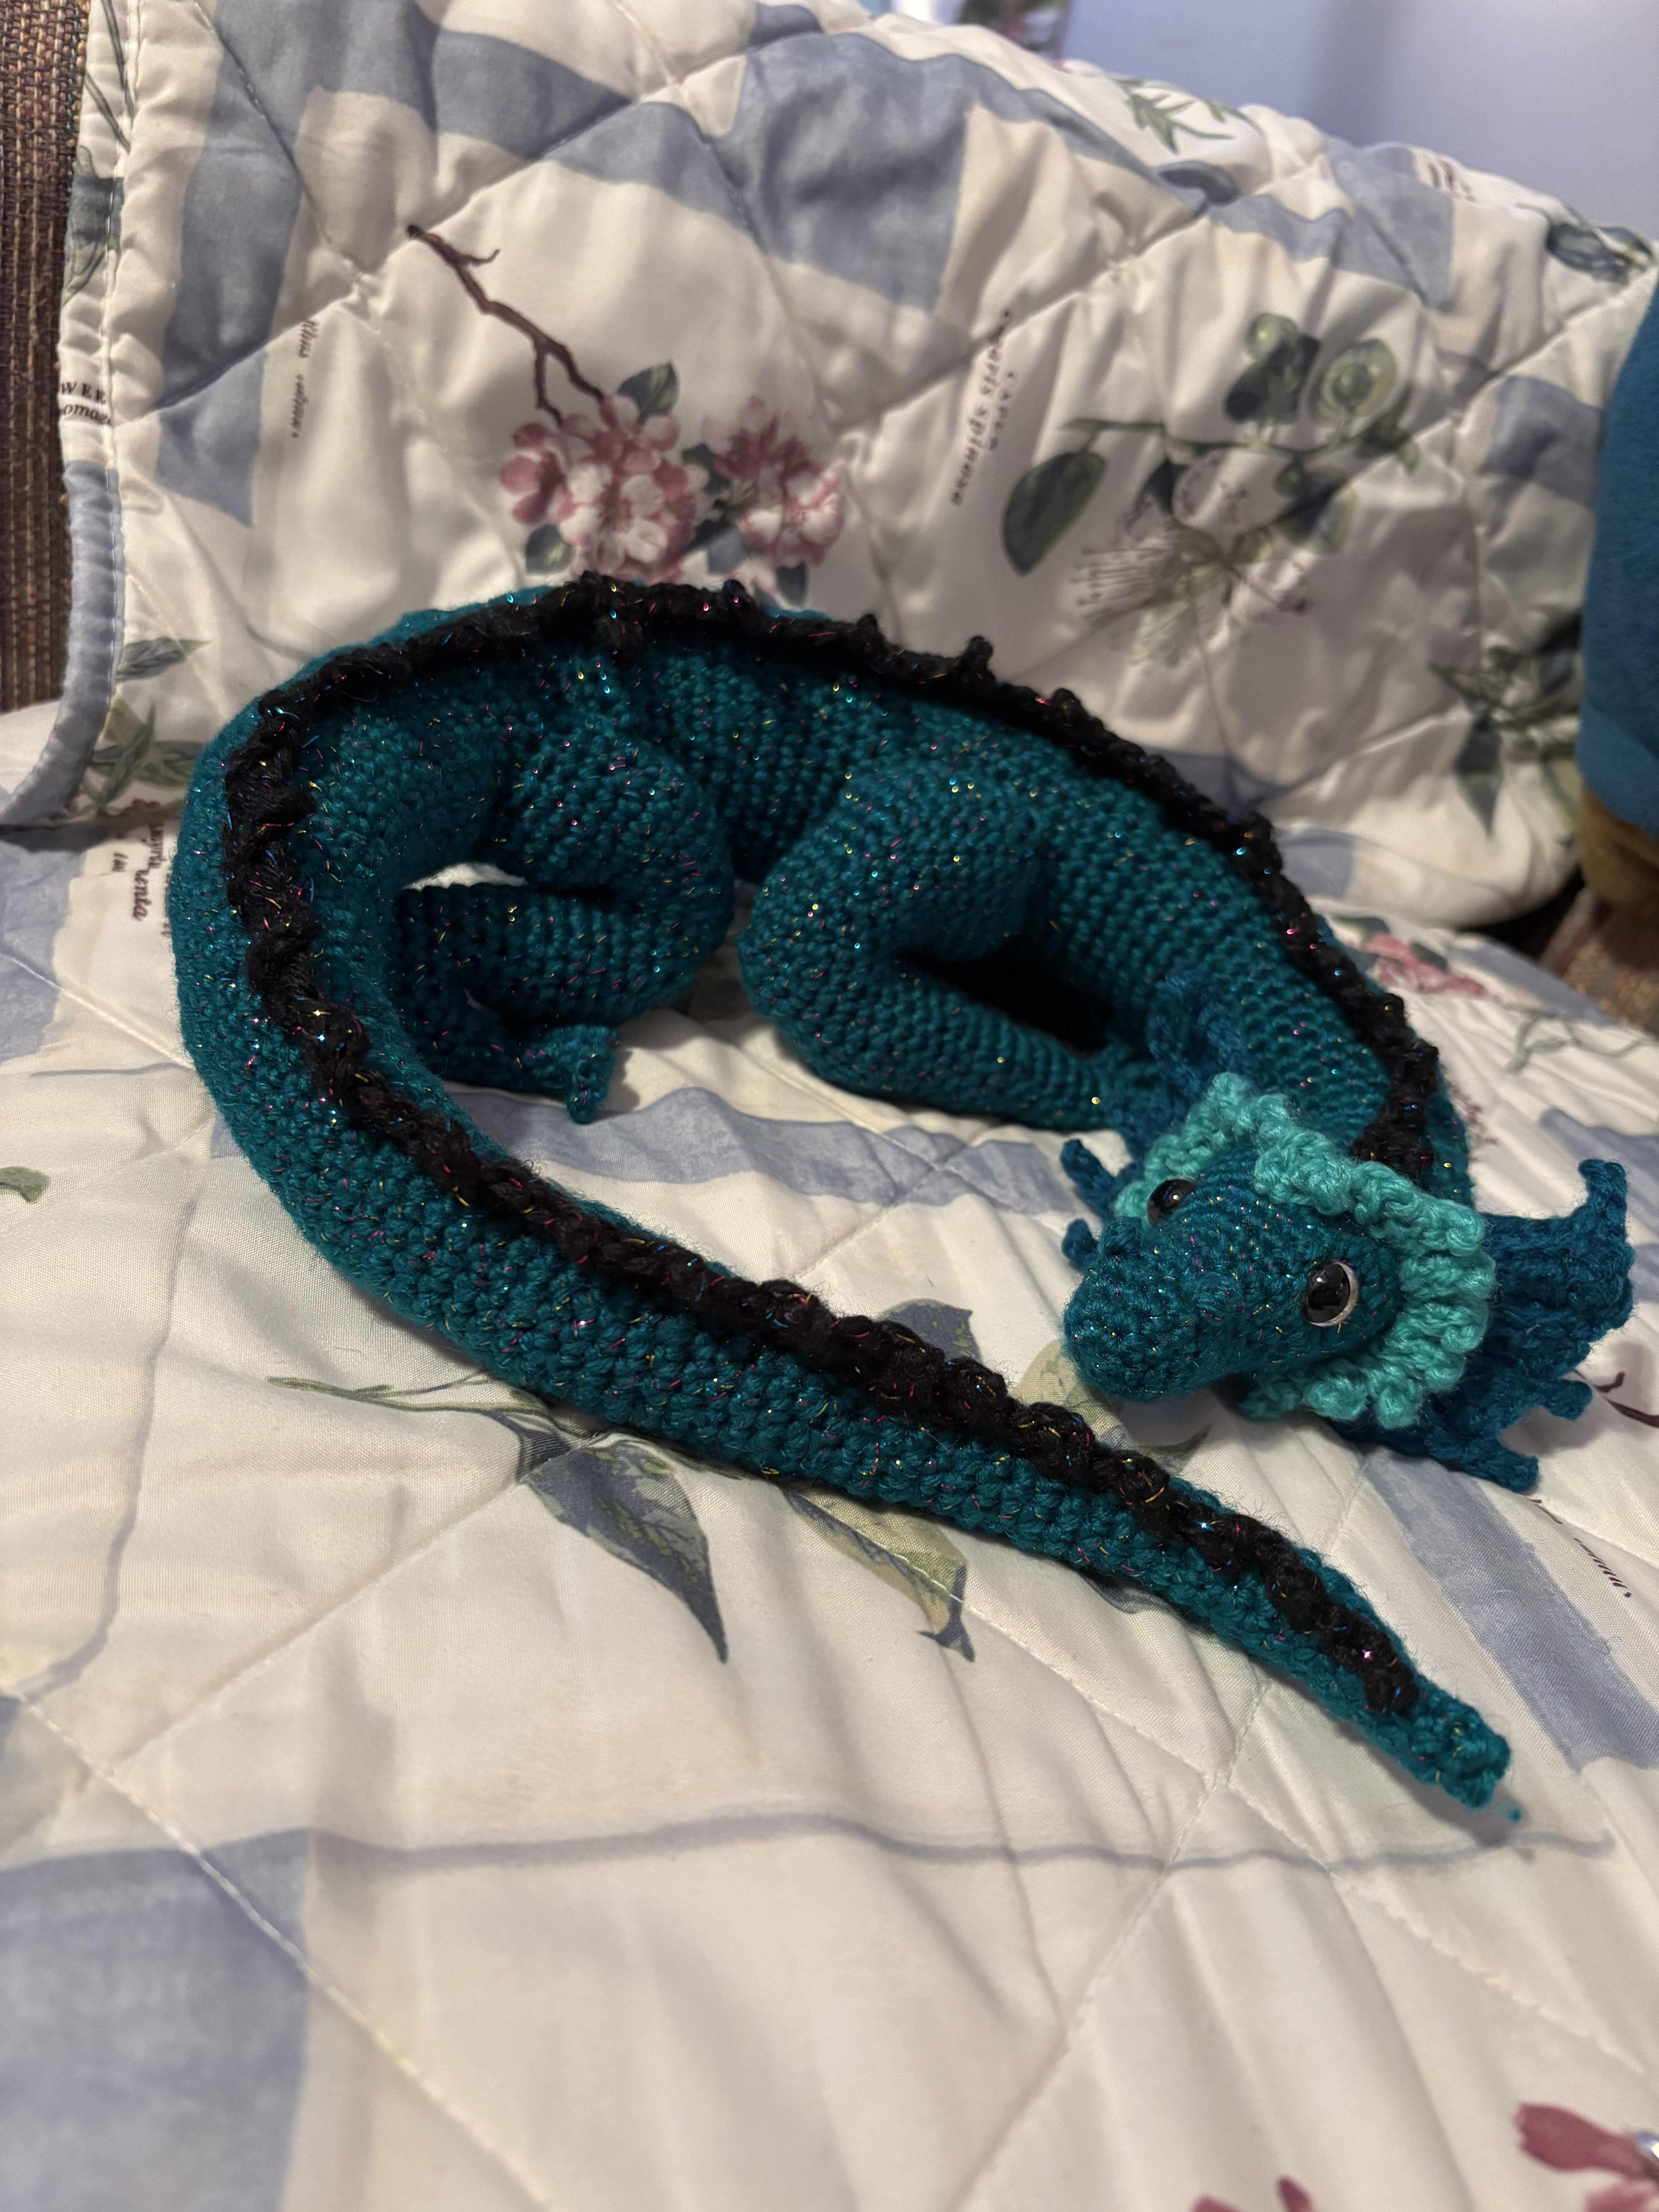
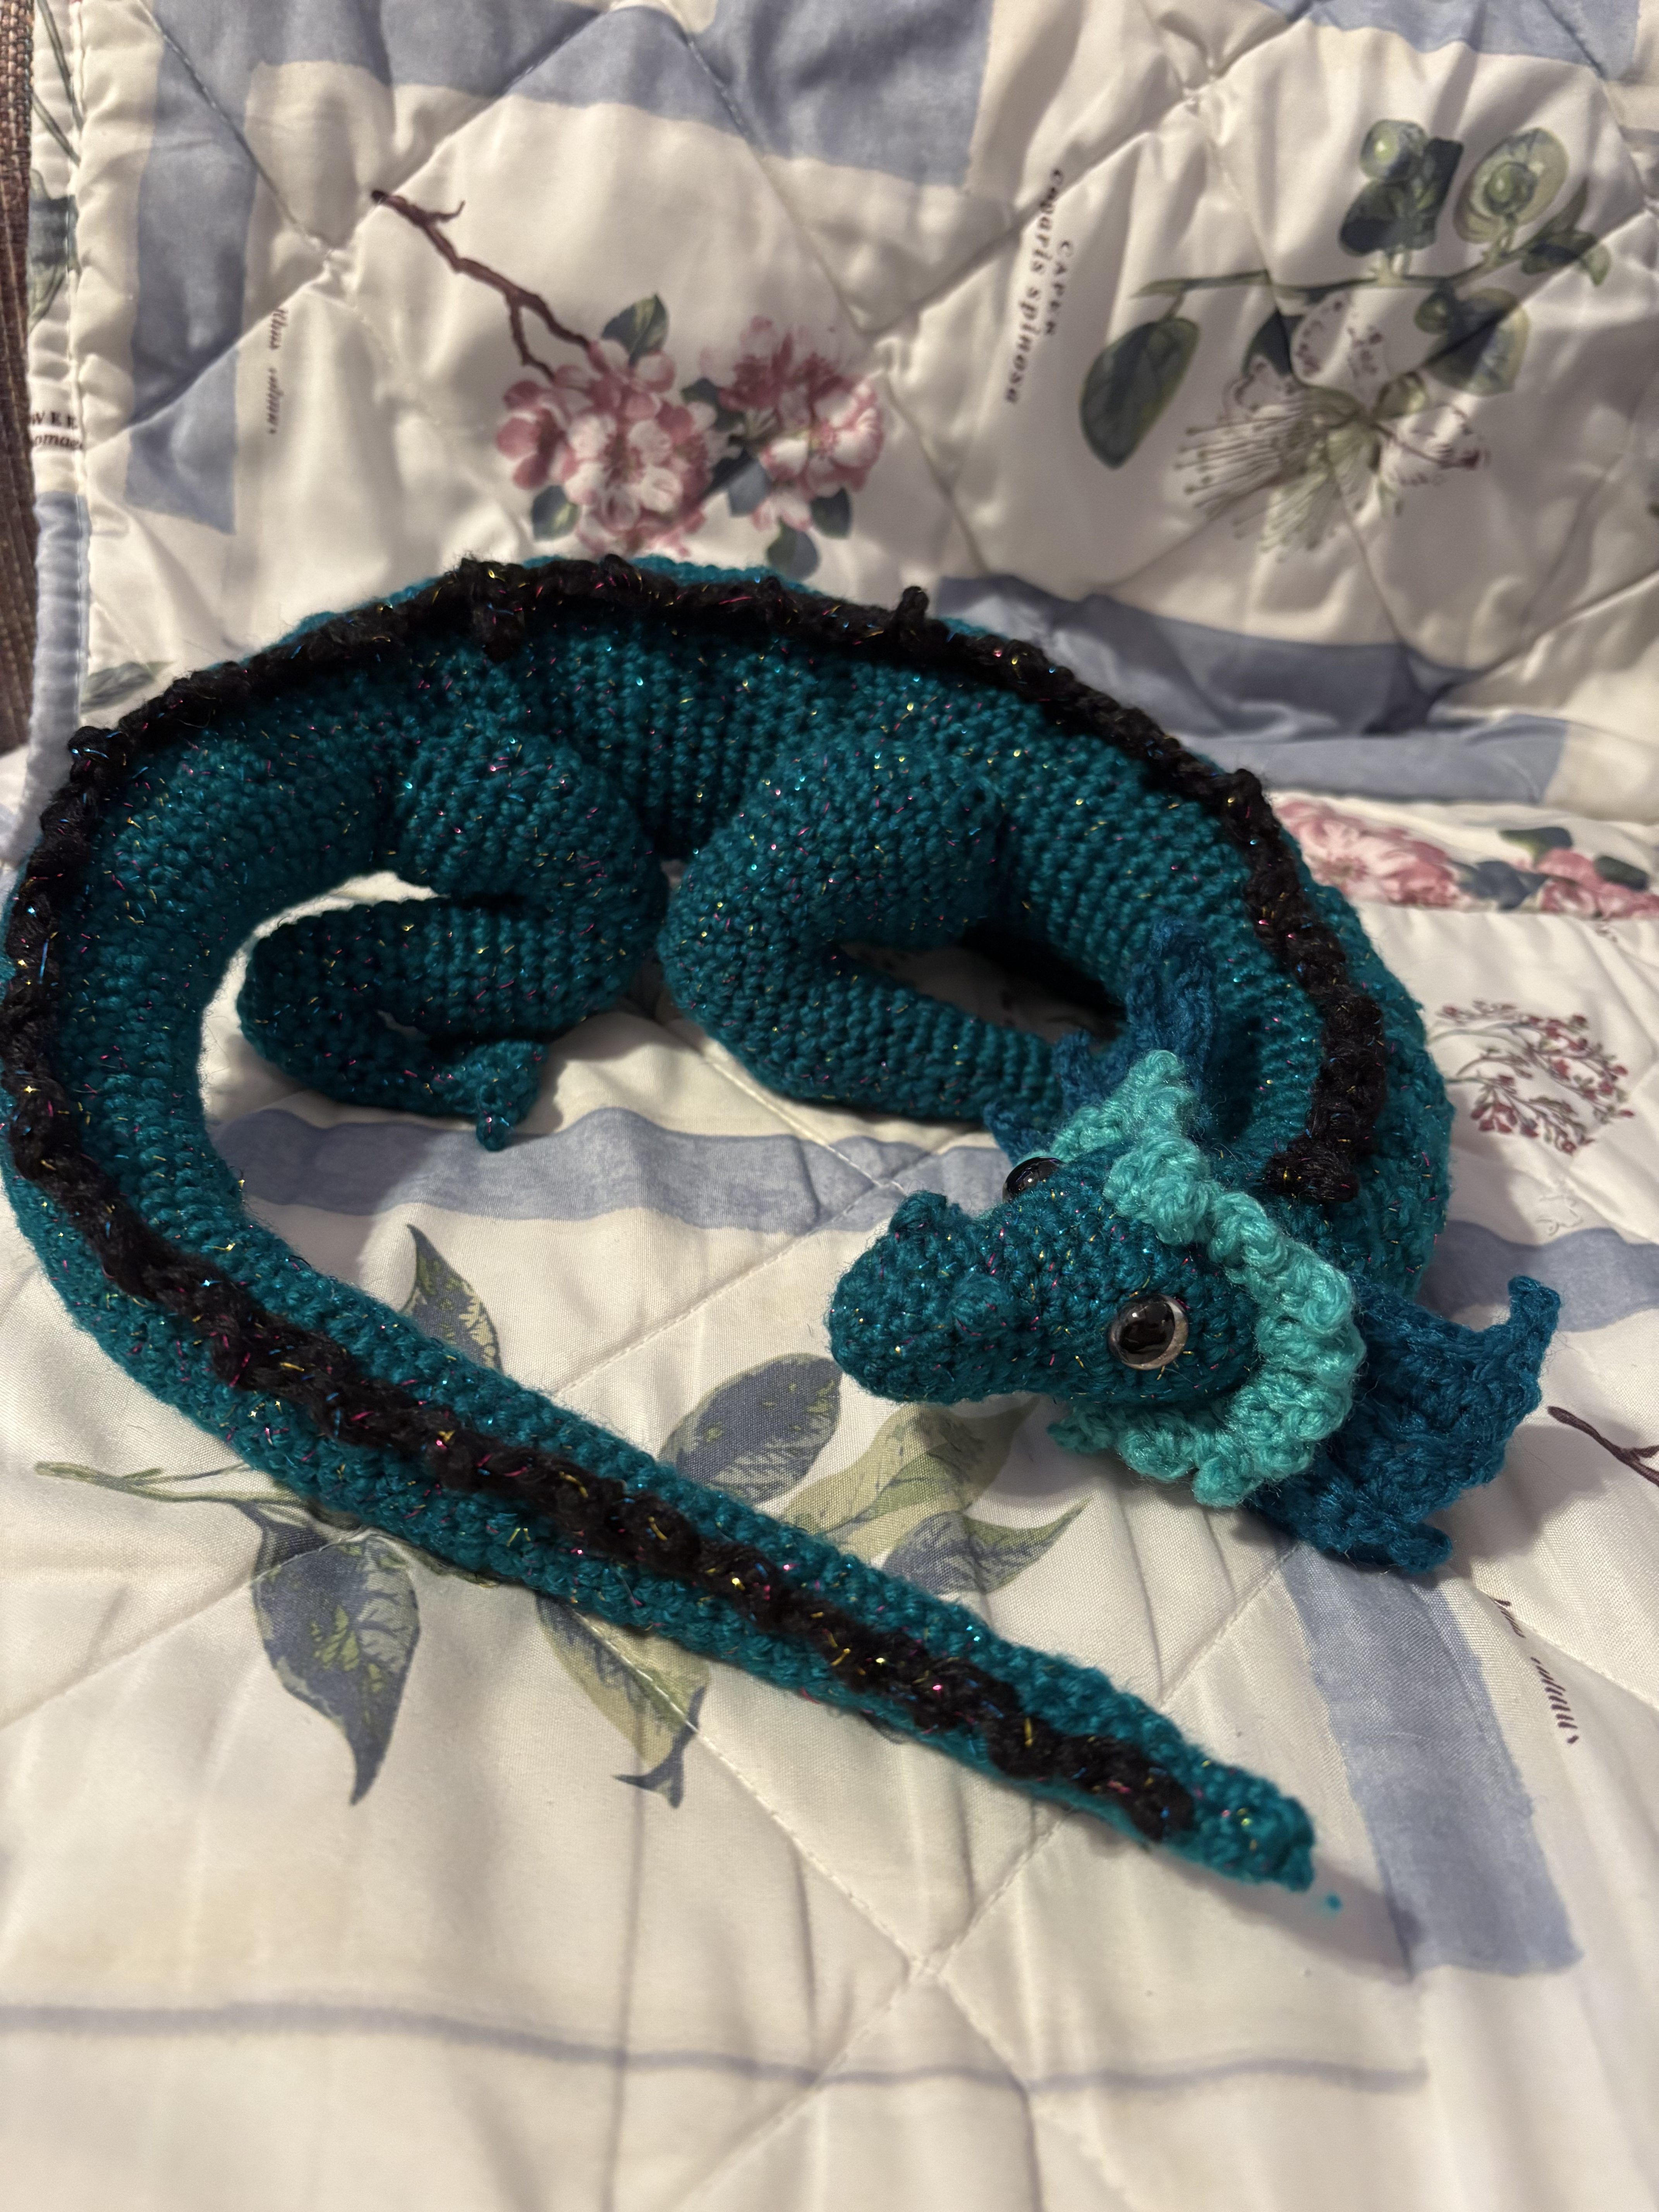
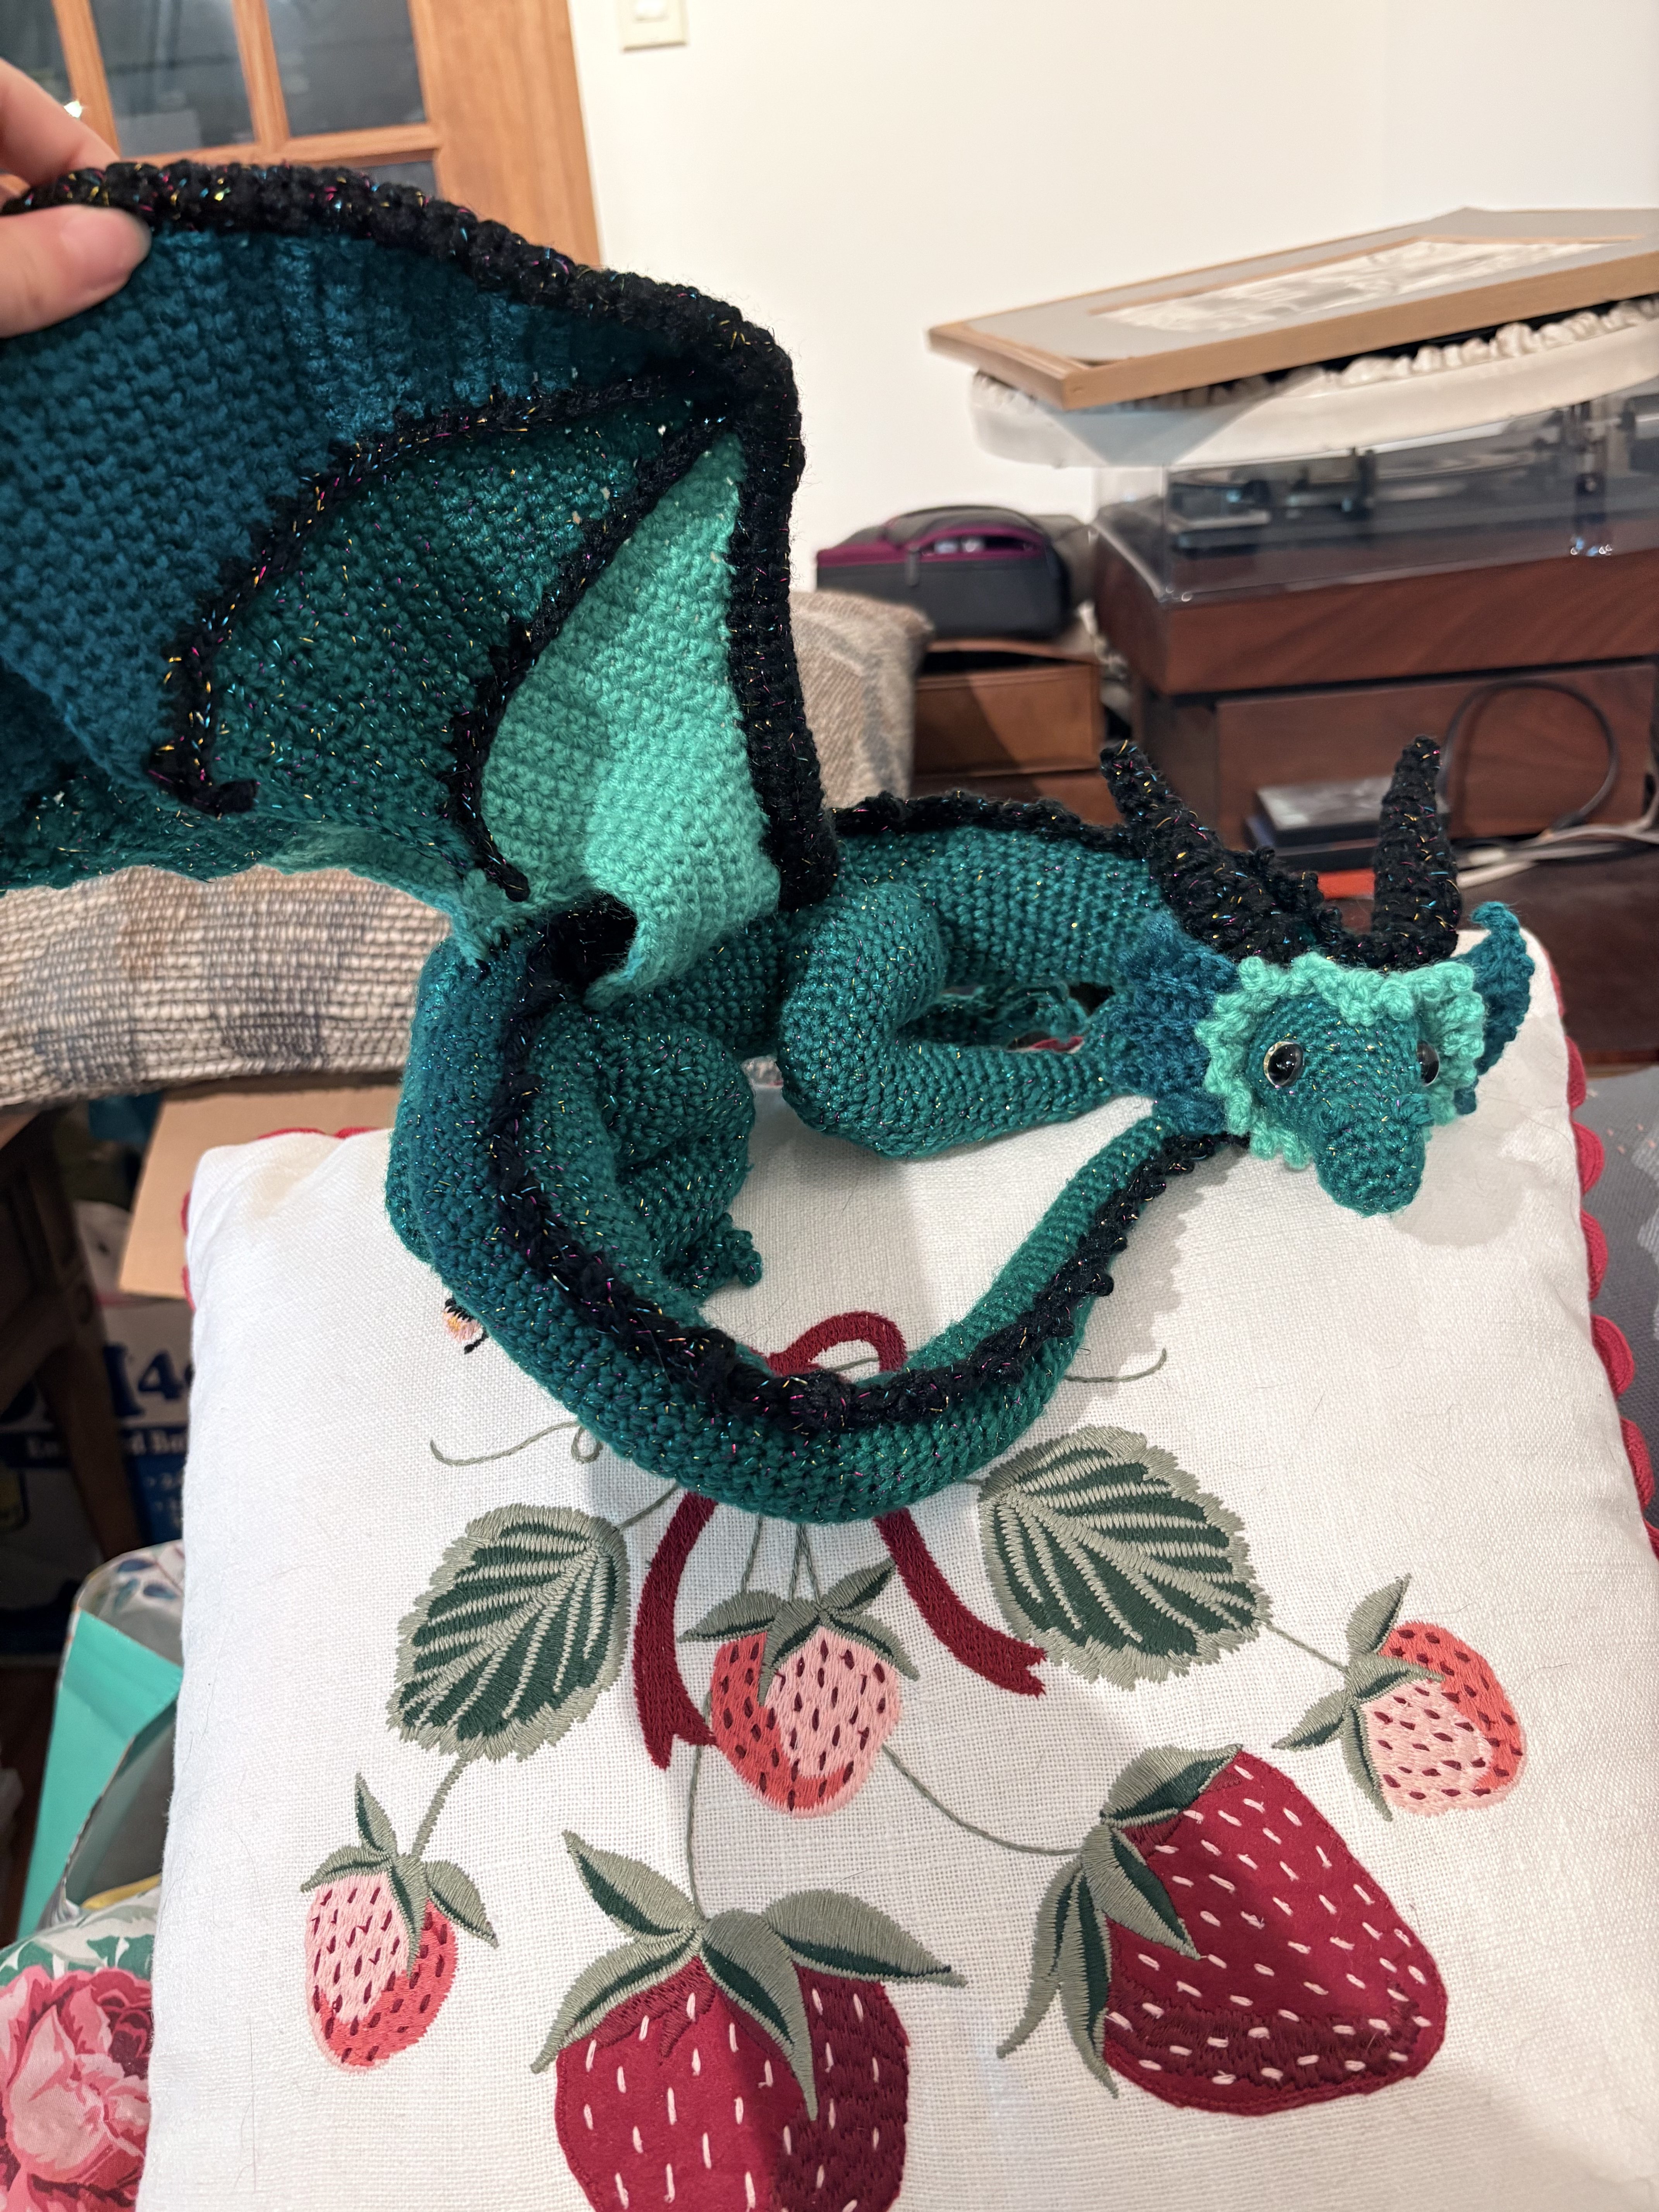
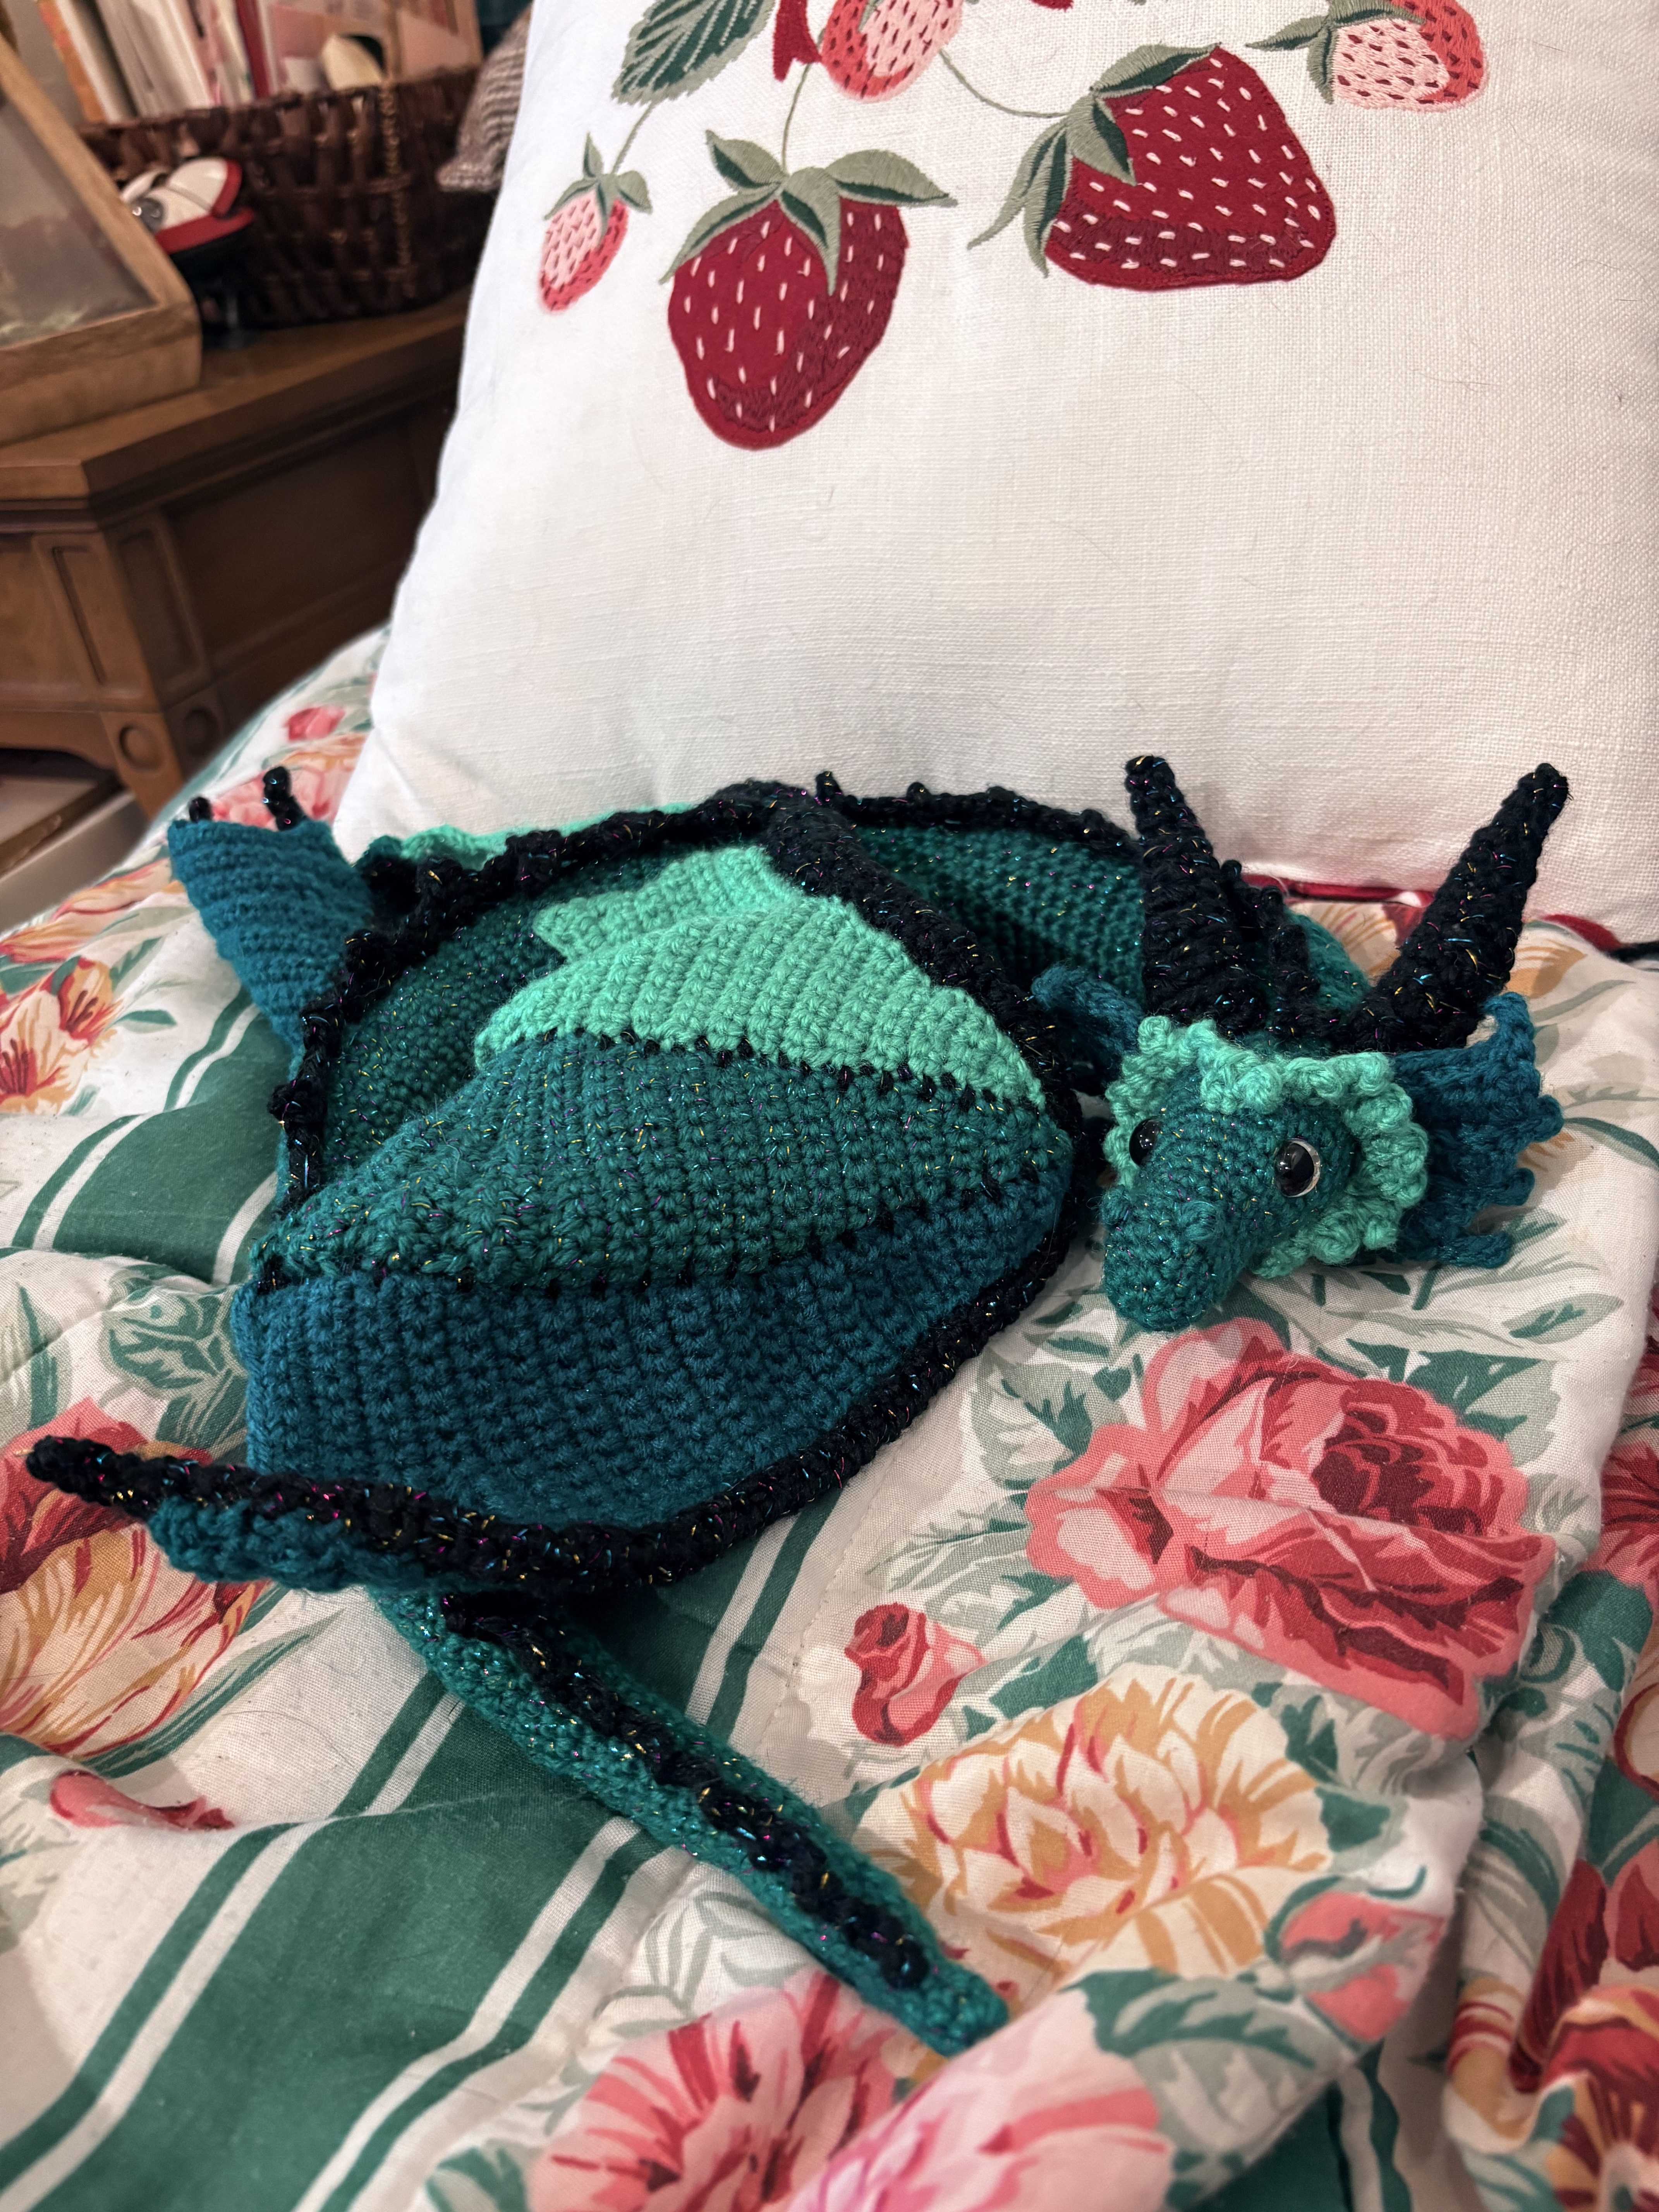
Time to share my finished photos of the dragon! The project was very fun, and taught me lots about commission timing and biting off more than I can chew. I’m very happy to be done with him, and I’m happy with how he turned out!
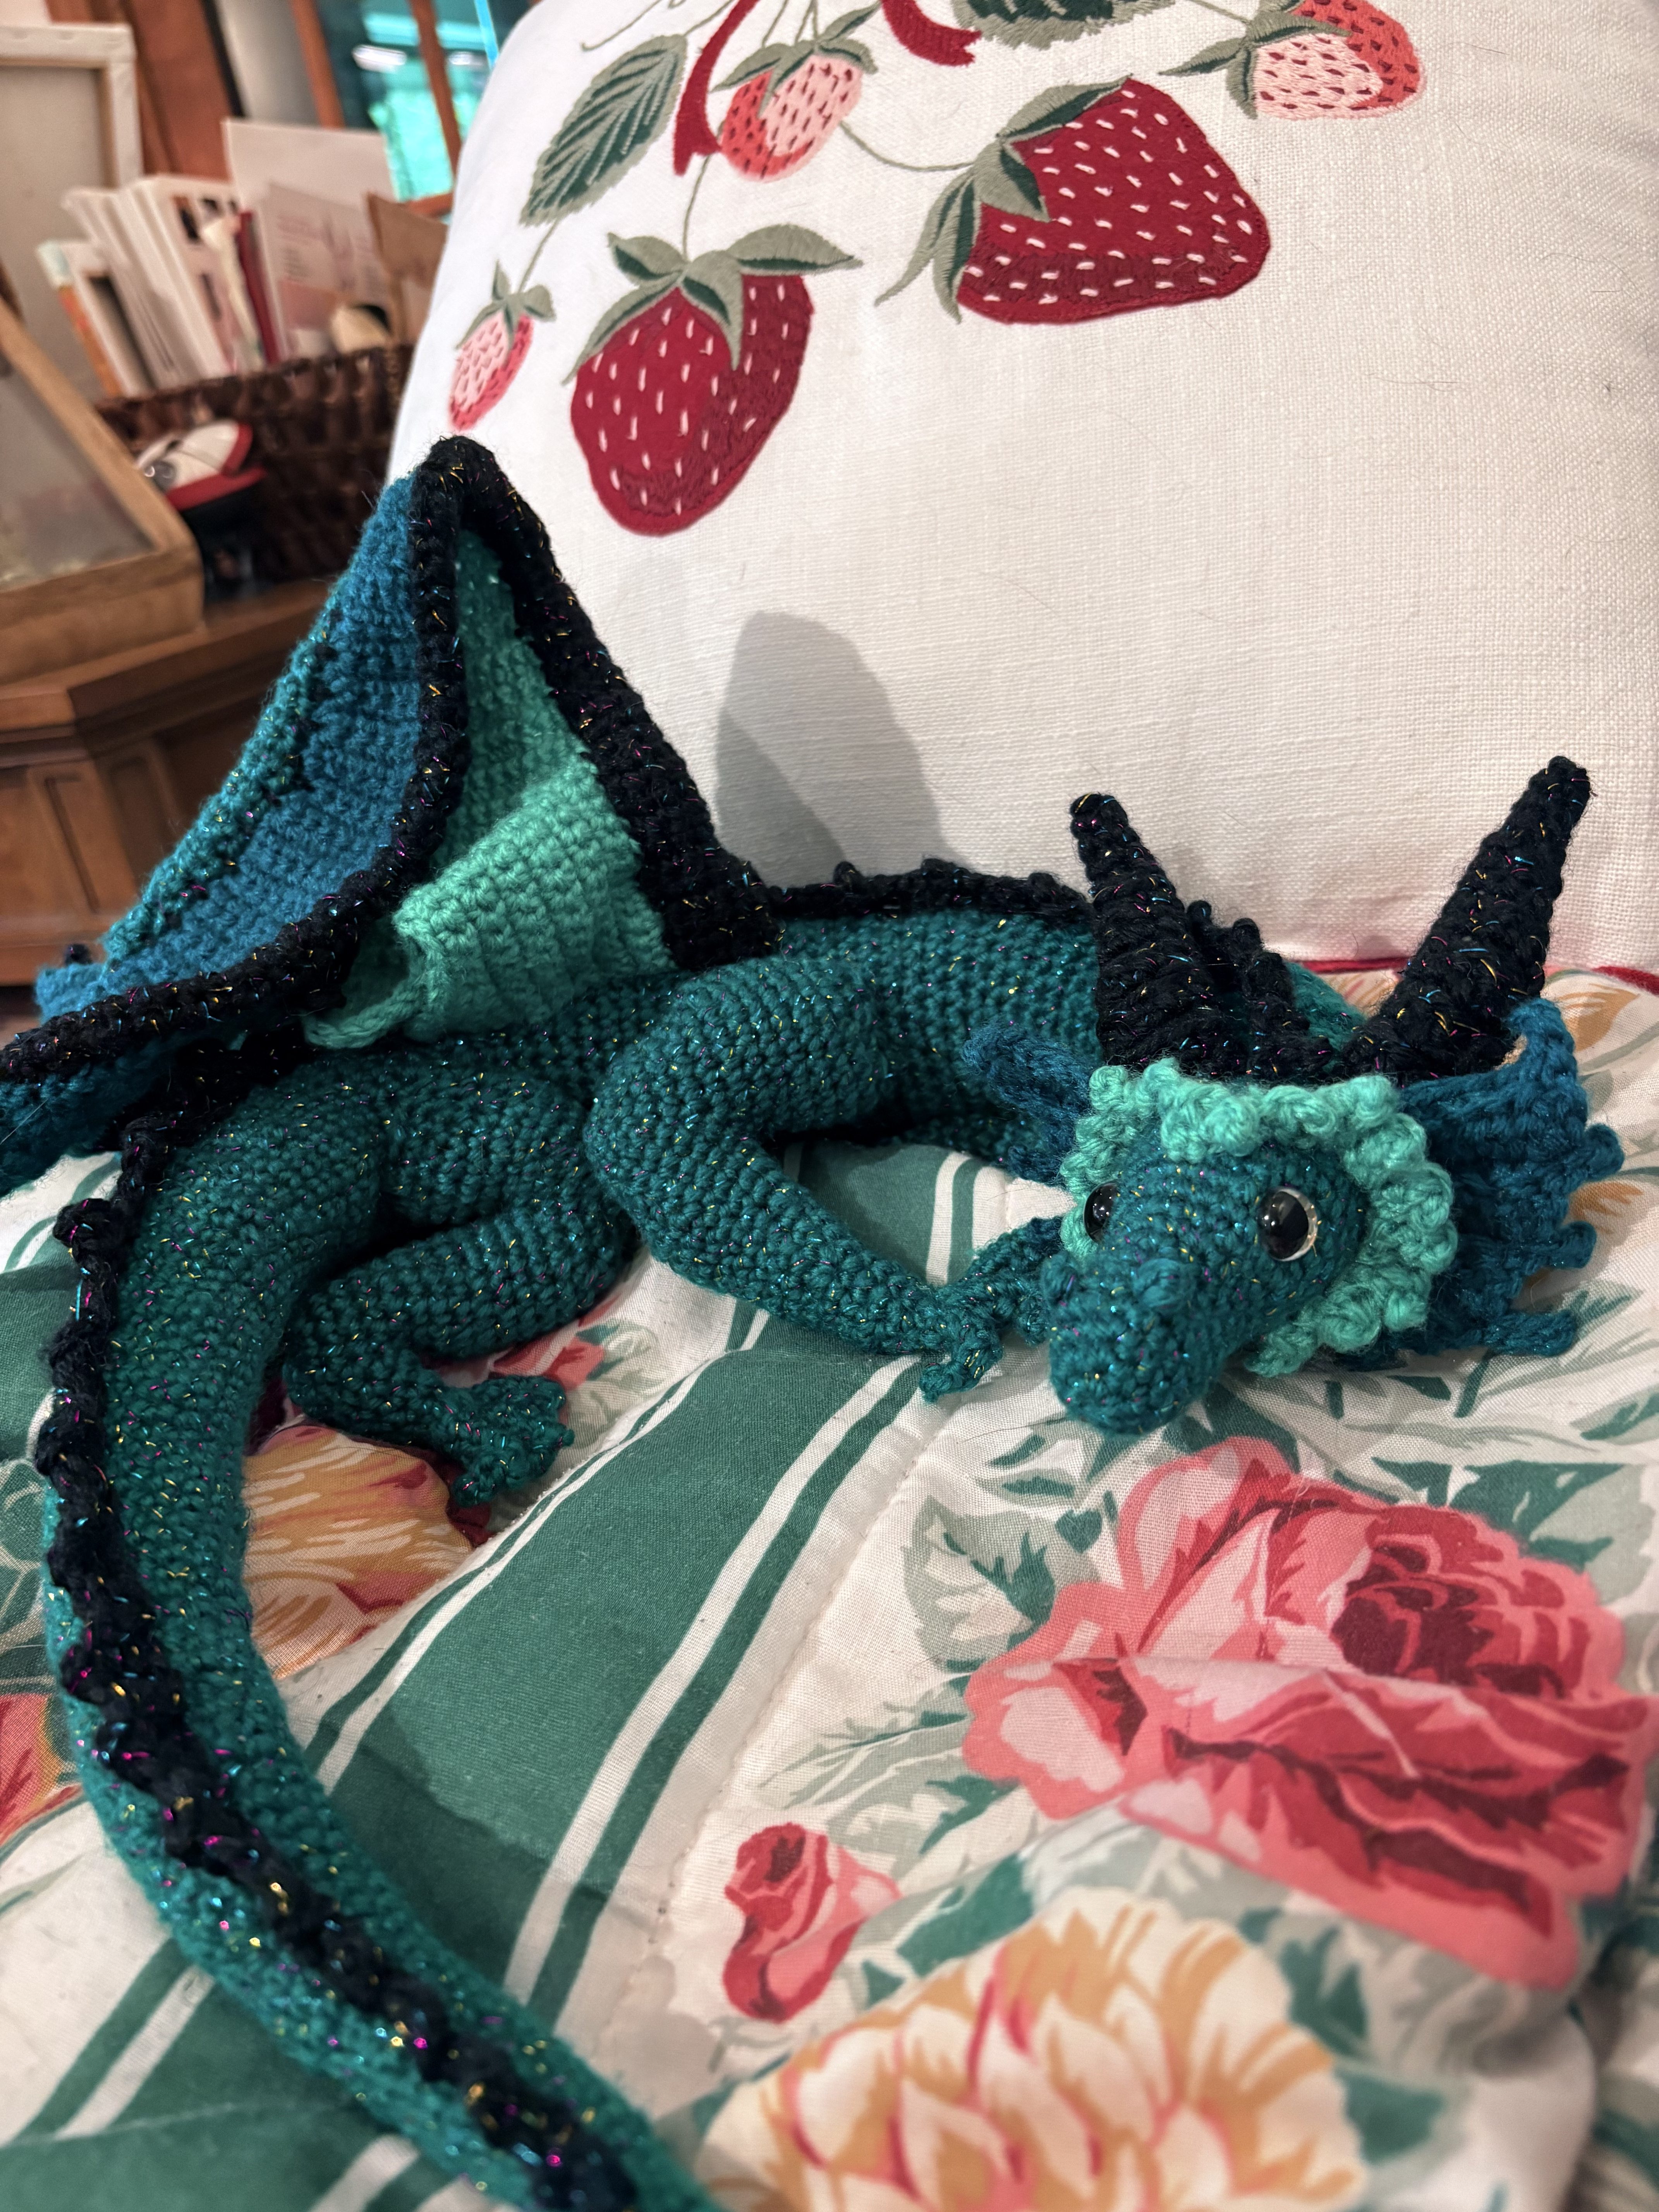
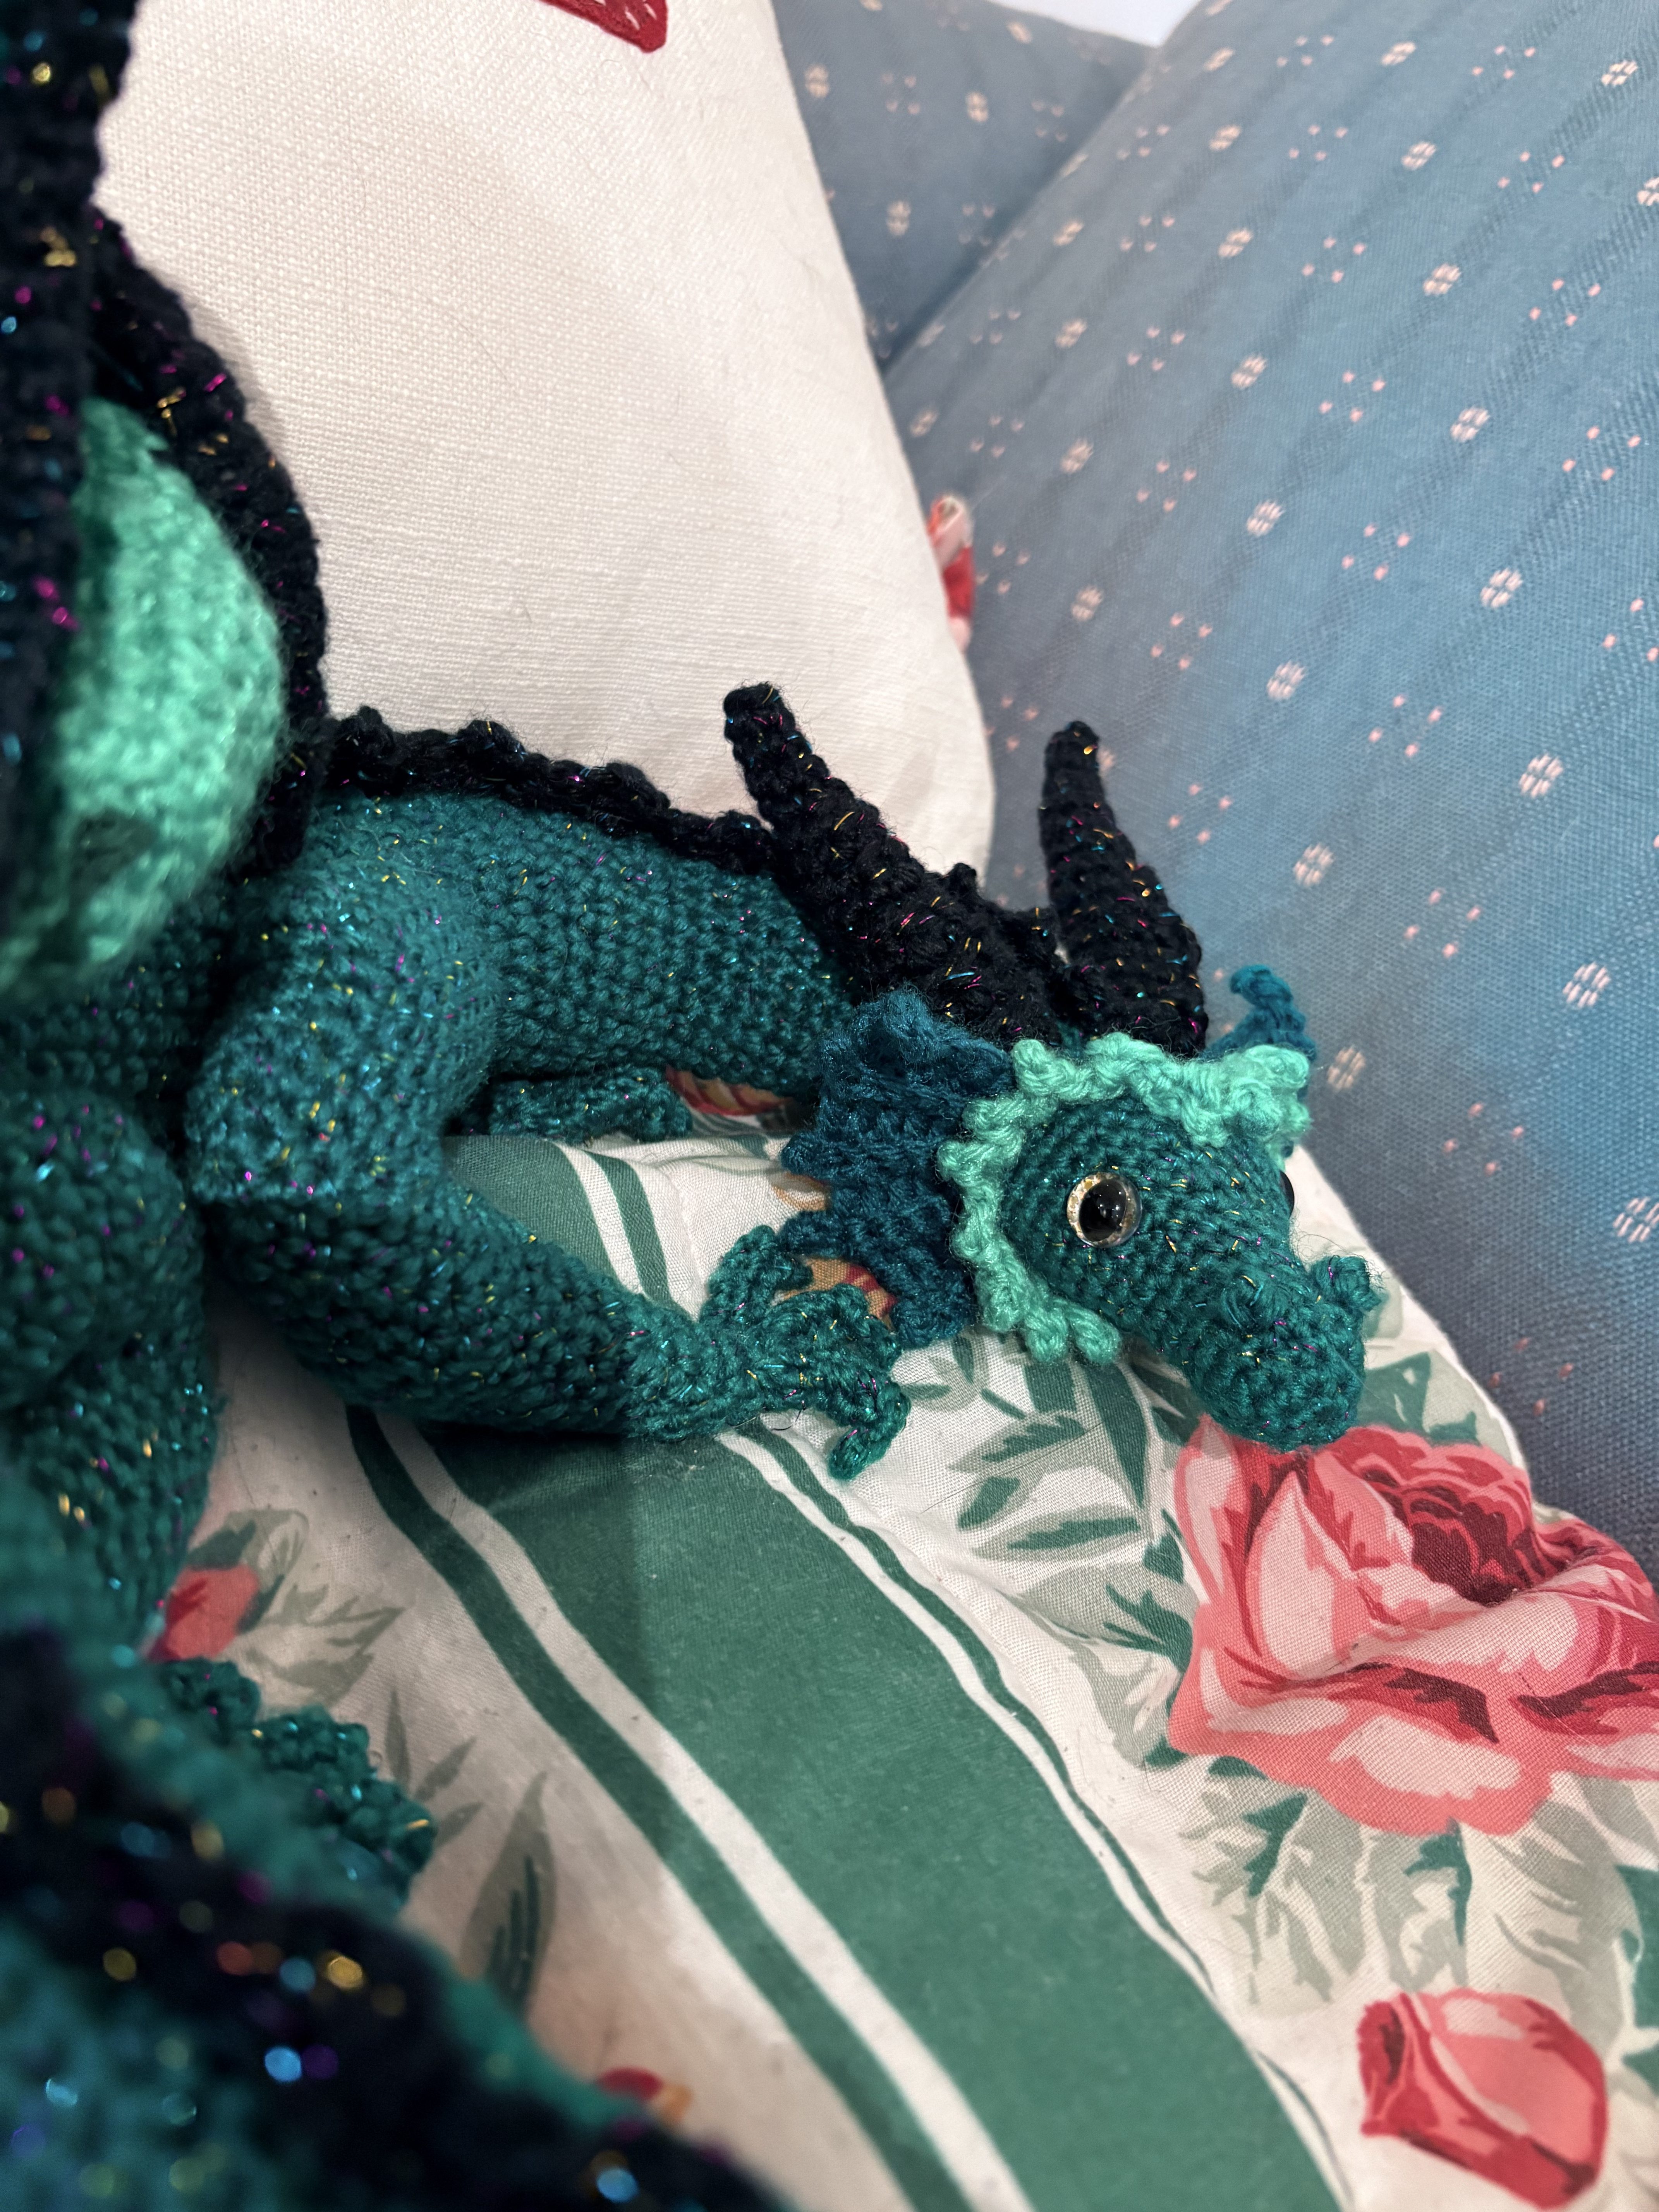
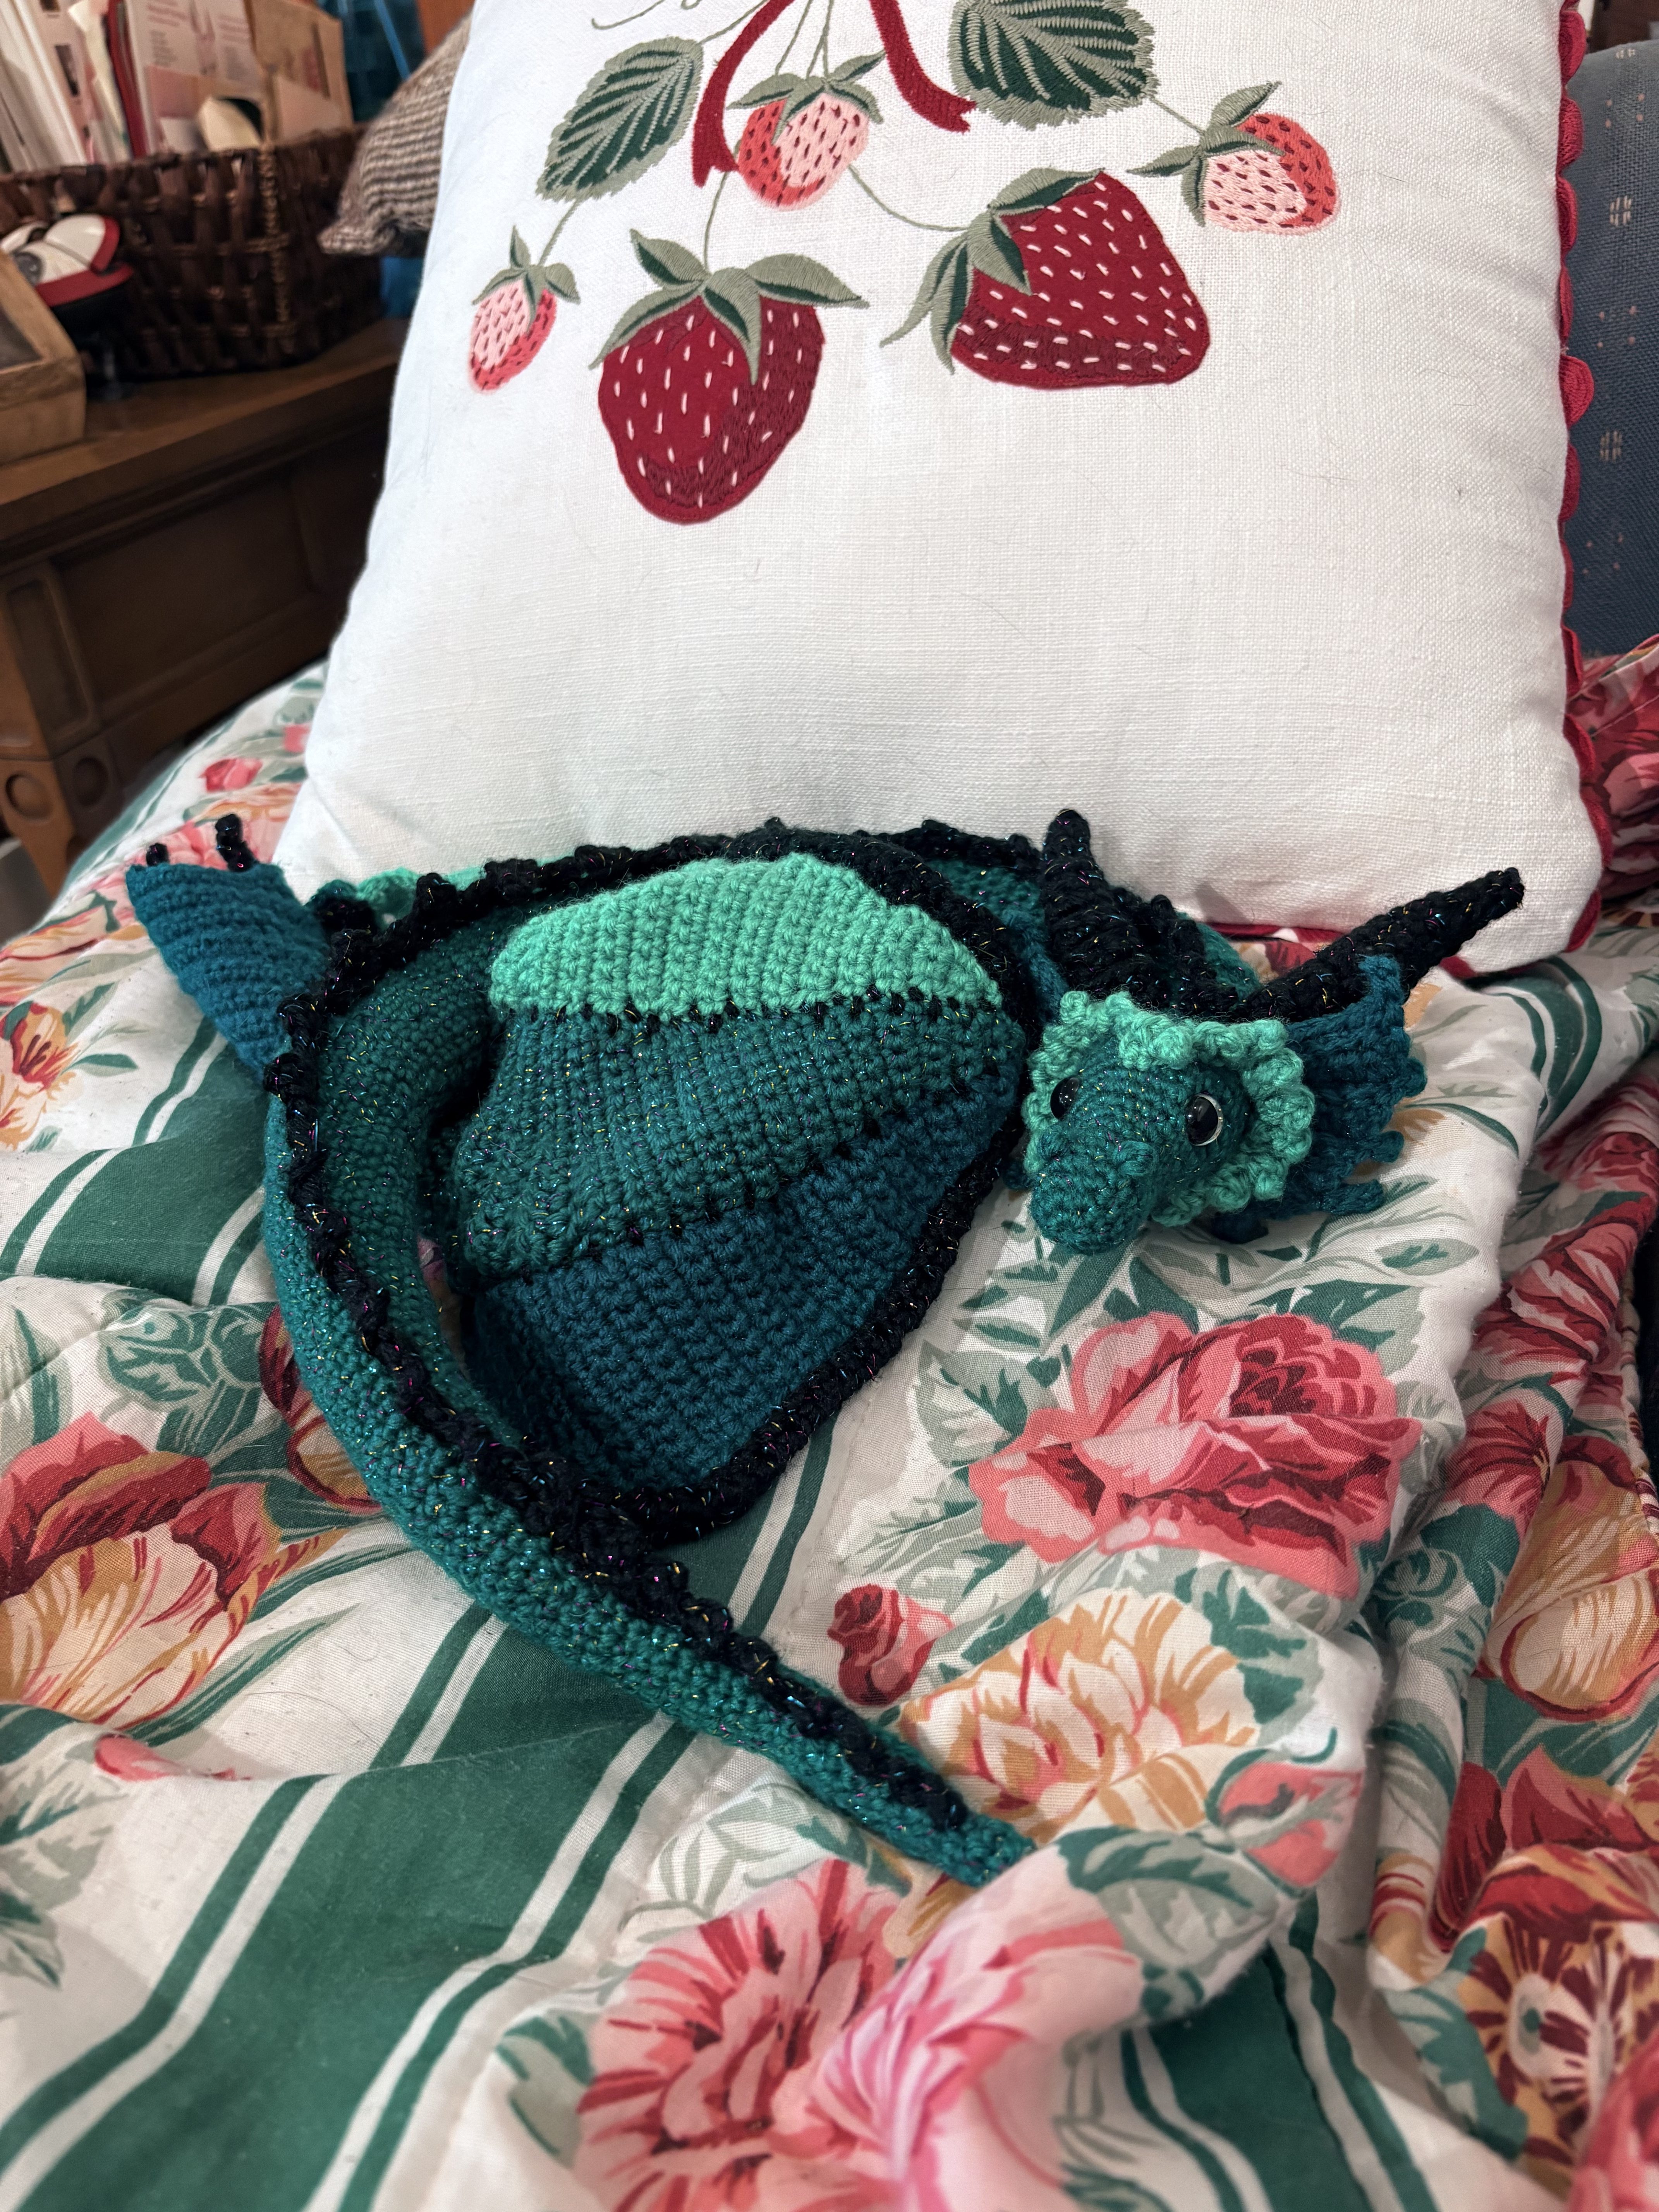

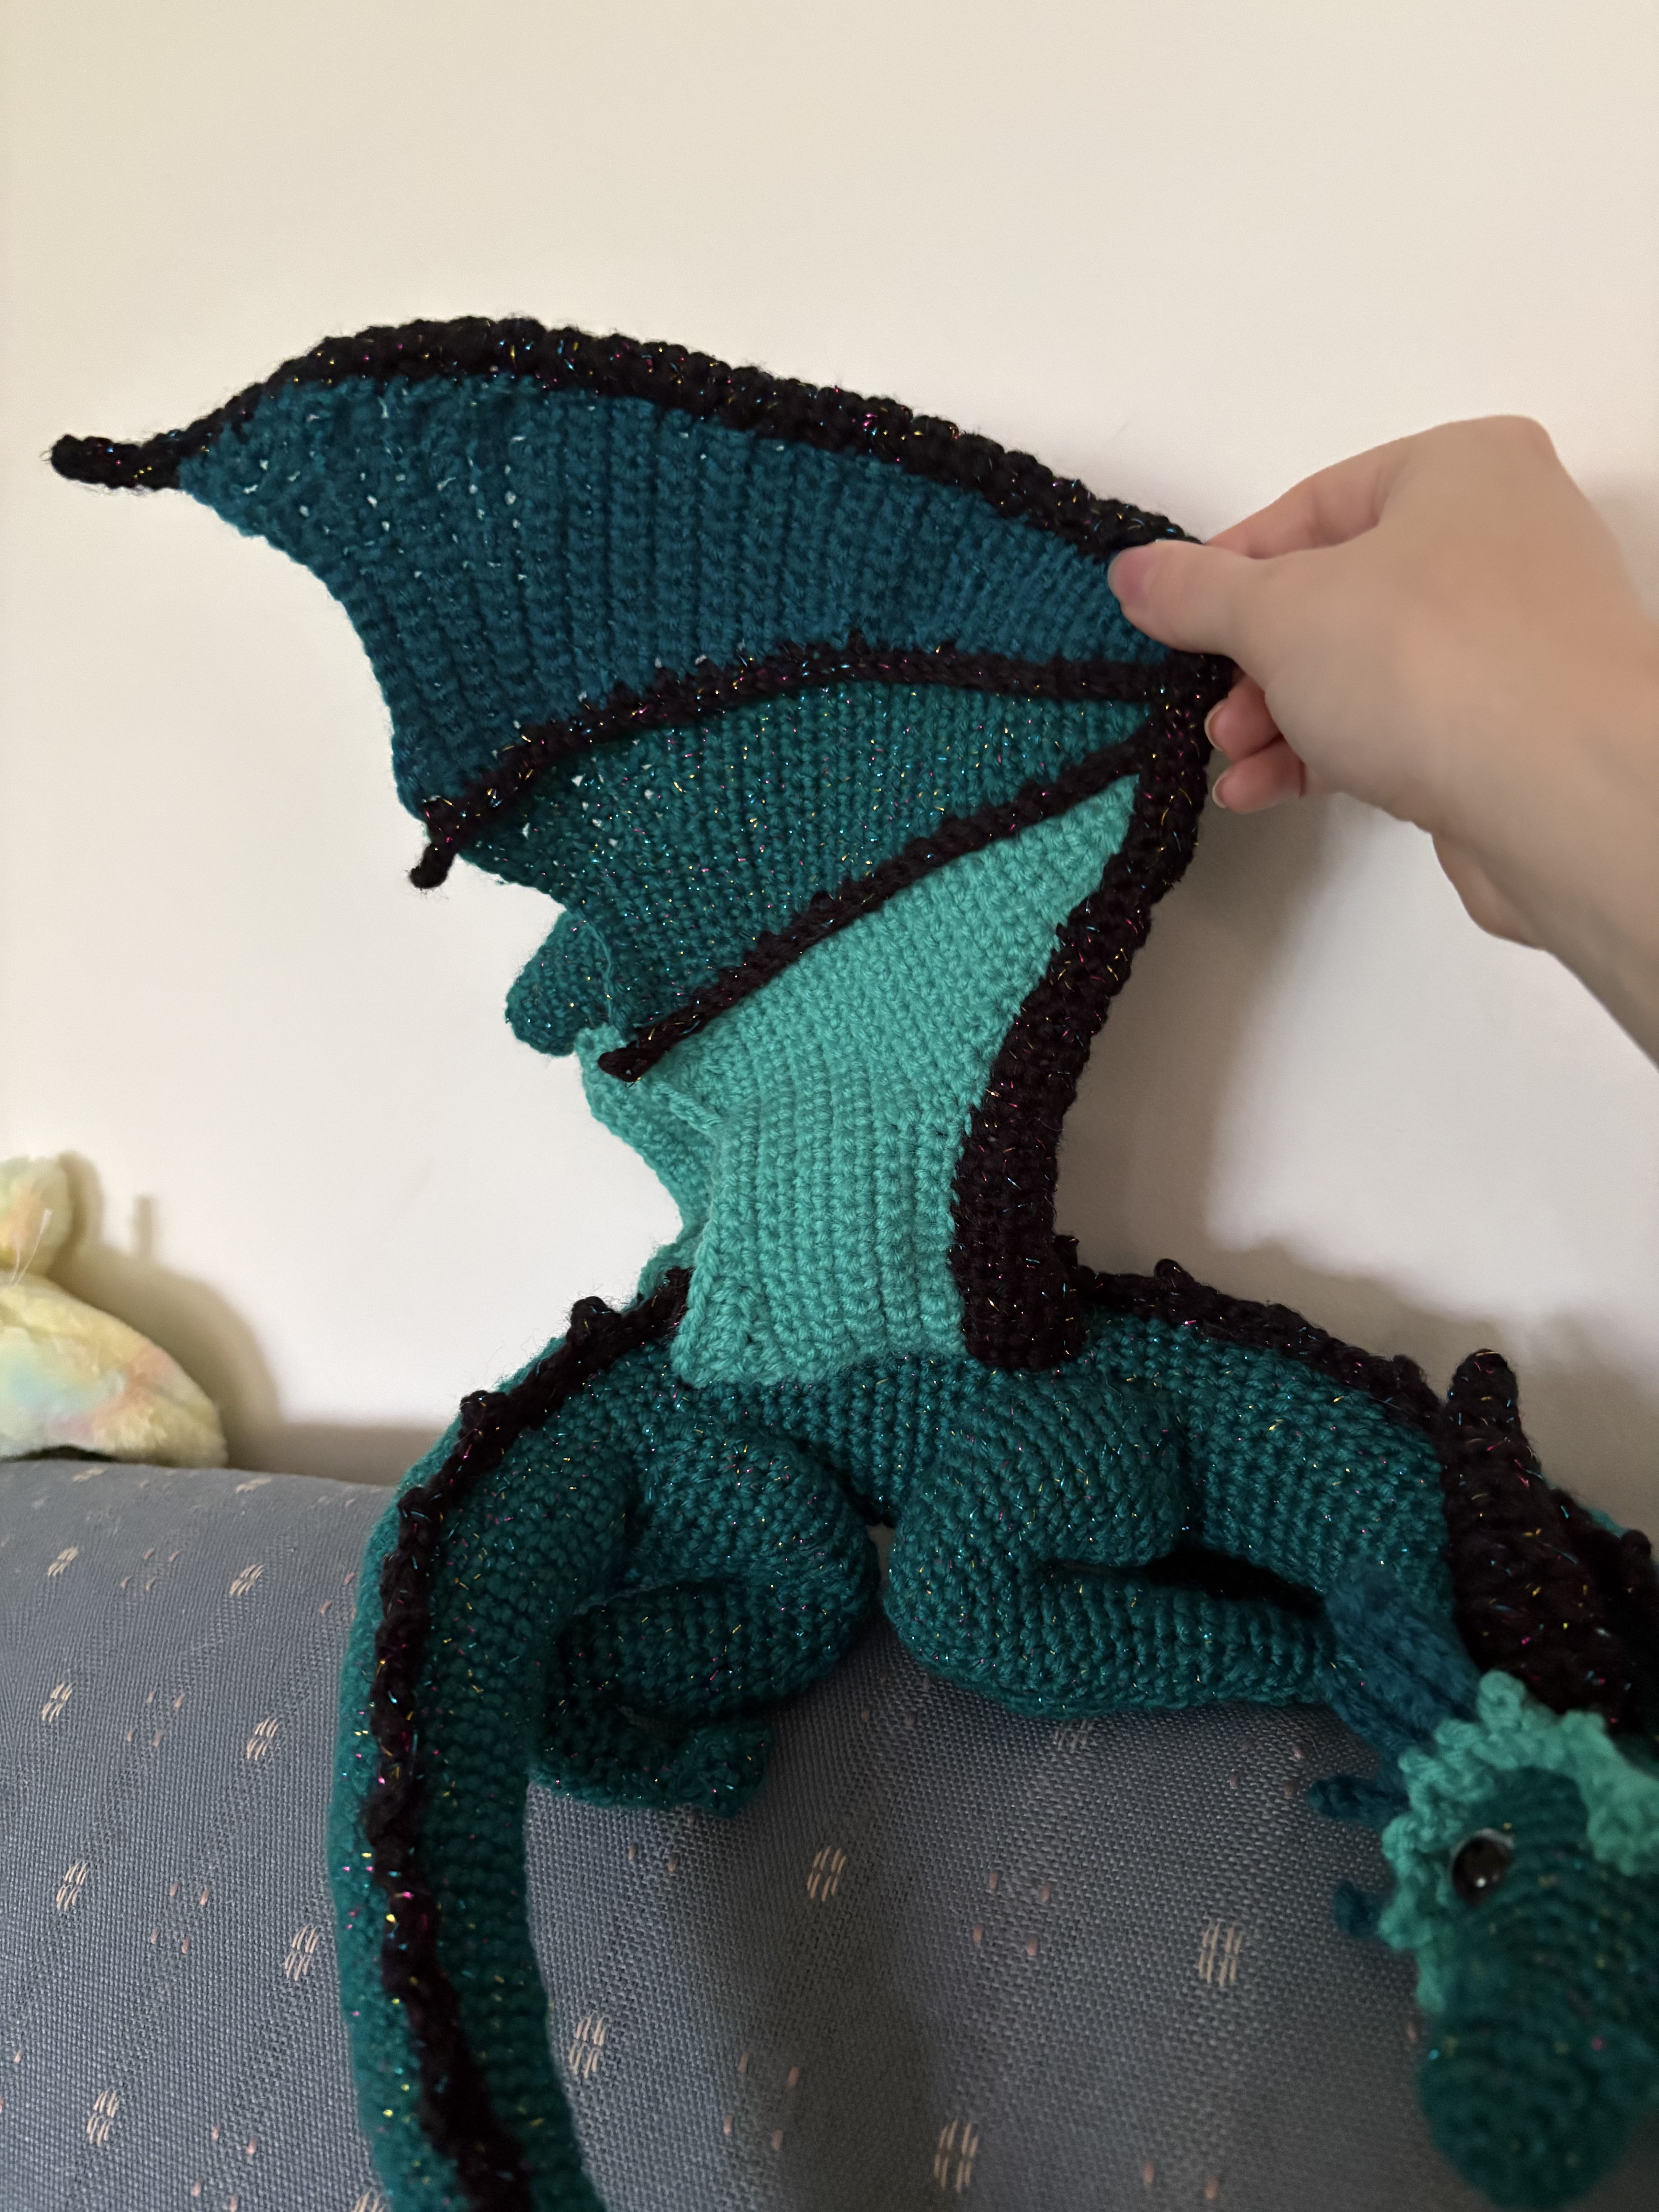
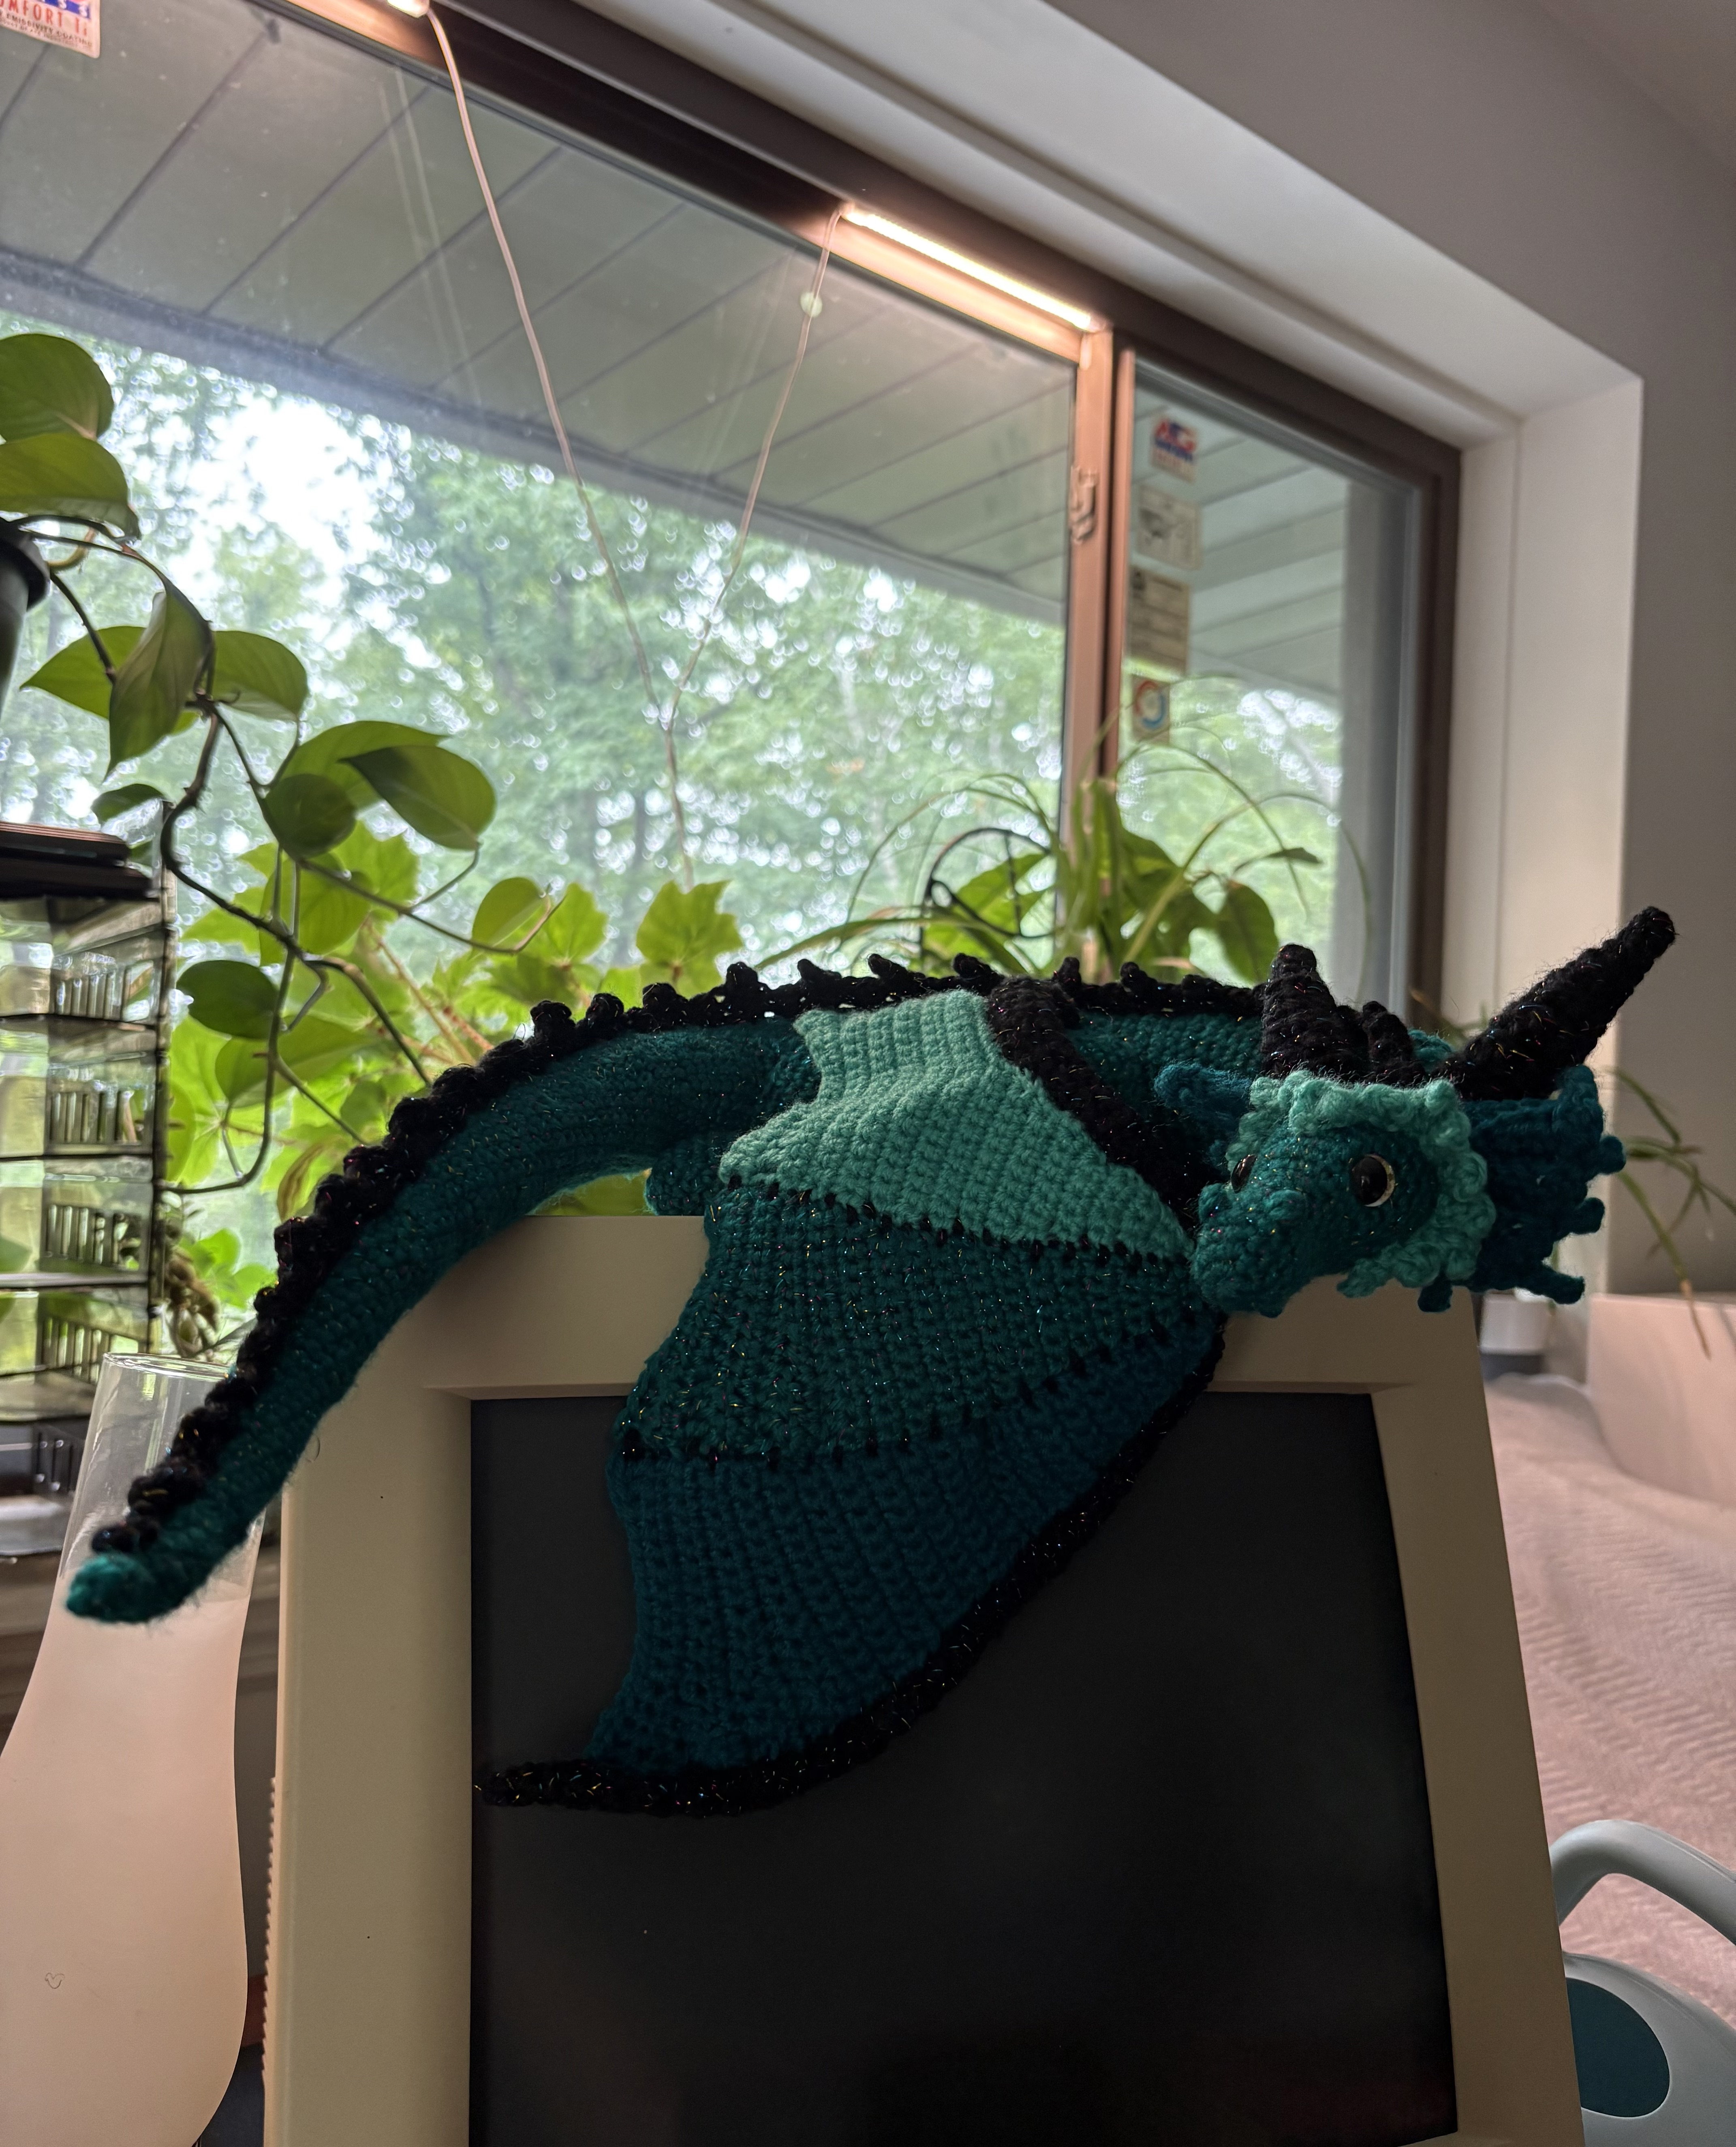
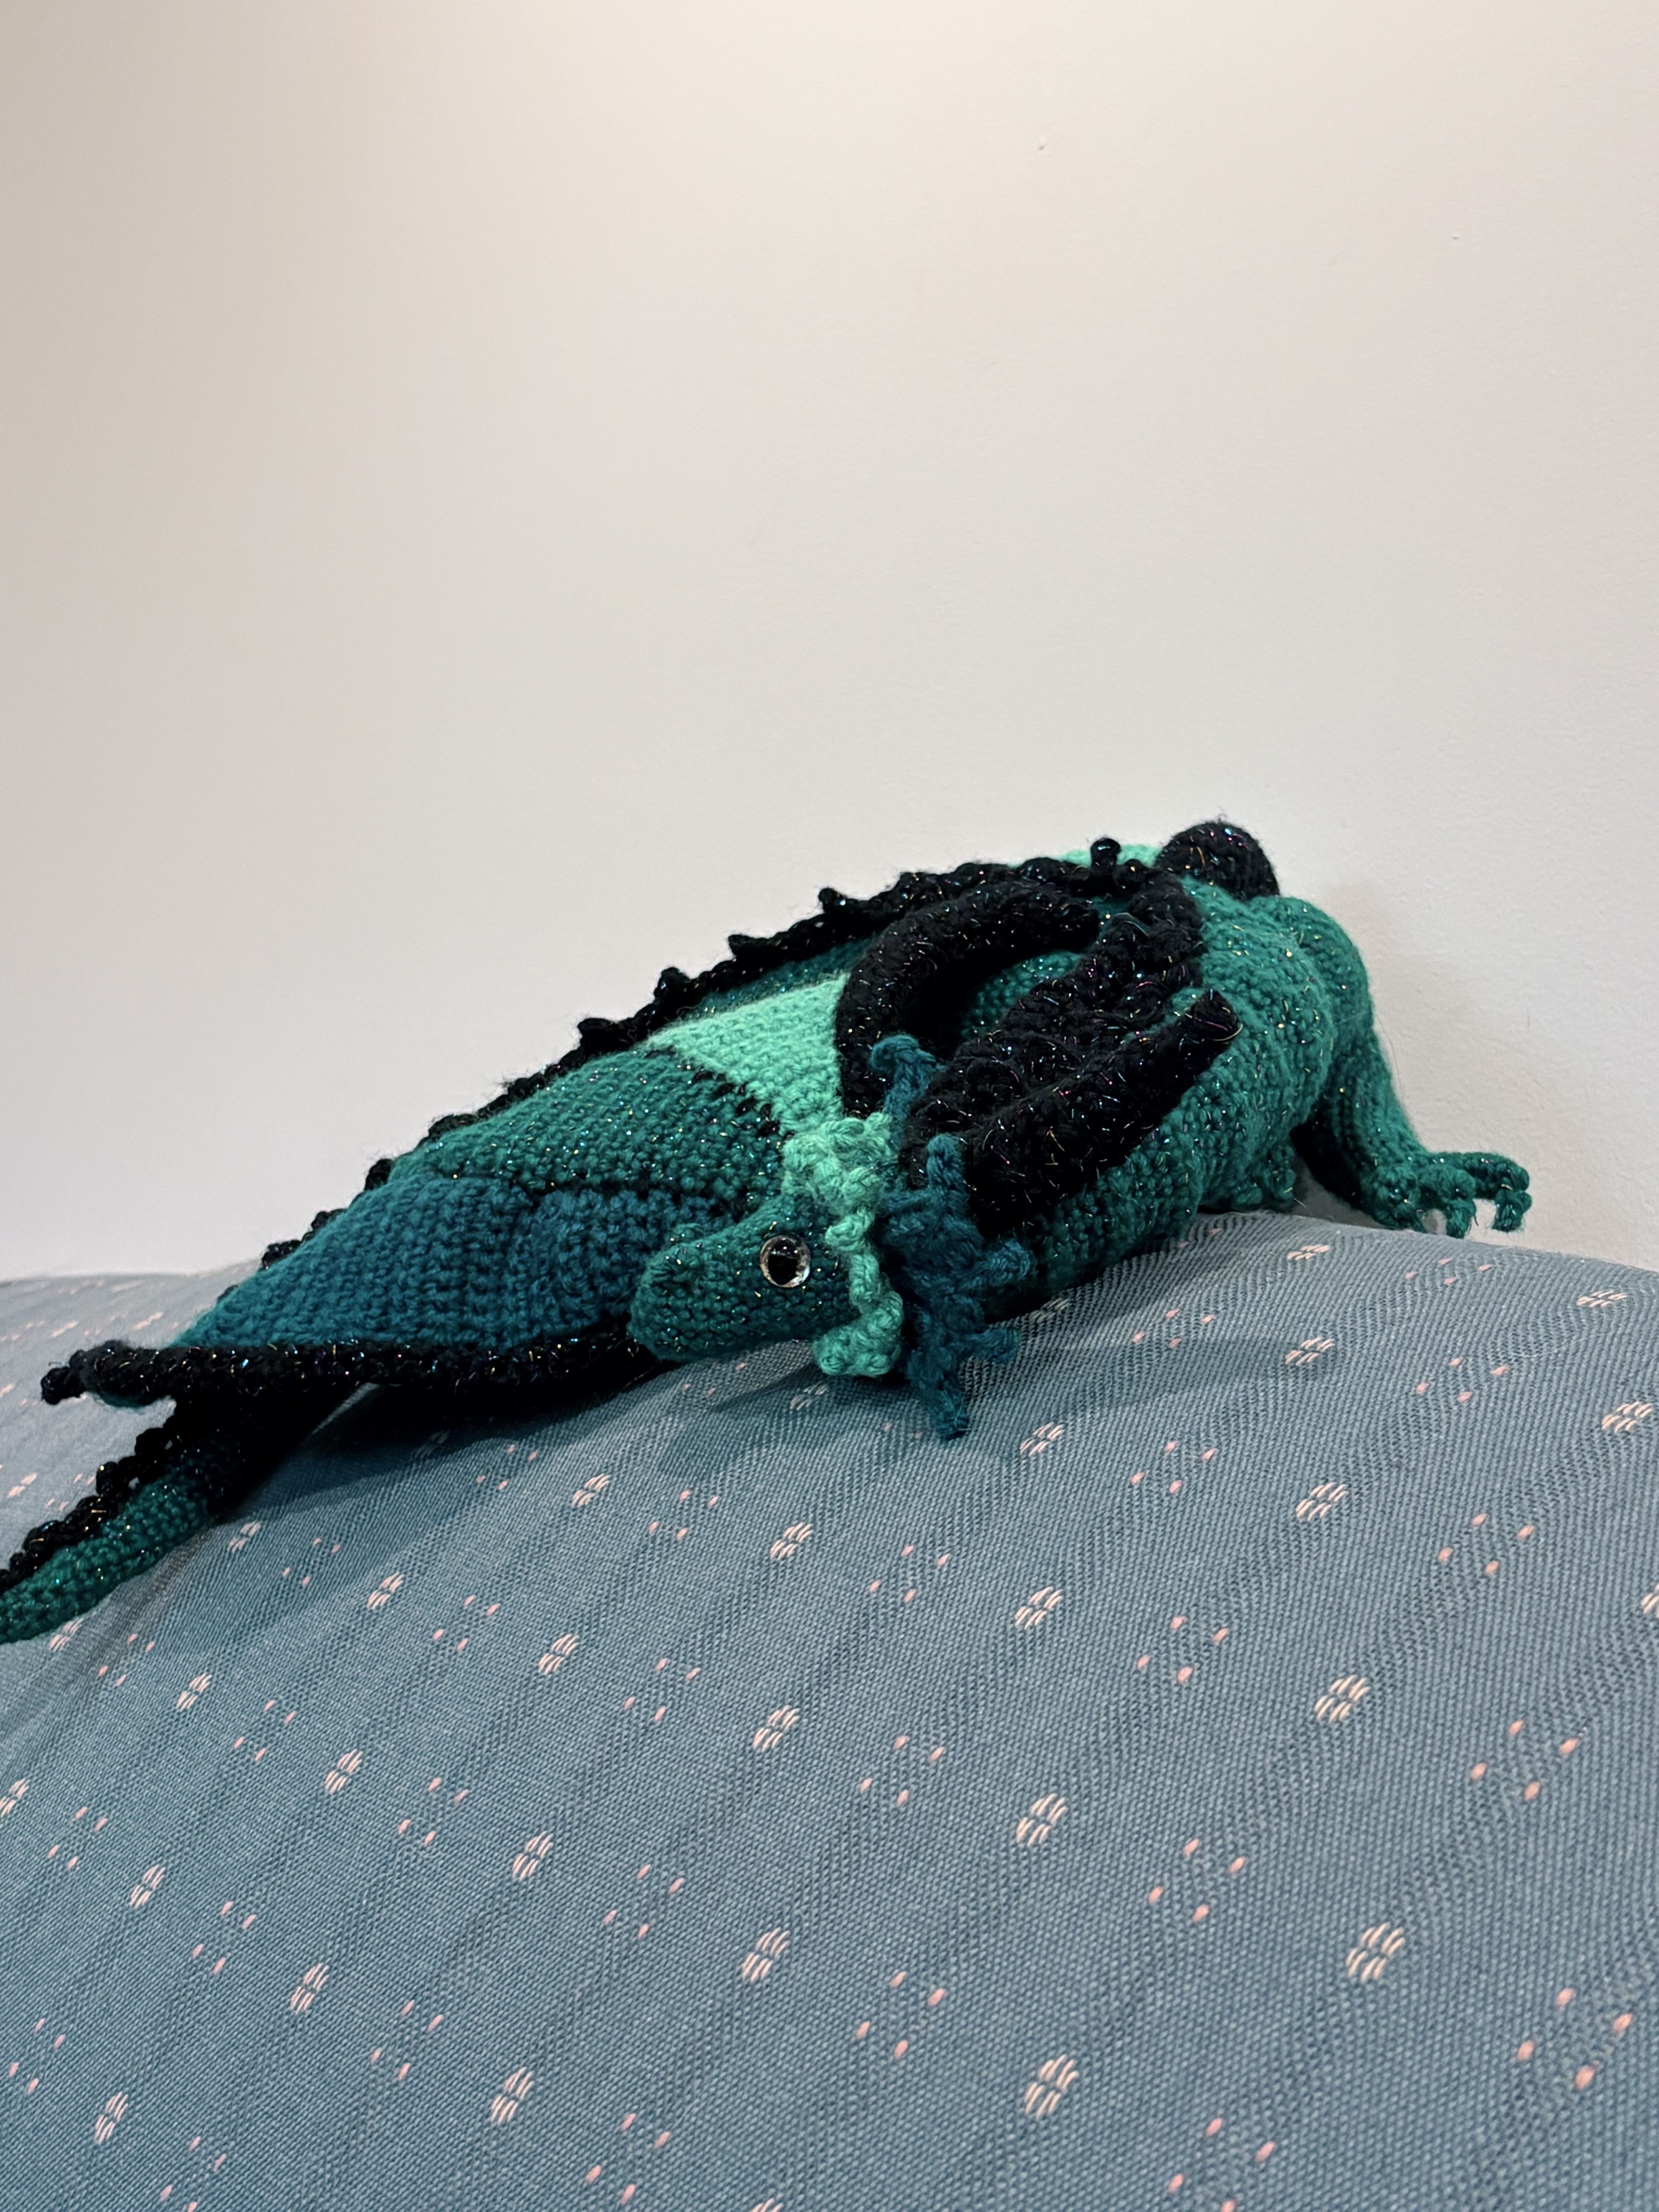
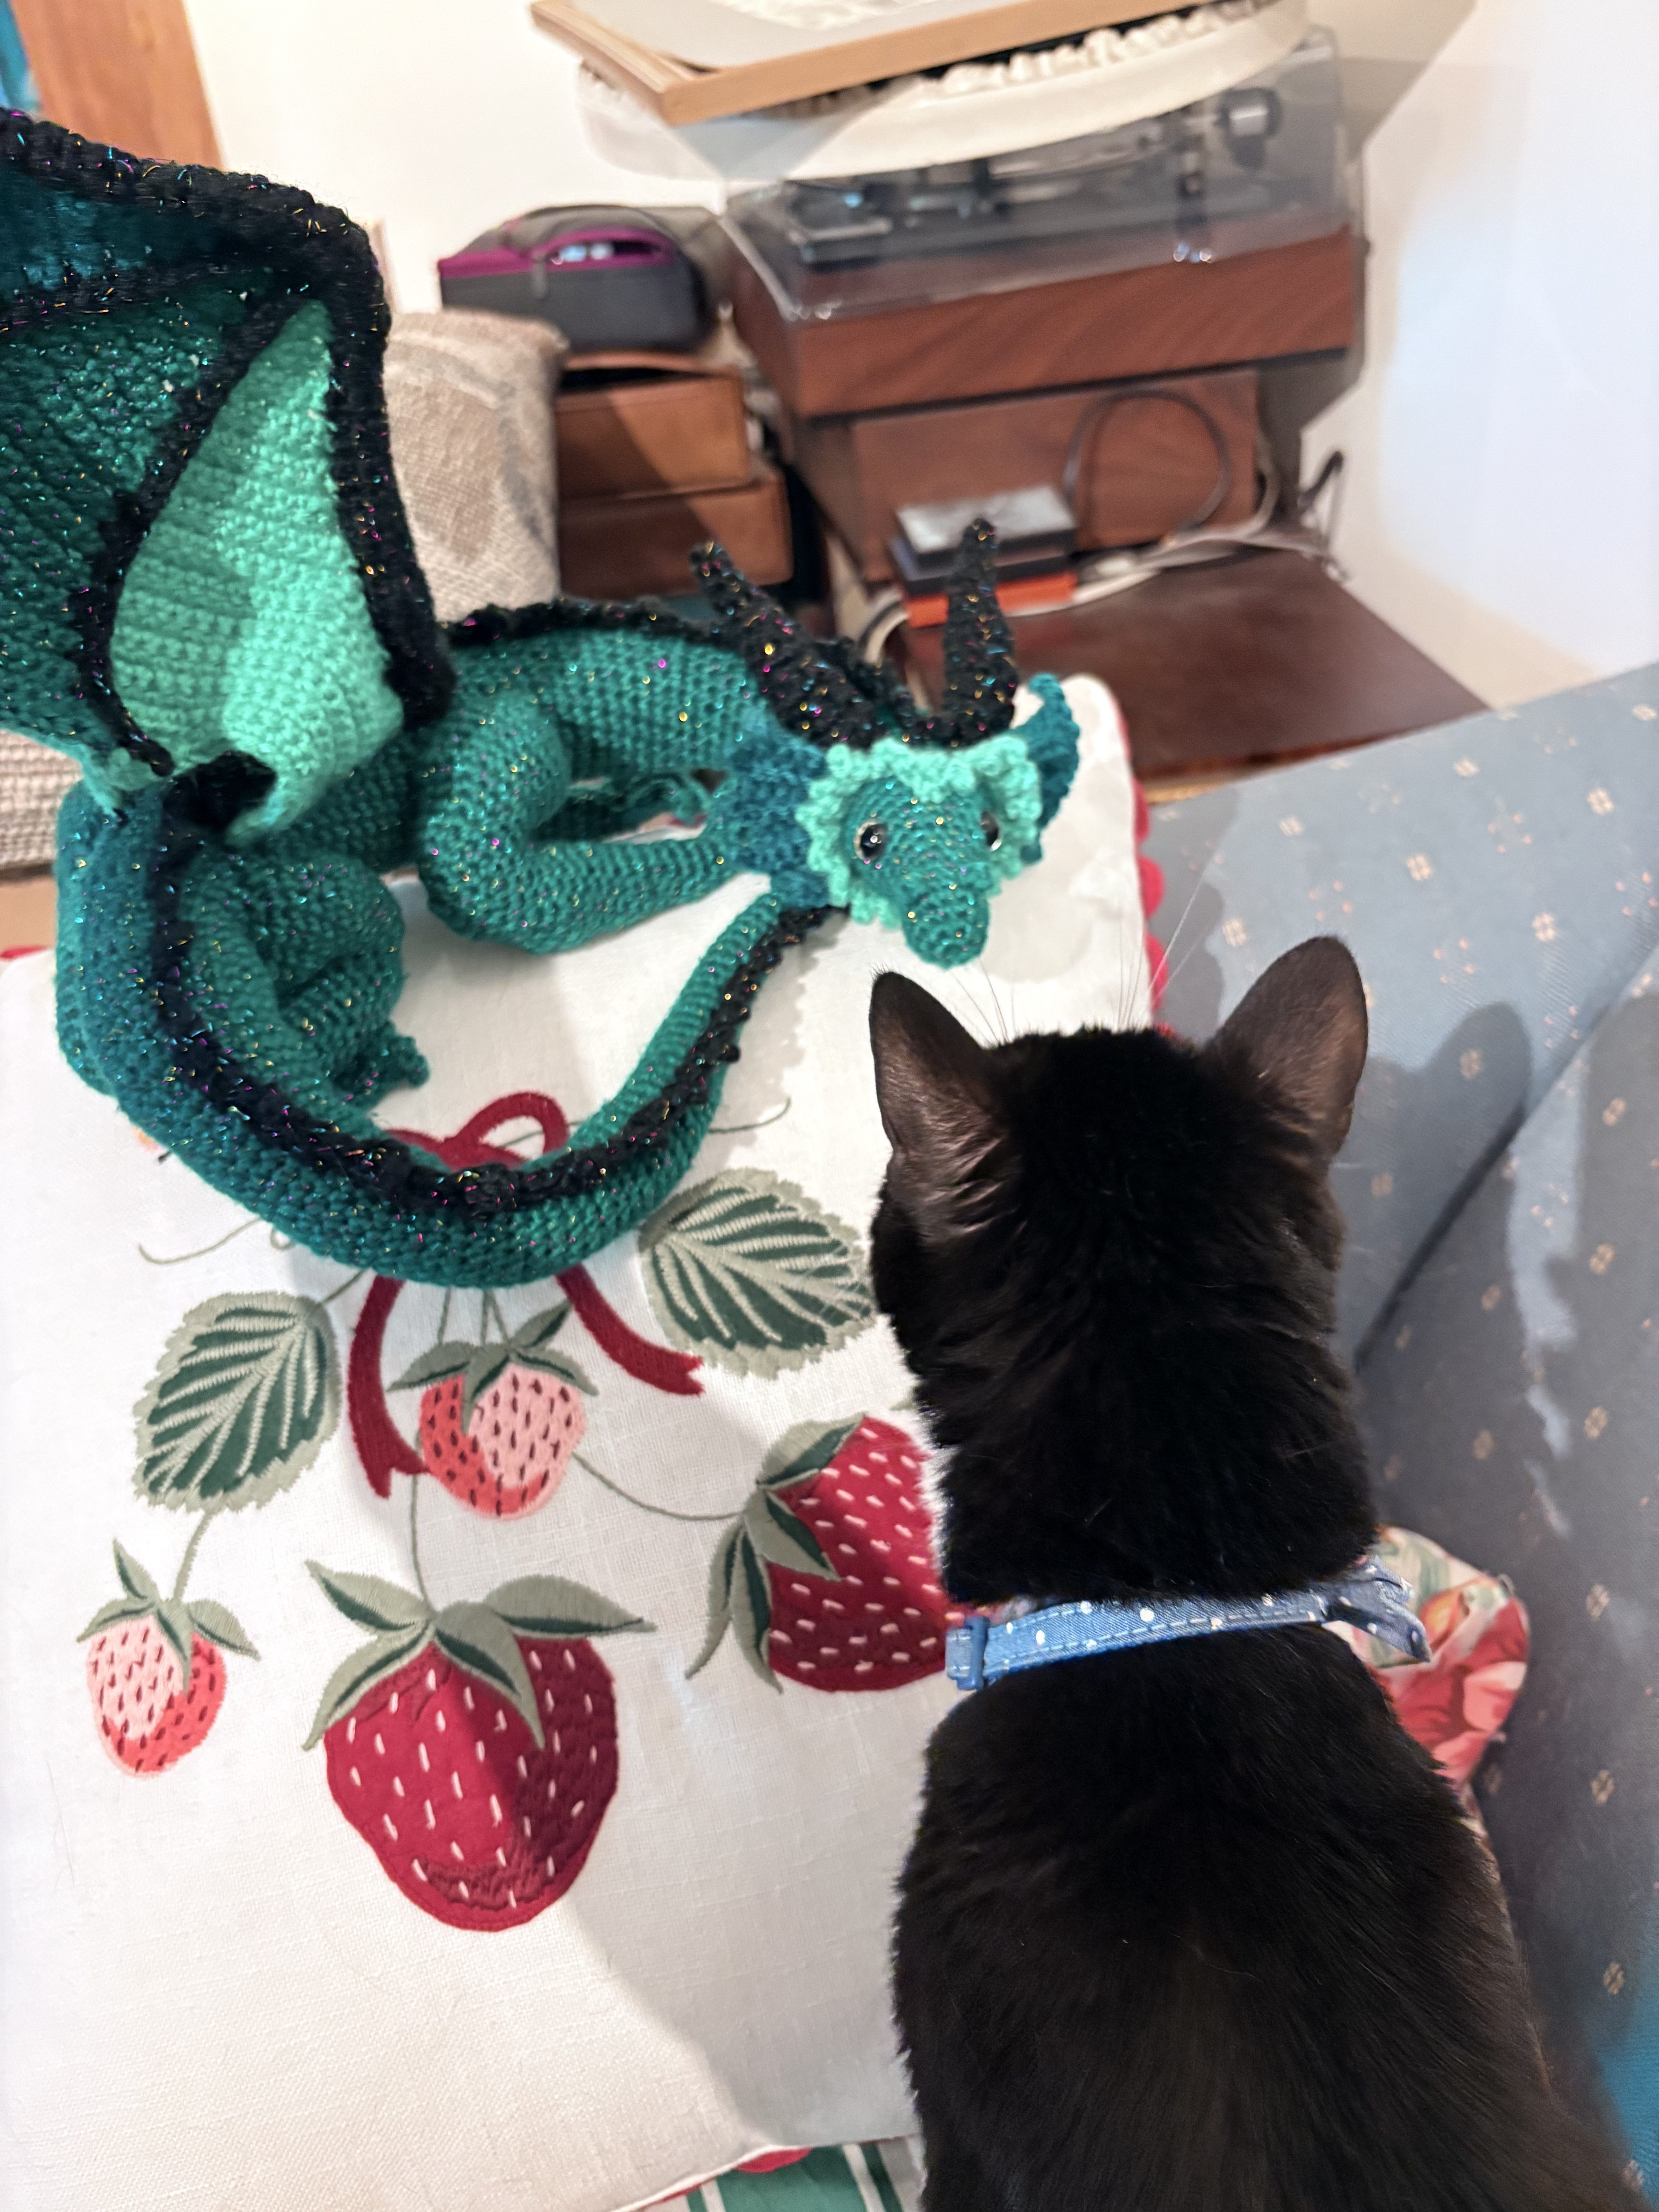
If you stayed this long, you shall now be rewarded with pictures of a vicious battle between my photo-taking assistant and the dragon friend:
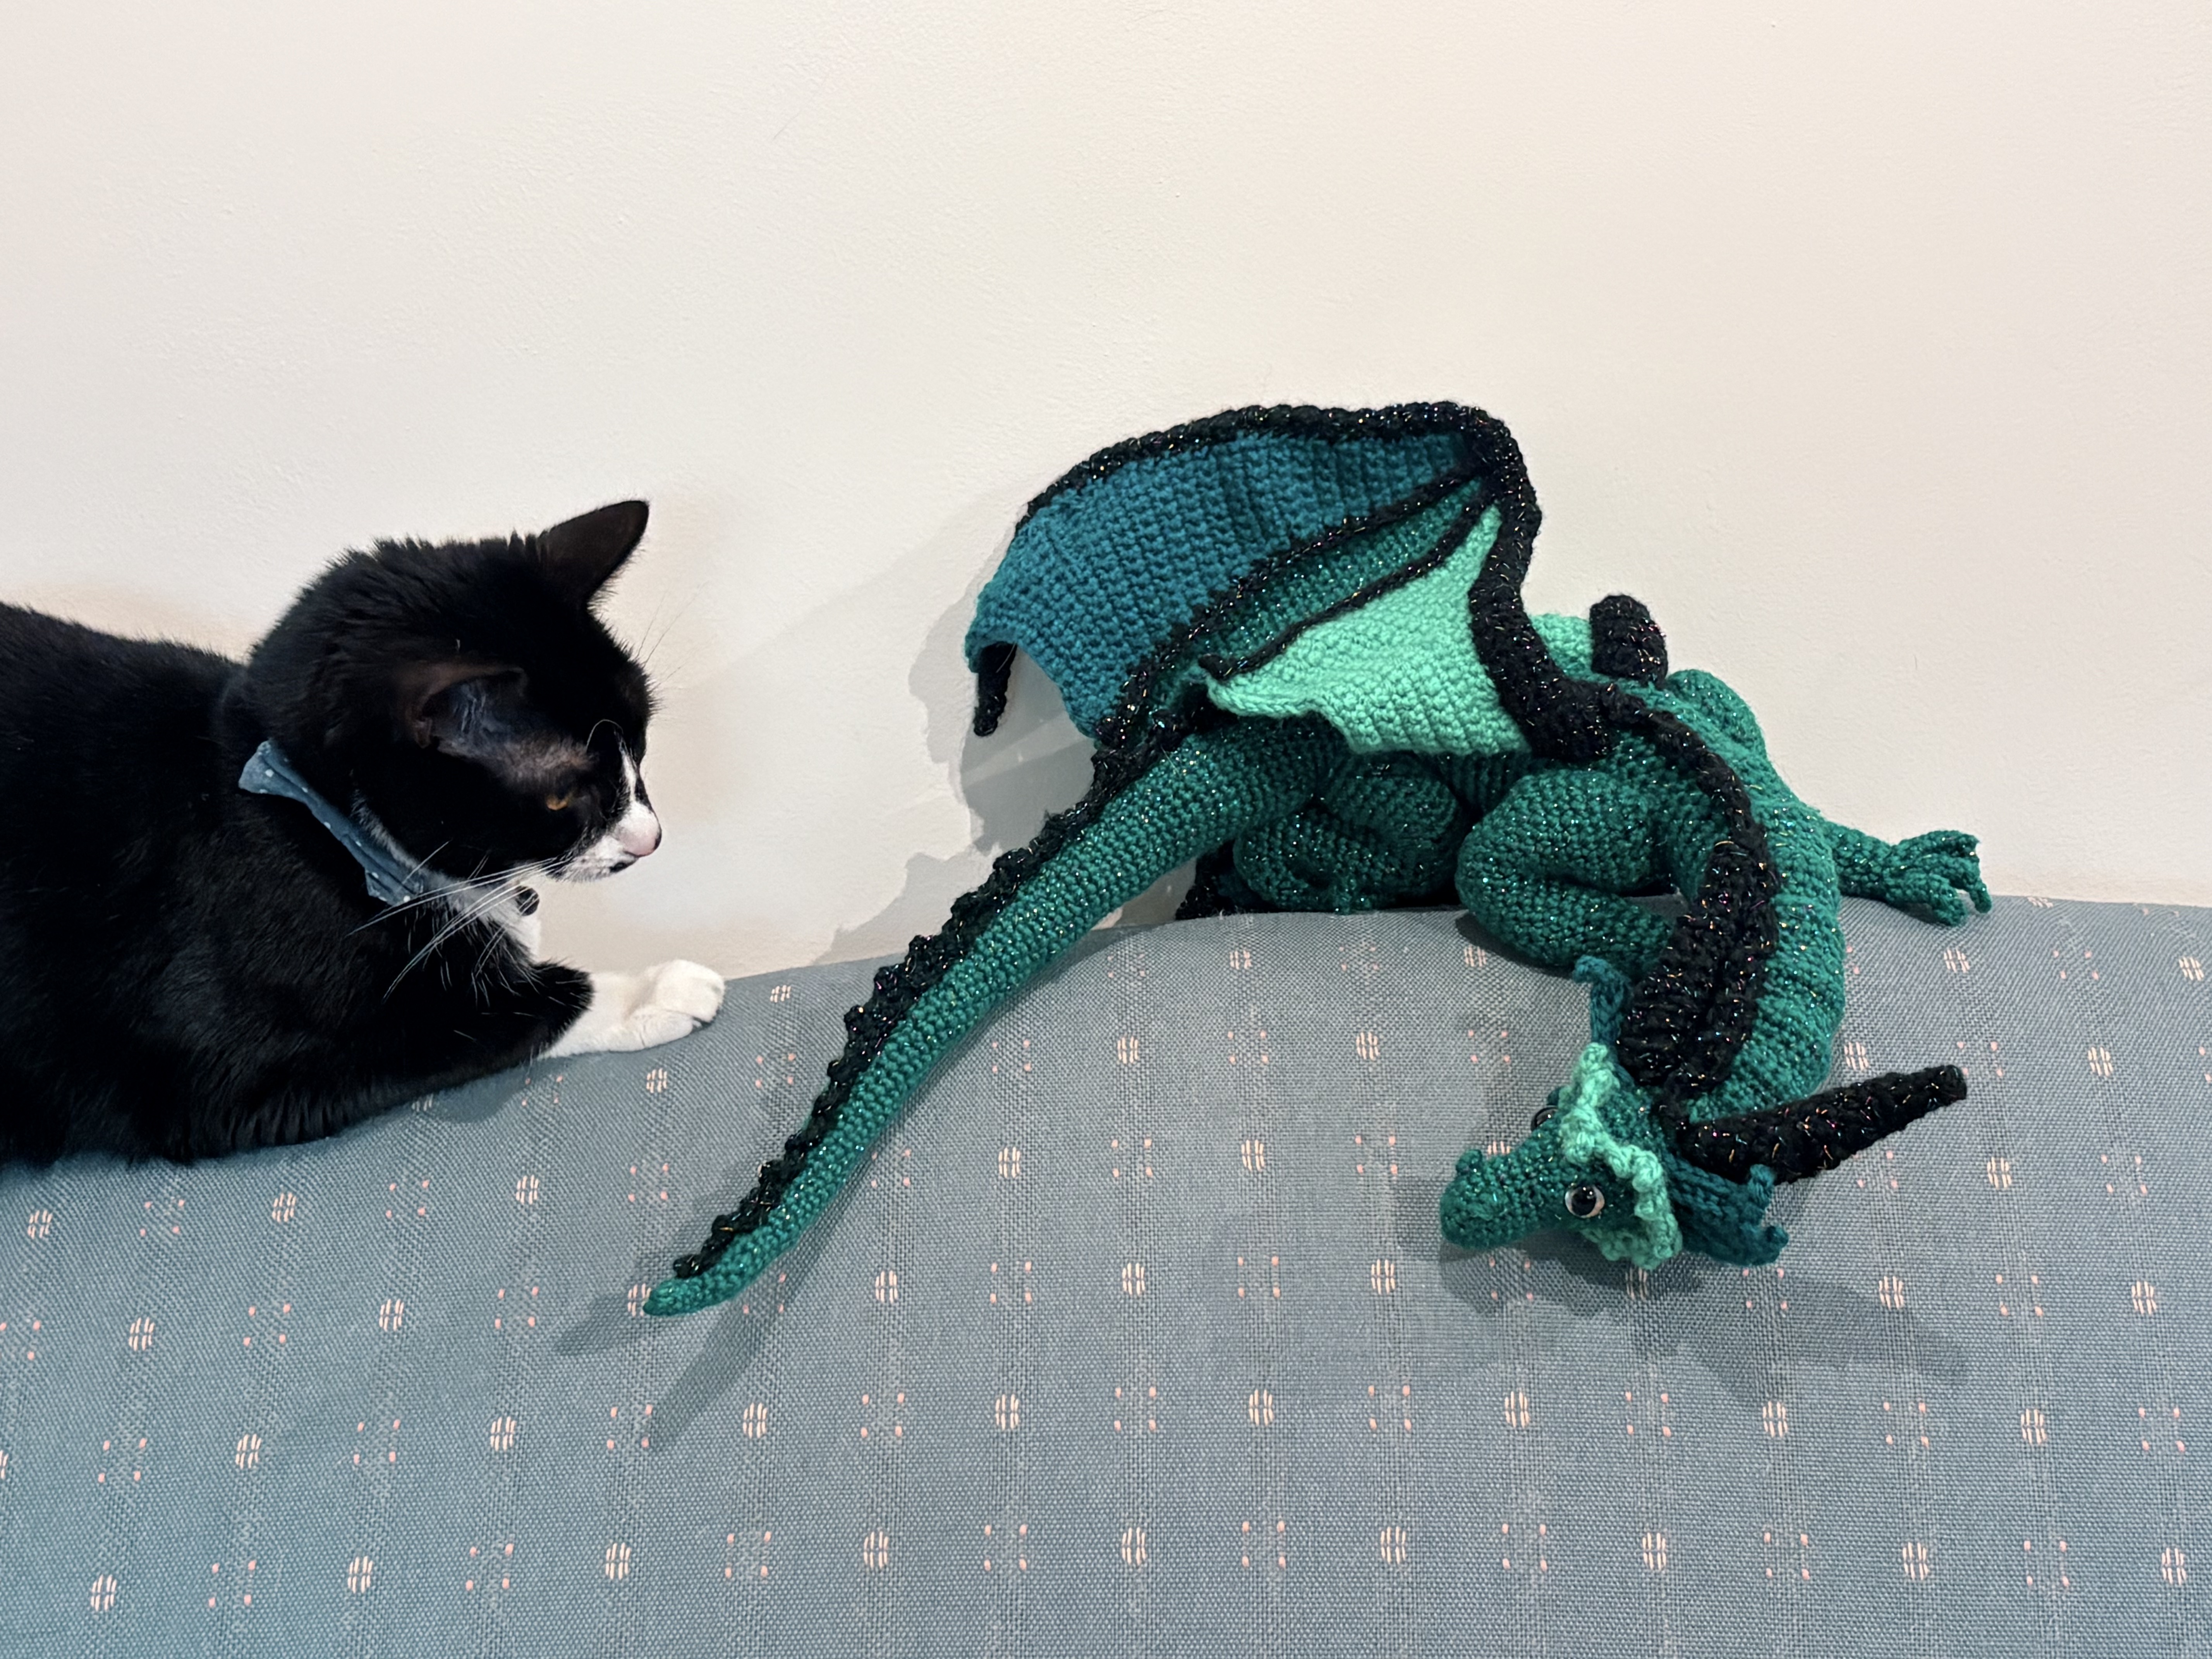

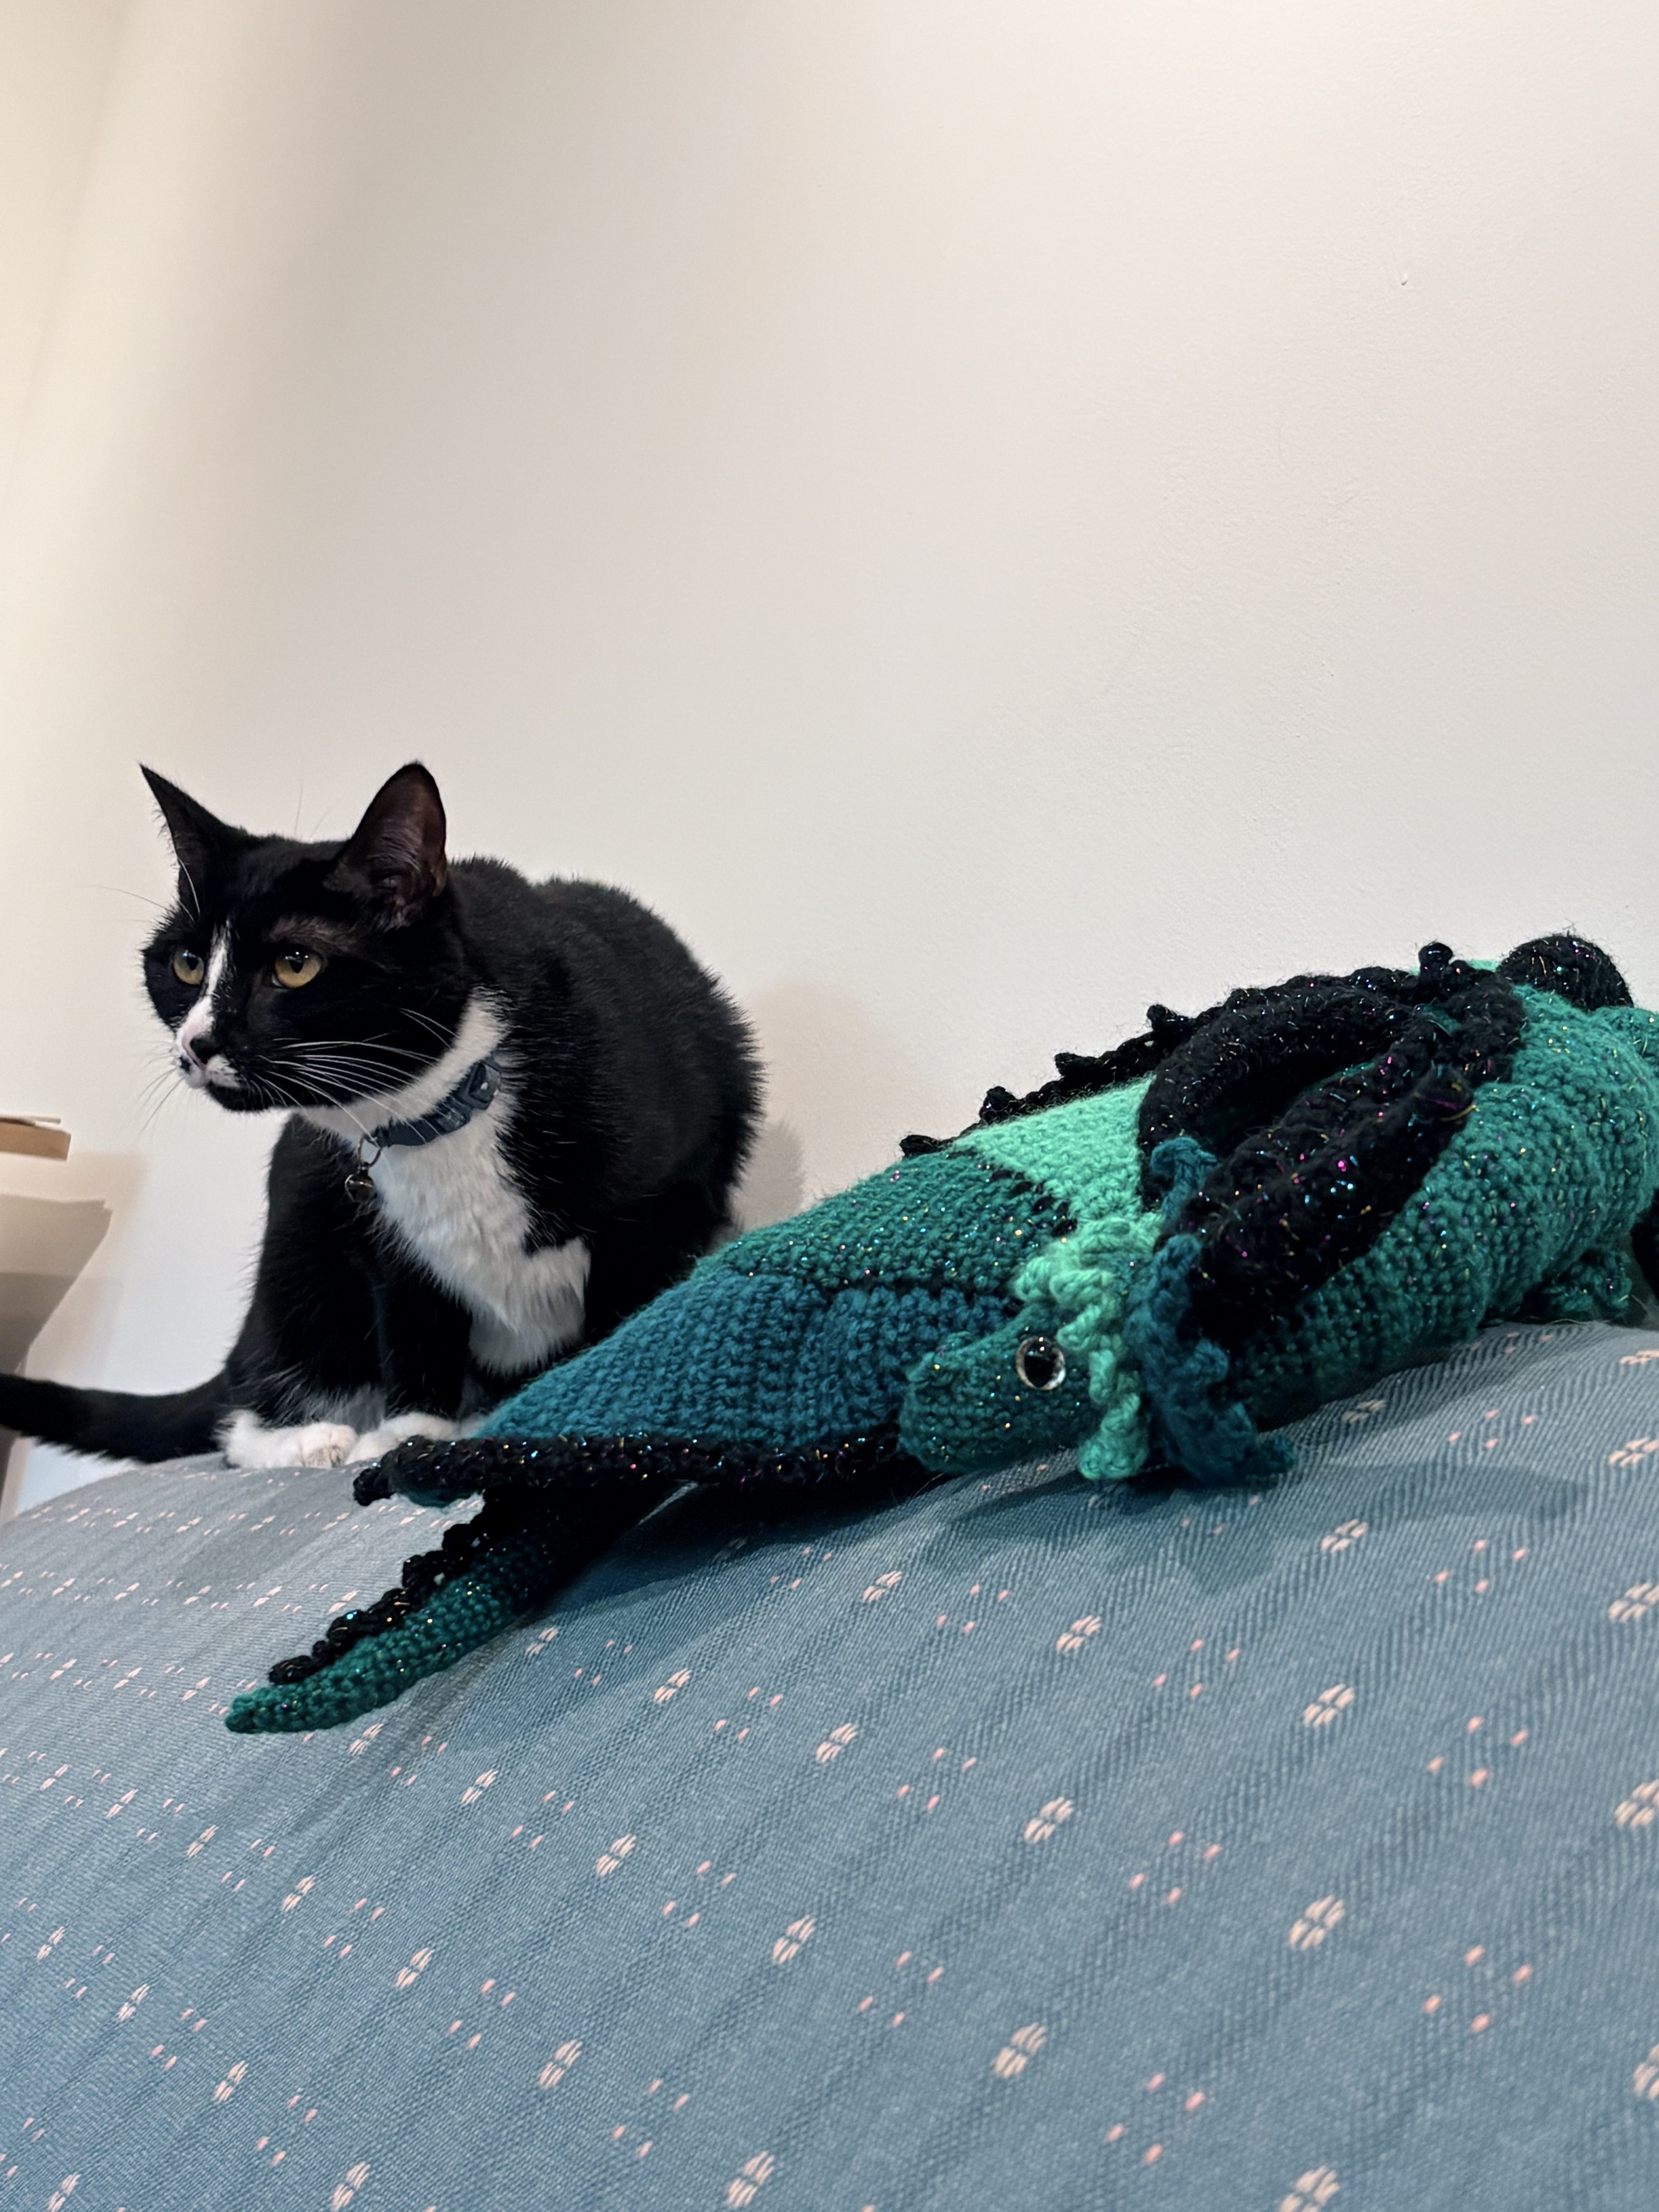
I hope you enjoyed!
More to come!