Classes have started for the fall and everyone is getting used to the routine again! I just started an Intaglio Printmaking class and I’m loving it so far!
For our first project, we were taught how to dry point! Drypointing is when you carve a design into plexiglass and get the ink into the areas you carved out. The purpose for that is the print you make will not be a negative of what you carve, it will look like a positive! The stylus that is used to carve out the lines is very easy to use and maneuver and can make curves pretty easily as well! It’s just like drawing with a pen or pencil.
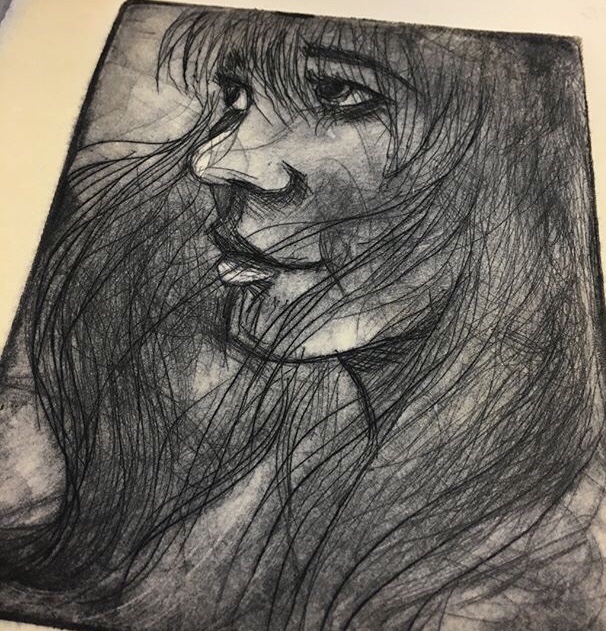
The design I chose to carve was supposed to be a self portrait, but I was having too much fun with it, and it just ended up being a random portrait of a random woman. I sketched my picture on a piece of paper, then taped the plexiglass on top of it. I then traced the paper drawing onto the plexi using the stylus. I also made texture with steel wool and I used the cross hatching technique to add darkness as well. When you’re ready to print, the best result happens from soaking your paper in water and then patting it dry before printing on it. You have to rub the ink into the lines you’ve carved, and wipe away any excess until you think it looks ready to print! It’s a very fun technique that is surprisingly easy to do! You can also add some color (once the print is completely dry)!
I’m very excited to see what else we learn in Intaglio printmaking this semester, and I’ll post new projects here!