If you haven’t had the experience of etching a plate, then just the term “grounding” might seem tedious and difficult. With only a few simple steps, this technique will shape your view of etching in a less perplexing way.
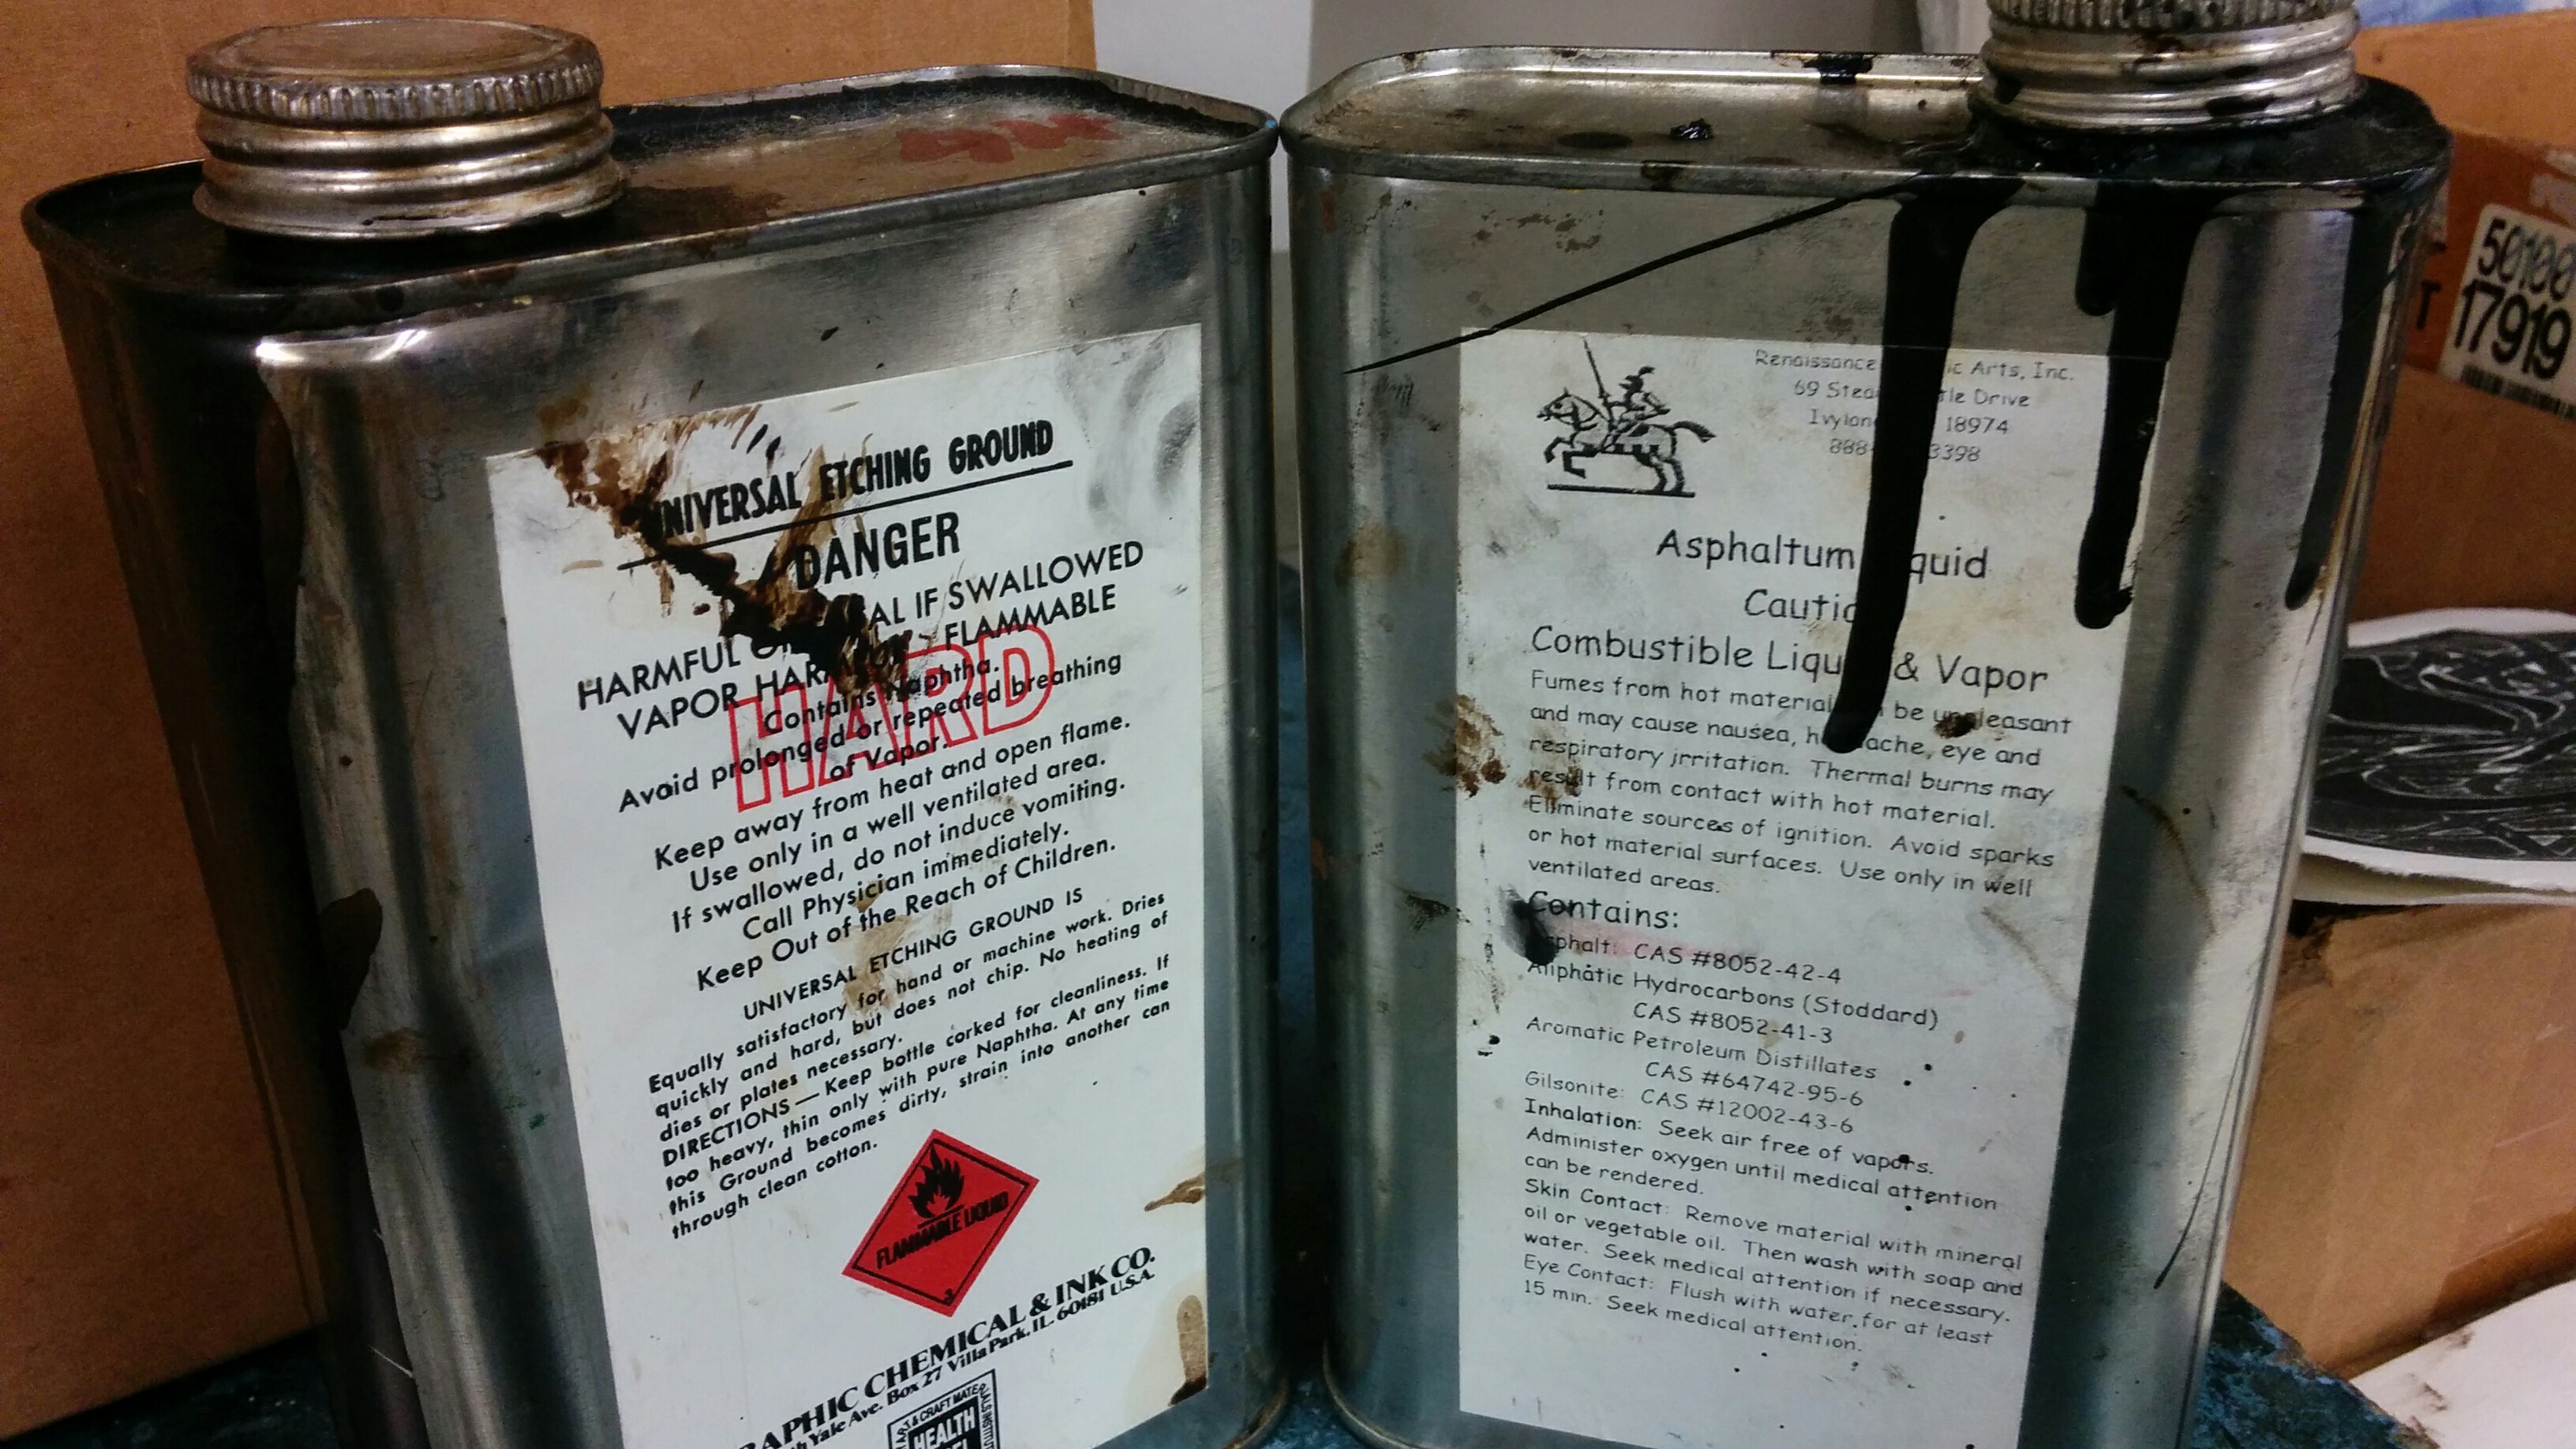
To start off, I need to discuss what ground is and the two main types used for etching. Ground is a chemical or a combination of different chemicals that resists the acid; therefore, the parts of the plate covered in the ground will not etch. Similarly with the toray technique, the parts of thin film that is not engraved will resist the ink once rolled over. Now the two main types of ground include the hard ground and the soft ground.
The hard ground (otherwise known as the ball ground) is a combination of asphaltum and beeswax that can be formed into a ball. The way to form a layer of ground is to make the wax mixture melt over the plate, like a chocolate bar on a hot day. You could either use a hotplate or a hair dryer to make the etching plate hot. You then would rub the ball on the plate to melt it and form a thick puddle of ground. Since it is so thick, using a brayer would work the best to spread the ground evenly over to all edges. Instead of using the ball ground, you can go for the liquid ground which is just a thinned down version. To use it, you just need to use a brush to sweep the ground over the plate. While you can use this plate once dried, it’s best to put it over a hotplate to lock in the ground and smooth the surface.
Another version is called the soft ground. It’s basically the same as hard ground but waxier. Printmakers mainly use this when making textures from objects. In other words, it’s not used to scratch away, but rather to leave an impression. For this project, I used ball ground.
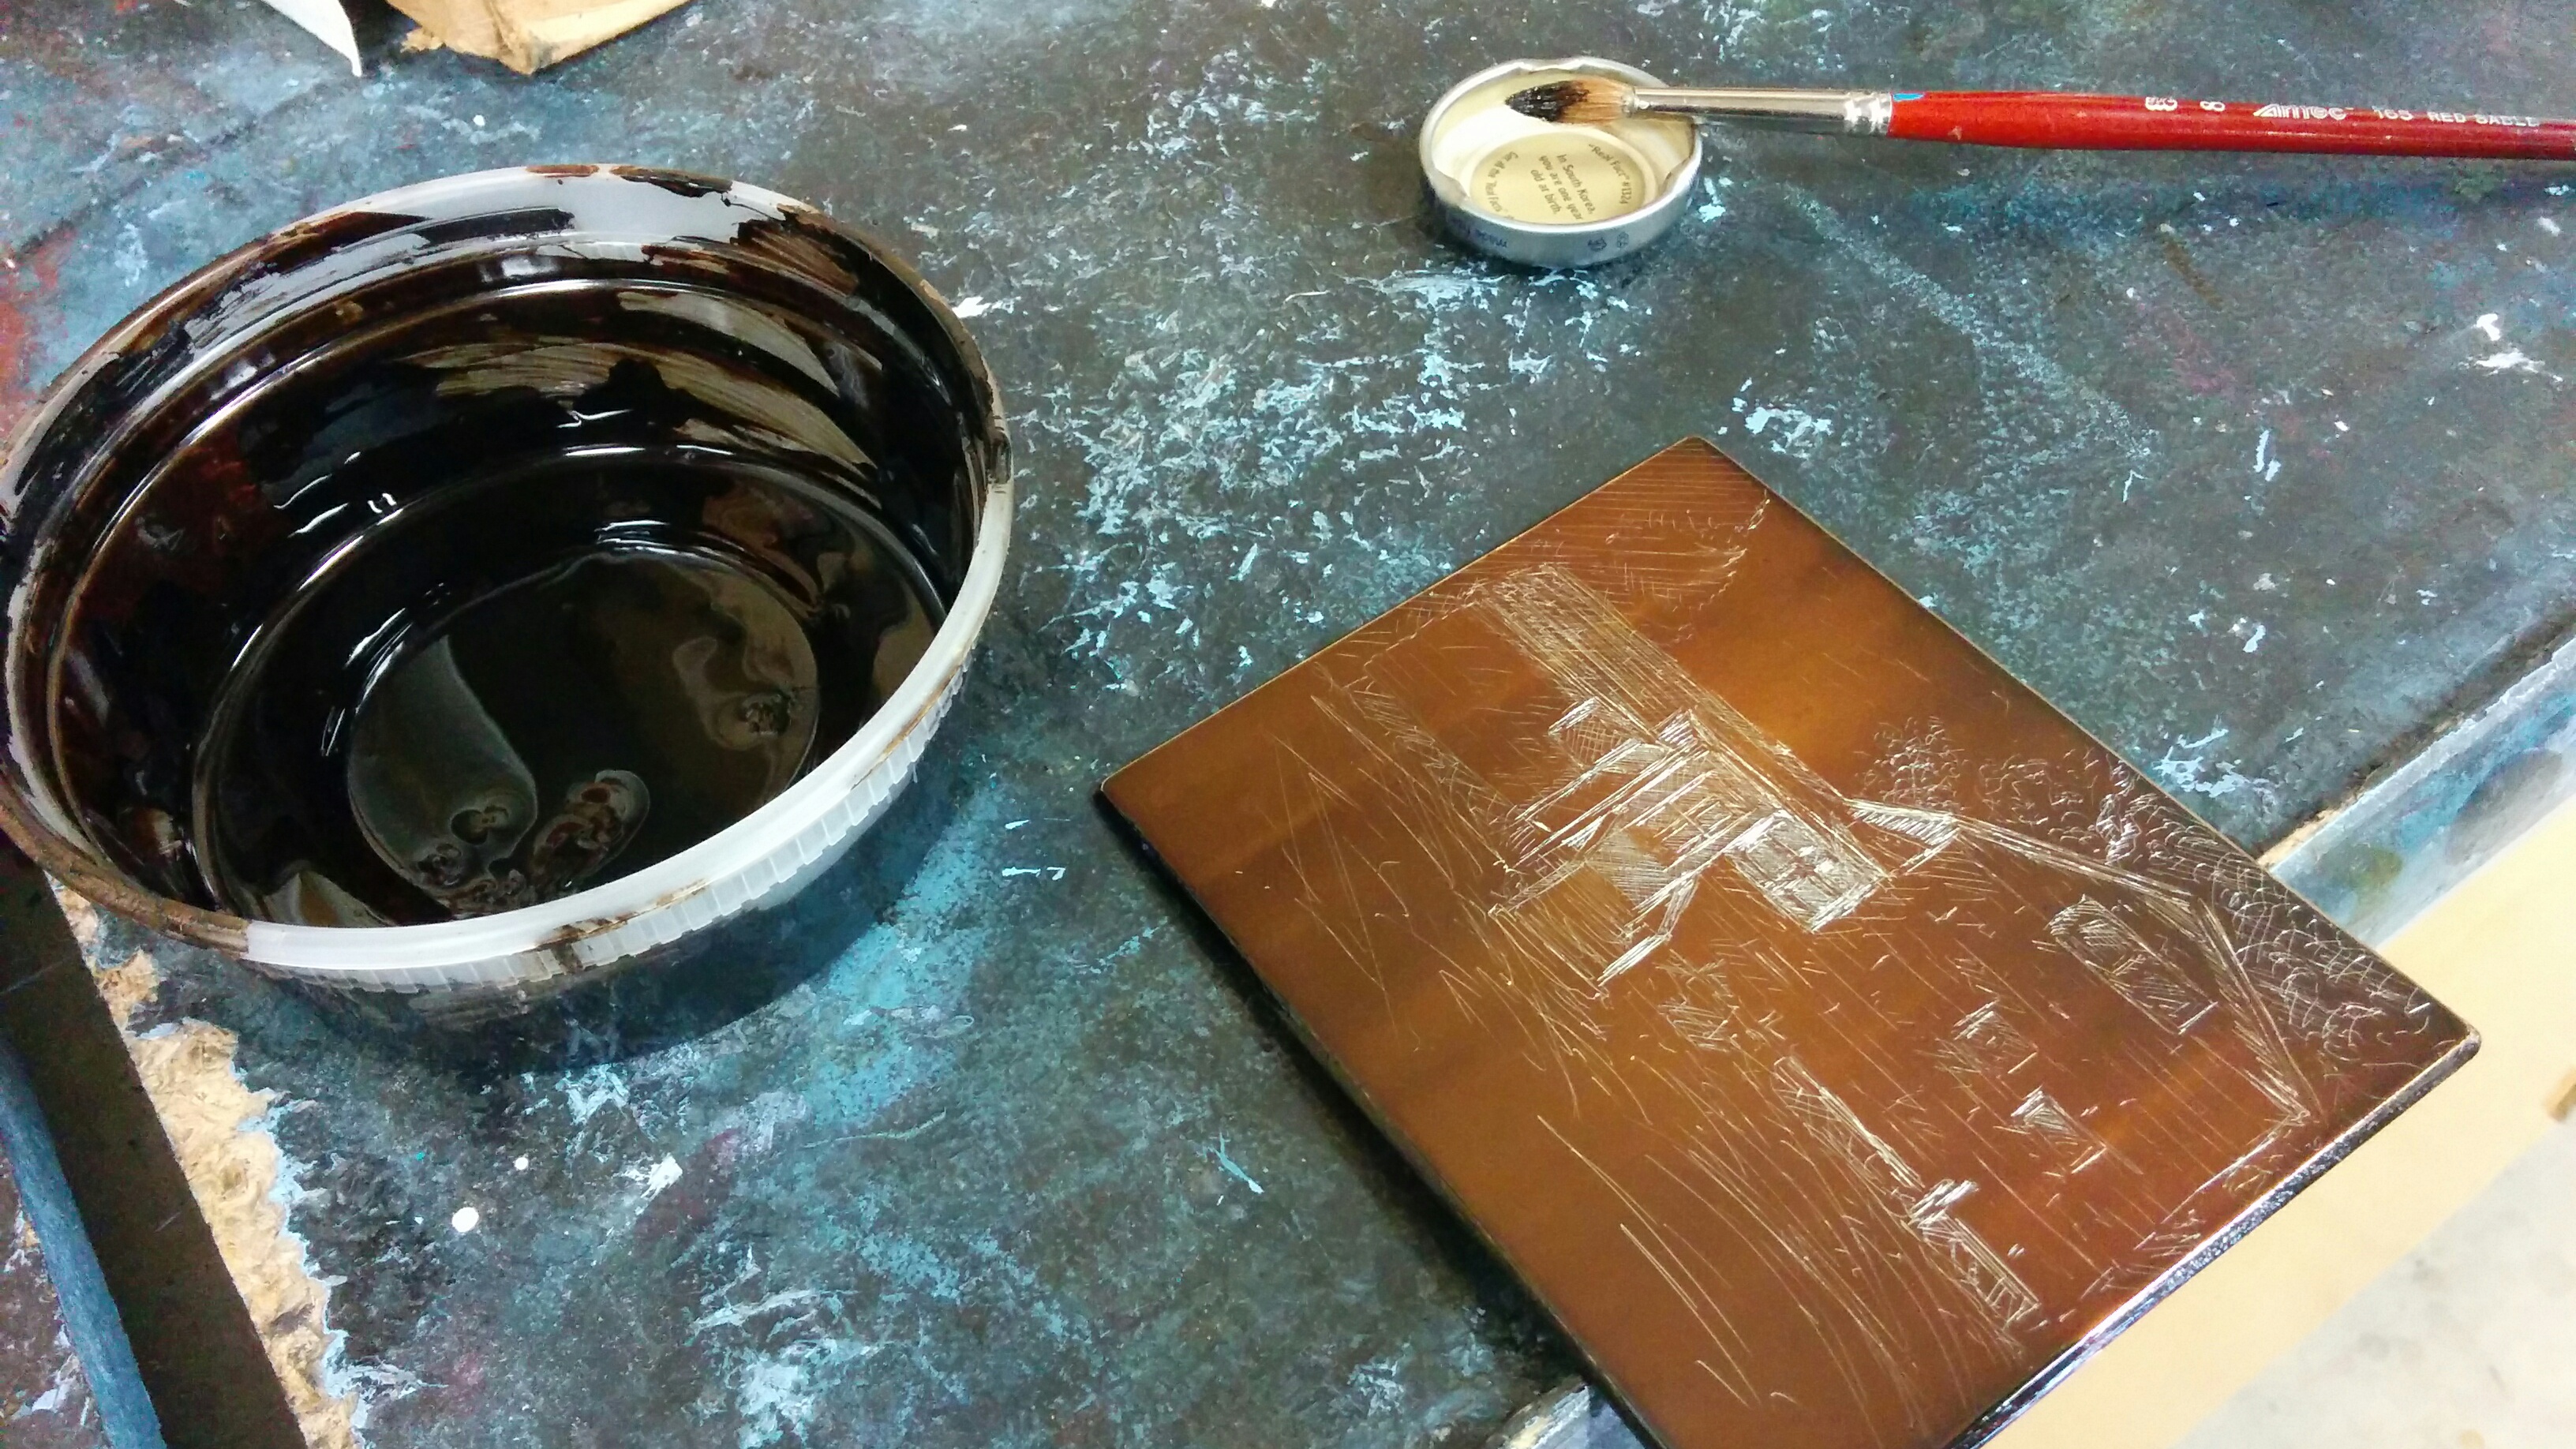
Before I put on the ground, I needed to prepare my plate. I used a zinc metal plate instead of a copper plate for two reasons: it was less expensive and I didn’t need to print many editions from it. I beveled the edges (cut a 45 degree angle on all sides) to insure that the ground covered every part of the plate, and to give a clean final proof. Finally, I simply cleaned the plate of any hairs or oil marks before adding the liquid ground. To keep a cleaner surface, you could add newsprint behind your plate. It can also be used to wipe off any excess ground from the brush or plate. While brushing the ground, it’s not critical on how you place it, but rather how much you place. While there is always a leeway on the amount you brush on, it’s best not to add thick blobs of it. As long as the shiny metal is no longer exposed, then the plate will not etch those parts.
After you finish applying a thin layer of ground, you can go over to your hotplate or use a hair dryer to warm up the plate. Again, this is to fuse the ground to the plate and to provide an even surface. After a few minutes, just let it cool.
A note to keep in mind is the measure of exposed metal on parts of the plate. The most important area would be the actual matrix on the top where your design will be. The bevel will be etched if no ground is applied. Depending on your design, if it bleeds off the edge, the acid will eat away the metal and provide a rugged pattern. In the end, grounding the sides will leave a clean sheen to your final proof which can be important to several artists and curators. While sometimes your plate will have chip marks on the bottom, it’s only a minor problem, especially if you’re only putting the plate in the acid bath a few times. Most providers of etching plates will have a film on the bottom that naturally repels the acid.
Finally, the ground can be used throughout the etching process, including if you need to “stop out.” This refers to the time when you no longer want a burr to etch, so you cover it with ground. Depending on how long you leave the plate in the bath, it will etch deeper lines being able to hold more ink. As long as you know the basics to applying a ground, you can experiment with the design aspect when etching your masterpiece.
Please leave a comment below if you have any critiques or comments, or simply just LIKE and SHARE!