Hi everyone! This week I don’t have anything ceramics related to write about, but I do have a fun craft that I recently did! In preparation for Easter, I decided to dye some eggs, but I tried a new technique. I marbled them! This is a technique that can also be used on paper, and we actually just did it in my Art Therapy class a few weeks ago. It’s super easy, and just a little messy!
Marbled Easter Eggs
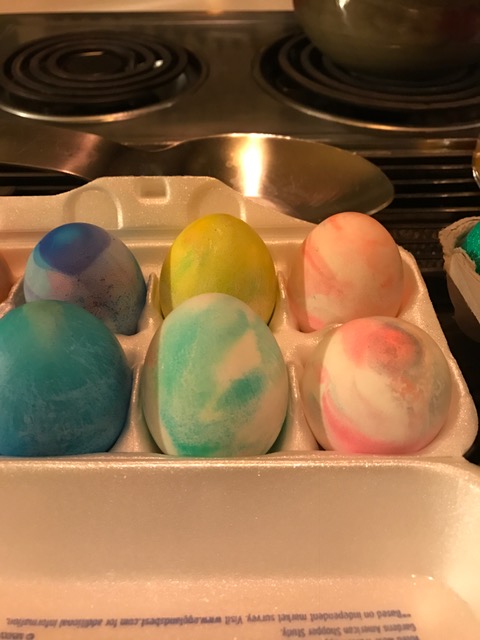
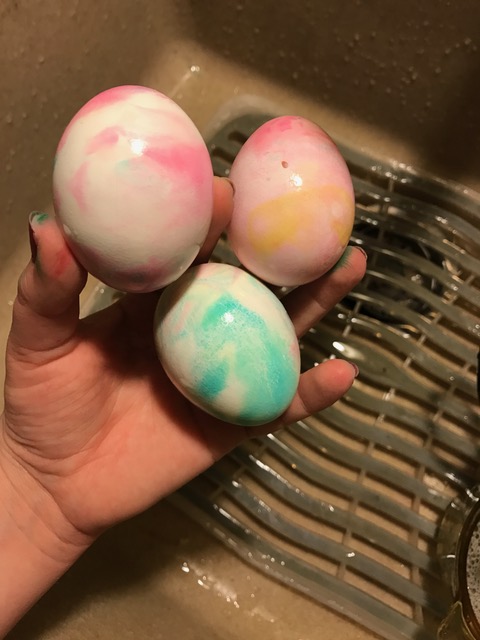
For the eggs: fill a tin tray with shaving cream (the foam kind), and add drops of food coloring throughout. With a fork, swirl in the food coloring gradually, but not all the way! You can add as many colors as you’d like. The more pigmented the shaving cream is, the better. Next you take your egg and roll it in the shaving cream (this is the messy part). Once it is completely covered, take it out and let it sit for a few minutes. Then, simply wipe off the excess shaving cream to reveal a beautiful, marbled Easter egg!
To do this with paper, you simply press one side of the paper down into the shaving cream and food dye, then you take it out and SCRAPE off the excess shaving cream with something such as a ruler! The results are amazing, and psychedelic! It is a fun easy craft, with awesome results. I’ll attach some pictures of the final eggs below, unfortunately I didn’t get any pictures of the shaving cream tin, but there’s a ton of tutorials on Pinterest as well.