If you haven’t read my previous post, I recently started doing some product photography for Illumia, a local woman owned skincare company here in Northeastern PA. I recently did a second round of product photos, and learned even more than I had previously. Since this is my first time doing product work outside of a classroom, I’m still developing my process and techniques, as well as learning what is expected. Every client is different and has their own ideas for how they want to represent their brand, product, or mission. As their photographer, it’s my job to produce images that reflect their ideas, as well as guide them towards what works best for their products.
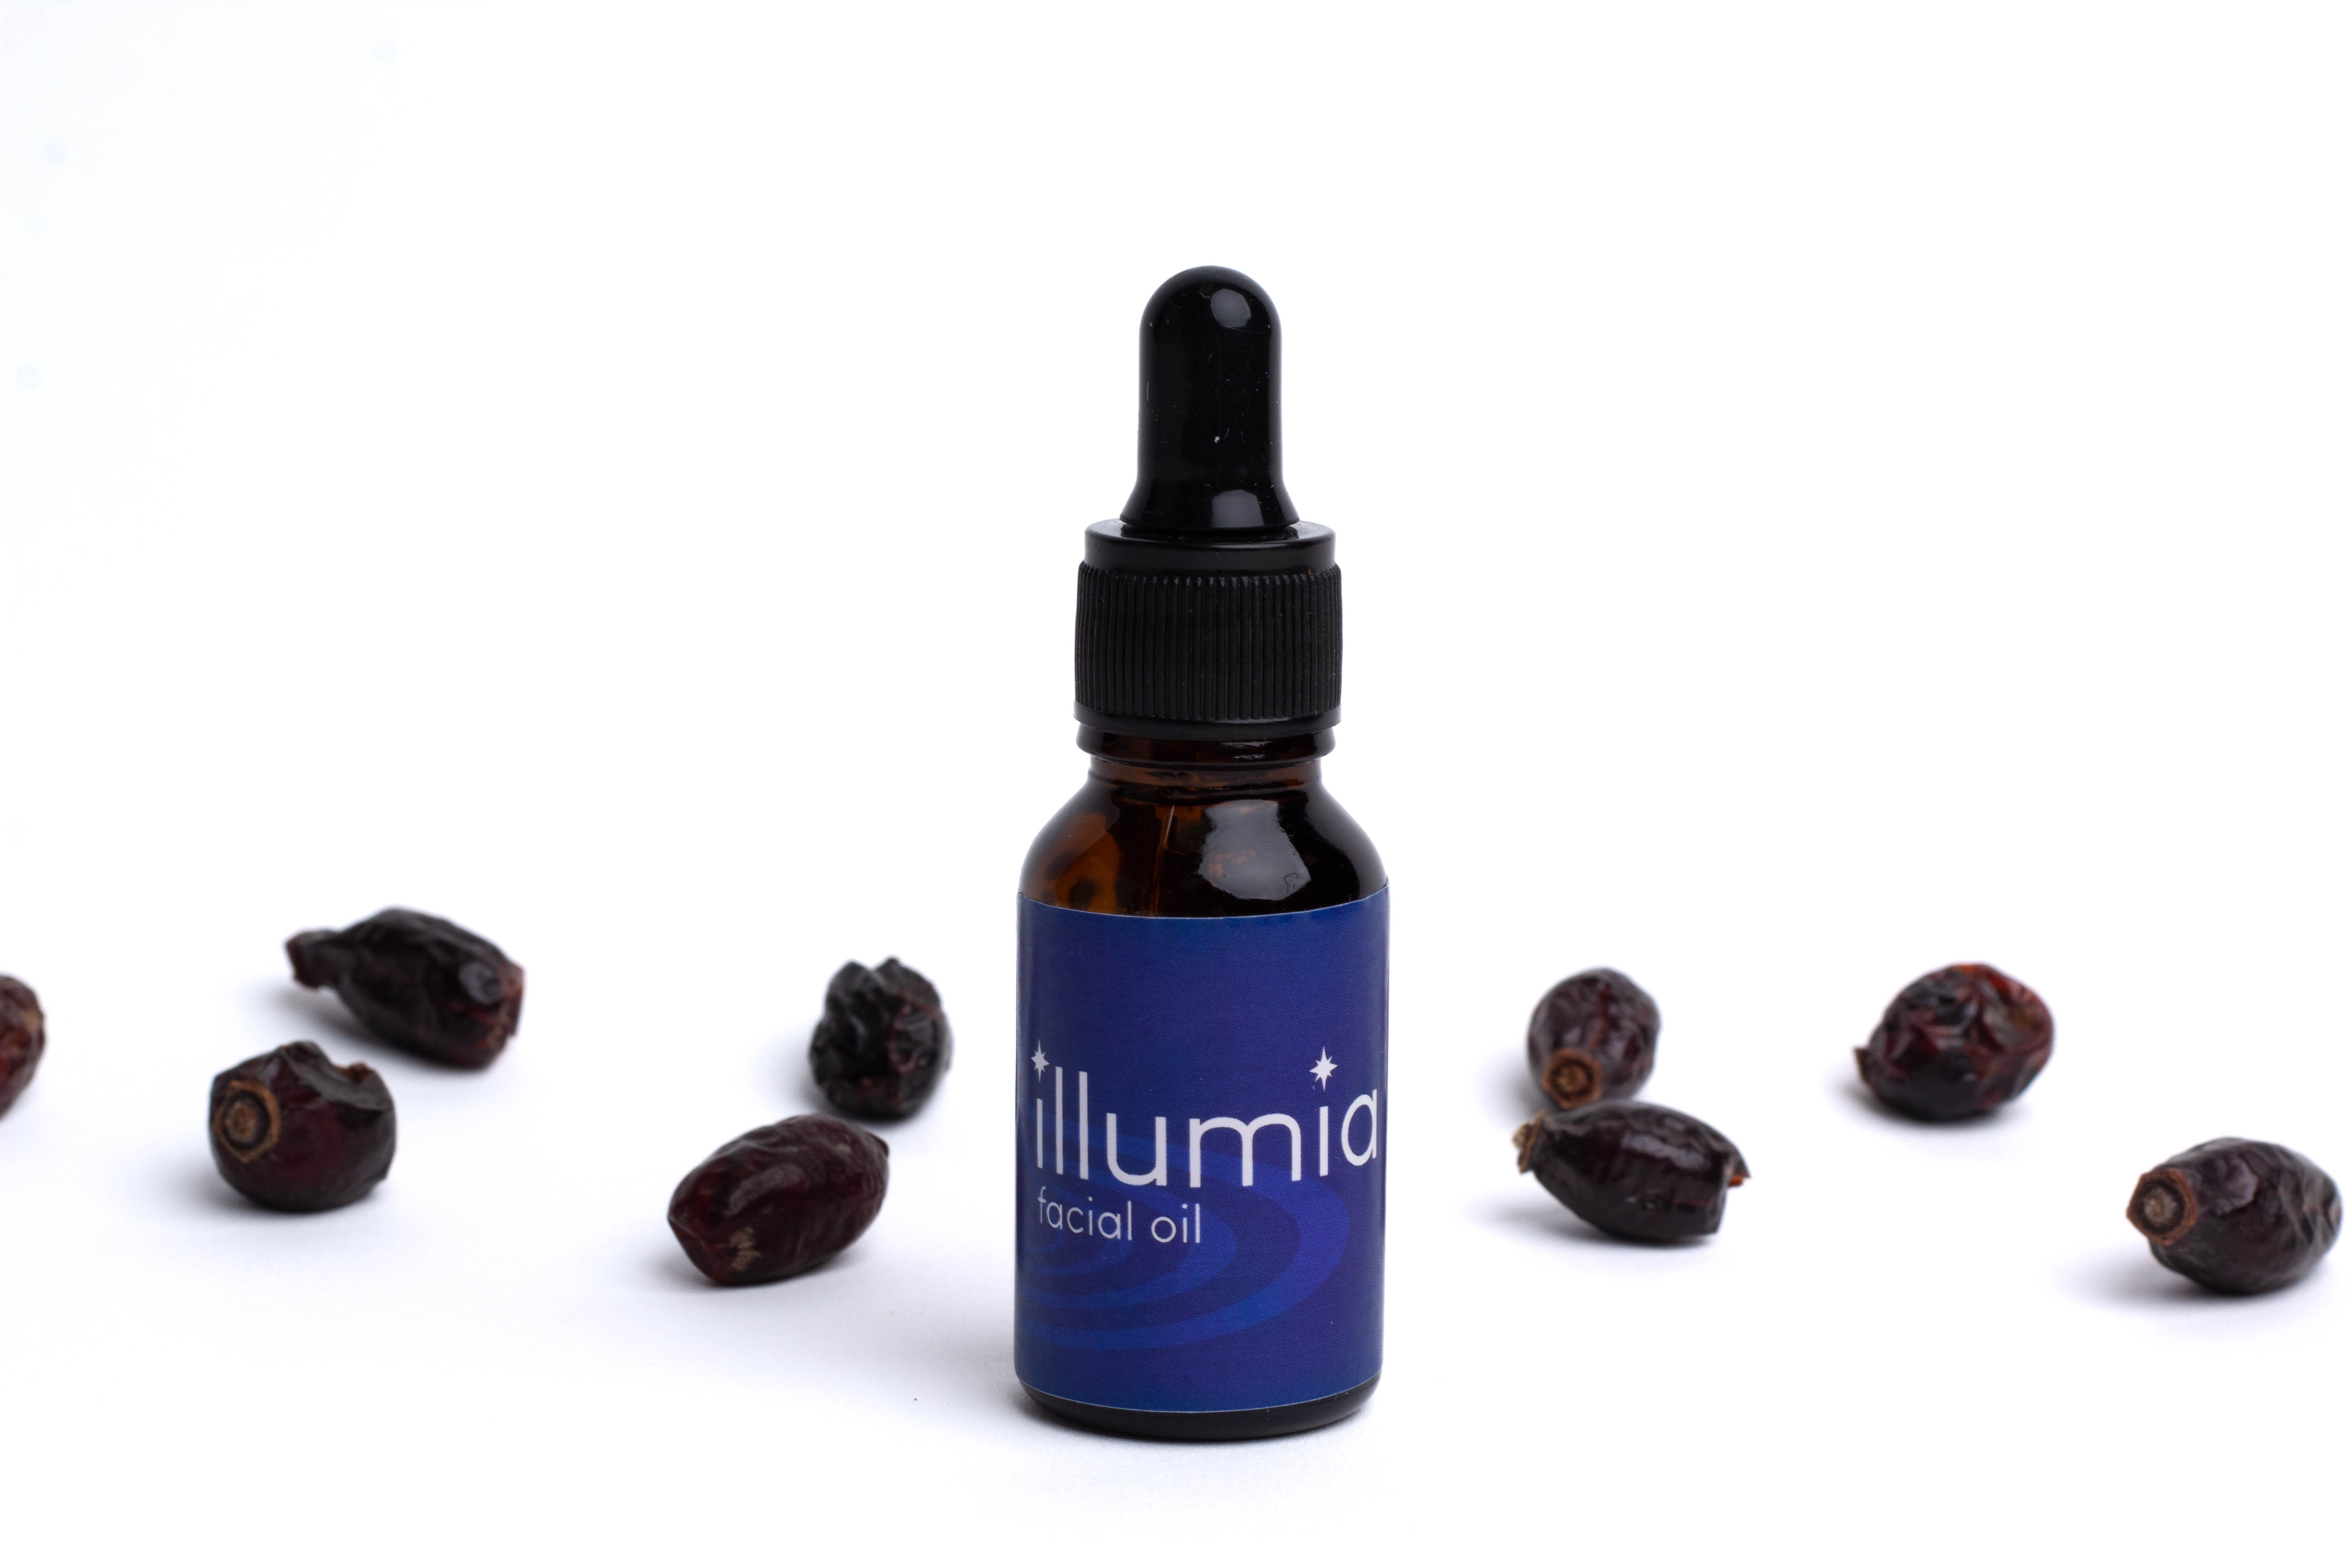
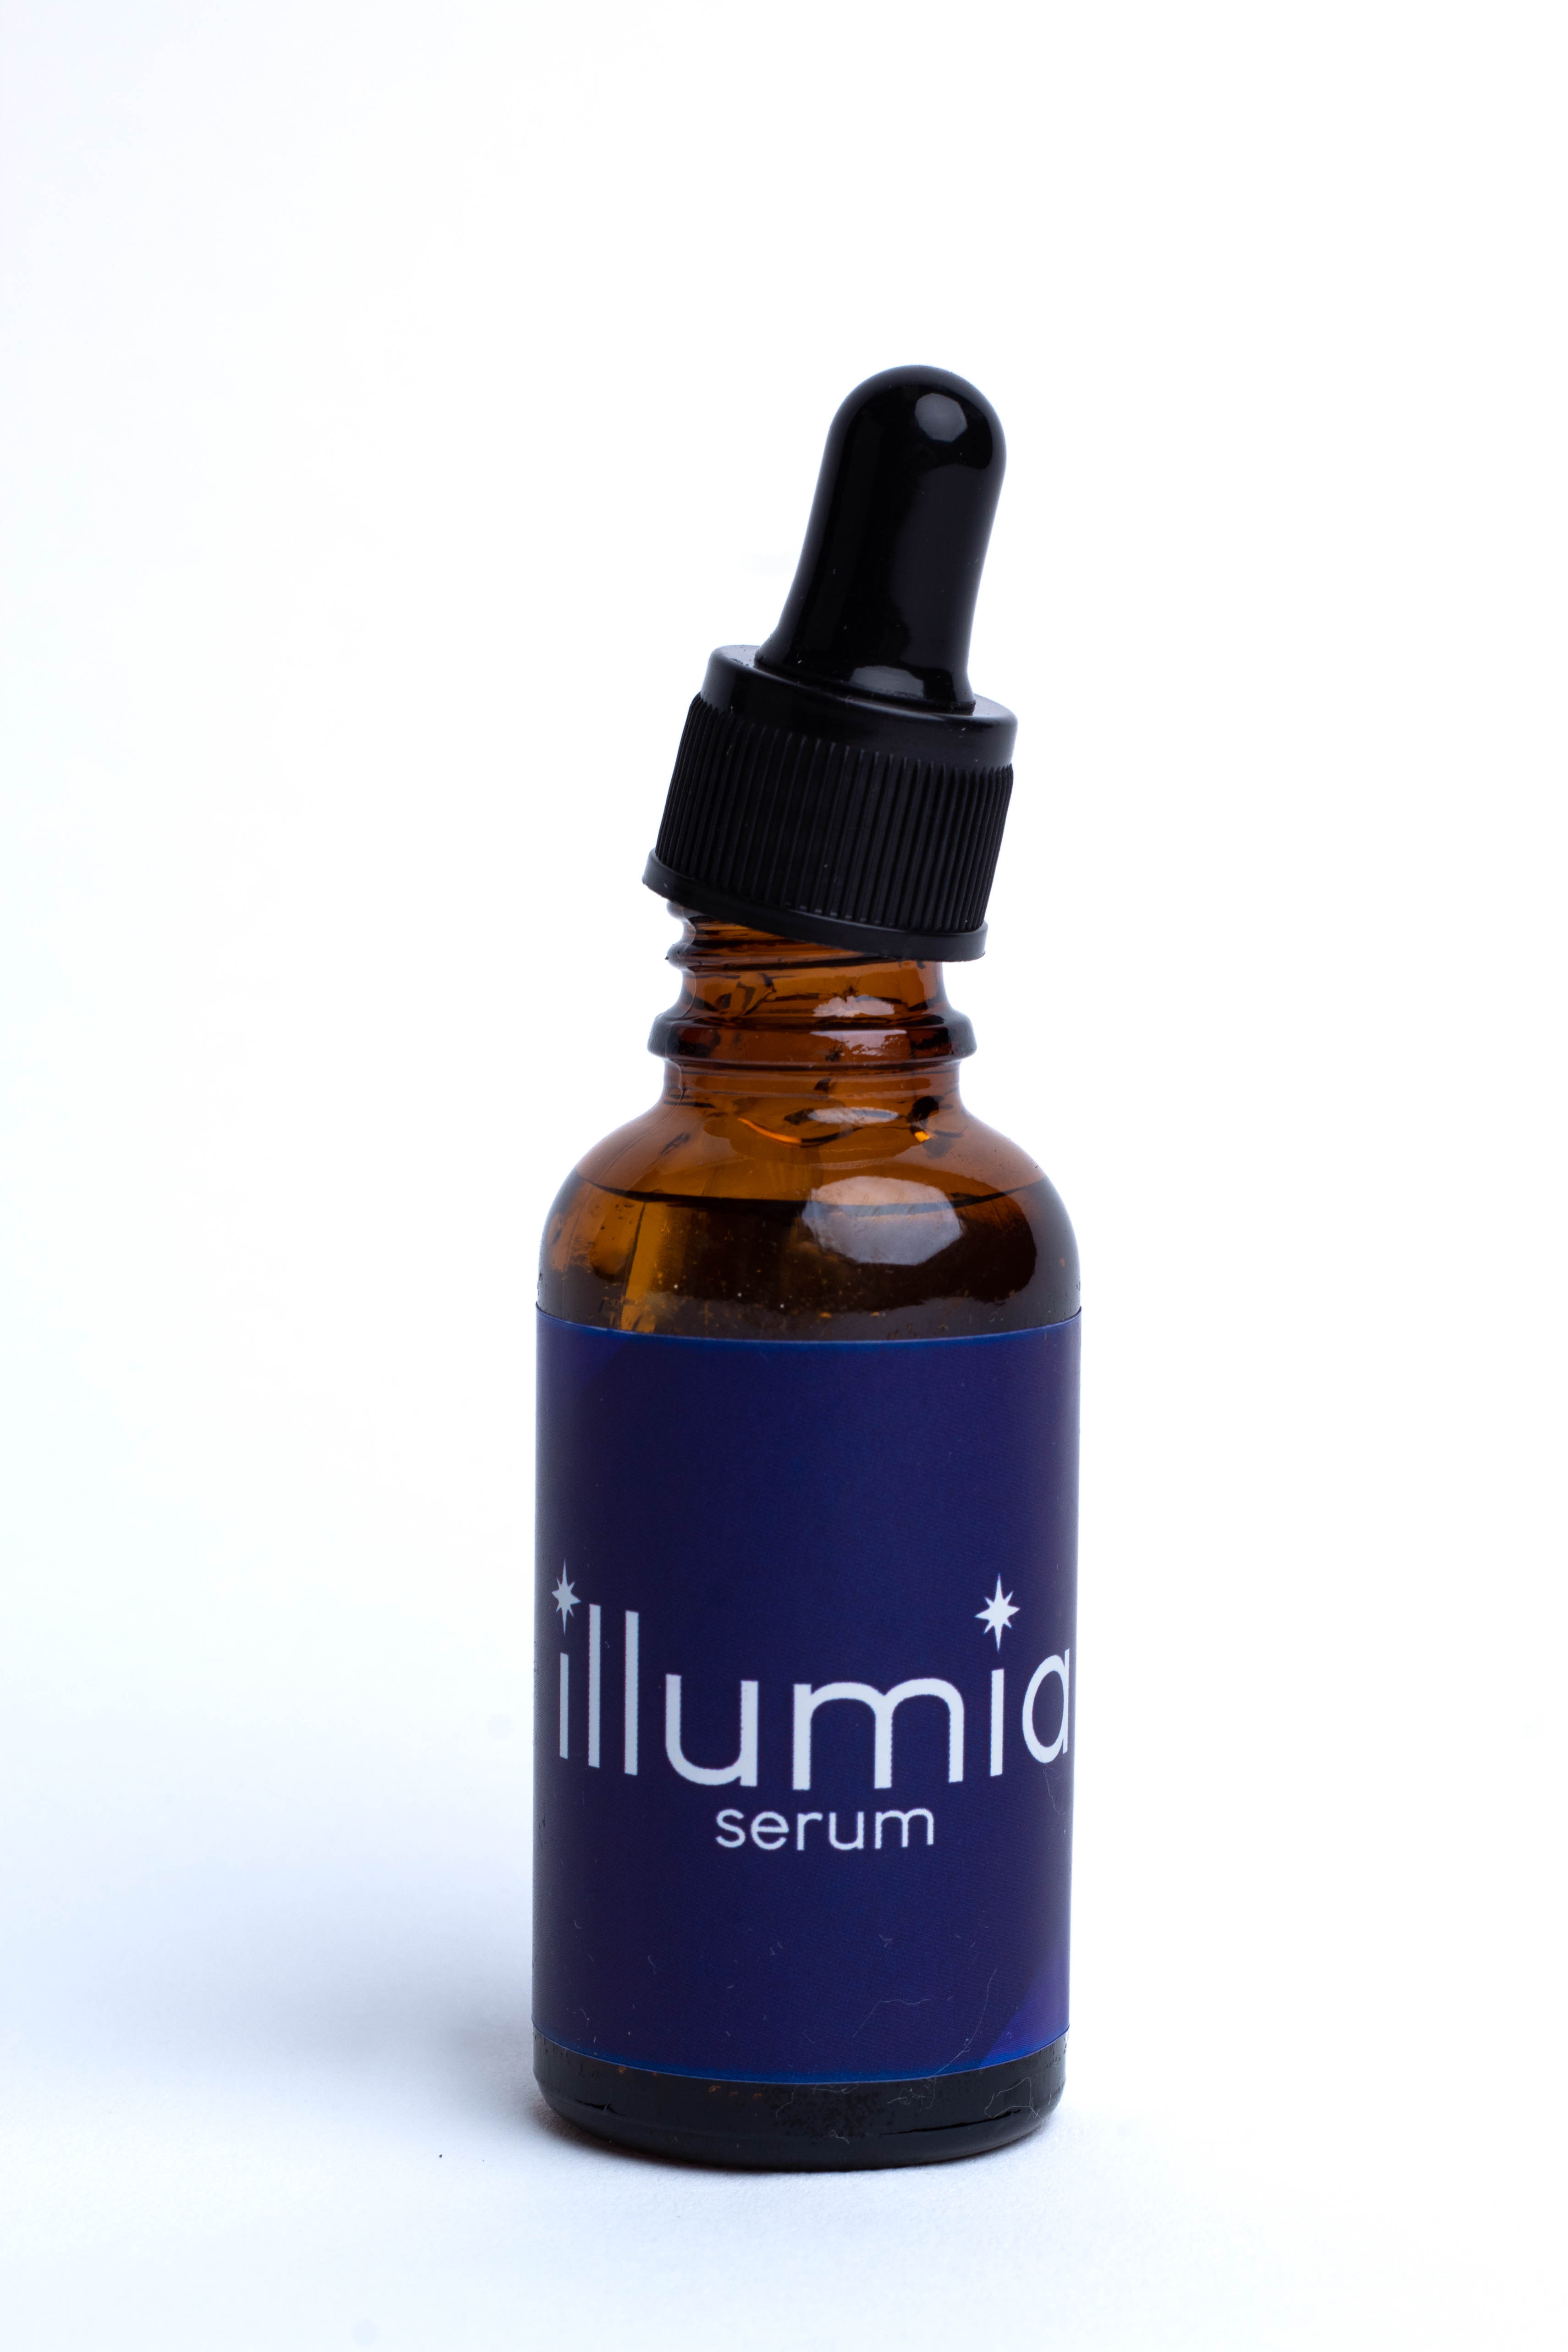
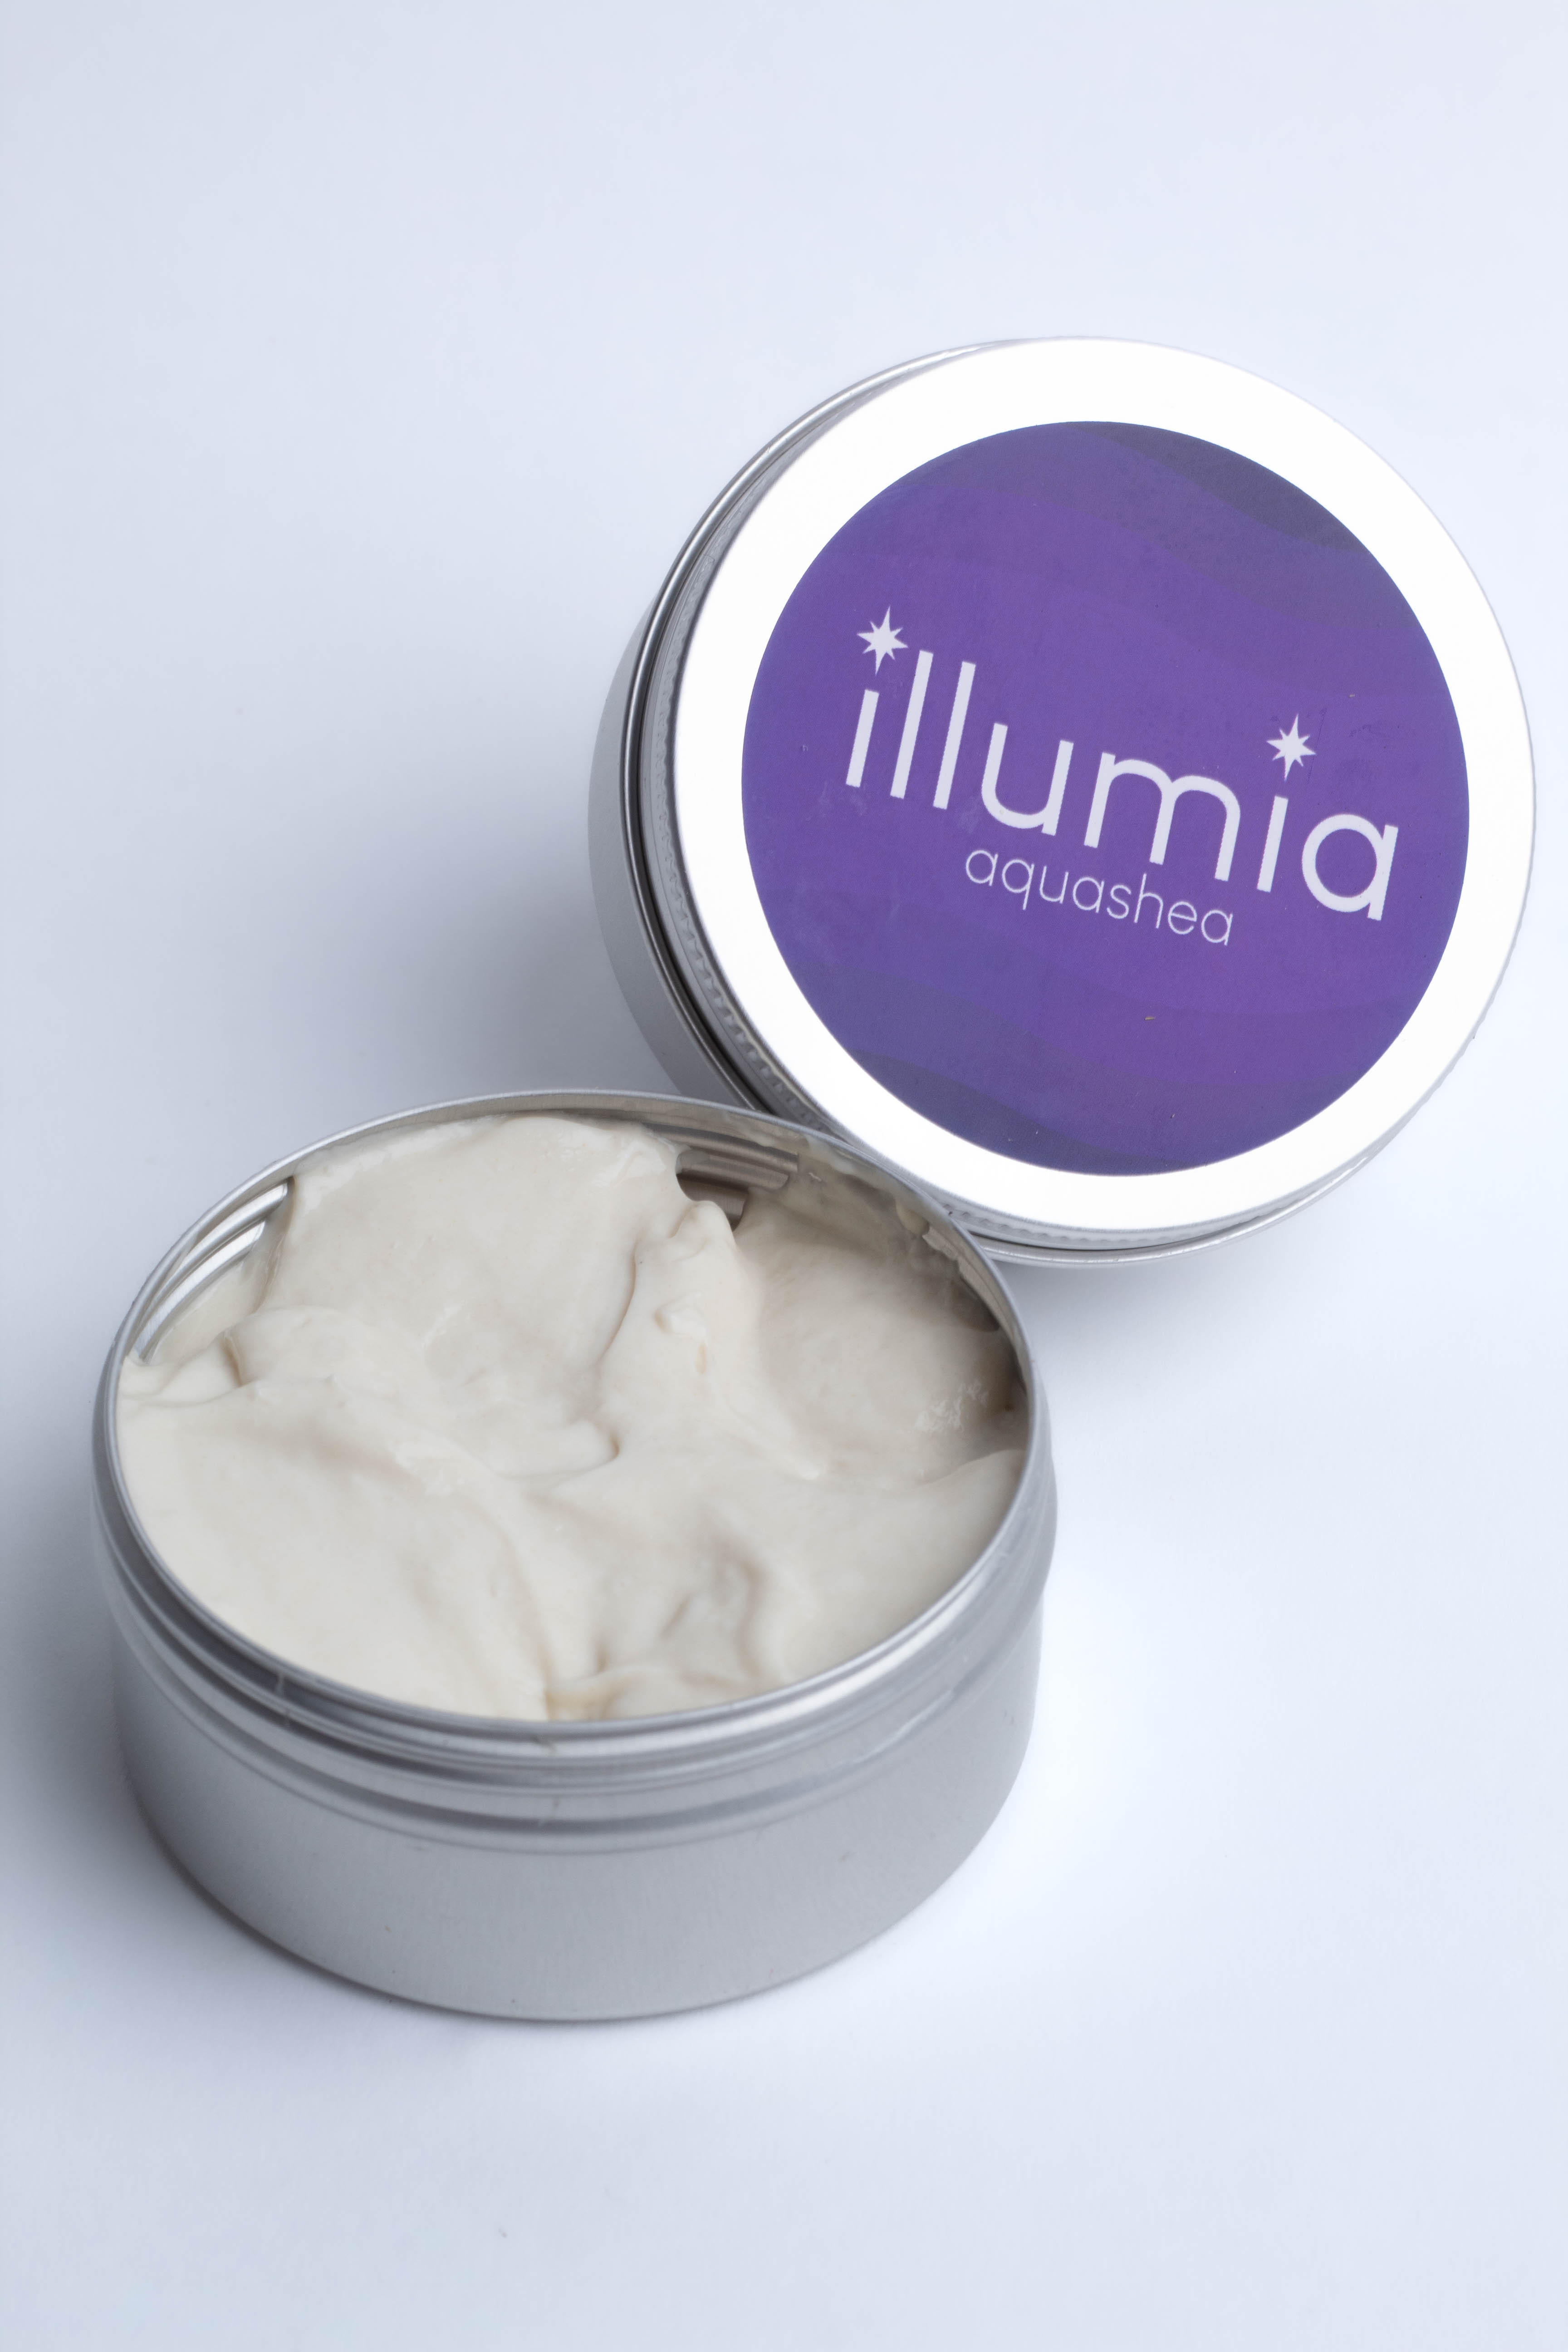
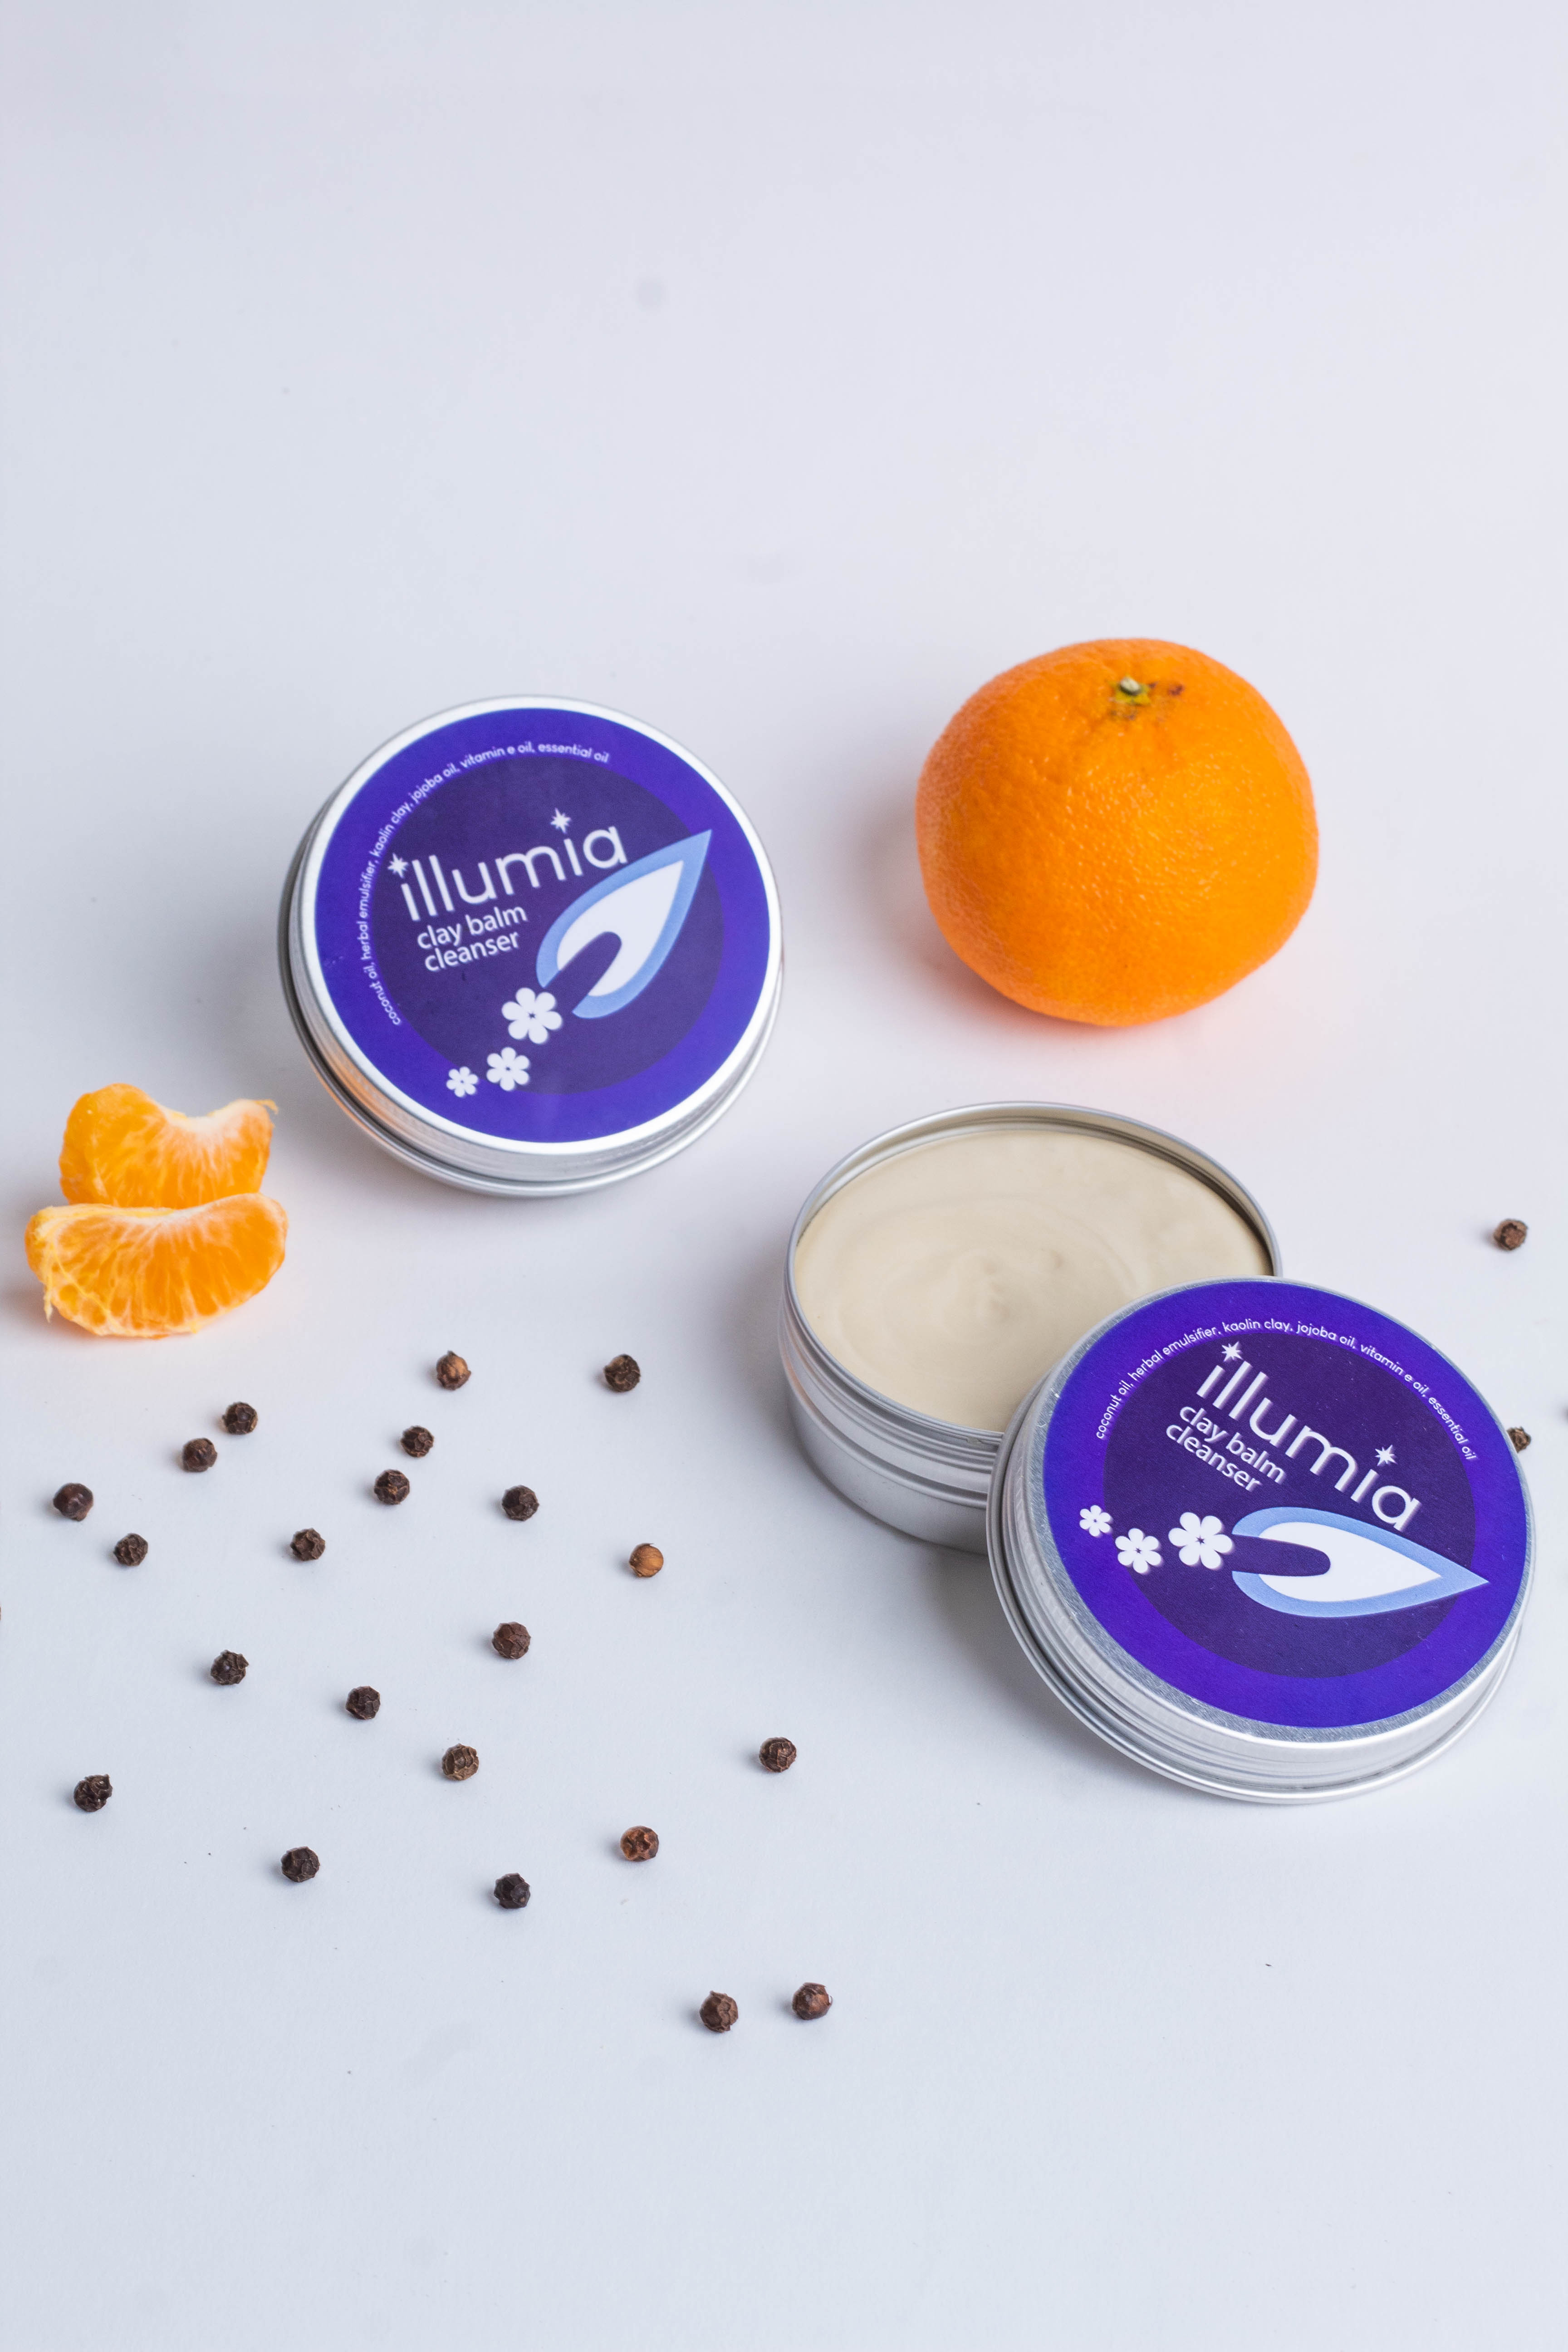
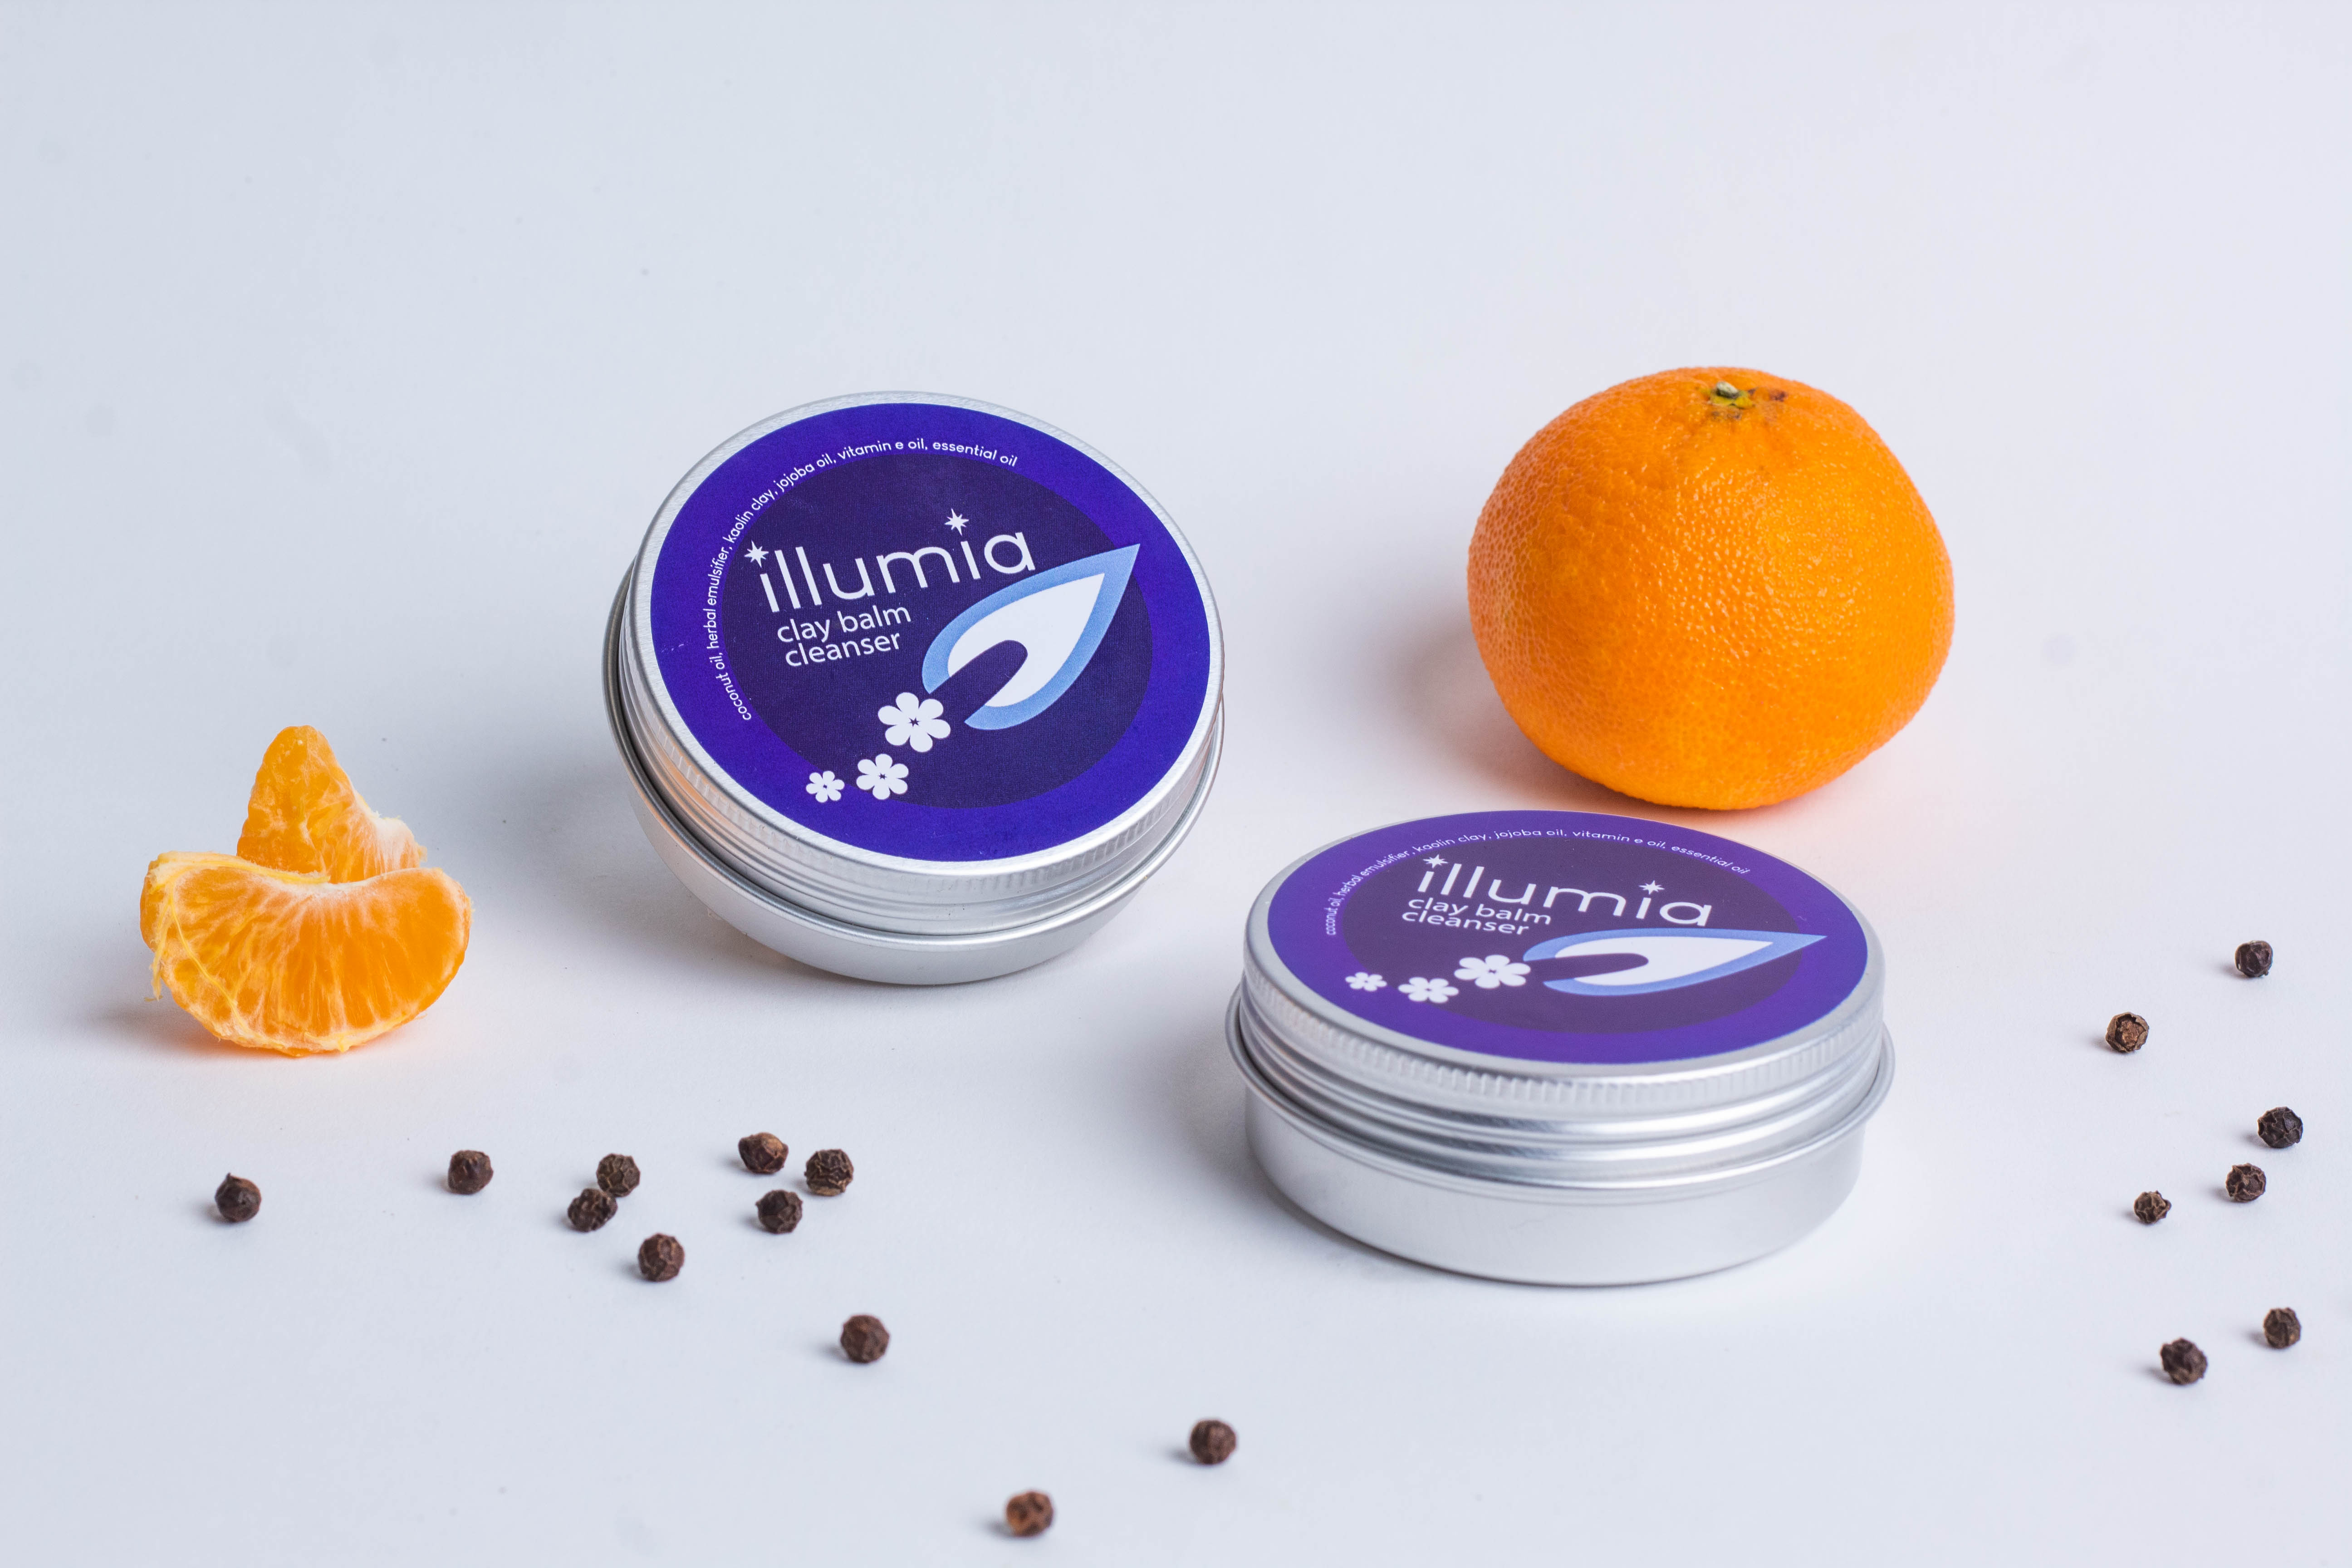
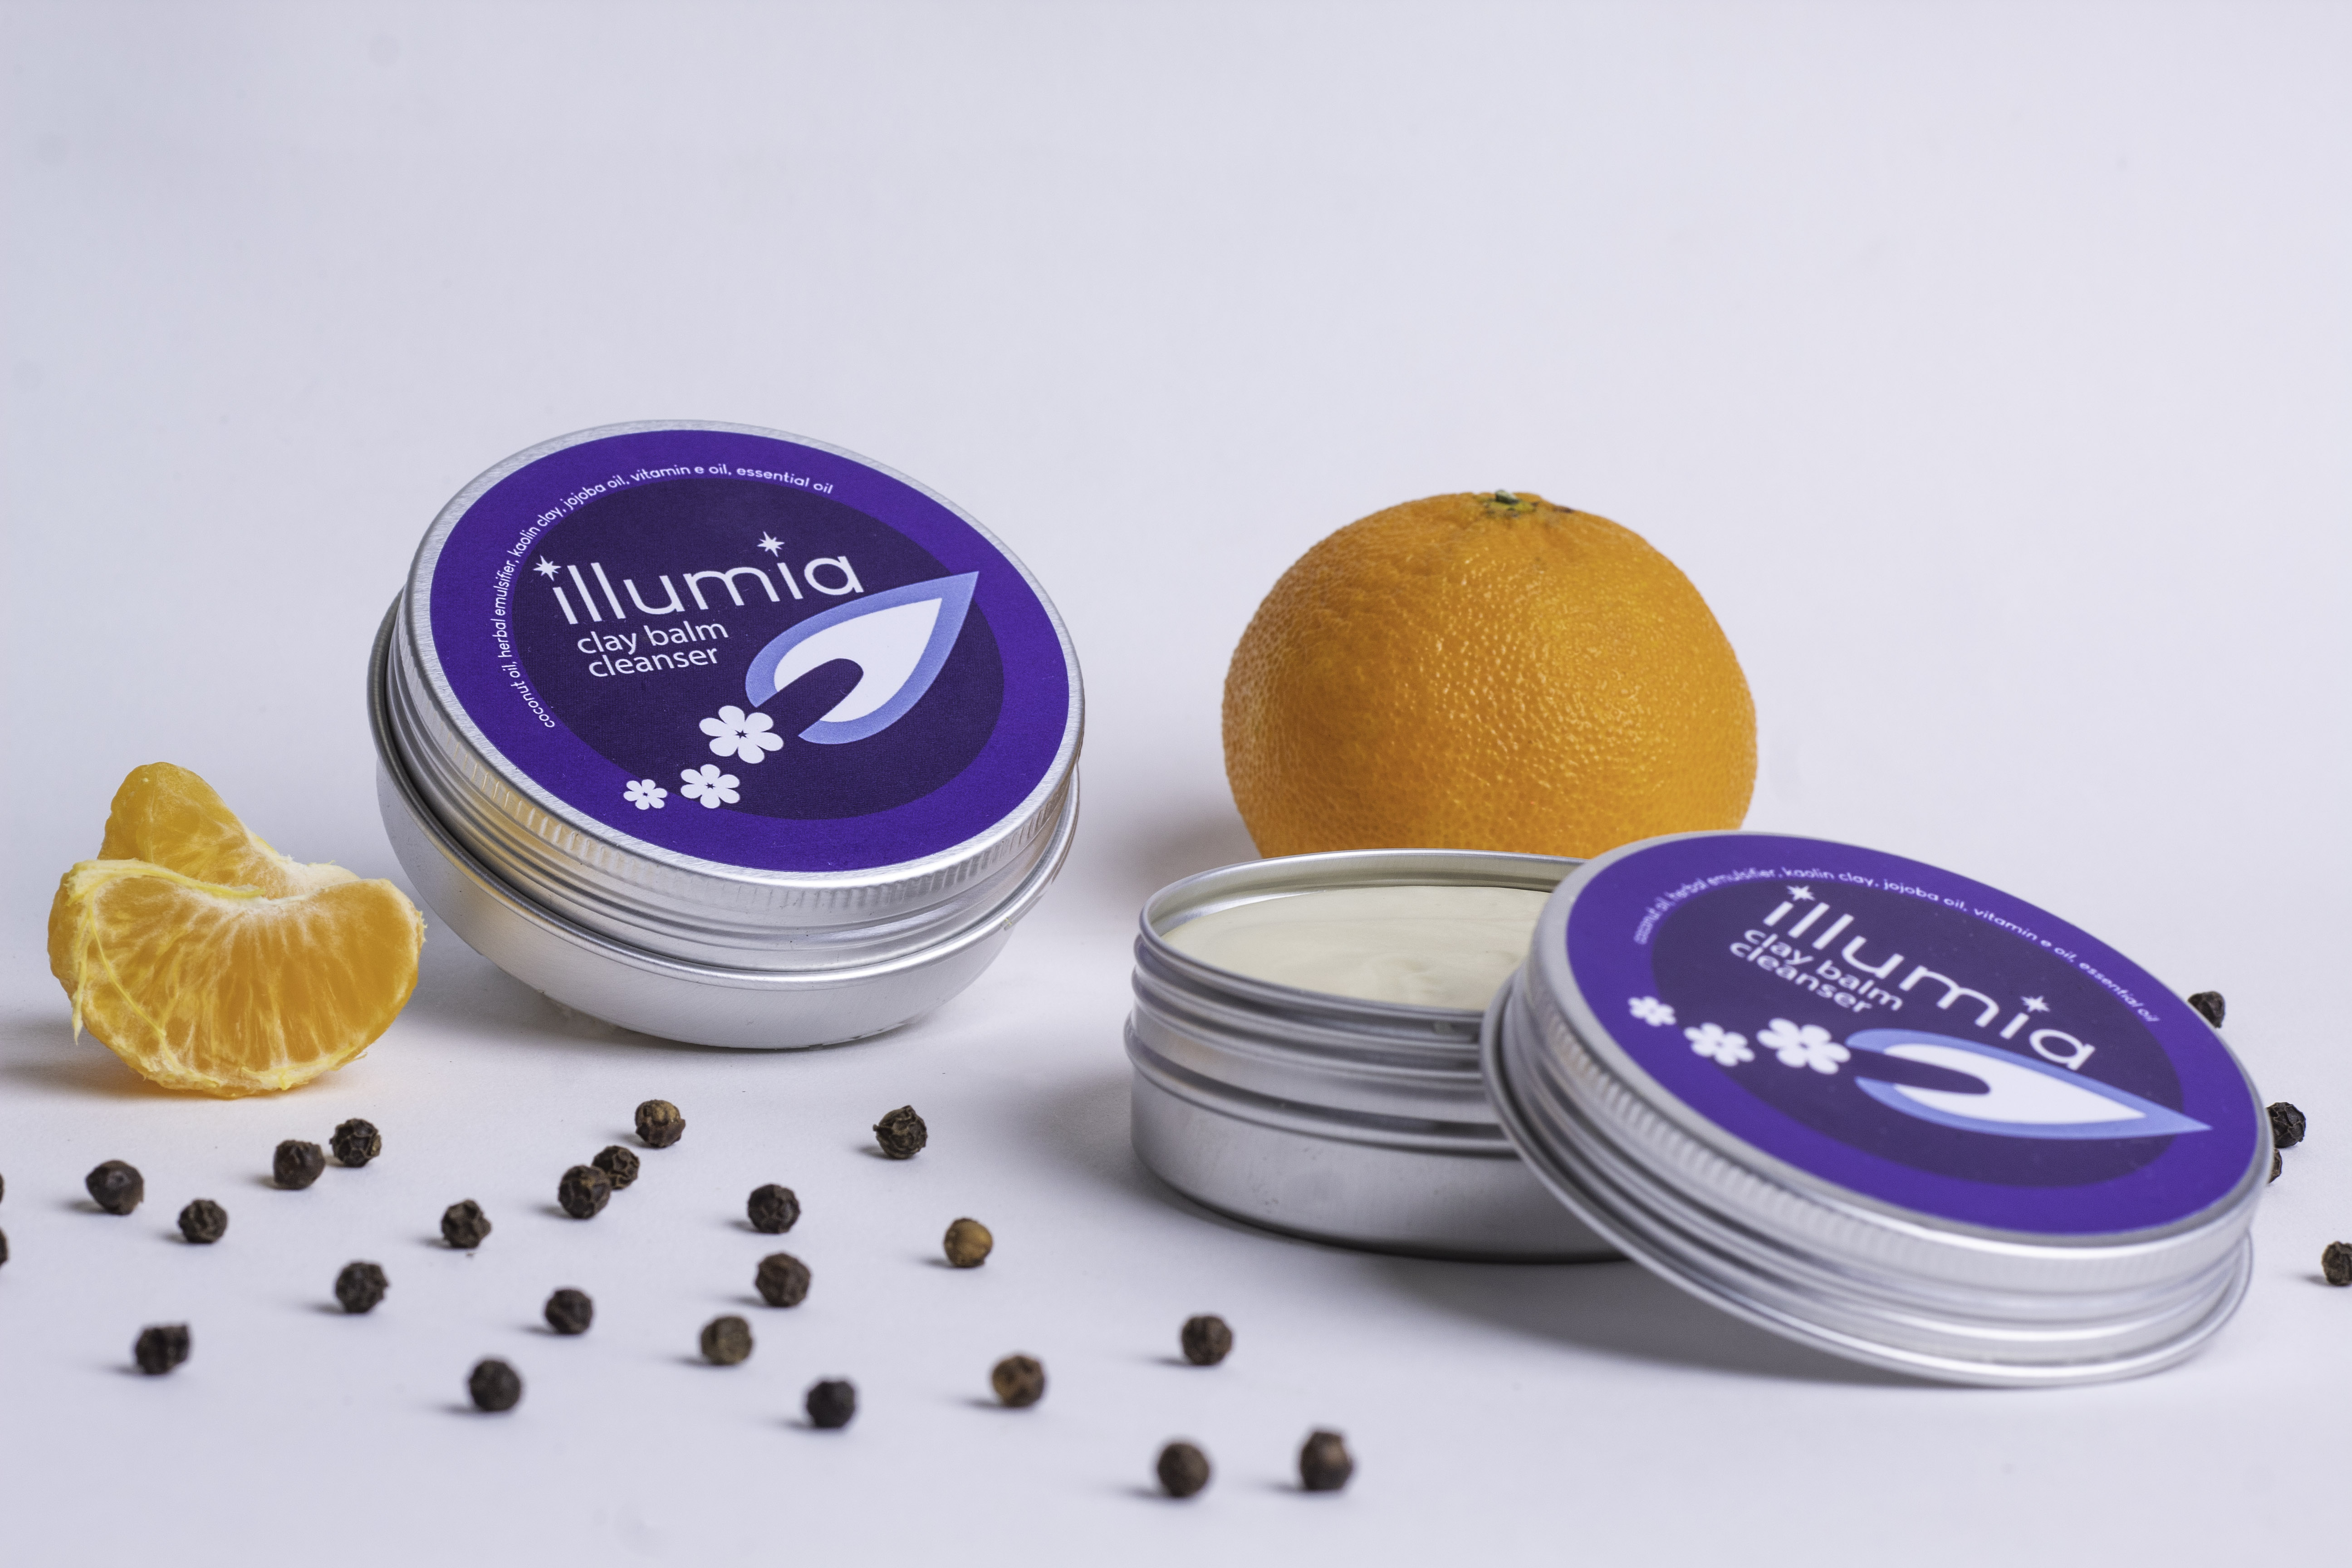
Being mainly a portrait photographer, working outside of my main skill set is a bit daunting, however, I think I learned a lot during this particular shoot. For the first round of products I did a lot of propping, with two levels, and too much shadow. Taking so many fine art courses, as well as loving fine art photography, I tend to lean towards these styles. For this work though it proved better to have more emphasis on the product, with less going on in the background and foreground, but just enough of the ingredients to give the consumer an idea of what is in the product. For each product I made sure to have at least a few different shots of just the product itself, then adding in other background items to add interest. I also decided for the majority of the products to keep the set more simple with having only the one level. This all kept the focus on what the viewer should be looking at: the product.
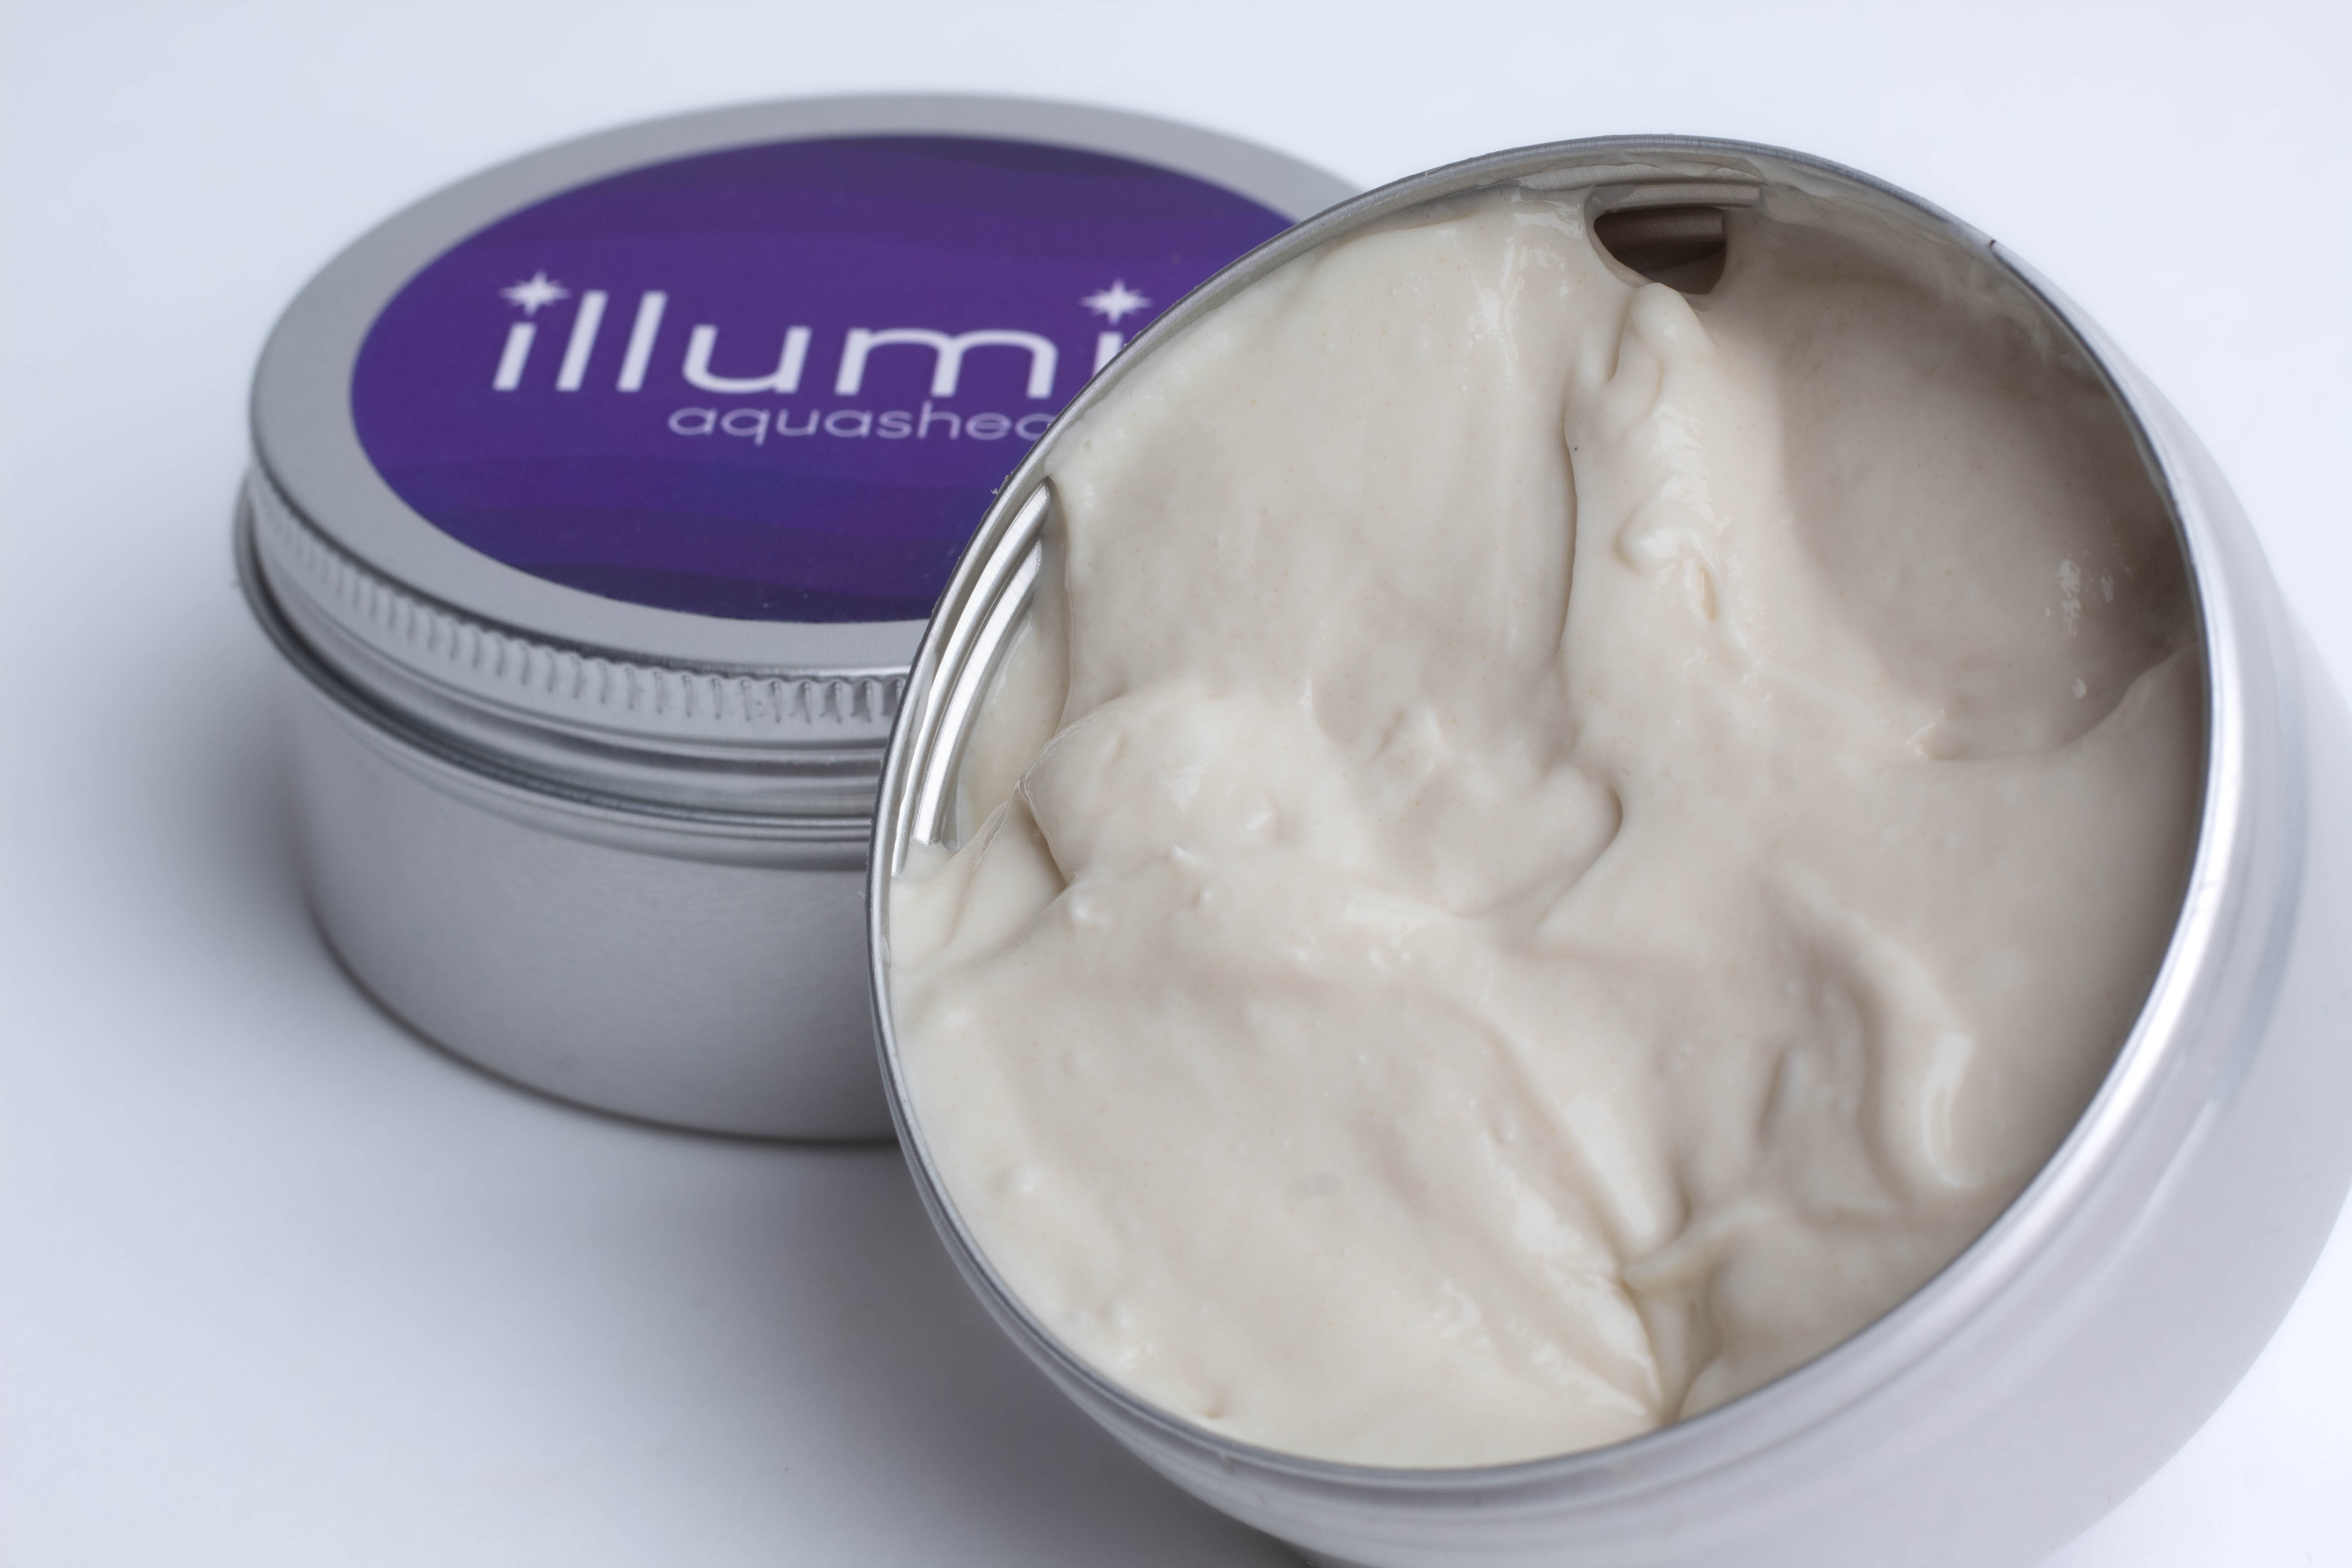
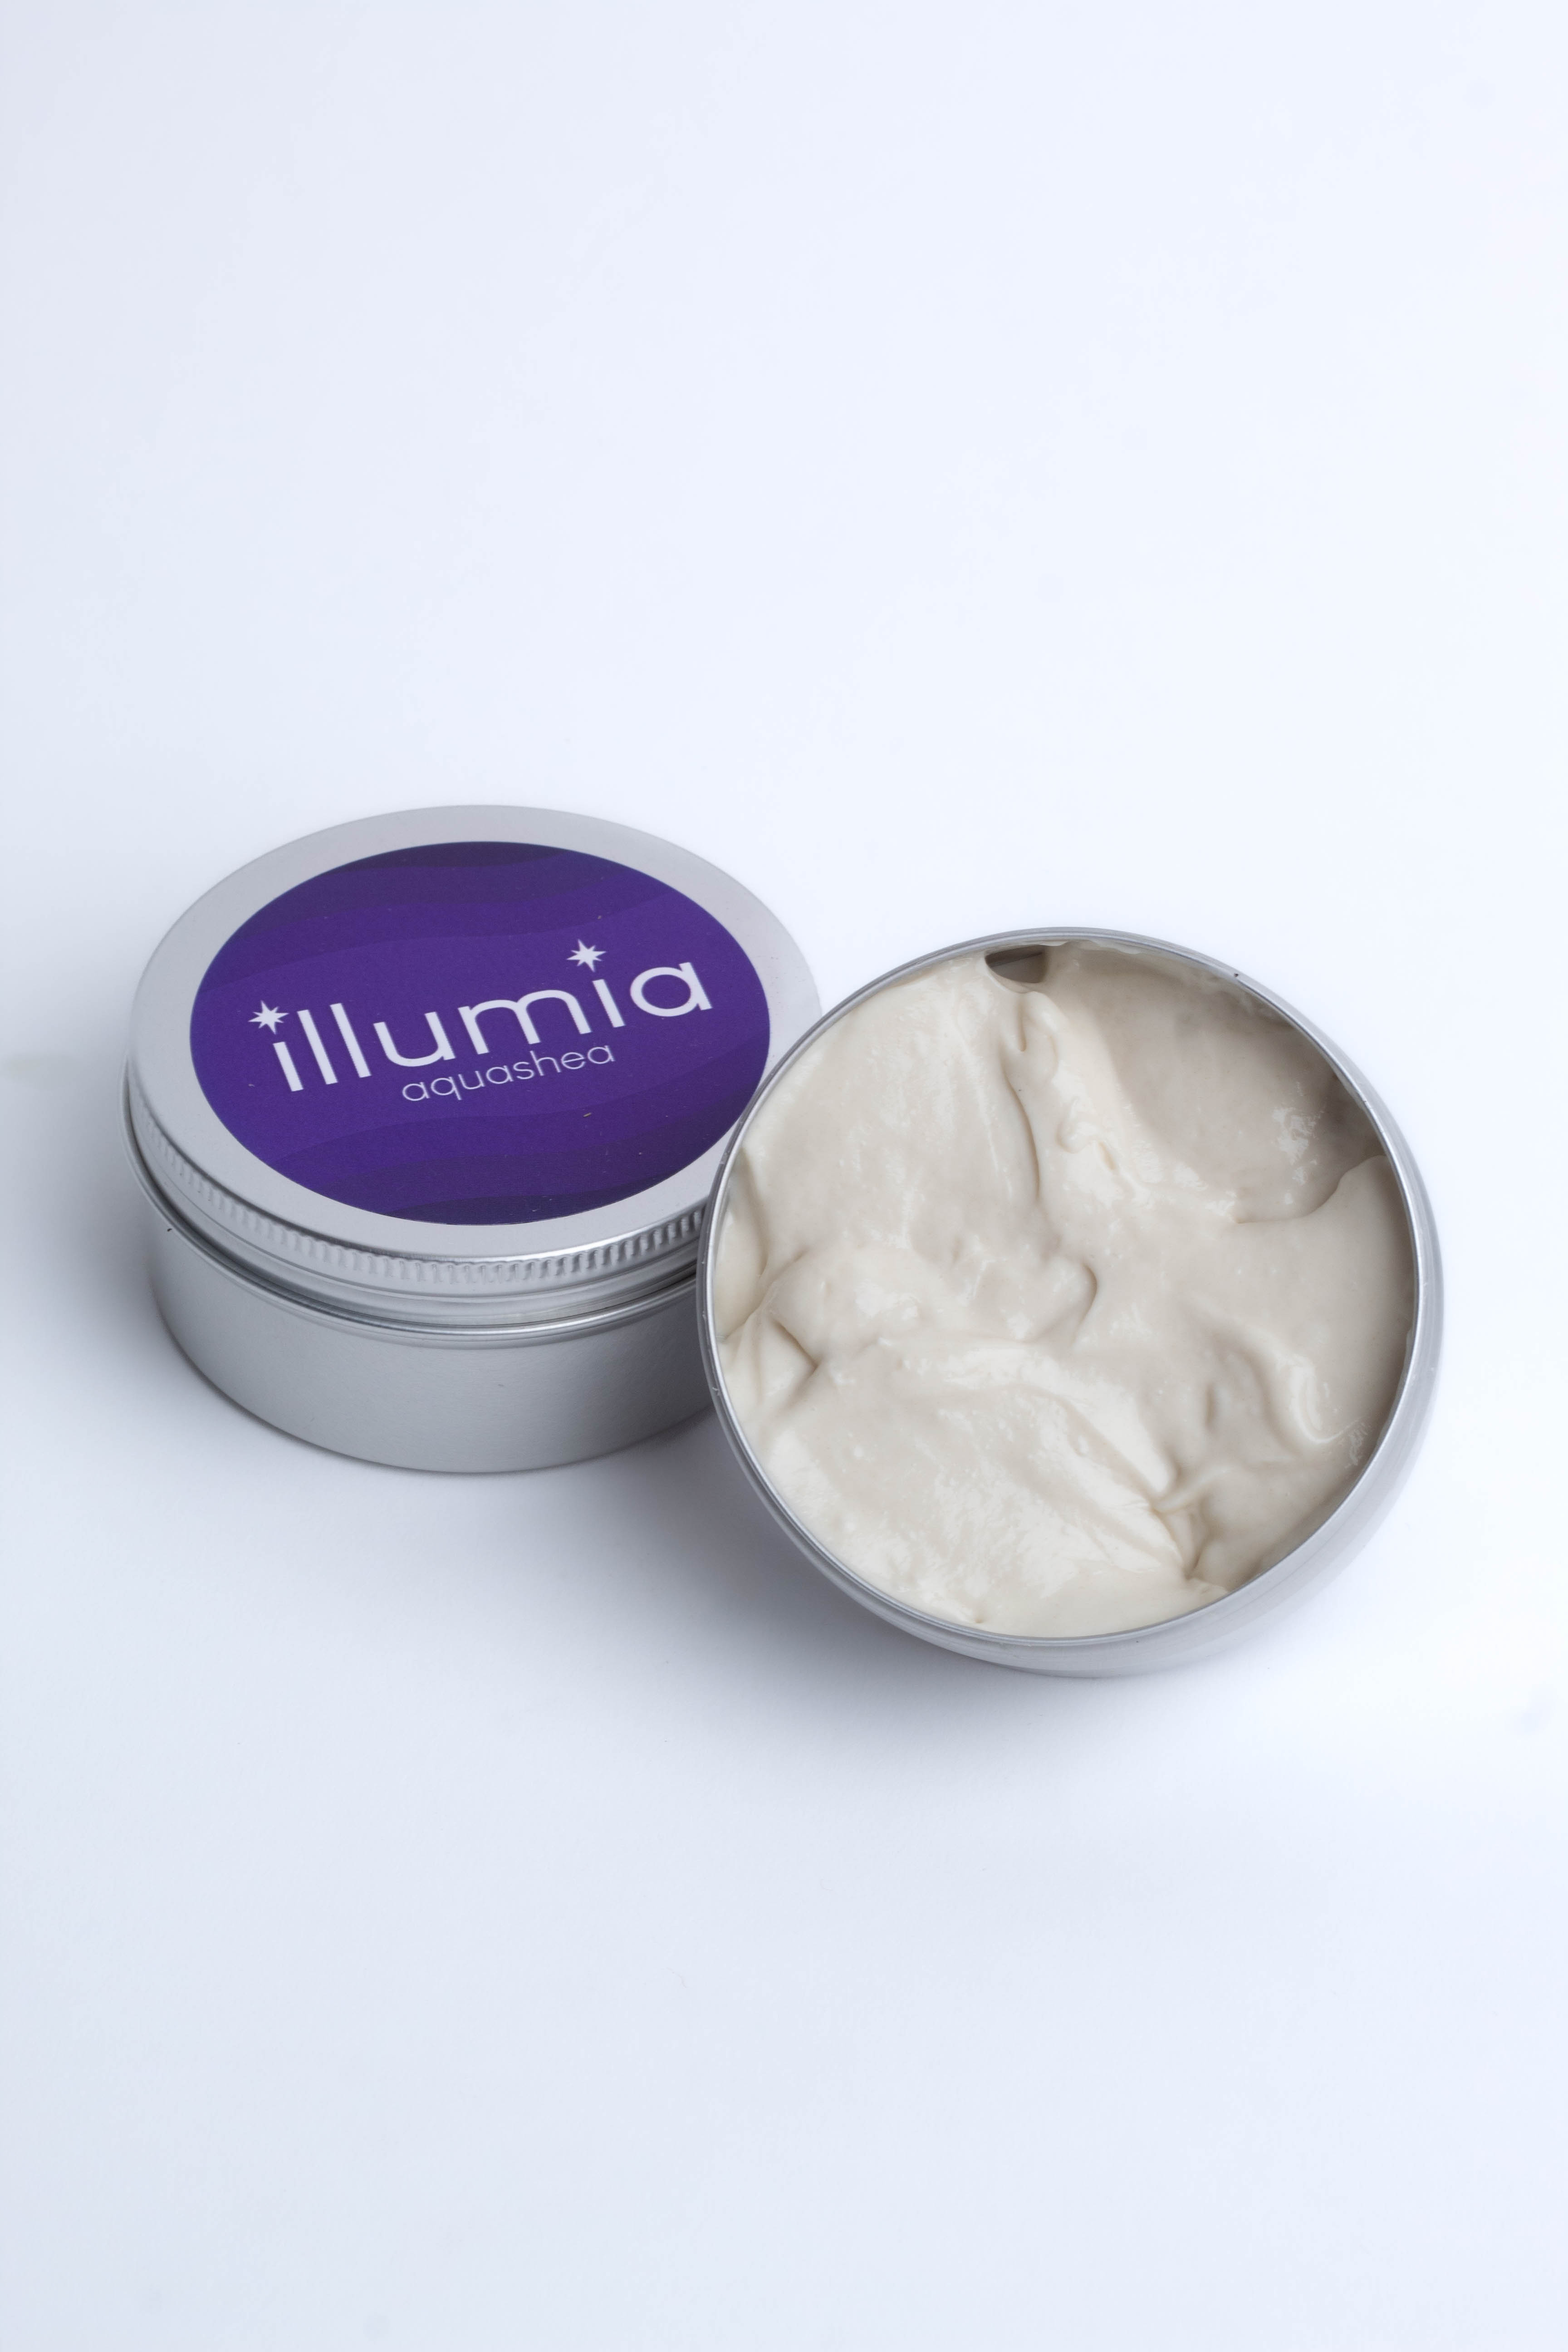
For work like this, I always edit in Adobe Lightroom Classic, as it allows me to create presets, copy and paste edits, use radial filters, and do some healing/cloning much faster than possible with photoshop. With Lightroom I can select the background to make it whiter and less distracting or use a brush filter to change the color of misprinted labels. I can also assign a star rating and color labels to the photos, which is extremely helpful when culling down a large number of images. This second photo shoot was around 400 raw images before I selected the final 90 edits, and having this system was absolutely essential. For certain fixes to photos where the healing tool could not do what I needed for the photo, I would import into photoshop and move things around to my liking. Especially for work like this that will be very largely displayed on a website for potential customers, it is very important to have clean and blemish free images, so removing the bits of tape that held the products in place, or the stains on the paper from where a product left some residue is very important. These things can be distracting and take away from the product which is the last thing you want.
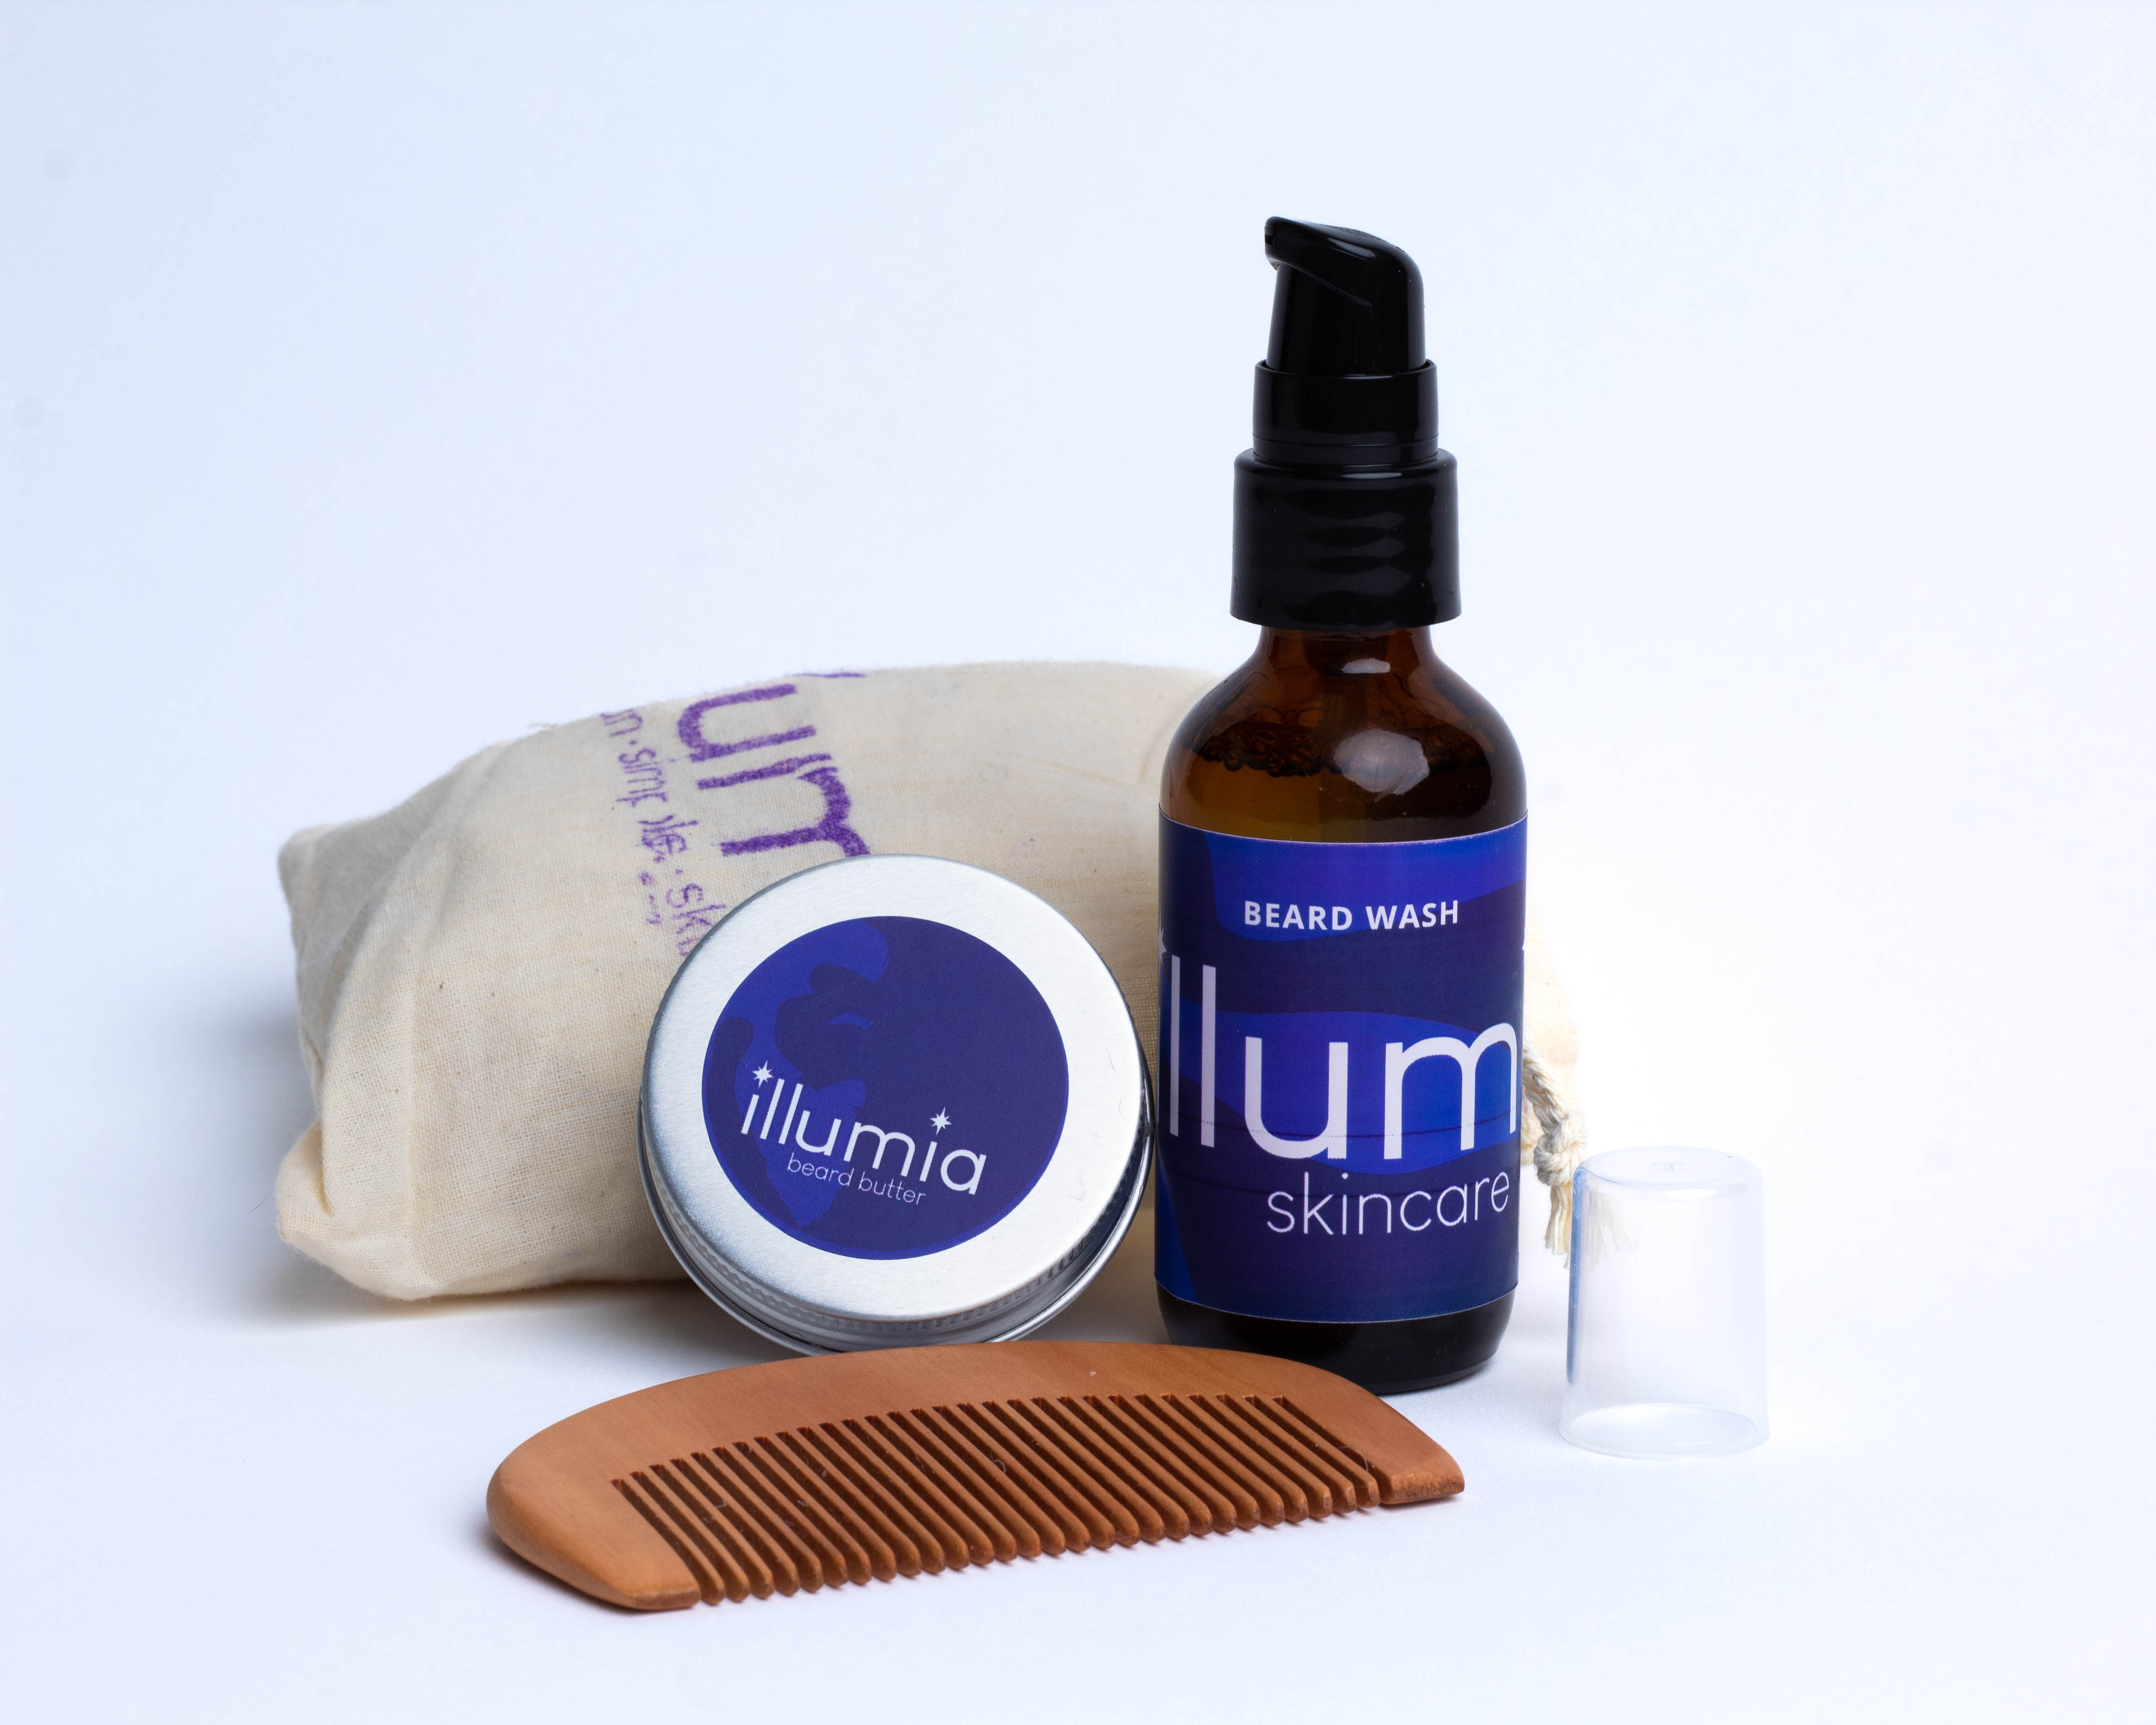
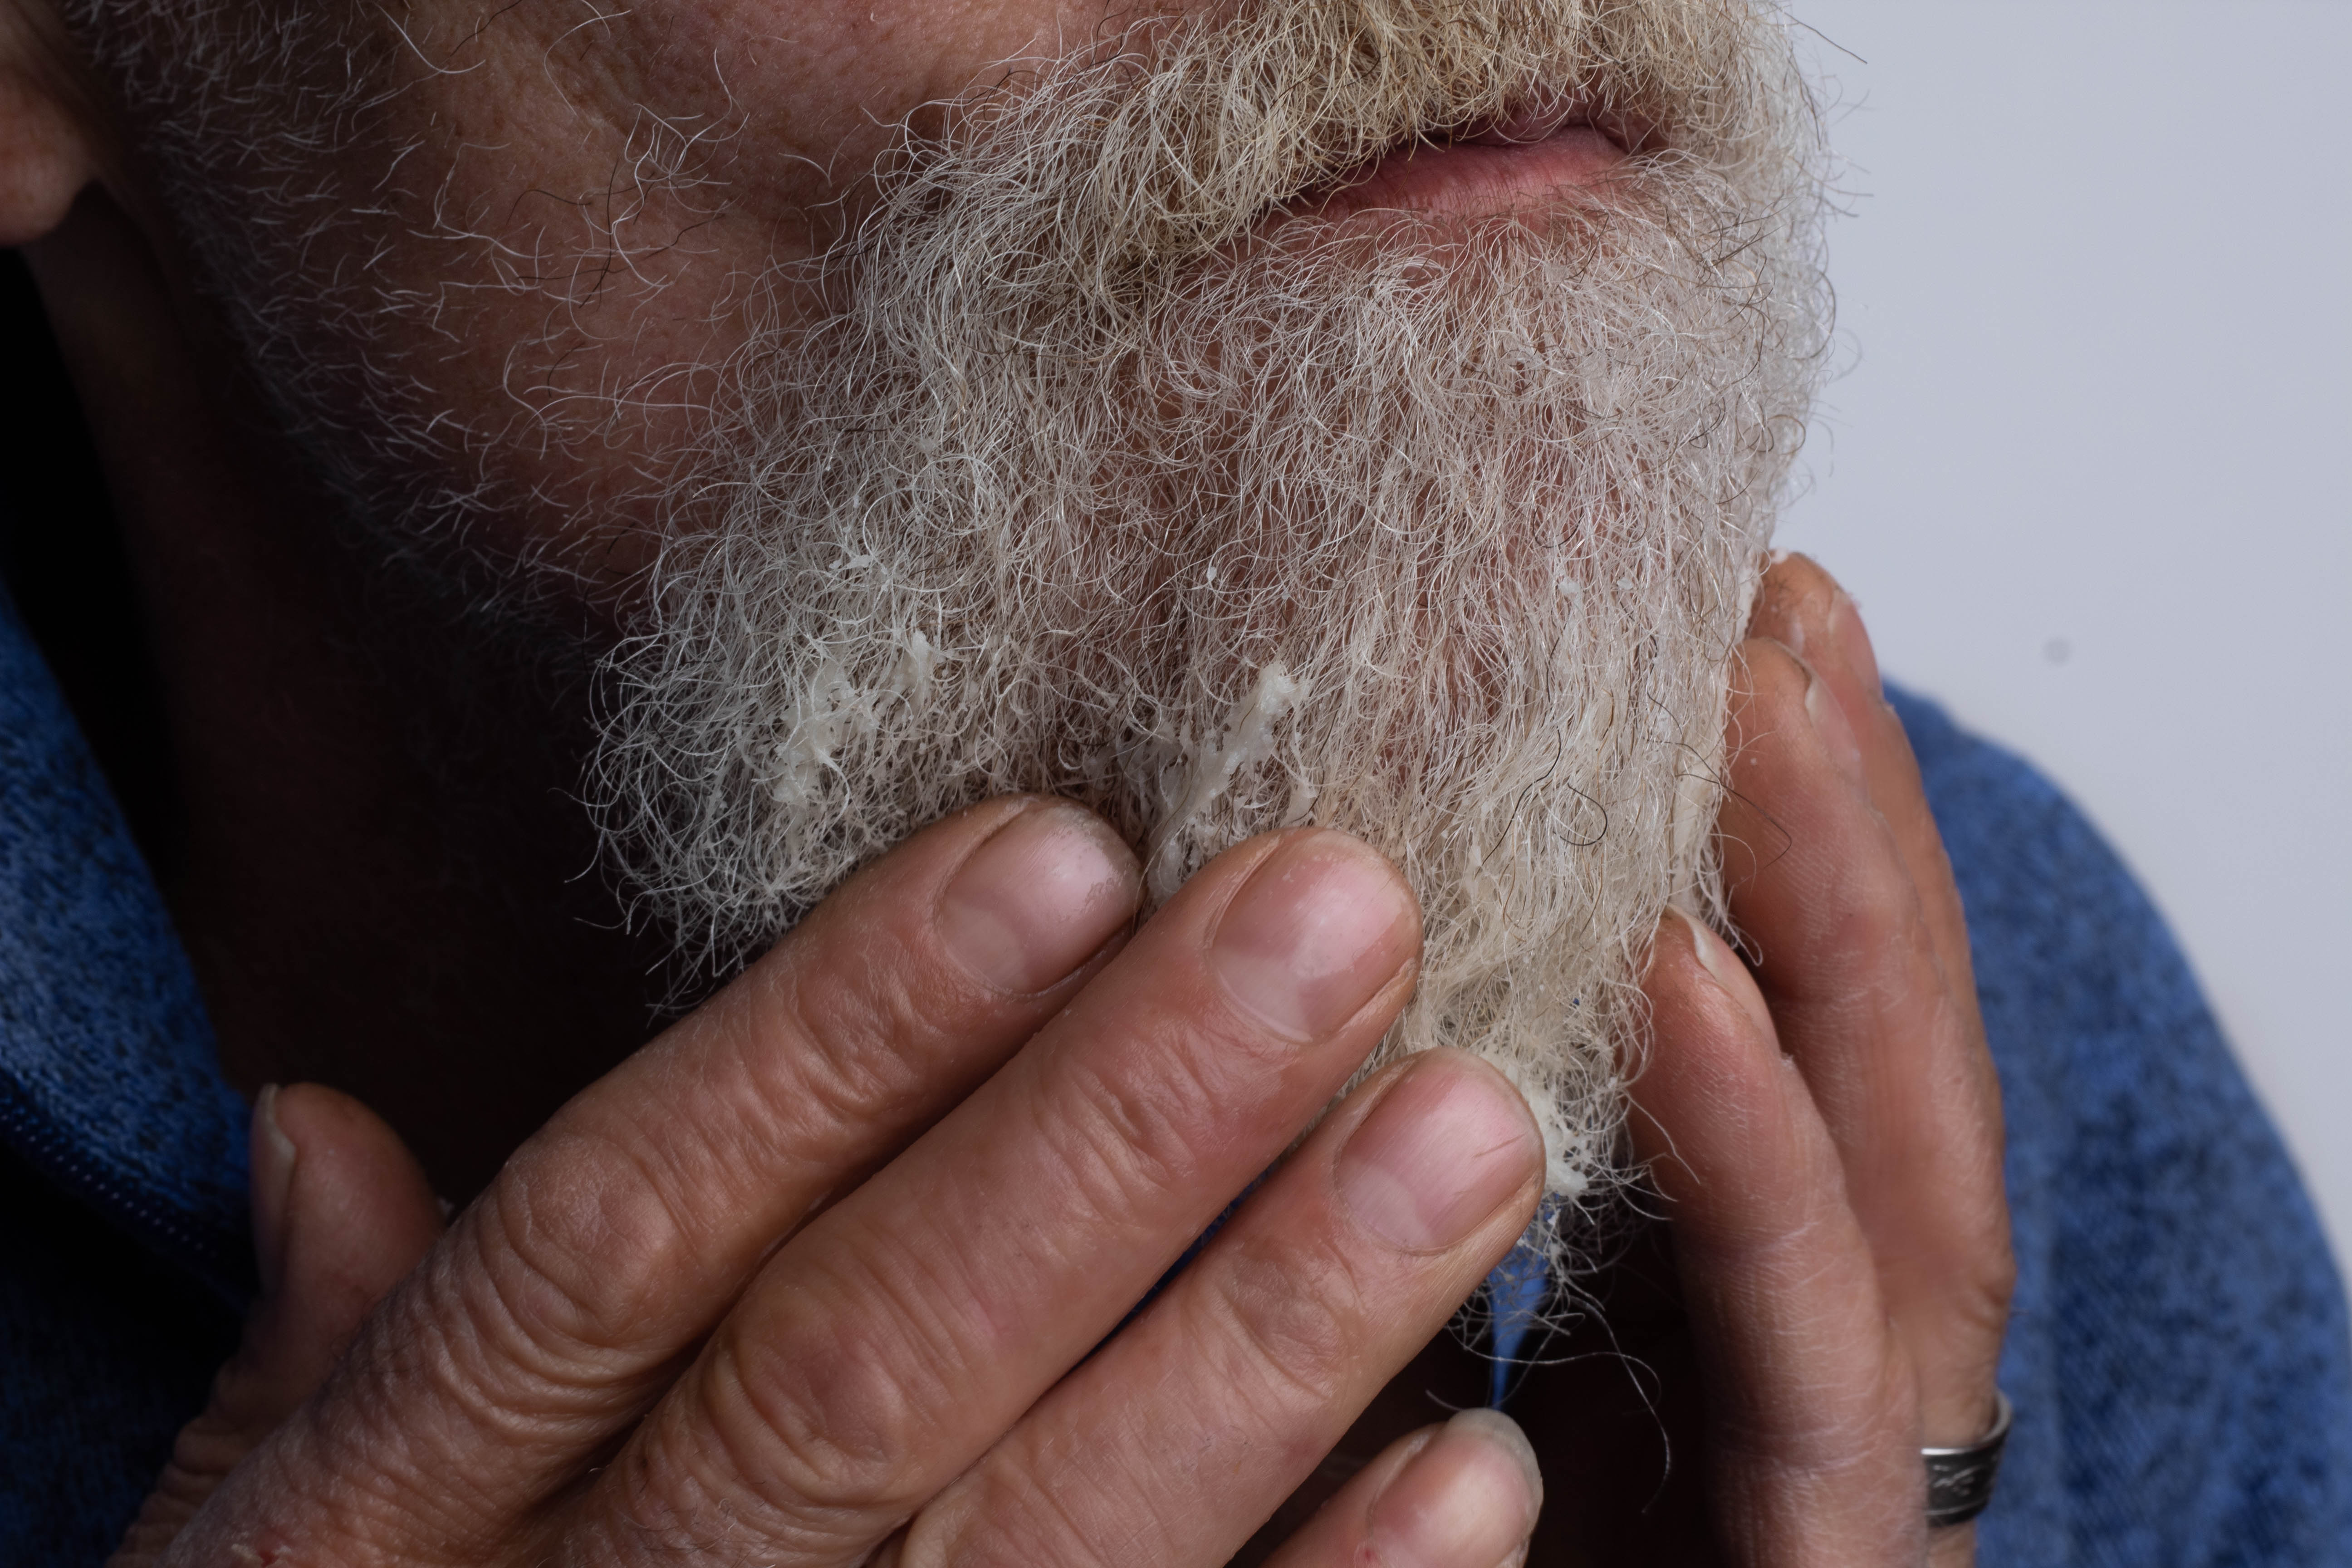
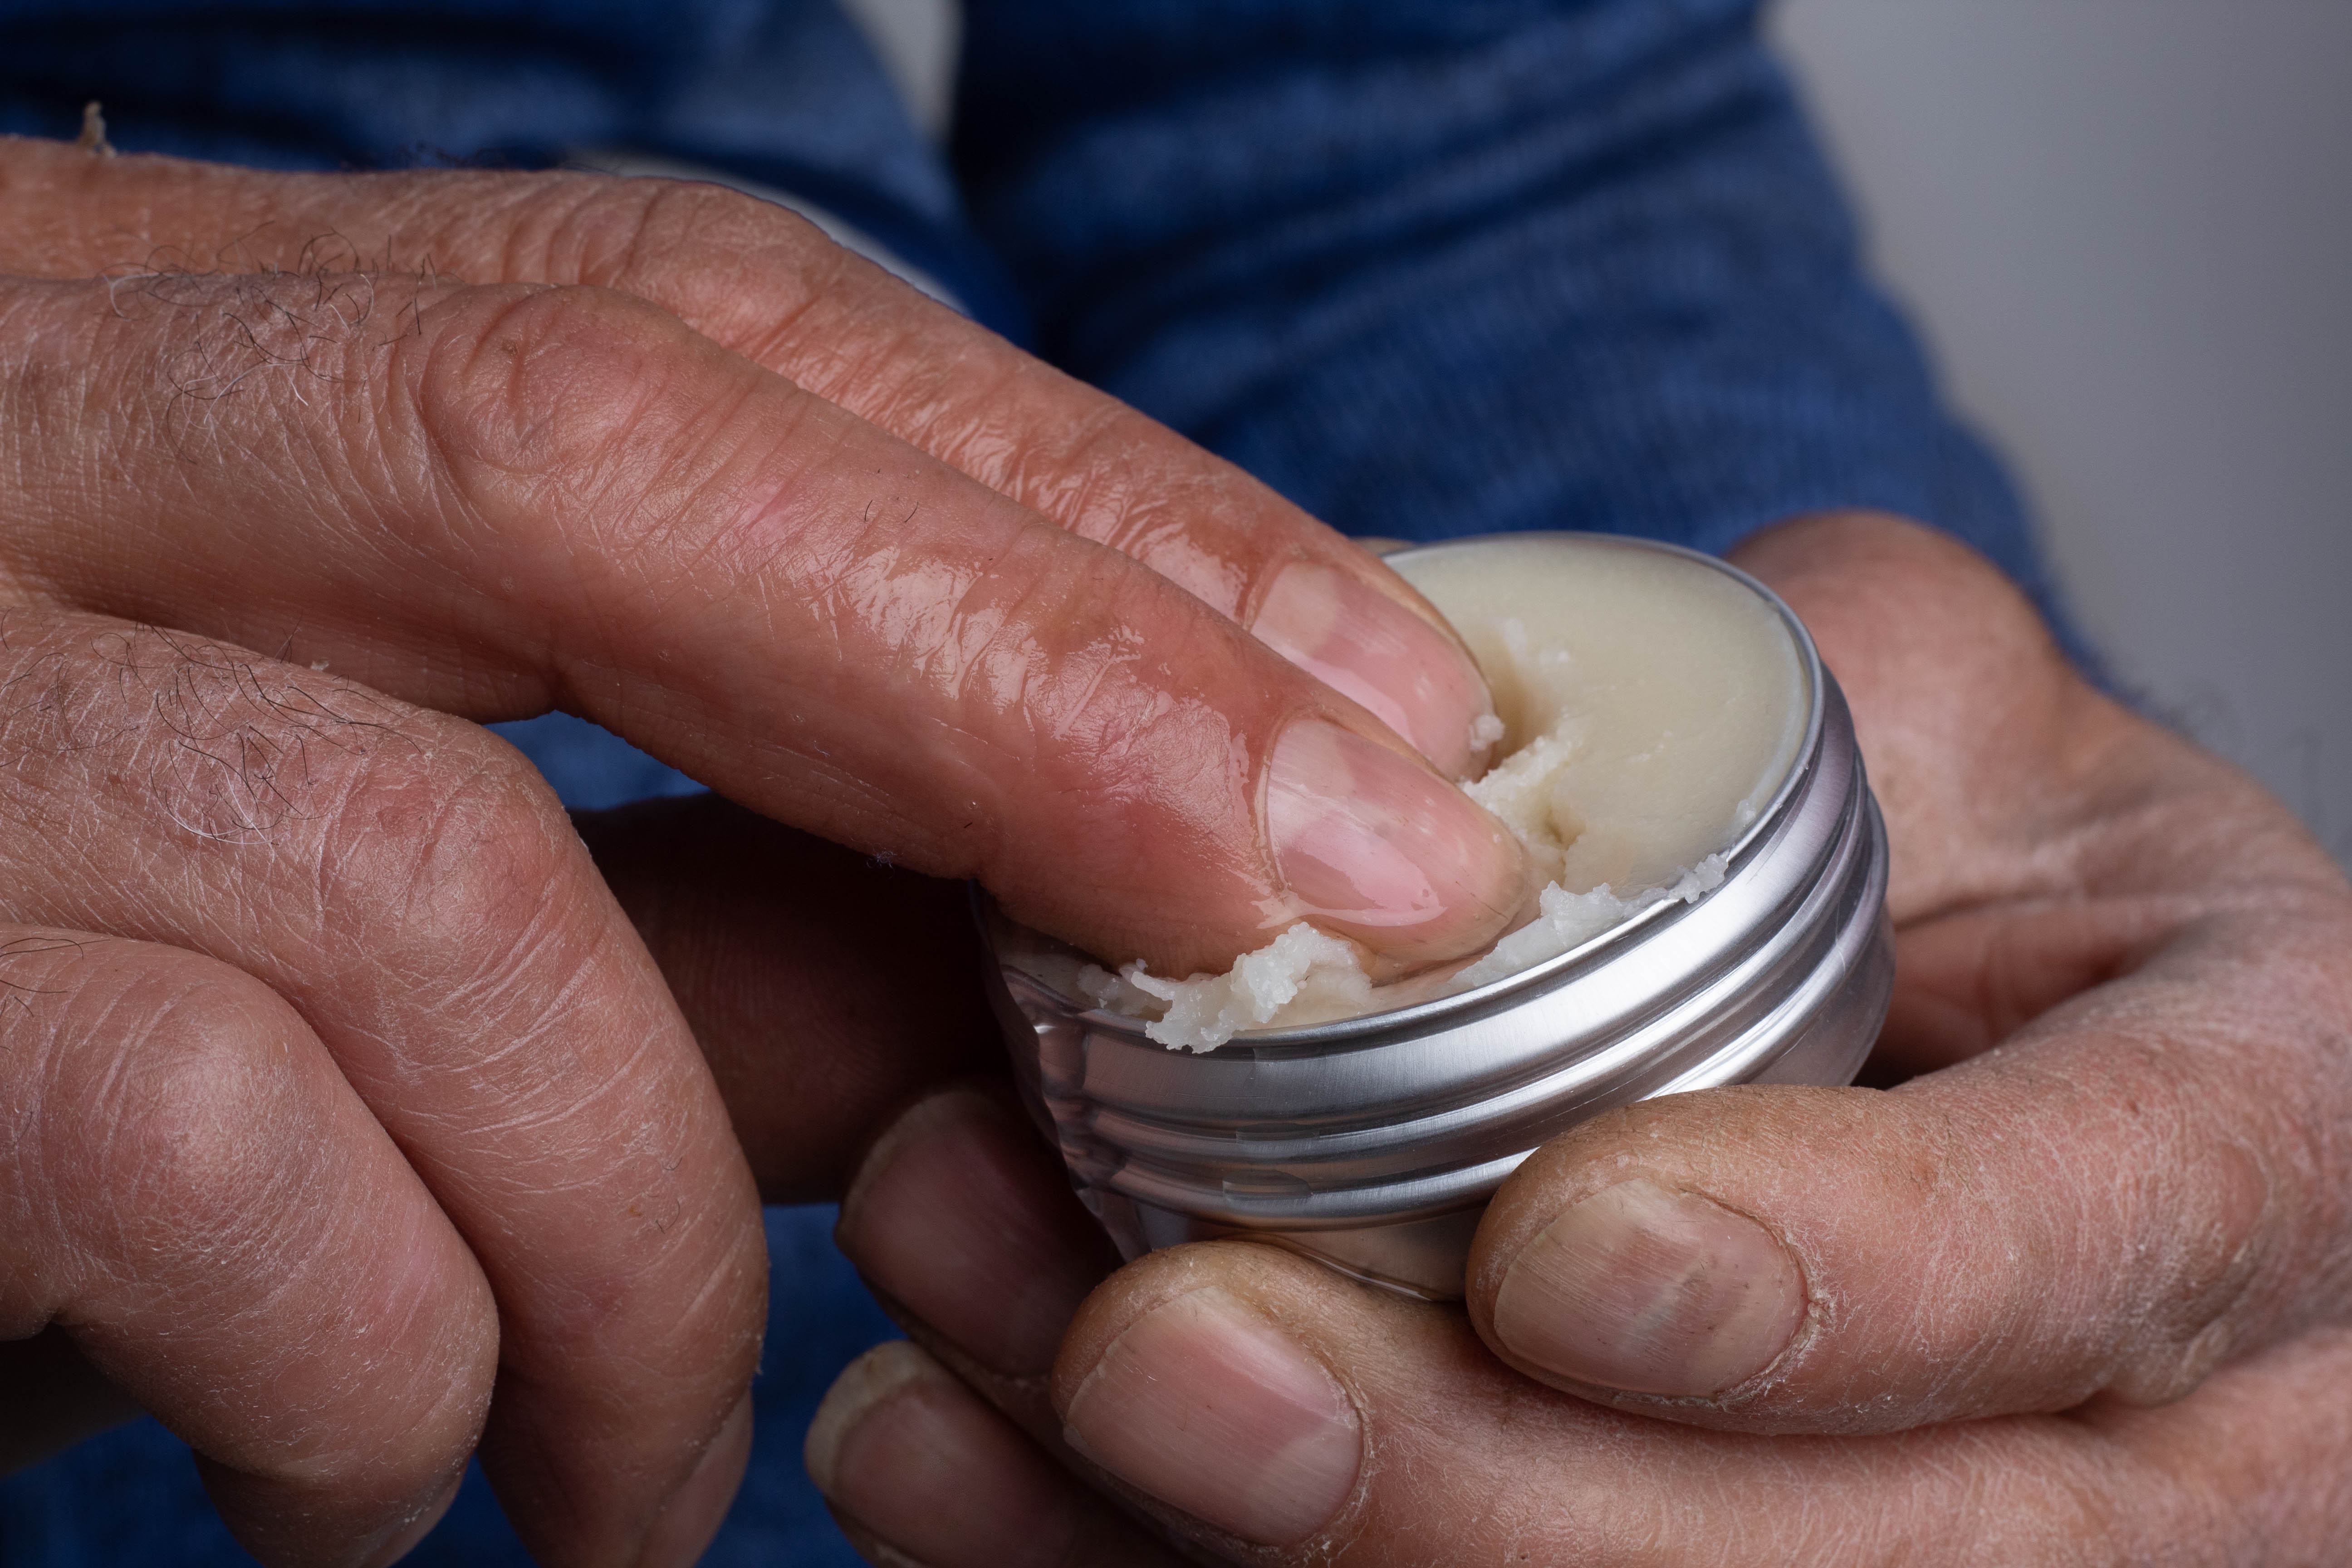
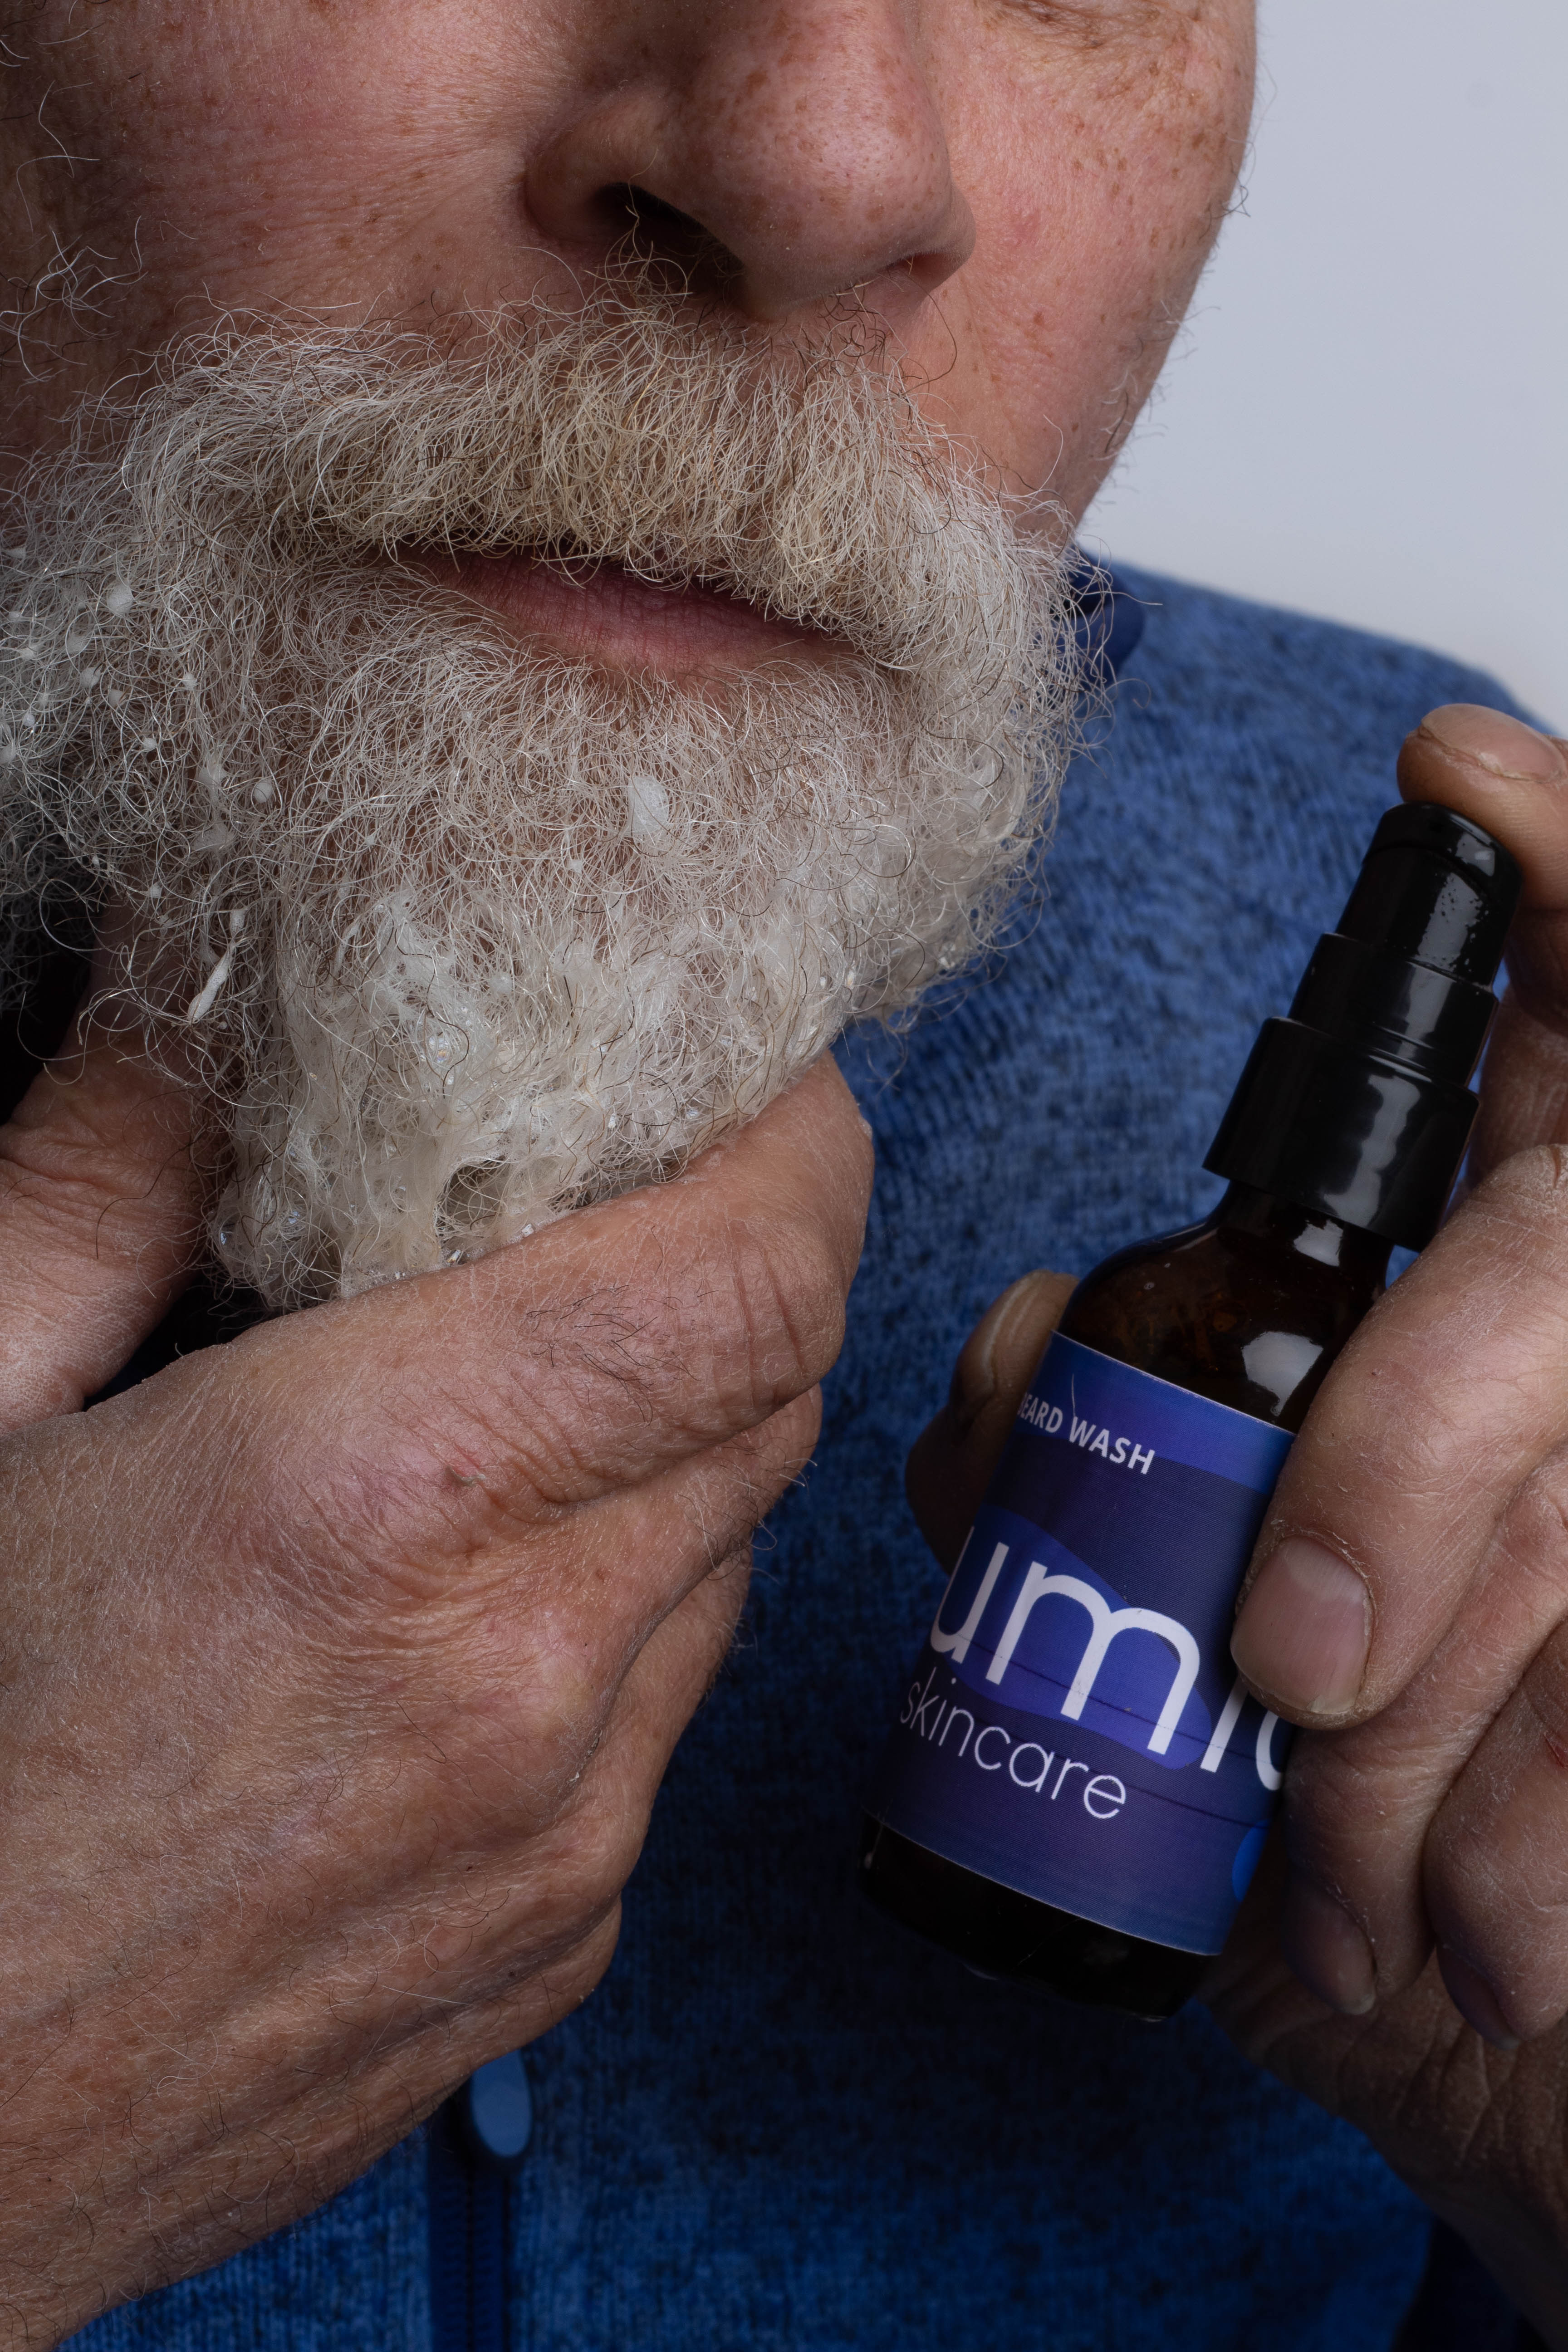
In addition to just photographing the products, I also photographed a model using the products included in the beard kit that Illumia offers. Since this was more in my wheelhouse I felt much more confident about these photos while shooting them. While I had never worked with a model and a product together, it was rather intuitive and worked out quite well.
As much as I did initially love the images from the first photo shoot I did for Illumia, I think this batch of images is far better, and better shows what the client wanted, as well as my skill set. A more simple and clean approach was definitely the way to go, and I’m glad I could work off of the suggestions that came out of the last set.