Hello Everyone! As you all know I took a photography class called Advanced Black and White, in which we specifically focused on using film cameras with black and white film, and processing both our negatives and our prints in the darkroom. But I want to keep my film strips safe just in case anything physical happen to them. Luckily, on campus they have scanners and holders for the film!
I have never scanned film before, so this whole process was new to me. With the help of my teacher, I know now how to scan film. Before leaving campus for winter break, I sat down in the computer lab and scanned as much as I could.

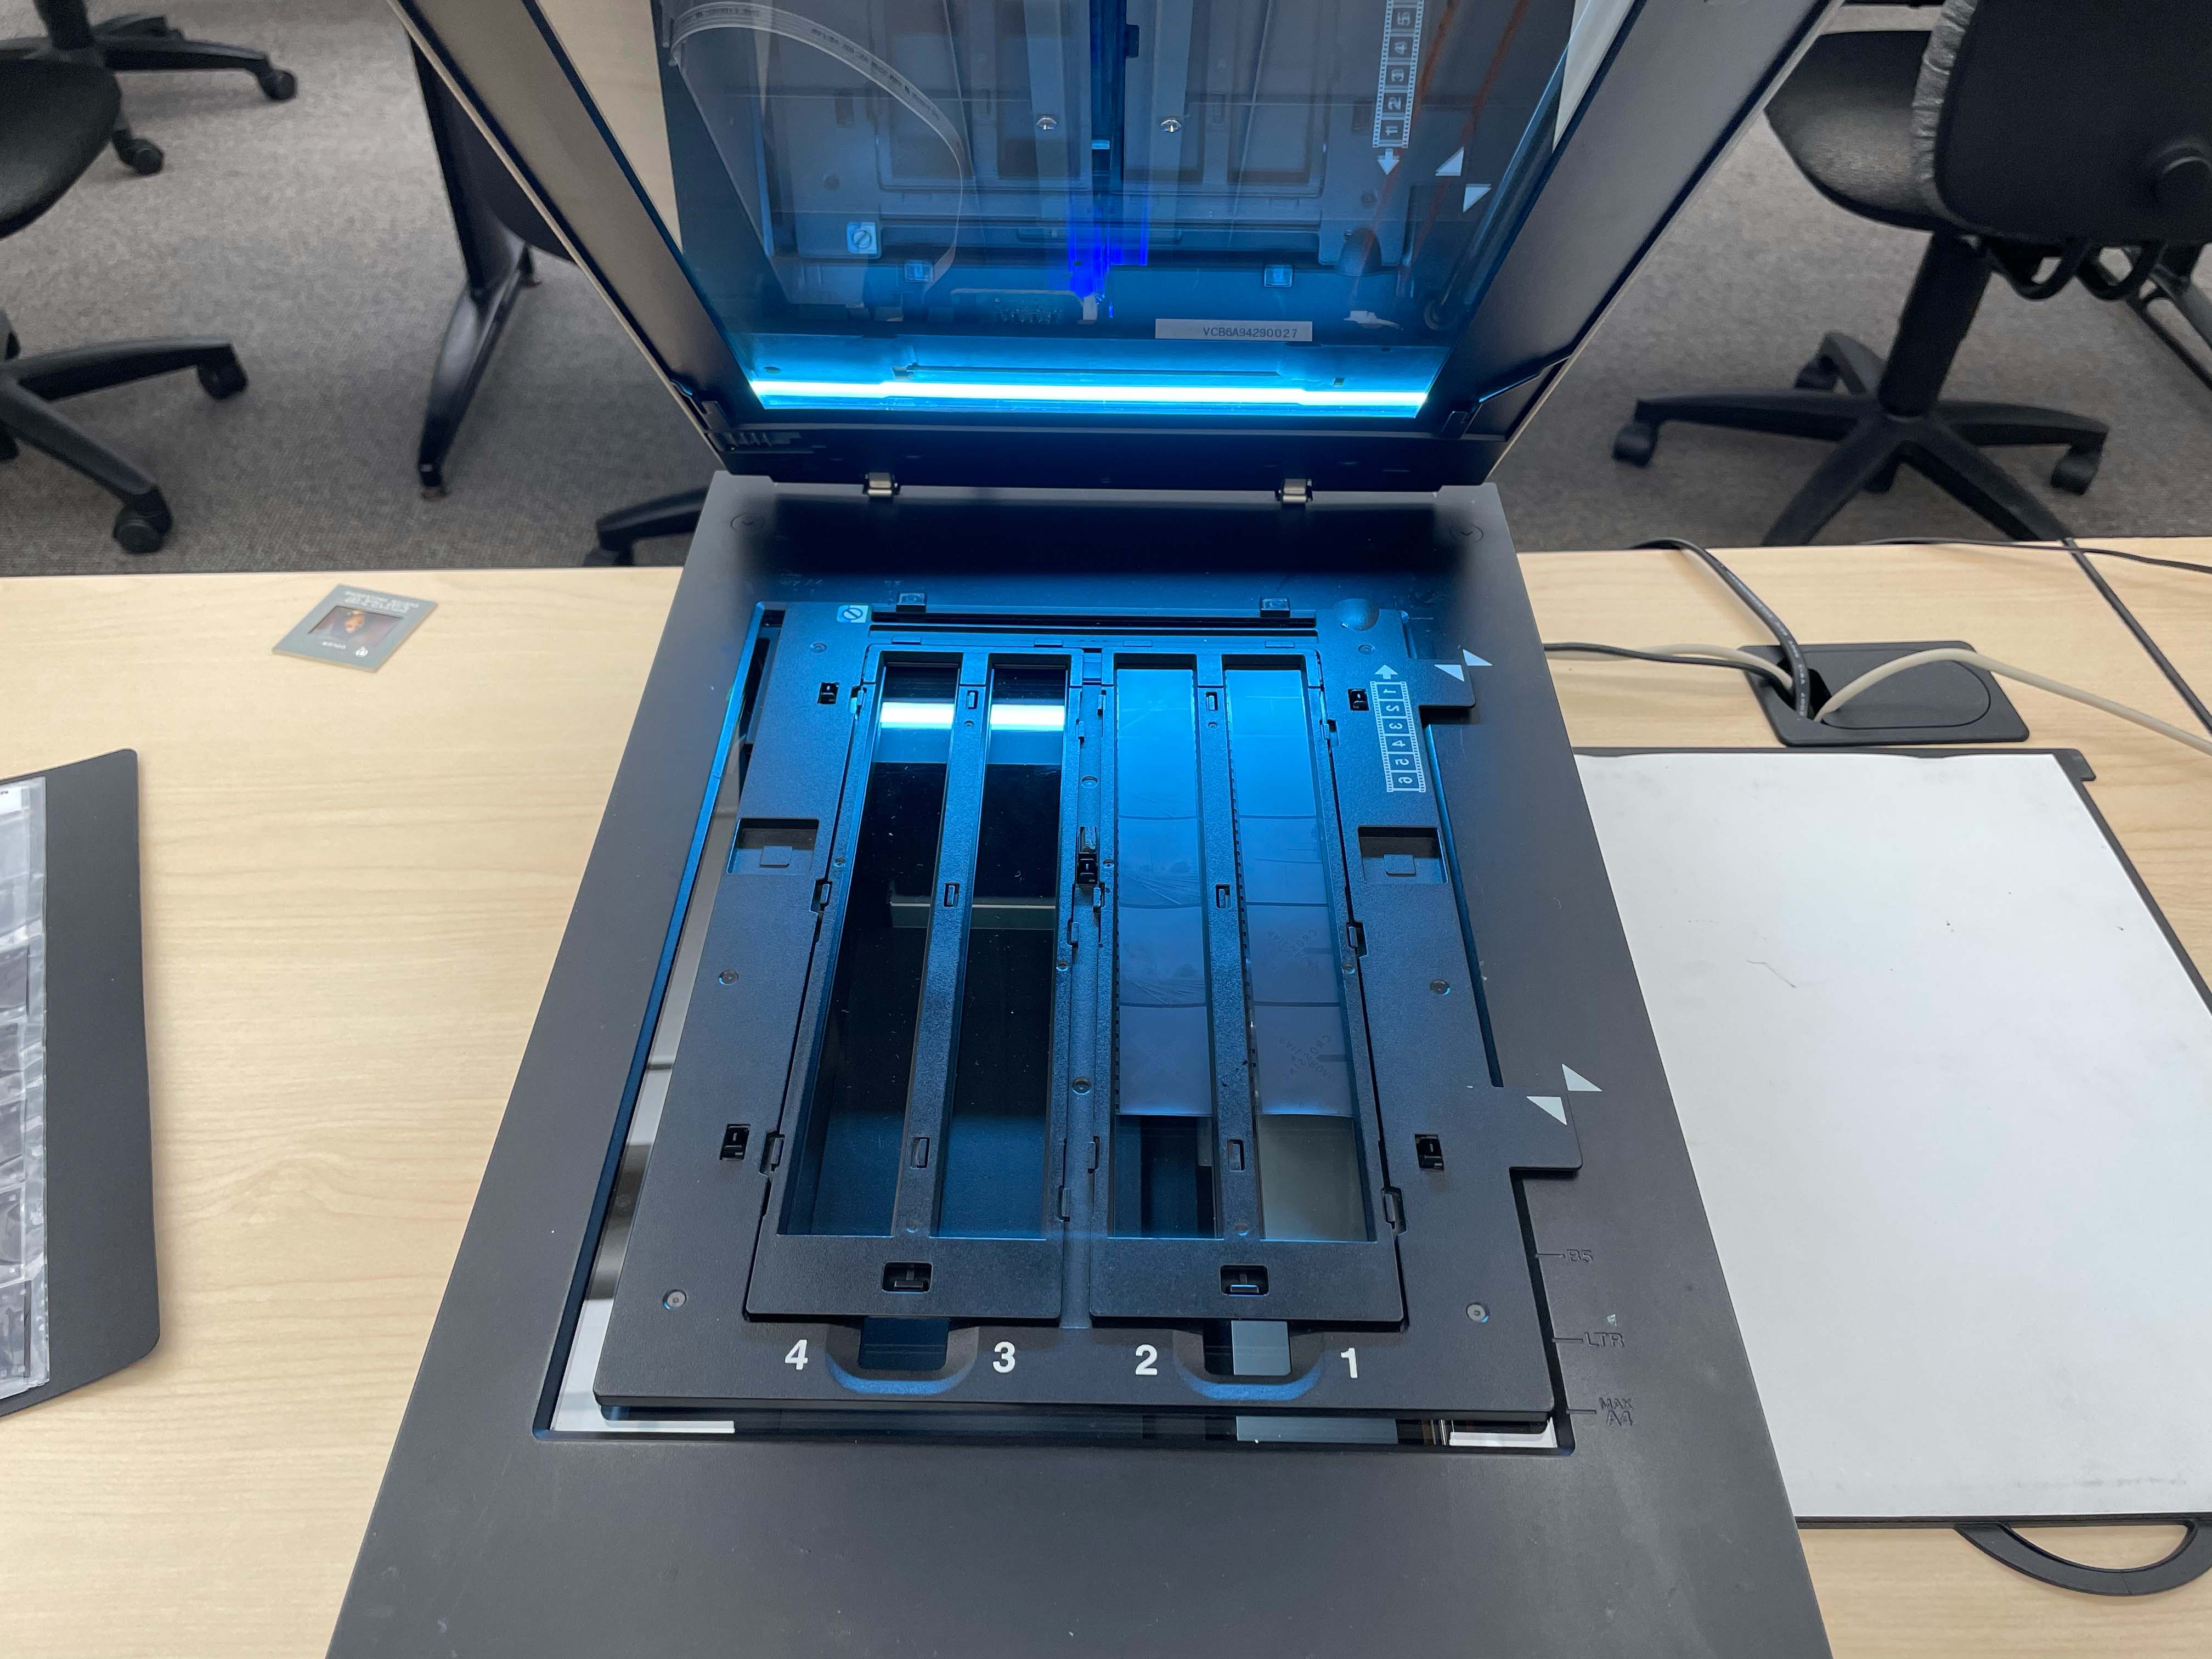
As shown above, I needed my film strips, the film holder, and the scanner provided by the school. You gently lay your selected strips of film in the holder, then click it to hold them in place. After that you place the holder on the scanner.
Down below, the first image shows where I select my scanning preferences from the scanner software, like the image type, resolution and document size. When hitting the preview button all the images on the film appears and you get to see all the images! The best part is you can select only the images you want to keep instead of scanning the entire film strip. Once you have selected the images you want, you can begin scanning!

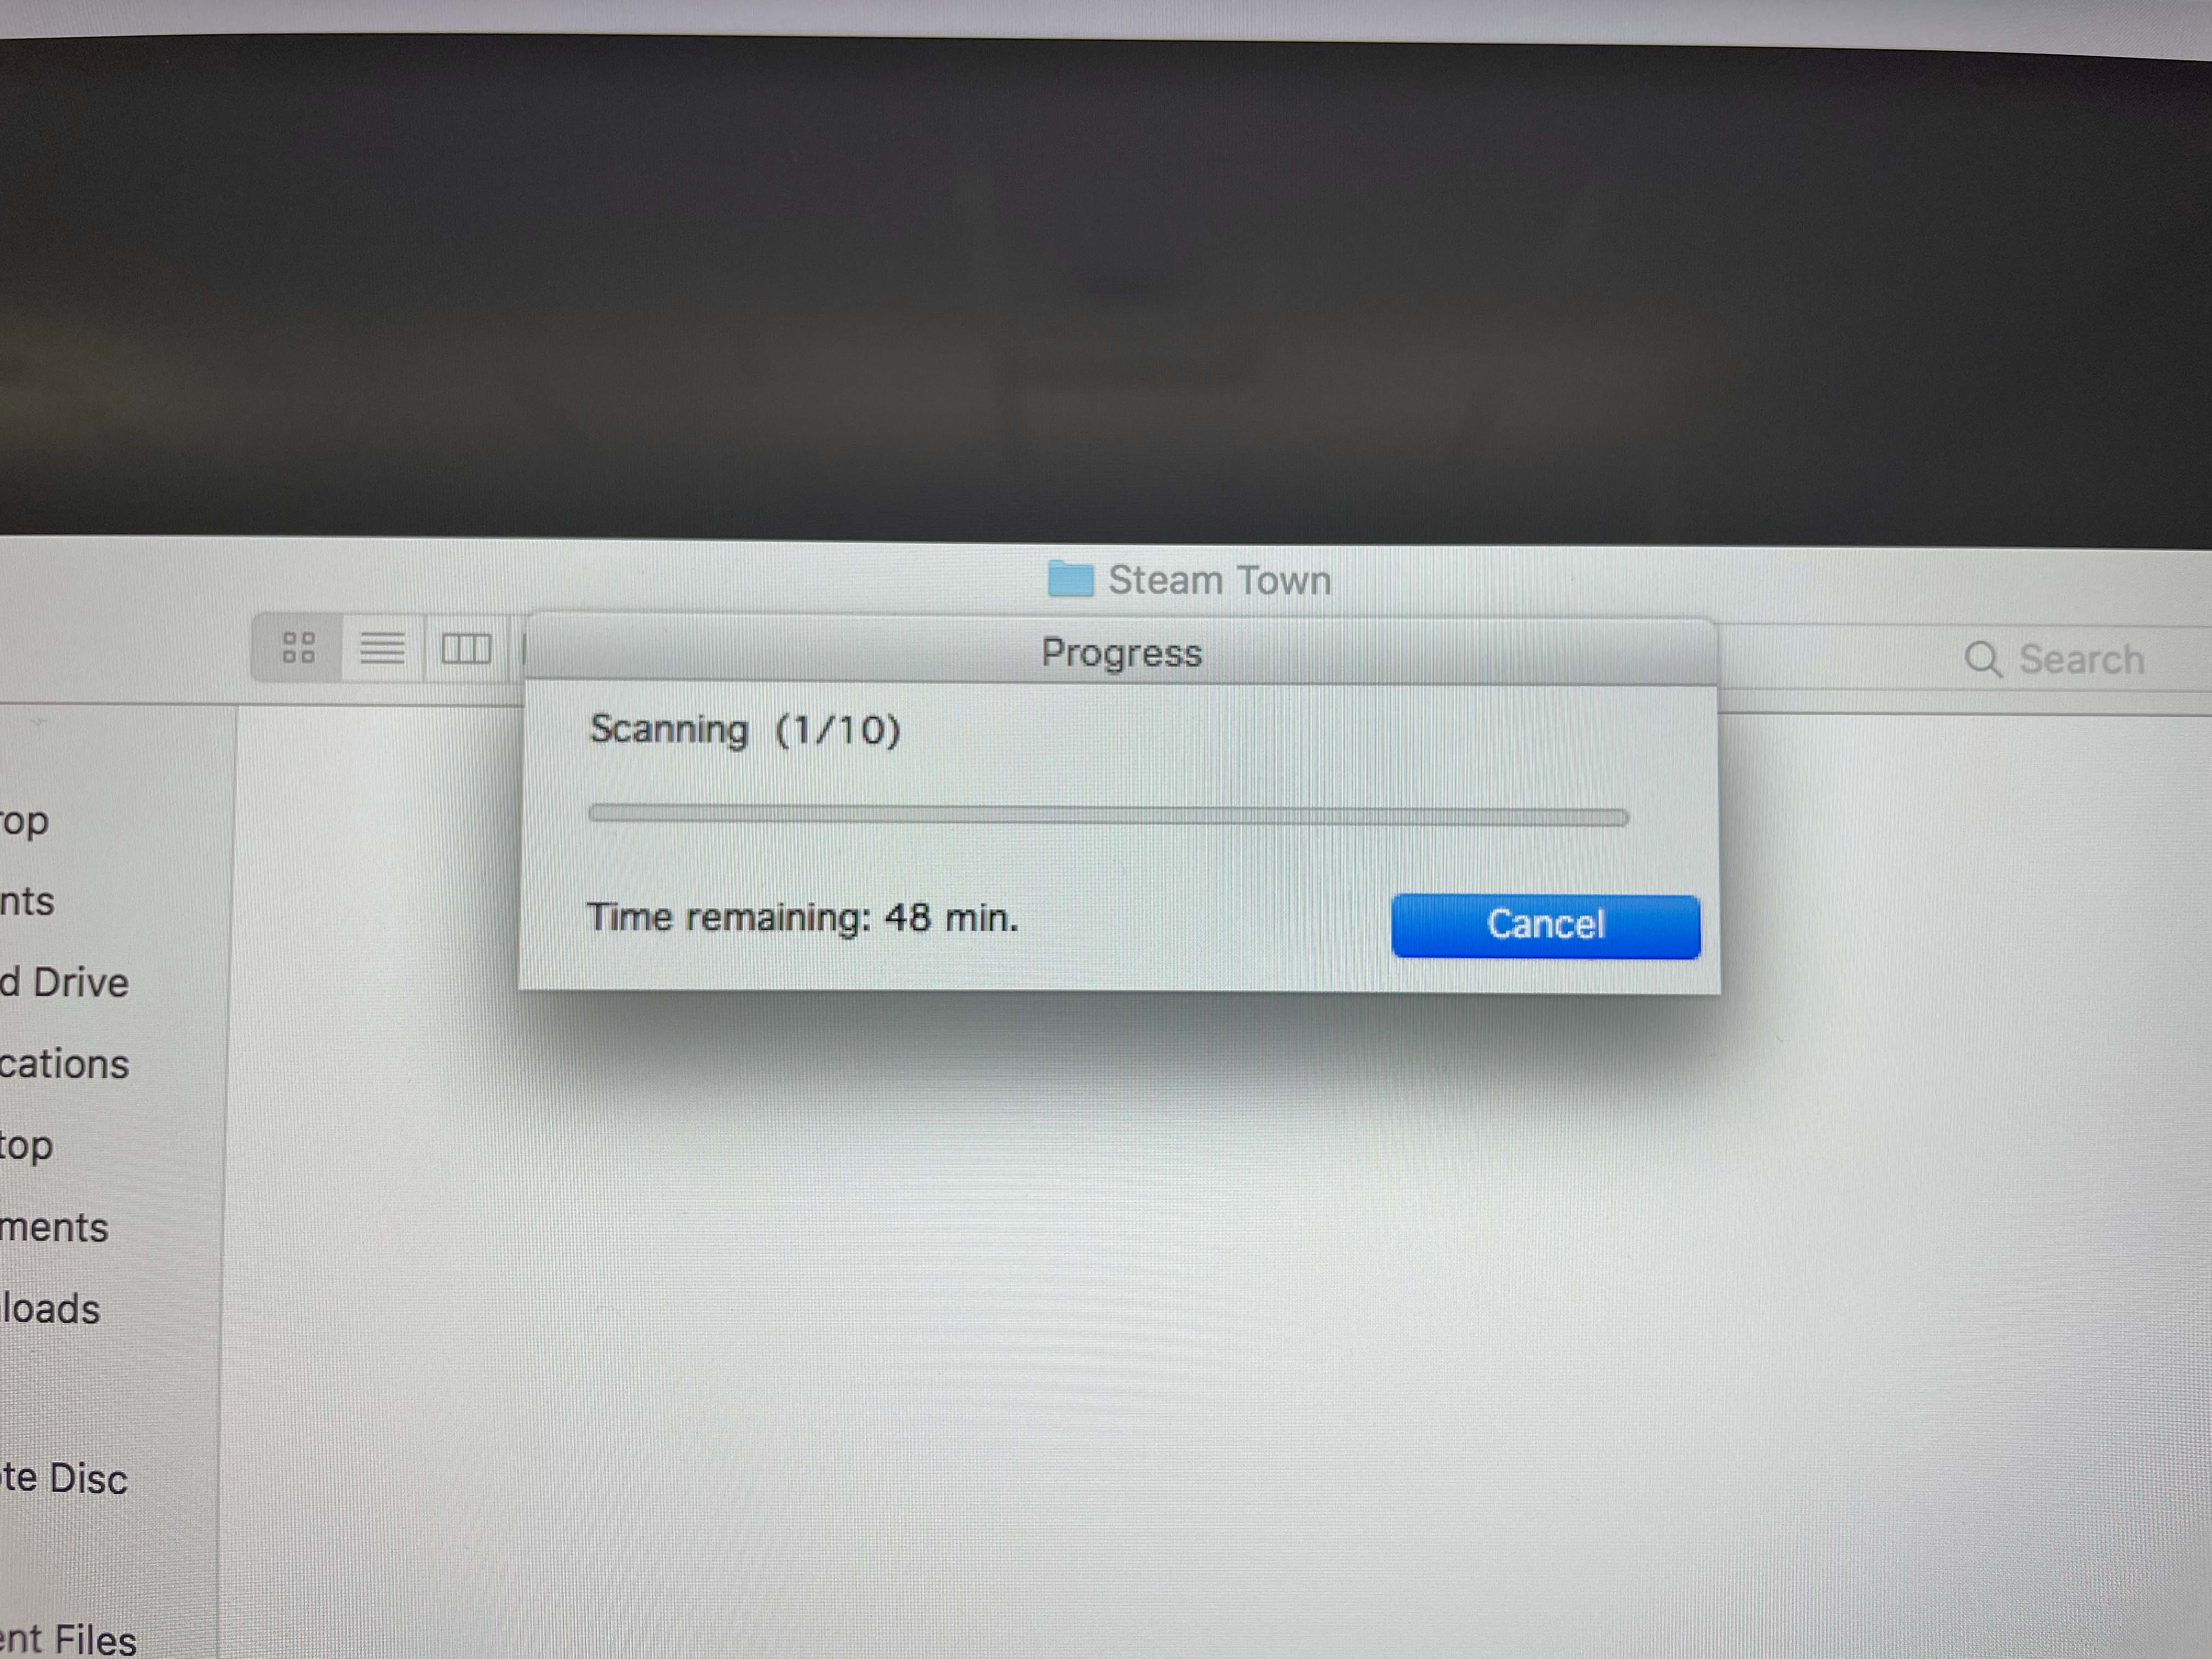
The second image is just saying that it’s successful scanning and tells you how long the process is going to take. Depending on how many images you selected the time varies of a long time or a short time. When the film is scanning this is where I can get my work done or go on campus and get a quick bite to eat.
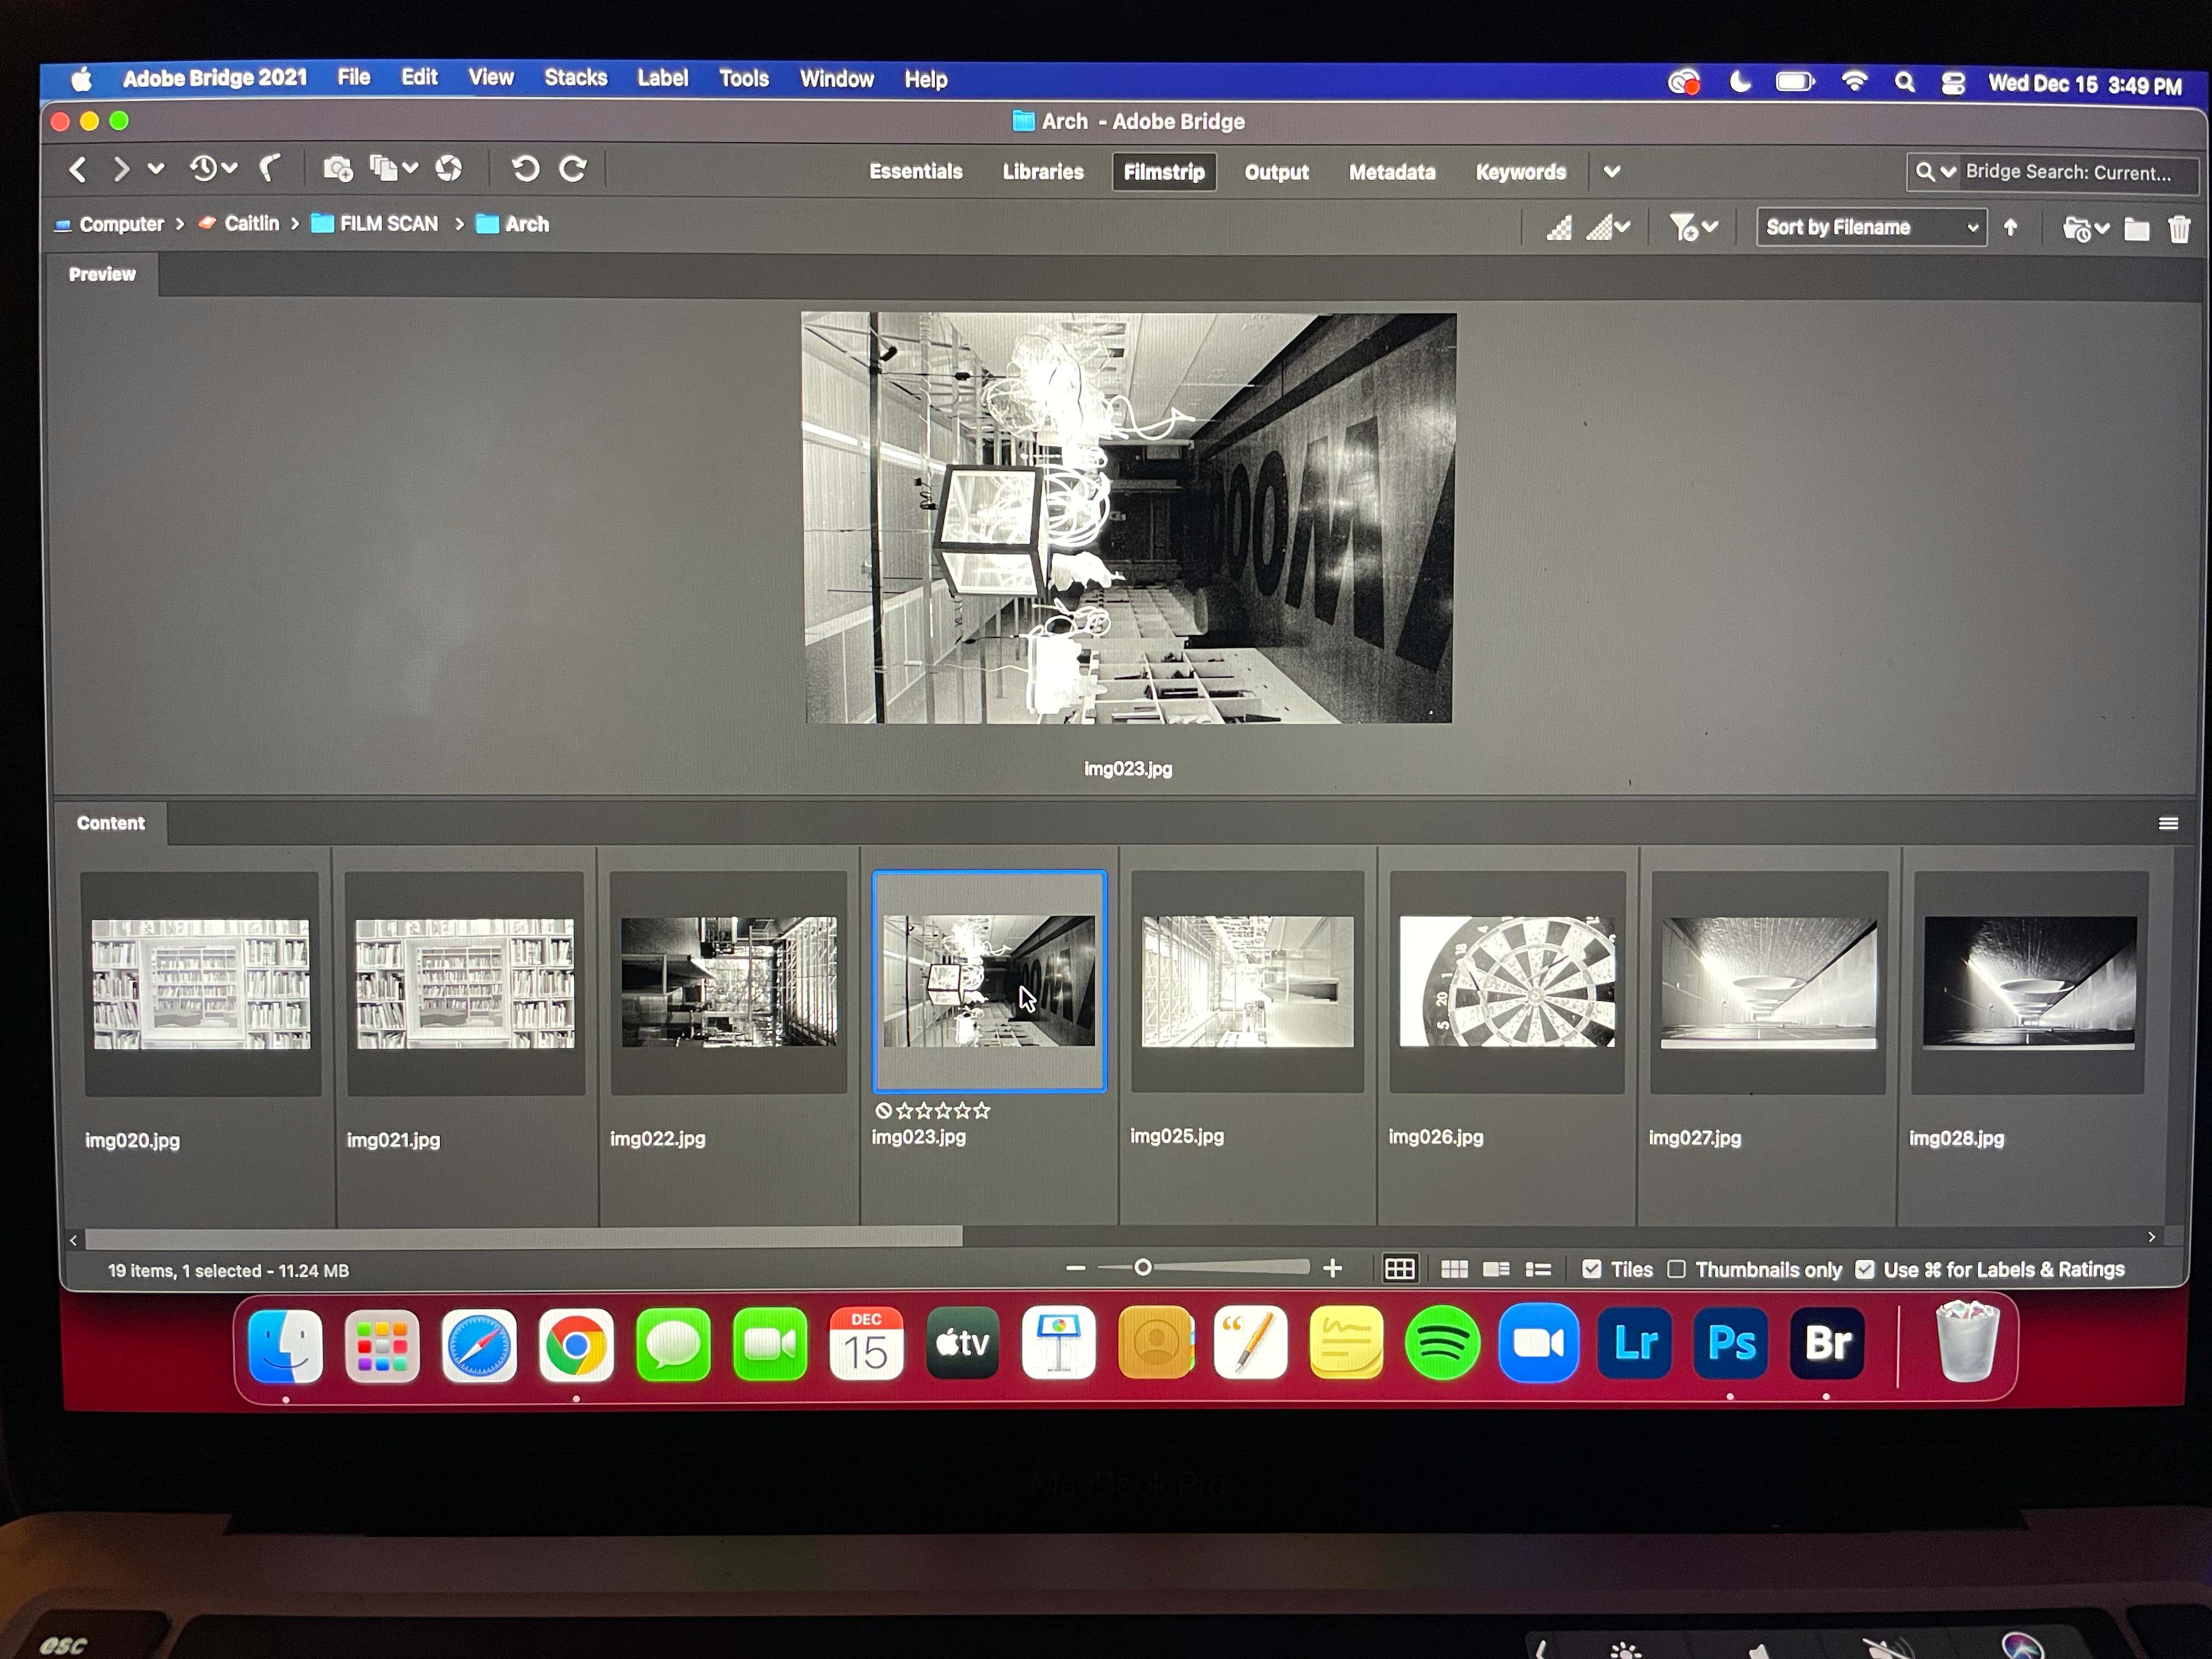
Once the film strips are successfully scanned, I save them on my hard drive where I made folders for each of the specific places we visited to shoot photographs. I can easily open them up, look and sort through them in the software called Adobe Bridge.

Once I select the image, I go into photoshop and do the editing there. All I do is adjust the exposure, contrast and highlights and other minor edits. I also, depending on the image, I use the clone, healing tool, and some dodging and burning.
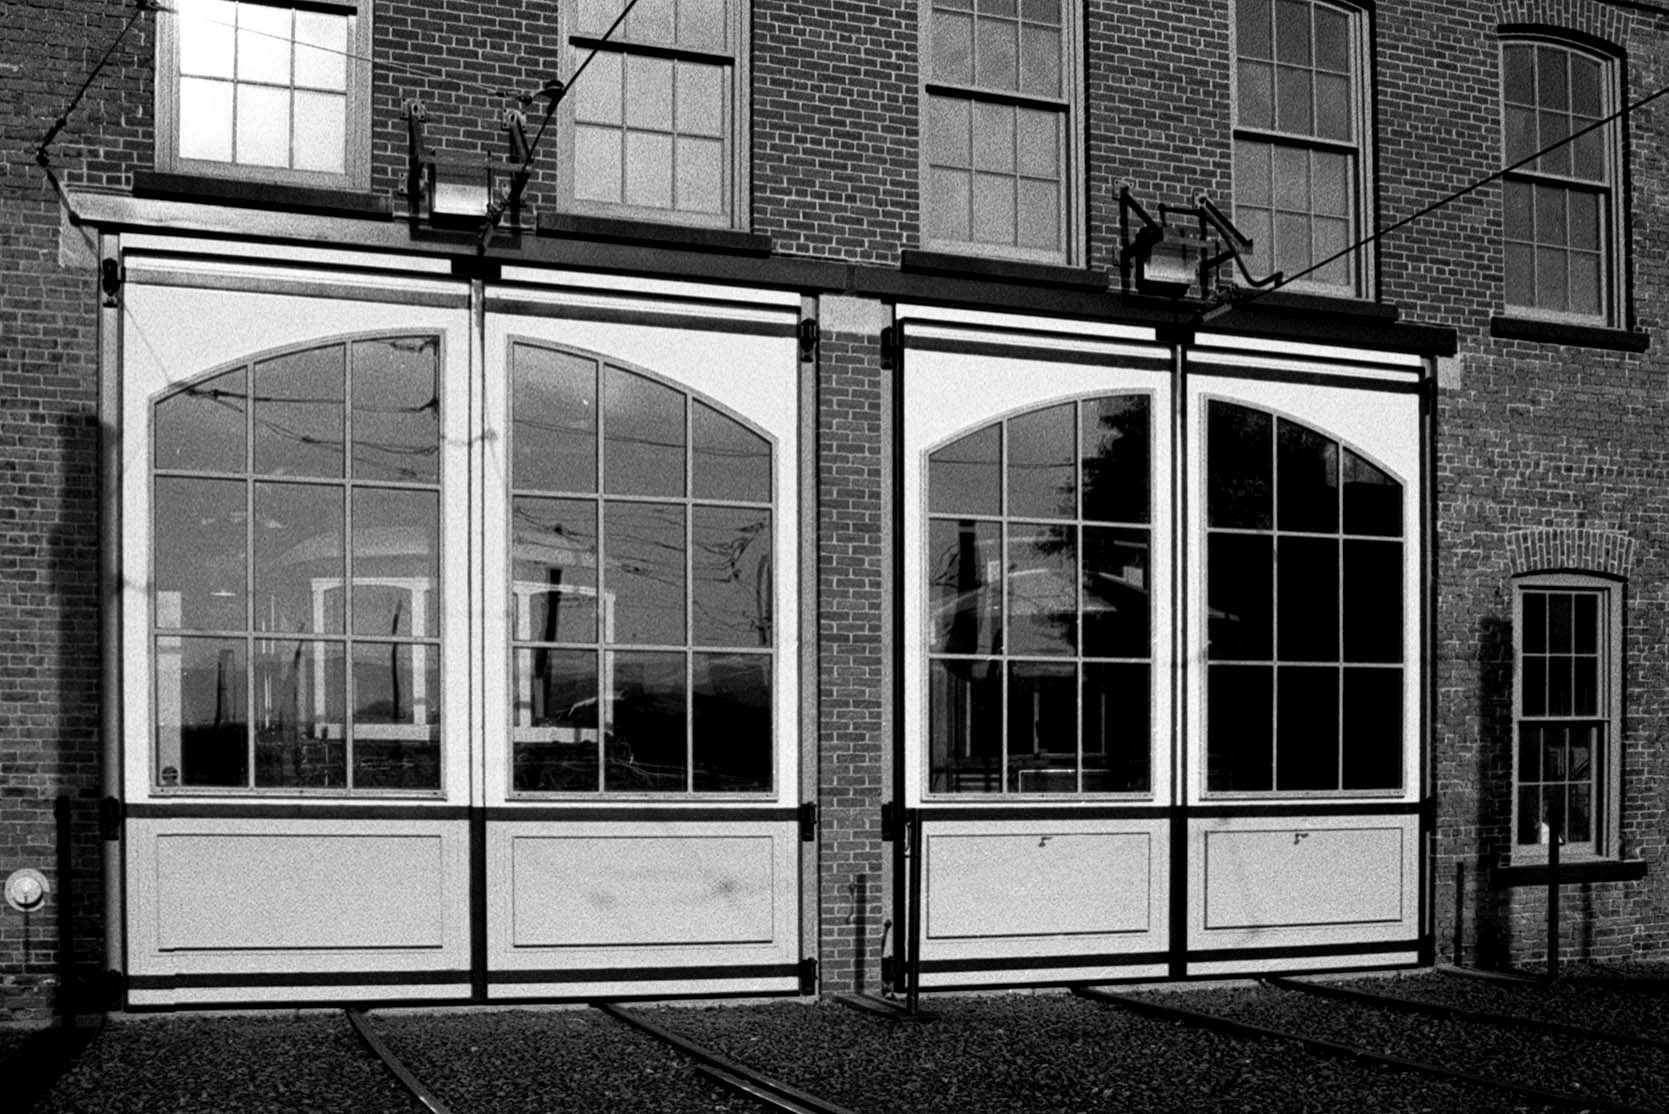
This image was taken at Steam Town in Scranton. This is one of my favorite images I have taken this year. From editing images on the computer and doing them properly in the dark room they give off a different felling to them. I made this image lighter and able to see the stones on the bottom. The same image but done in the darkroom its darker and you don’t see the stones at the bottom.