After my many words about glaze last week, I thought this week’s post might lend itself to a little glaze mixing tutorial. Once you’ve selected your glaze, you can either purchase it, or make it yourself! One of the luxuries of being enrolled in a course is that often times, when we do not have the materials students are looking for that cannot easily be purchased from Michael’s or A.C. Moore, they can easily be purchased by the art department. More frequently, however, most of our desired materials, including the materials needed for making most glaze bases, are all in house. So I gathered all the necessary tools, and went to work on some new glaze for my tumblers.
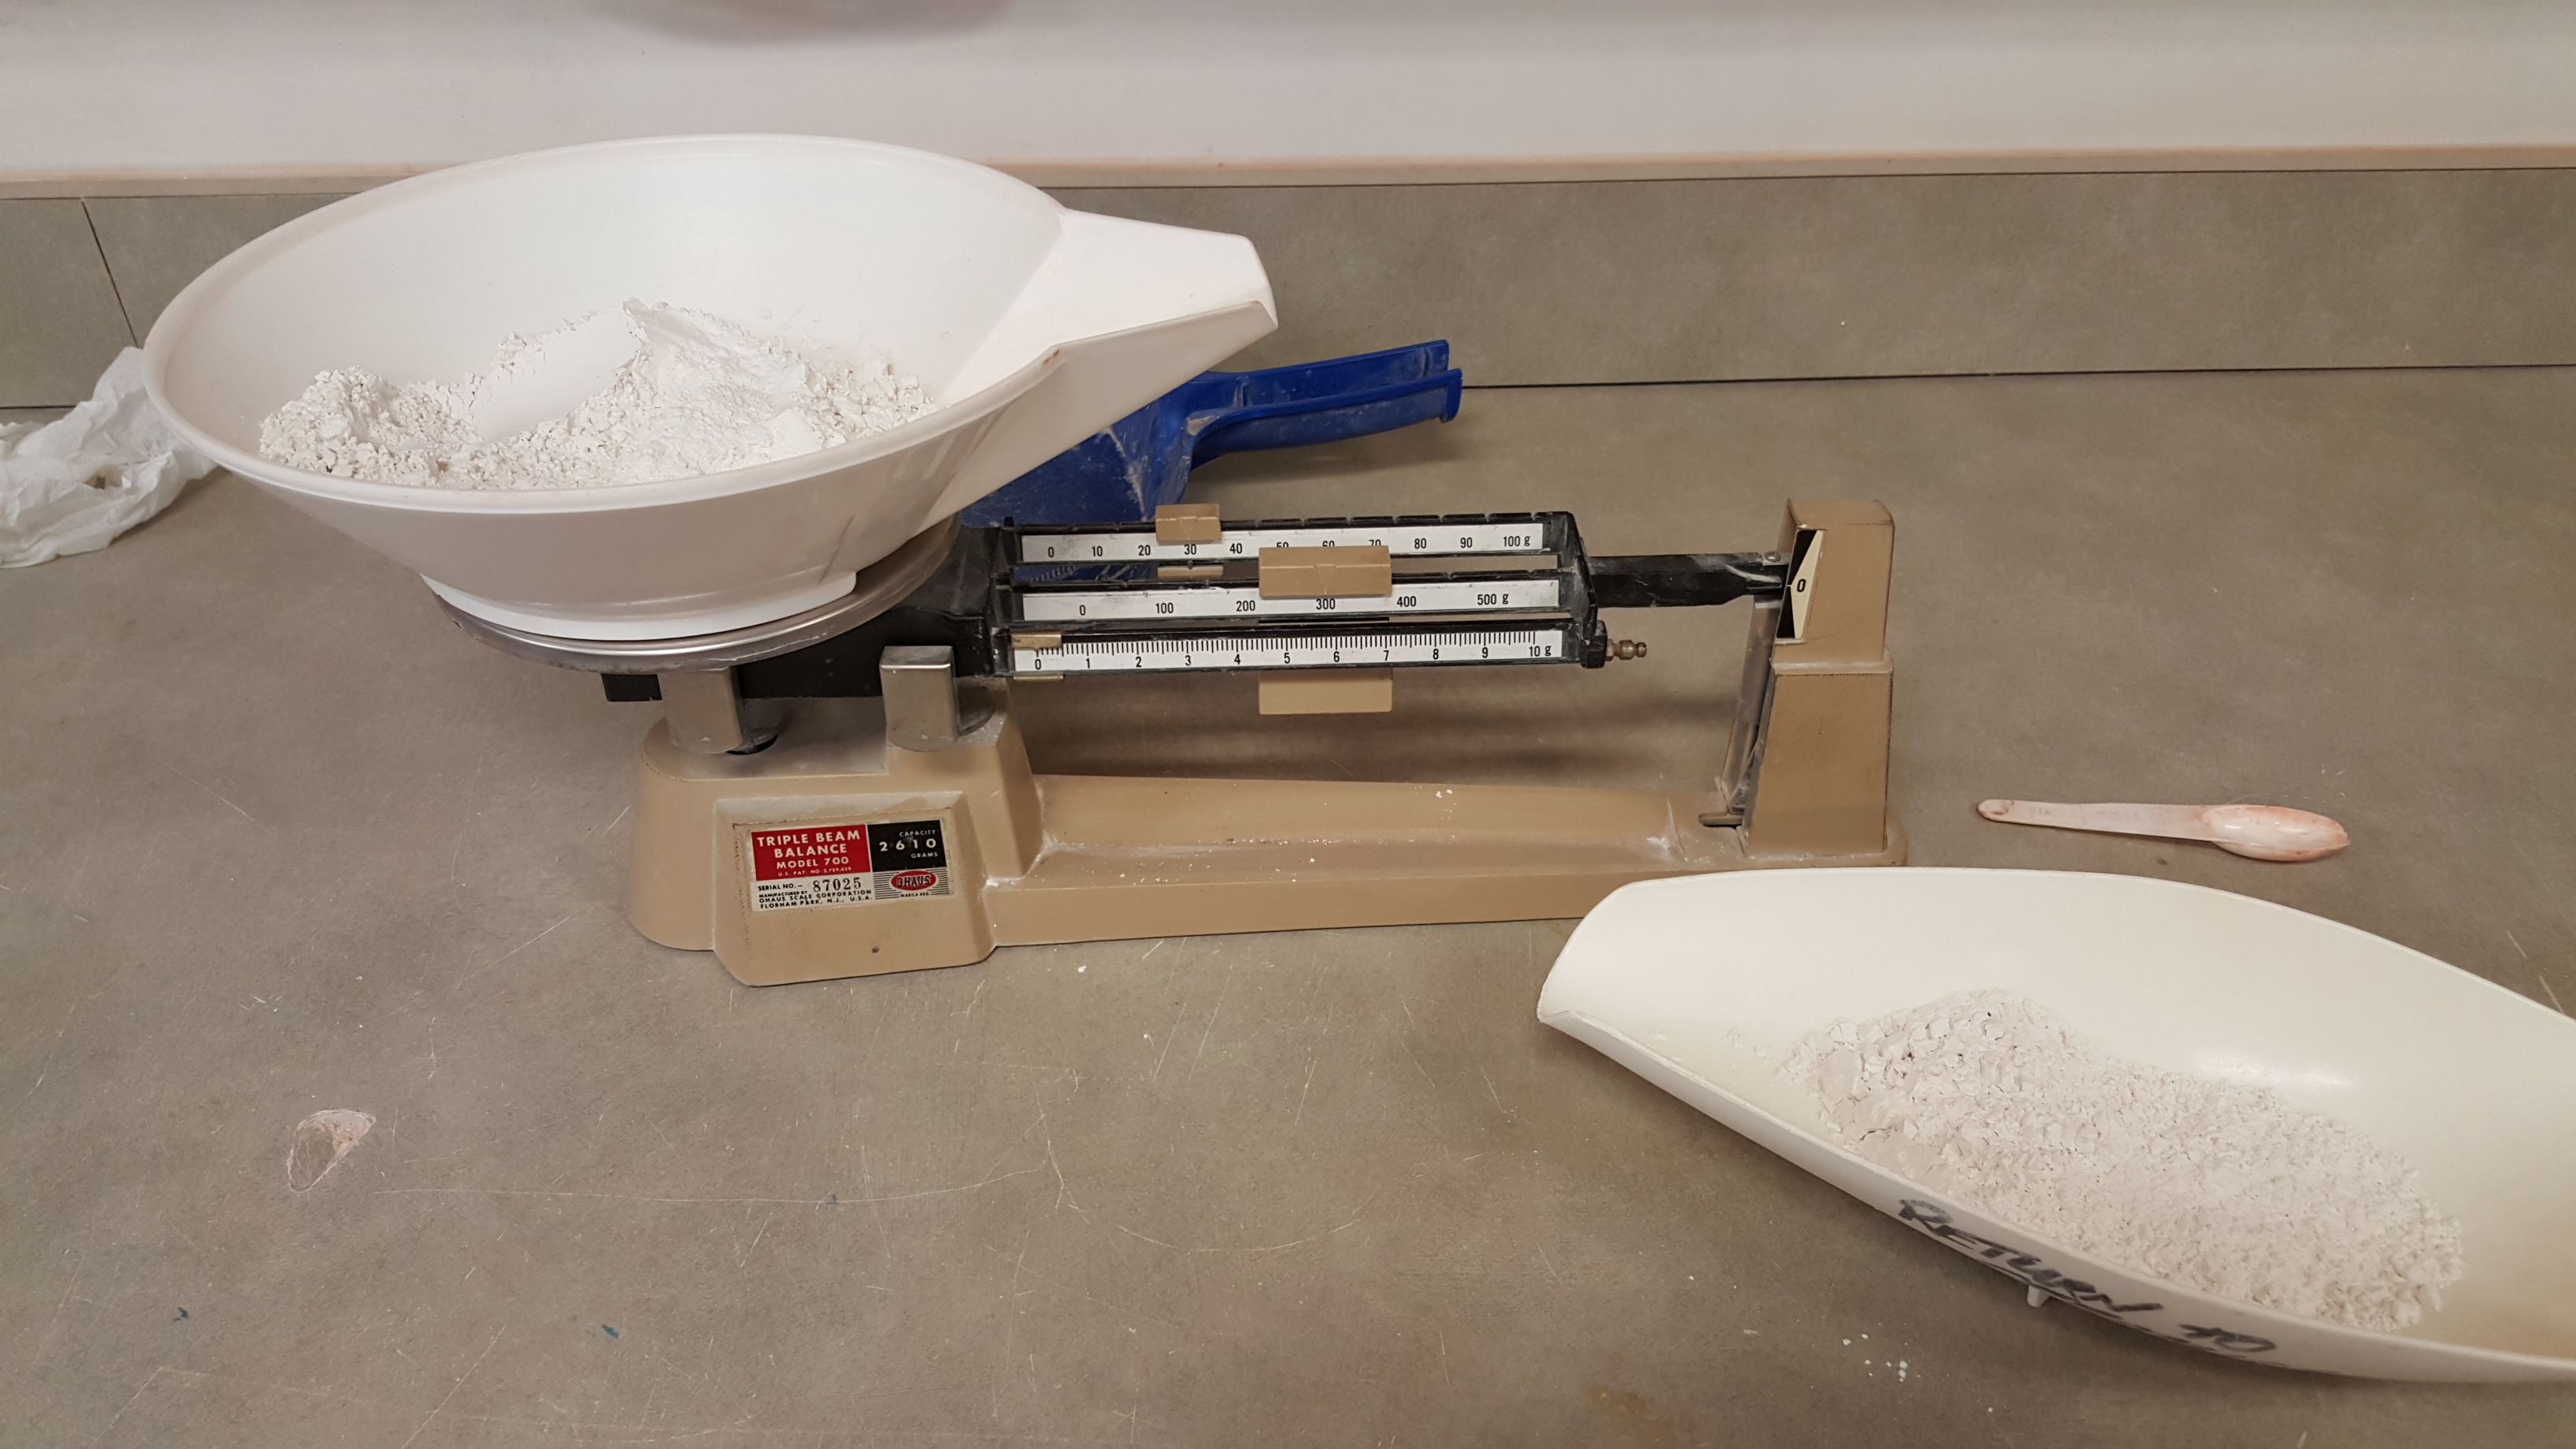
Last week, I did manage to select a transparent, celadon glaze recipe from the great binder my professor gave to me as a reference. The description stated the glaze was to yield a blue green color and met all of the necessary requirements for the firings we do in studio regularly. I knew I would be making a small batch of glaze so there was no need to increase the amounts of each ingredient proportionally, so I weighted the triple beam balance for the first measurement.
 Before placing anything on the scale, however, I
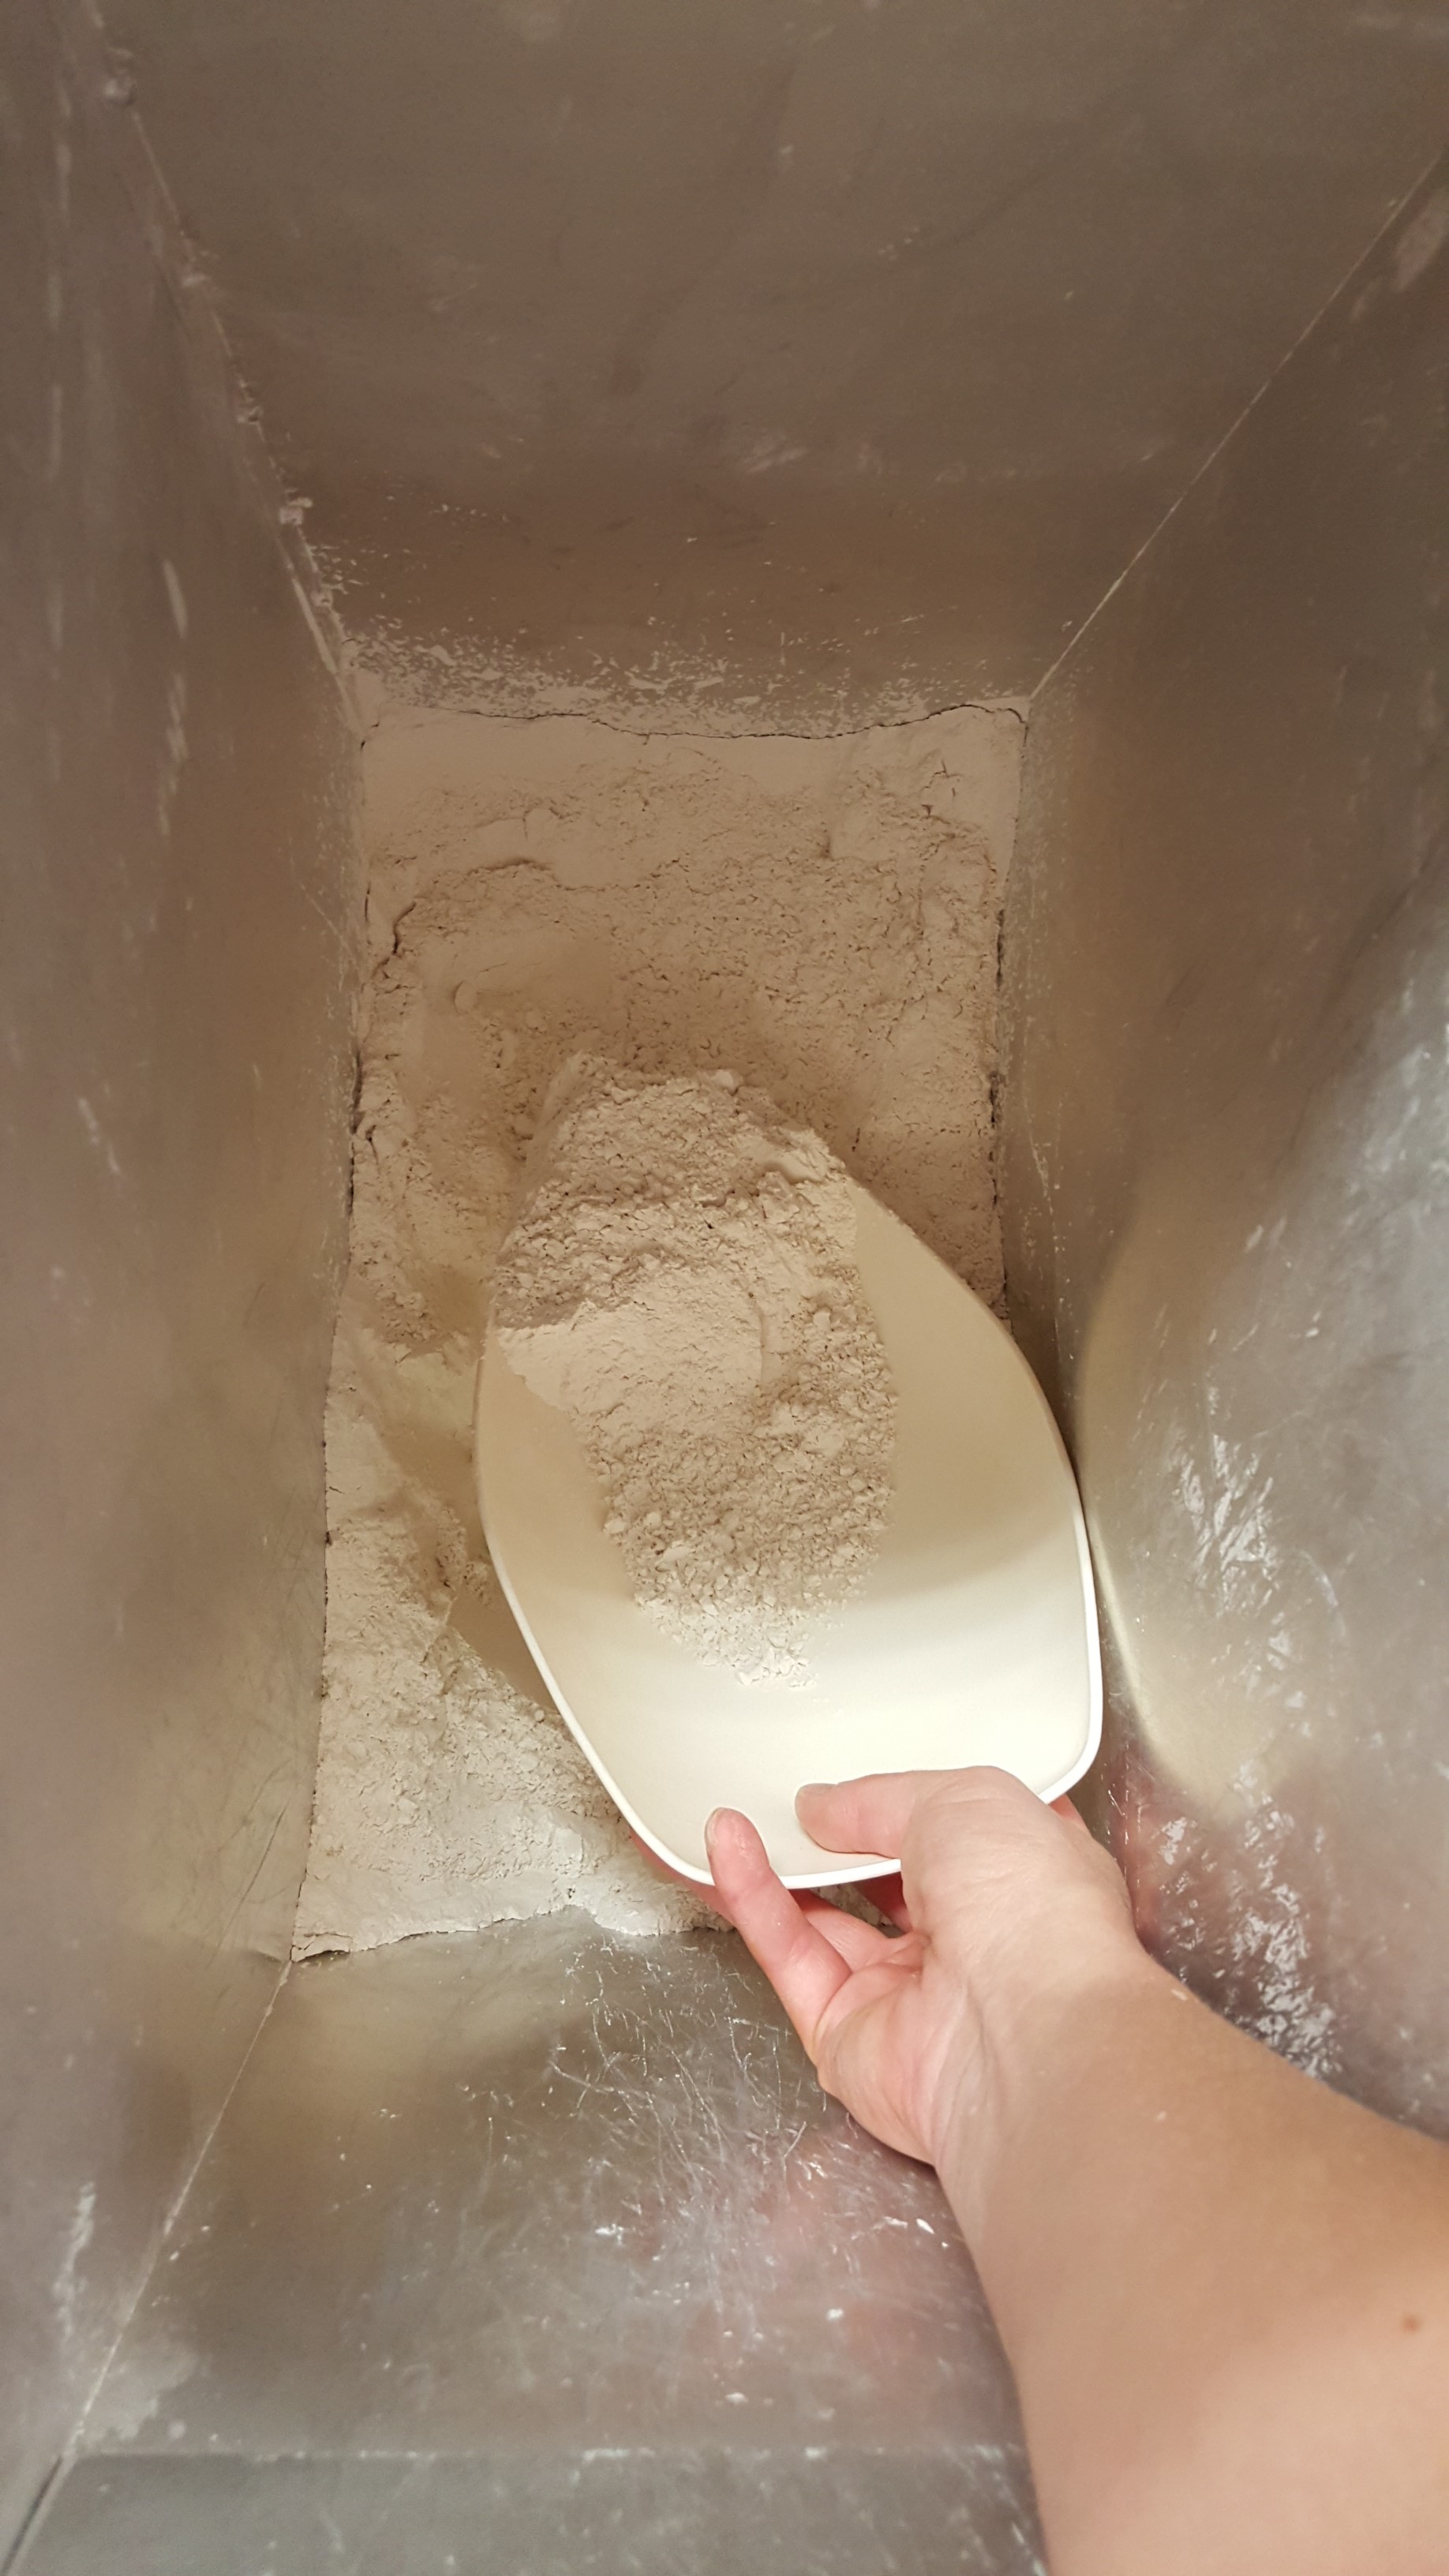
 put on a face mask. It is crucial to wear a mask when mixing glaze from start until finish. Often times, the dry, powdered chemicals are easily kicked up into the air and can be inhaled. This, like dried clay particles, can settle in the lungs and cause health problems later in life if there is much repeated exposure. So with my mask secured tightly over my nose and mouth, I began scooping out the first ingredient from our chemical table with a spade and gradually poured the powder onto the triple beam balance until it was level (like the picture below). Once the correct amount of each ingredient was measured accurately, I poured it from the balance into a mixing container. This process continued for each of the six ingredients until all of the powdered chemicals were combined.
 Then I could begin the preliminary mixing. I gradually added water to the basin until I could no longer see the chemicals and between each interval, I waited for the mixture to settle. Once it appeared to have settled completely, I used an electric mixer to combine all of the ingredients thoroughly.
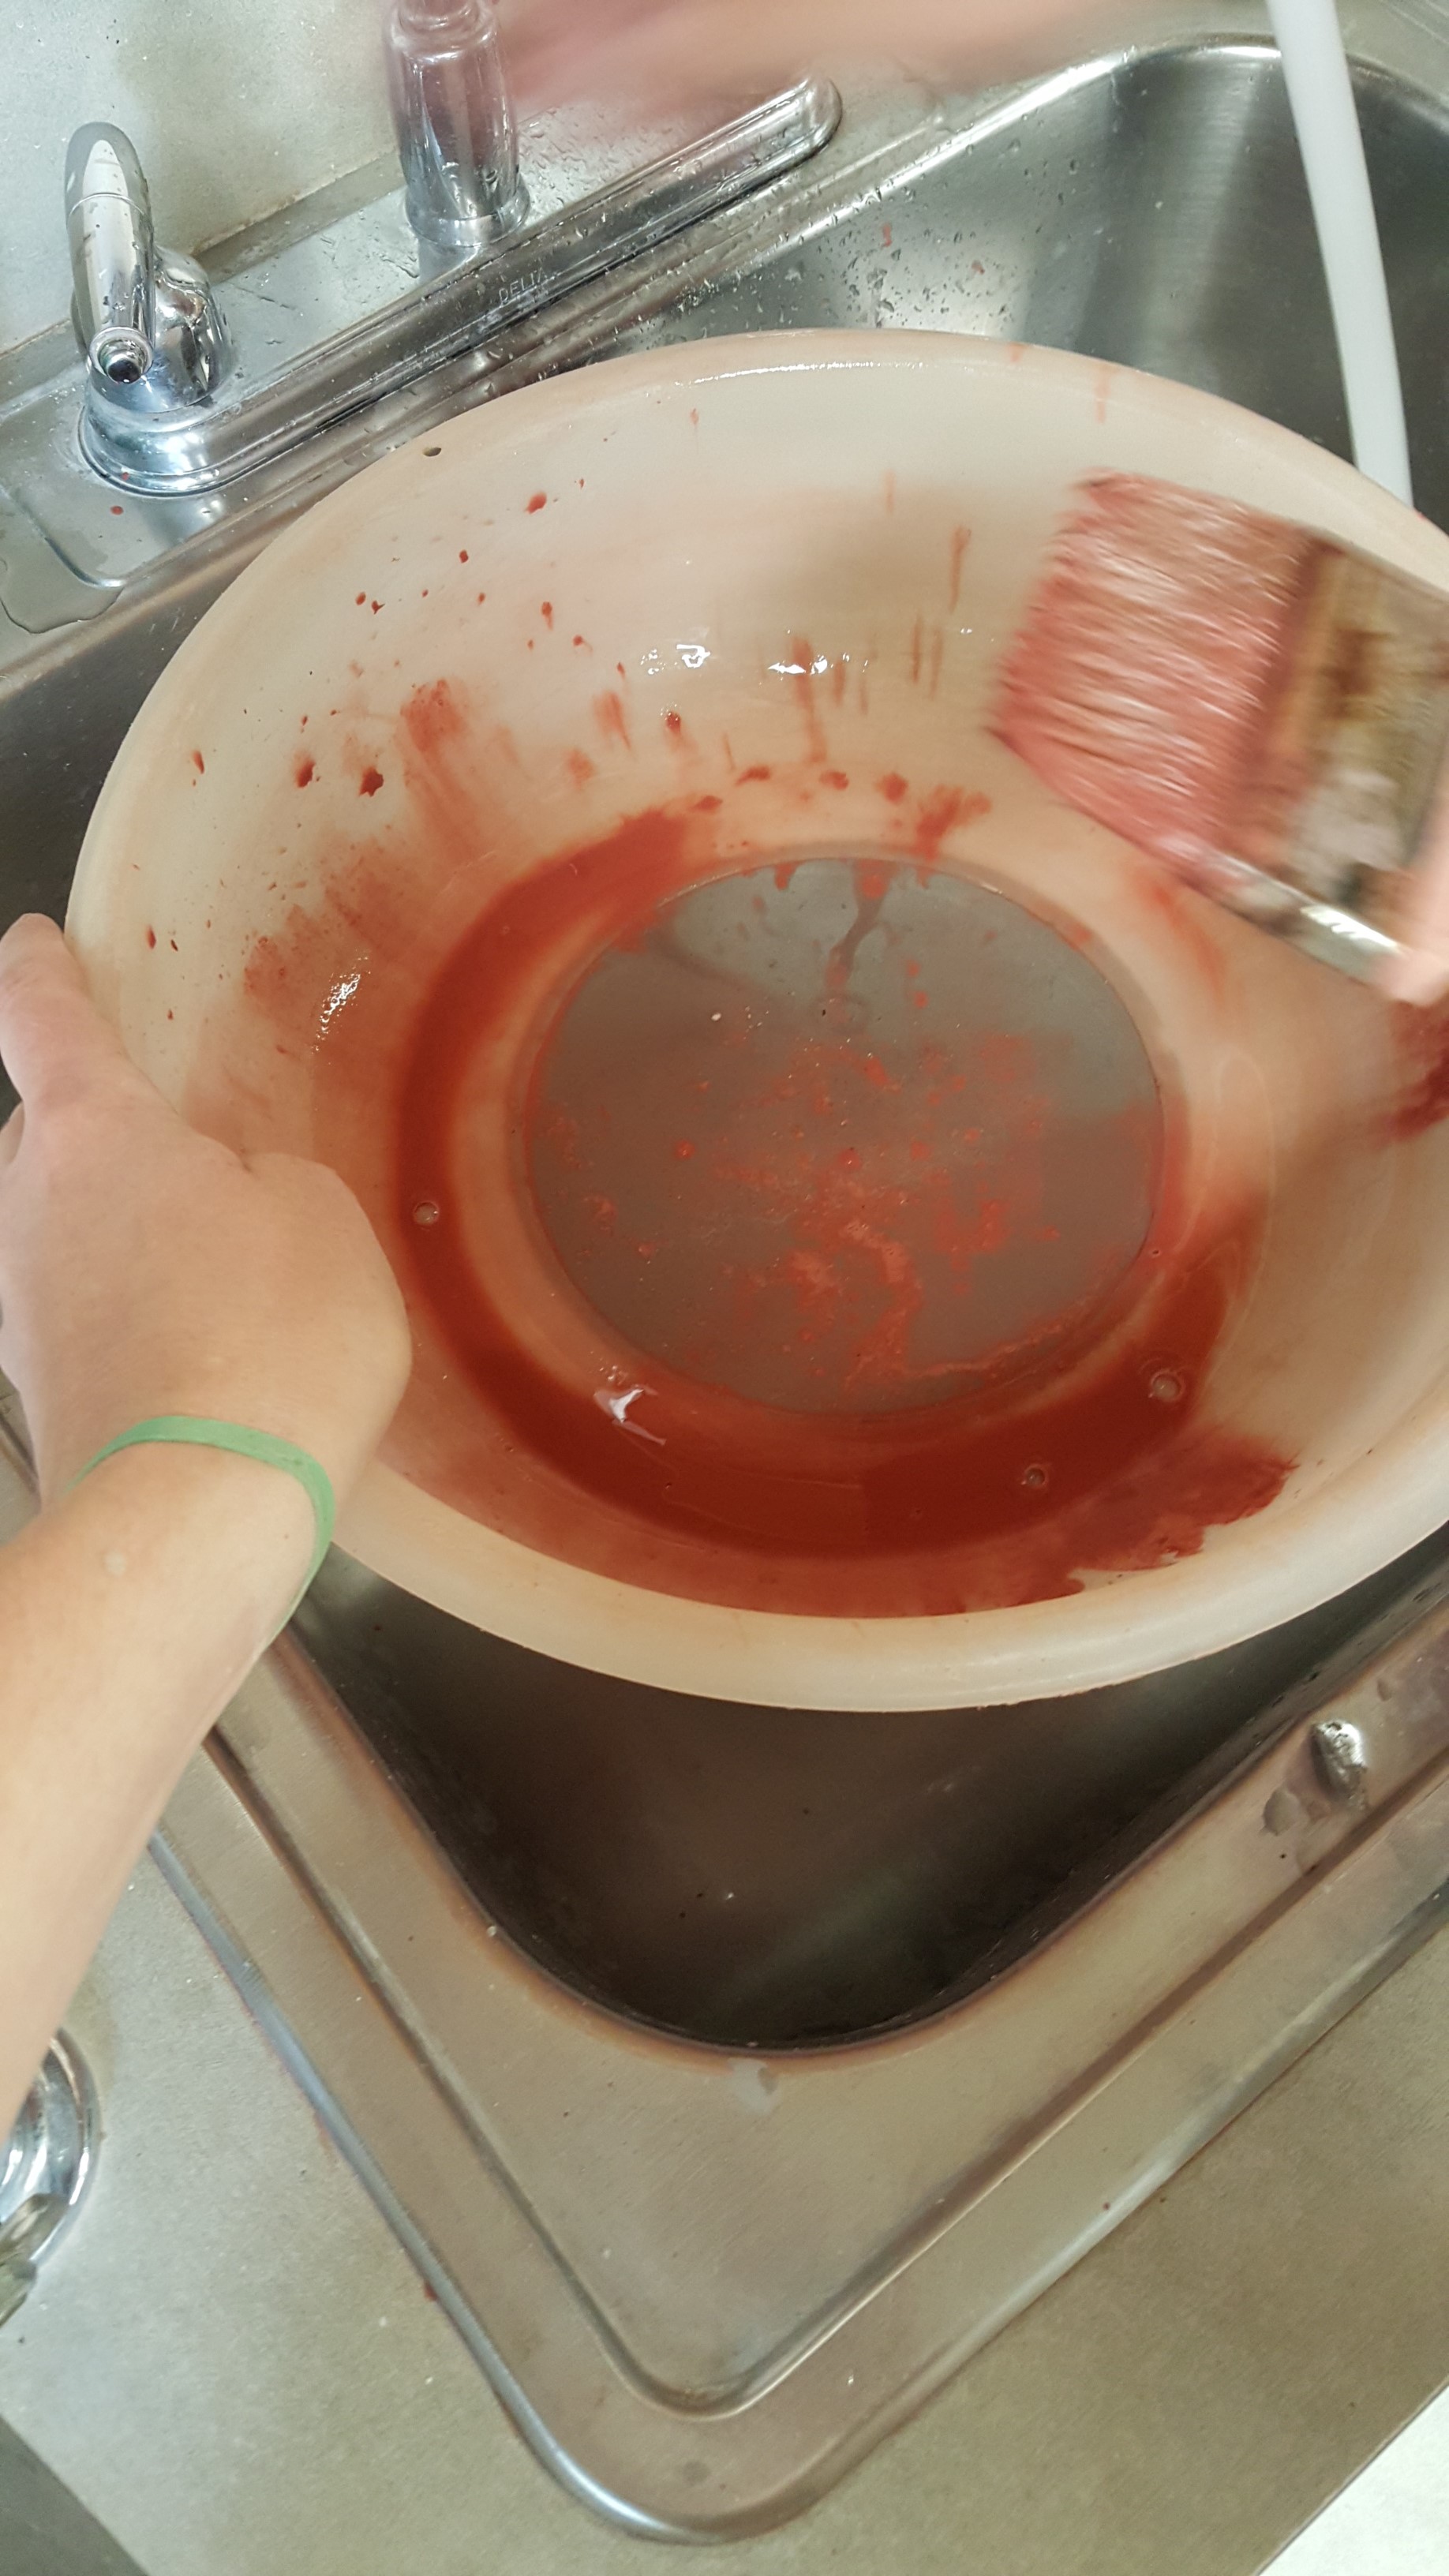 The final step in the process is straining the glaze to eliminate any large lumps that may still remain within the mixture. We pour our glaze mixtures through a screen and guide the liquid through with a brush into another bucket placed below. A bit of what is collected gets applied to a test tile in three bands of varying thickness which gets fired before any precious pieces get glazed to ensure the recipe was successful. The test will inform the maker if the glaze is reacting properly, if it is too runny and could damage the kiln shelves, and relay information about the best thickness of application.
 One further step after all is said and done (other than clean up of course) is to label the glaze! Labels should include the firing temperature, or the cone temperature, the firing environment (reduction or oxidation), the name of the glaze, and the name of the artist using it (if it is not for public use).
Easy enough, huh? Just kidding… but it is a lot of fun! If you have any other suggestions for glaze mixing, please share them in the comments! Maybe you mix glaze on a large scale industrially? Maybe you prefer to purchase glazes? I’d love to hear your insights and opinions, but as always thanks for the read!