Welcome to another segment of, The Work In Progress. Leaving areas with a tonal effect through Intaglio can be done a few ways, one of which includes, “Aquatint.”
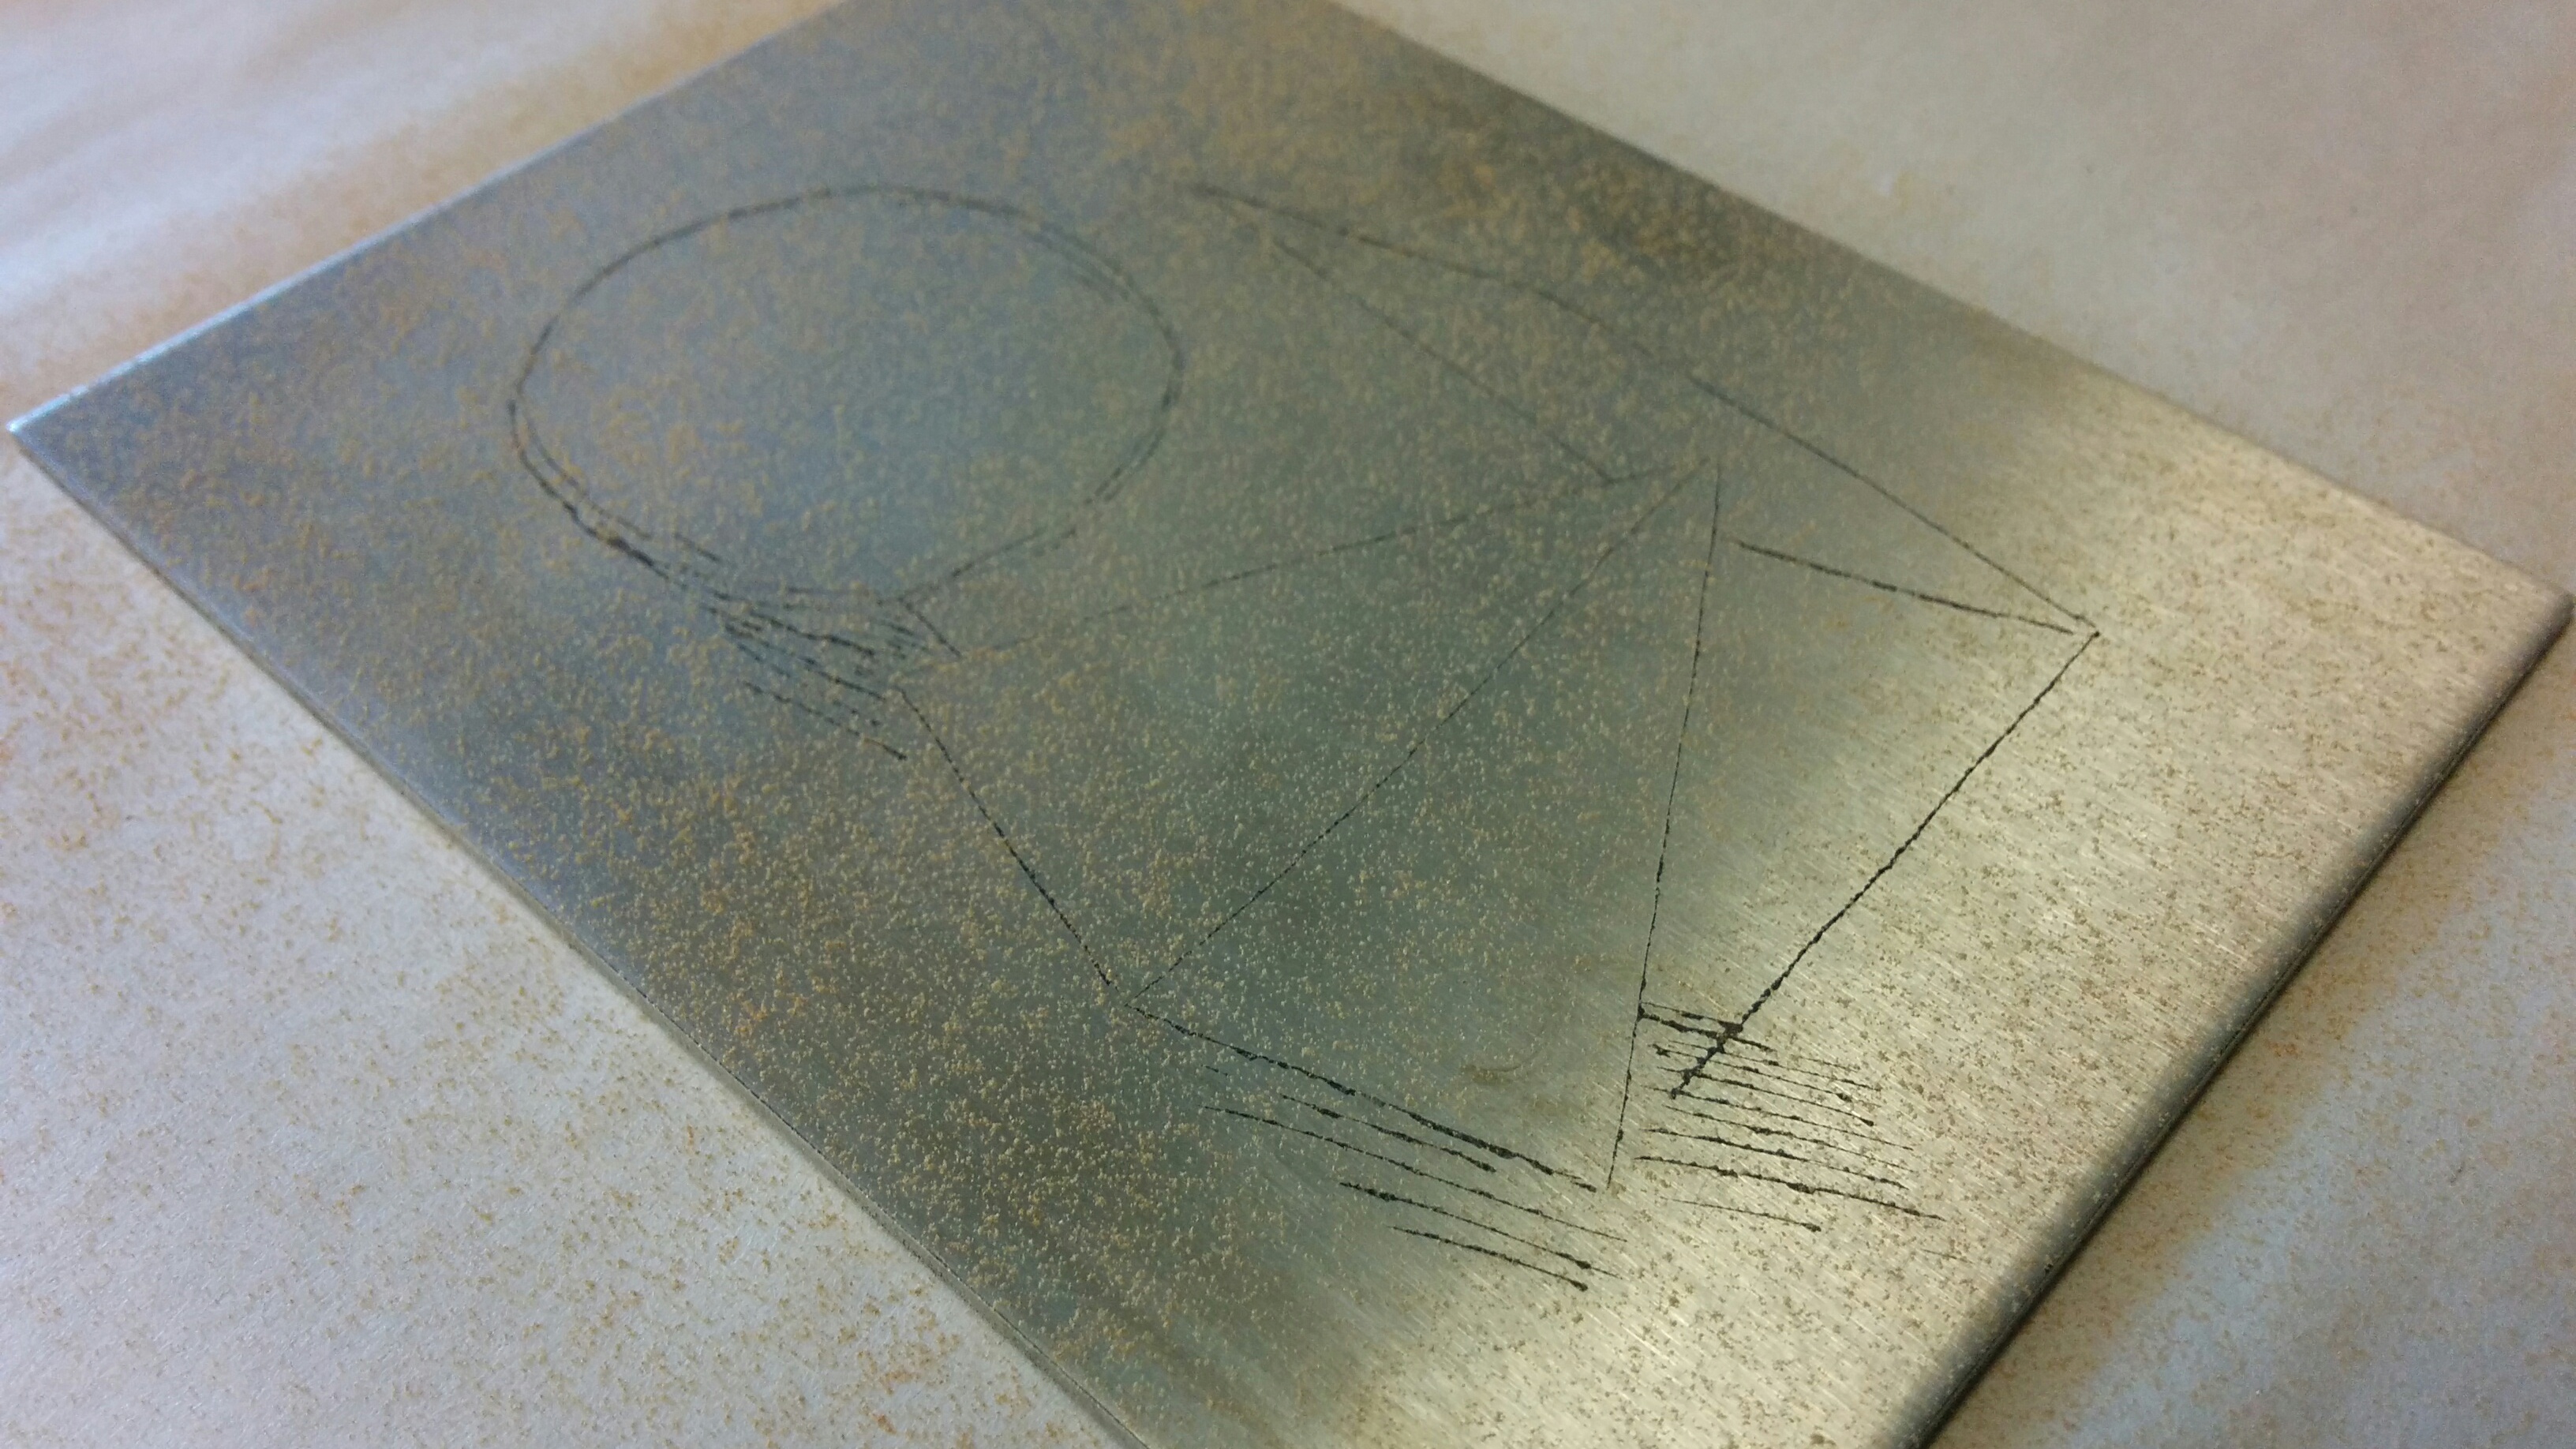
As with any new method I find, I need to understand the technique and process. Aquatint was no exception. In a basic sense, aquatint requires a material on a plate to detract the etching acid, since what makes the tonal effects are the ridges that flow throughout the plate. This allows the burr to hold in ink, rather than a relief process that lays the ink out on a plane. The material that could be laid out on the plate includes salt, baby powder, rosin, etc. For this project, I’m using rosin (a substance collected from a tree).
The burr is mainly effected by two factors: the amount/density of rosin, and the amount of time in the mordant. I used a powder shaker to consistently sprinkle an even layer of rosin onto the plate. By putting the plate on a hotplate, the rosin slightly melts and binds to the metal so that it doesn’t wash away. I will be putting the plate in the acid multiple times, each time etching deeper and deeper. As you may have guessed, to get different tones you stop-out areas with ground for every round in the mordant.
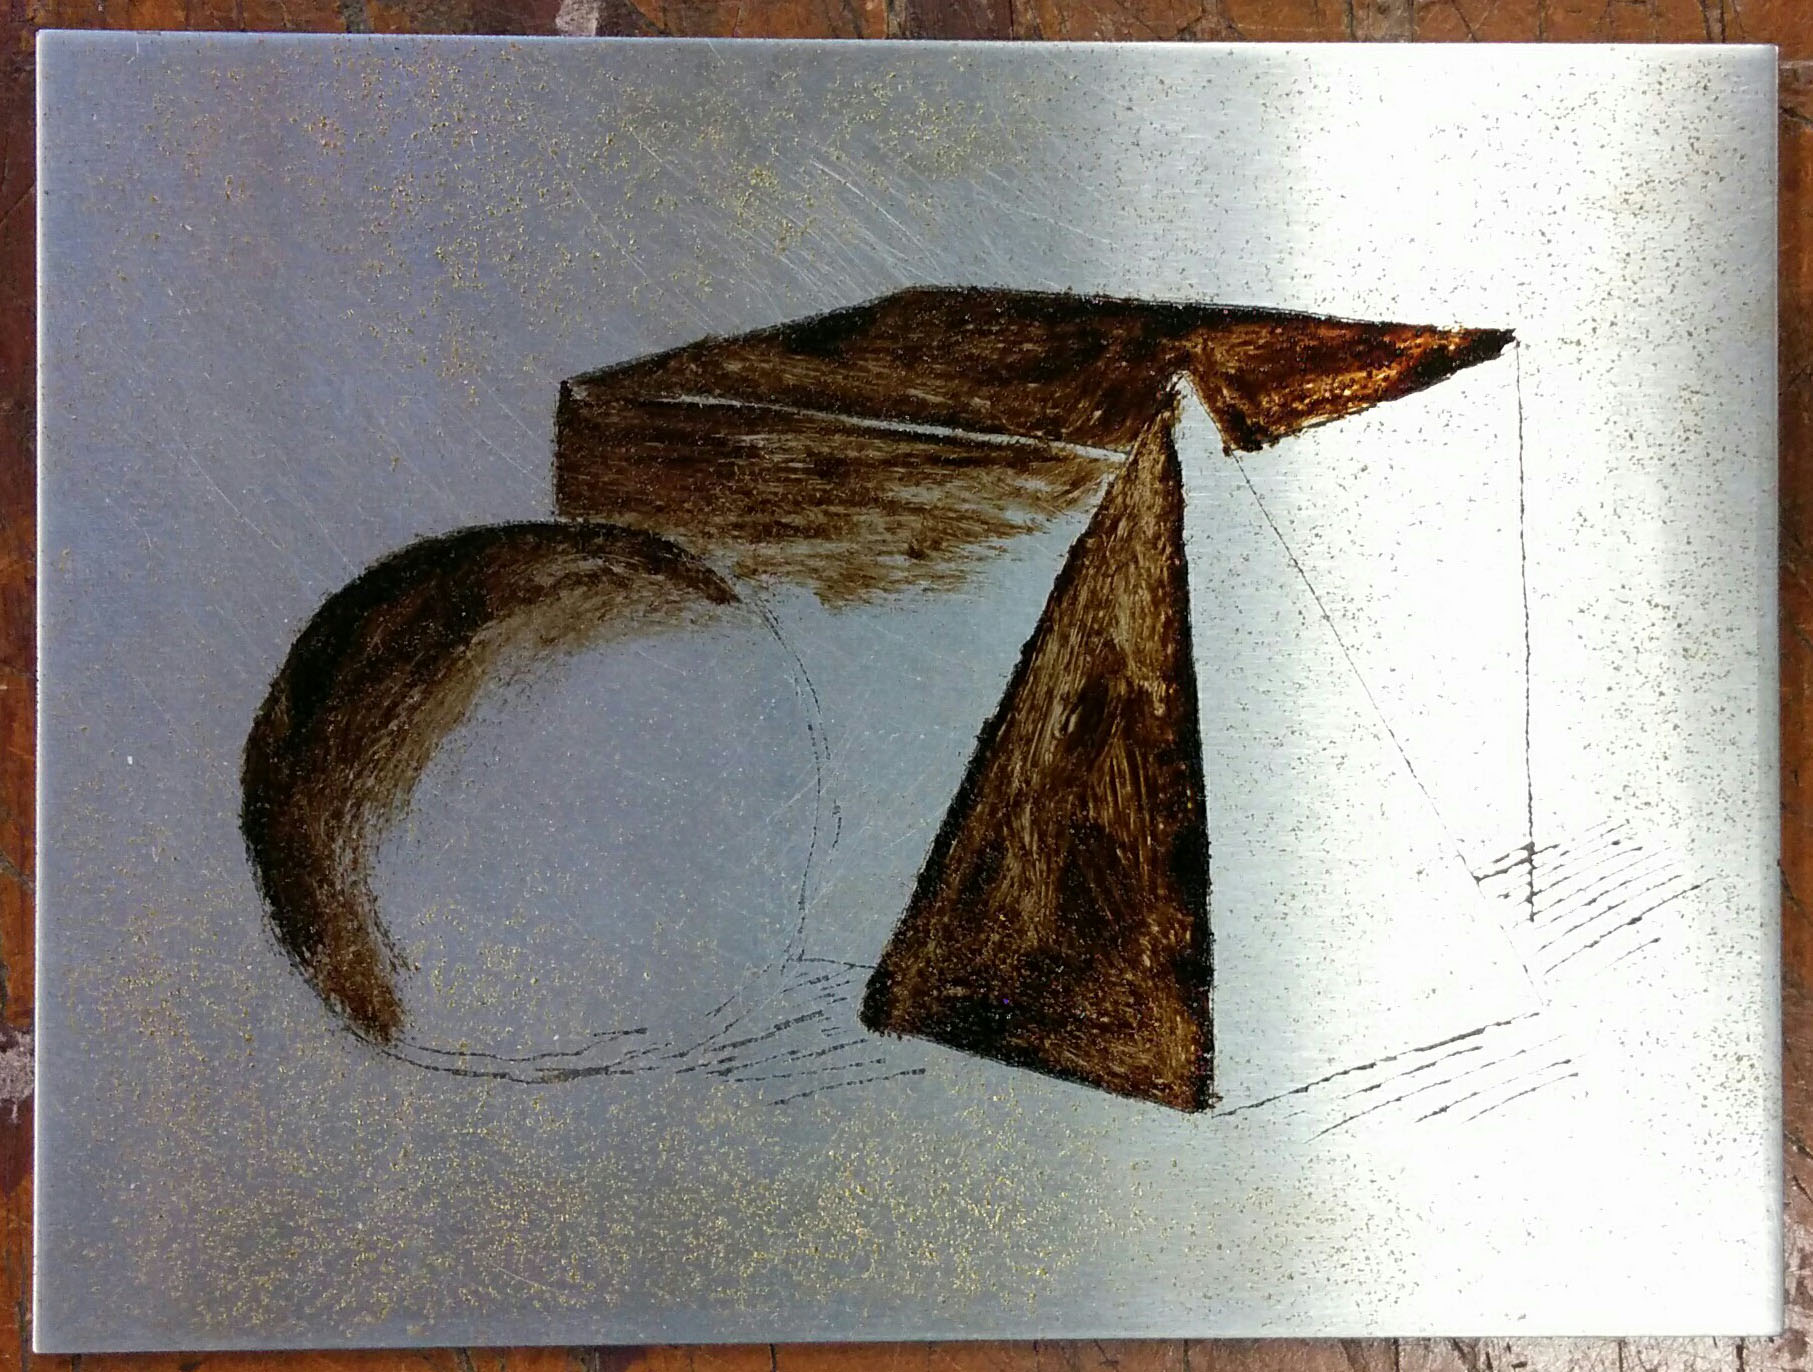
Before the plate goes into the acid bath, I added a layer of ground to protect the brightest whites. This ground will be left on for the entirety of the etching process. For now, I want to add the next layer of tone by leaving the plate in the bath for fifteen minutes. After that time, I will stop-out parts where I believe the etched tone should not change, and so on and so forth. From the pictures above you can see the four tones I added: the highlight, two middle tones, and the darkest tone.
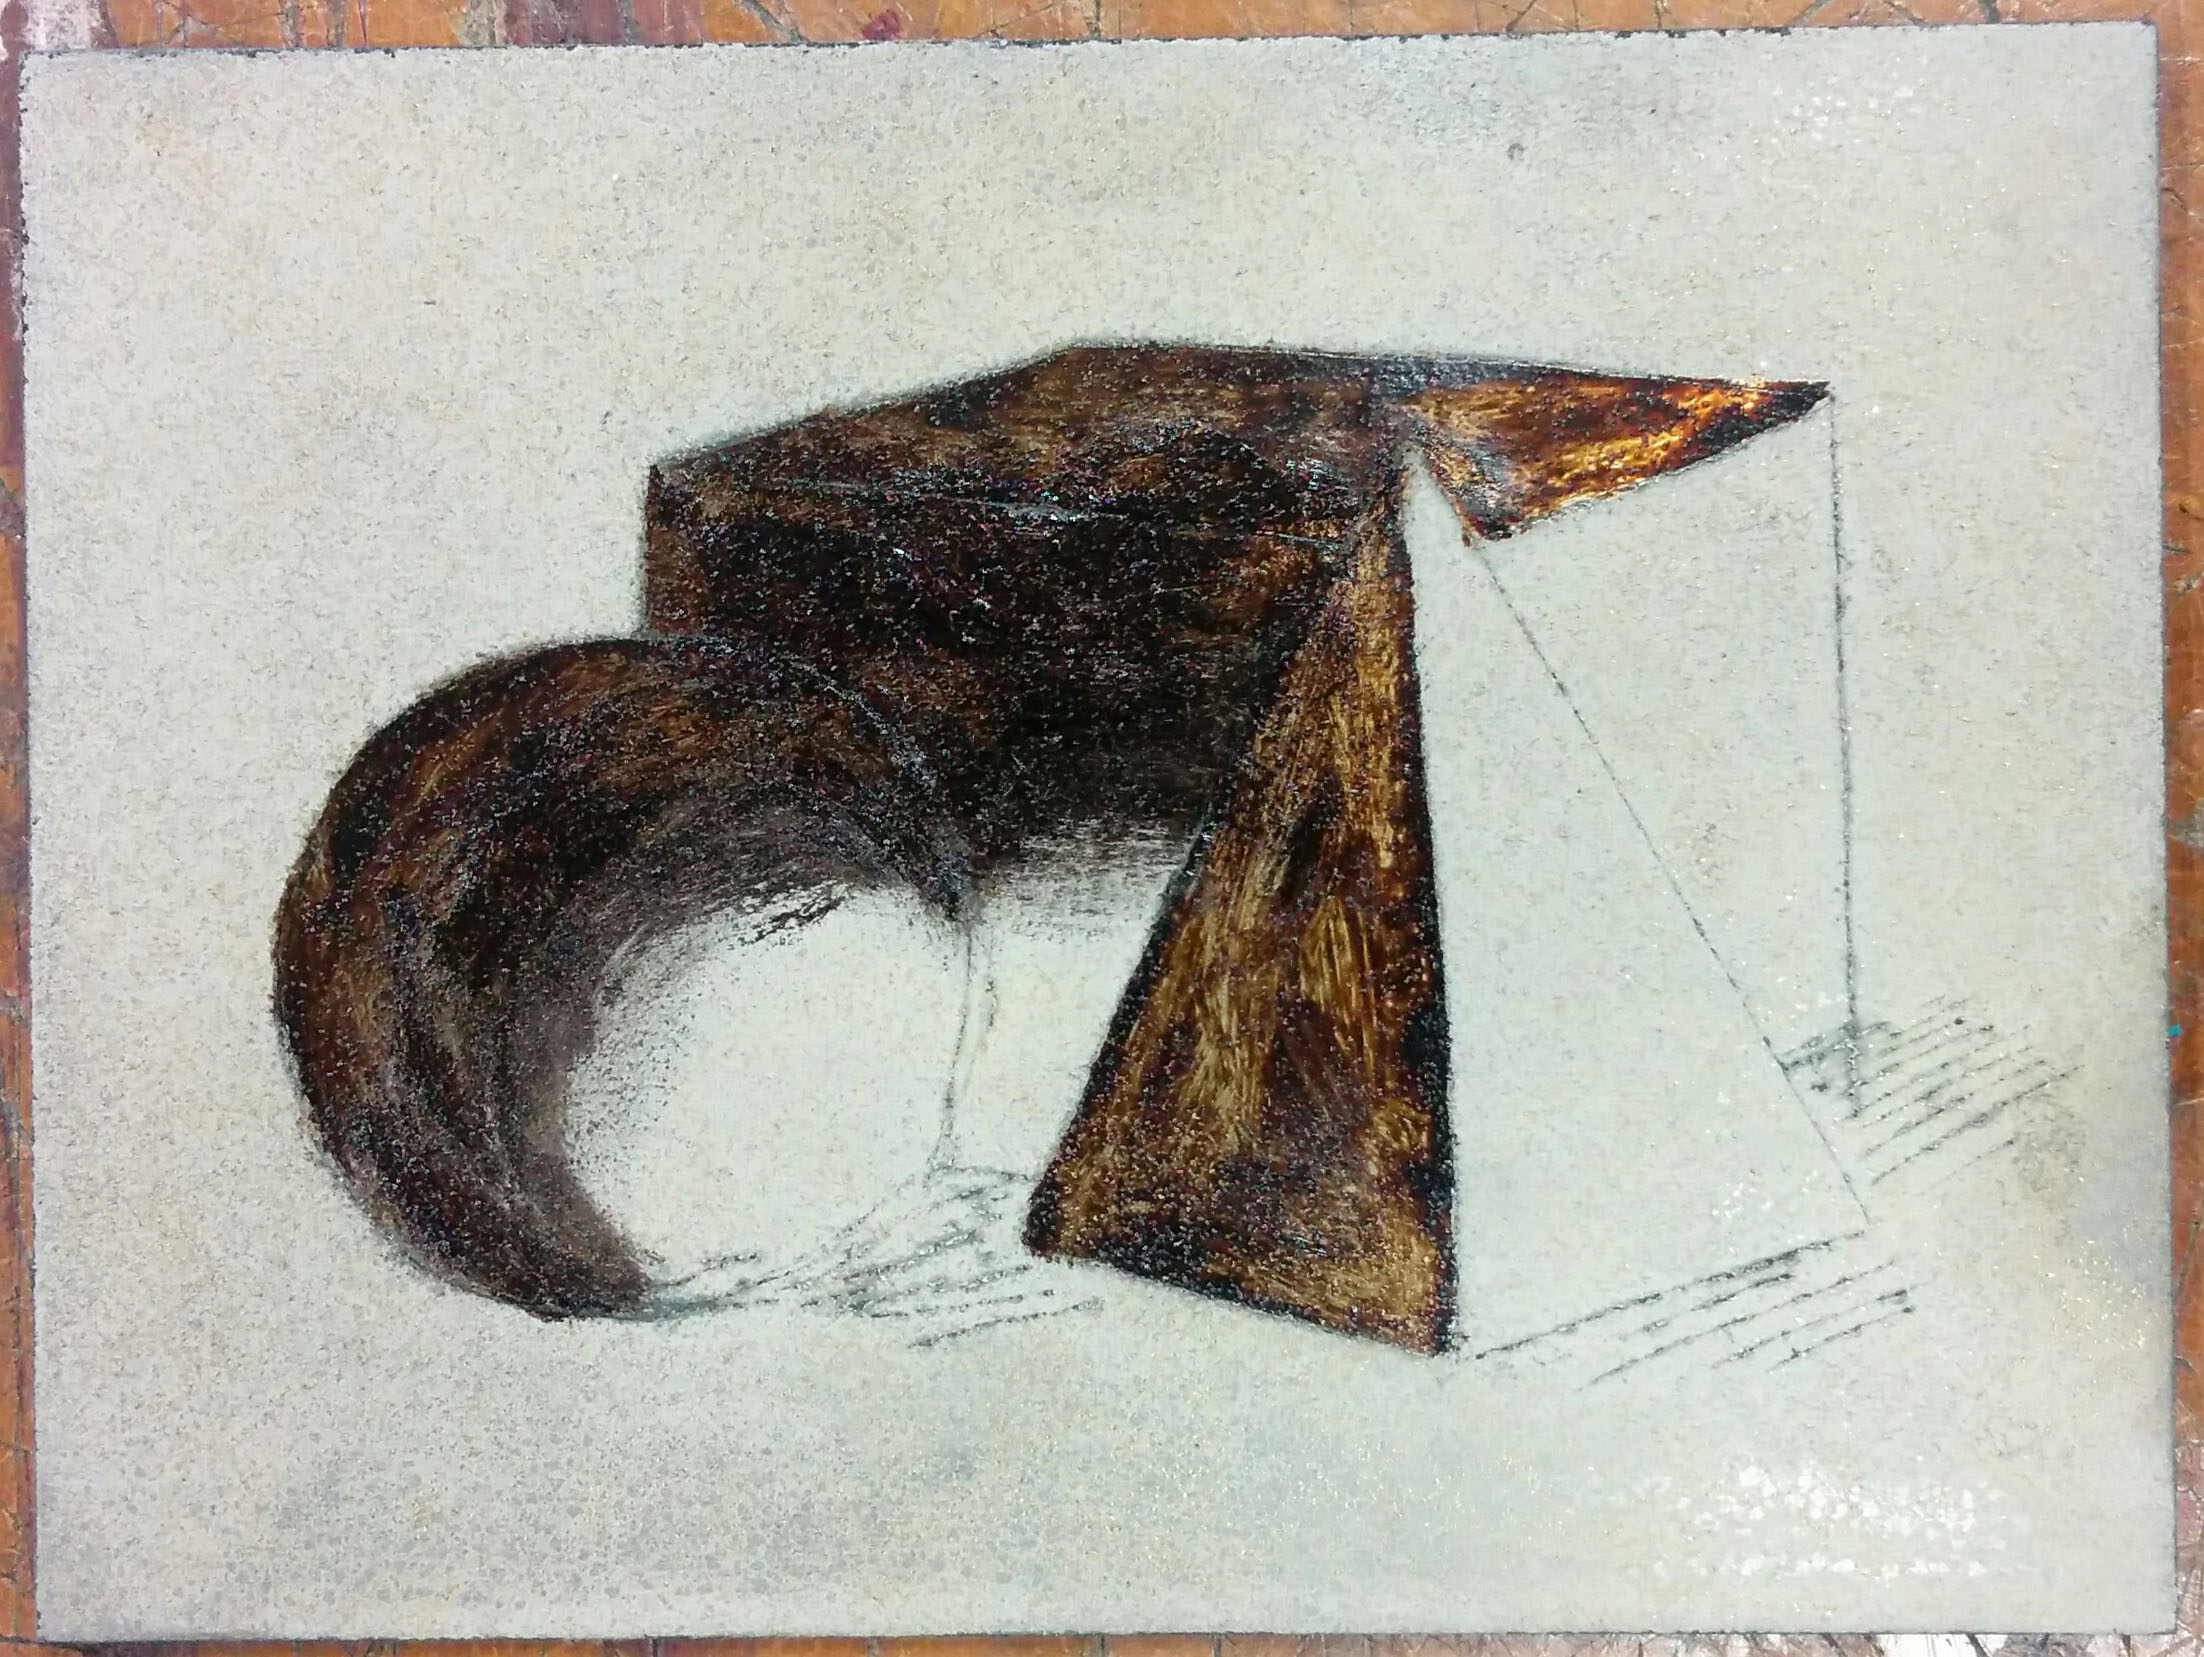
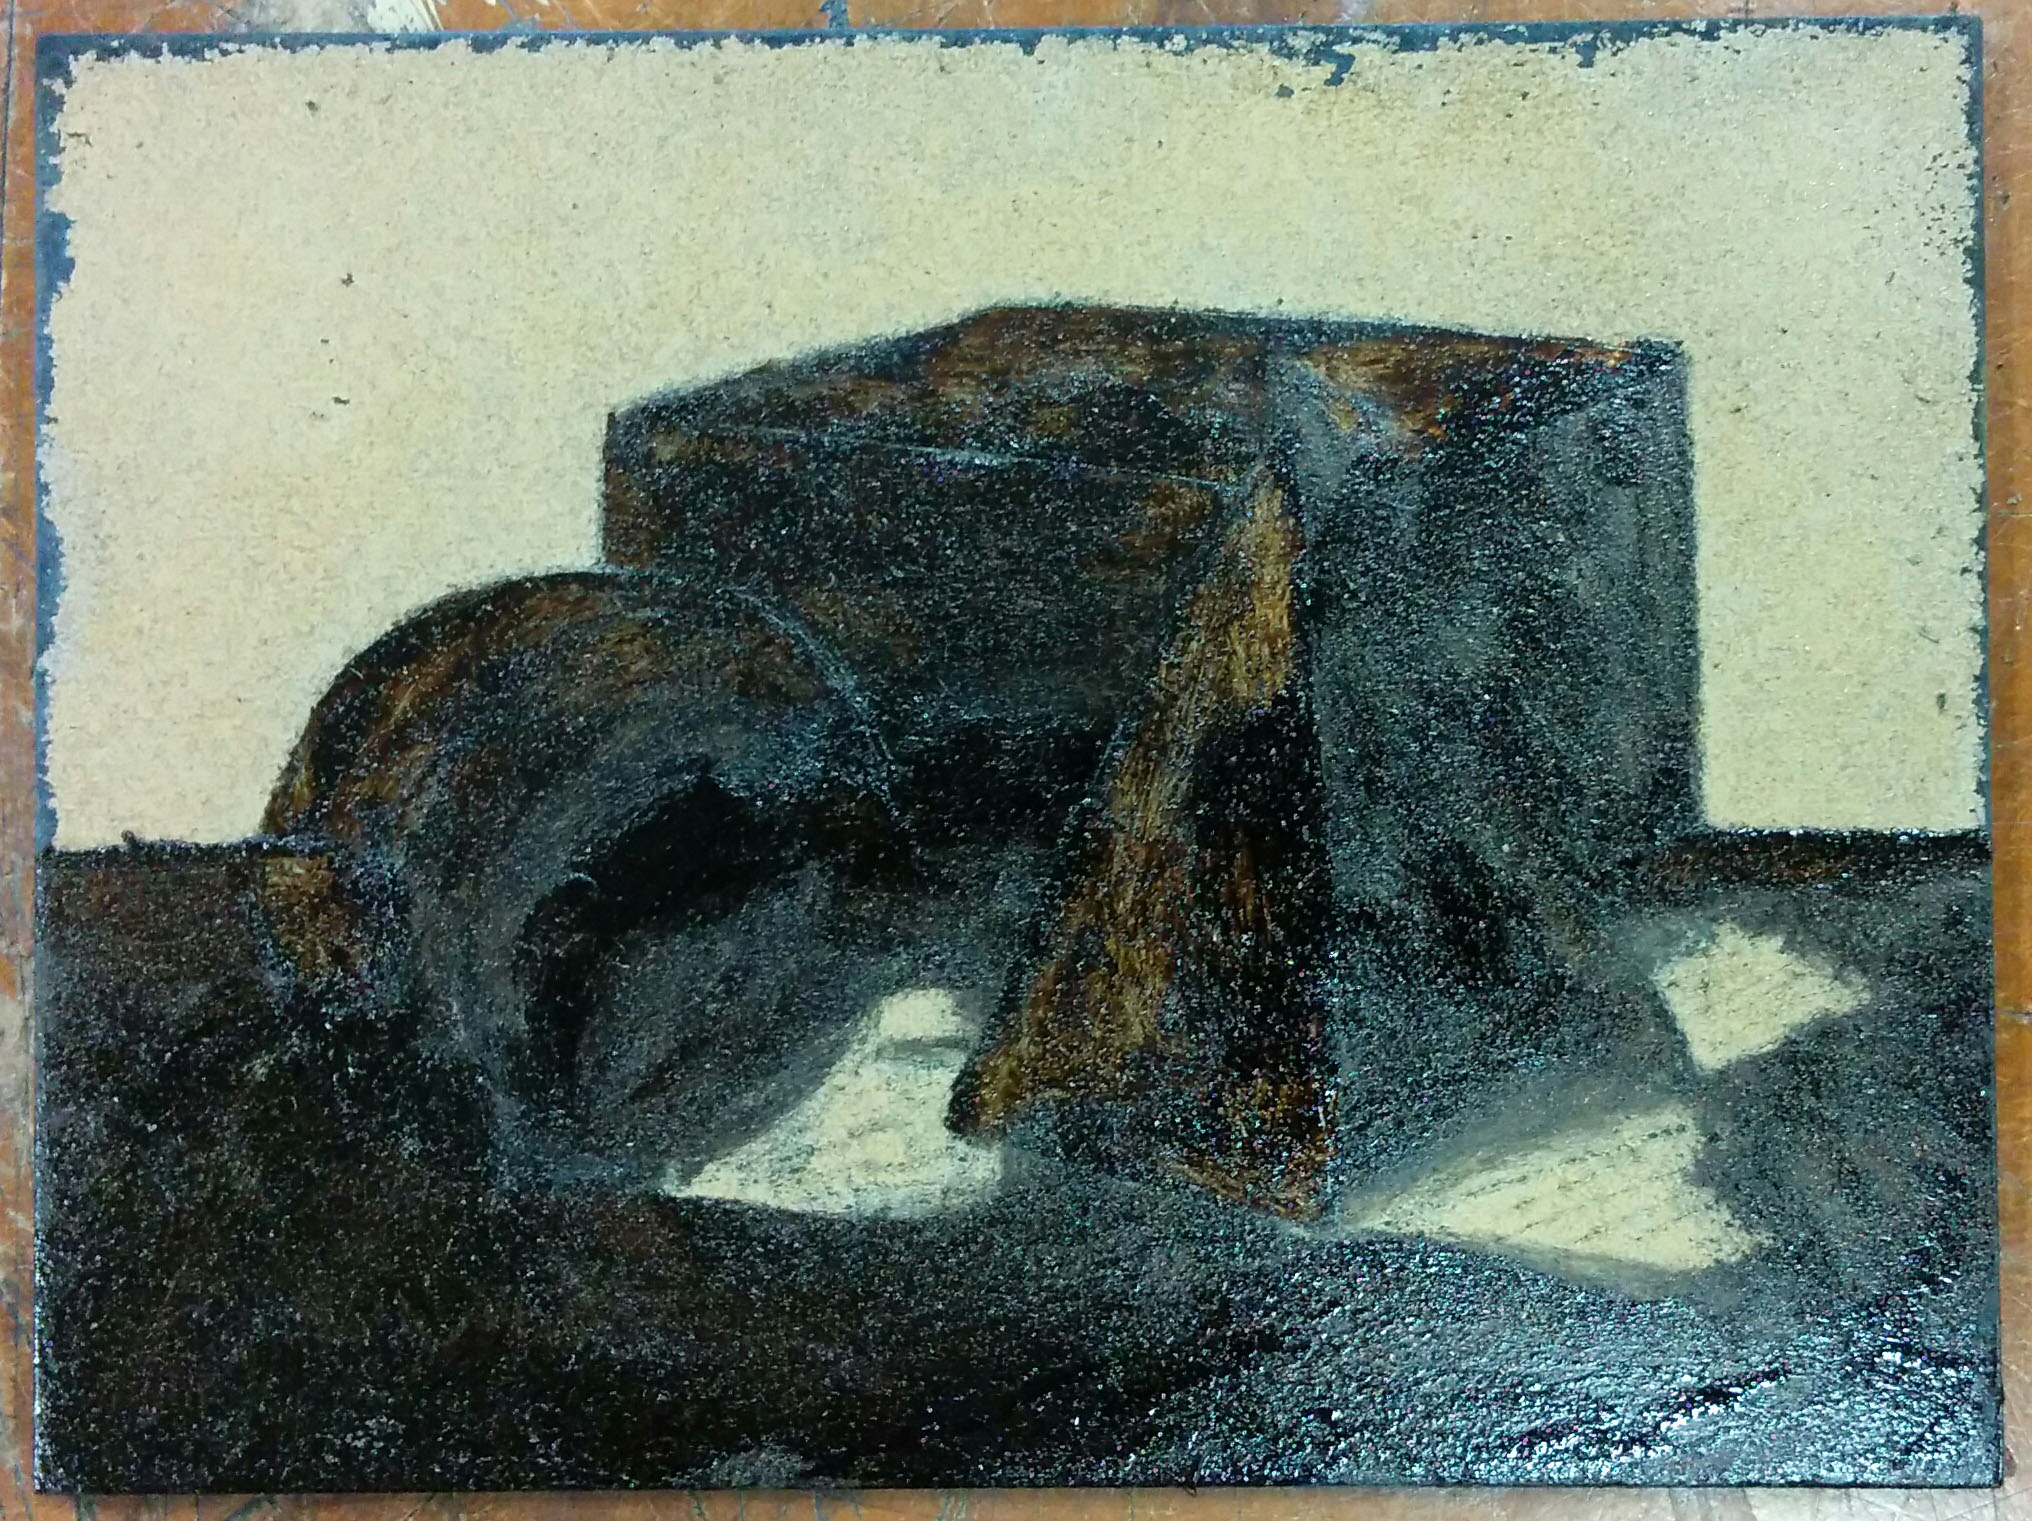
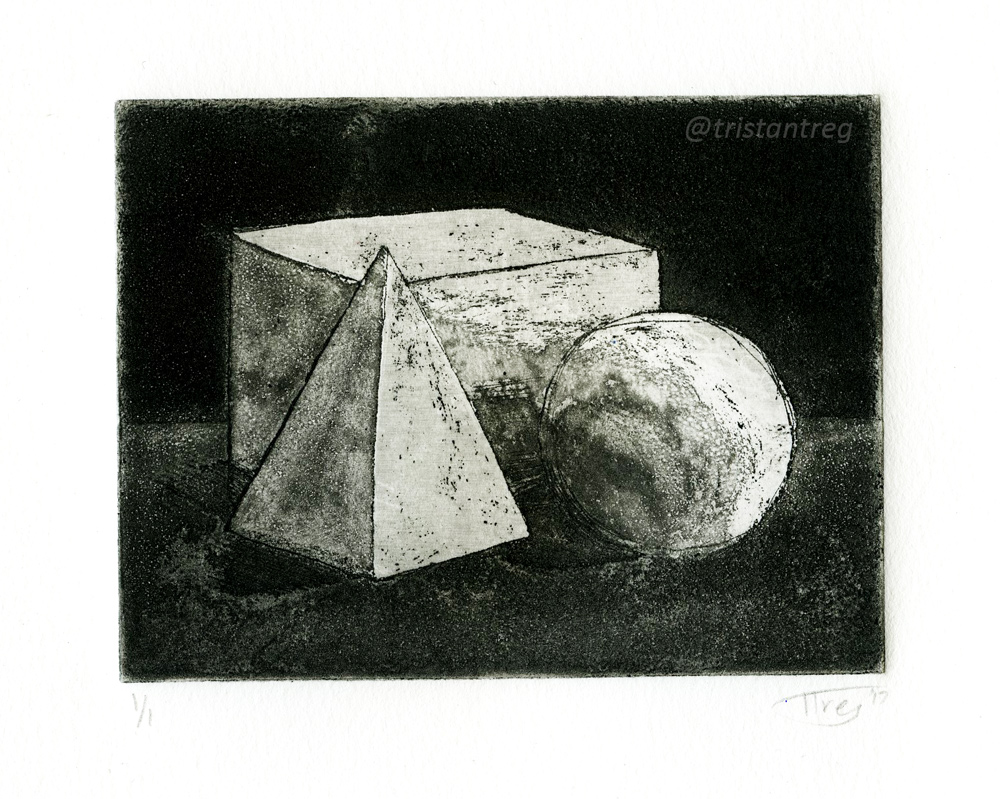 Above, you can see the final edition for my test plate. Notably, there are sections that did not turn out the way I wanted. Thankfully there are ways around that problem. If you want more whites, you use a burnisher. If you want more darks, then you can re-etch in those parts, or other burr making techniques like drypoint. I mainly used the burnisher to bring out more of the piece, and to make it seem more realistic with the light source. I also used a scribe to add in drypoint marks on edges of the triangle and square to define the form a bit more.
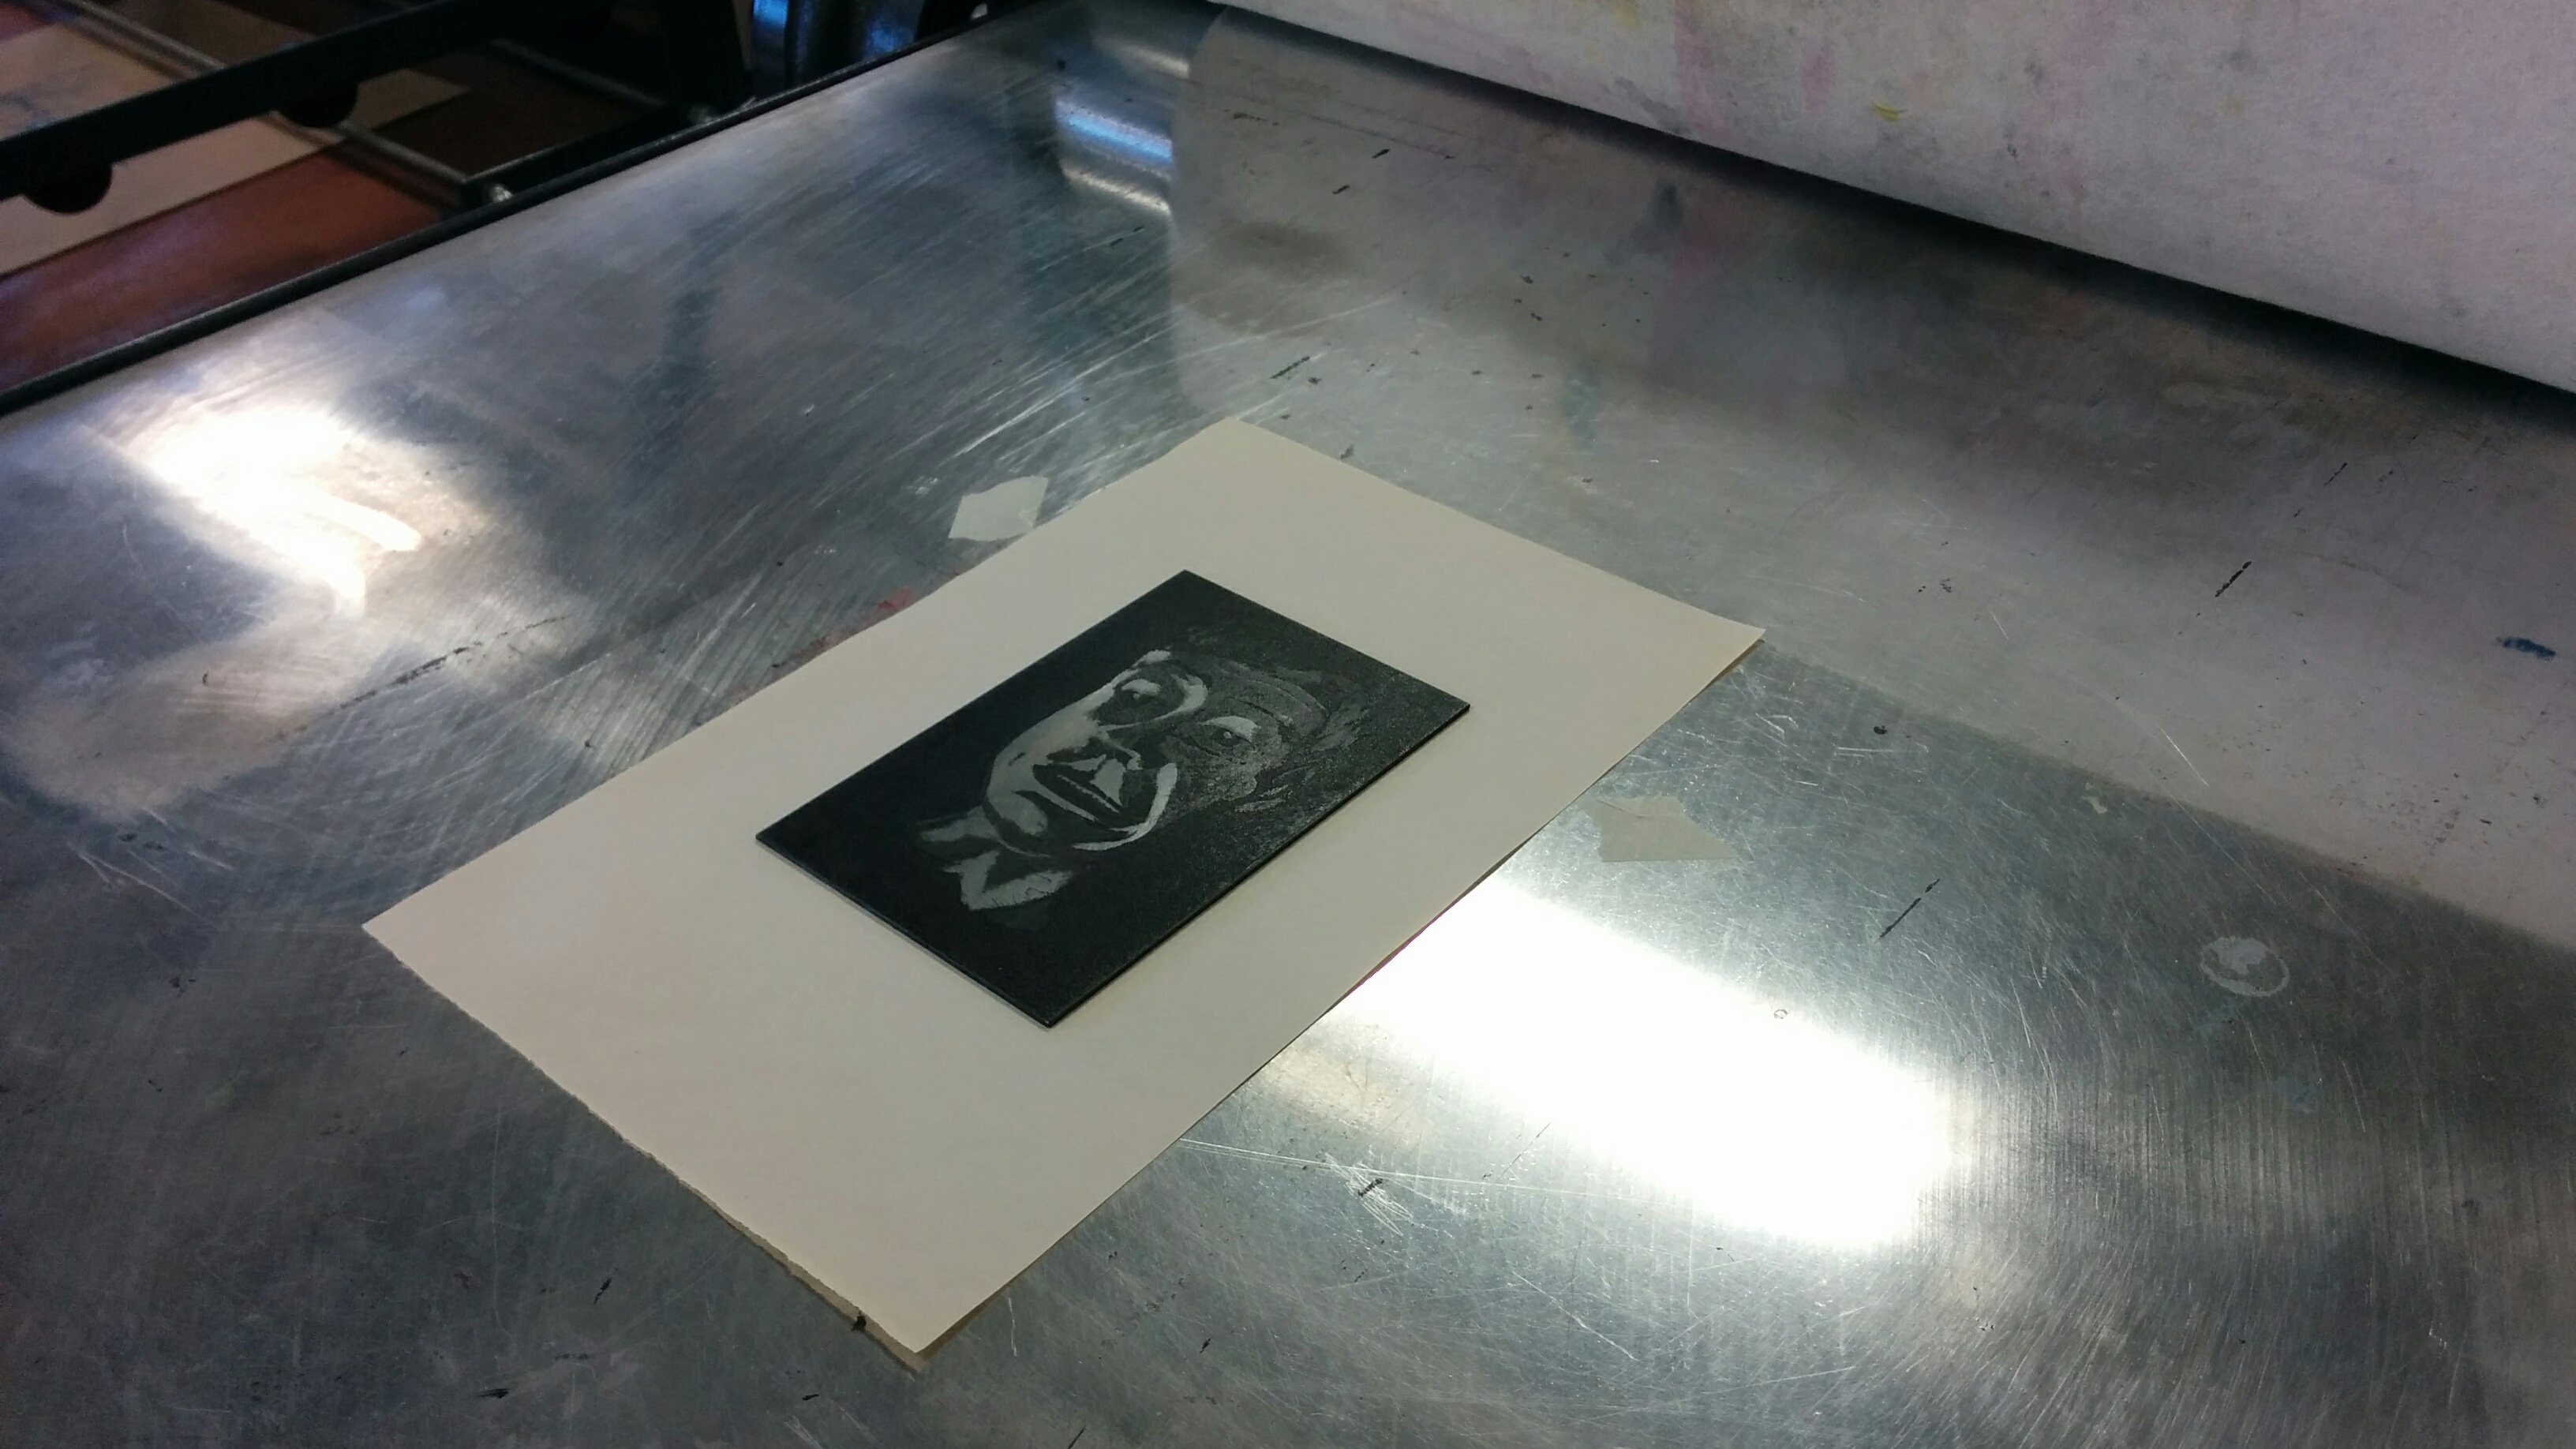
After receiving practice from the “shapes plate,” I decided to create a more professional piece using the same method; this time the subject would be my distressed face. The obvious differences between the two subjects include more tones, shapes, and dimensions. From my sketch, I mapped out which parts would receive what amount of ink, and in essence, how long each section would be exposed to the acid. After about an hour of etching, I made my first proof.
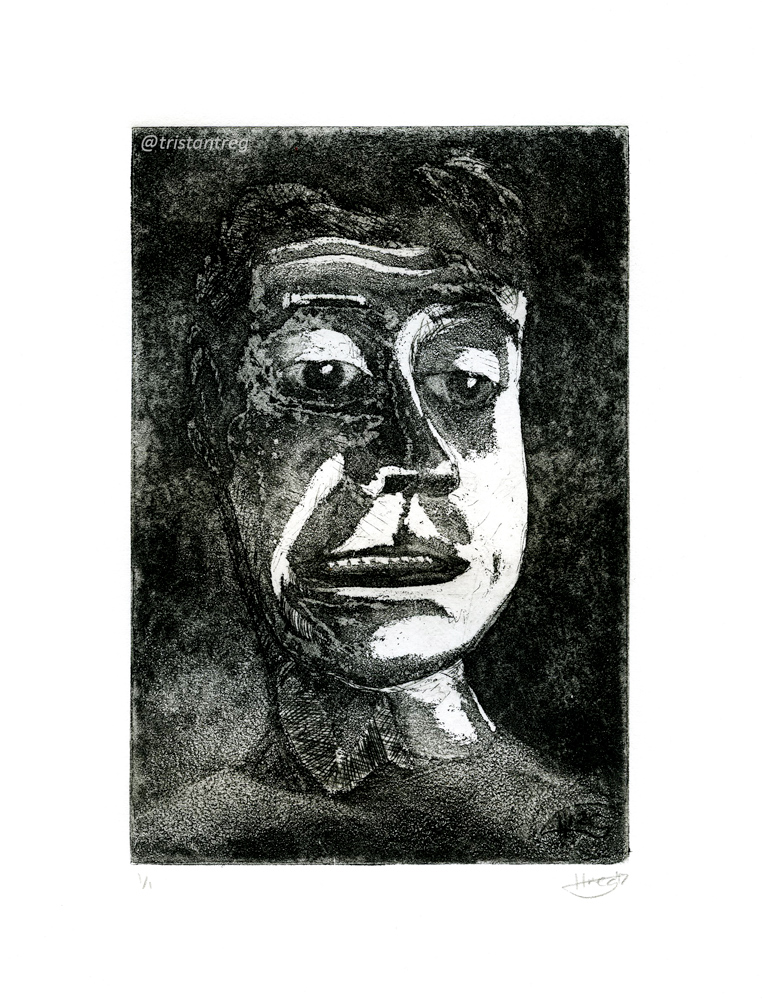
Much like I imagined from working with the test aquatint, the first proof was far from perfect; however, it did look intriguing. I used a burnisher to smooth out the burr which created a lighter tone and a gradation. Some sections needed more ink, so I cross-hatched a drypoint in the neck, hair, and my signature. While this was the first time experimenting with etching my signature backwards, I would proof a relief section over it to make the lines white instead of black. After editing it a few times over, I finally printed a proof that I enjoyed as you can see above.
The aquatint process is challenging, but enjoyable and rewarding. It gives a unique texture and a tonal effect that can’t be beat. For my style, adding in areas of drypoint gives a nice unification and harmony between the two mediums. As this door closes, another one opens (hopefully towards another shot at one of my new favorite printmaking techniques: aquatint).
Please leave a comment below if you have any critiques or comments, or simply just LIKE and SHARE!