Since there’s snow outside I thought that I can show you how to cheer things up inside. Here’s a step by step on how to make origami butterflies. It’s simple and takes no time at all. What you’ll need is colorful paper and scissors. You might also need a ruler because the paper has to be square in order for this project to work. I learned that the thinner the paper the better because it’s harder to fold thicker paper.
Step 1: Xs and Fold
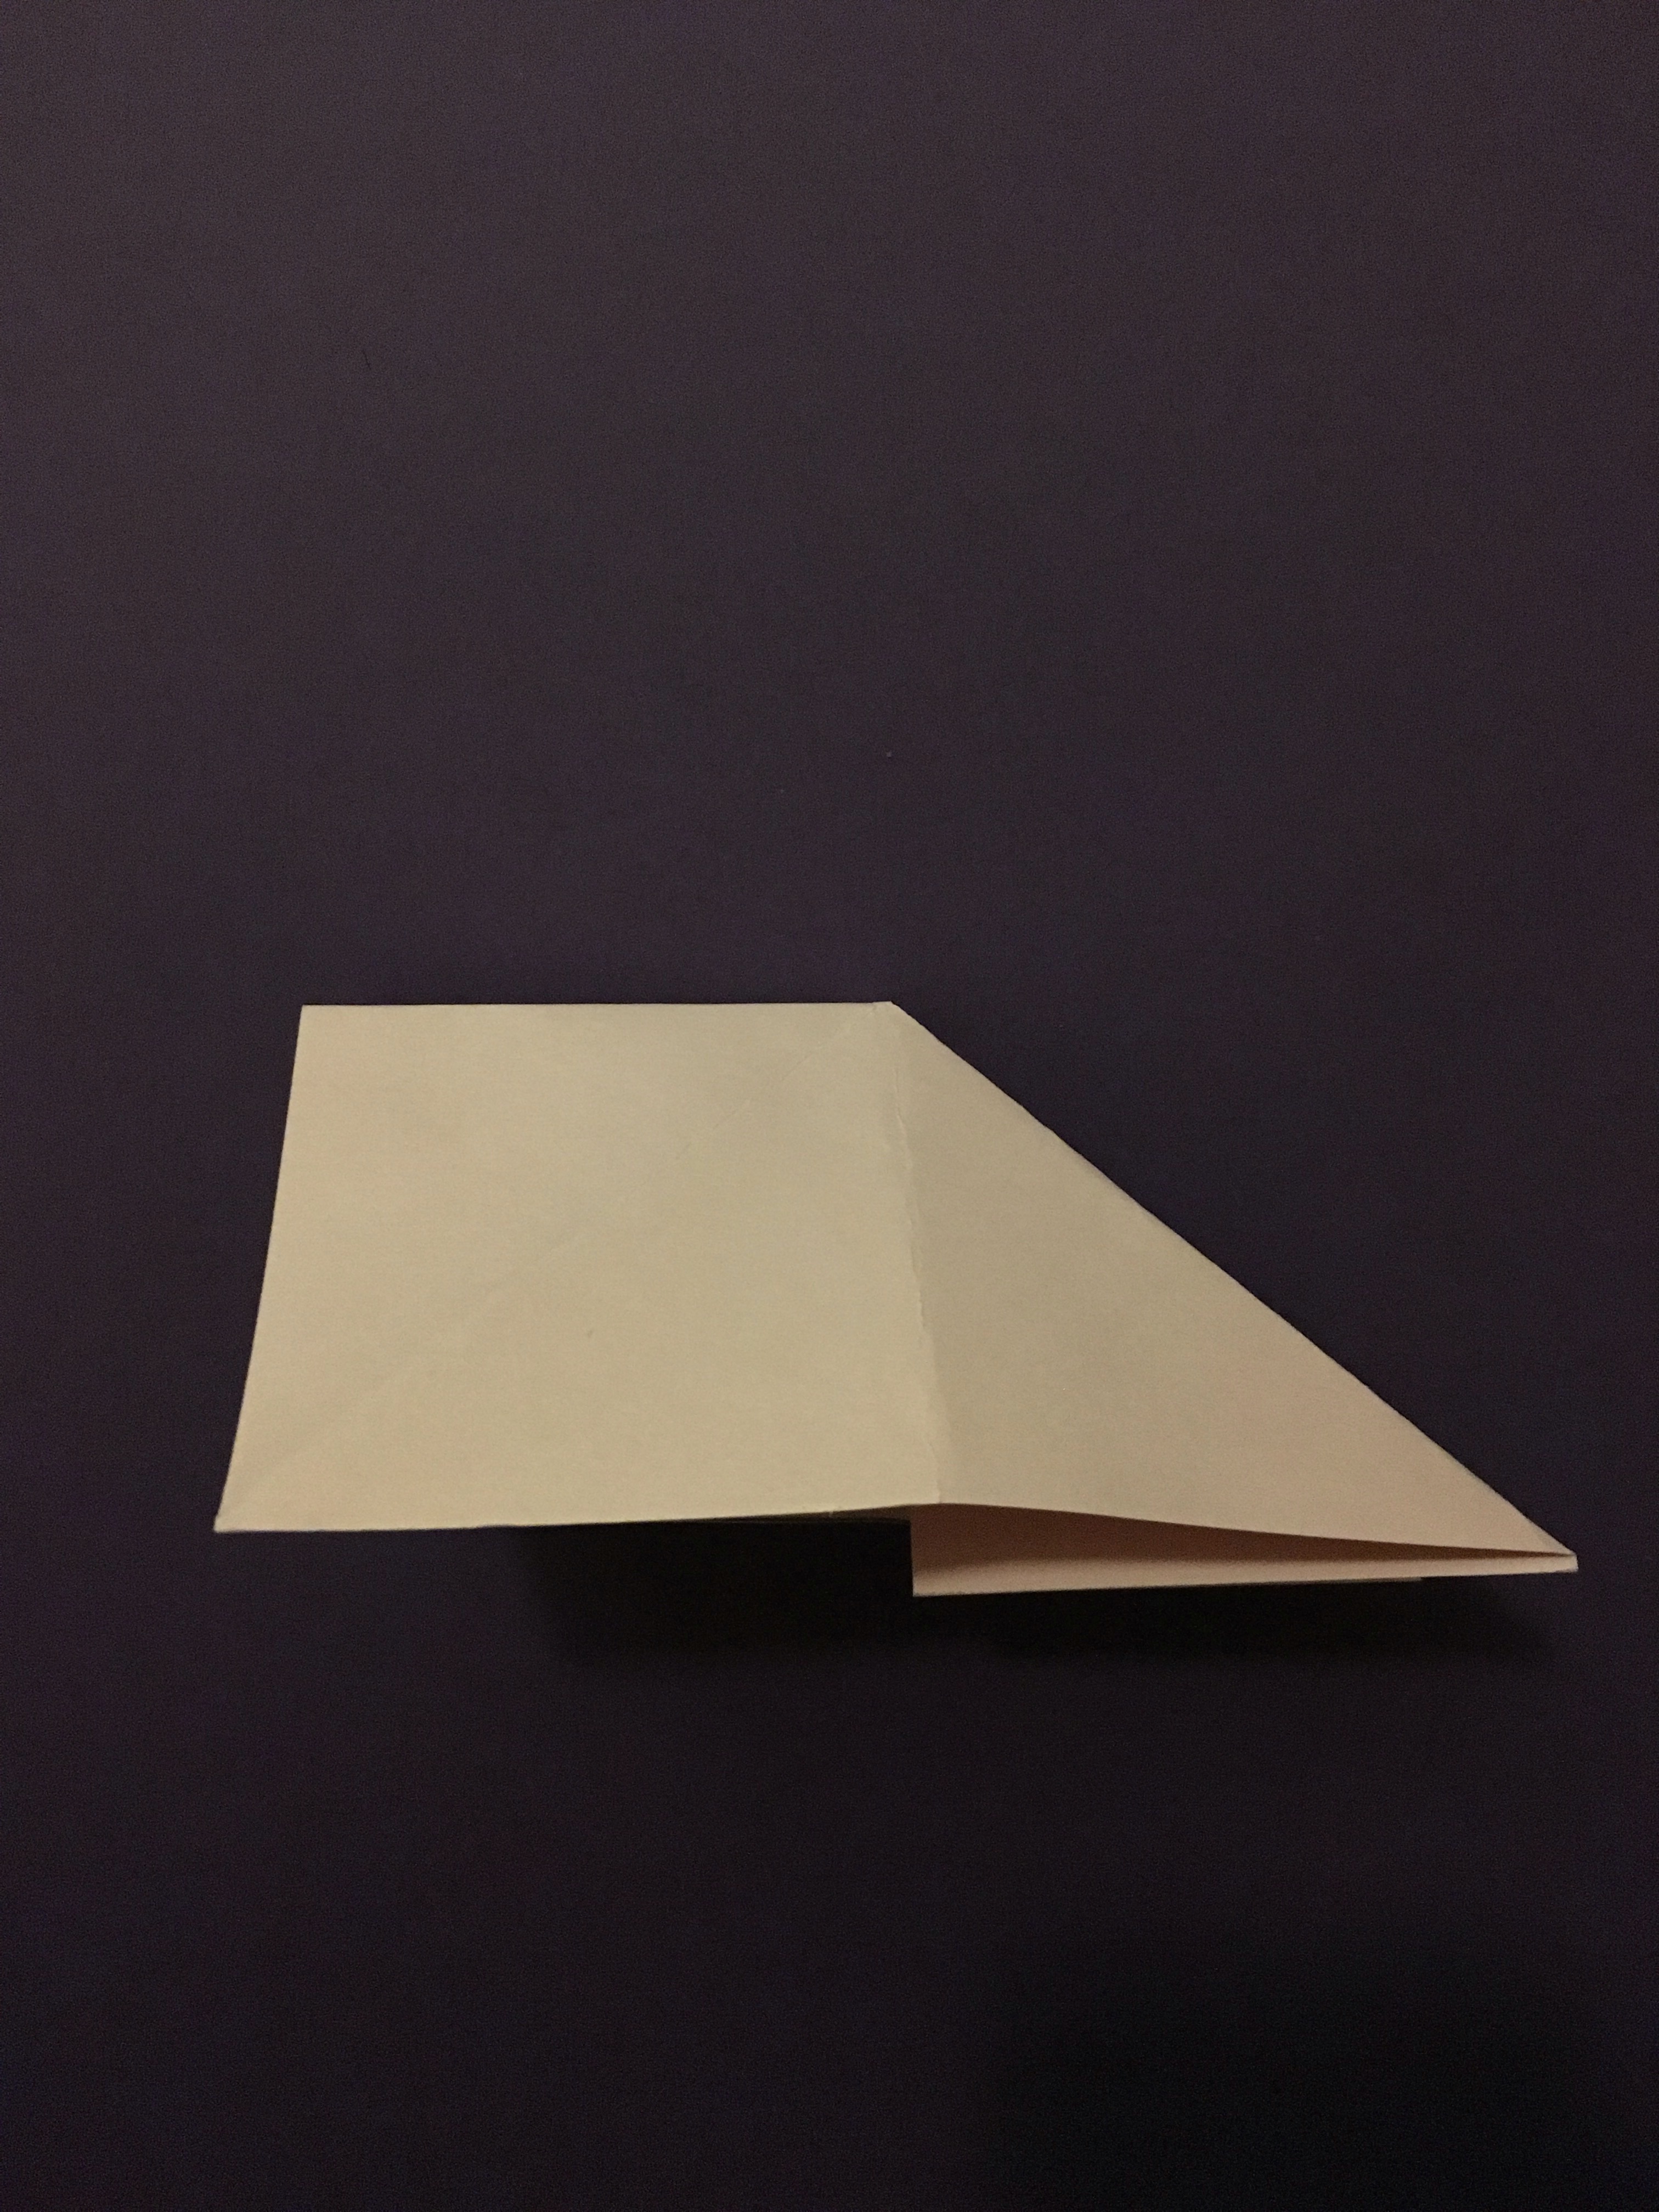
First you’re going to want to start with square paper. It doesn’t matter what size but I used five inches by five inches. Next, fold the paper in half both ways and corner to corner. Then, fold it in half with the crease at the top.


Step 2: Triangle Tuck and Cut
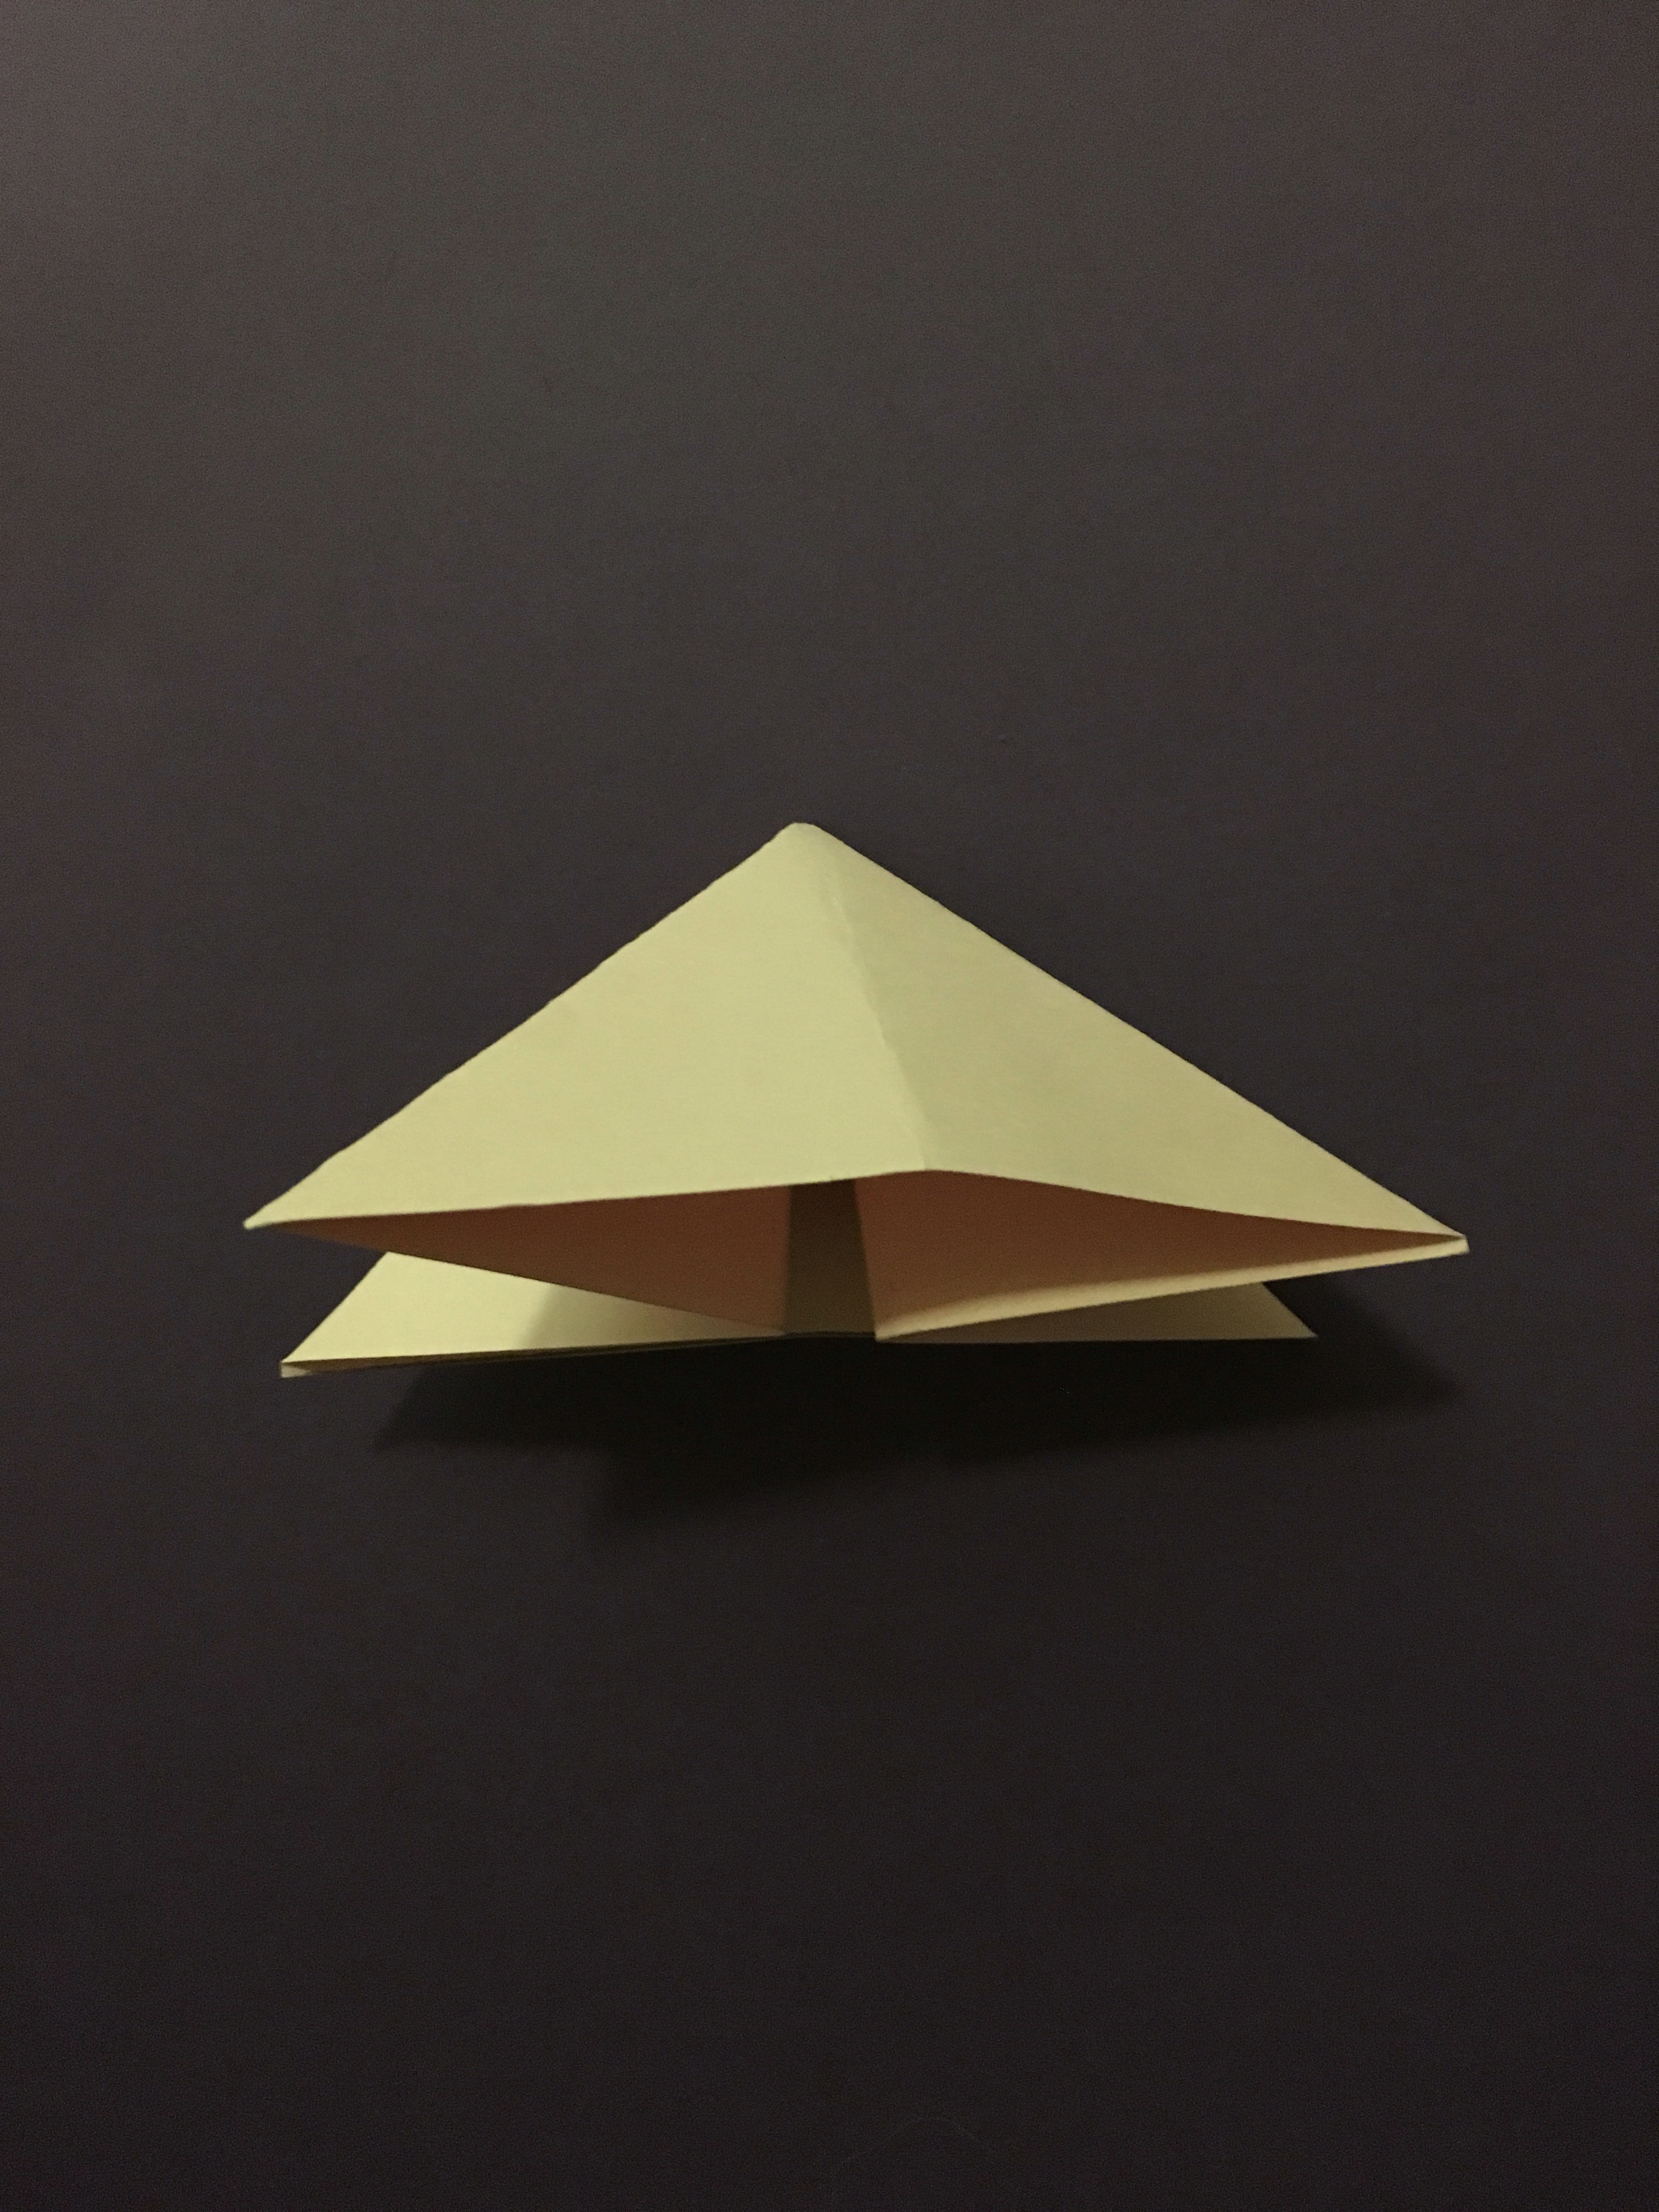
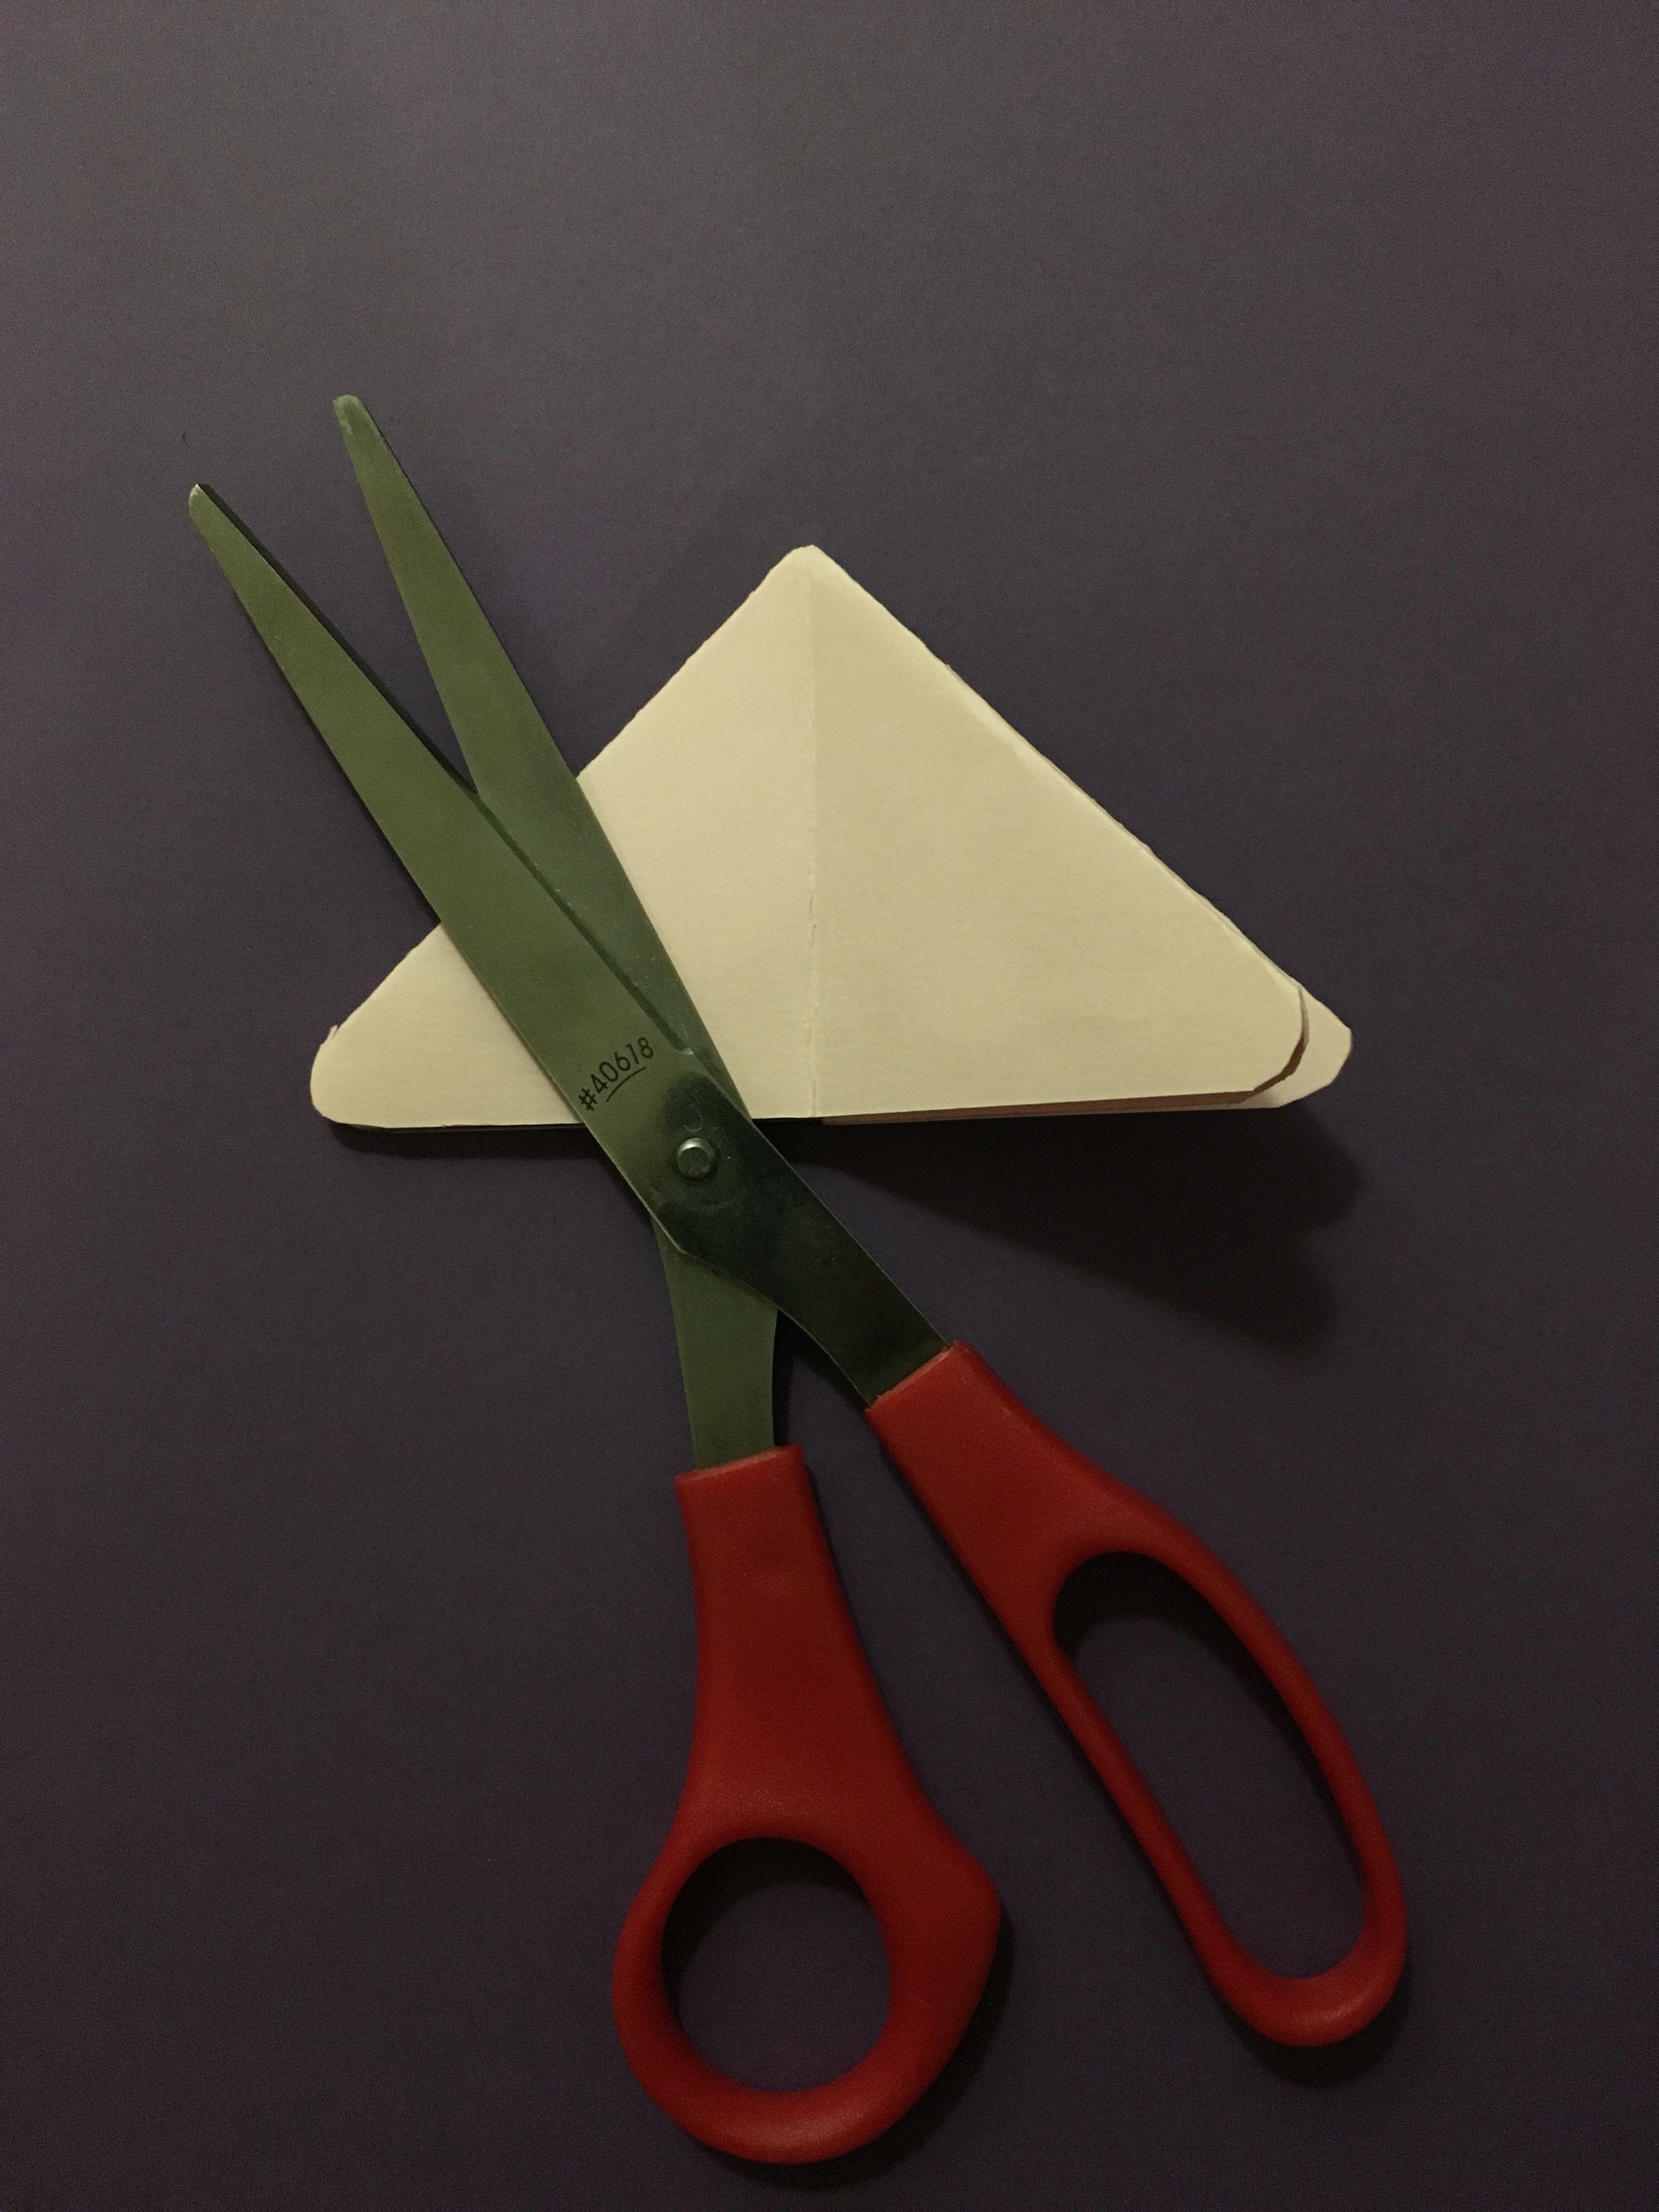
Now you’re going to want to push in the corners on either side of the rectangle which should leave you with a triangle. Next, make the two bottoms corners of the triangle rounded by cutting them.
Step 3: Fold and Bend Around
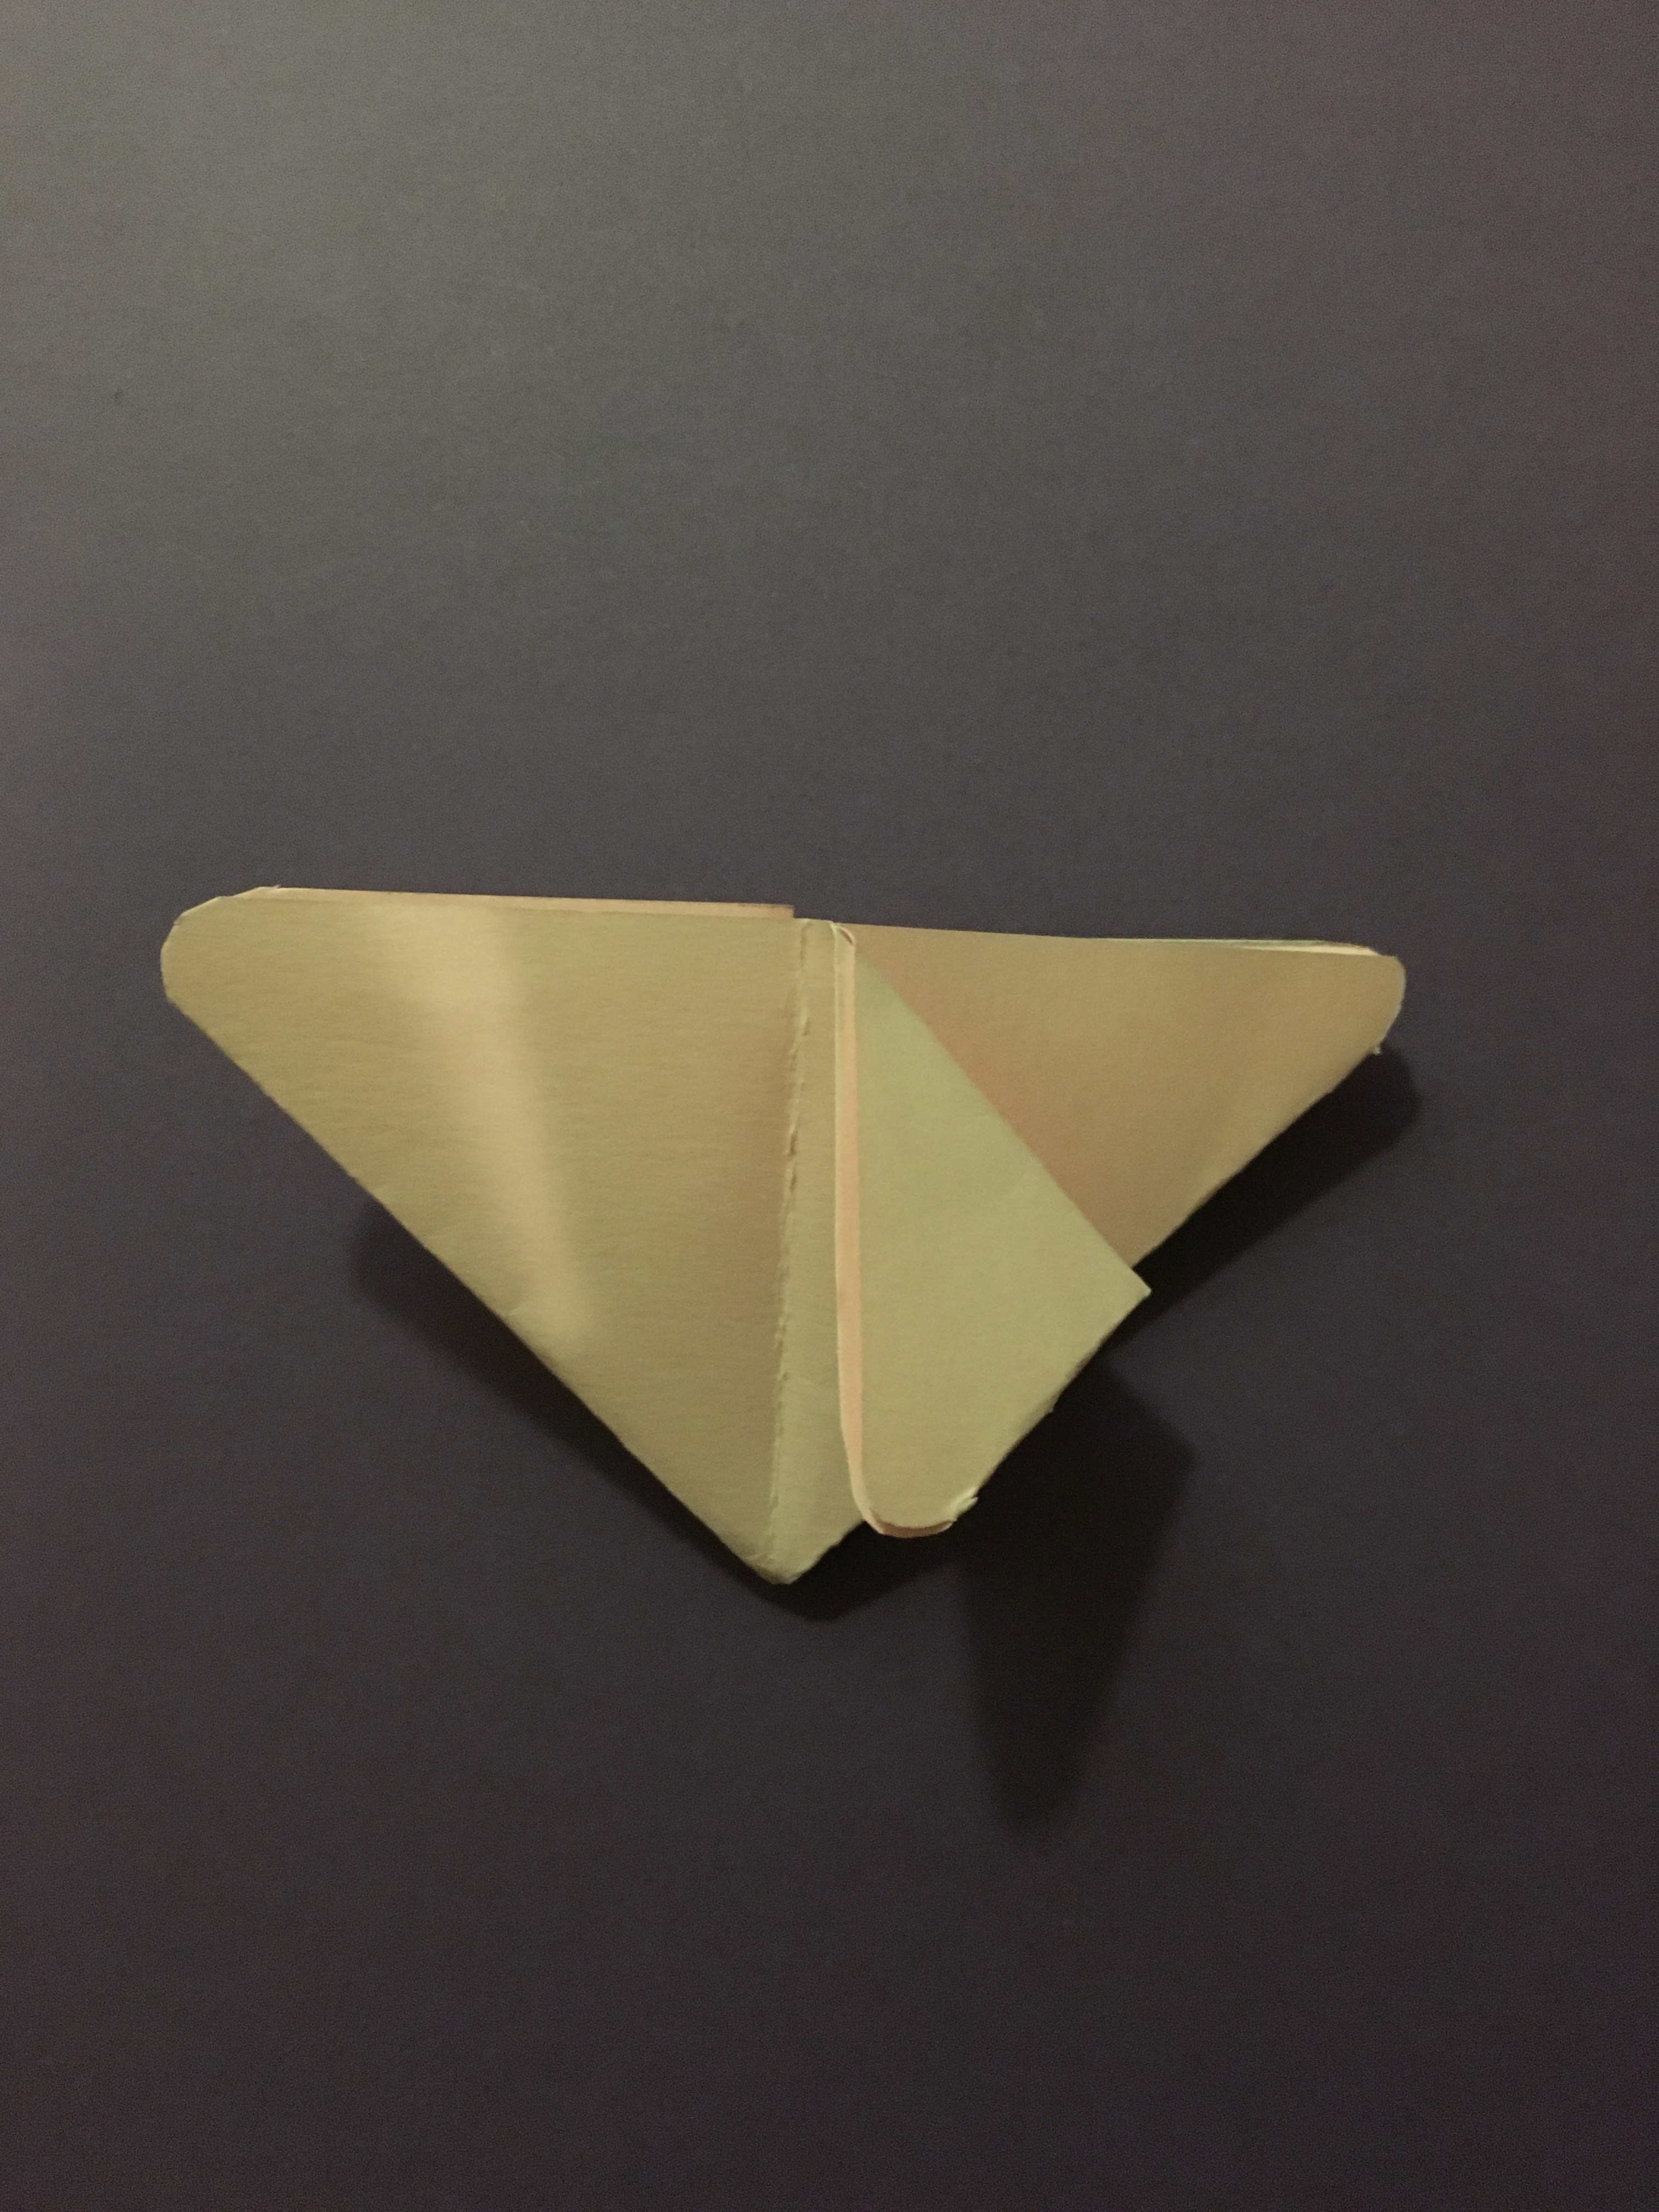
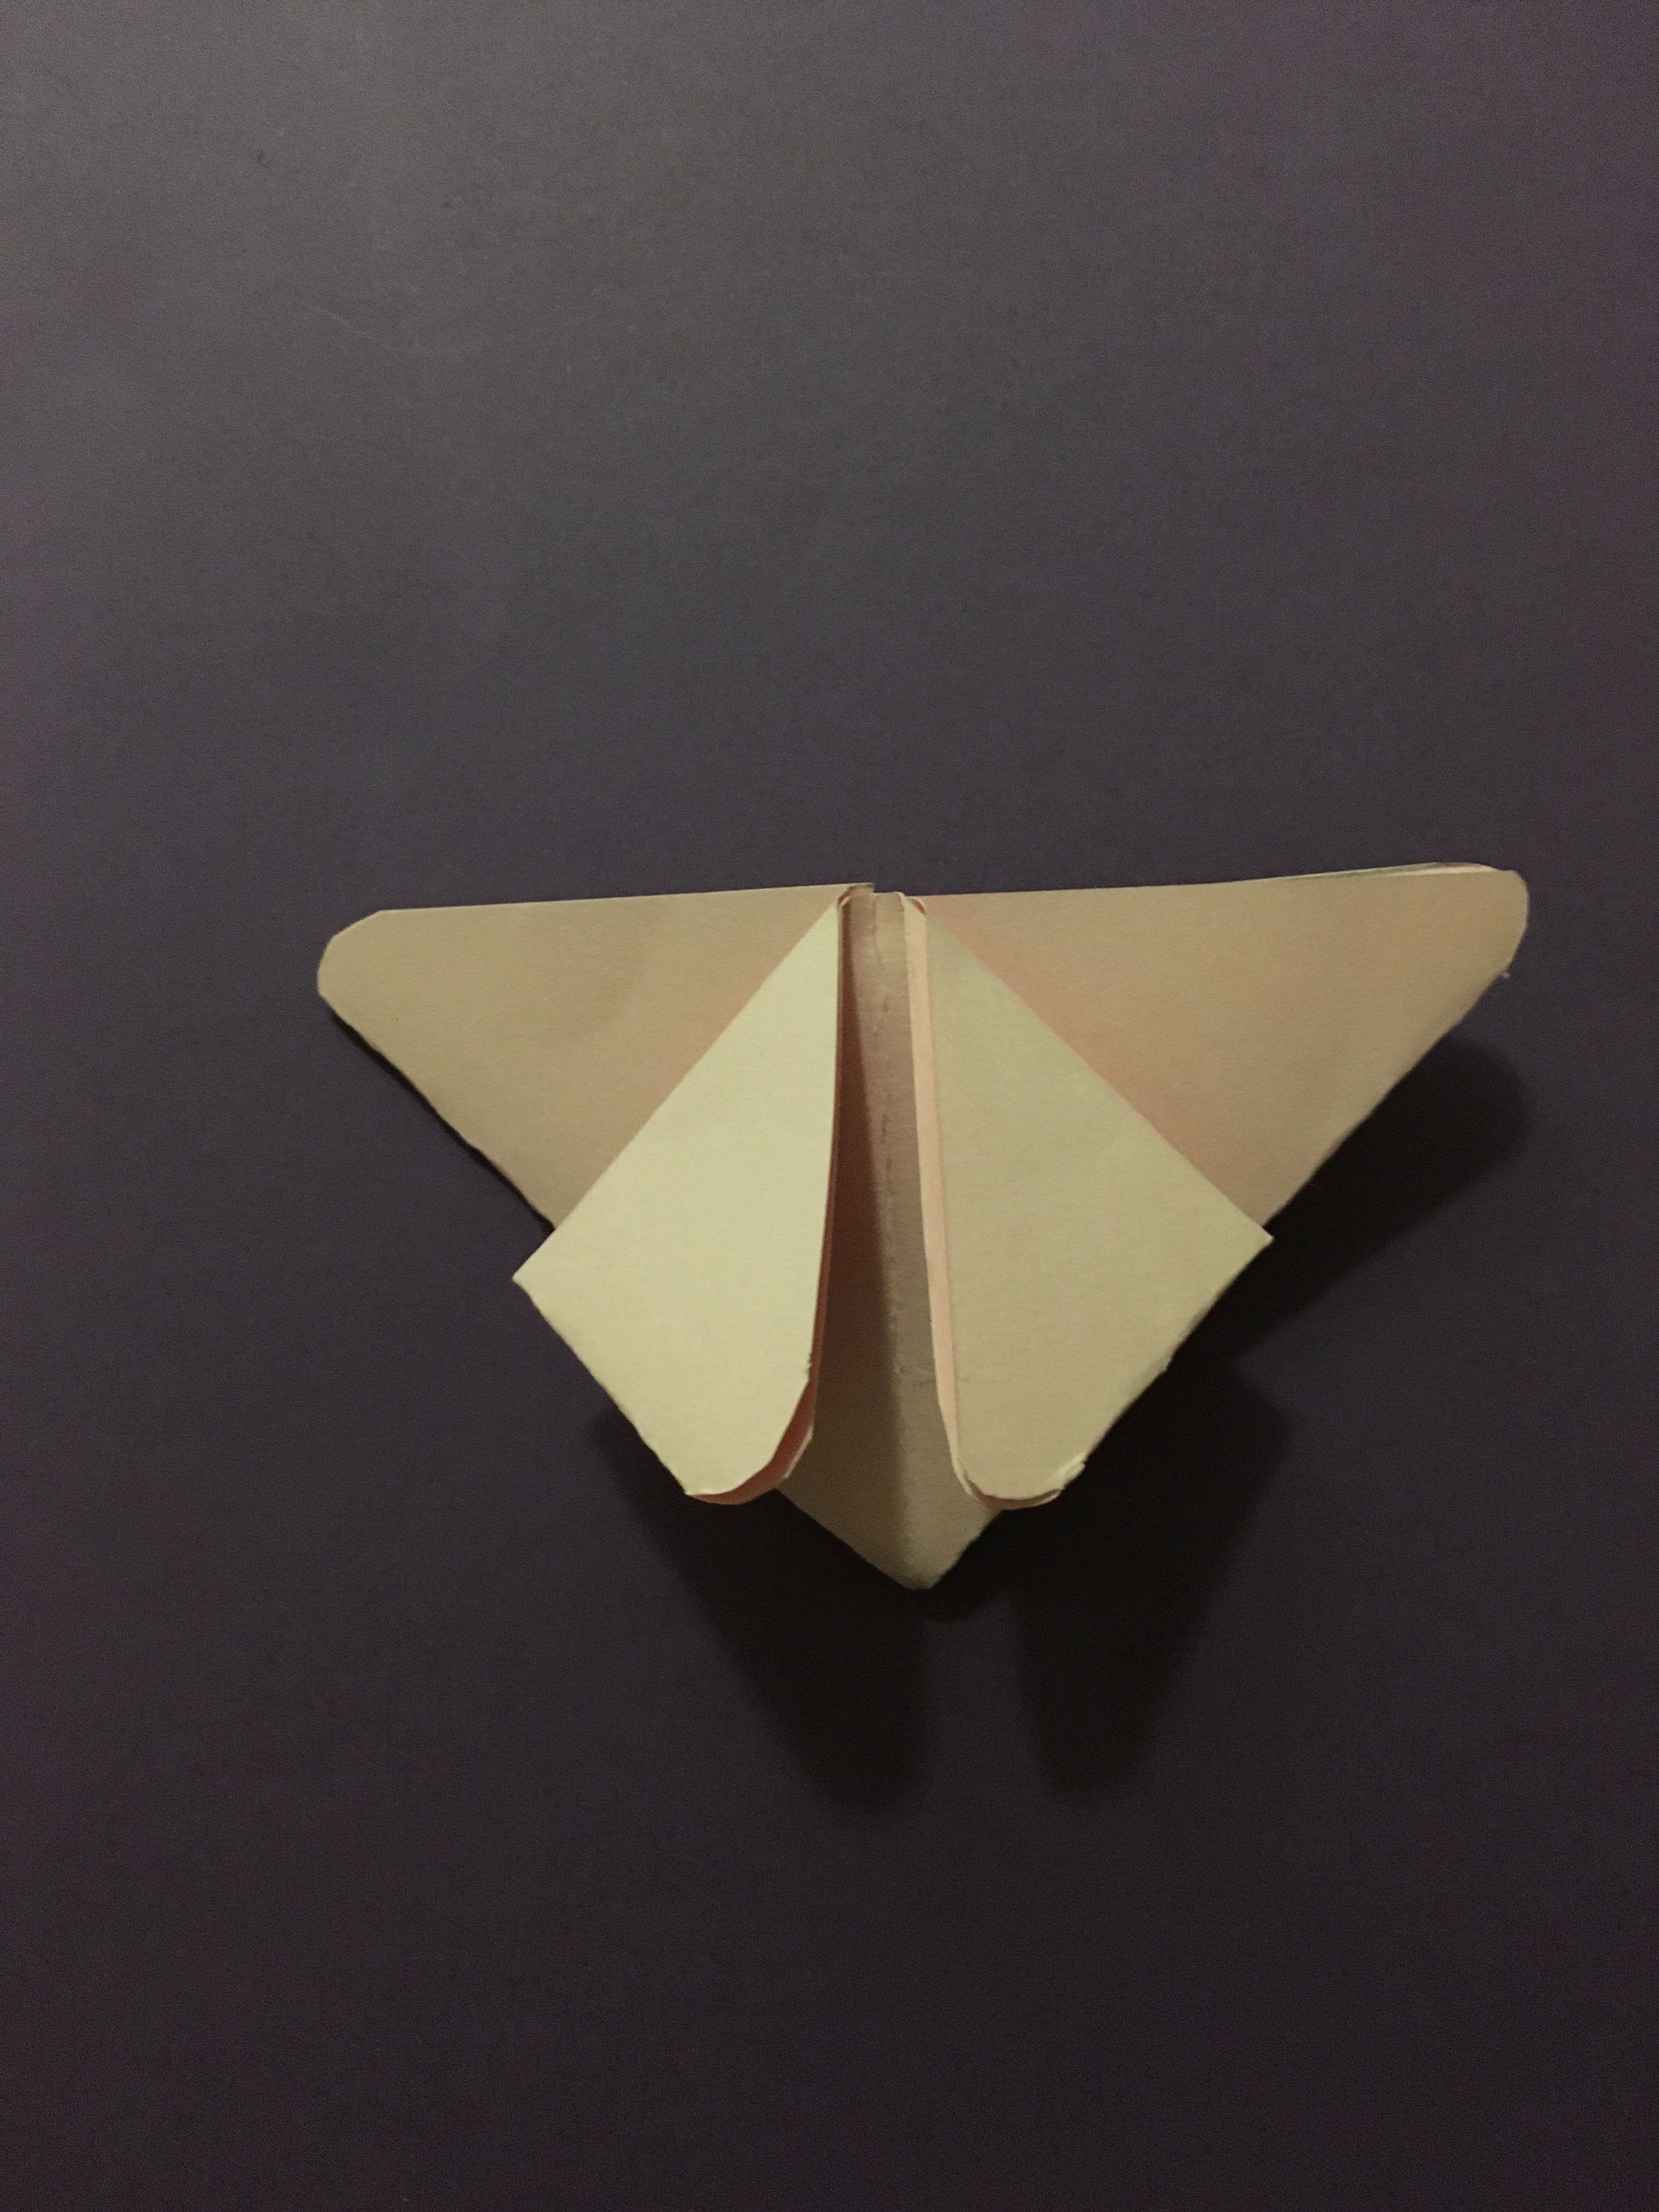
For this step, you’re going to turn the triangle so that the pointed part is facing toward you. Next, take the corners of both sides and fold them along the middle crease of the triangle. The corners you just folded will be the bottom halves of your butterfly wings. Then, take the point of the triangle, facing you, and bend it around the back. The tip should just make it over the top of the butterfly. Fold the tip over the front and push the top wings together to give it a V shape.
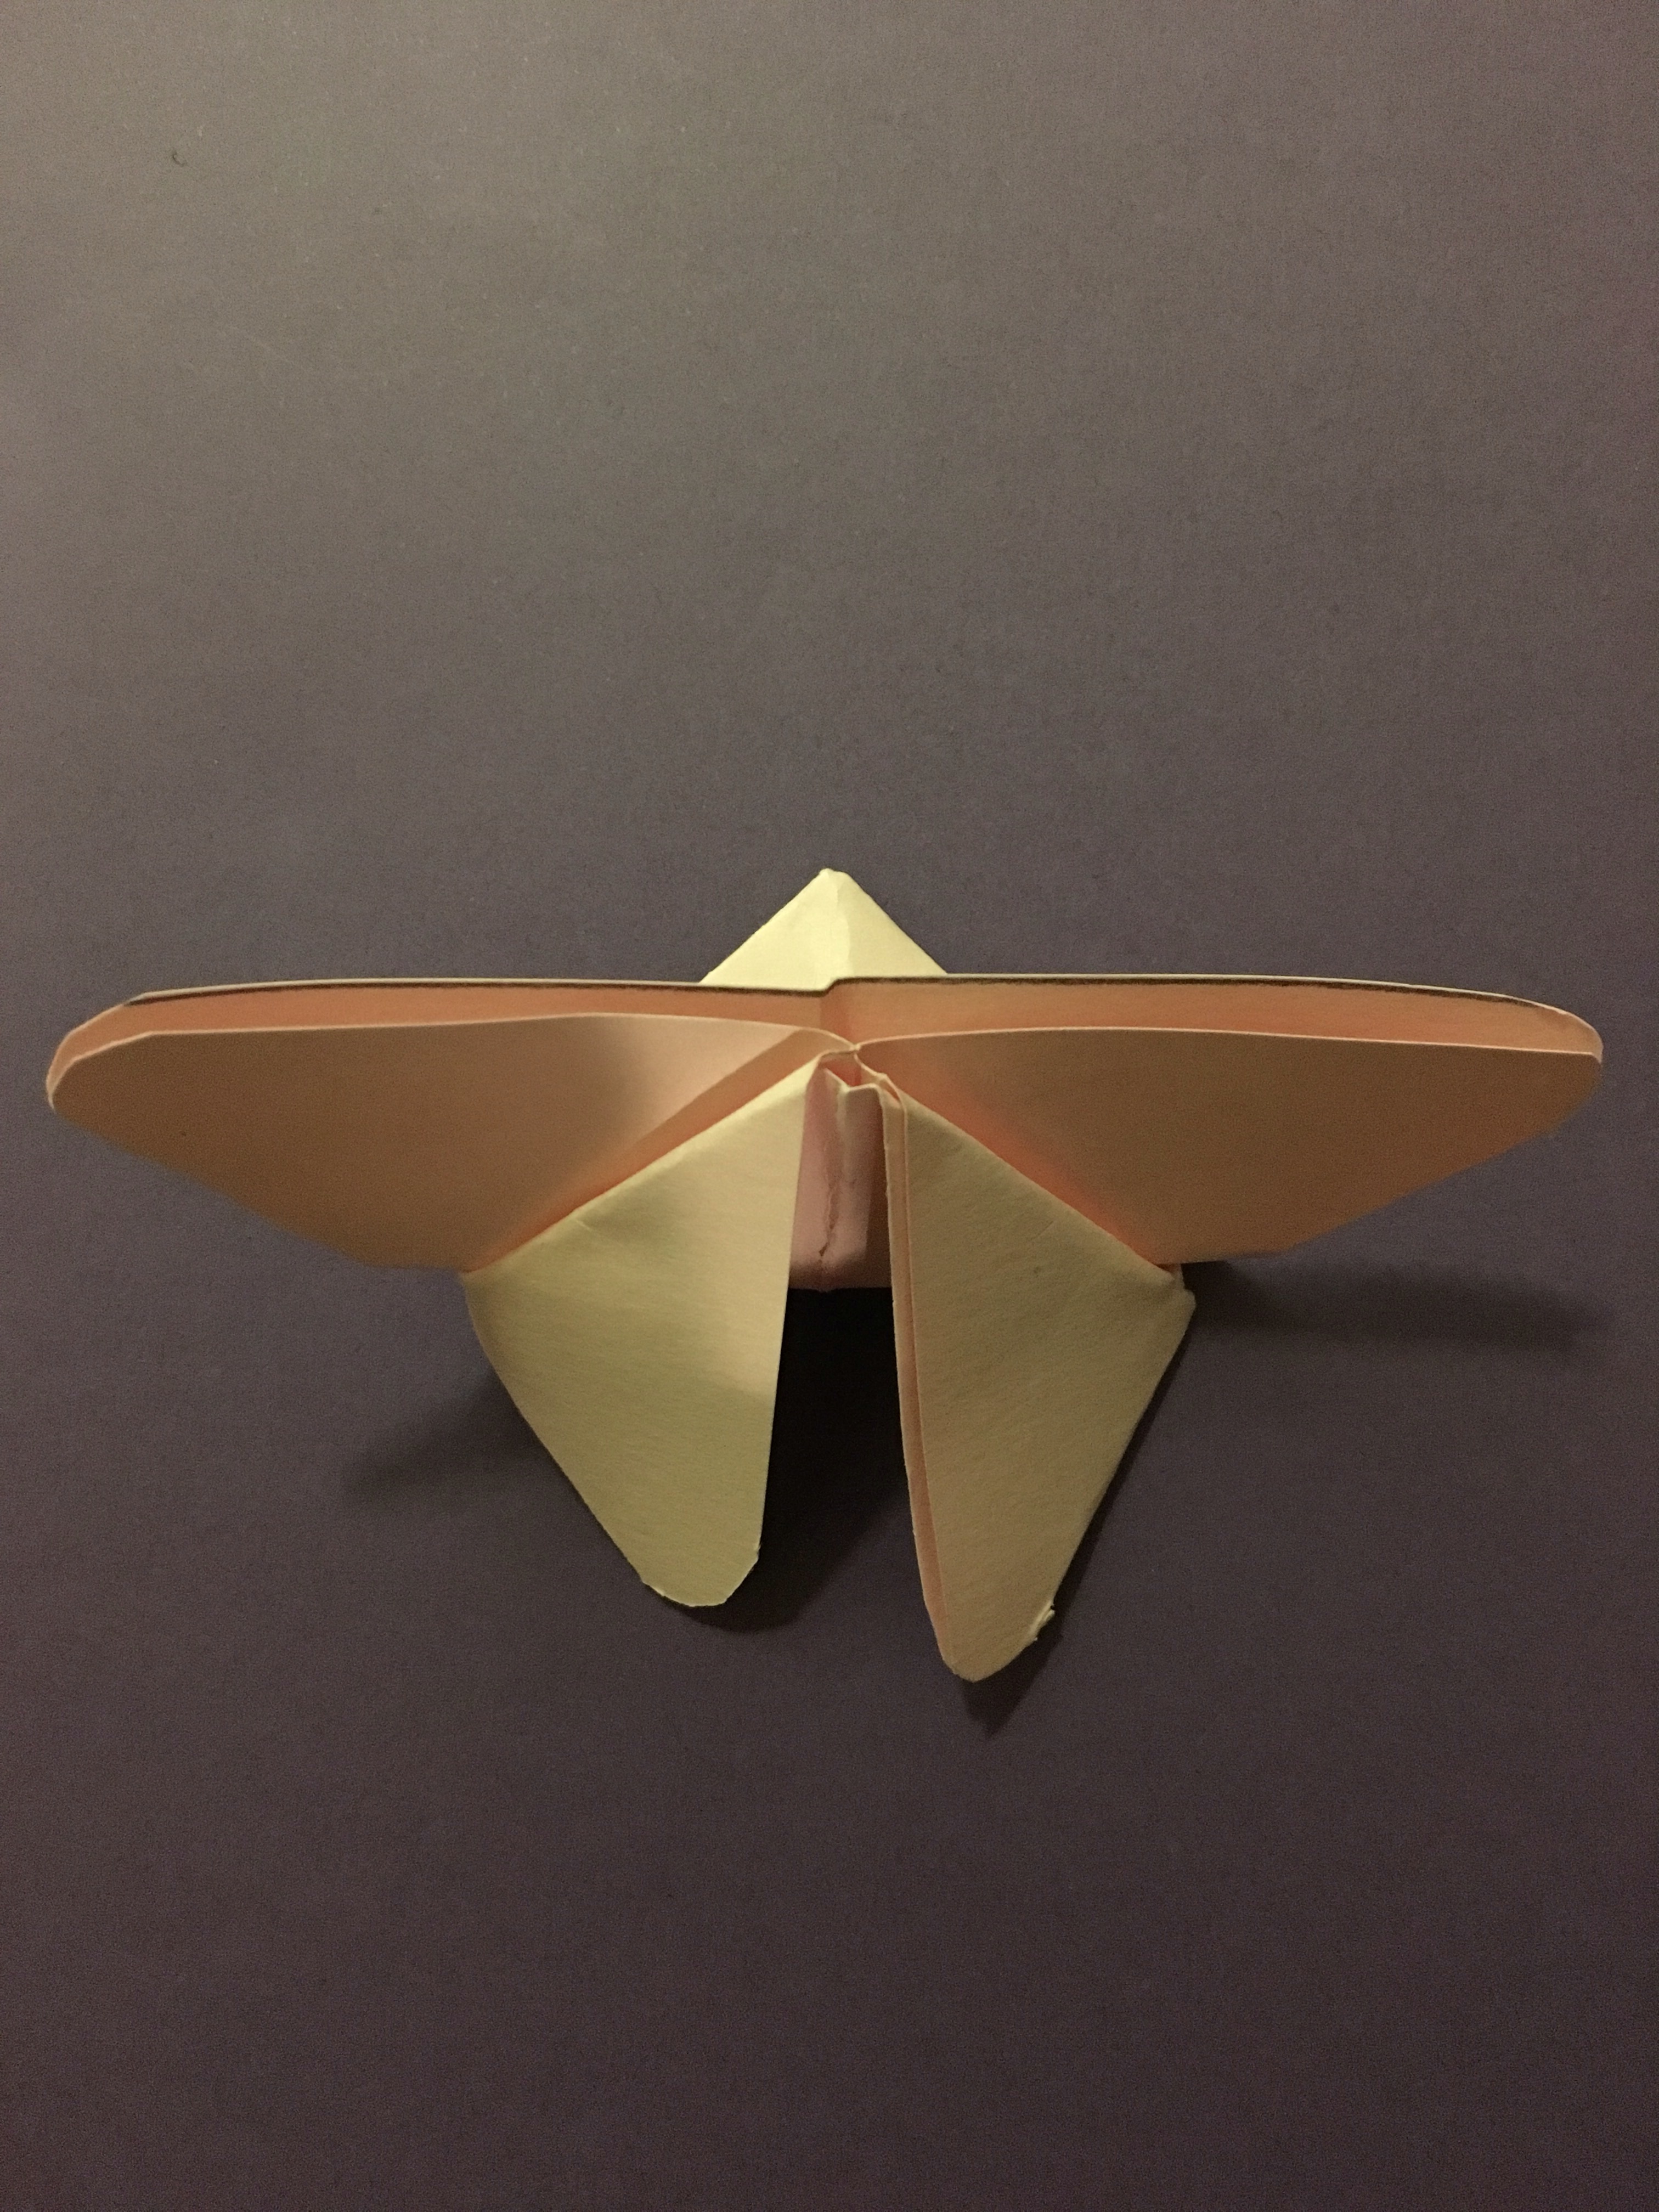

Once you get it you’ll make a ton of them. They can be used as decorations on a wall or you can hang them from the ceiling. You can also use patterned paper or use a sharpie to make a custom design. Whatever you do with them have fun with it!