Hello Everyone! After figuring out what was wrong with camera I was lucky enough to borrow a film camera to use for this semester. I took it home with me last weekend and with my parents we took a trip to Lackawanna State Park. I took some test photos to learn how to use the camera. Once I had my roll of film, I developed them to be light sensitive. The results I had to laugh because their random and blurry pictures when I was trying to work a new camera.
Once I had my strips I cut them into strips and put them into an archival plastic sleeve. I cant bring my phone into the dark room and photograph my process of making a contact sheet (a sheet to see which image perfect to fully develop) because the paper we work with is light sensitive and requires careful exposure in a dark room with special amber lightbulbs to protect the unexposed paper. Taking a photo with my camera would “fog” my paper and ruin the print, making them too dark to see. So down below I show my negatives and the contact sheet I made atop a light box, which illuminates the negatives from below.
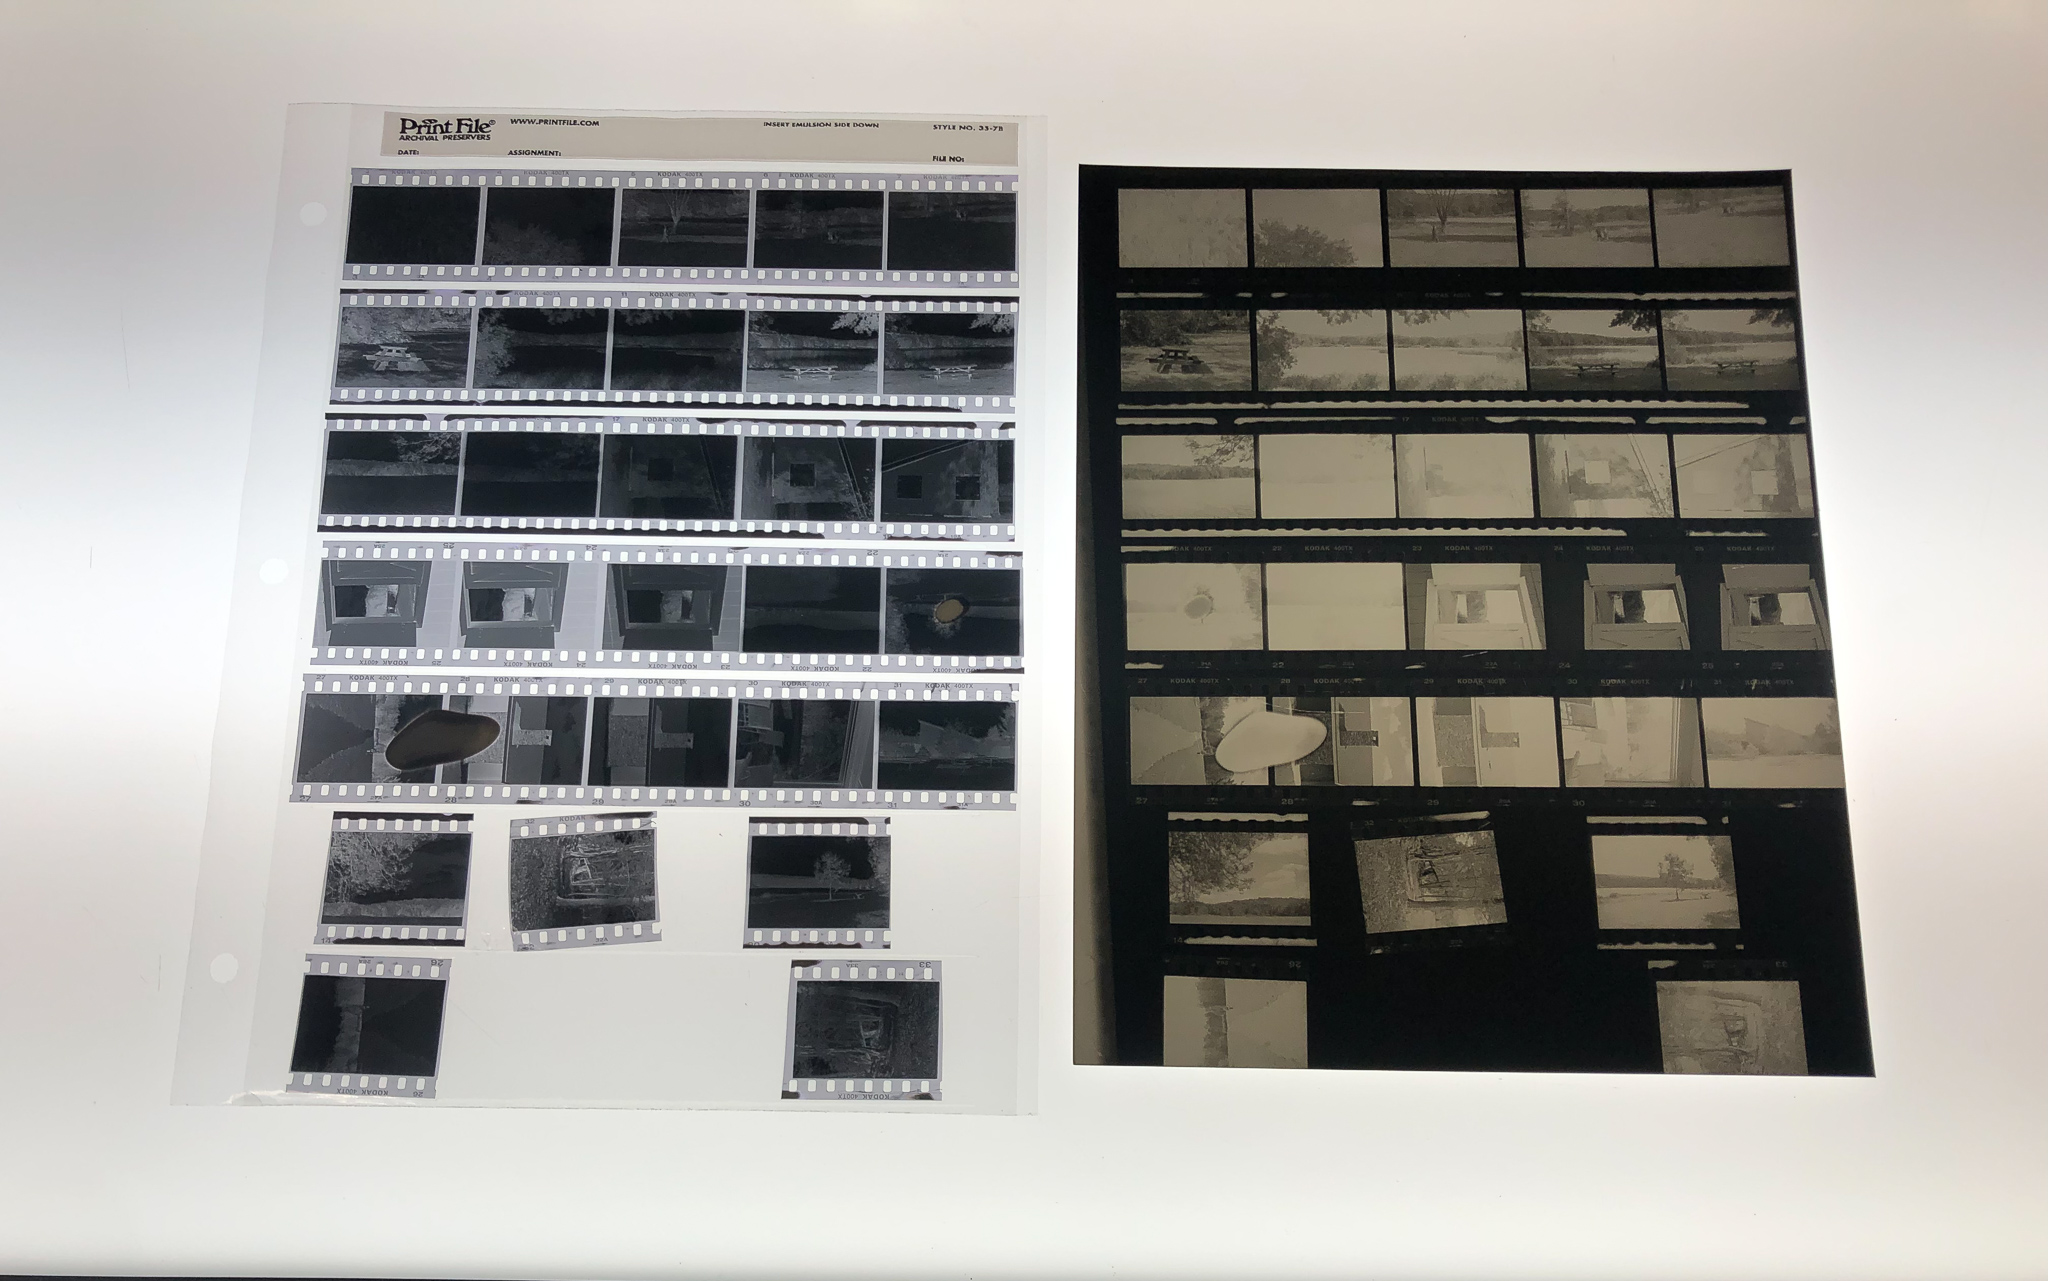
On the contact sheet I got to see what images where perfect and which were less than ideal. I didn’t have a lot of options to pick and develop and that’s okay. I was able to get three images out of this set.
I begin to work on the first image. I did what you do in the dark room. Make test strips. Test strips are a strip of photo paper that you use to find the best exposure times for your black and white photo. Depending on your image you can have a variety of test strips. Once you have the time of light exposure, you are set to make a final print.
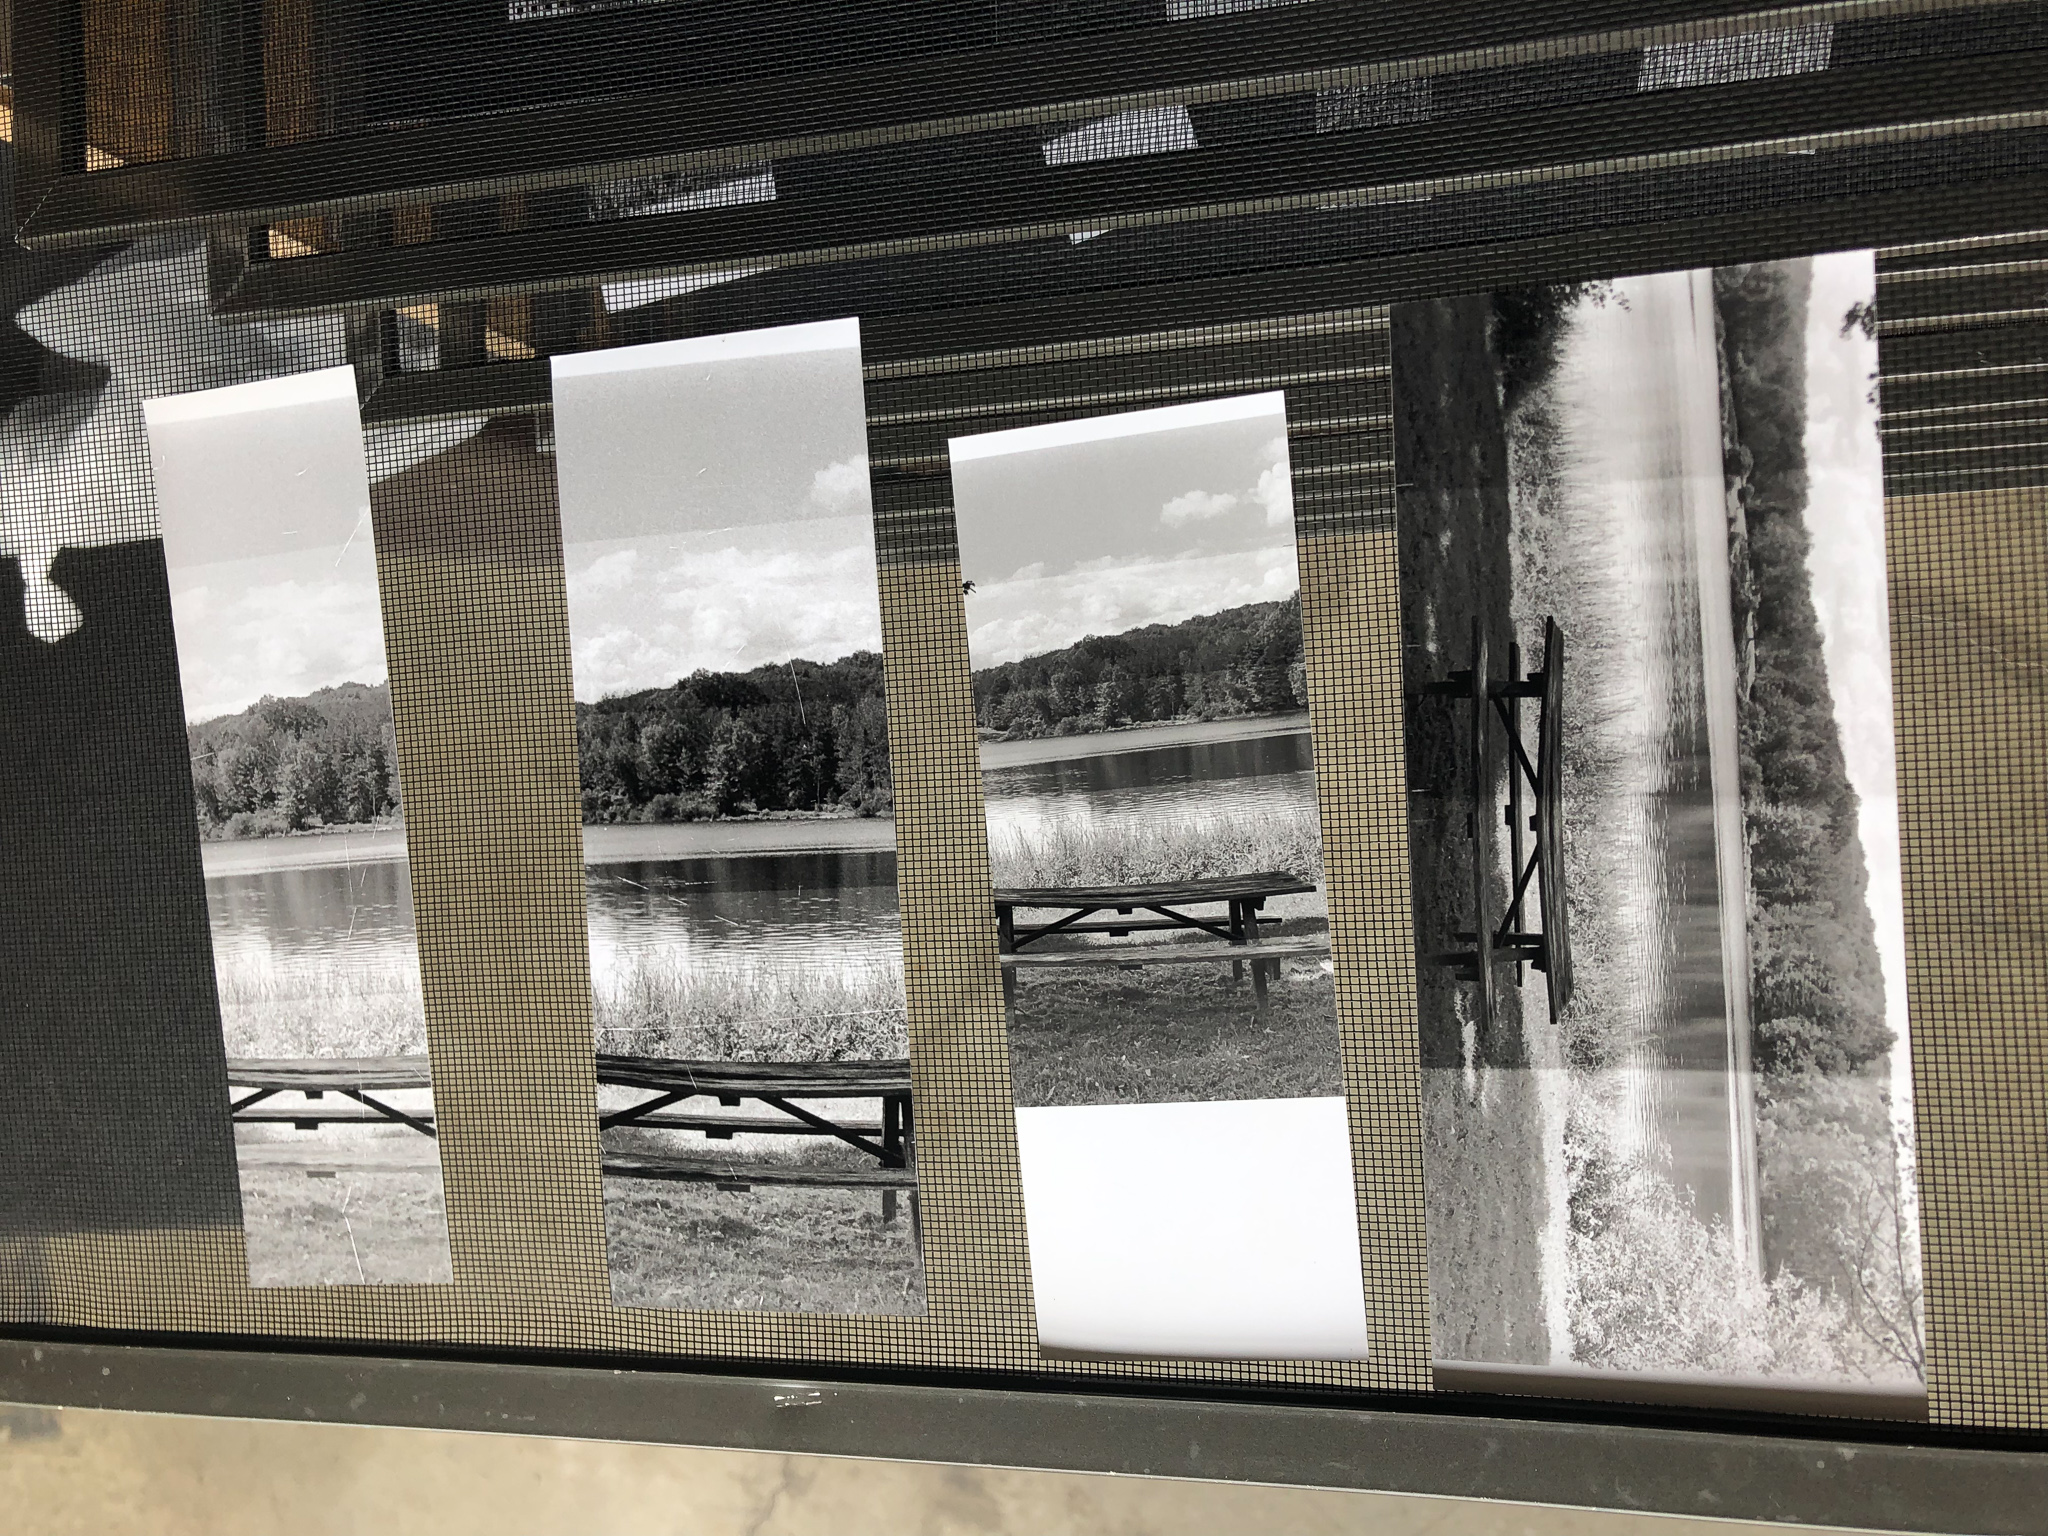
For the first image I developed, as you can see, the test strips are in sections and each has different shades and exposure times. We start with five seconds and go up incrementally from there.
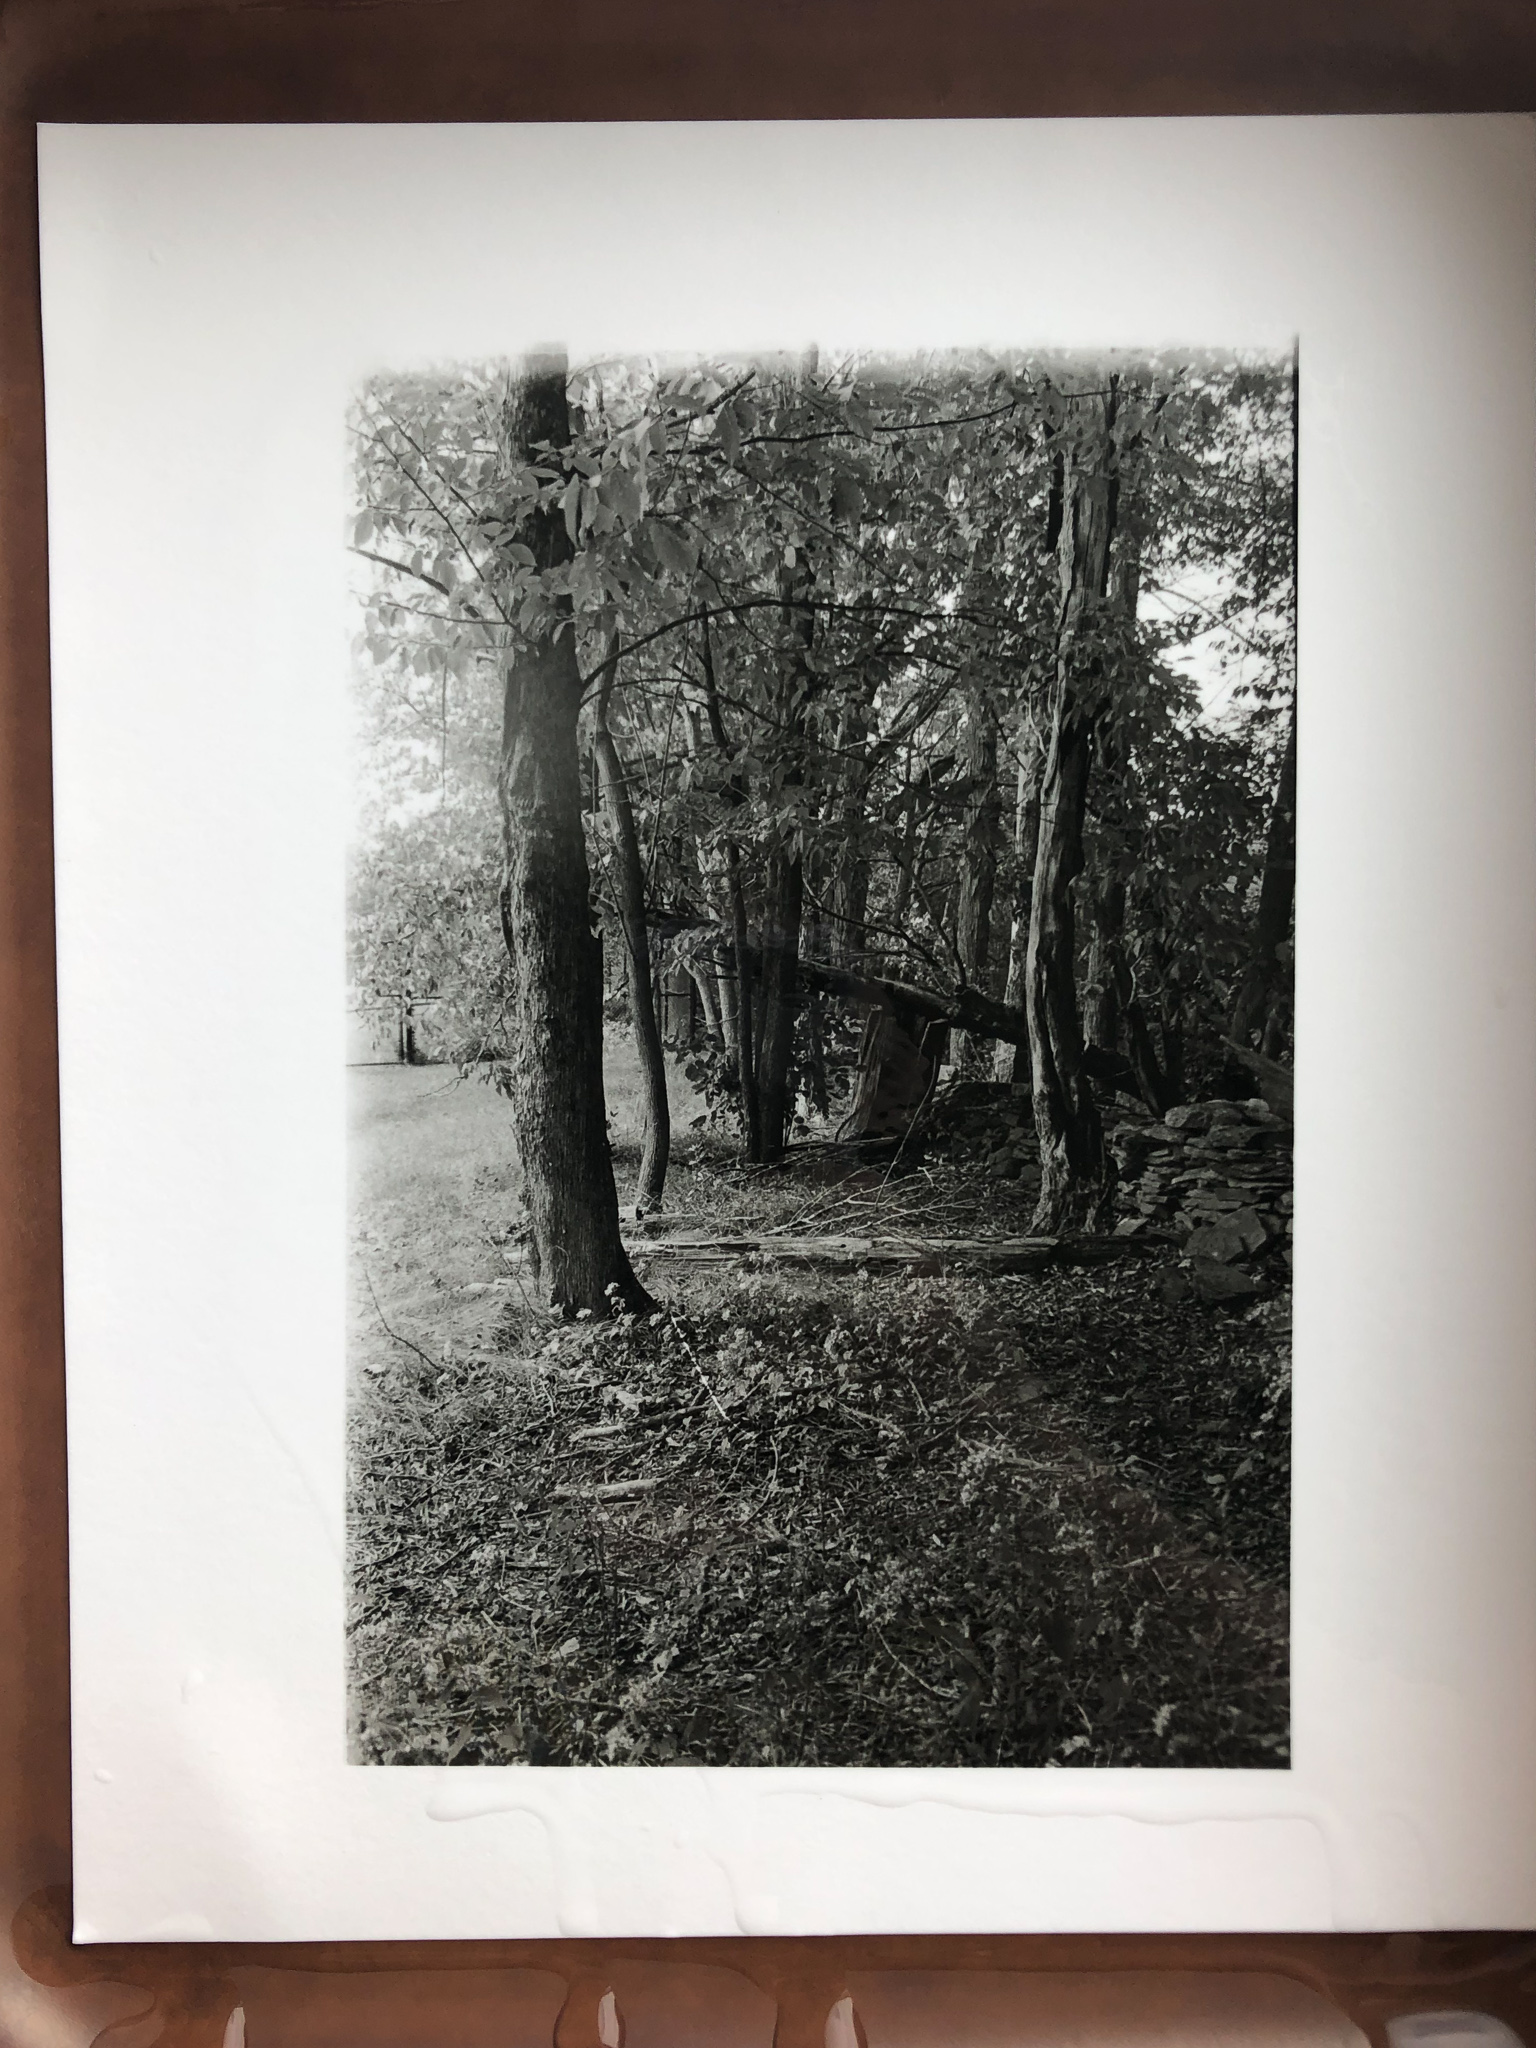
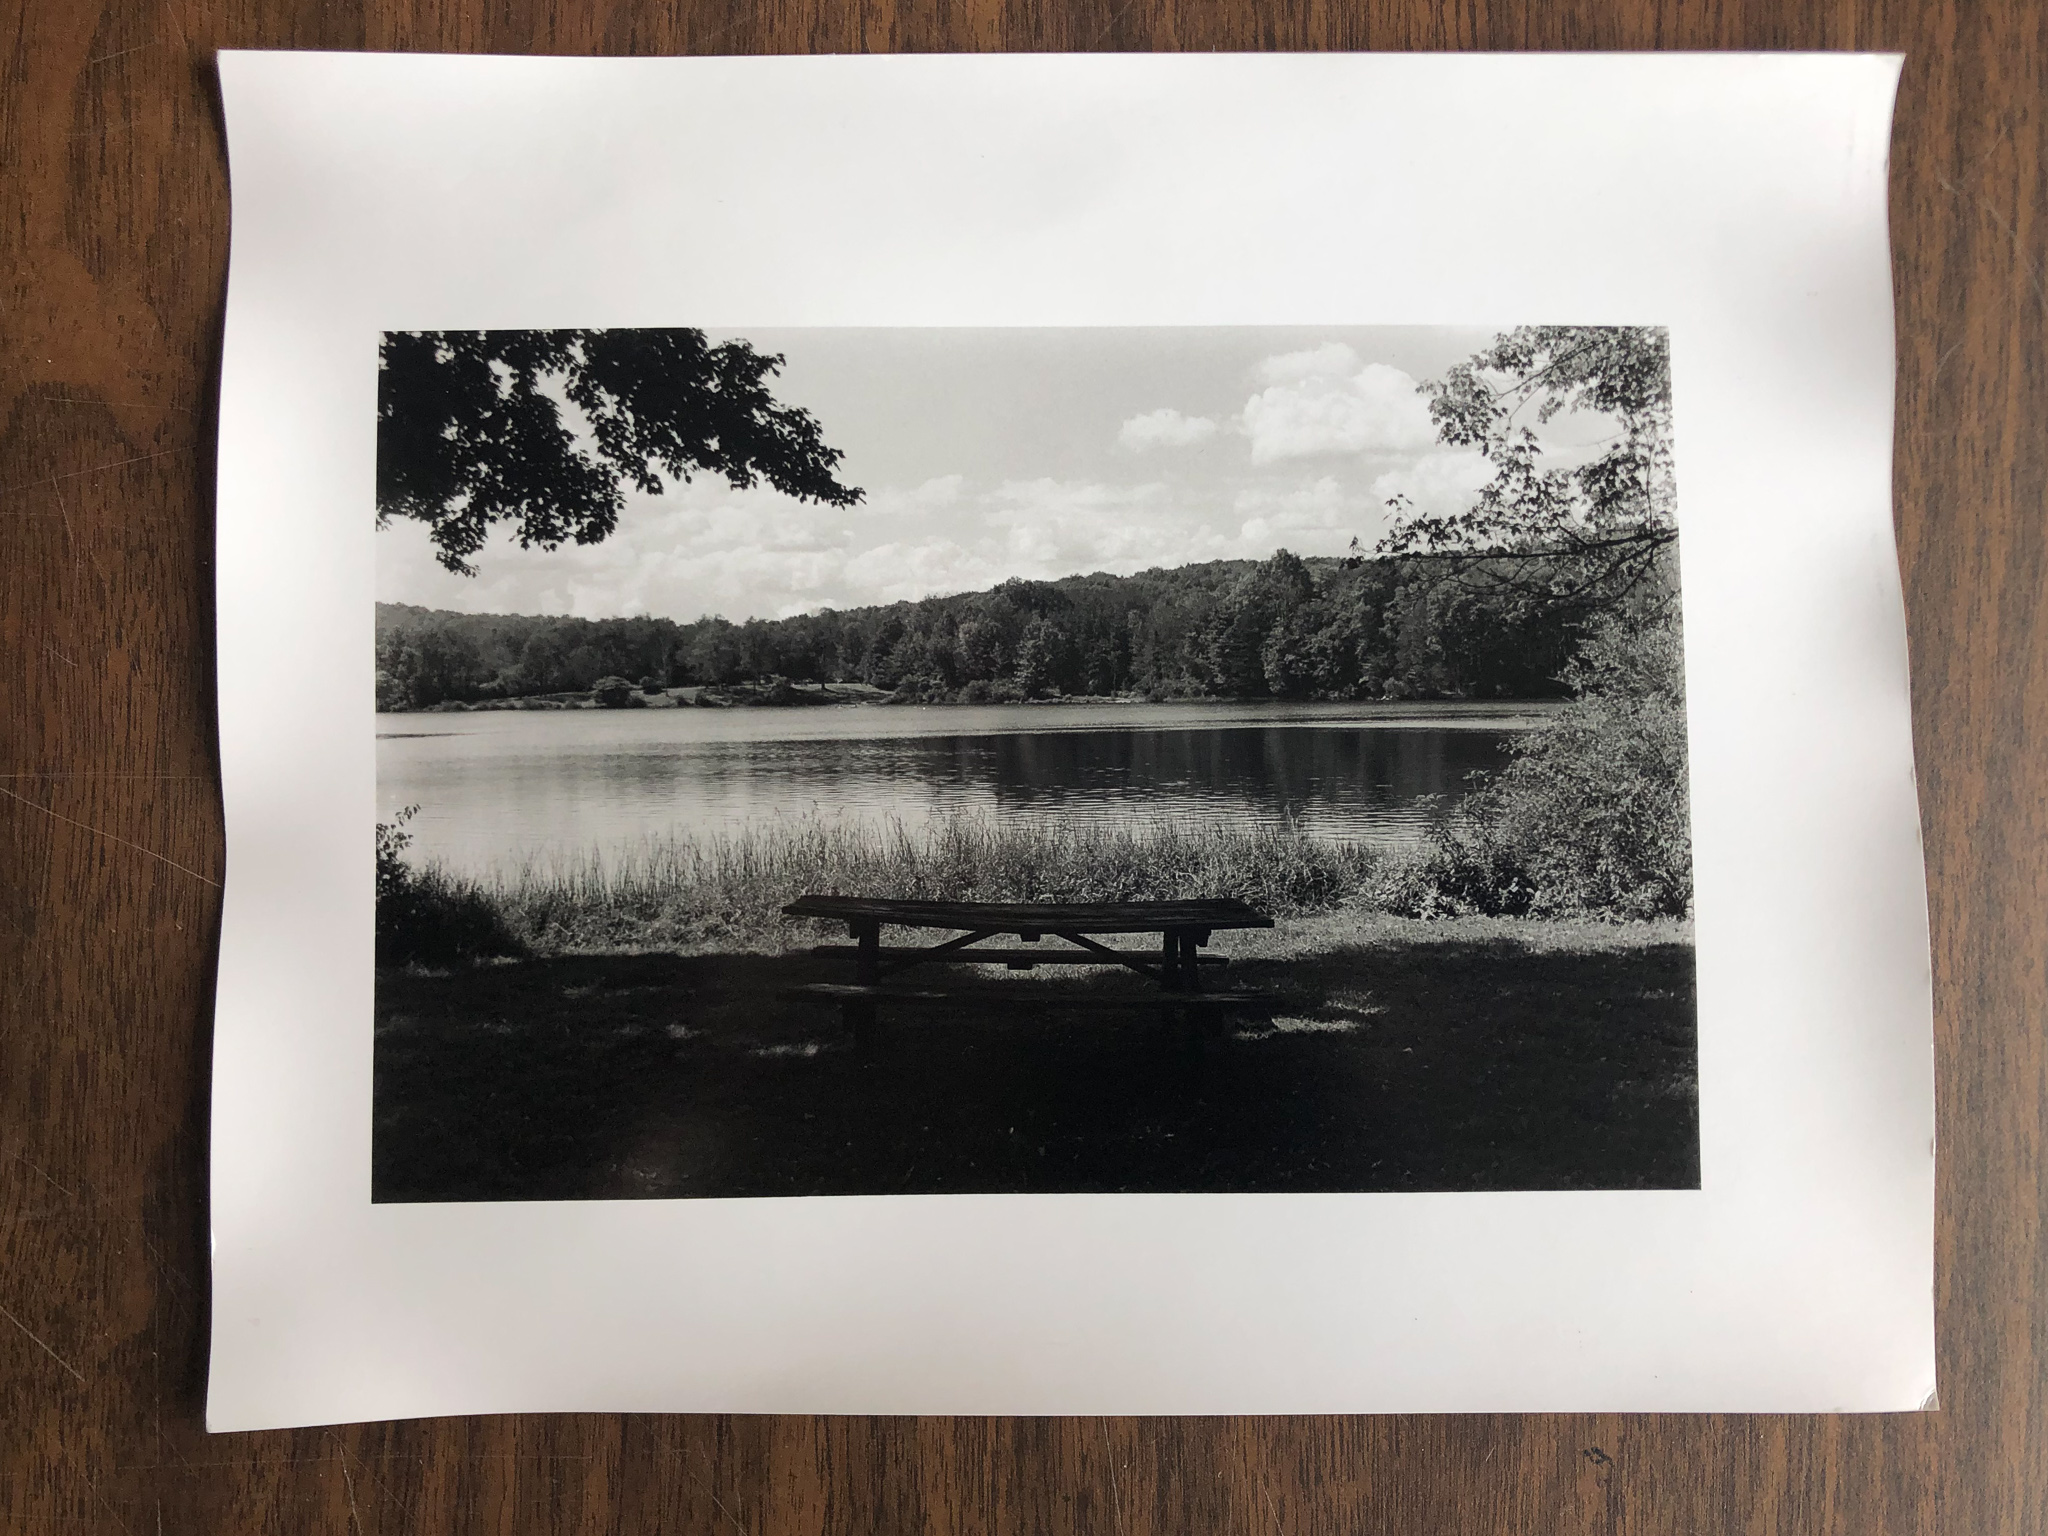
I love this second image because it has that eerie vibe to it. Looking at the contact sheet I wasn’t sure I was able to get this image from how it looked from the contact sheet.
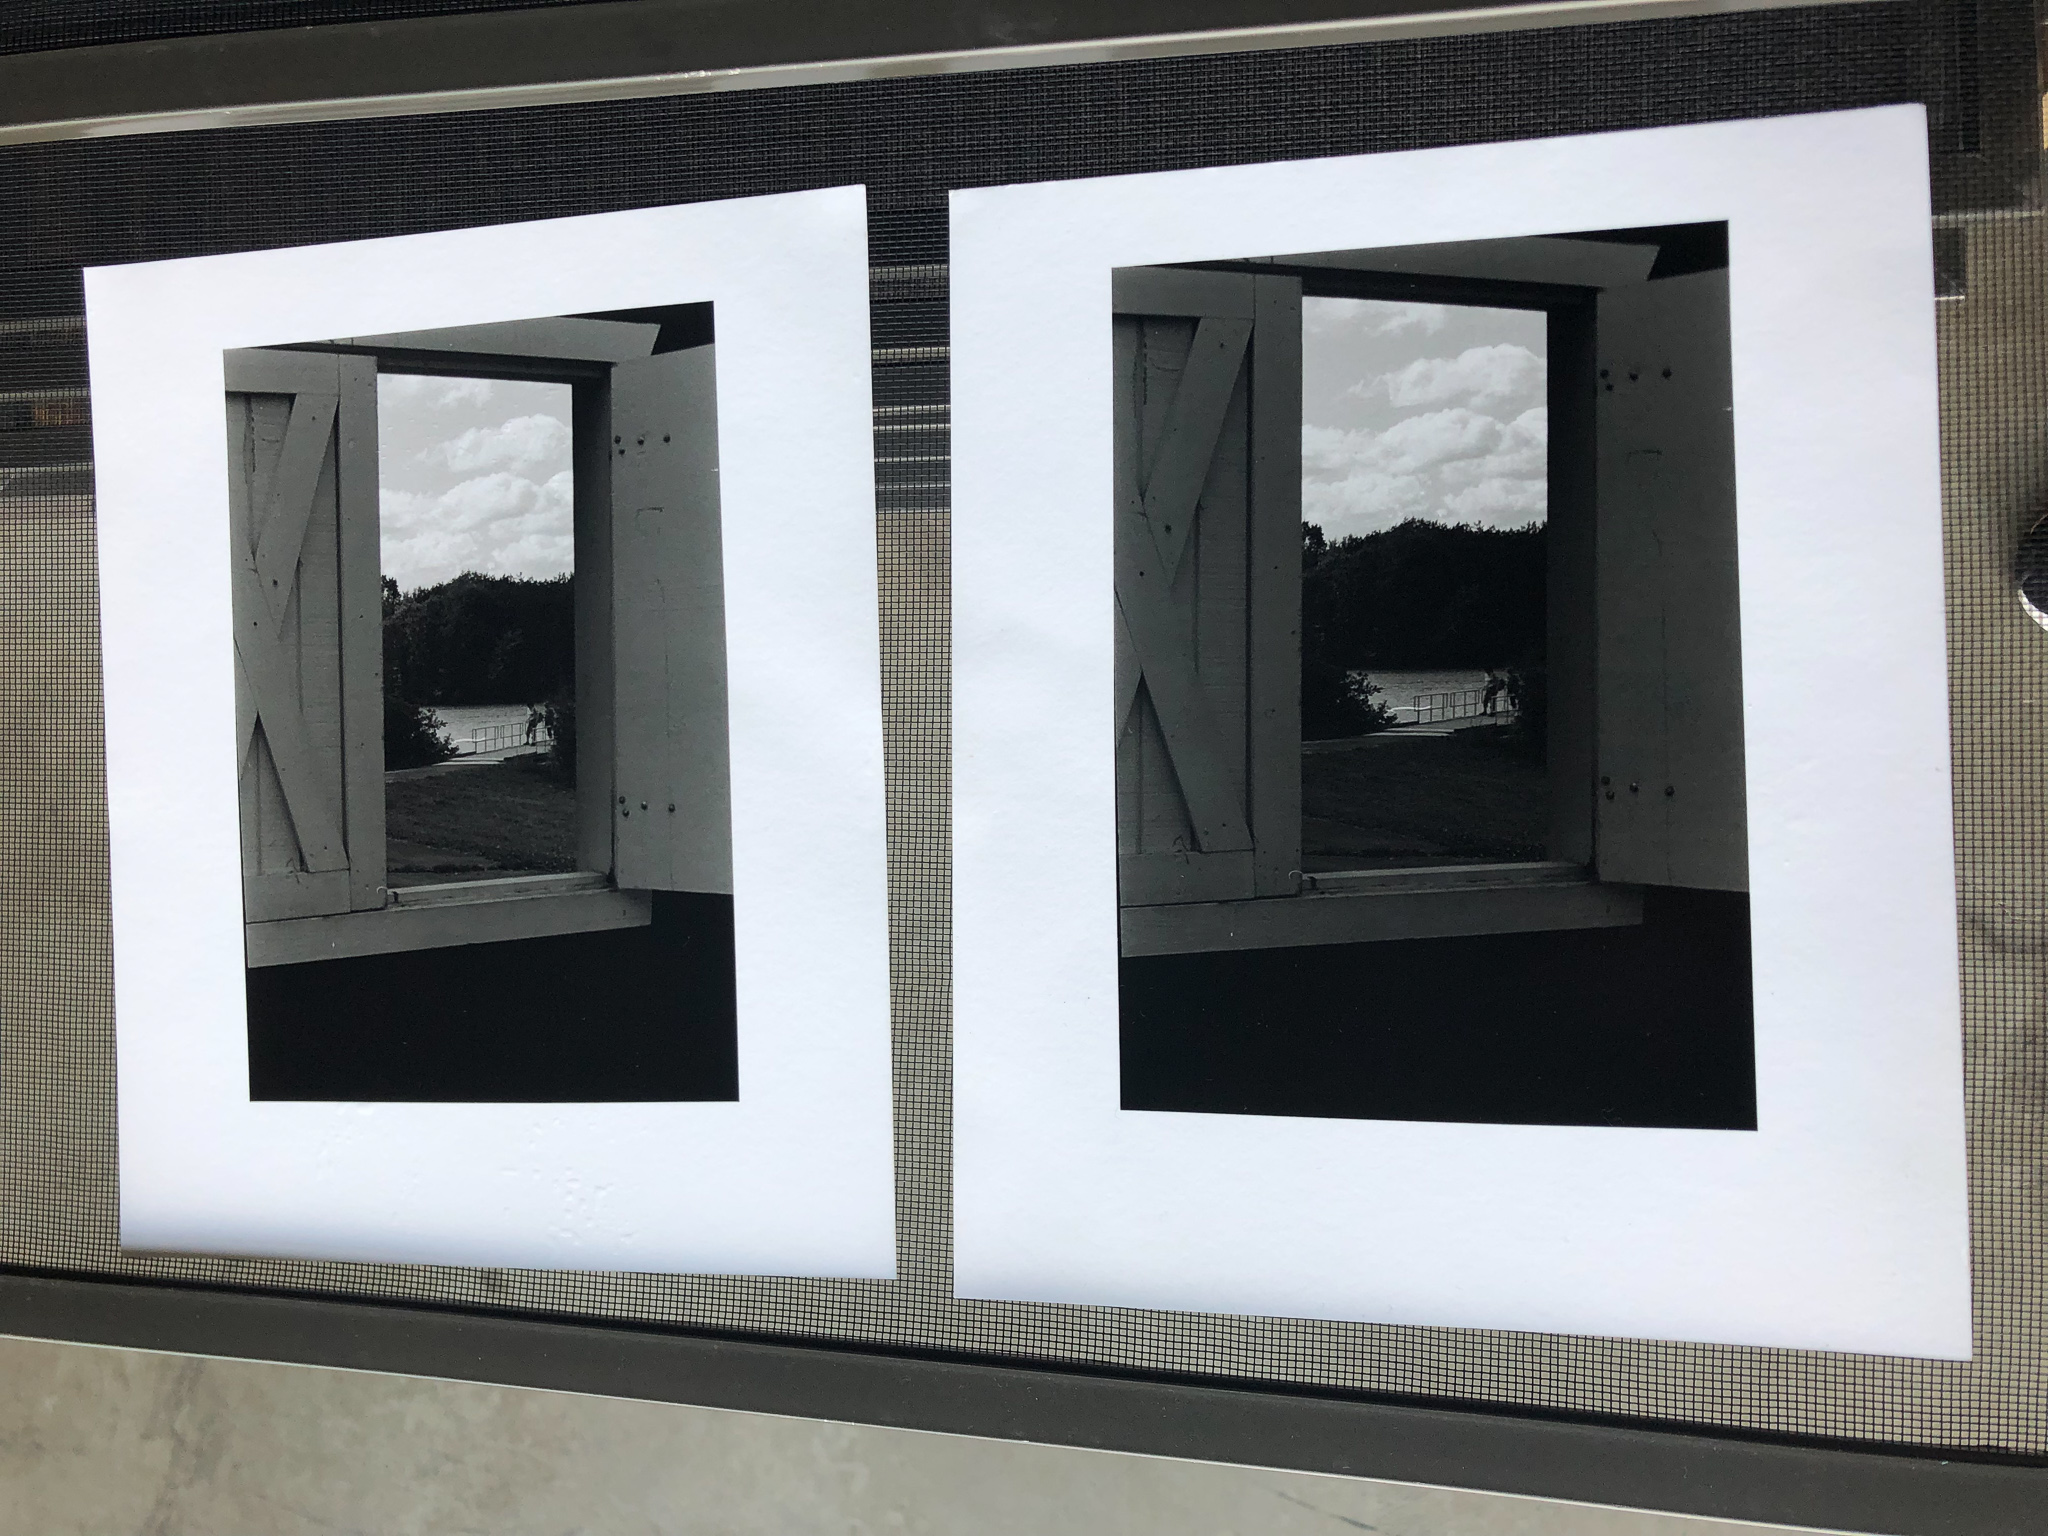
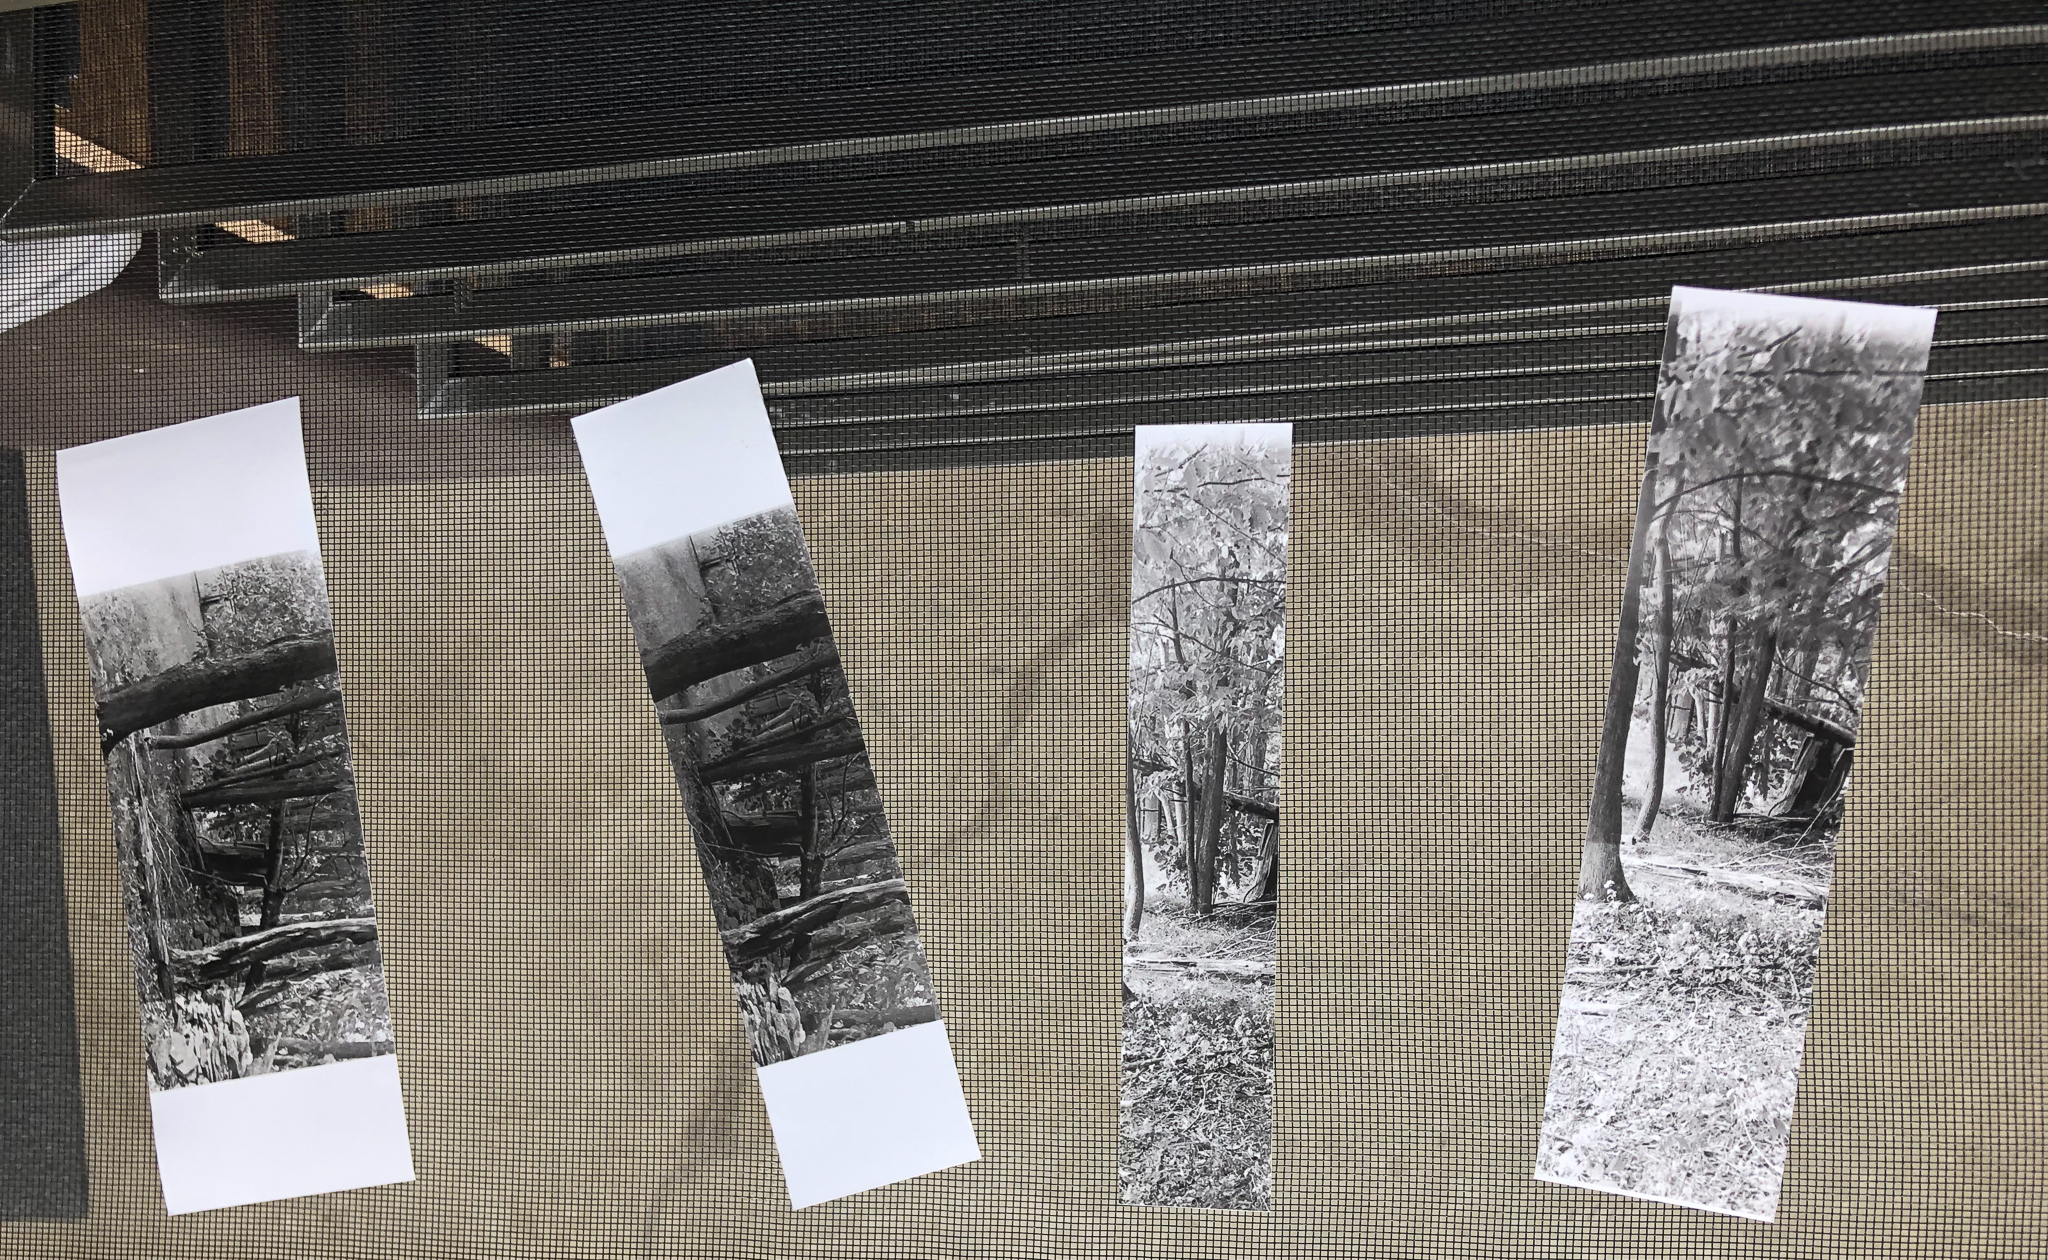
As for my last developed image, I also wasn’t sure. I loved this image when looking at the contact sheet. But I told myself that I could make it happen. The image on the right the exposure time was 40 seconds. On the test strips you could see the clouds clearly and everything through the window, but the shutters where every dark. So I went back to the test strips to see what other times where the shutters where slight lighter and could see everything else black and white. So on the left final image the exposure time was 30 seconds. We still have the clouds and everything else where I wanted and the shutters a slight lighter.
So far I have been enjoying being back in the darkroom. The last time I was in the dark room was my Junior year of High School. I can’t what other projects and trips I will be photographing, developing and sharing!