This semester I am taking Advanced Black and White Photography (Art 316), and exploring more in depth the art of film and the darkroom. I’ve shot and developed 35mm film in the past (somewhat successfully) and I will be doing more of that later in the semester, but right now I am learning how to use a large format 4×5 view camera and shooting with paper rather than film. If you are wondering what shooting with paper means, like I was, it means using photo developing paper, which is light sensitive, to expose the image. After the image has been captured on the paper, you take it into the dark room and develop it with the same chemistry that you would use when developing a print. This creates a paper negative, which you can then load into Photoshop or Lightroom to invert, making a positive, as well as enlarge for printing.
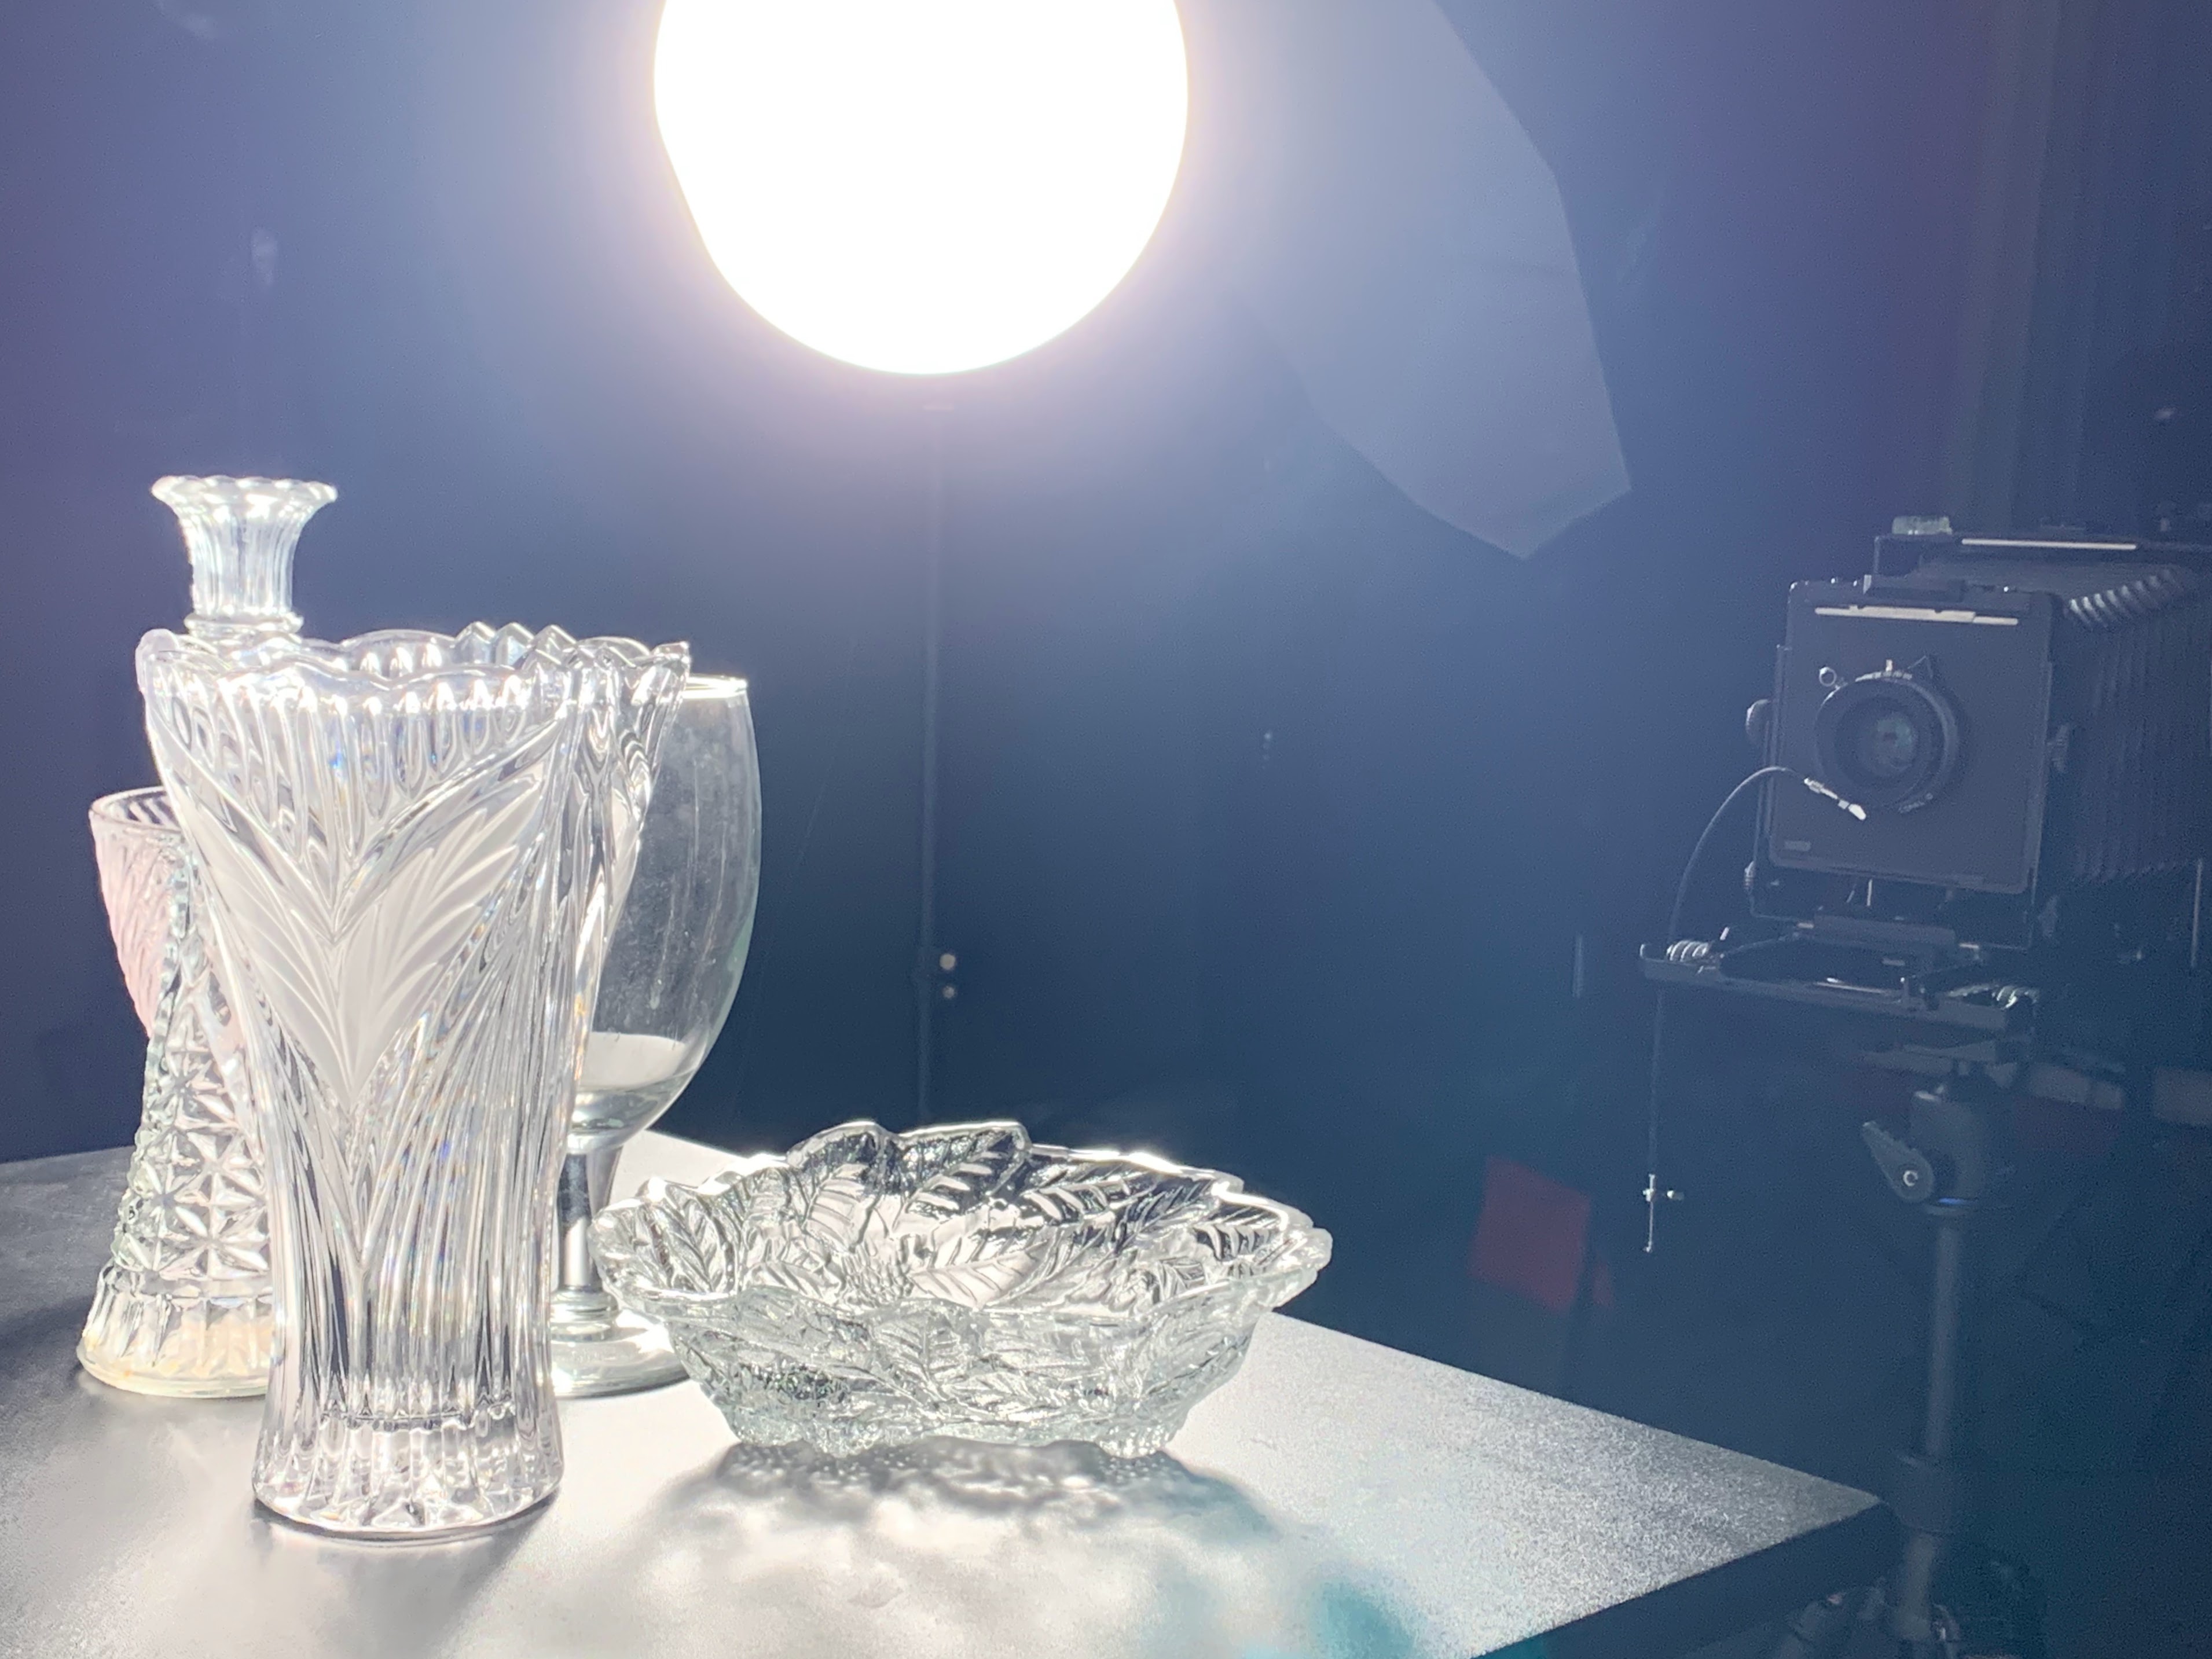
The camera itself expands or opens up like an accordion, and after checking that the scene is in focus with either your eyes or a loop (magnifying device), you can load the film holder, which in this case has a piece of unexposed developing paper inside. Figuring out what ISO to set the camera to was a long process of trial and error since we didn’t know what ISO the paper was, but after trying several different exposures we were able to find a somewhat accurate ISO for shooting. Typically when shooting with film you know what ISO you are shooting at as it is written on the film, but when shooting with paper this is a fun guessing game.

For my initial images that I shot with the view camera, we wanted to have a variety of lights to darks in terms of tonal values, so we could guarantee it was properly exposed, so I shot a series of images of some crumpled up white, gray, and black seamless paper that was hung on the wall. My second to last shot, which was at f8 for about 2 seconds of self timed exposure, ended up giving us the best results, with the darkest darks and whitest whites achievable.
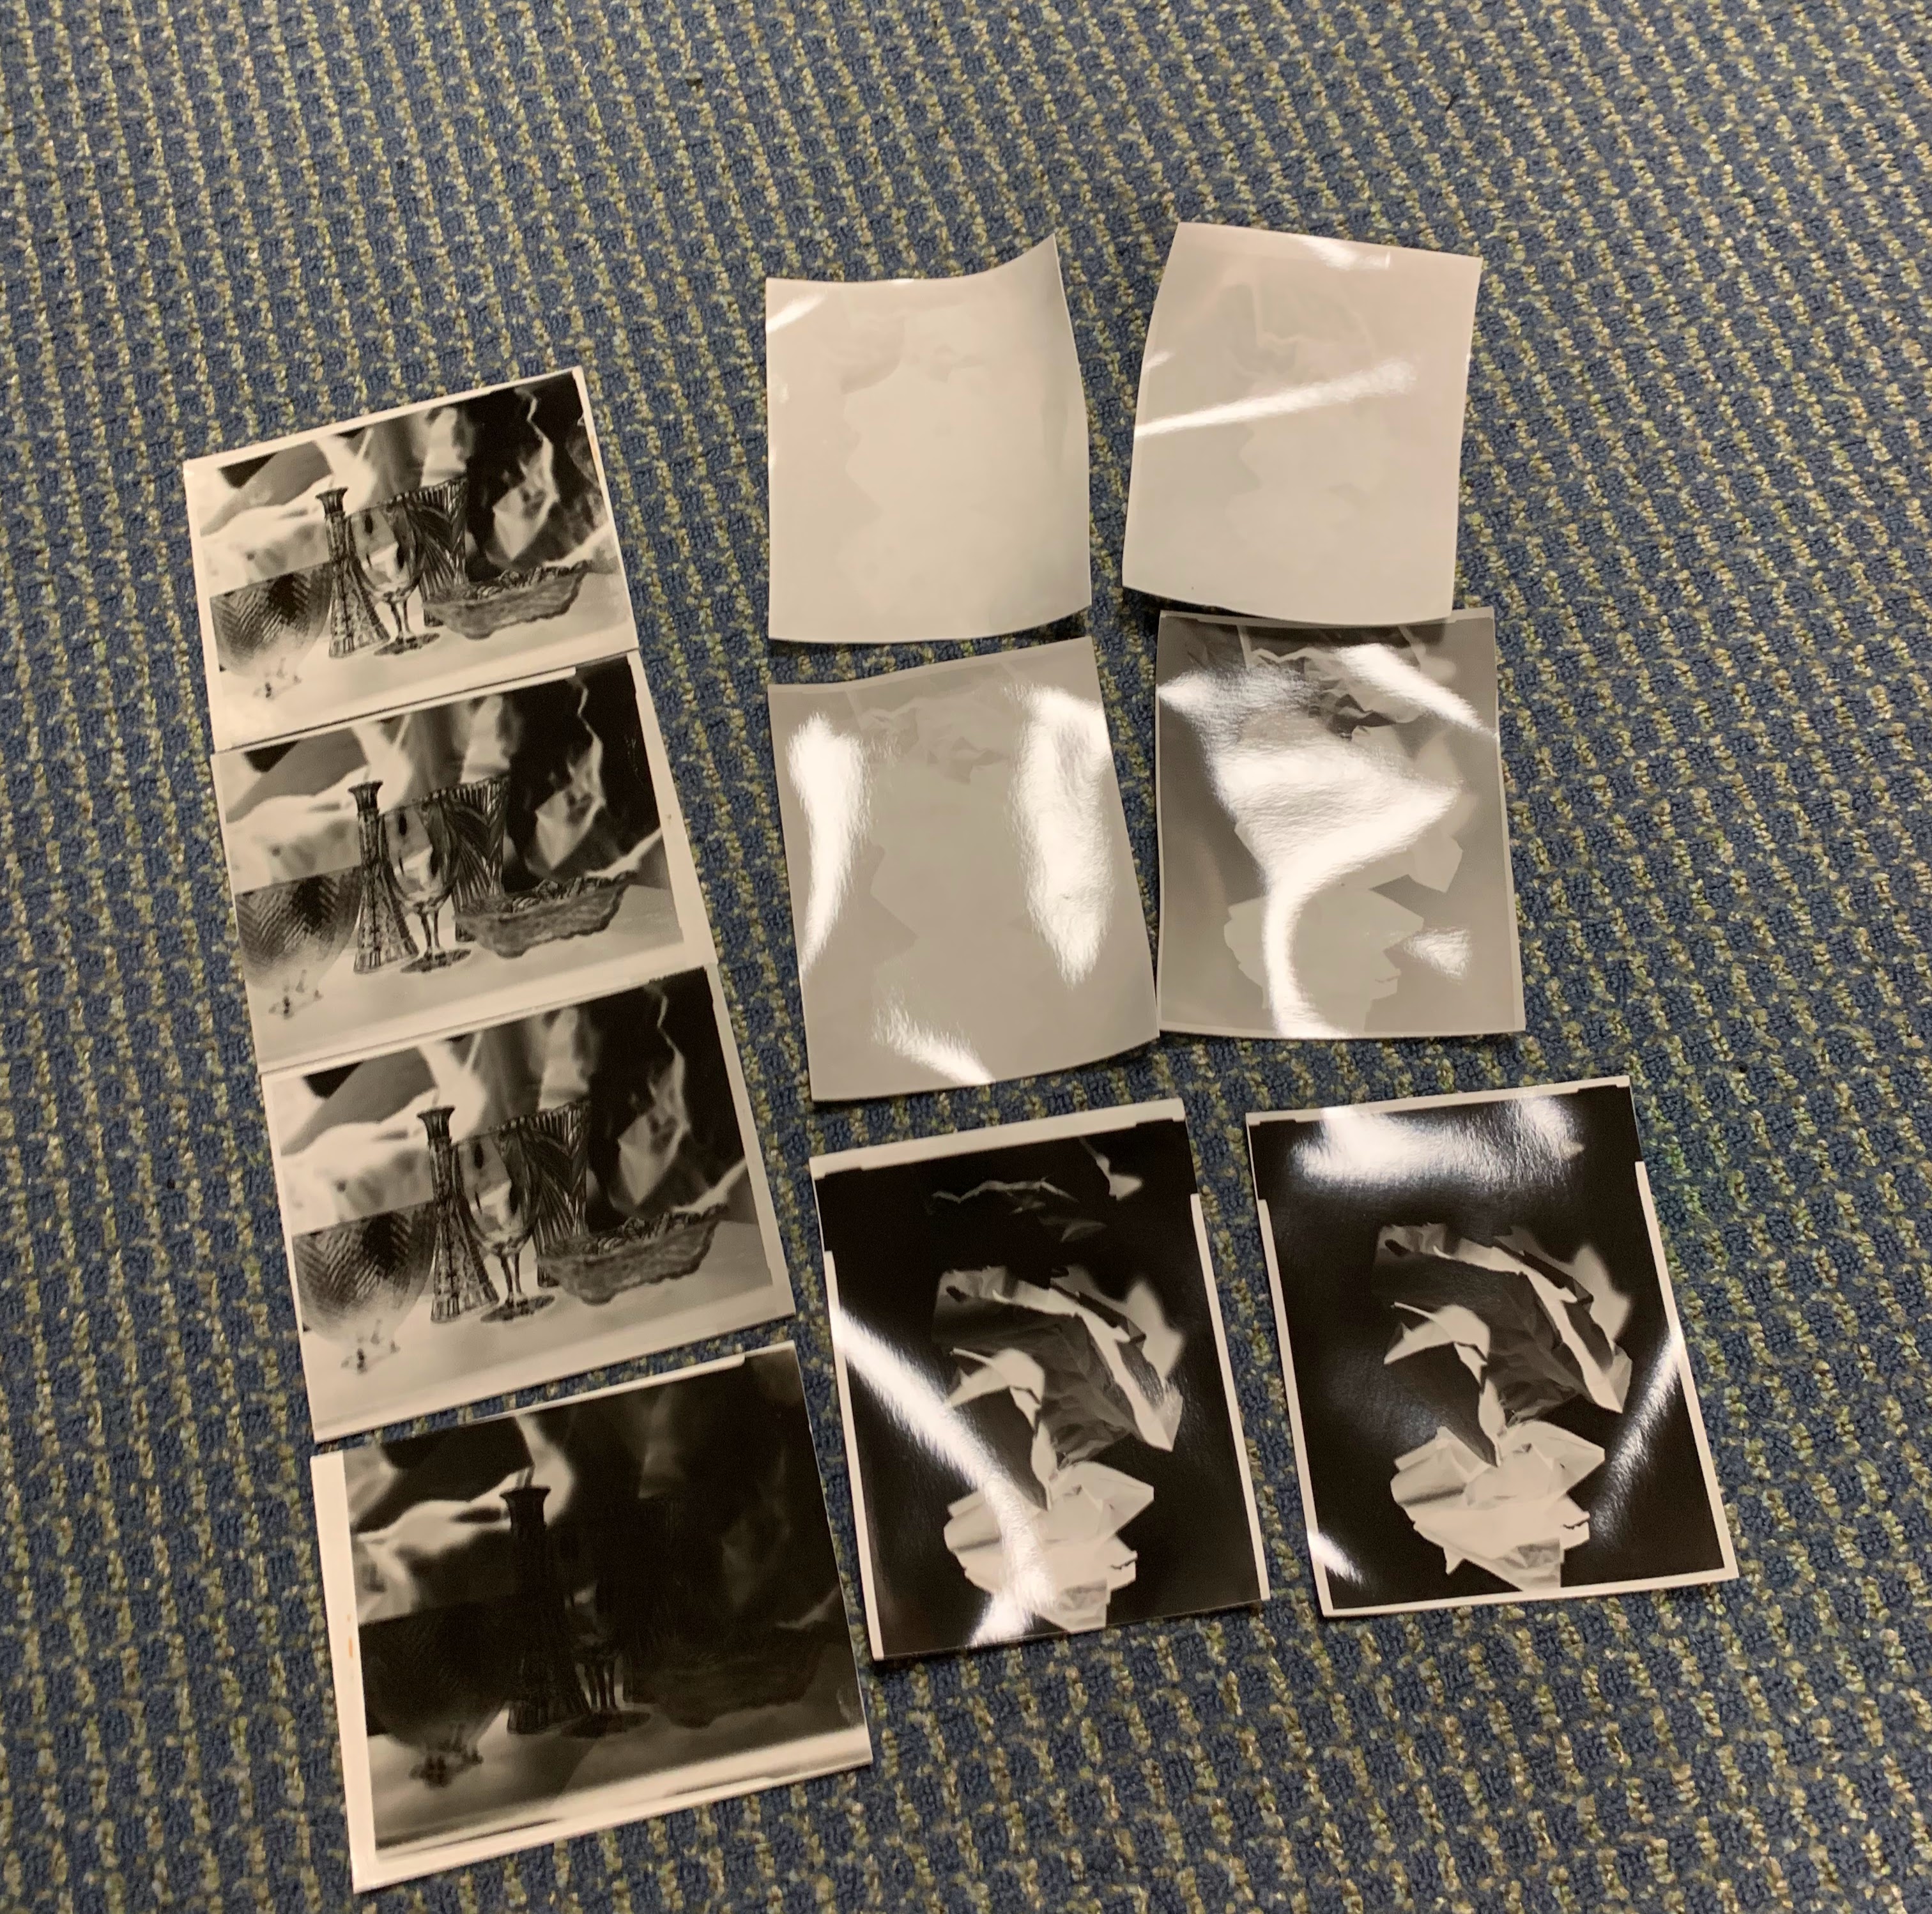
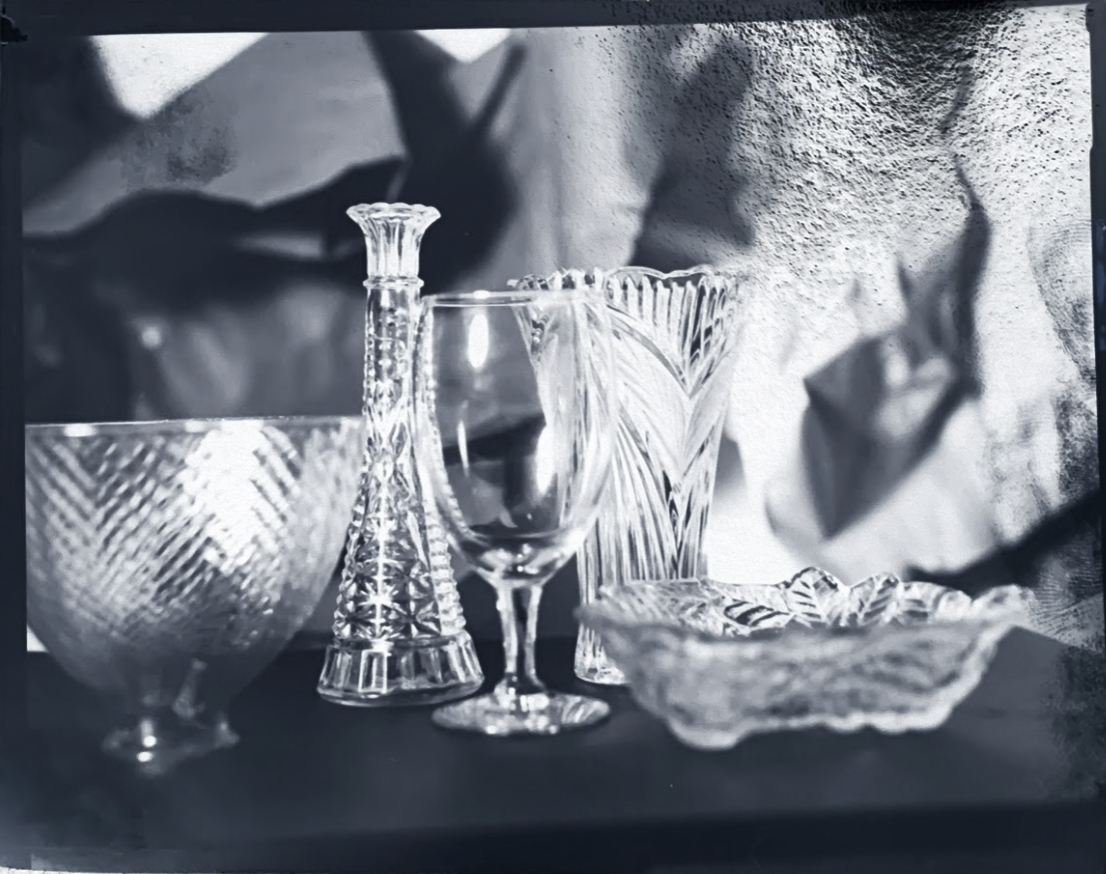
After we had shot and developed these images I was eager to try it on my own without supervision, as well as trying to take a portrait with the view camera. The chemistry that we had mixed for my initial batch of developing would only be good for several more hours so later that night I came back to shoot on my own. Unfortunately I was unable to find a model that night on such short notice, so I decided to shoot a glass still life so I could practice one more time before I took a portrait. This ended up working out very well, as I could mess up a few photos and be slightly less embarrassed. In the beginning I would forget to take out the slide that shielded the paper, and take the view camera equivalent of shooting with your lens cap on in digital. Once the jitters were out of the way, and I remembered all of the steps, I was able to get three negatives that were properly exposed of my glass still life, and was overjoyed. The image on the left is what the negative I developed looks like, and the positive image on the right is what I developed in Photoshop, and what I would enlarge for printing if I wanted.

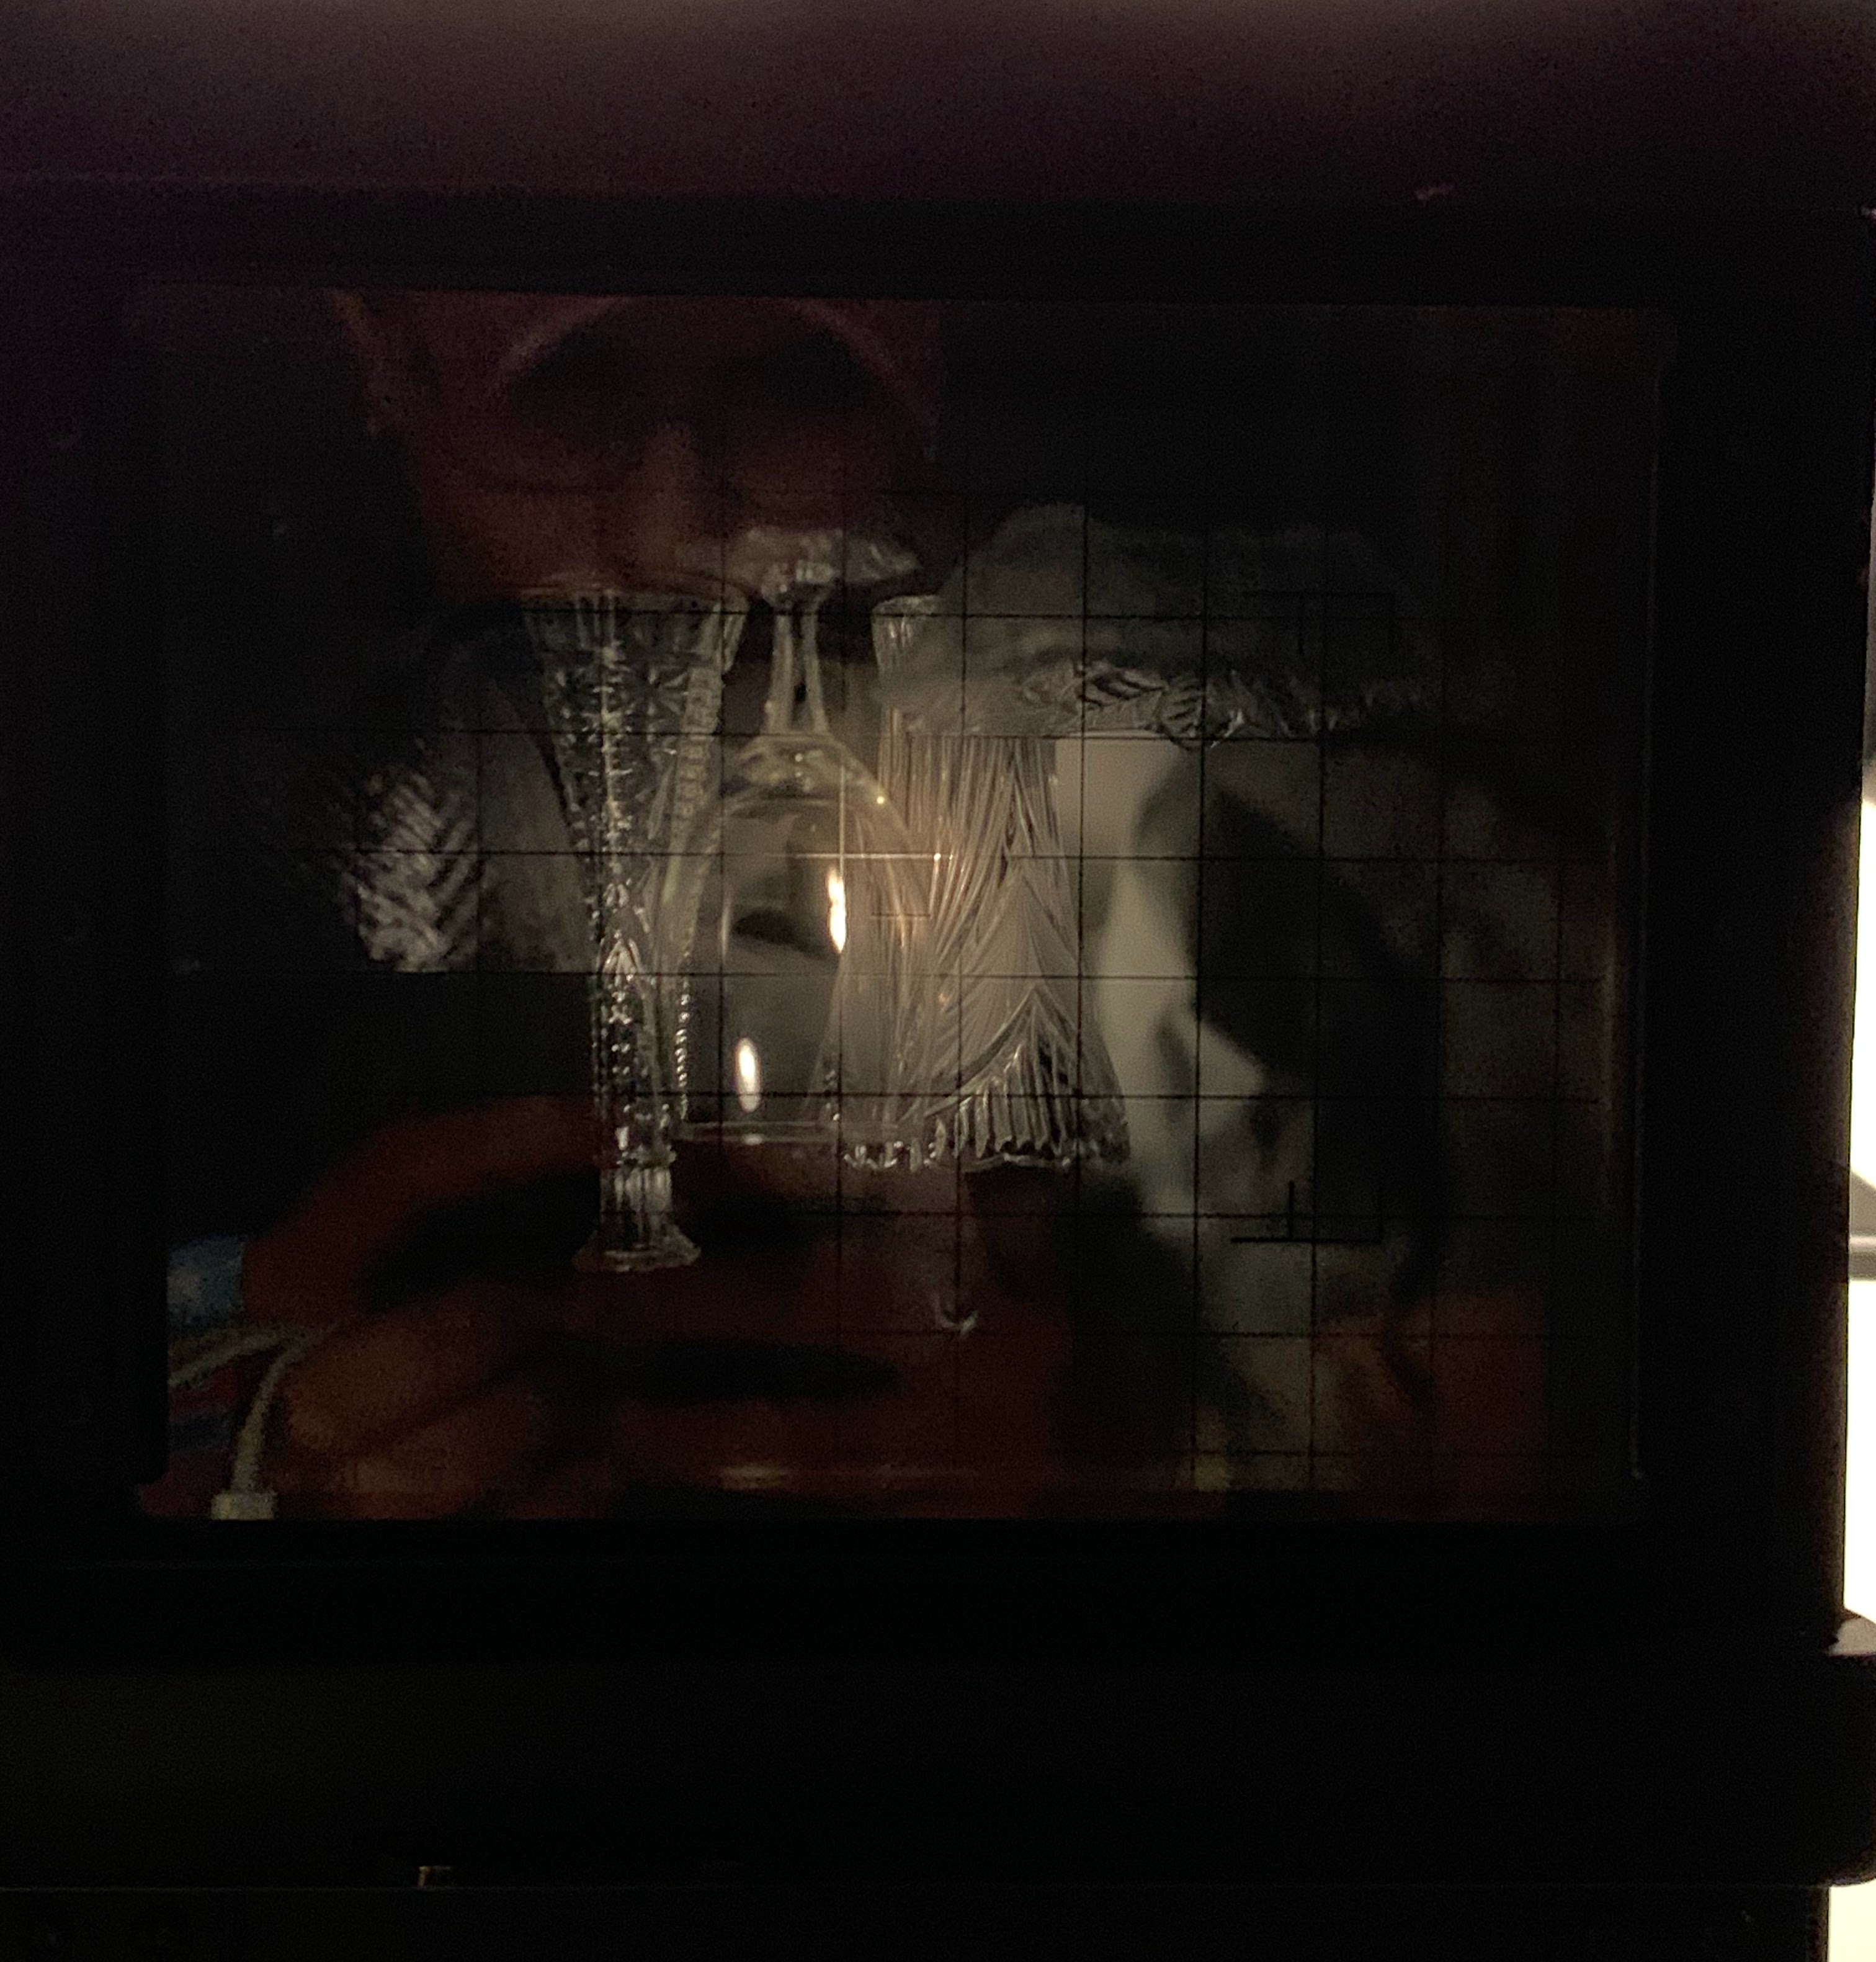
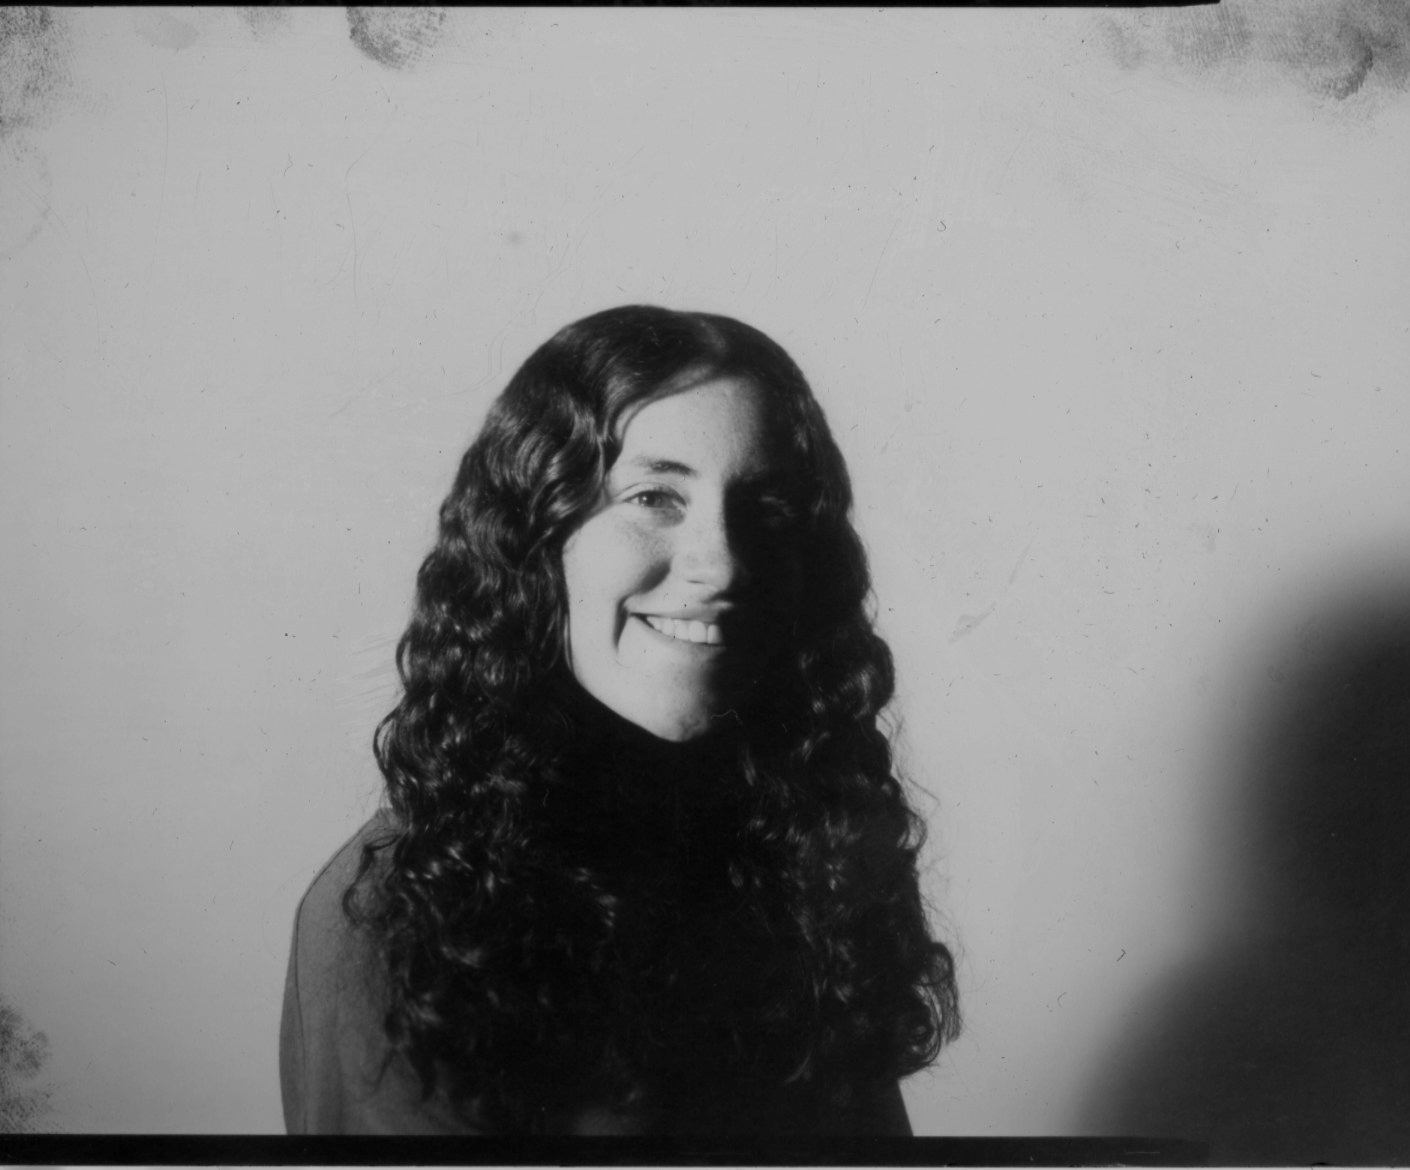
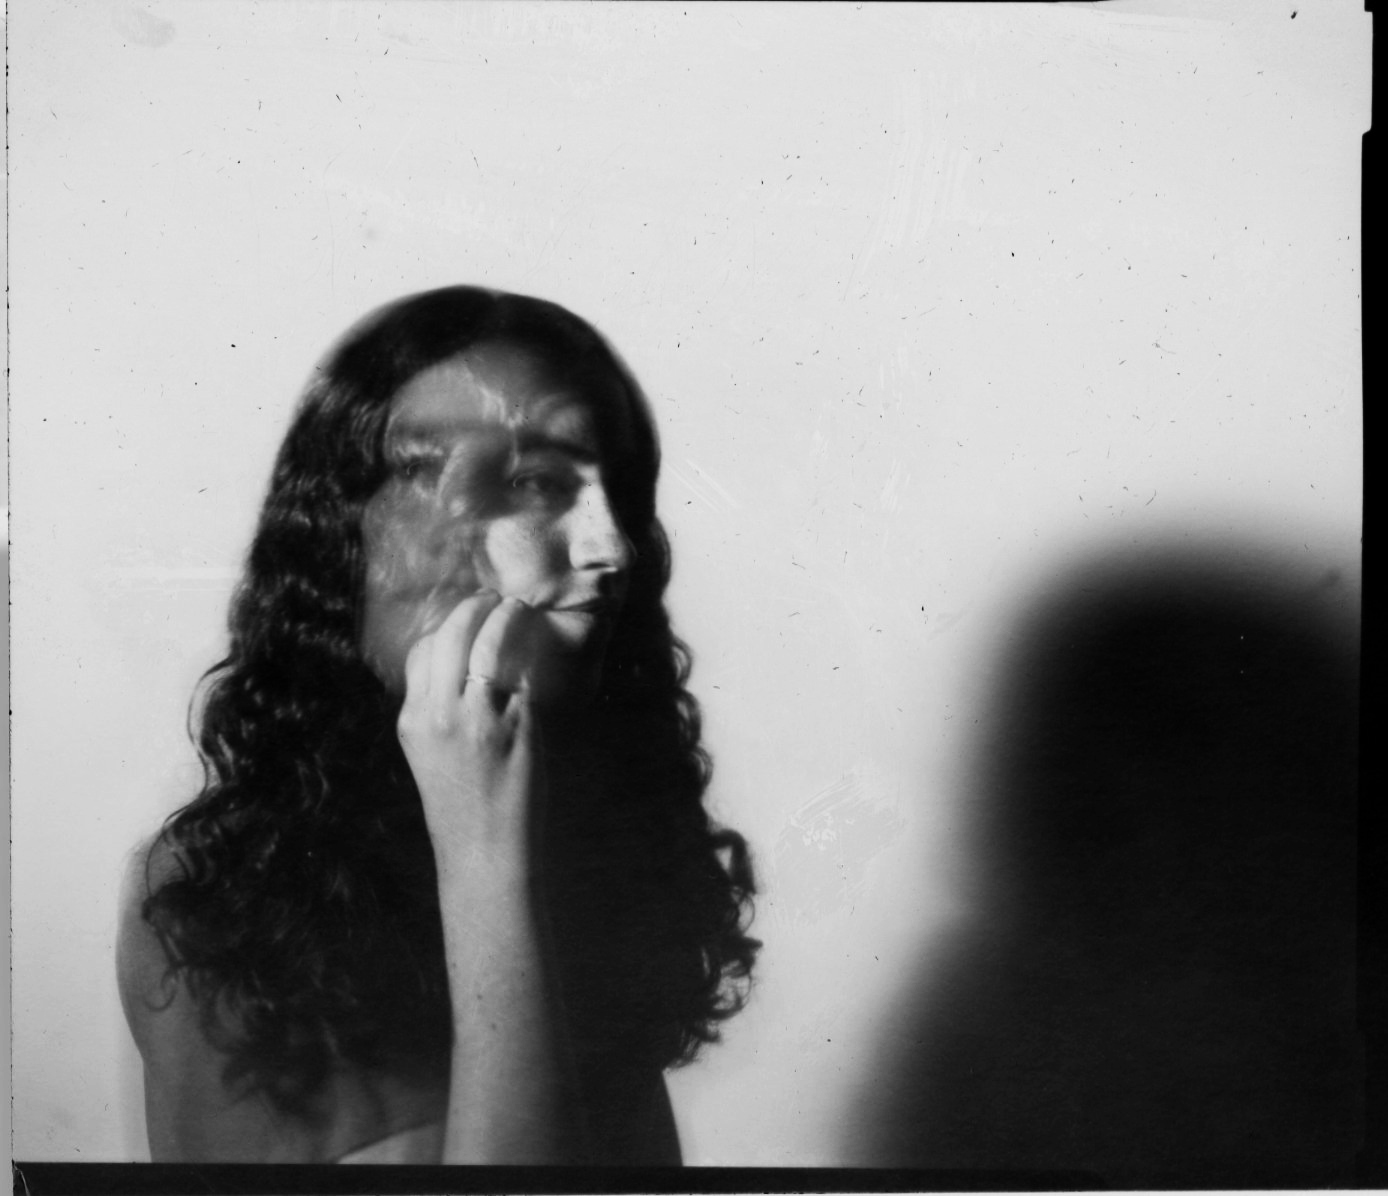
After I felt confident with the still life, I told my professor I was ready to shoot a portrait, so we asked around and found someone to sit for me in the limited time I had before my next class. I wanted to do a variety of things, including a standard portrait with a smile and eye contact, one looking off to the side, and a few with movement since it was a long exposure to begin with. After we shot the two standard portraits, I had the model move her head from one direction to the other during the 2 second exposure, as well as drop her hand that was posed holding her chin/face. This was difficult to do to an extent, as I had hoped to create the illusion of a double exposure rather than motion blur from a long exposure. This meant my model had to move her head somewhat quickly, and I had to tell her when to move after her initial face had been exposed for a long enough period of time. Only two of these shots ended up being properly exposed, but luckily the first one was the winner, and came out exactly how I had imagined the shot.
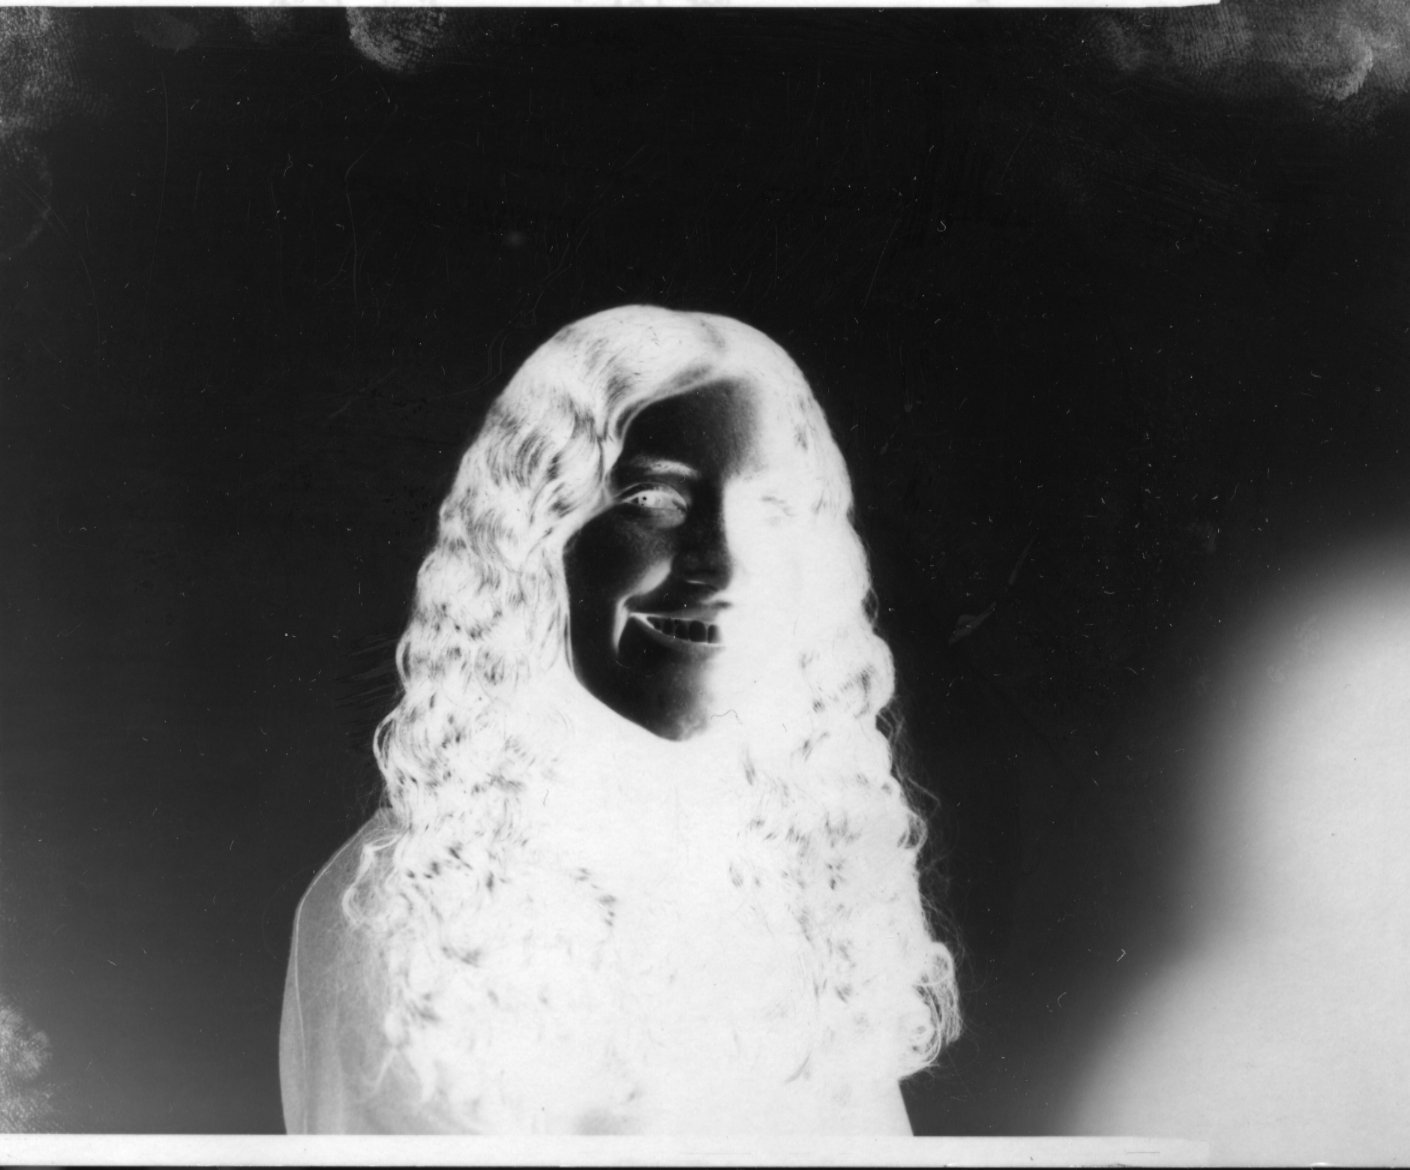
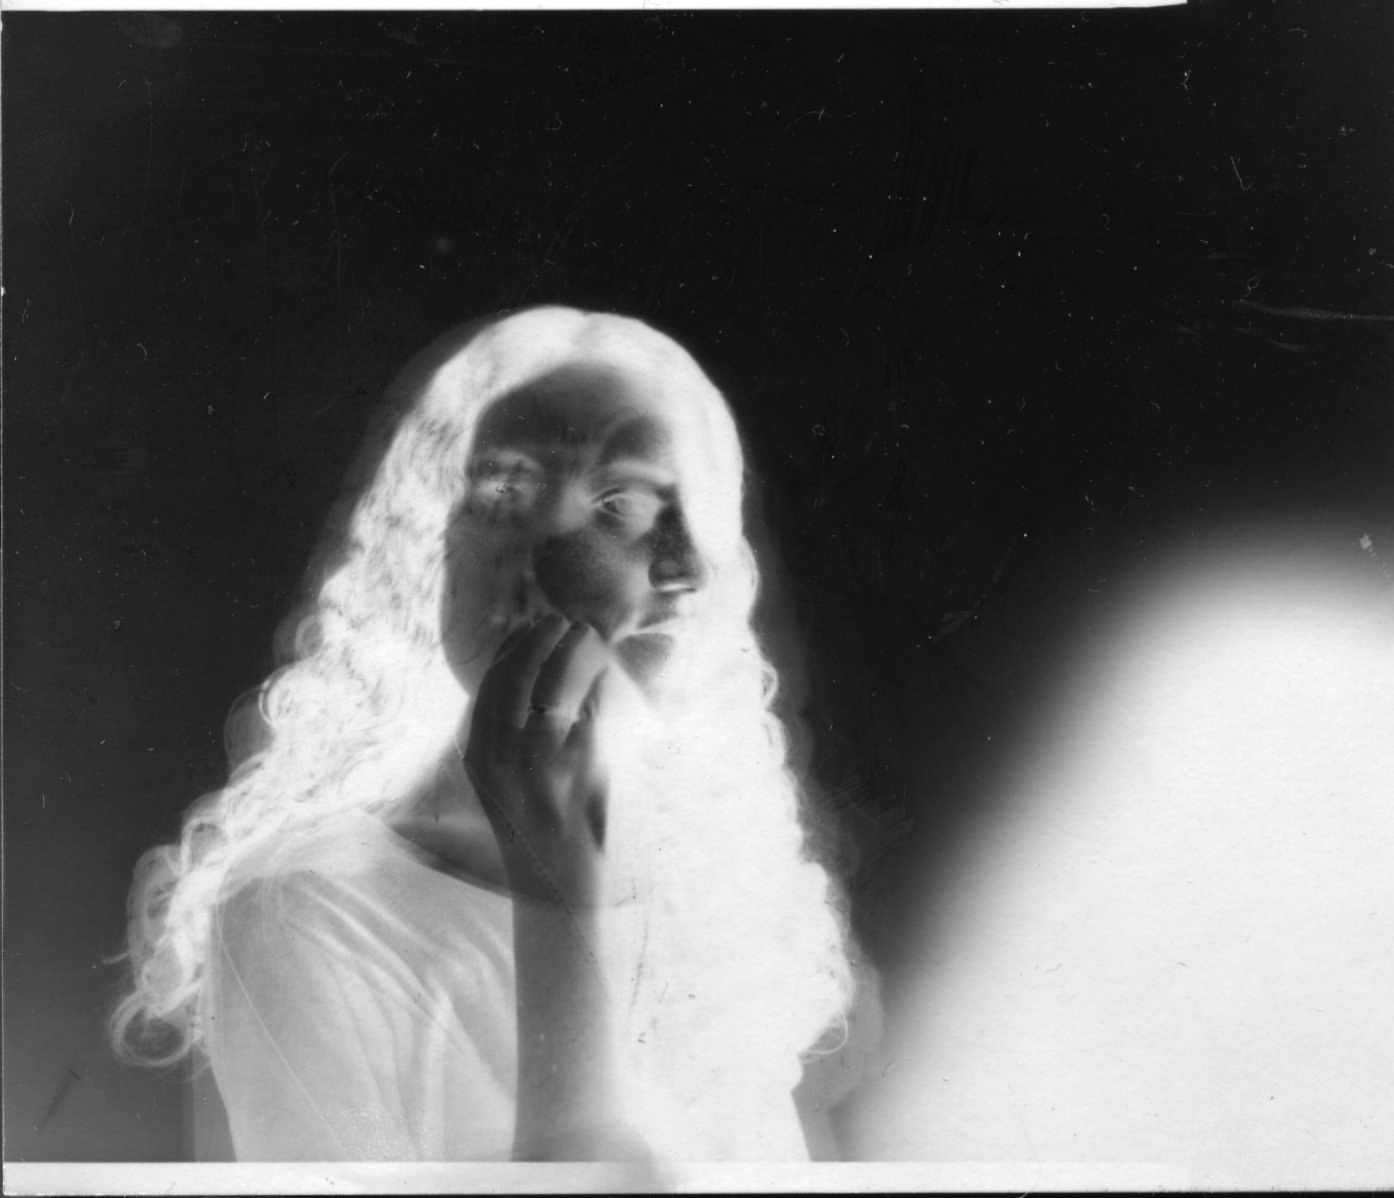
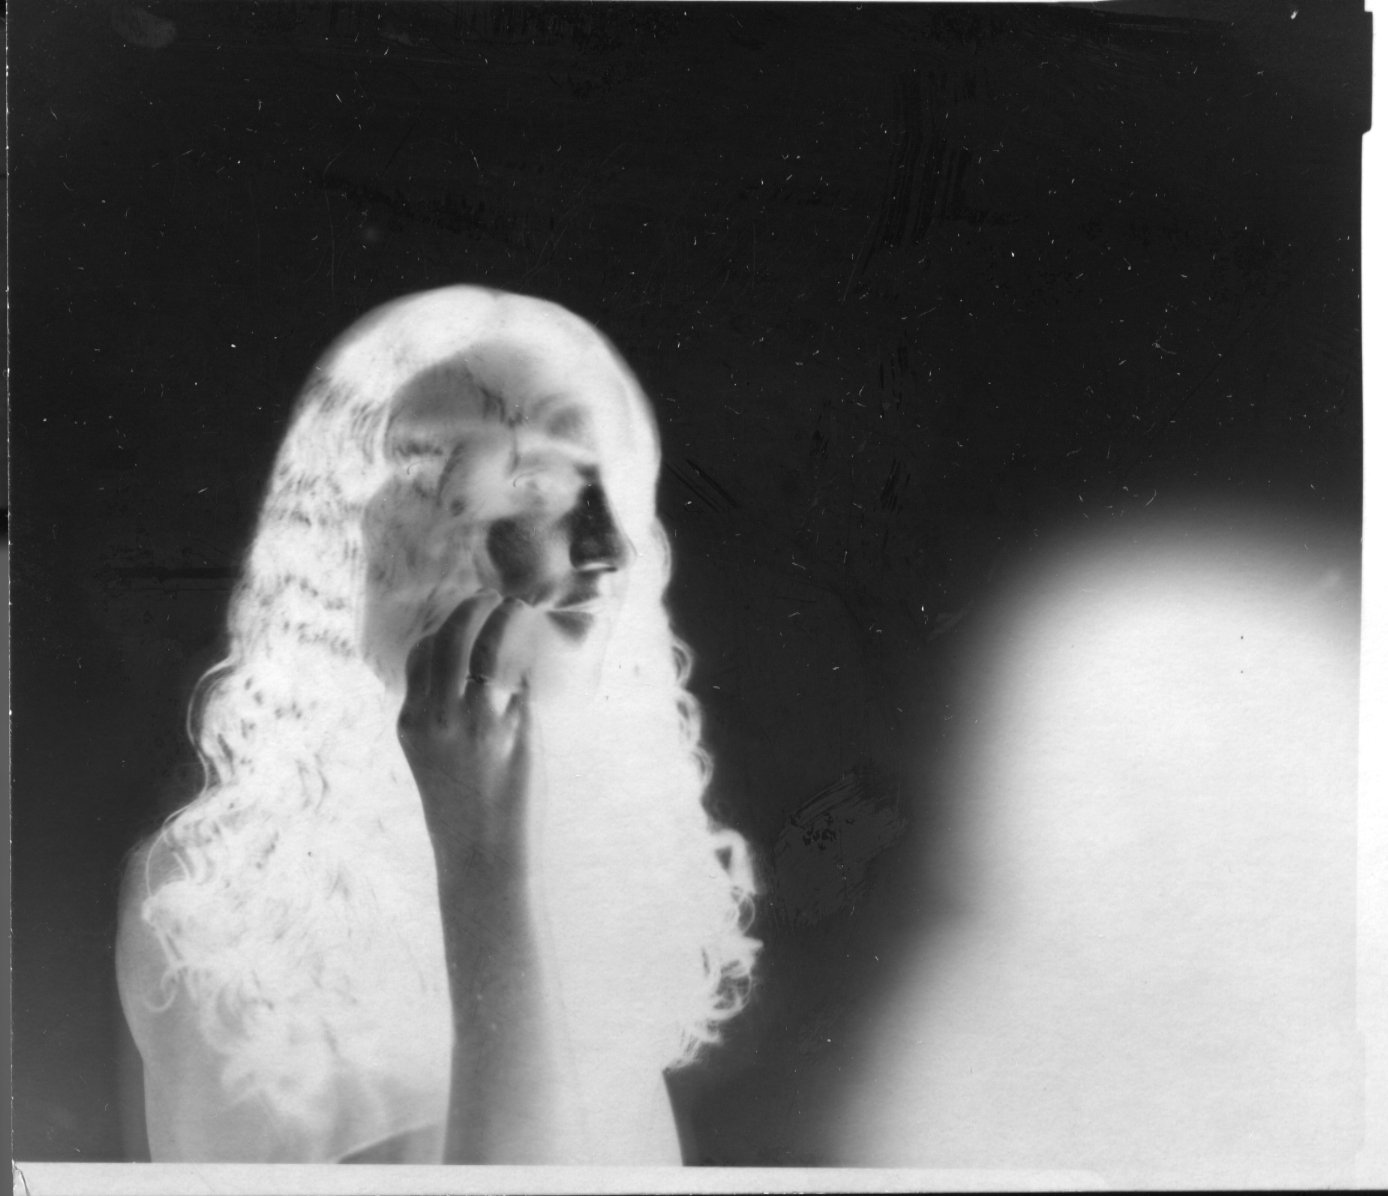
In the image, due to the model moving her face halfway through, there are two images of her, and due to her hand placement, it looks as though her hand is holding up a mask of her own face. As soon as the middle image started developing, I knew it was the best exposure and that I had captured what I wanted. waiting for it to sit in the fixer bath for 5 minutes and then the wash for even longer was very hard, as I was very excited to go look at it under the natural light. Once I scanned the images and turned them to positives I was even more overjoyed. I had an idea of whether or not they were properly exposed even though they were negatives, but it was much easier to tell in a positive image.

I am looking forward to shooting with this camera more, as well as sharing the images and process here! Be on the lookout for more view camera images, as well as some medium format images later in the semester.